CS194-26: Project 4
Facial Keypoint Detection with Neural Networks
In this project, I used neural networks to automatically detect facial keypoints. Specifically, I used PyTorch as the deep learning framework for this project. The first two parts used the IMM Face Database to first detect nose tip, and then applying the similar technique to all keypoints in an image. These images are split into train and validation sets for training and validating the model. In the last part, the program predicted a much larger dataset with 6666 images.
Part 1: Nose Tip Detection
In the first part, I downloaded the IMM Face Database from here and used it to train a nose tip detection model. The first 192 (32x6) images are in my train set and the rest 48 (8x6) images are my validation set.
In this part, the images are divided into train and validation sets, and the images and the ground-truth keypoints are used to train the convolutional neural network.
- Dataloader: The (image, nosetip) pairs are read from the .jpg and .asf files and transformed (convert images into grayscale and convert image pixel values in uint8 from 0 to 255, to normalized float values in range -0.5 to 0.5, resize the image into 80x60). Images and ground-truth nosetip in the train dataset and validation dataset are sampled.
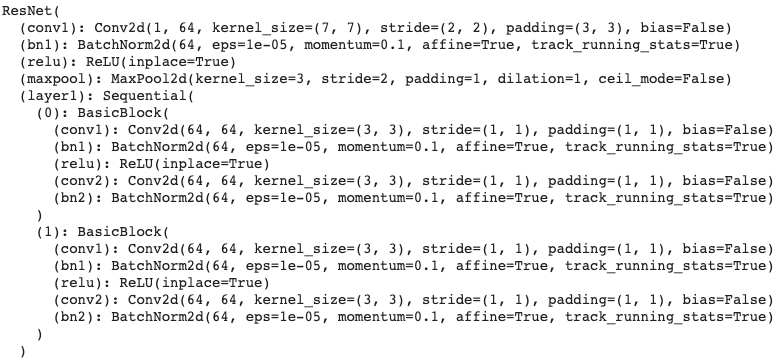
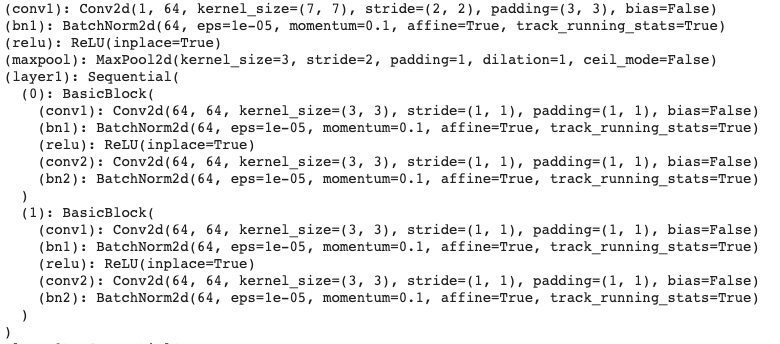
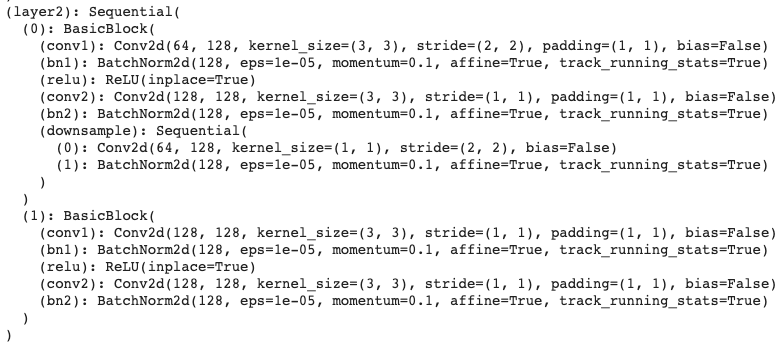
- CNN: Neural Network Architecture
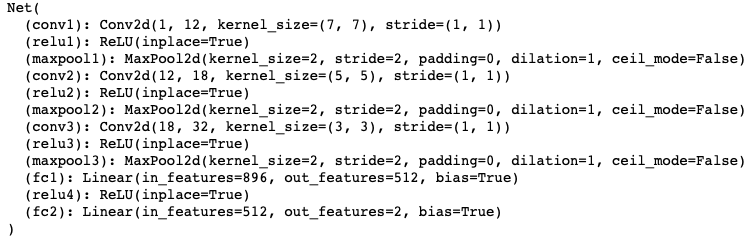
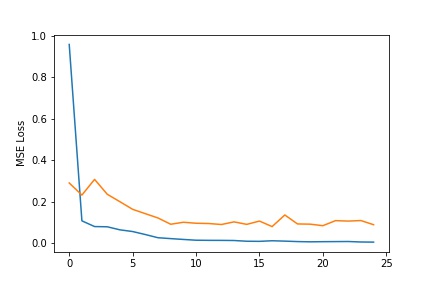
- Loss Function and Optimizer: The project used mean squared error loss to compute the prediction loss. The neural network is trained using Adam with a learning rate of 1e-3 for 25 epoches.
- Results:
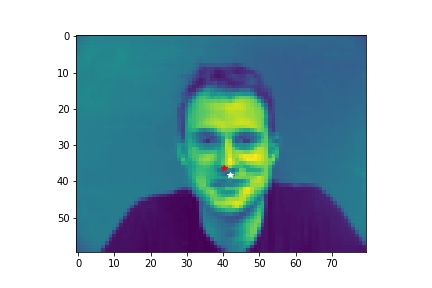
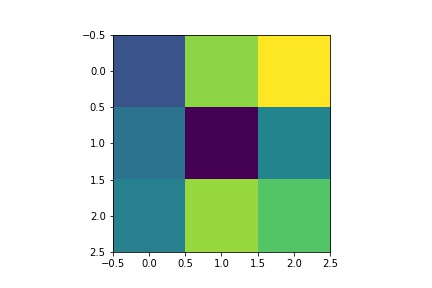
- Sampled image from your dataloader visualized with ground-truth keypoints.
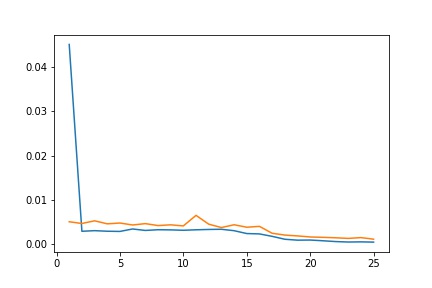
- Plot the train and validation loss during the training process.
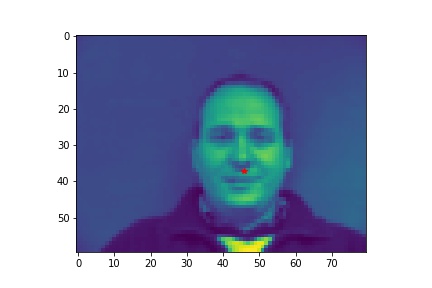
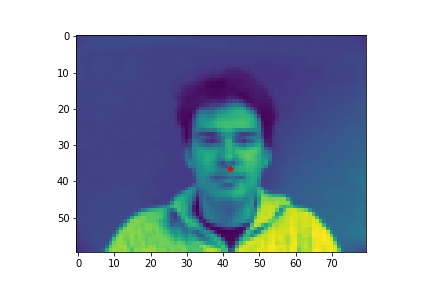
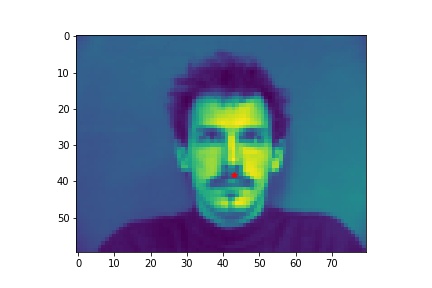
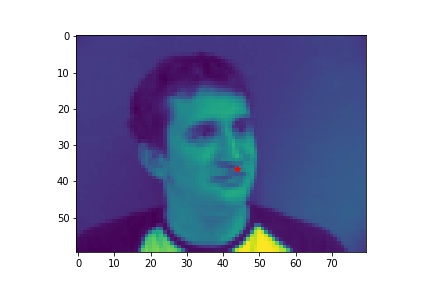
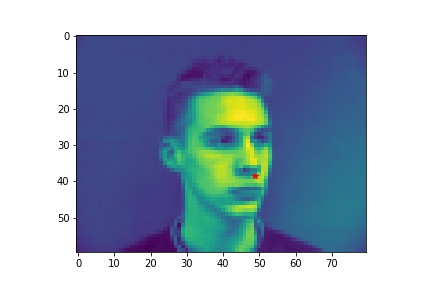
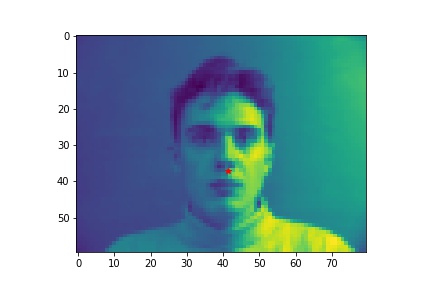
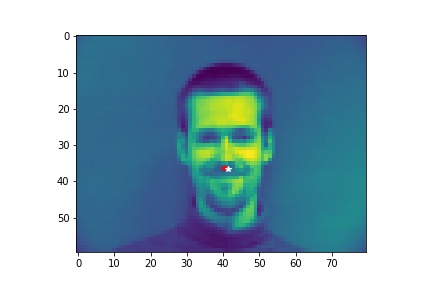
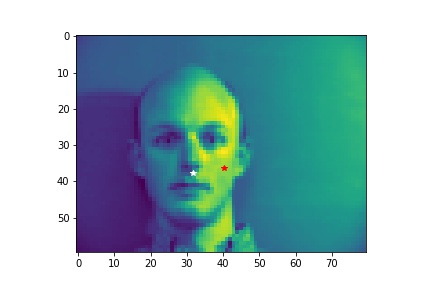
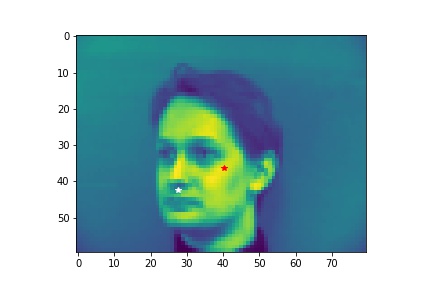
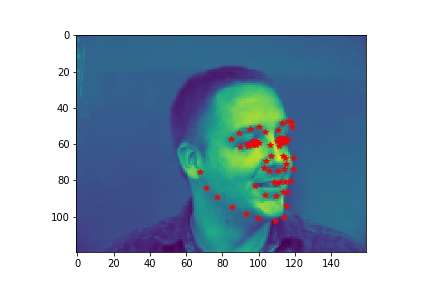
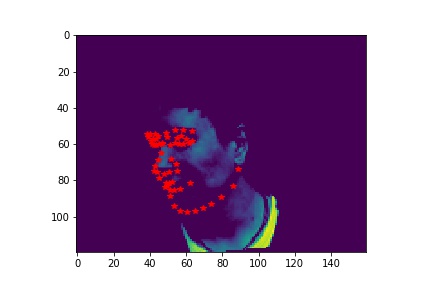
- Show 2 facial images which the network detects the nose correctly, and 2 more images where it detects incorrectly.
- Explanation for failure: the first face is not in the middle of the image, whereas most of the training image we use have noses close to the center of the image. Therefore, although the person faces the the camera, it does not predict well due to the position. The second face is toward the right instead of directly facing the camera, and the program is not able to predict that very well.
Part 2: Full Facial Keypoints Detection
In the next step for the project, the program detects all 58 facial keypoints.
- Dataloader: The part is similar to part 1, except that the input image size is now 160x120. The data augmentation includes rotating 5 degrees and color jitter with brightness of 0.5. The validation loader is not augmented.
- Results:
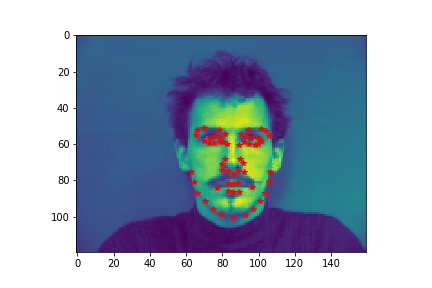
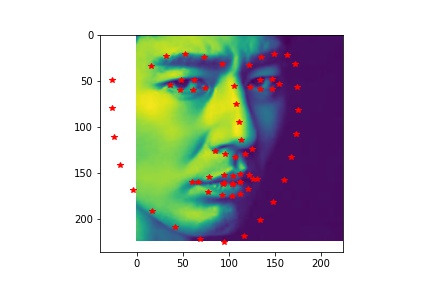
- Sampled image from your dataloader visualized with ground-truth keypoints.
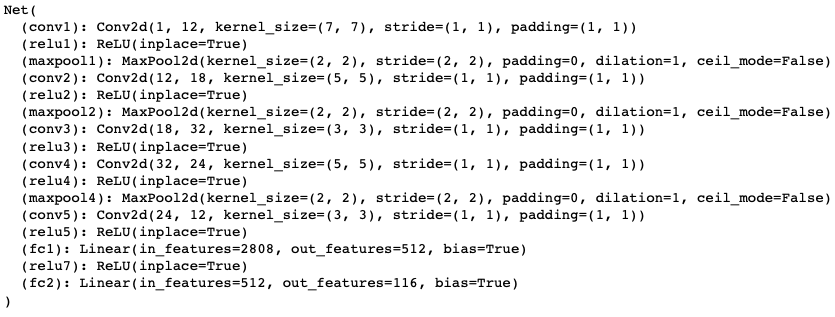
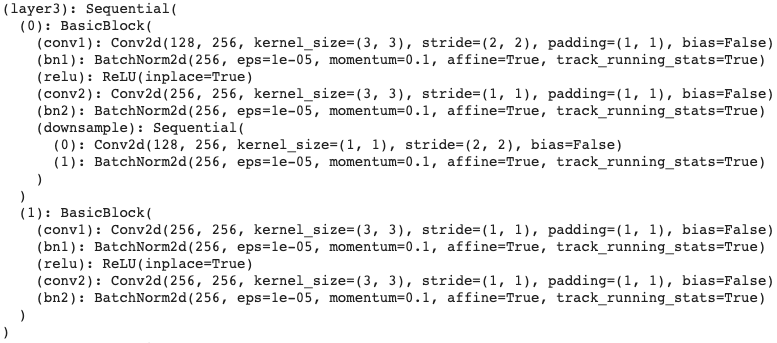
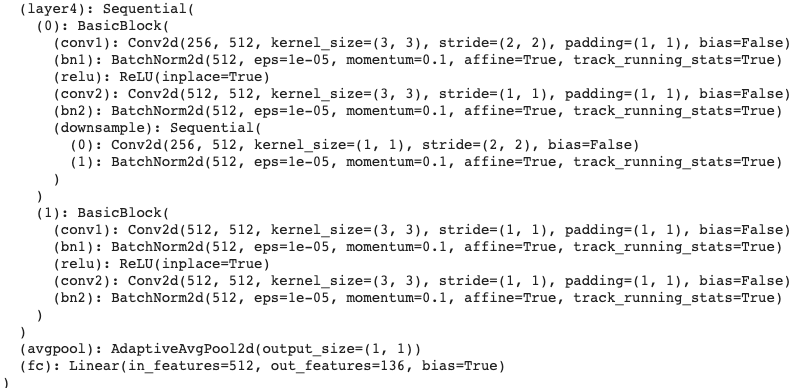
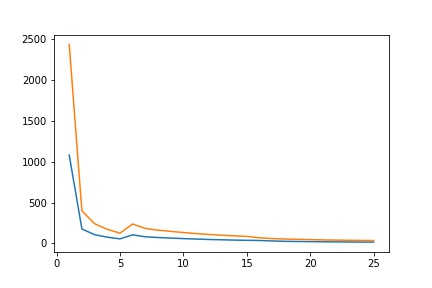
- Report the detailed architecture of your model. Include information on hyperparameters chosen for training and a plot showing both training and validation loss across iterations.
| Network |
 |
| Learning Rate: |
1e-3 |
| Batch Size: |
4 |
| Epoches: |
25 |
| Loss |
 |
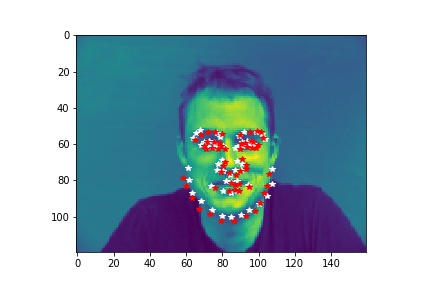
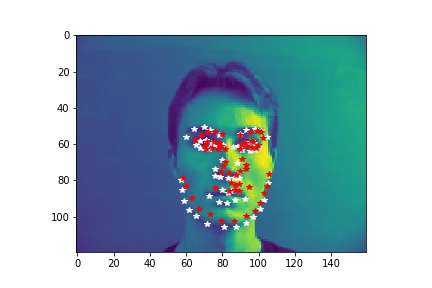
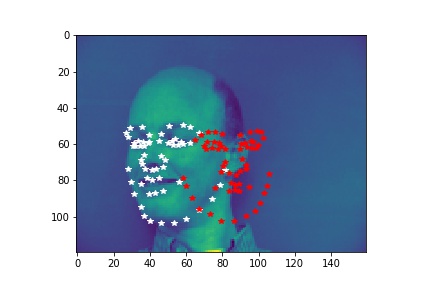
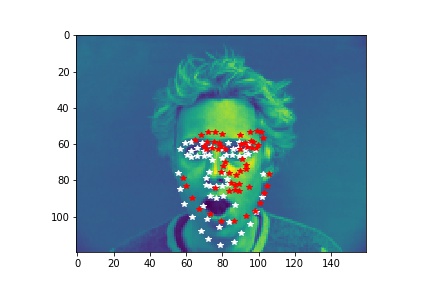
- Show 2 facial images which the network detects the facial keypoints correctly, and 2 more images where it detects incorrectly.
- Explanation for failure: For the first image, the person faces left while the model predicts the face to be facing the front. This causes the mistmatch between prediction and ground-truth. In the second image, the person has a very different facial expression than the average images used for training so that it is not well predicted.
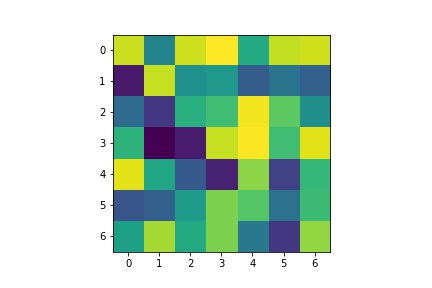
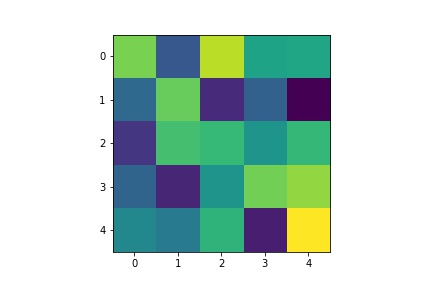
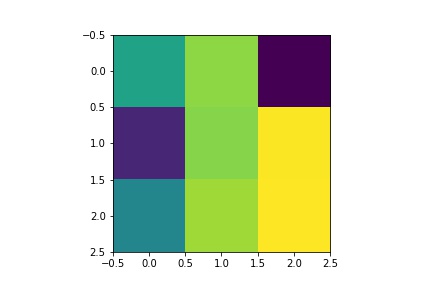
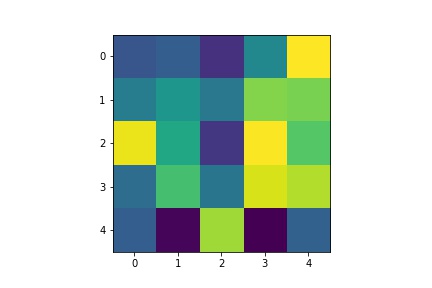
- Visualize the learned filters.
| Layer 1 |
Layer 2 |
Layer 3 |
Layer 4 |
Layer 5 |
 |
 |
 |
 |
 |
Part 3: Train With Larger Dataset
This part uses ibug face for training a facial keypoints detector.
- Results:
- Report the detailed architecture of your model. Include information on hyperparameters chosen for training and a plot showing loss across iterations.
| Loss |
 |
| Learning Rate: |
1e-3 |
| Batch Size: |
4 |
| Epoches: |
25 |
- Report the mean squared error on the whole testing set. You should only evaluate your model on the test set once. All hyperparameter tuning should be done on the validation set.
| Mean Squared Error on Kaggle: |
8.71 |
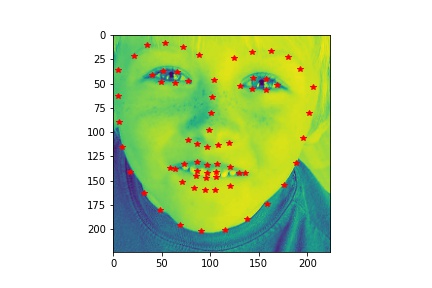
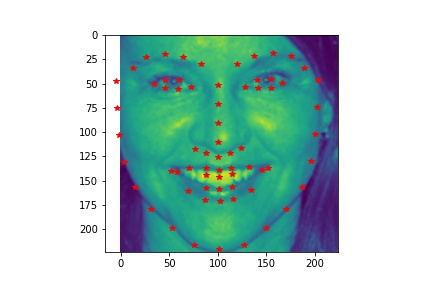
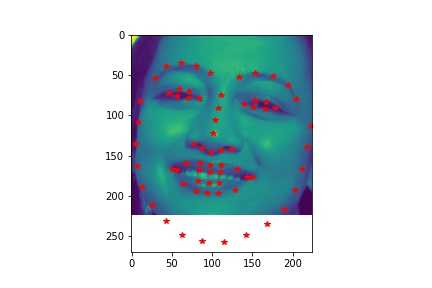
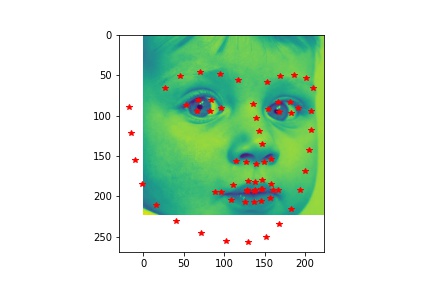
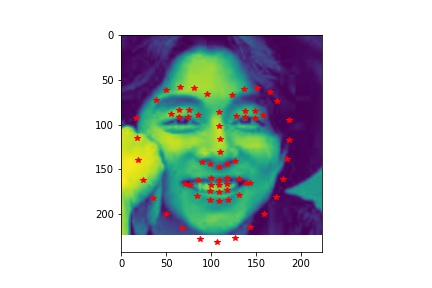
- Visualize some images with the keypoints prediction in the testing set.
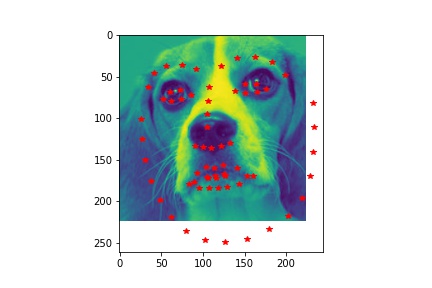
- Try running the trained model on no less than 3 photos from your collection. Which ones does it get right? Which ones does it fail on?
- Although the dog has different face from human, the model still predicts his face pretty well. In the first unsuccessful case, the face is a bit tilted and the model does not predict the left side of the face well. The model does not predict the shape of the second face very well due to the darkness in the second image that blends the face with the background.