
|
|
|
In this project, we learned to use Pytorch and Colab to implement a Convolutional Neural Network that would be able to identify faces.
In this part, I used three convolutional layers and two fully connected layers for the architecture.
|
|
|
|
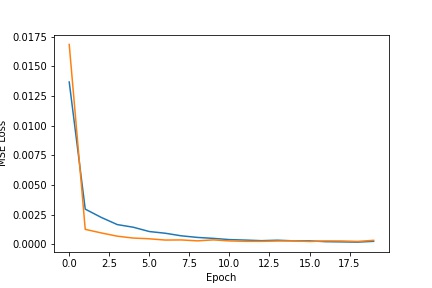
Validation Set is in Orange, Test Set is in Blue
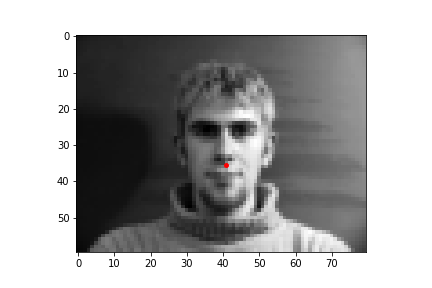
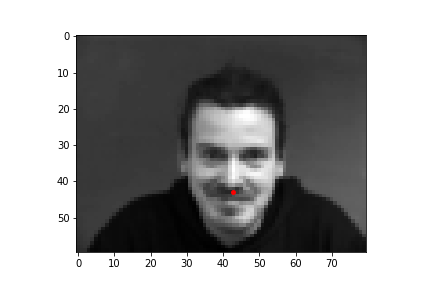
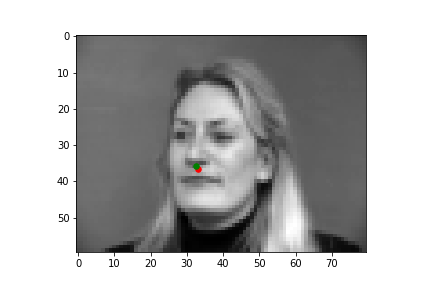
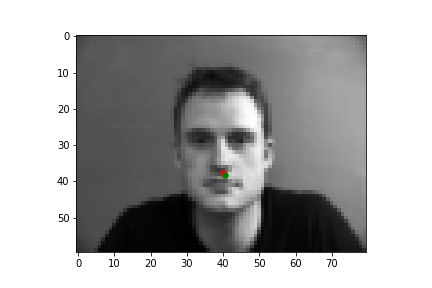
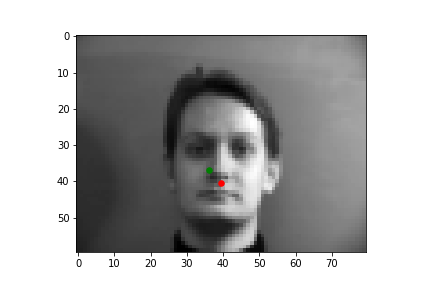
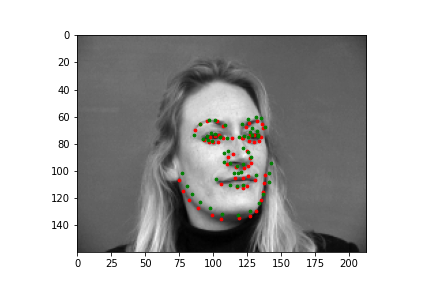
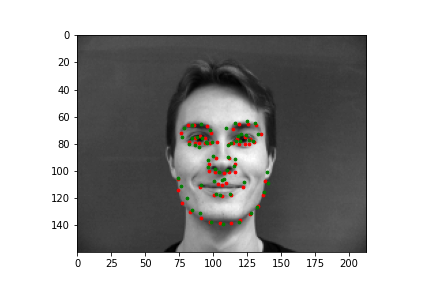
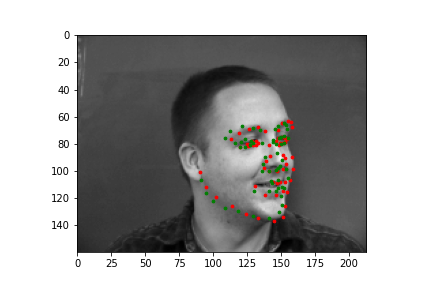
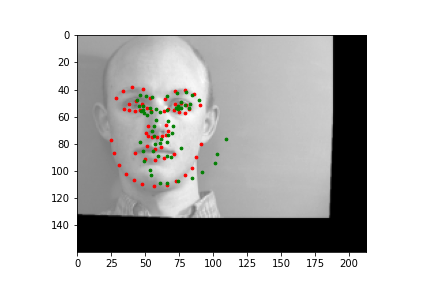
The output points are in green, the ground-truth points are in red
|
|
|
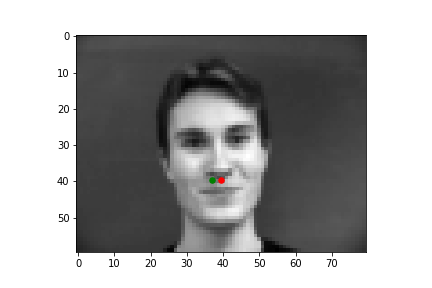
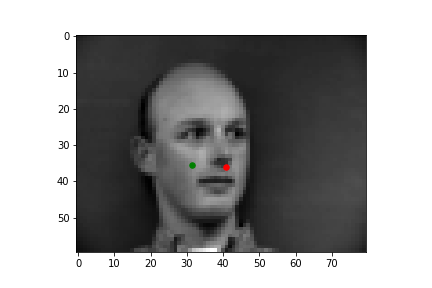
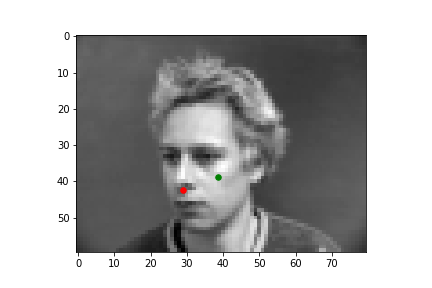
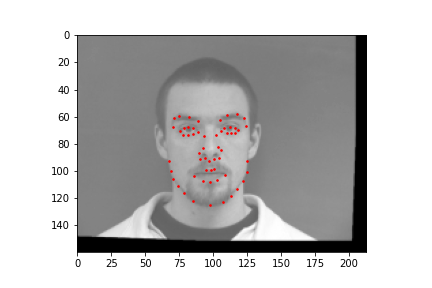
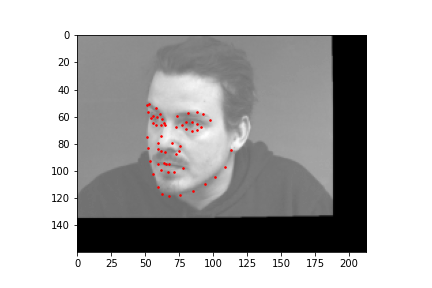
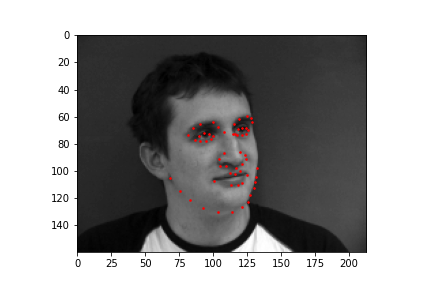
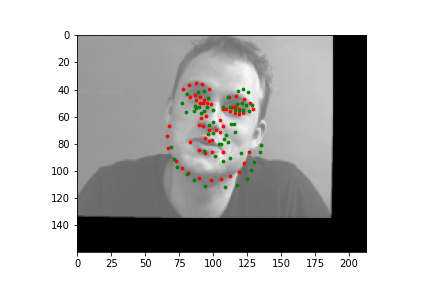
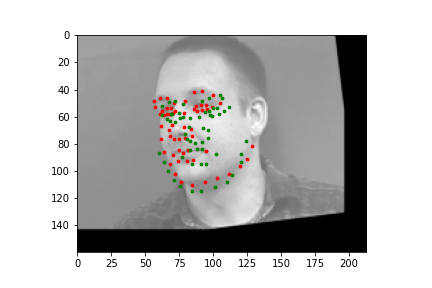
The output points are in green, the ground-truth points are in red
|
|
|
Because of how small our dataset is, our model is more likely to fail in situations where the nose is more obscure or could be confused by another similar shape. When the face is more straight on, and the nose is in a more visible position, the model is more accurate.
In this part, I used five convolutional layers and two fully connected layers for the architecture. I added a second group of data by augmenting my existing dataset; I randomly rotated each image by -10 to 10 degrees and translating by an offset of 0, 25, 50, 75, or 100. I trained the model for 20 epochs, using an Adam optimizer, and using a learning rate of 0.001.
|
|
|
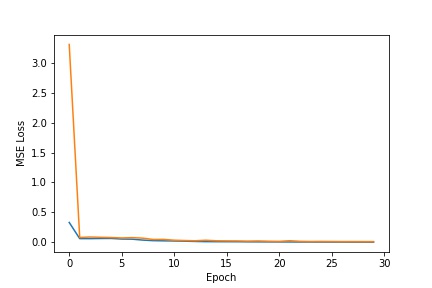
Validation Set is in Orange, Test Set is in Blue
|
|
|
|
|
|
Faces that stray further from an average face, are tilted a lot, or are less contrasted are more likely to be detected incorrectly. The more "visible" (head on, distinguishable orientations) a face is, the more likely the model is accurate.

First Convolution Layer Filters |
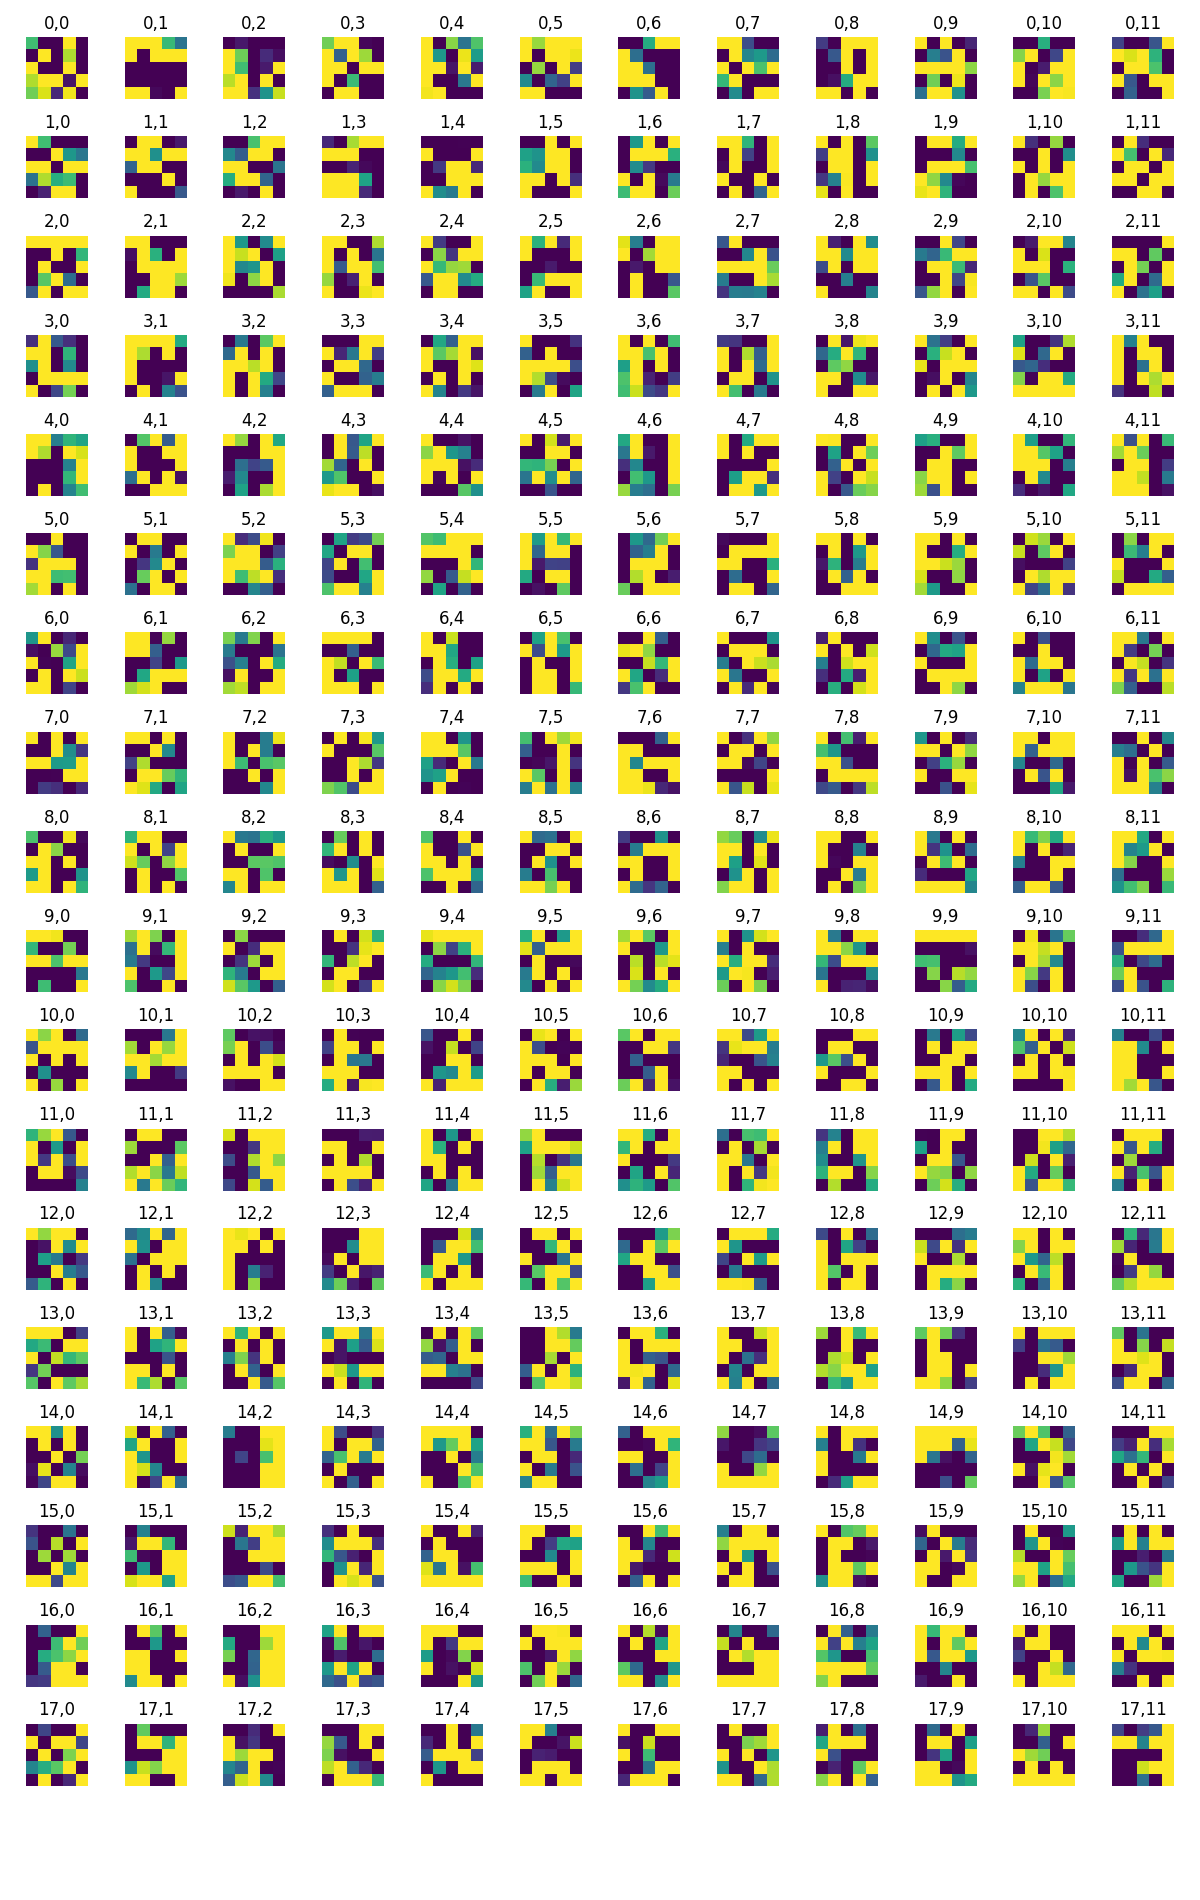
Second Convolution Layer Filters |
This was my first time working with Pytorch and Colab -- it was quite interesting!