The fourth project of this class required me to use neural networks in order to annotate faces with facial landmarks.
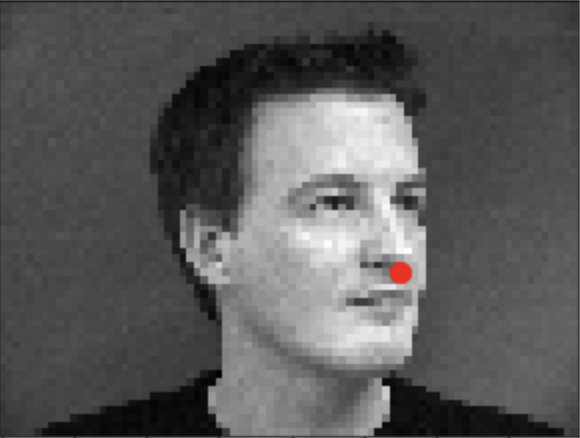
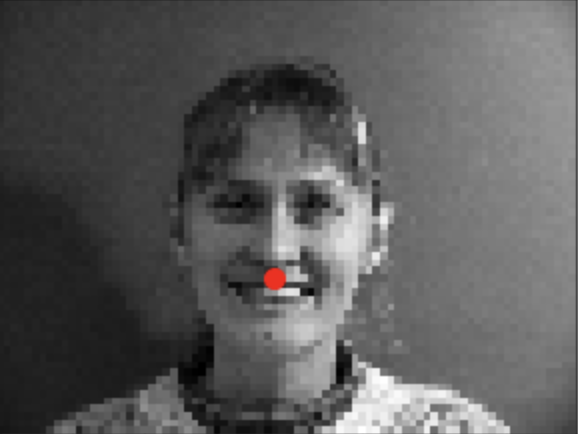
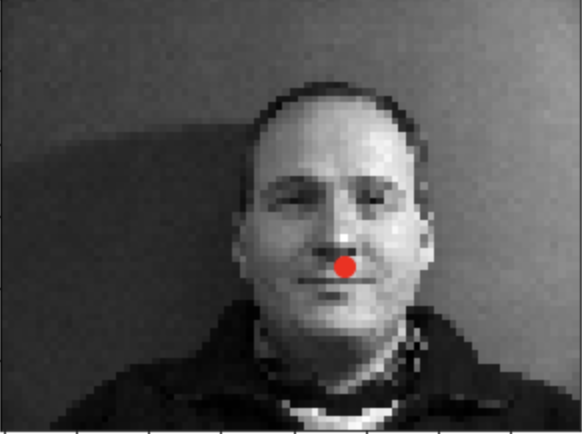
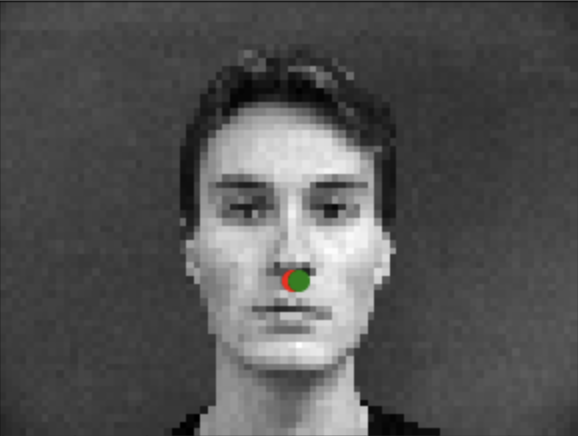
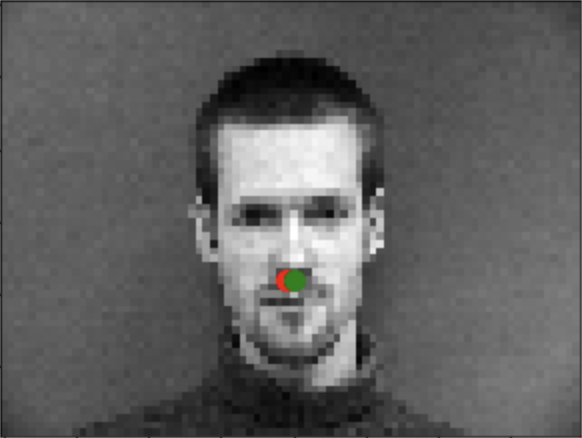
For the first part, we were tasked with developing a network that can detect the nose tip of each face image provided. First, I developed a custom Dataset and Dataloader which I used to load each image and corresponding nose x and y coordinate. Here is a sample of some images with the groundtruth nose point superimposed in red:
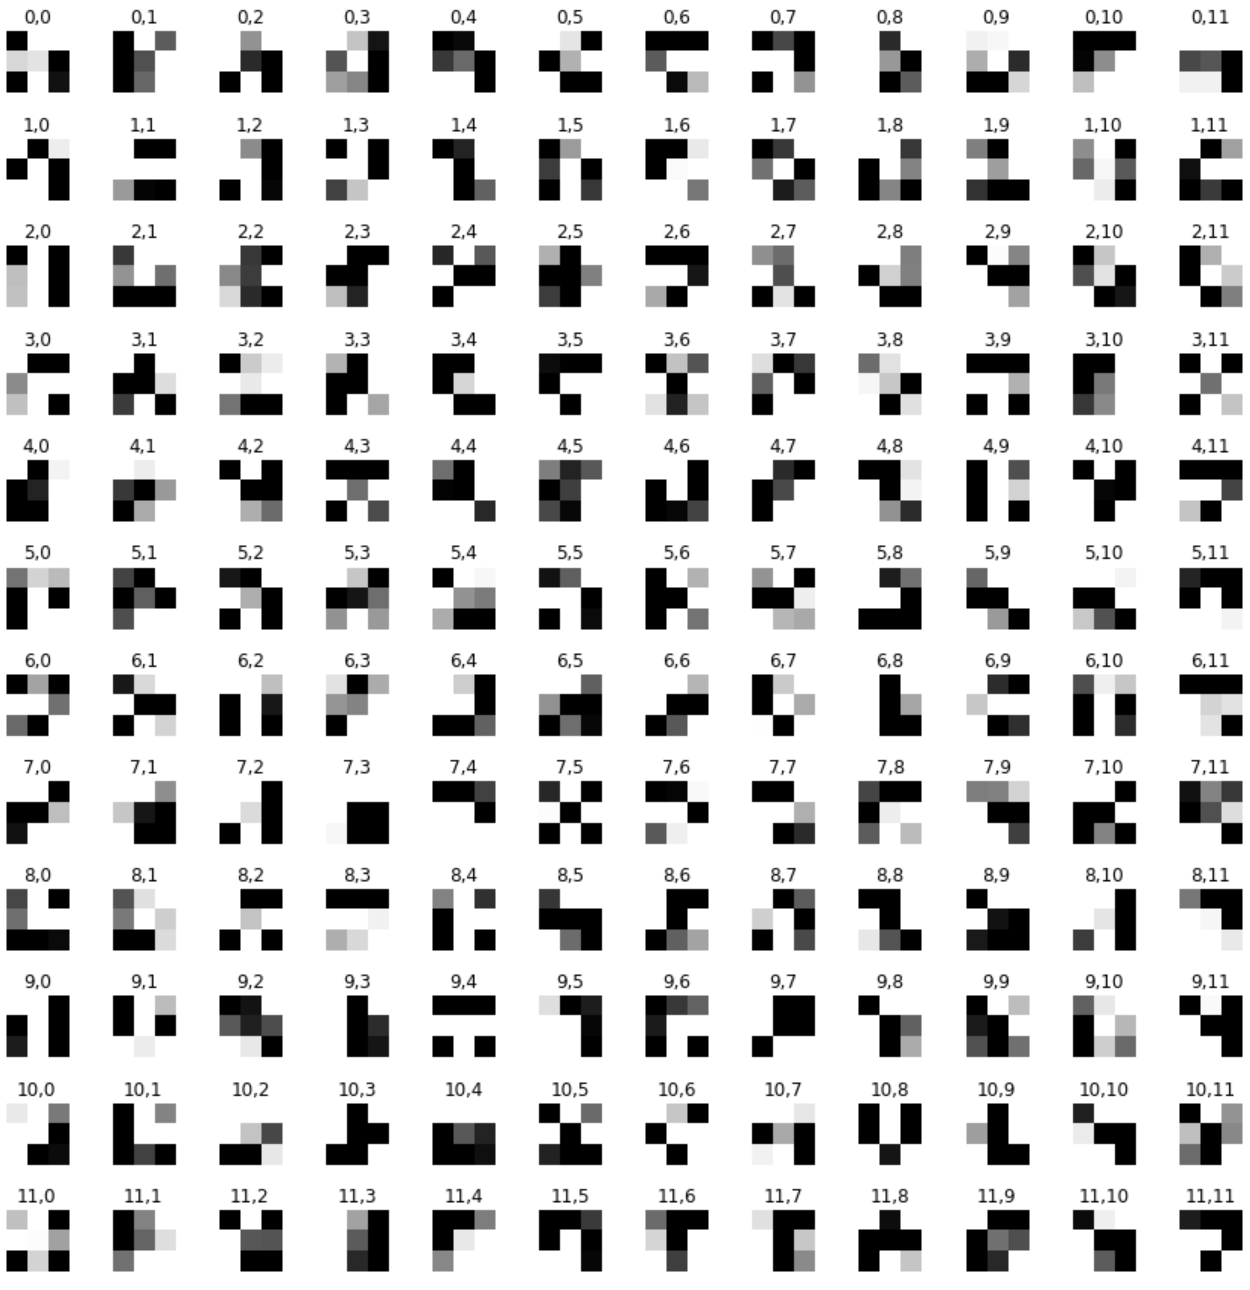
The network I created uses 3 convolutional layers. The first layer has a single input which is the image provided. The output sizes of the layers are 12, 12, and 24 respectively. After, I collapse the convolutional output and feed it into 2 fully connected linear layers. The second FC layer has an output size of 2 for the x,y coordinates of the predicted nose. In order to train the model, I used Adam optimization with MSE (Mean Squared Error) loss. I used a learning rate of 0.001 and 20 epochs where each epoch used batches of 4 training images per pass.
Net(
    (conv1): Conv2d(1, 12, kernel_size=(3, 3), stride=(1, 1))
    (conv2): Conv2d(12, 12, kernel_size=(3, 3), stride=(1, 1))
    (conv3): Conv2d(12, 12, kernel_size=(3, 3), stride=(1, 1))
    (fc1): Linear(in_features=480, out_features=84, bias=True)
    (fc2): Linear(in_features=84, out_features=2, bias=True)
)
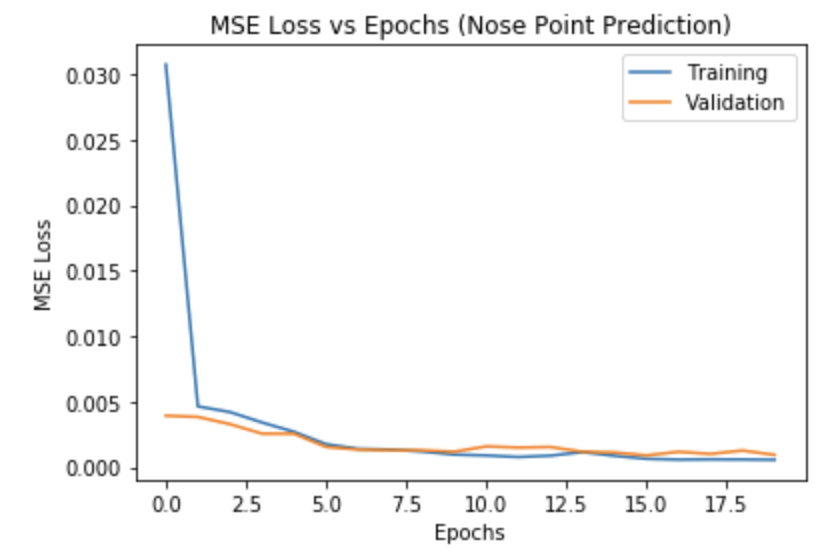
The validation curve is first calculated after the first batch of training images updates the network weights.
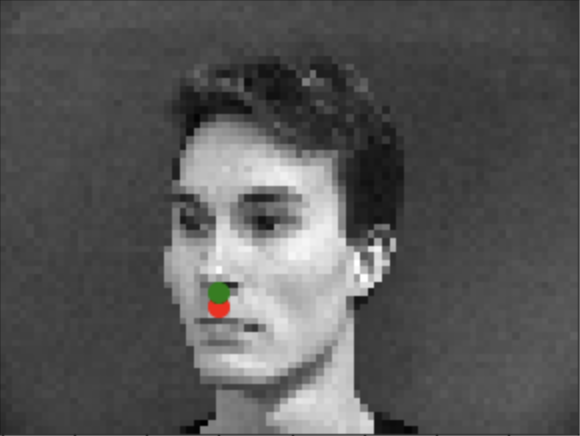
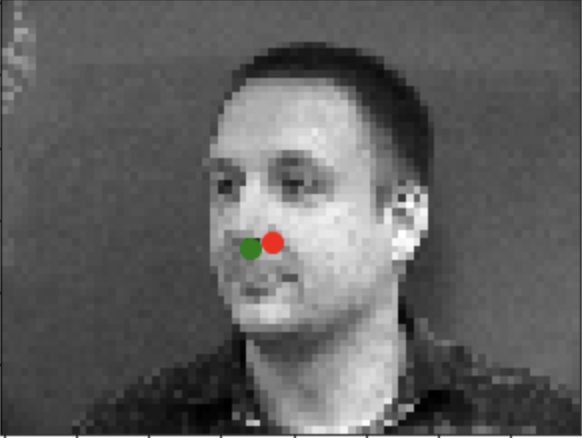
We see that the images that cause poor predictions are mostly those where the face is not centered. This is most likely due to the limited training data (192 images). Furthermore, only a small subset of those are training images with off-centered faces. As a result, the network provides more centered predictions even for off centered images.
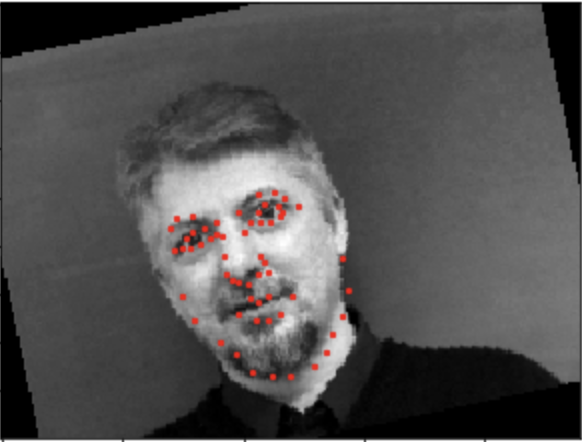
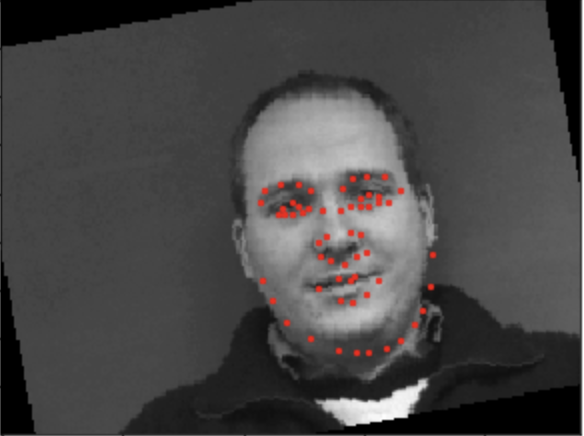
For this part, we were tasked with now predicting all 58 facial points in the same IMM data set. Just like the previous part, I implemented a custom Dataset class with the same functionality as the previous part. I transformed images so that the color in the photo randomly jitters and rotates by a random value from -15 to 15. This allows us to generate more traning points. In my case I generated 1000 training images:
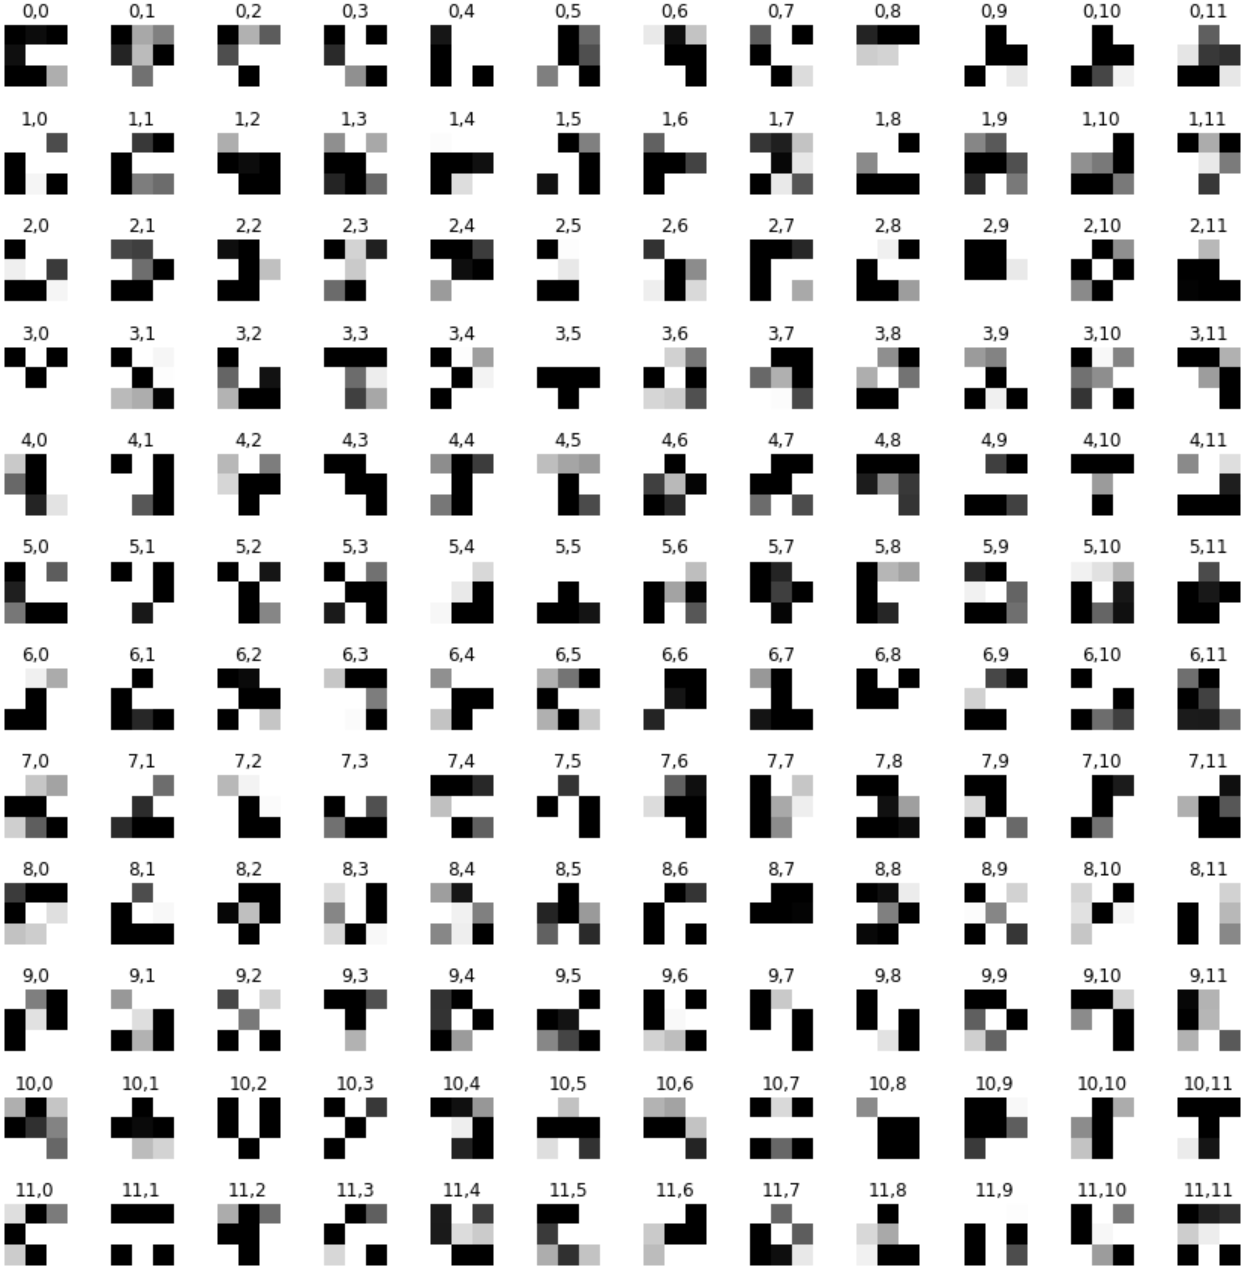
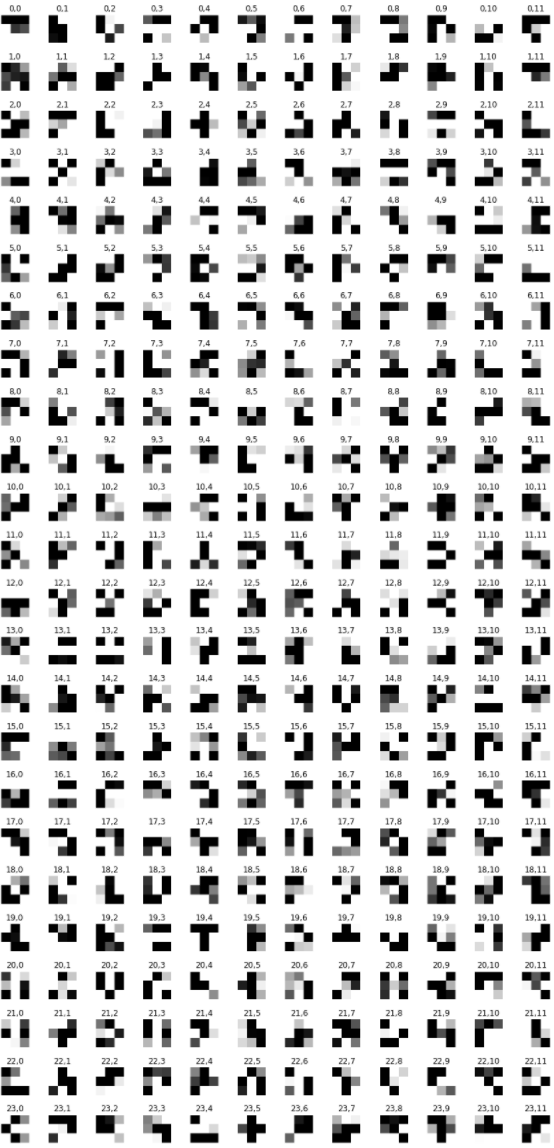
I developed a more complex neural network architecture. I used 5 convolutional layers followd by 2 fully connected layers. The first layer takes in a single input image. layer outputs: 12, 12, 12, 24, 24. I then flattened the output of the last convolutional layer and then used it as input into a linear fully connected layer. The second linear FC layer outputs 116 points since there are 58 points each with x and y component. I used a learning rate of 0.001 and 15 epochs. I also used a batch size of 4 for each iteration of an epoch.
AllFaceNet(
    (conv1): Conv2d(1, 12, kernel_size=(3, 3), stride=(1, 1))
    (conv2): Conv2d(12, 12, kernel_size=(3, 3), stride=(1, 1))
    (conv3): Conv2d(12, 12, kernel_size=(3, 3), stride=(1, 1))
    (conv4): Conv2d(12, 24, kernel_size=(3, 3), stride=(1, 1))
    (conv5): Conv2d(24, 24, kernel_size=(3, 3), stride=(1, 1))
    (fc1): Linear(in_features=360, out_features=232, bias=True)
    (fc2): Linear(in_features=232, out_features=116, bias=True)
)
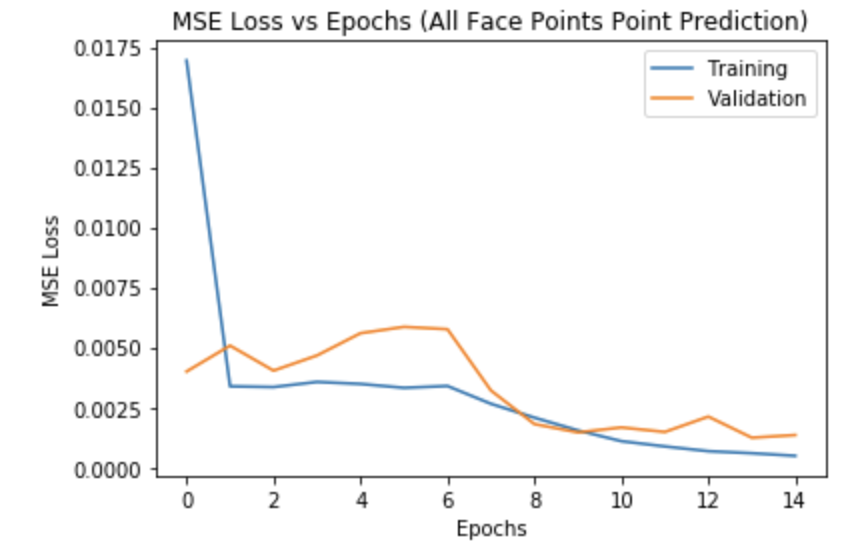
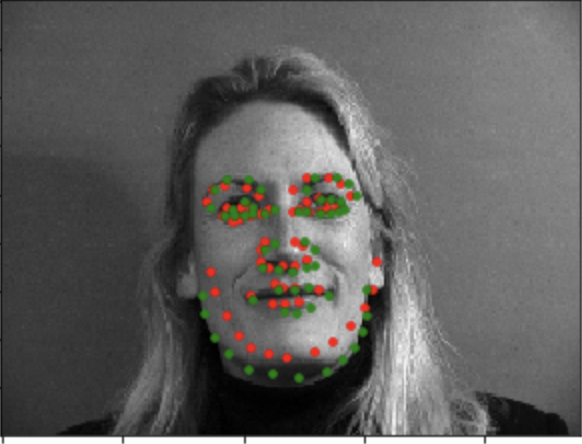
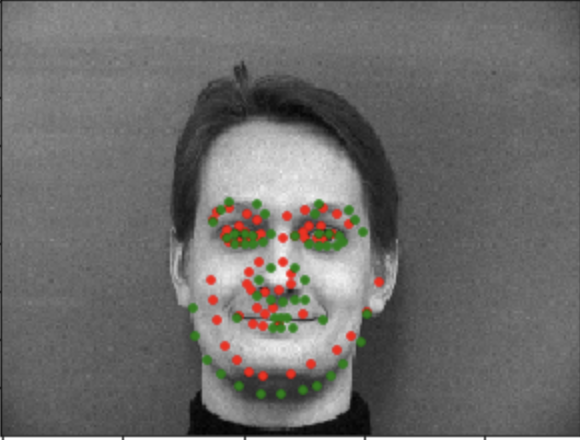
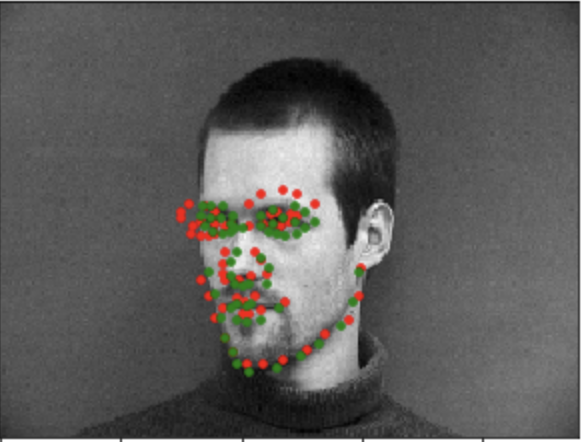
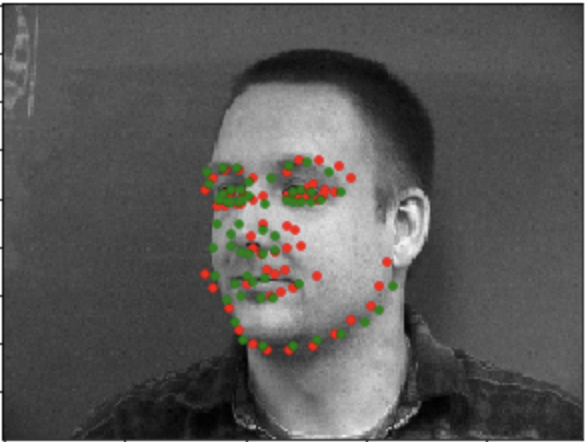
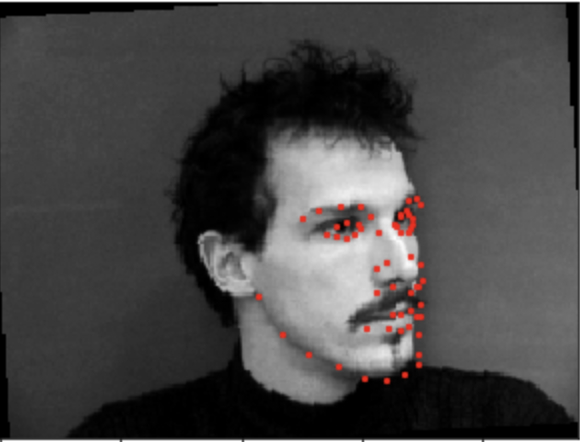
The model does decently well but it once again struggles with side profiled images as we can see with the bottom images. The sparsity of side images in the dataset remains since I created new training points with same underlying distribution of the provided dataset.

In this part, I used the i_bug dataset to generate a much more robust and accurate model which can take any image of a face.
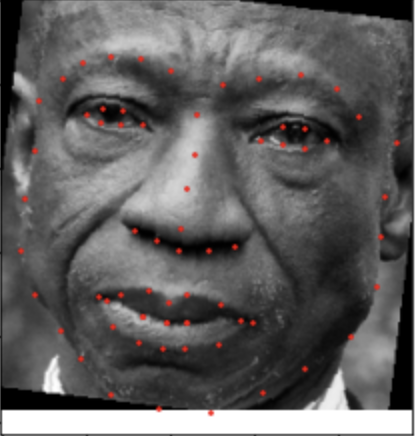
I used the Resnet18 model for the network. I altered the first layer so that it has 1 input channel for the single channel input image. I also changed the output channel size of the last layer to 136 since there are 68 output points. I trained using the MSE Loss and Adam optimization. I used 20 epochs and learning rate of 0.001. I also used batch size of 4.
Kaggle Score: 13.62127

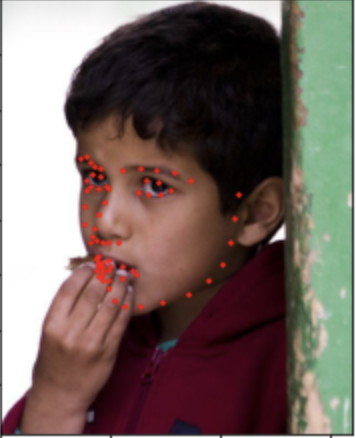
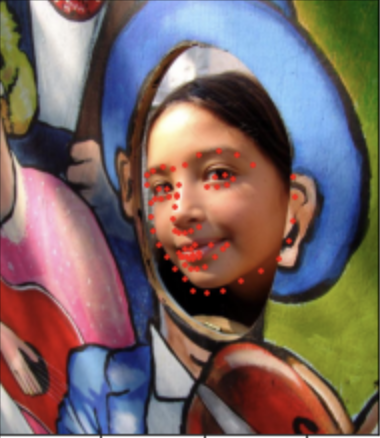
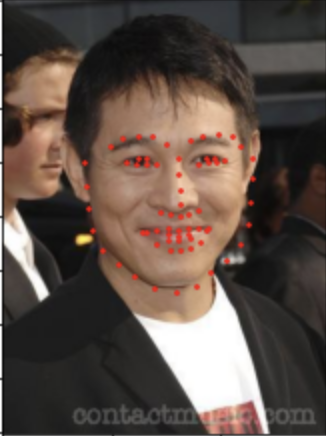
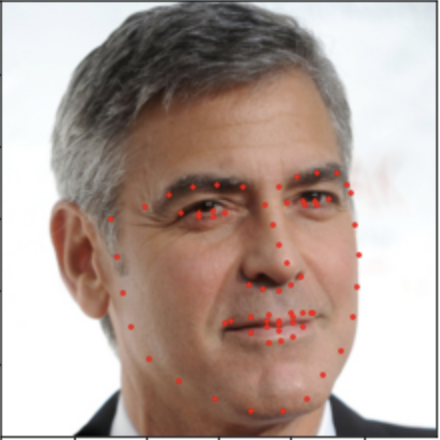
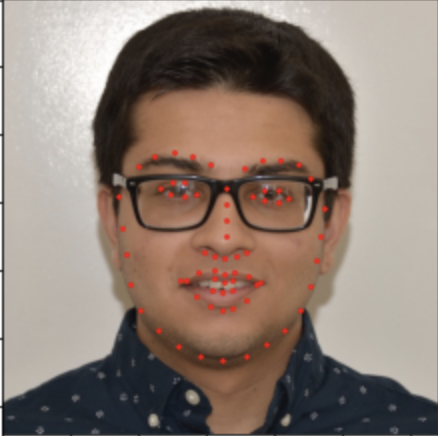
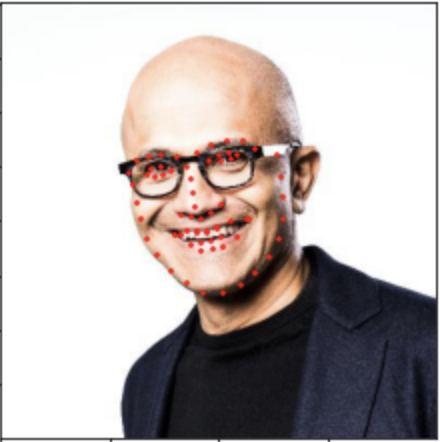
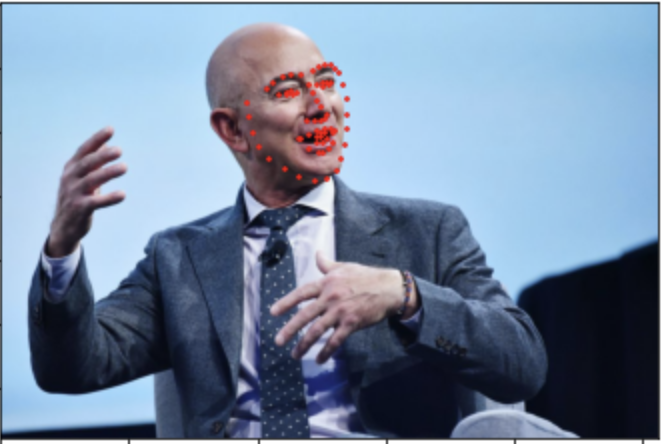
Overall, the network does a pretty great job annotating the facial points even with different facial angles and color exposures. The one picture it did not annotate well was the last picture with Jeff Bezos. The facial outline in particular is not well defined. I believe the angle of Bezo's face is novel and thus throwing off the network.