Facial Keypoint Detection with Neural Networks
CS 194-26 Project 4 Fall 2020
Glenn Wysen
Nose Tip Detection
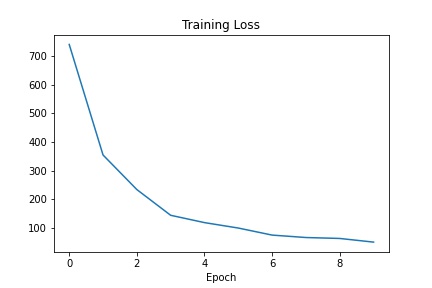
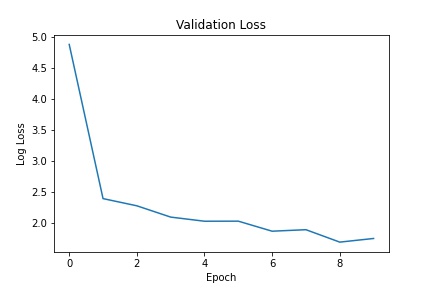
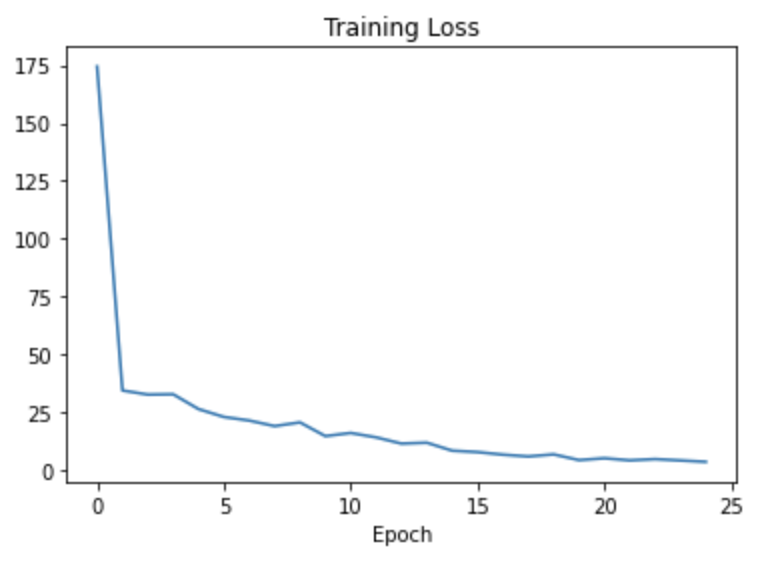
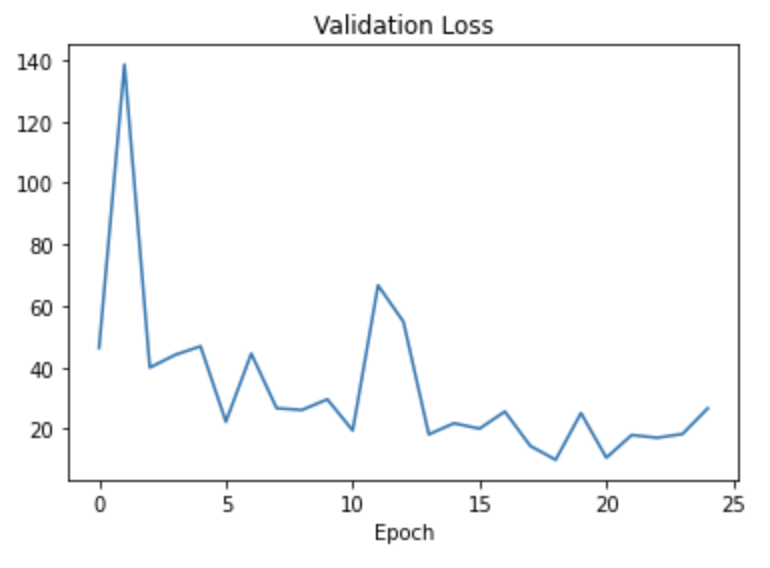
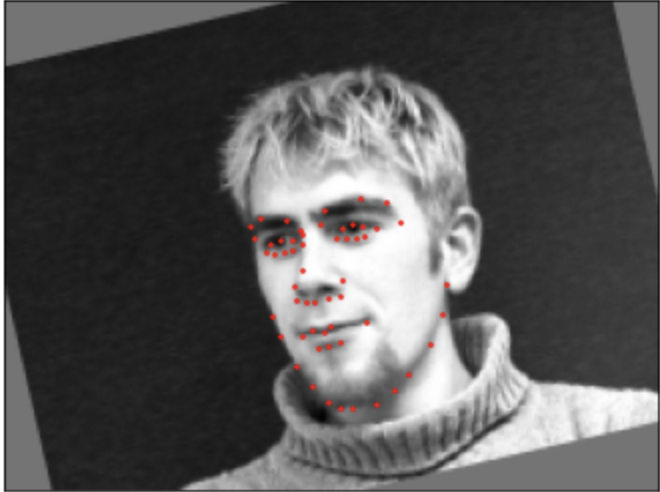
The first step towards building a full facial keypoint neural network was to start with just the nose point. A dataset from the IMM Face Database was loaded into a dataloader with a 1 element array for each image representing the x, y coordinates of the nose (Fig. 2). During each training run (epoch) I recorded the total training loss and the validation loss (plotted in Fig. 3 and Fig. 4 respectively).
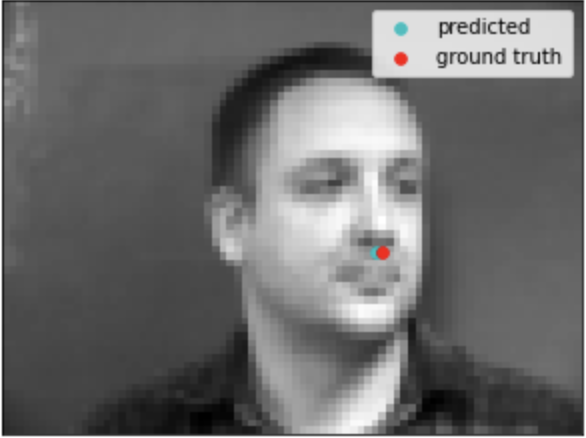
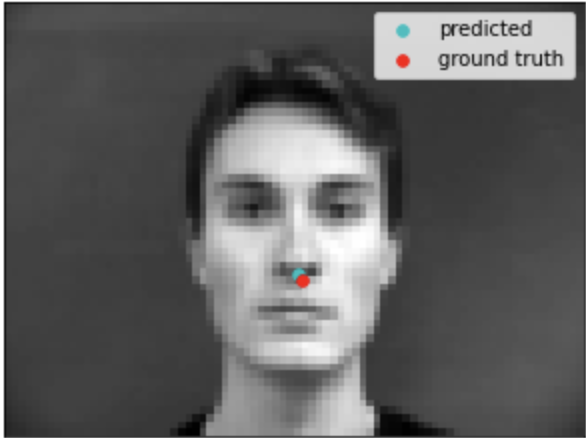
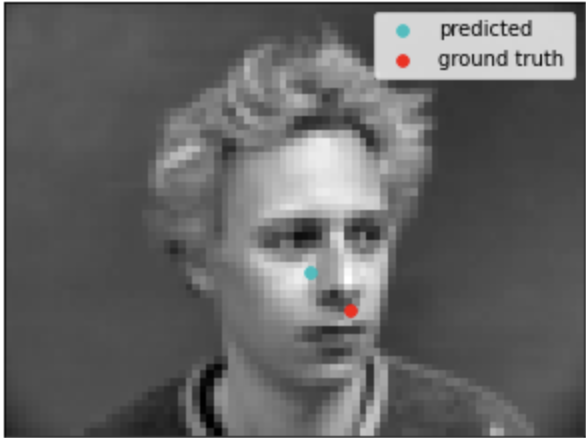
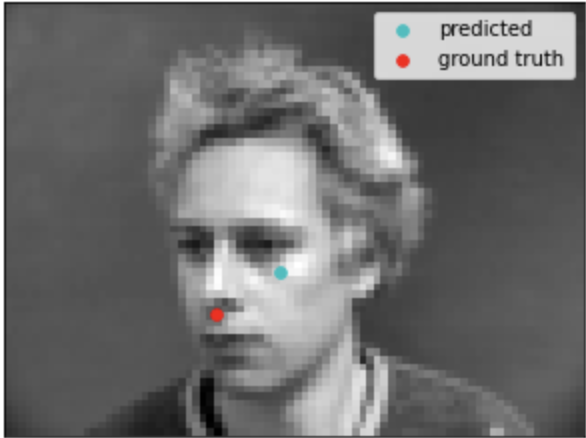
After the model was trained, most results looked good (Fig. 5 and Fig. 6), however some were not as accurate (Fig. 7 and Fig. 8). I think that the network is bad at recognizing faces when they are less like the 'mean' face of a population or they are turned or rotated slightly.

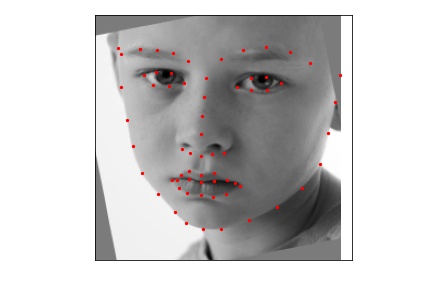
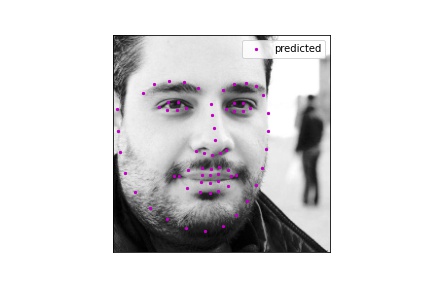
Full Facial Keypoint Detection
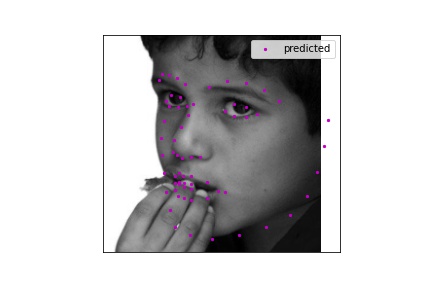
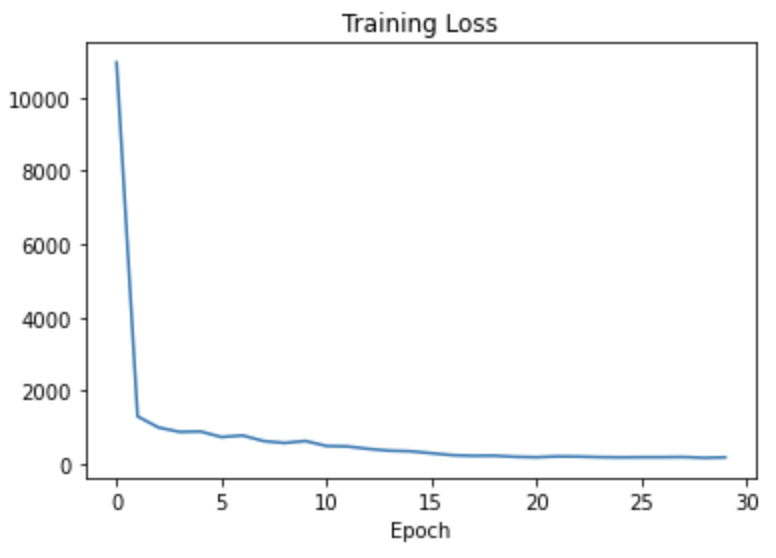
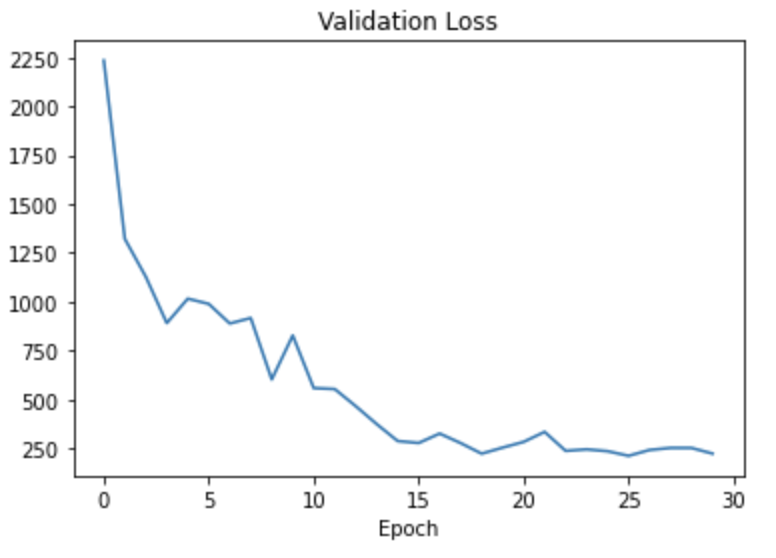
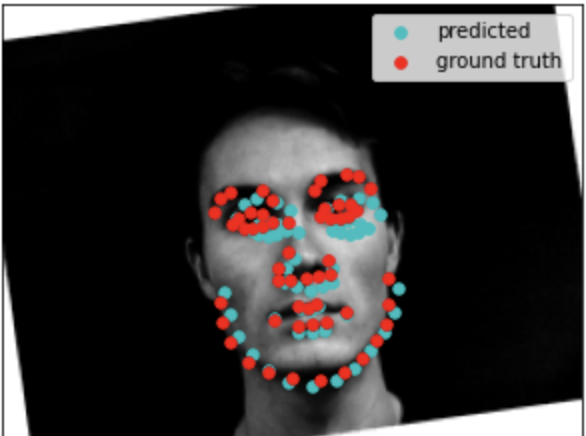
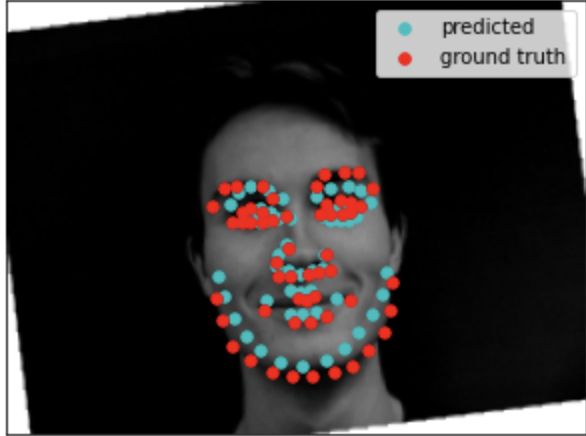
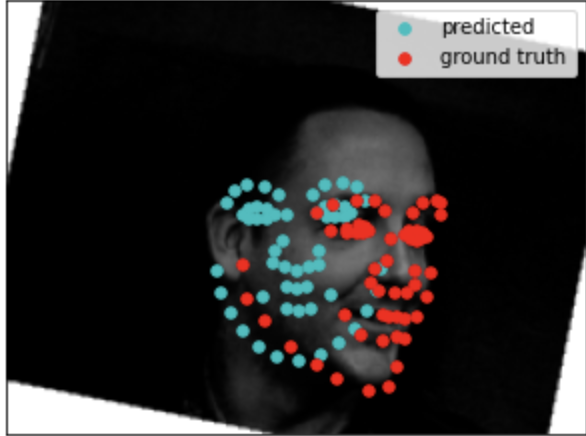
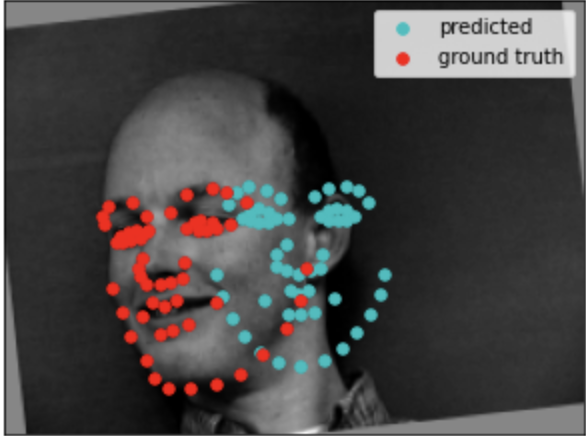
After creating the nose neural network, the job of creating the face neural network was quite simple. The only changes were to increase the layers and change some parameters. The results of Loss Function data (Fig. 10 and Fig. 11) ended up looking like a similar shape and the loaded points had some success (Fig. 12 and Fig. 13) as well as some failures (Fig. 14 and Fig. 15).
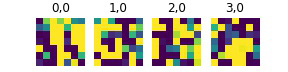
Additionally displayed below are some of the filters from the first convolution layer. For the learning rate of the network I used 0.0001
Training With a Larger Dataset
The next step in this project was to get a larger dataset and train a network on that. I used the provided dataset of 6666 facial images to train the next network (using the ResNet18 CNN model). A few random cropped and resized images that were used to train the network along with their ground truth keypoints are shown in Fig. 17 and Fig. 18.
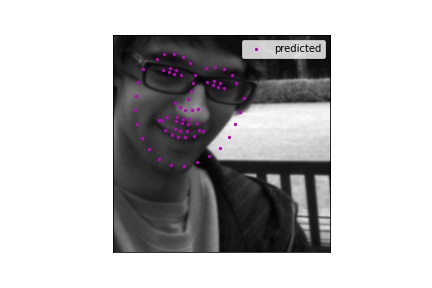
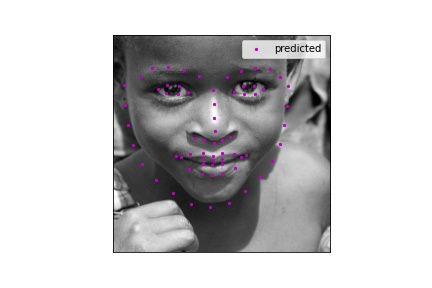
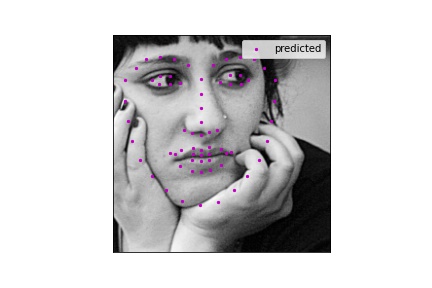
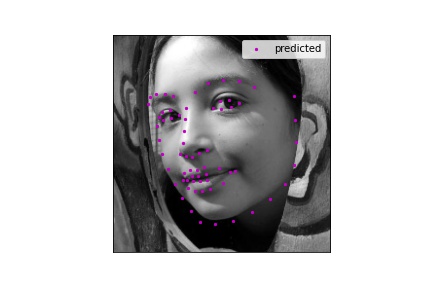
The mean absolute error that I got was 11.50054. The learning rate I used in my model was 0.0002 and besides changing the first layer to account for the greyscaling of the images, I used the default ResNet18 model. The training loss and validation loss plots are shown below in Fig. 19 and Fig. 20. The validation loss plot uses a log scale on the y-axis because the first validation loss was orders of magnitude higher than all of the others. Lastly, a handful of predicted facial points from the class competition set are shown in the final figures below.