CS 194-26: Fall 2020
Project 4:
Facial Keypoint Detection with Neural Networks
Megan Lee
Part 1: Nose Tip Detection
In this part, I trained a model for nose tip detection.
Dataloader
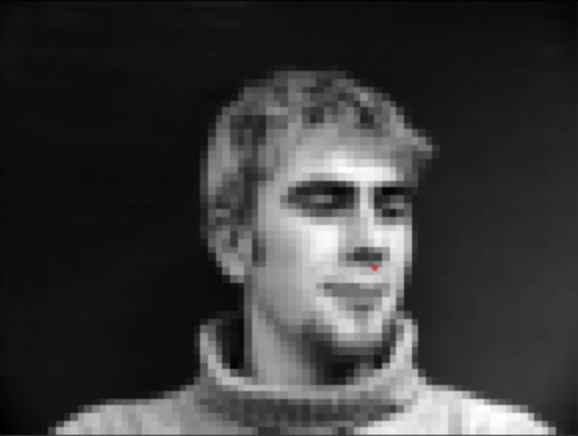
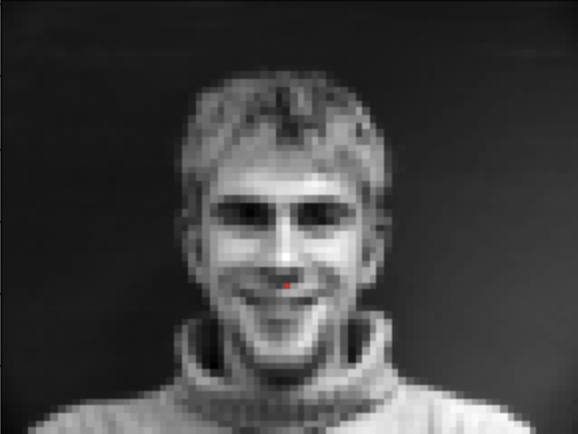
First, I developed a Dataset and Dataloader taken from the IMM Database. Below
are a few sampled images from the dataloader, displayed with their corresponding
defined nose keypoints.
CNN
My convolution neural network has 3 convolutional layers, and each one is followed by a
ReLU followed by a maxpool. Lastly, it is followed by 2 fully connected layers. The
specifications are show below. As for the loss and optimizer, I chose to use a MSE Loss
and the torch.optim.Adam Adam optimizer with learning rate = 0.001.

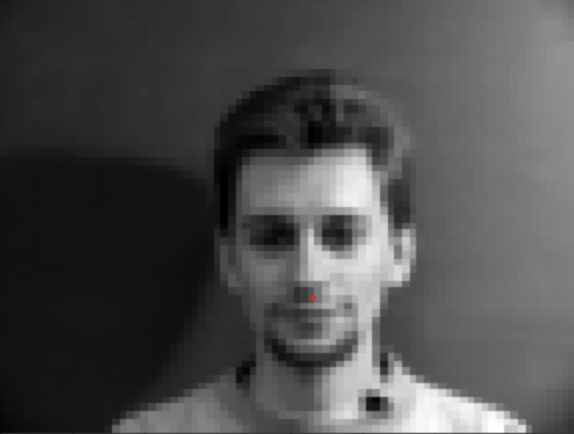
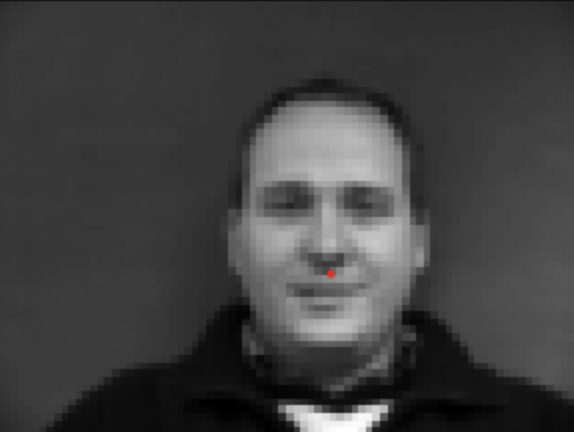
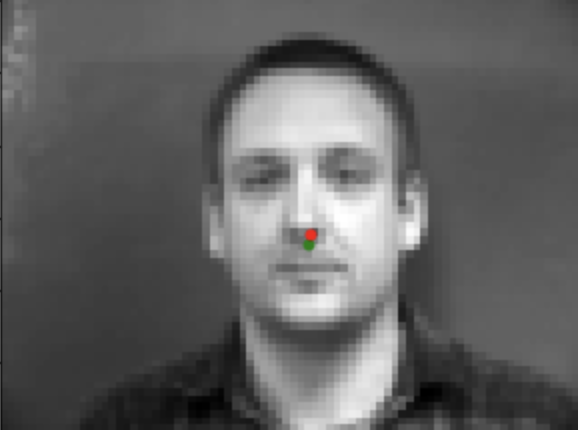
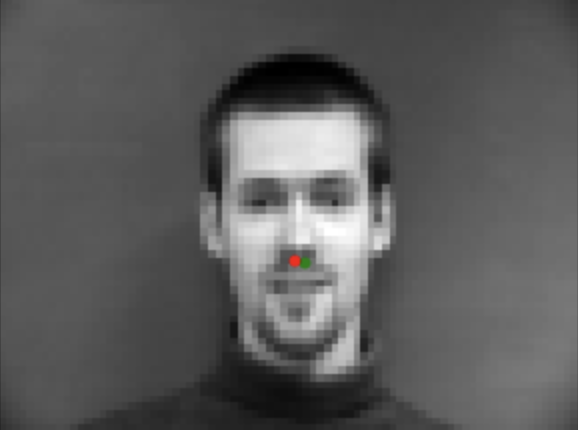
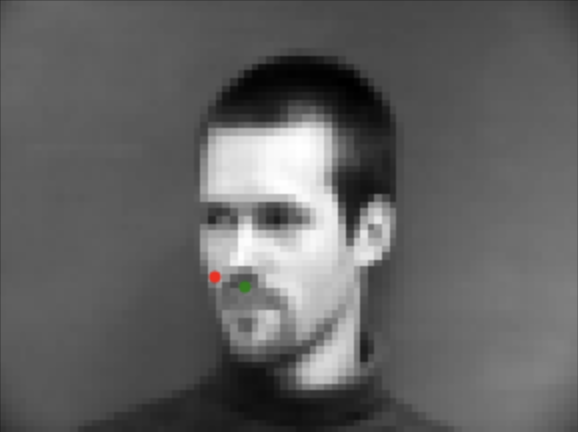
The following images are show the outputs from my model. The green points are the ground truth annotations and the red points are the predictions. While there were some successes (showcased on the top row), there were also some failures (showcased on the bottom row). The failures are due to multiple factors, such as the training data set not being large enough, and also the model not generalizing well for photos taken of faces in different angles and various rotations of the face. Since there were more photos taken of faces straight on than from the side, the model was a little more consistent for the straight-on photos as shown in the top row.

Part 2: Full Facial Keypoints Detection
Just the nose points wasn't enough - now we're moving forward to detect all 58 face points/landmarks.
Since the dataset is small, we performed data augmentation to avoid overfitting. Some examples of data augmentation
include color jittering, rotating the photos, shifting the photos, flipping the photos, changing up the
color scale, and more. I tried both color jittering (changing the brightness), rotating the photo,
and flipping the photo. In some case, such as flipping the photo vertically, my model actually turned out
worse because it is rare to see an upside down human face. After playing around with it,
I settled on rotating the photos randomly between -10 and 10 degrees.
Dataset and Dataloader
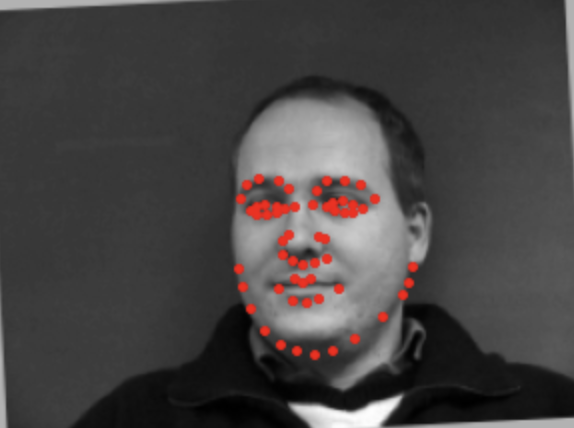
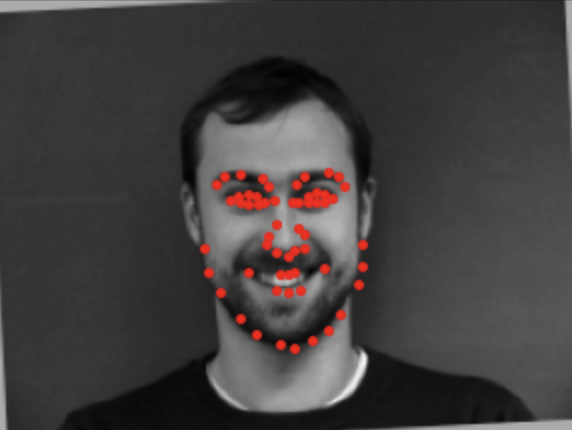
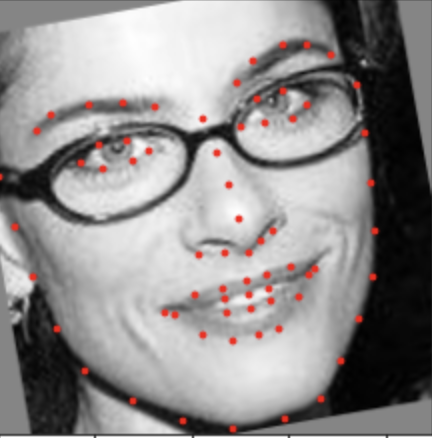
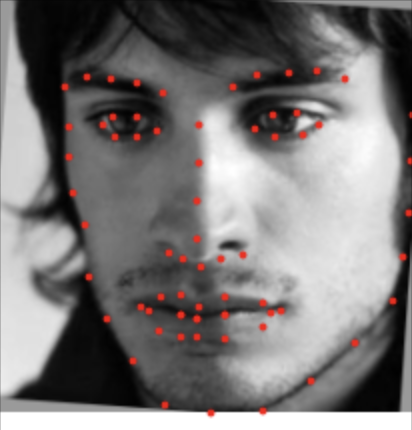
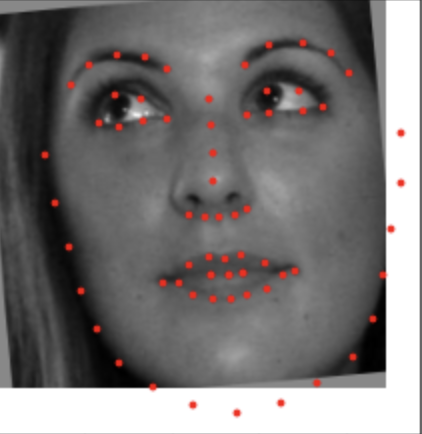
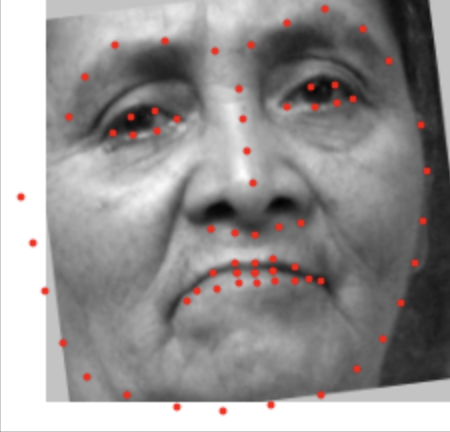
First, let's take a look at some sample pictures with ground-truth landmarks.

Model Architecture
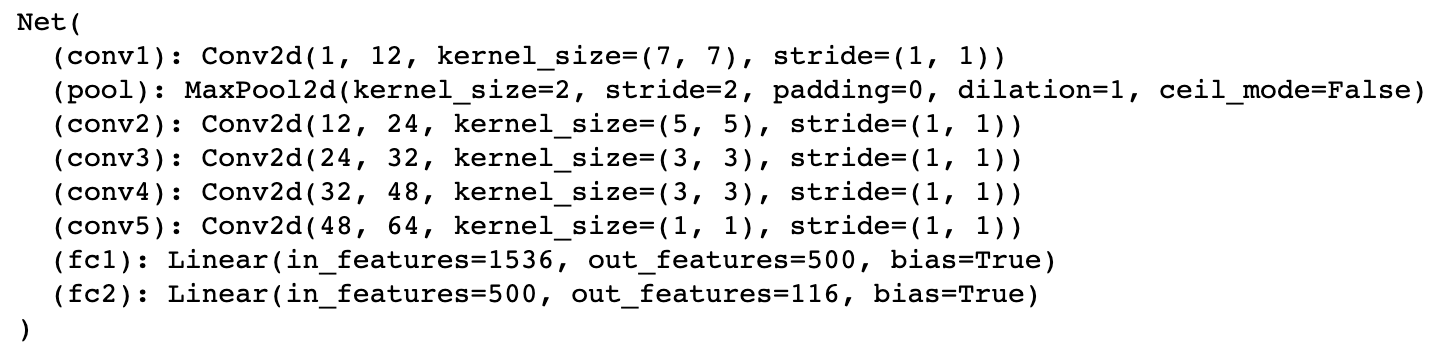
I created a slightly more complex CNN this time. This convolution neural network has 5 convolutional layers, each one is followed by a
ReLU followed by a maxpool. Exact paramenters used for the CNN are shown below.
I used the following hyperparameters for training:batch size = 1, shuffle = False, num_workers = 0.
I used MSE Loss for loss, an Adam optimizer with learning rate = 0.001, and trained for 25 epochs.
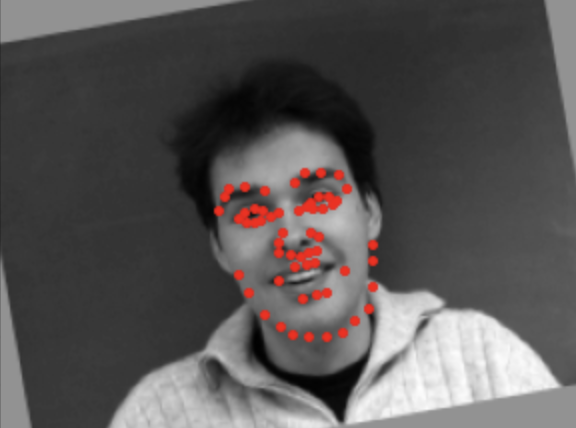
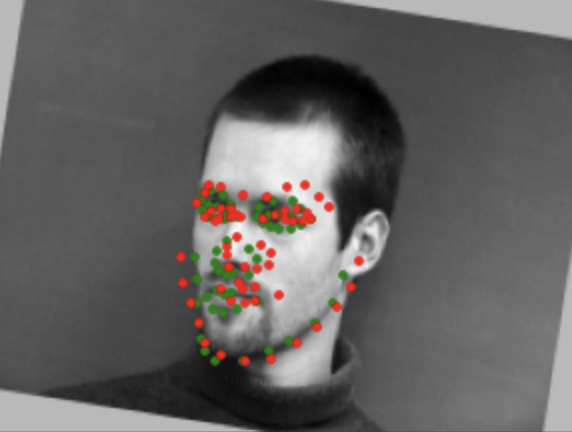
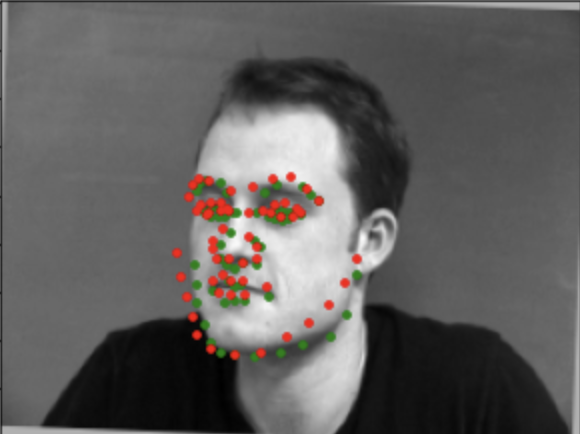
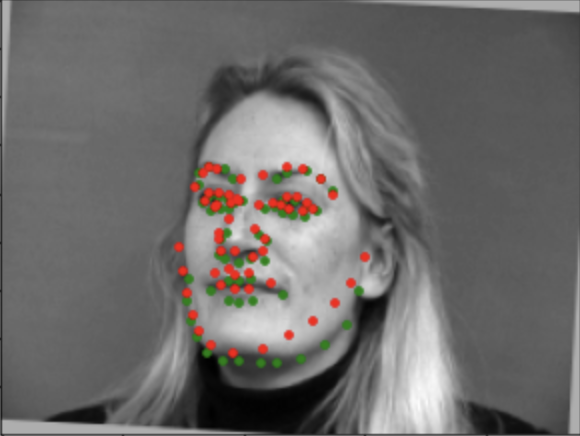
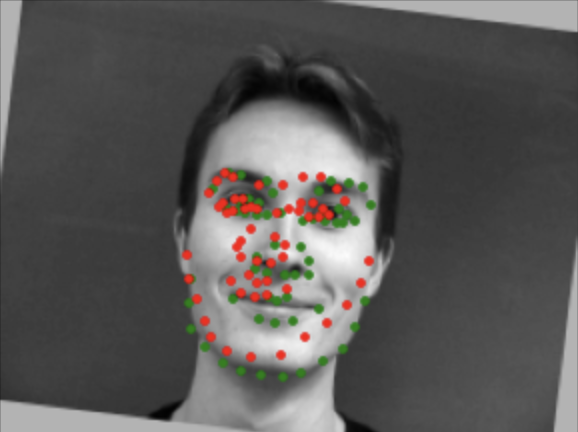
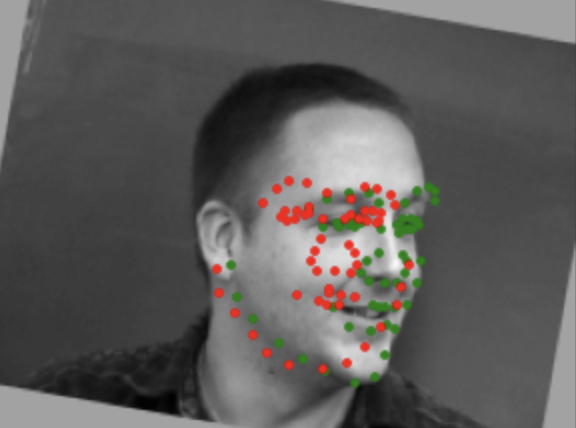
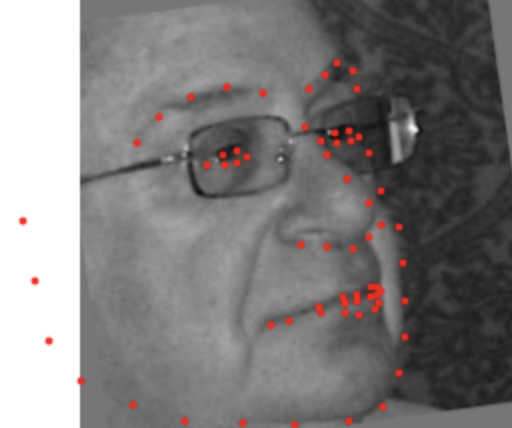
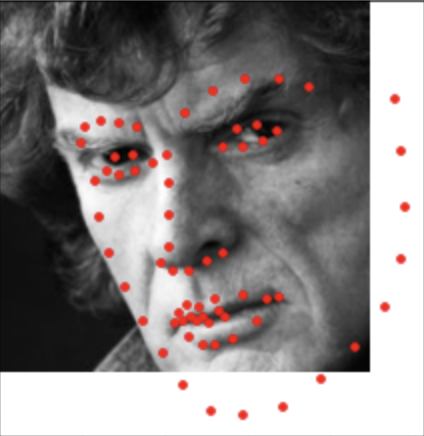
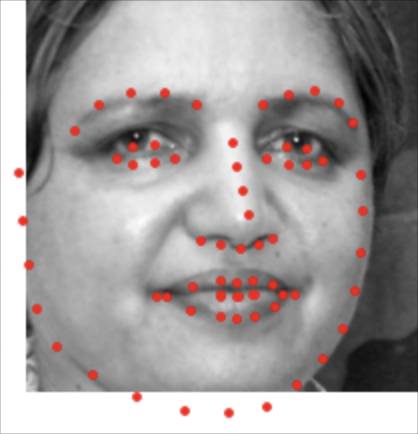
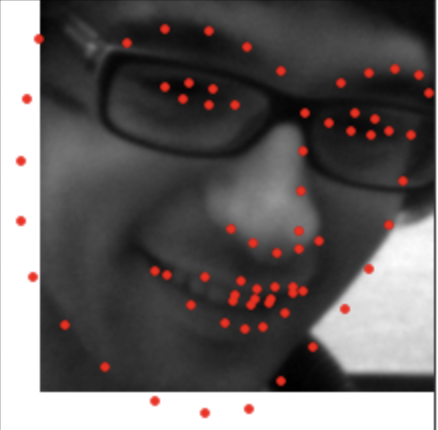
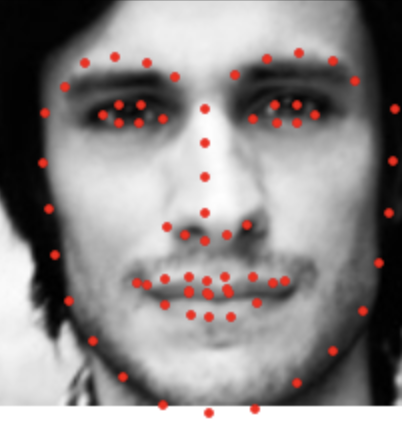
The following images are show the outputs from my model. The green points are the ground truth annotations and the red points are the predictions. The top 3 photos show 3 of my successful results; my results were generally pretty close to the ground truth. The bottom 3 photos show 3 failed results. Again, the data set is still too small to be able to accurately predict most faces. While a lot of these photos are taken with the person looking off to the side, it's hard to control the exact angle of it and as we can see in the bottom right photo, the man is turned significantly more than the other turned photos. These inconsistencies combined with a lack of photos resulted in improper classification of points. In addition, I noticed that my model classified points of people turned to the left particularly well. It's possible that there was a bit of overfitting happening here as well.

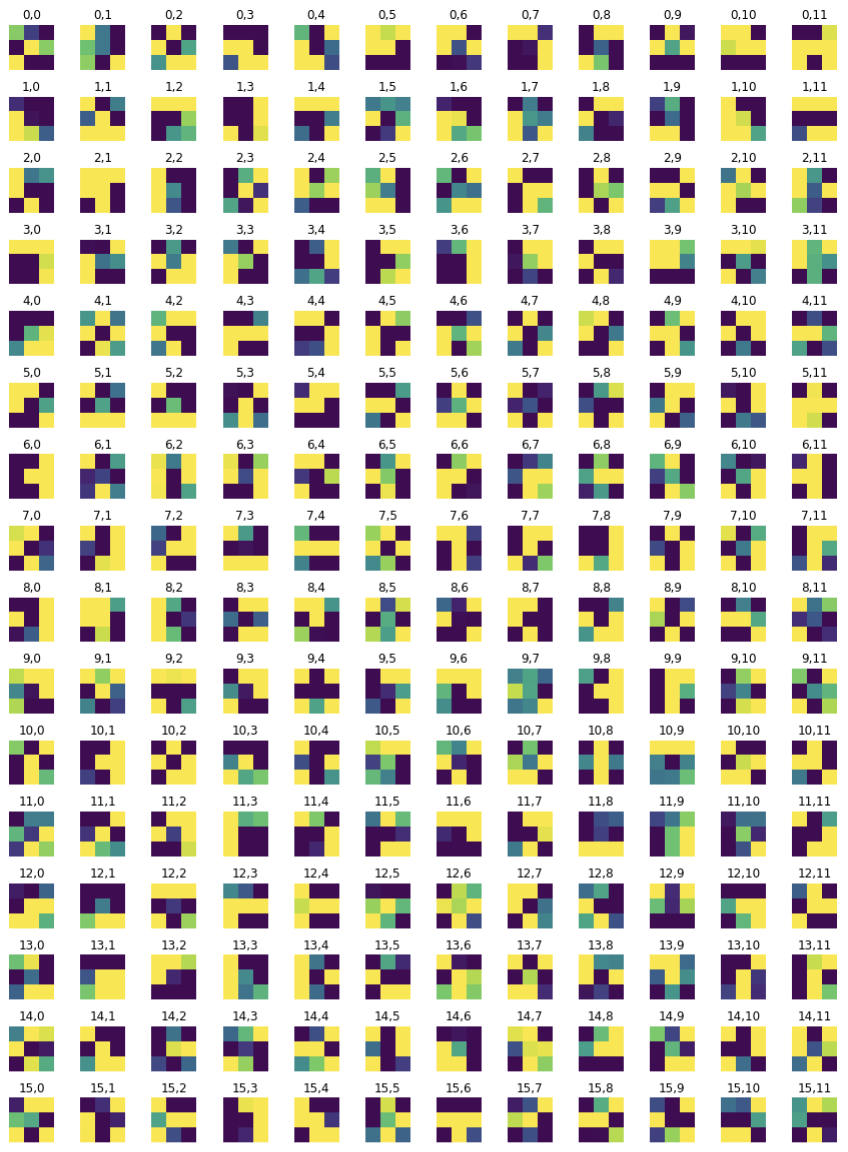
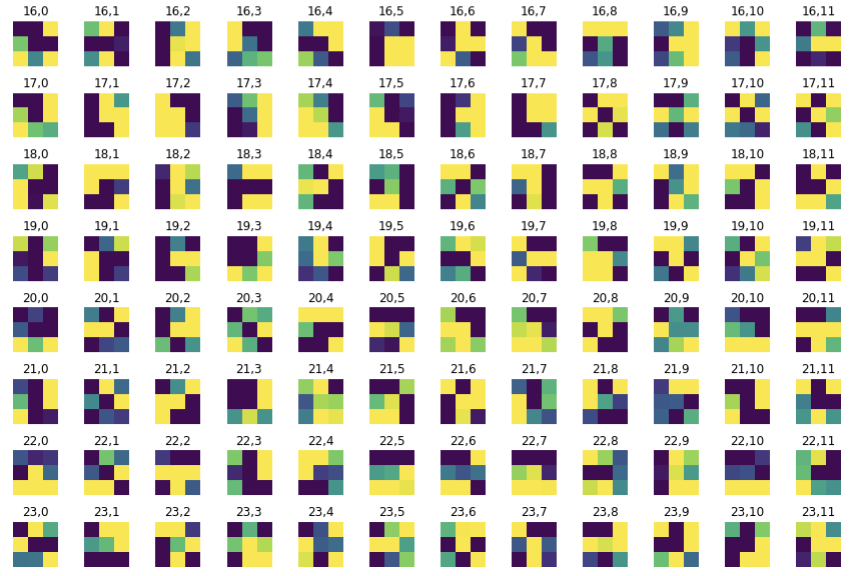
Visualizing the Learned Filters
Layer 0

Layer 1
Part 3: Train With Larger Dataset
For this part, we will use a larger dataset, specifically the ibug face in the wild
dataset for training a facial keypoints detector. This dataset contains 6666
images of varying image sizes, and each image has 68 annotated facial keypoints. I cropped
each image by their bounding boxes to reduce the background of each image, and augmented the
data to avoid overfitting with a similar method as I did in part 2, randomly rotating each image
between -10 and 10 degrees.
Below are some examples of the sample images in my dataloader with their ground truth keypoints.

Model Architecture
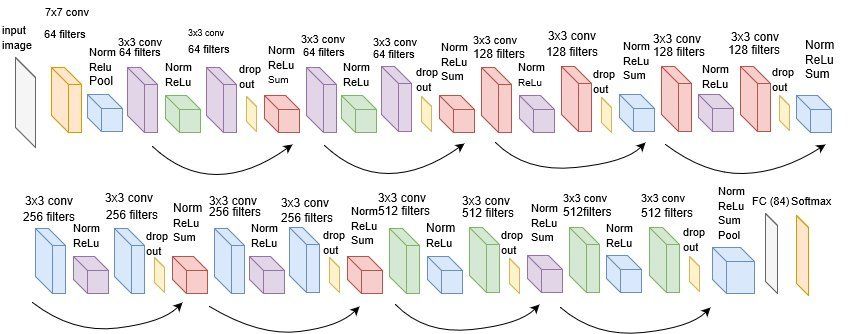
This time, I used a premade ResNet18 model. The specifications for this model are visualized below. I made a few
minor edits to make the premade model work with my dataset. First, since we used grayscale images which only have one channel
as opposed to 3 color channels, I changed the input channel to 1. For the last layer, I changed the output channel to
136 since there are 68 landmarks and 68*2 total points.
I trained this model with the following hyperparameters: epochs = 10, batch size = 1,
num_workers = 4, learning rate = 0.0001. I used MSE Loss to calculate loss and the Adam optimizer.
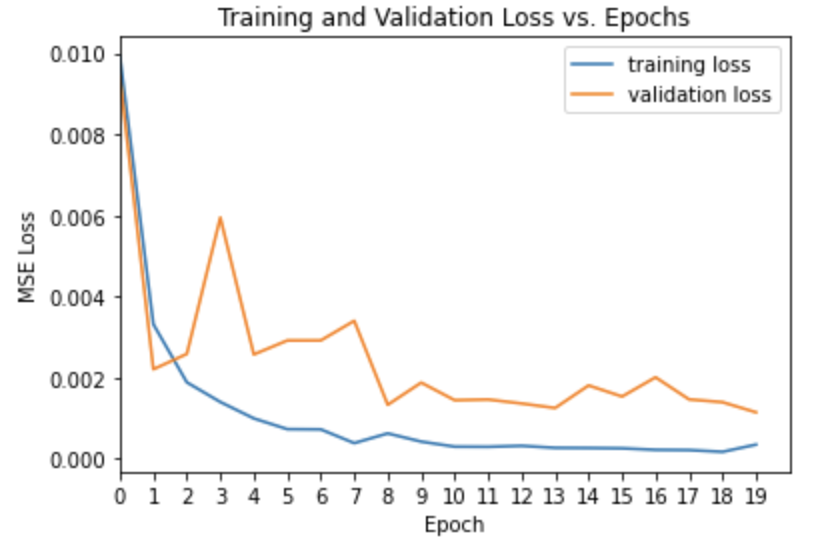
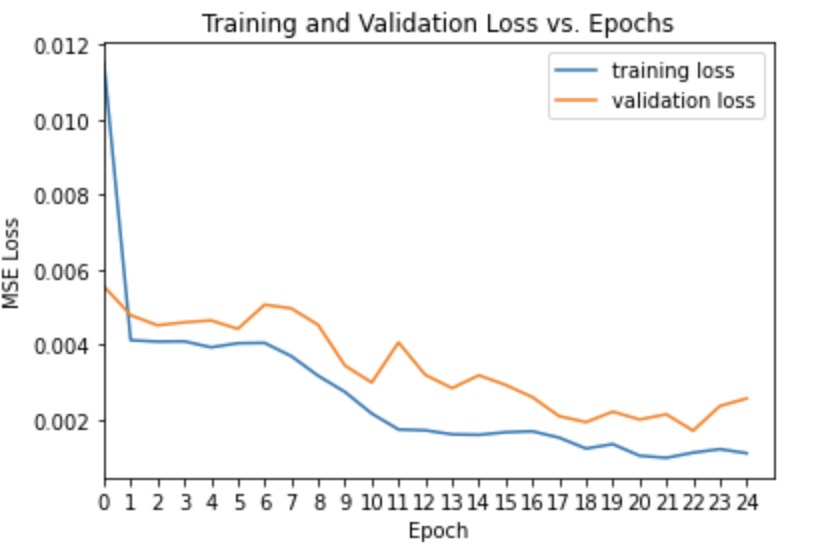
The training loss and validation loss per epoch are shown below. Since I chose a batch size of 1, the model took an extremely long time to run per epoch. Reaching around 30-45 minutes per epoch! This was not enjoyable at all and I recommend choosing a larger batch size. I knew that too large a batch size leads to poor generalizations, but I may have taken this a bit too far. If I were to retrain my model, I would definitely do it with a larger batch size for speed.
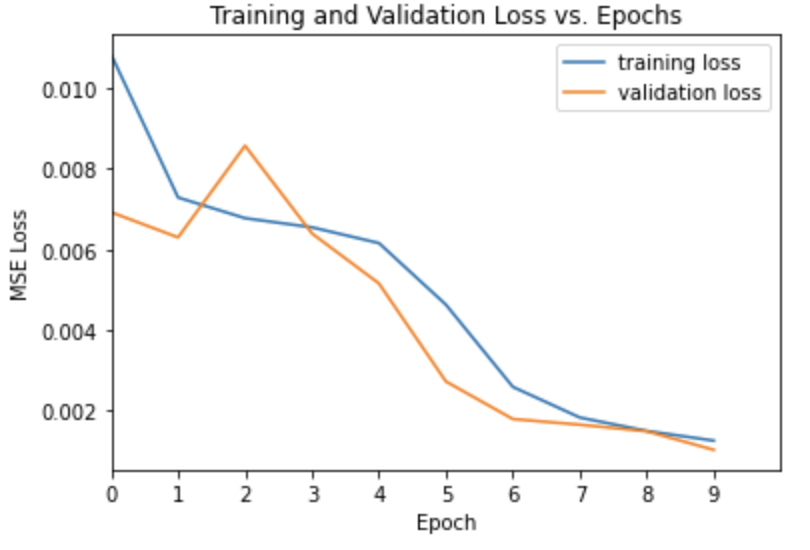
Training and Validation loss across iterations
Visualizations on the Test Set
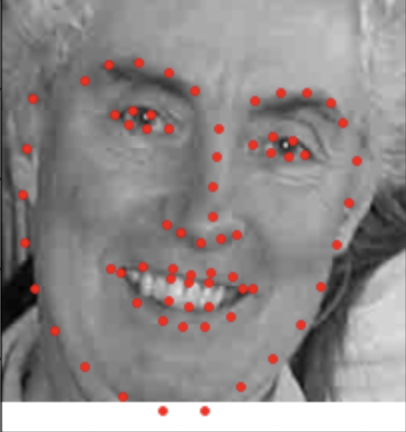
My model performed pretty well on the test set (well as per my expectations)! As you can see, it's signifcantly better than the models I trained in part 1 and part 2 because there were signifcantly more images to train on.
Mean Absolute Error
My model has a mean absolute error of 10.33925.
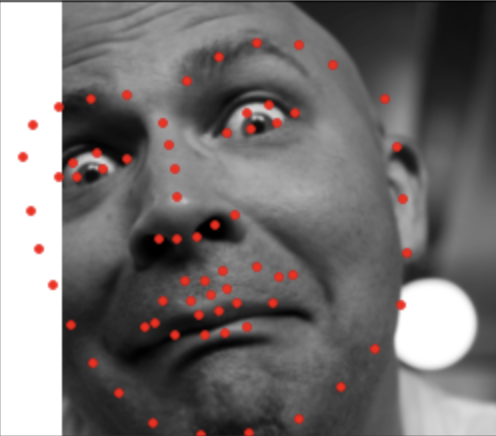
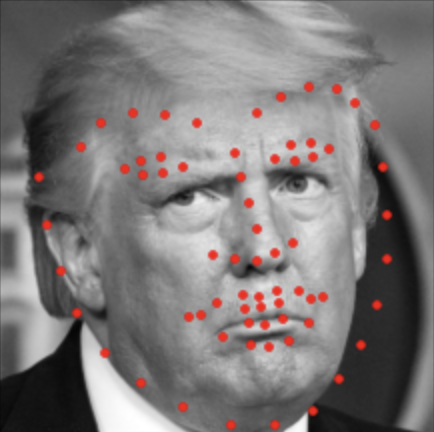
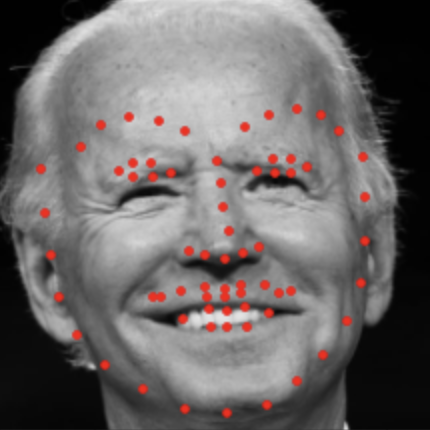
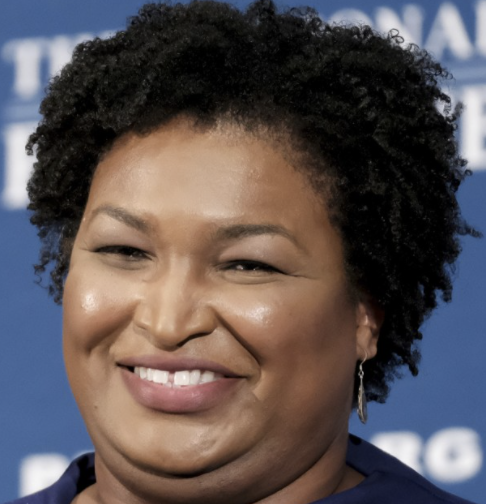
Testing on my own images
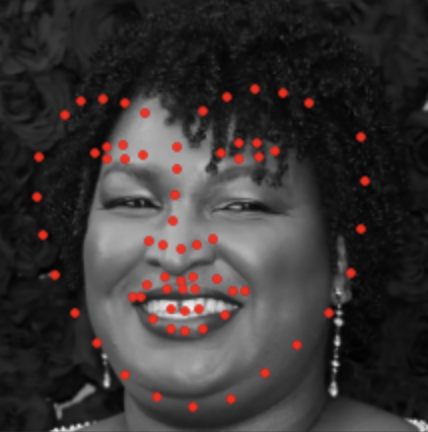
In honor of the 2020 presidential election, let's use my model on some familiar faces from the election! My model seems to
be a bit overfitted to the train set. Images that are really close up and taken from an angle, similar to the photo I chose of
congresswoman Alexandria Ocasio-Cortez (AOC), get relatevely accurate predictions.
My model is able to pretty accurately
get the points from AOC's face. It struggles
with Trump, Biden, and Stacey's face. It particularly struggles with Stacey's face - this might be because of the
predominately lighter-skinned racial makeup of the training set.


Final Thoughts
Overall, my takeway from this project is that ML is incredibly powerful. I went from manually picking out facial landmarks, slowly and painstakingly (taking 1-5mins!), to being able to predict pretty accurate facial landmarks within seconds. We're in possession of a lot of power with this, and it made me realize how careful we need to be with our training set and methodology when creating ML models. It's very easy to introduce bias uintentionally, whether it is in age, race, or another factor. With ML having the power to automate many processes in our future, it's essential that we are cognizant and careful with it!