CS 194-26 Project 4: Facial Keypoint Detection with Neural Networks
Catherine Lu, Fall 2020
Overview
In this project, I used convolutional neural networks to automatically detect keypoints on faces. I started by just detecting a single nose keypoint with a small dataset. Then, I augmented the dataset with various transformations, including color jitter, rotations, and translations, to create a larger dataset in order to detect full face keypoints. Finally, I used Google Colab to work with a larger dataset in order to detect keypoints on faces of different sizes.
Part 1: Nose Tip Detection
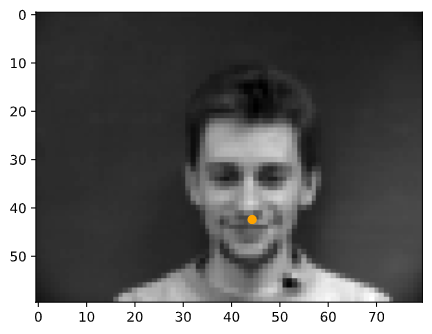
Using a dataset of 240 facial images of 40 people with different viewpoints and expressions, I wrote a custom dataloader to load the images and keypoints. Here are some of images with the ground truth nose-tip keypoint.

|
|
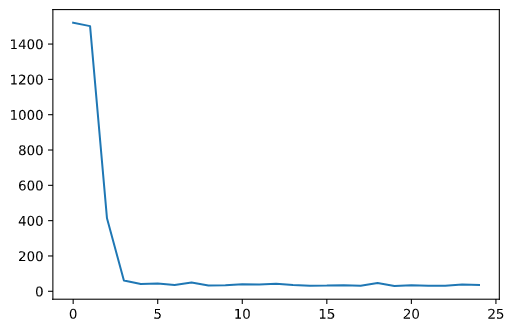
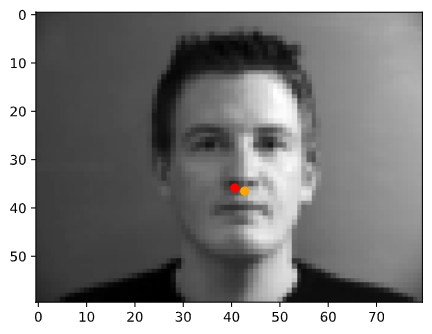
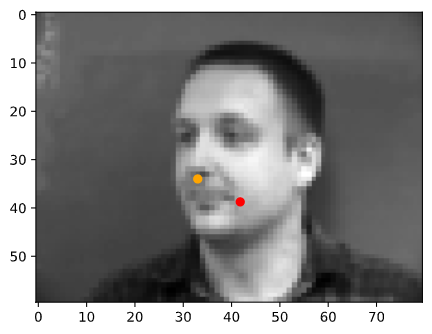
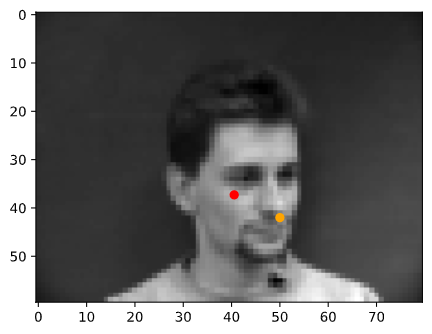
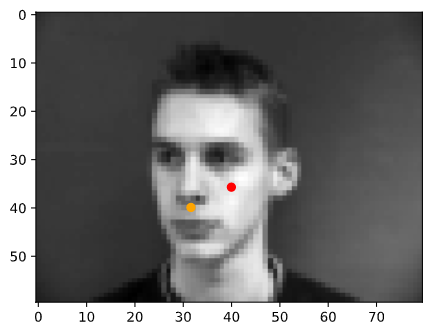
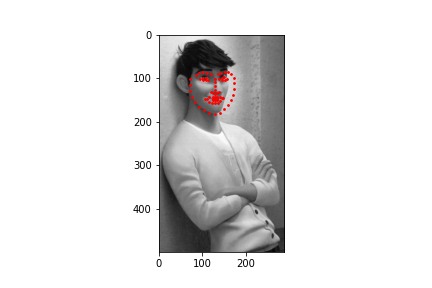
Using this data, I trained a convolutional neural network to detect the nose tip keypoints. Below are some of my results.

|
|
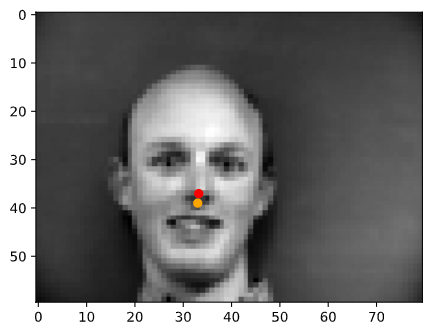
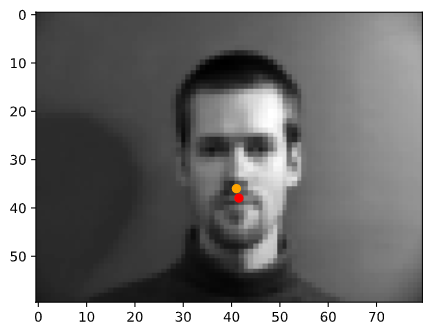
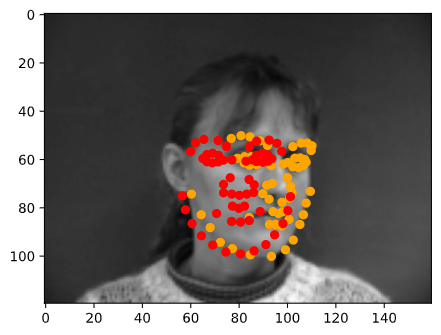
In the following images, the orange points are the ground truth keypoints and the red points are the predicted keyoints
|
|
|
|
|
|
From these results, we can see observe that the neural network does much better on faces that straight rather than turned to the side. This may be due to having less side-facing images than front-facing images in the training data.
Part 2: Full Facial Keypoints Detection
In this part, I edited the dataloader to support transformation of the data in order to augment the dataset. I used three different transformations, color jitter, rotation, and translation, that were applied randomly. For the rotation and translation transformations I also needed to compute the transformation matrix in order to apply this to the keypoints. Here are some of the origianl and augmented images and keypoints.
|
|
|
For the architecture of my neural net, I used five convolution layers each followed by a max pool and ReLu
activation. These convolution layers were followed by two fully connected layers. The convolution layers
started with one input channel, because I was passing in grayscale images, and the following layers had
numbers of channels ranging from 12 to 40 increasing from each layer to the next. The final fully connected
layer had an output channel number of 116 because there were 58 keypoints with x- and y-coordinates.
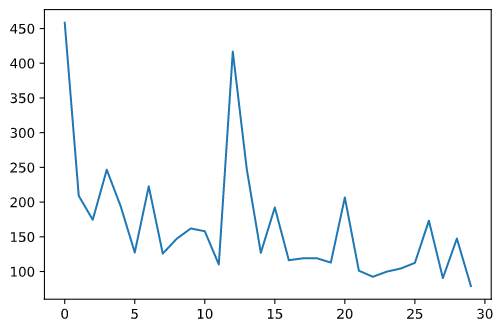
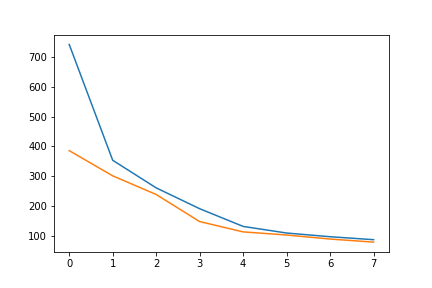
For learning rate while training the model, I used a rate of 0.01. I trained my model for 30 epochs.
Below are the results for my model.

|
|
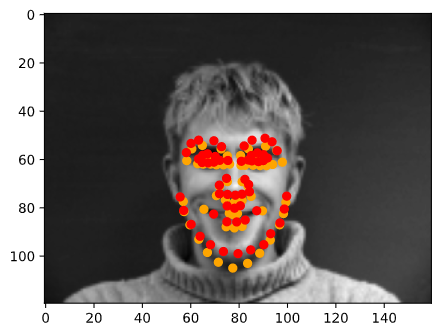
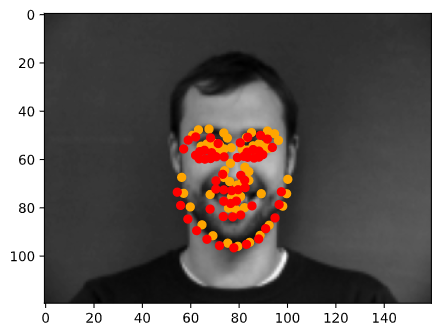
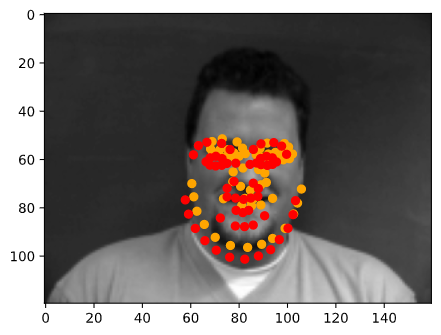
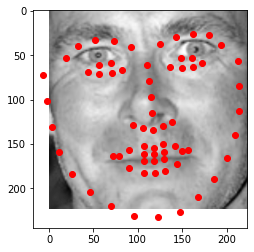
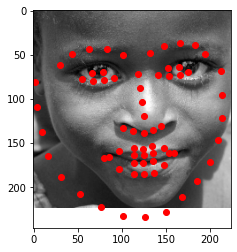
In the following images, the orange points are the ground truth keypoints and the red points are the predicted keyoints
|
|
|
|

|
|
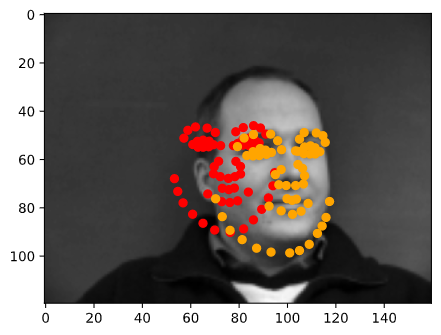
Again we can see that the model performs much better on faces that are turned towards the camera than faces that are turned away. This is, again, most likely due to having more front-facing images in the training set.
For this part of the model, I have also visualized the filters learned in the first layer of my neural net.
Part 3: Train with Larger Dataset
In this part, I trained a model for detecting keypoints on a much larger dataset using Google Colab.
For the architecture of my neural net, I chose to use ResNet18. I adjusted the first convolution layer to have one input channel for my grayscale iamges, and I changed the last fully connected layer to output 136 channels for the 68 keypoints. I trained the mode for 10 epochs with a learning rate of 0.01.
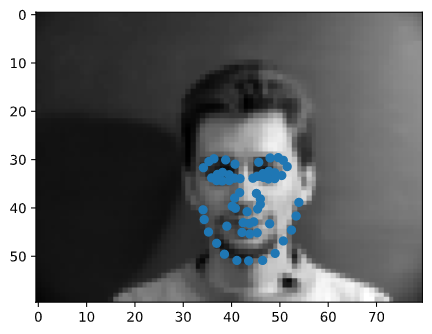
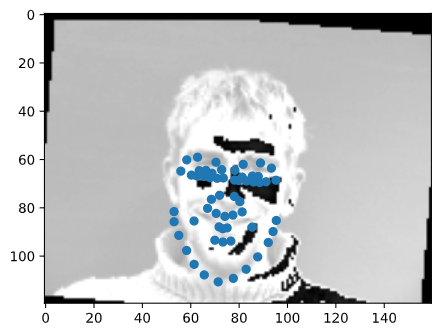
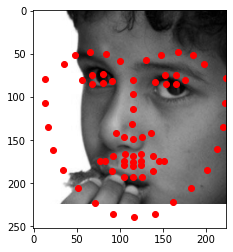
Below are some of my results.
|
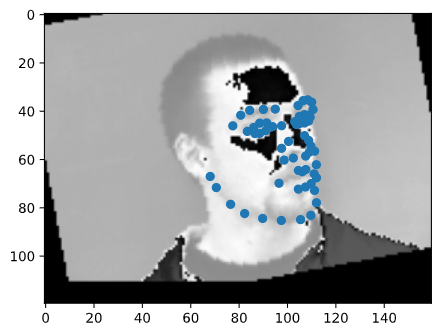
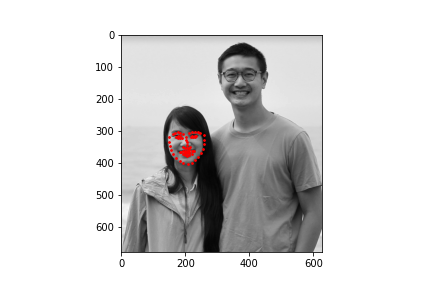
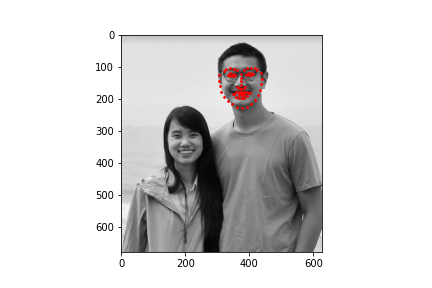
I obtained a MSE of 19.15808 on the test set. Below are some samples of my results
|
|
|
|
|
|

|
|
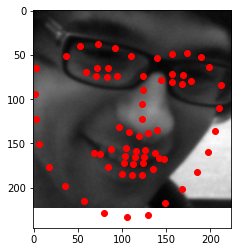
To test my model, I chose two faces that were facing the camera straight on, a face that was turned to the side, and an illustrated character. The model performed well on images that were straight on and did the worst on the side profile. The model also performed well even not on a photograph but rather an animated character.