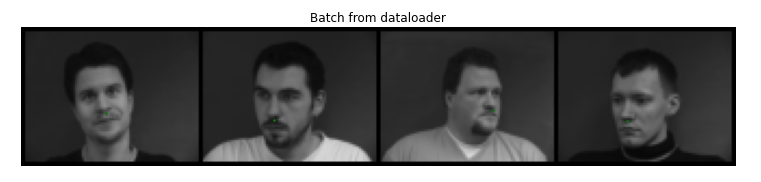
First we will try to detect only the nose keypoint before moving on to all the landmarks. Here are a few images sampled with only the nose keypoint from the dataloader.
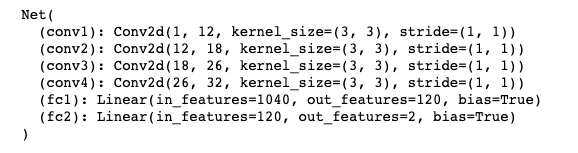
Then I wrote a neural net to use on the training data for the nose points. Below is the architecture of my net:
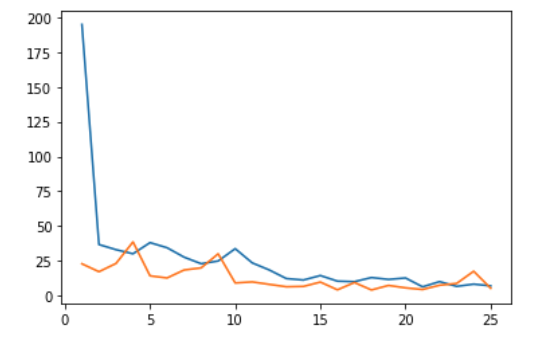
I then trained the net on the given dataset for 25 epochs with a learning rate of 1e-3, MSE loss, and Adam optimizer. The graph below shows the training loss in blue and validation loss in orange per epoch.
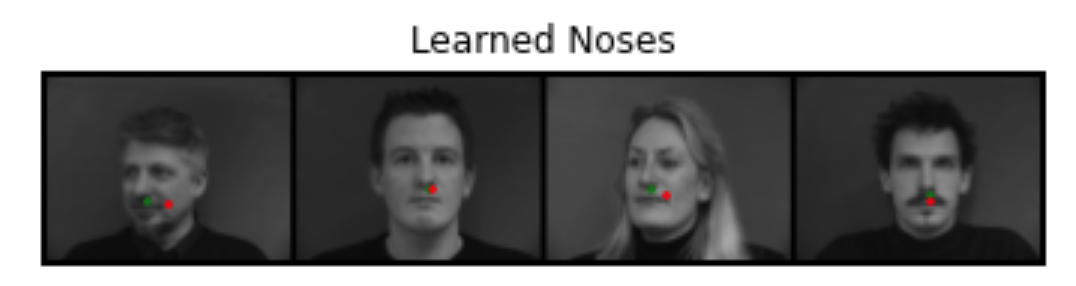
Here are some results showing how the net performed. The green points are the ground truth, and red points are the predicted nose. It mostly performs well on faces that are directly forward-facing and are slightly off if the faces are tilted to the side.

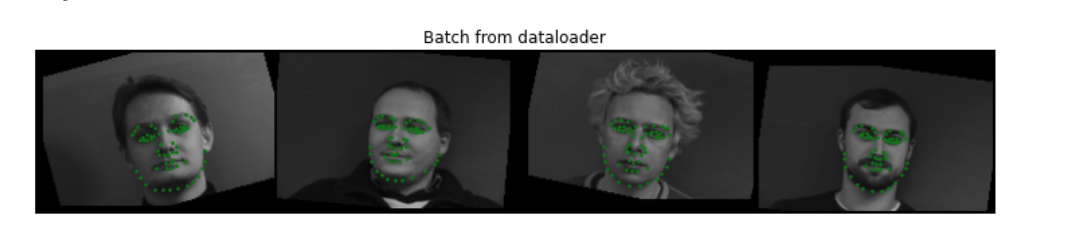
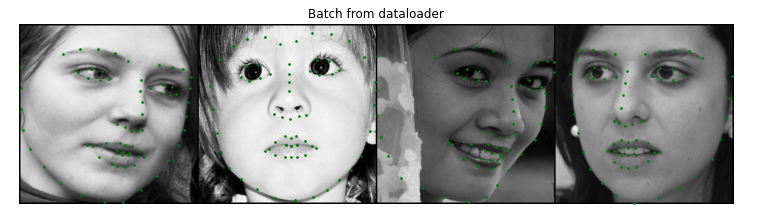
Now we will try to detect all 58 facial keypoints/landmarks using the same dataset as part 1. I also randomly shifting the face by -10/10 pixels and random rotation by -15/15 degrees for data augmentation. Below are a few sampled images from the dataloader with the random transforms and ground truth points in green.
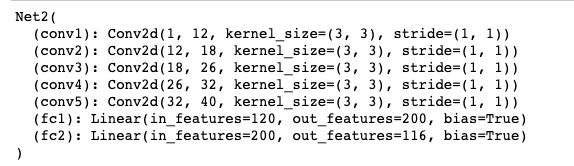
Then I wrote a neural net to use on the training data for all the points. Below is the architecture of my net:
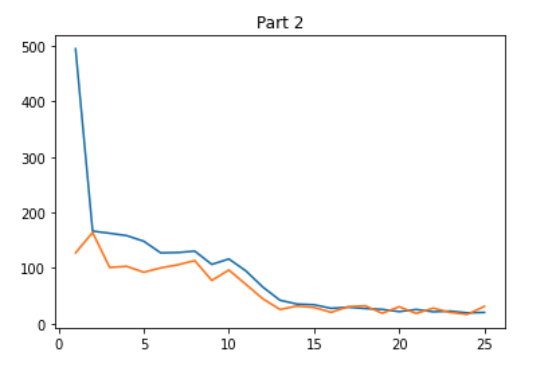
I then trained the net on the given dataset for 25 epochs with a learning rate of 1e-3, MSE loss, and Adam optimizer. The graph below shows the training loss in blue and validation loss in orange per epoch.
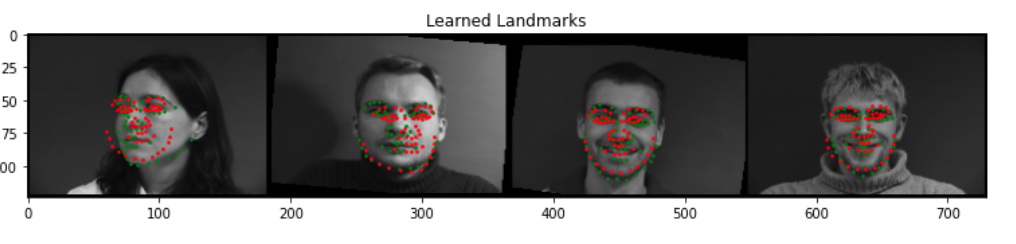
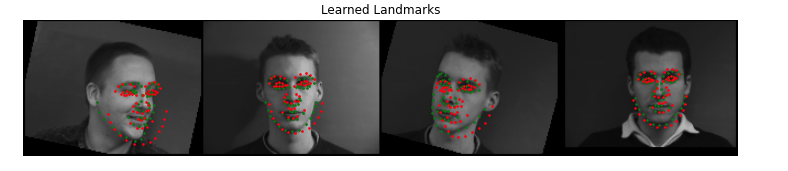
Here are some results showing how the net performed. The green points are the ground truth, and red points are the predicted nose. It mostly performs well on faces that are directly forward-facing and are slightly off if the faces are tilted to the side, similar to part 1.
Below are the learned filters for the first layer of the part 2 net visualized:

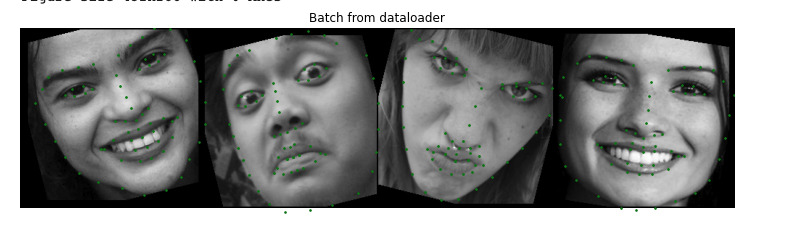
Now we will try to detect all 68 facial keypoints/landmarks using the ibug dataset for training, containing 6666 images and 68 keypoints per image. I cropped each face using the bounding boxes such that all the keypoints are within the crop. Then I resized the image into a 224x224. All the keypoints were updated accordingly. The same data augmentation techniques from part 2 were applied. Here are a few images sampled with the dataloader.
Then I used a resnet18 model to use on the training data for all the points. The only modifications I made were changing the first input channel to 1 for grayscale images and changing the output channel in the last layer to 68 * 2 for all the landmarks for a single image, which can then be reshaped.
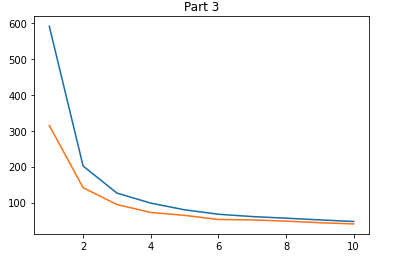
I then trained the net on the given dataset for 10 epochs with a learning rate of 0.005 and batch size of 32. The graph below shows the training loss in blue and validation loss in orange per epoch.
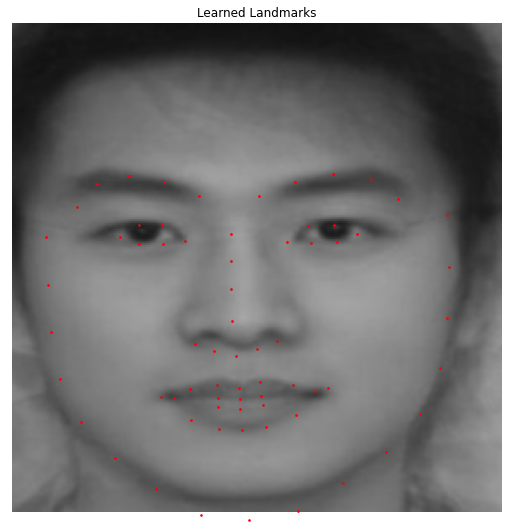
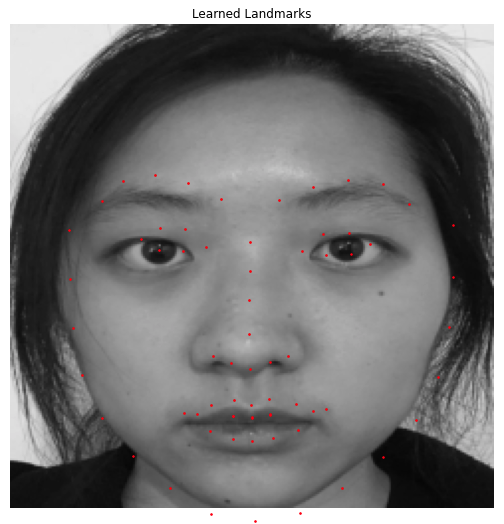
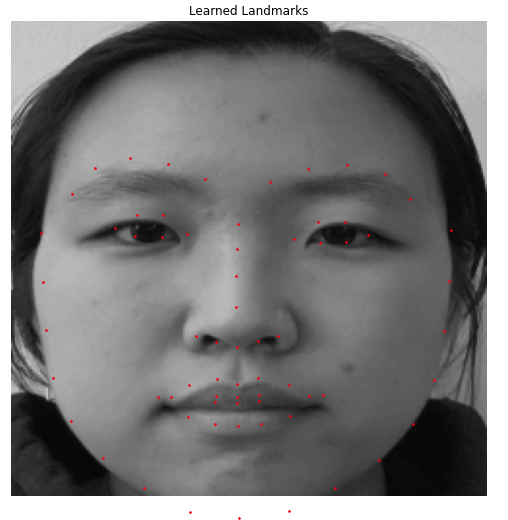
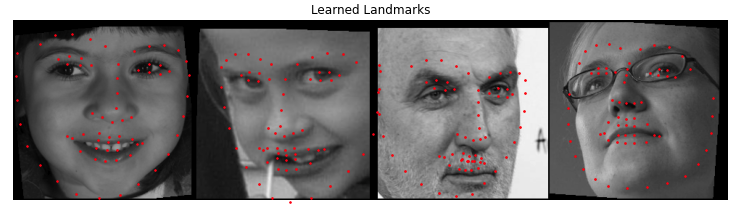
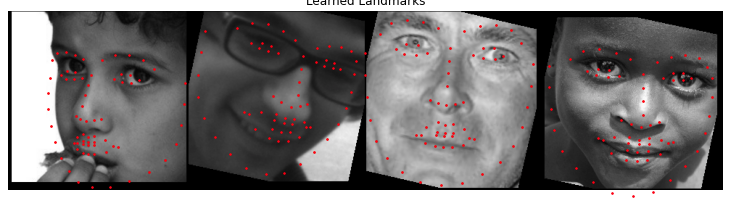
Here are some results showing predictions from the testing set.
Here are the results on some other photos outside of the testing set.