Project 04
Facial Keypoint Detection
Devesh Agarwal
1: Nose Tip Detection
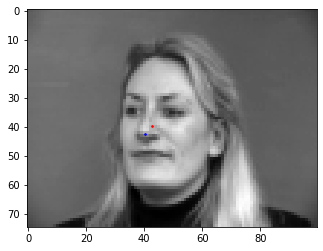
Using images in the IMM Database, I was able to write some code to detect tips of noses in facial images. I used a Convolutional Neural Network in order to model for and detect the nosetips. I converted the images to grayscale, rescaled, and resized the image.
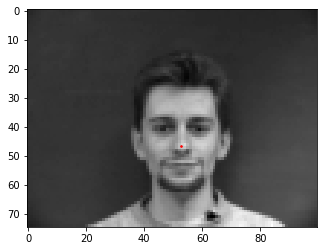 Ground Truth Sample #1 Ground Truth Sample #1 |
|
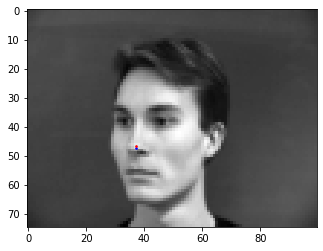
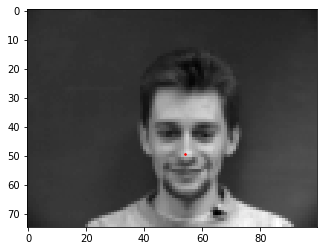 Ground Truth Sample #2 Ground Truth Sample #2 |
|
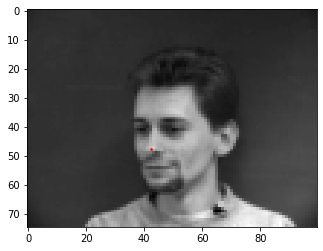 Ground Truth Sample #3 Ground Truth Sample #3 |
|
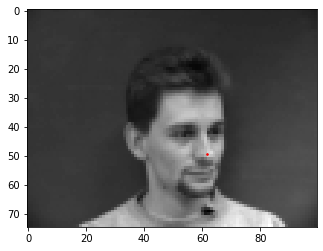 Ground Truth Sample #4 Ground Truth Sample #4 |
|
Neural Network
Here is my model and my model parameters:
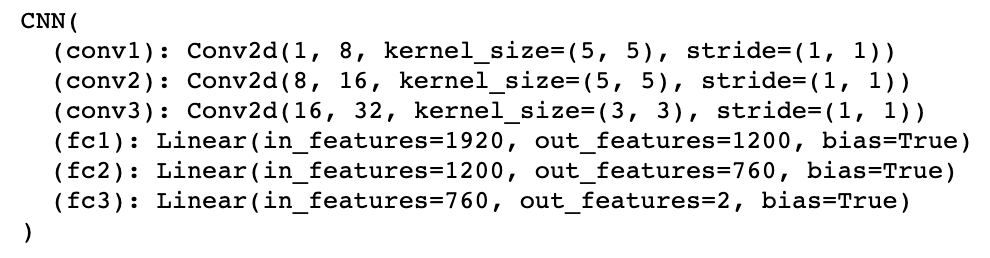 My Model My Model
|
Training and Validation Accuracy
I have plotted, below, training and validation accuracy across different n values (epochs).
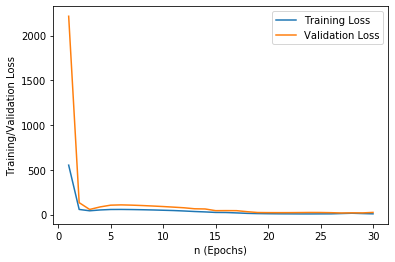 Loss vs. n Loss vs. n
|
Results
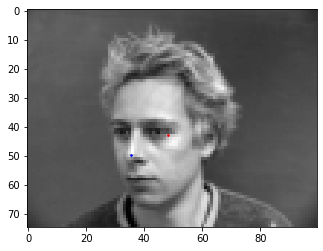
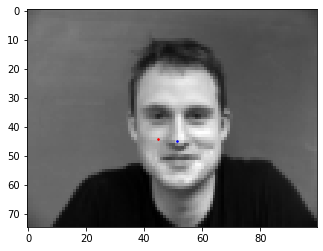
We can observe the difference between the ground truth (represented by the blue dots) and the predicted values (represented by the red dot).
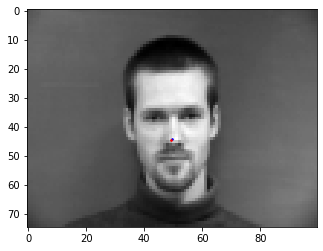 Nose Prediction Sample #1 Nose Prediction Sample #1 |
|
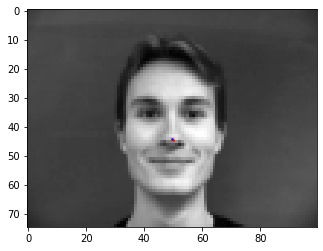 Nose Prediction Sample #2 Nose Prediction Sample #2 |
|
 Nose Prediction Sample #3 Nose Prediction Sample #3 |
|
 Nose Prediction Sample #4 Nose Prediction Sample #4 |
|
There are some limitations that can cause failure of this model including the limited training set for the model, awkward facial orientation, and the picture quality or saturation of the image itself.
Failure cases:
 Failure Case #1 Failure Case #1 |
|
 Failure Case #2 Failure Case #2 |
|
2: Full Face Detection
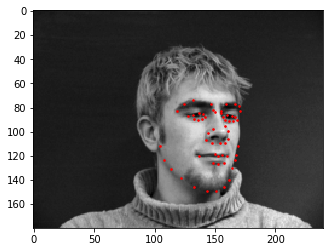
After detecting the central nose keypoint, I worked on generating full facial feature recognition by generating 58 keypoints on each image.
Data Augmentation
In order to prevent overfitting, I worked on data augmentation. Here I used some key functionalities of transforms and wrote functions to randomly augment the data by flipping and/or rotating it.
 Sample #1 Sample #1 |
|
 Sample #2 Sample #2 |
|
 Sample #3 Sample #3 |
|
 Sample #4 Sample #4 |
|
Neural Network
Here is my model and my model parameters:
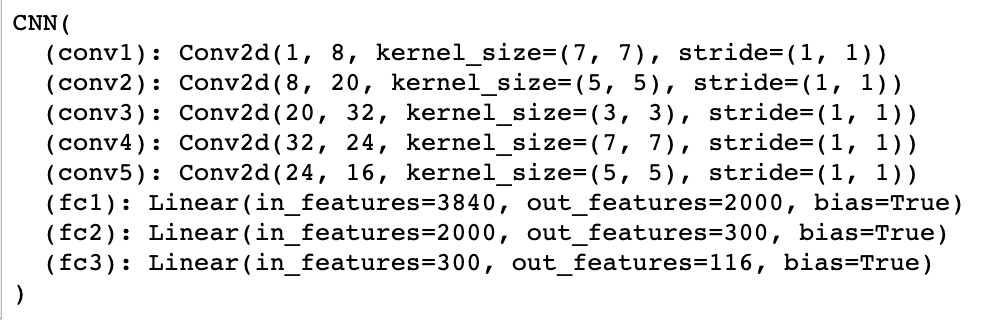 My Model My Model
|
Training and Validation Accuracy
I have plotted, below, training and validation accuracy across different n values (epochs).
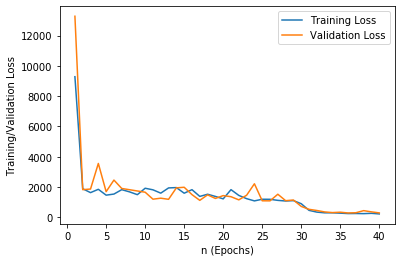 Loss vs. n Loss vs. n
|
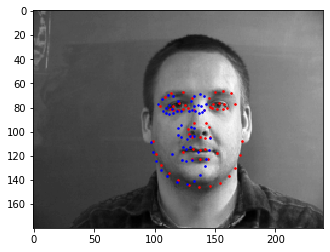
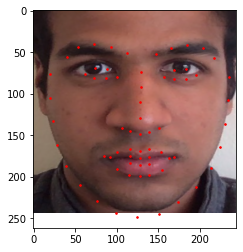
Results
We can observe the difference between the ground truth (represented by the blue dots) and the predicted values (represented by the red dot).
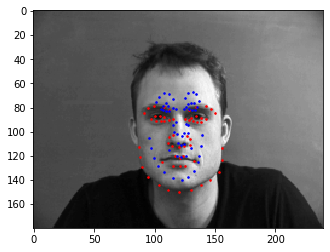 Prediction Sample #1 Prediction Sample #1 |
|
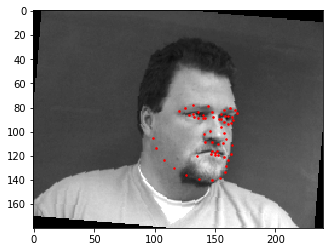
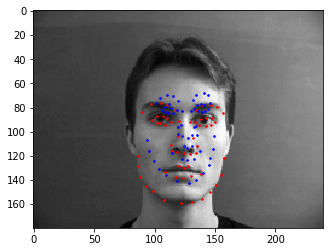 Prediction Sample #2 Prediction Sample #2 |
|
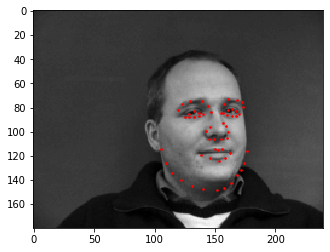
 Prediction Sample #3 Prediction Sample #3 |
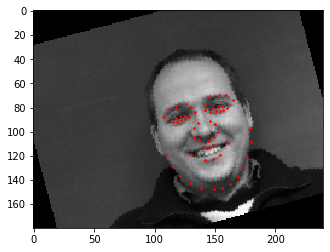
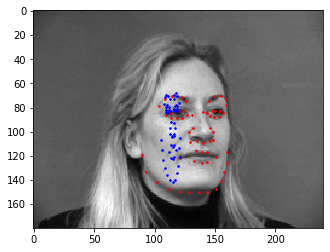
Failure cases:
|
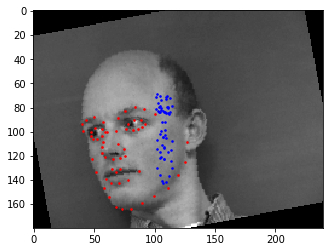 Failure Sample #1 Failure Sample #1 |
|
 Failure Sample #2 Failure Sample #2 |
|
 Failure Sample #3 Failure Sample #3 |
|
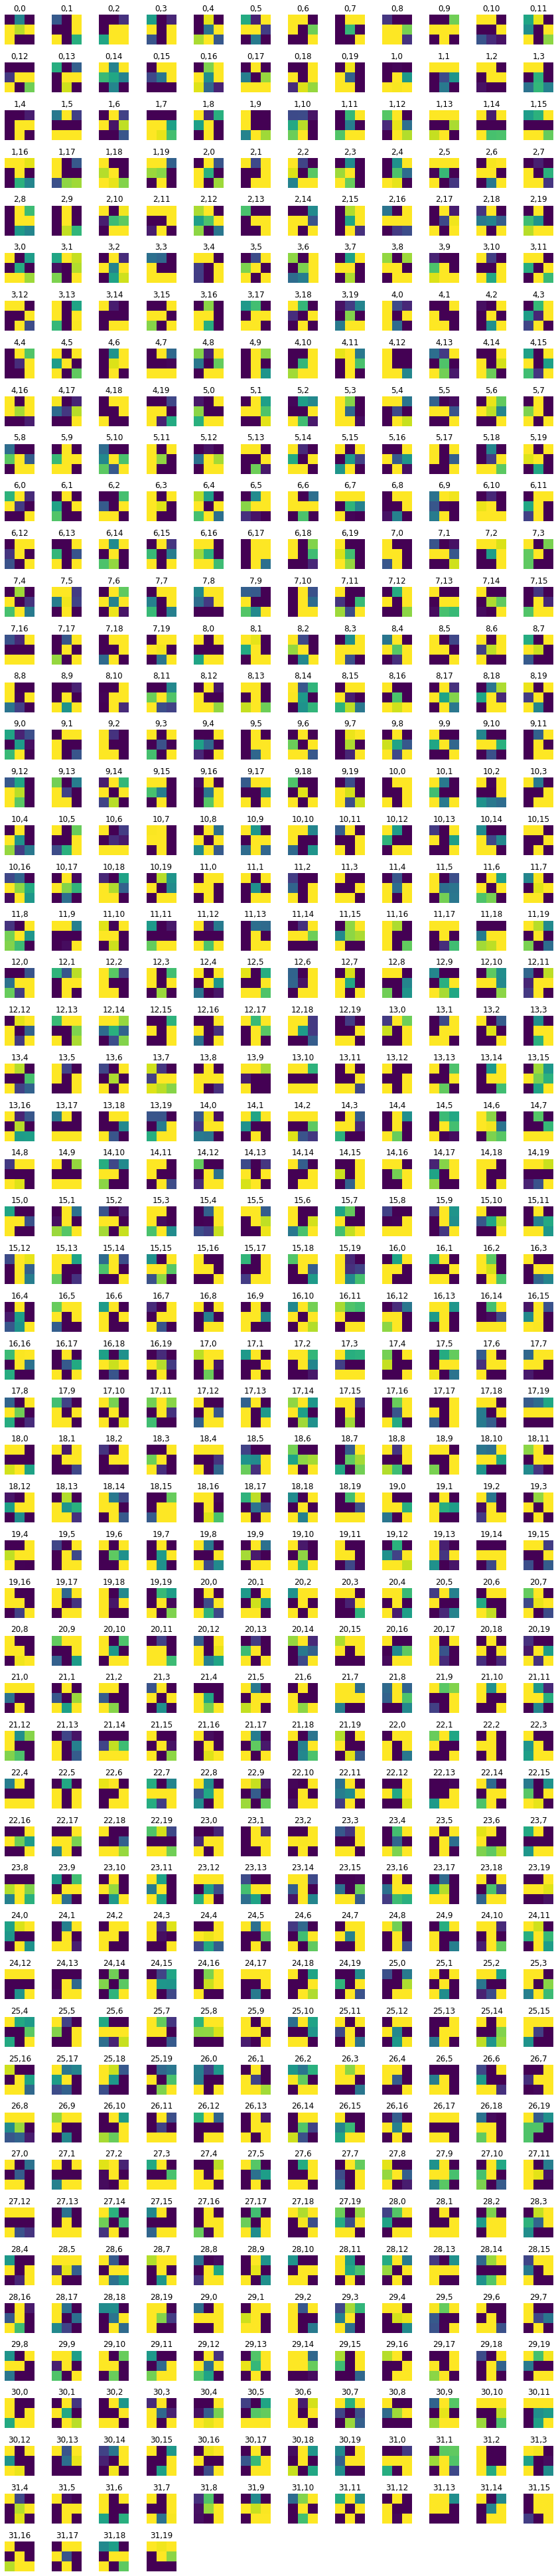
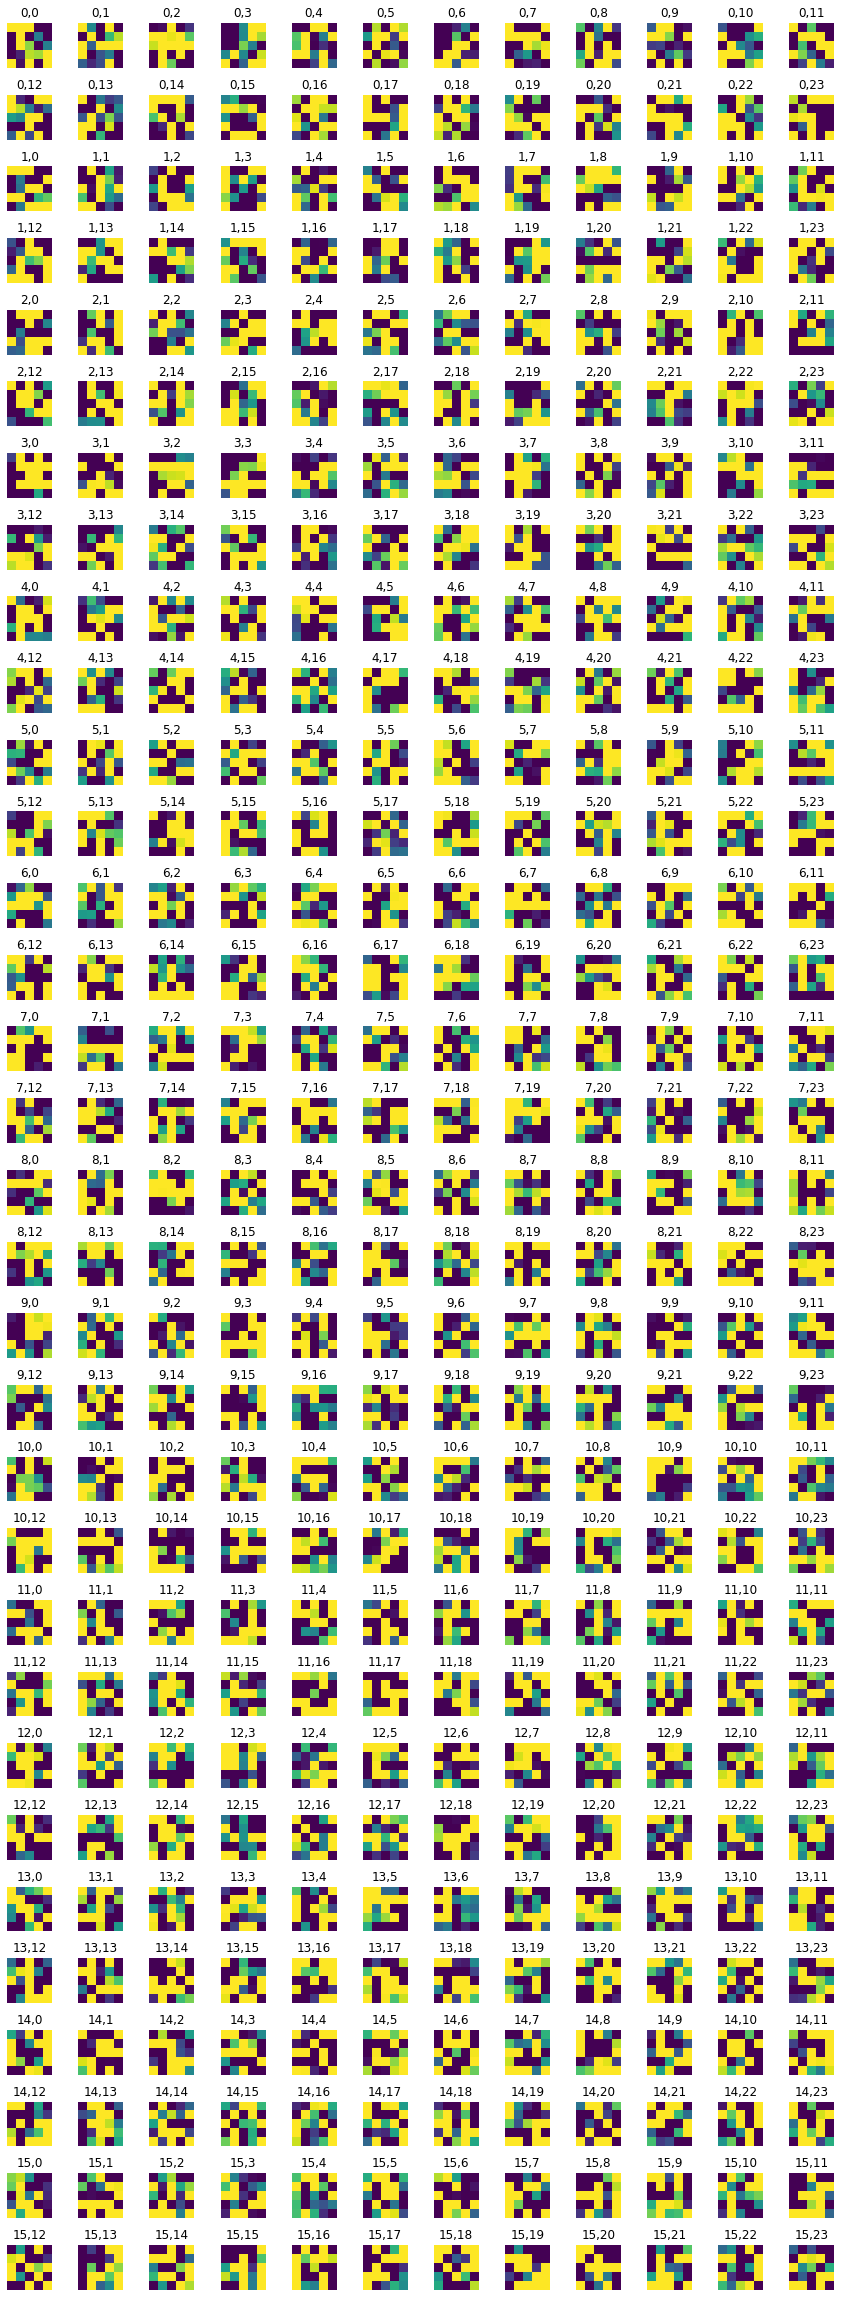
Filters
Displayed below are the filters at each layer.
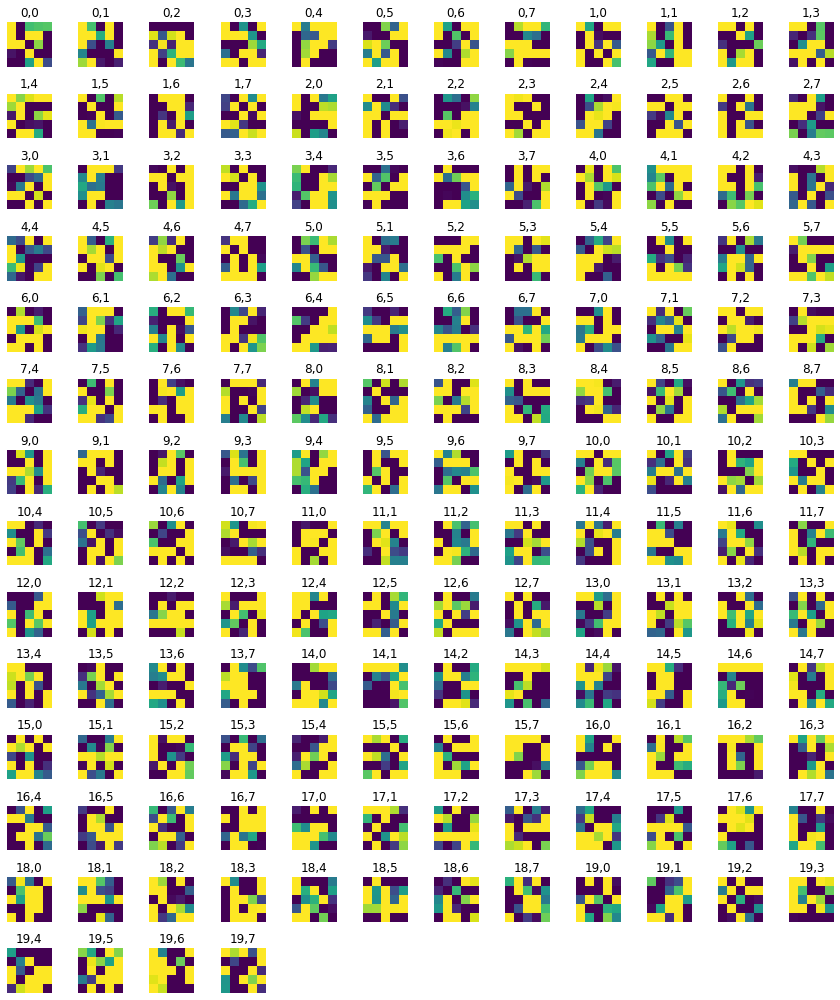 Layer 1 Layer 1
|
 Layer 2 Layer 2
|
 Layer 3 Layer 3
|
 Final Layer Final Layer
|
3: Training with Larger Dataset on Colab GPUs
I repeated the process described in Parts 1 and 2 on a much larger dataset. In order to do this I set up a Google Colab with GPU runtime and ran a ResNet 18 layer model. Using an Adam optimizer and a learning rate of 0.001.
Neural Network
Here is my model and my model parameters:

|
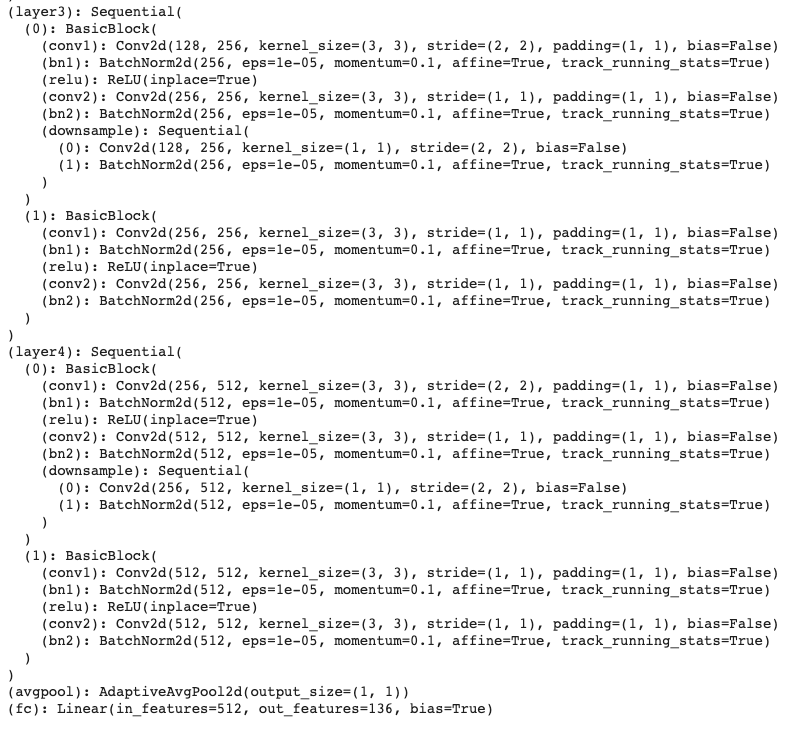 ResNet18 Model ResNet18 Model
|
Training and Validation Accuracy
I have plotted, below, training and validation accuracy across different n values (epochs).
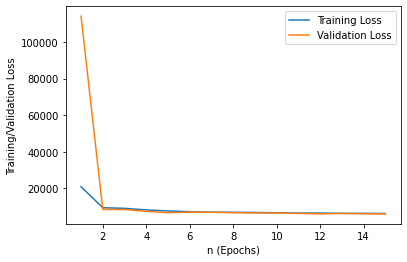 Loss vs. n Loss vs. n
|
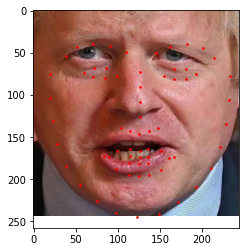
Results
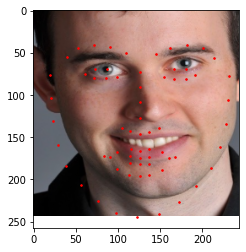
We can observe the faces that were detected on the dataset below:
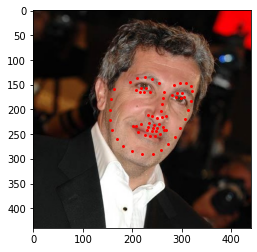 Prediction Sample #1 Prediction Sample #1 |
|
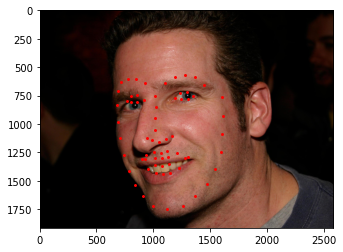 Prediction Sample #2 Prediction Sample #2 |
|
|
 Prediction Sample #3 Prediction Sample #3 |
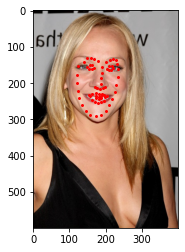 Prediction Sample #3 Prediction Sample #3 |
Custom Images
And finally, some of my favorite images from this course with keypoints detected.
 Successful Custom Image #1 Successful Custom Image #1 |
|
 Successful Custom Image #2 Successful Custom Image #2 |
|
 Derek, Failure Case due to Angle Derek, Failure Case due to Angle |
|