Introduction
In this project, we will be creating mosaics automatically by stitching images together according to features at keypoints. There are two parts
to this project. First we will be doing image rectification. Then we will stitch images together using similar keypoints on both images. Finally,
we will show how to automatically detect corresponding points in images.
Image Rectification and Stitching
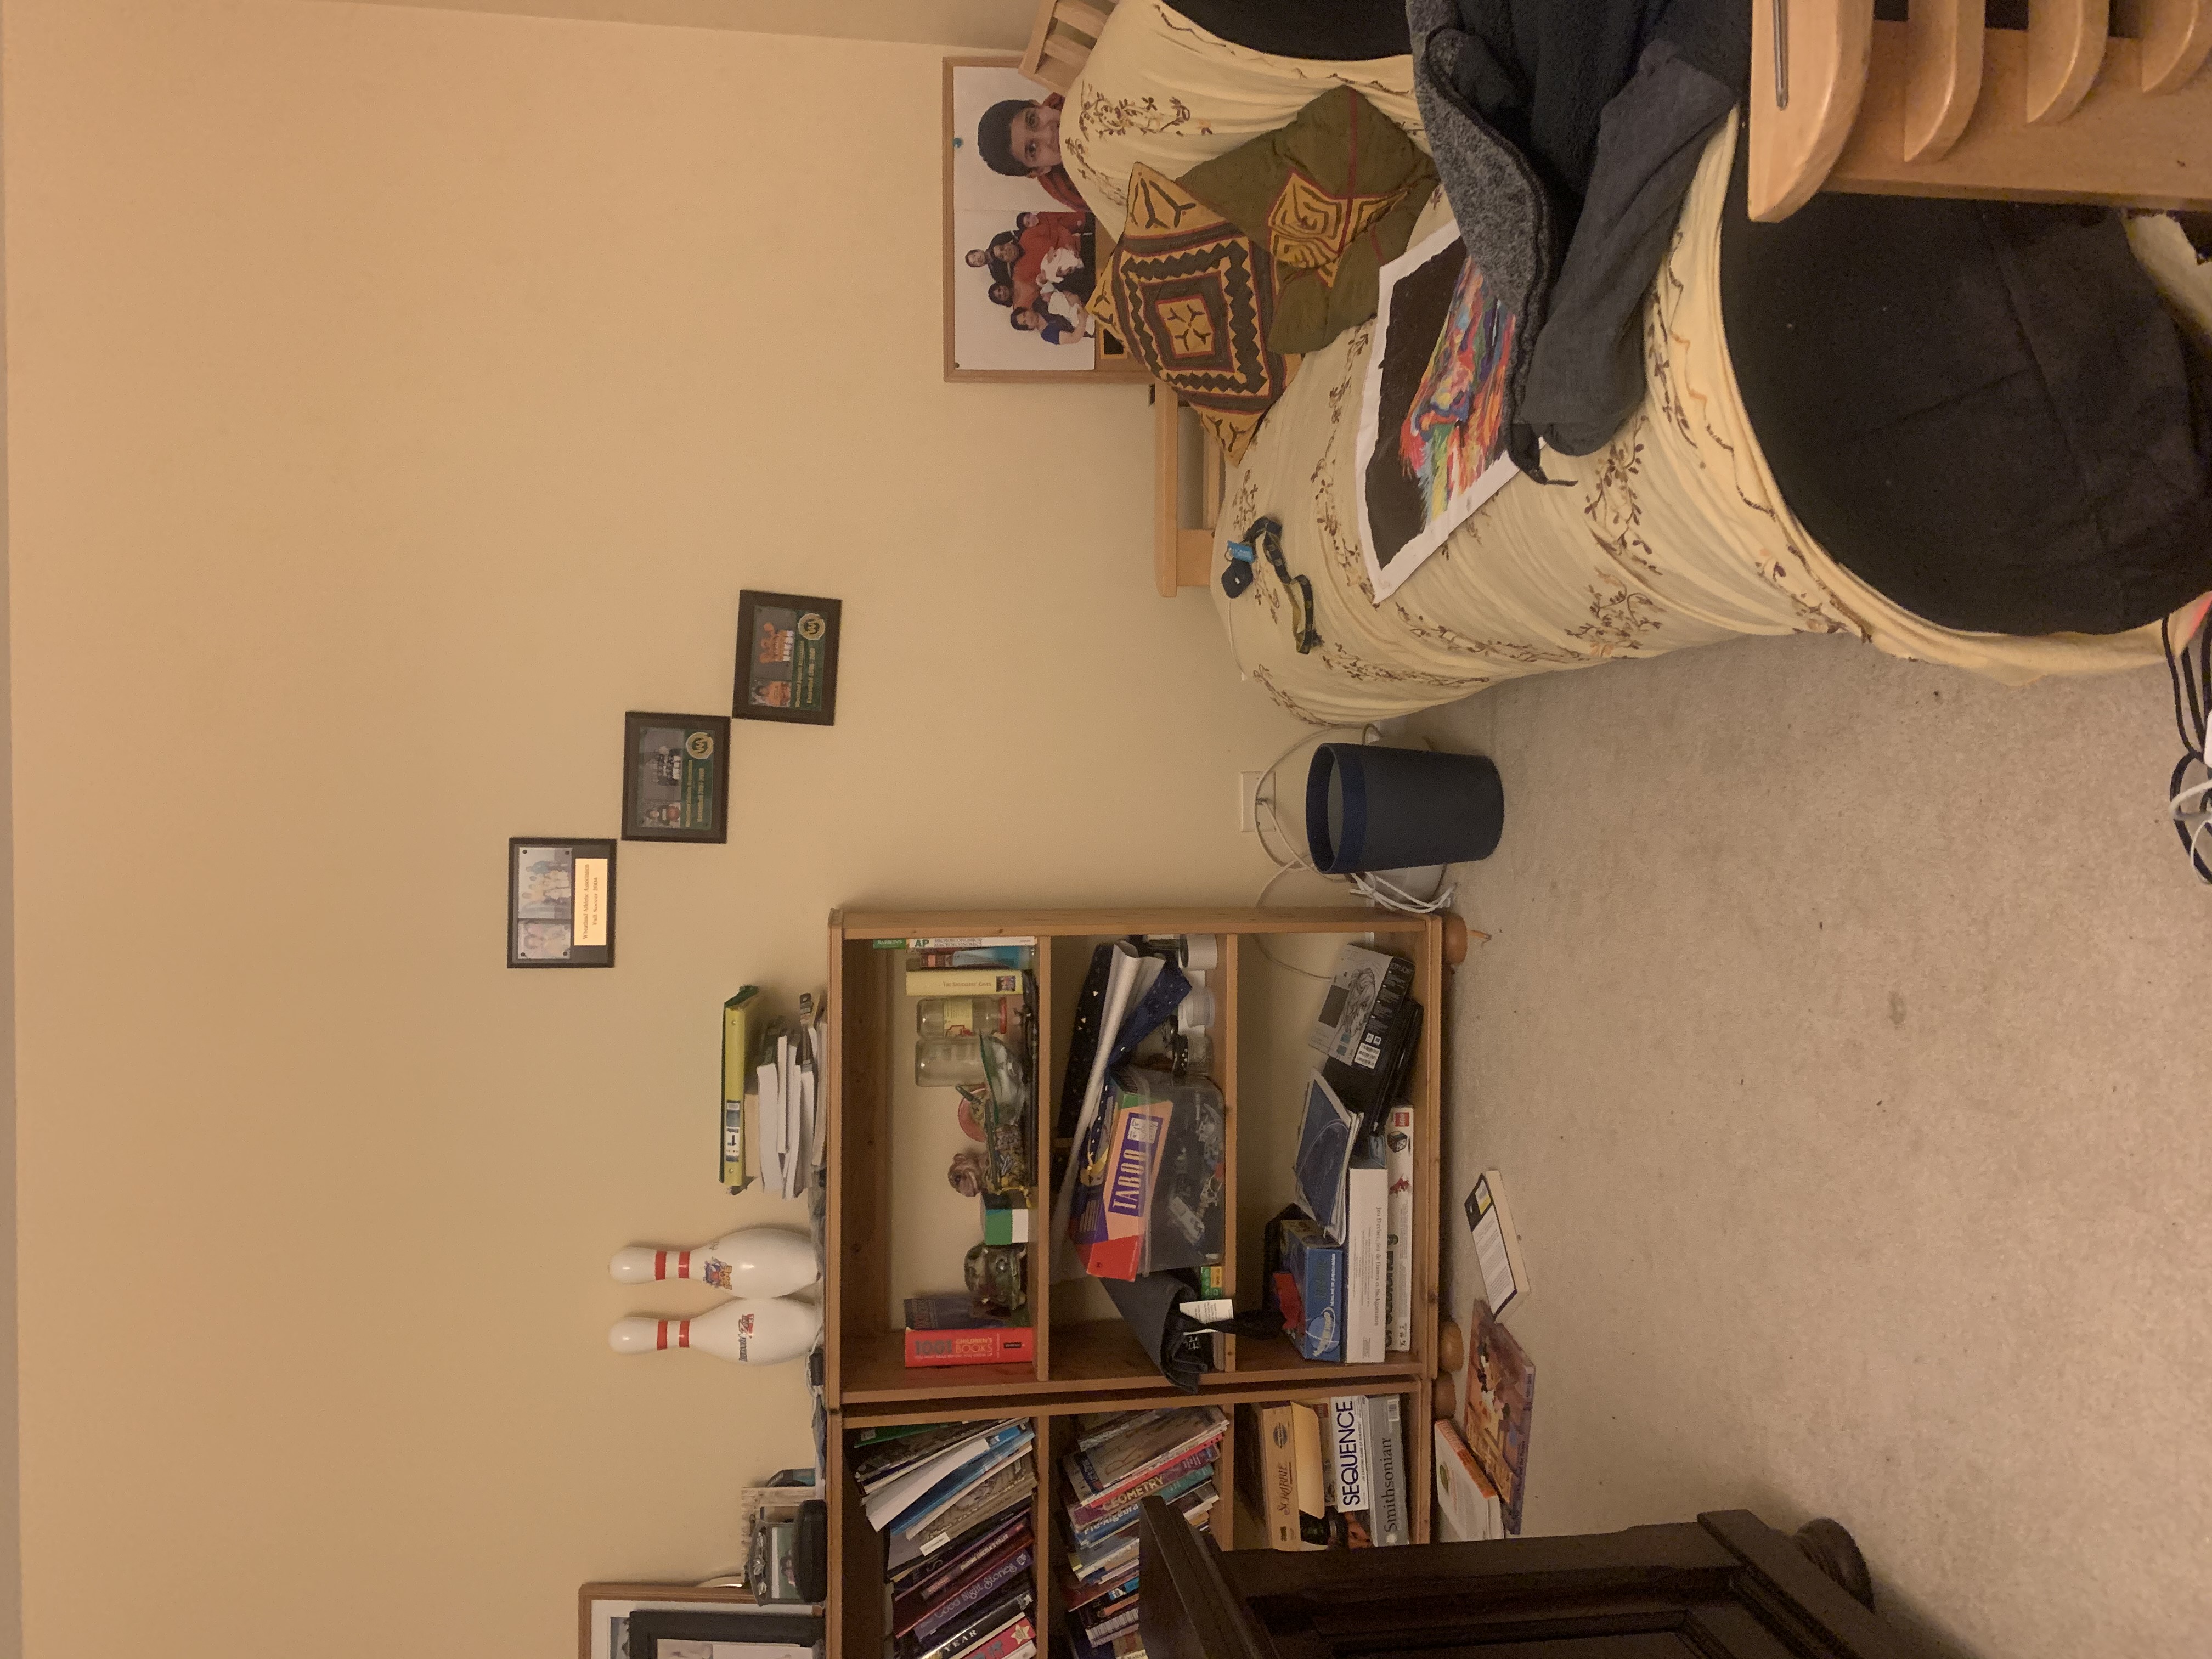
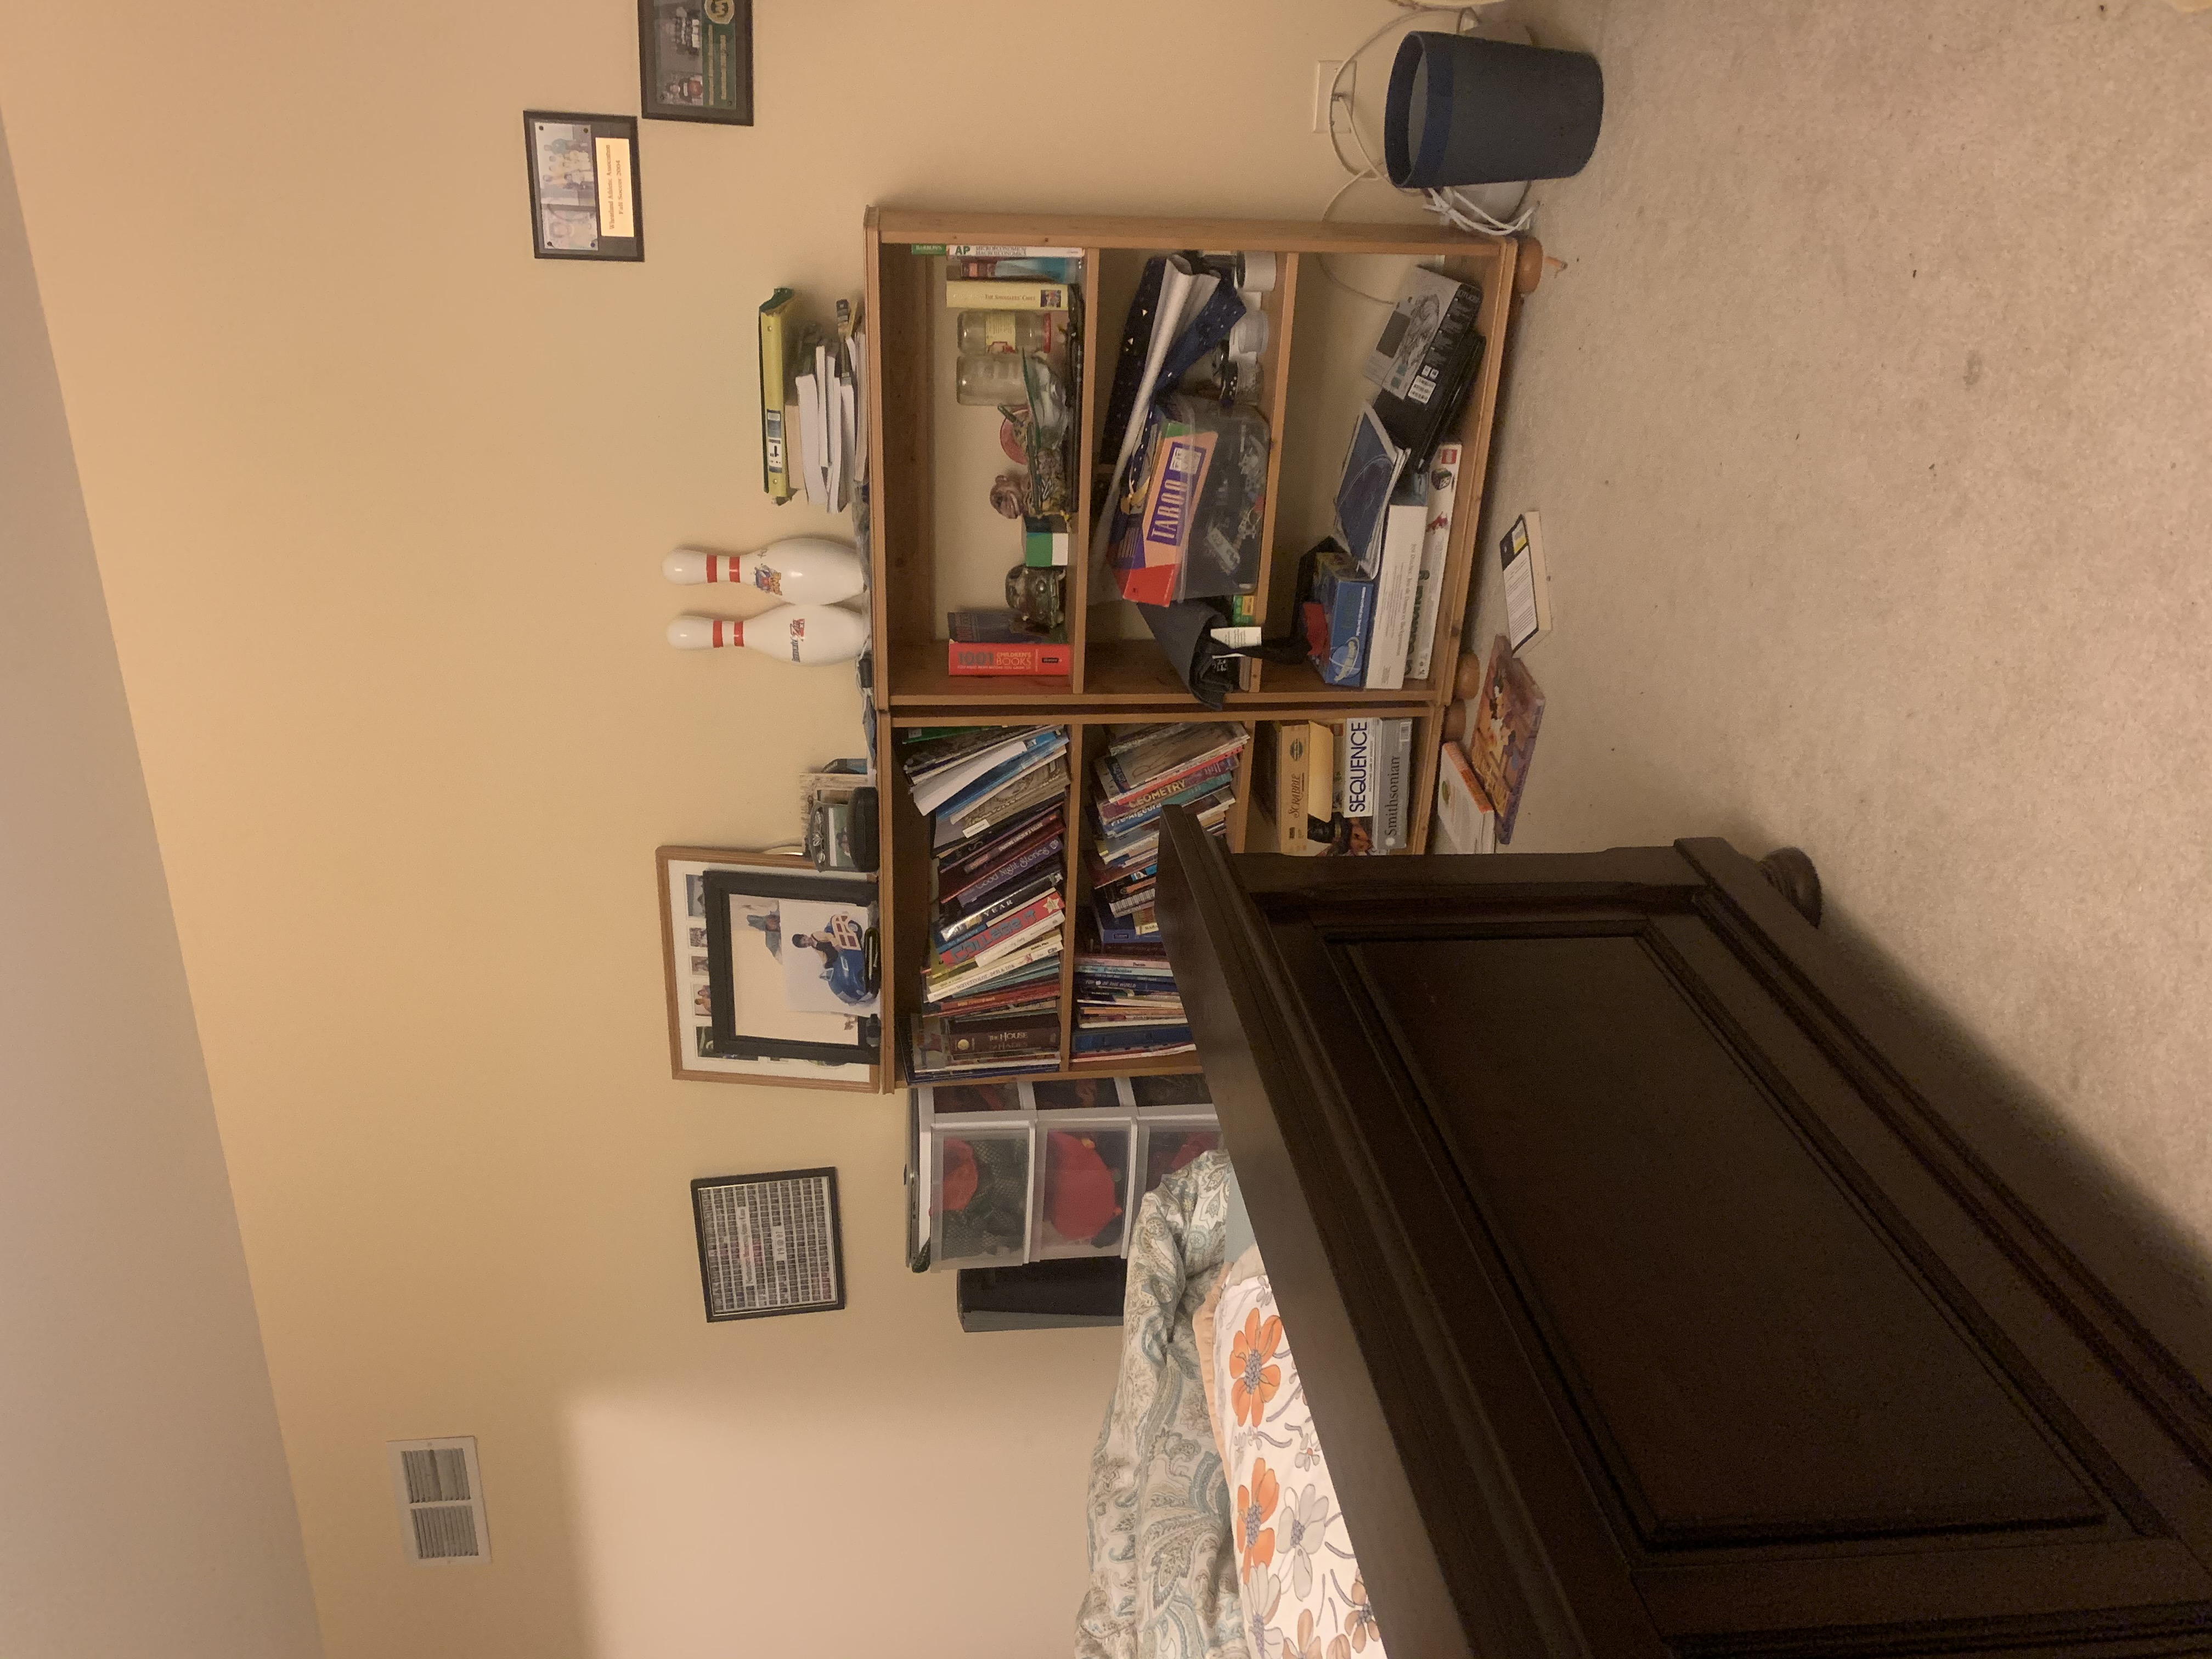
We have two images of the same object such that the camera is rotated to produce one versus the other. What is amazing,
is that solely through linear algebra manipulation, we can actually stitch these images together.
Computing a Homography
In order to do this properly, we need to compute a mapping between corresponding points of the image. First,
we know that this mapping can be represented as a 3D matrix. In particular, if we have two corresponding points $(x, y)$ and $(x', y')$
we want to be able to find a matrix that can map each point onto its correspondence.
By nature of this transformation, we may need to rotate, scale, resize and project. However, each of these transformations is linear! Thus,
we can use the following matrix to compute a projective homography from one image to the other.
$$ \begin{bmatrix} wx' \\ wy' \\ w \\ \end{bmatrix} = \begin{bmatrix} a & b & c \\ d & e & f \\ g & h & 1 \\ \end{bmatrix} \cdot \begin{bmatrix} x \\ y \\ z \\ \end{bmatrix} $$
Since we have eight variables to solve for, we need exactly 4 pairs of points to solve for this homography! Unfortunately, however the homography is very delicate when it comes to choice of points.
Thus, we want our homography to be robust to the number of points we use. As a result, we will use a least squares methodology to solve for our system.
But wait! Right now our system is not in the least square form. We need it to be in the form of $Ax = b$ where $b$ is the set of unknown variables we want. Luckily,
algebraic manipulation comes to our rescue!
After some massaging, we get the following equation $Ax = b$ for just a single point.
$$ \begin{bmatrix} x & y & 1 & 0 & 0 & 0 & -xx' & -yx' \\ 0 & 0 & 0 & x & y & 1 & -xy' & -yy' \\ \end{bmatrix} \cdot \begin{bmatrix} a \\ b \\ c \\ d \\ e \\ f \\ g \\ h \\ \end{bmatrix} = \begin{bmatrix} x' \\ y' \\ \end{bmatrix} $$
Adding more points simply means adding more rows to the first matrix and latest vector! Thus, we have our least squares formulation! We know solve for $x$ using the pseudo-inverse.
That is we compute $(A^TA)^{-1}(A^T)b = x$ and we are done.
Image Warping
Once we have computed the homography matrix $H$ from above, we need only finish off by warping the images. To do this, we first compute the bounding box
for the image we want to warp. Then, we use a special function that gets all of the pixel points within the bounding box. These represent all of the new pixel values we have to fill in. Then,
we apply inverse warping to each of these three points. To apply inverse warping, we apply the inverse transformation to each point, which will land
each output pixel point back onto the original image. We take the average of the pixel's around that point to get the value of that pixel. This is the pixel value that will go
in for the output pixel.
Image Rectification
In order to do image rectification, we need only map the points to a pre-defined set. This works best when there is a known square or rectangular feature in the image.
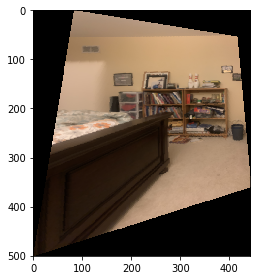
In our case, we will rectify this image so the bookshelves in the second image above face head on!
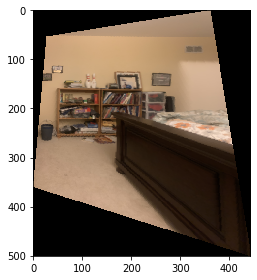
Doing so we have:
The second image is what happens when we set our mapping so that the bookshelves are flipped. In this case we still see the bookshelf head on,
but the entire image is flipped over!
Image Stitching
Automated Feature Detection
Automated Feature Mapping