In this project, We use homogrphies and image stitiching techniques to stitch images together and create panorama pictures.
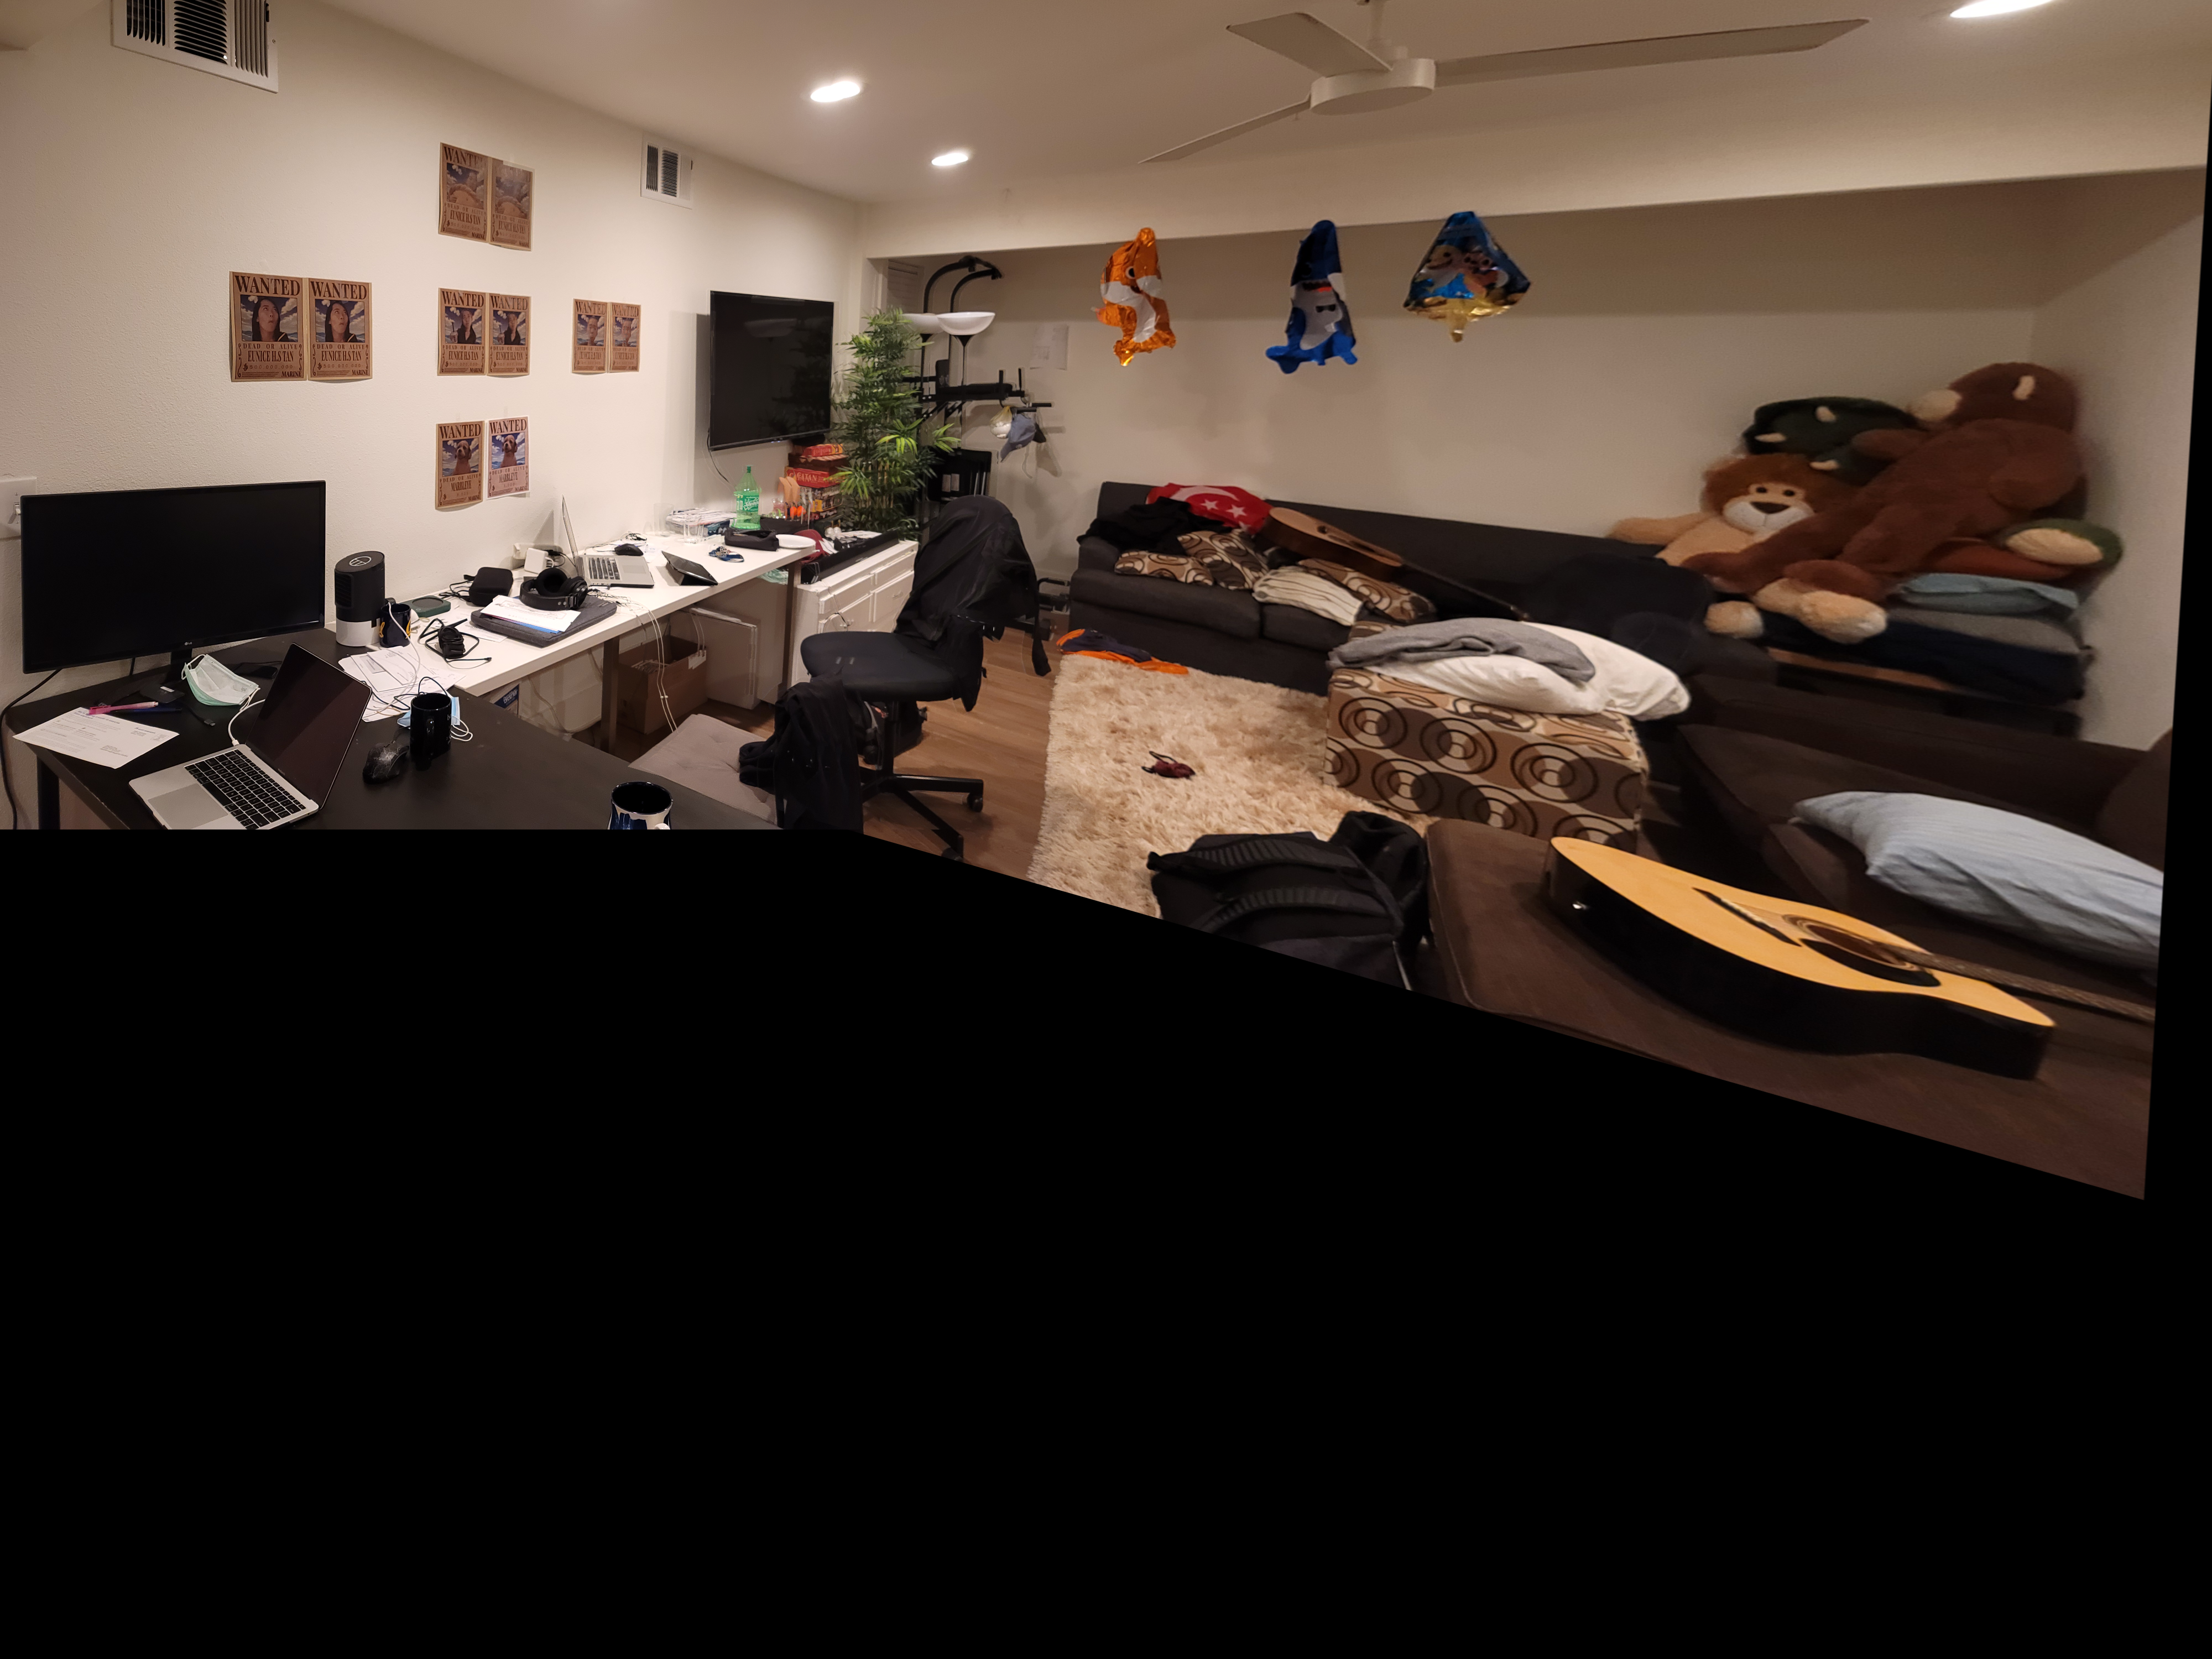
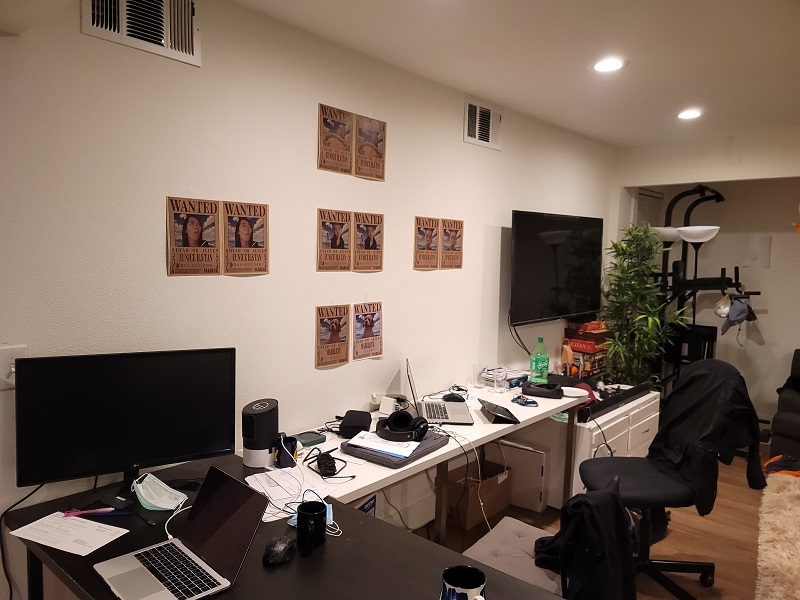
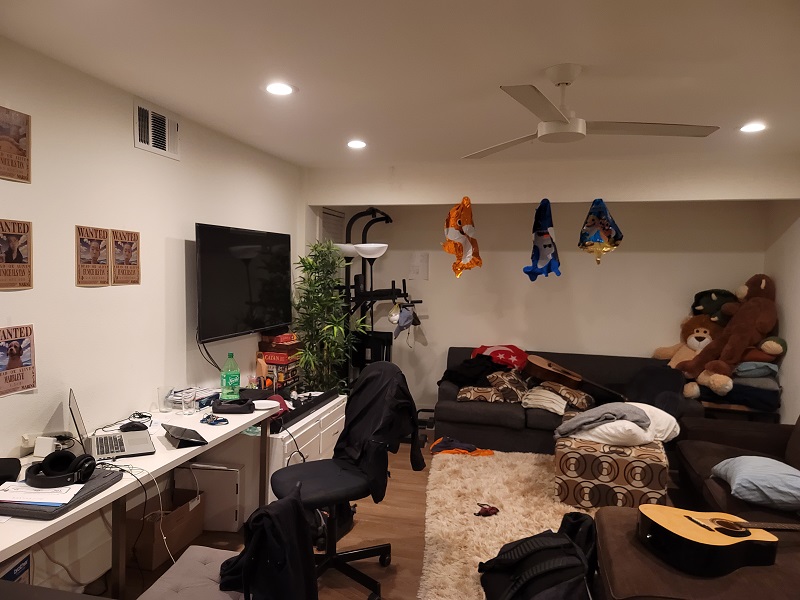
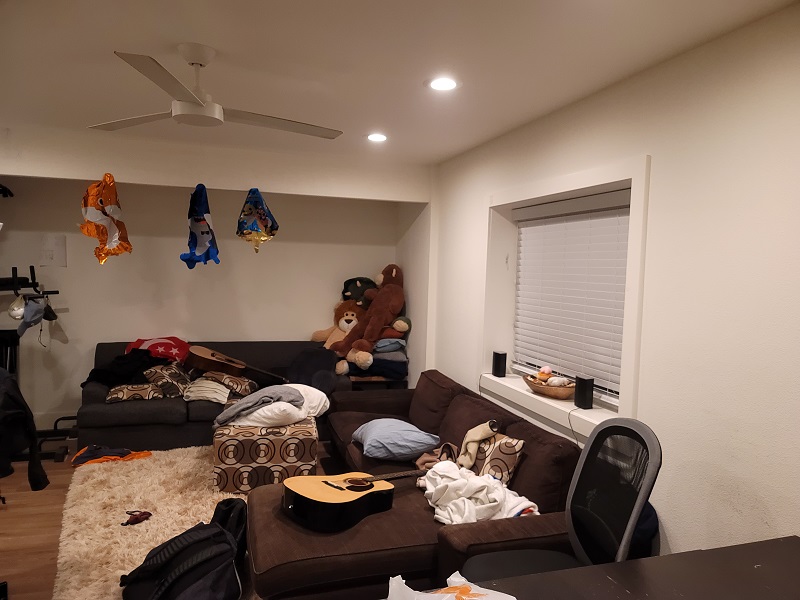
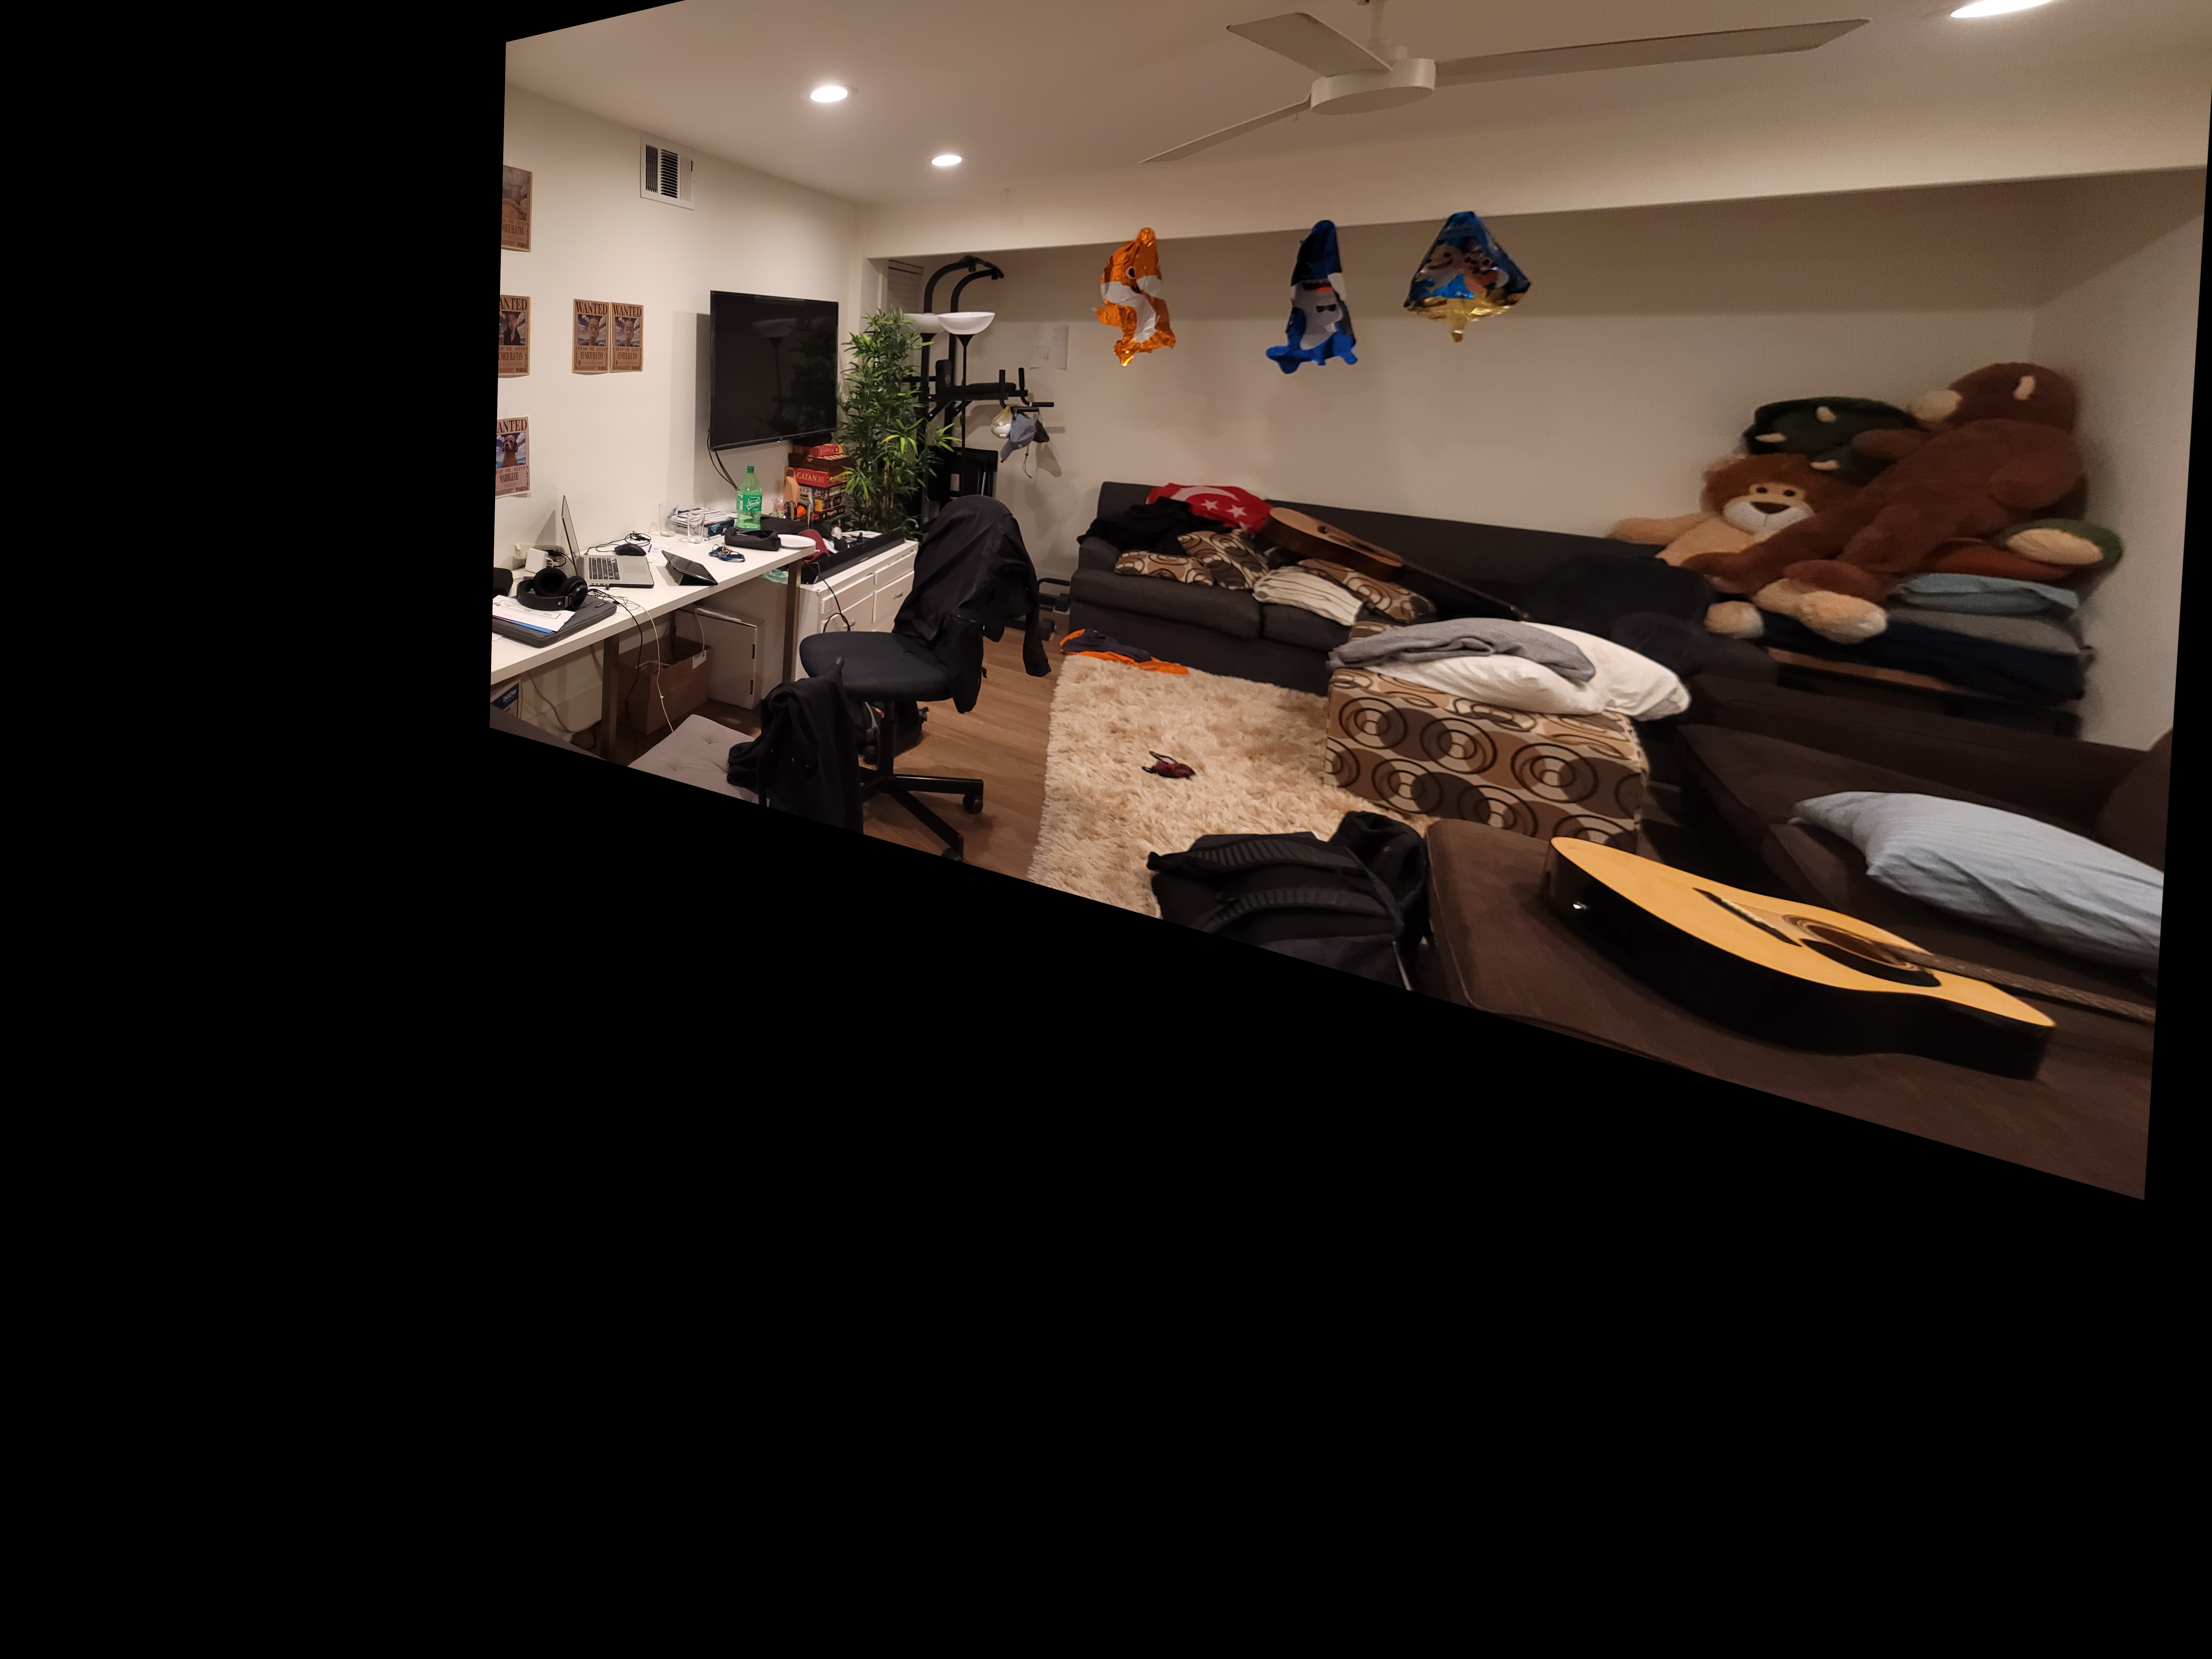
For this project, we start with picutres of my living room, at different angles. Standing still on a spot, I used the manual mode of my phone camera, with AE/AF centered on the middle of the picture, to shoot 3 photos of my living room with approximately 50% overlap between photos.
To stitch these images together, we need to warp these images such that their keypoints align. To do so, we attempt to recover a homography that will allow us to warp our images. We used the left and middle photo for this. We want some matrix H, such that Ha = b, where a corresponds to original points, and b corresponds to the warped points (which match the points in the other picture). We defined 15 sets of matching points in both images, where points P refer to points on the original points (from the middle image) and points P' refer to corresponding points on the left image. Since we are overconstrained (having more than 4 points), we use least squares estimation to obtain H, a 3 by 3 matrix that performs a forward transform on points in the image.
Using the H forward warp function/matrix, we can then use inverse warping to warp the image mid to fit with points in the left image. This is our result so far.
Using our homography technique, we were also able to perform image rectification. From the following image
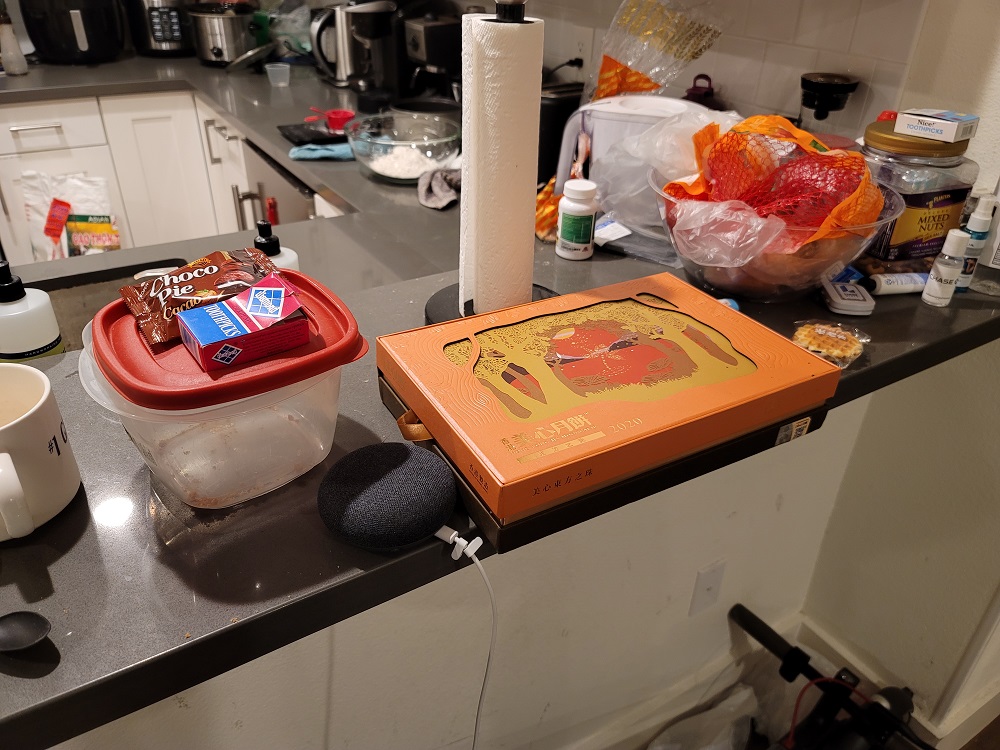
We use an image of a square to show the top of the box":
Using our homography technique, we were finally able to blend both images into a mosiac. Instead of applying feathering or an alpha channel, we simply took the maximum pixel value of each image at each coordinate,