Project 5
By Samuel Sunghun Lee [CS194-26 - Fall 2020]
Shoot the Pictures
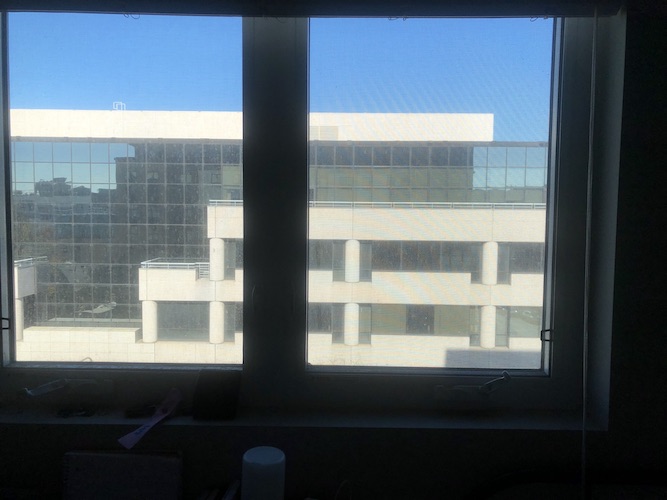
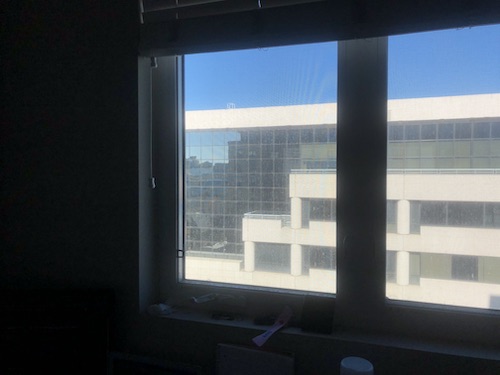
I took two images of the view outside my window in my room. The images are
taken at different angles of the same view of a buildings outside my room.
Here are the two images:
Recover Homographies
Using the image 1 and image 2 shown above, I will now calculate the
Homography matrix H which is a 3x3 matrix with 8 degrees of freedom (lower
right corner is a scaling factor). We first manually create corresponding
points between the two images. I chose 9 points along the white building for
each corner of the white building where it appears in both images. Then,
using these points, we will calculate this from the following set of
equations that was taken from this website:
https://cseweb.ucsd.edu/classes/wi07/cse252a/homography_estimation/homography_estimation.pdf
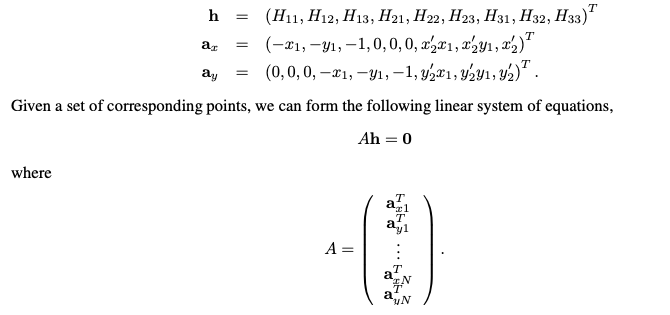
I used Singular Value Decomposition of the A matrix shown in the above
image, and then took the eigenvector with the smallest singular value and
reshaped it into a 3x3 matrix to get us the Homography matrix H.
Warp the Images
Now that we have two images, and a homography matrix H, we can now warp one
of the images to the perspective of the other. In this case, since I
calculated a H matrix toward image 2 (right image in the first section), I
warped the first image with the H matrix using inverse warping.
Here is the before and after of the warping. (left = before, right =
after)
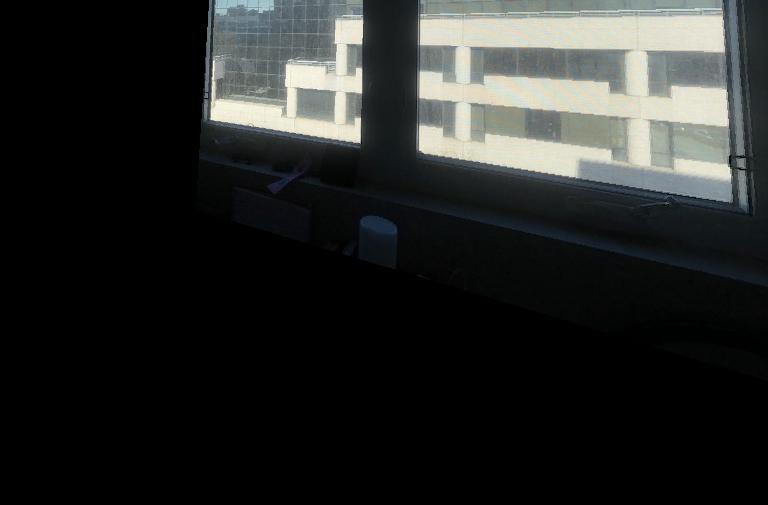
As you can see, the first image was warped into the perspective of the
second image, which was slanted toward the angle that we see in the warped
image.
Image Rectification
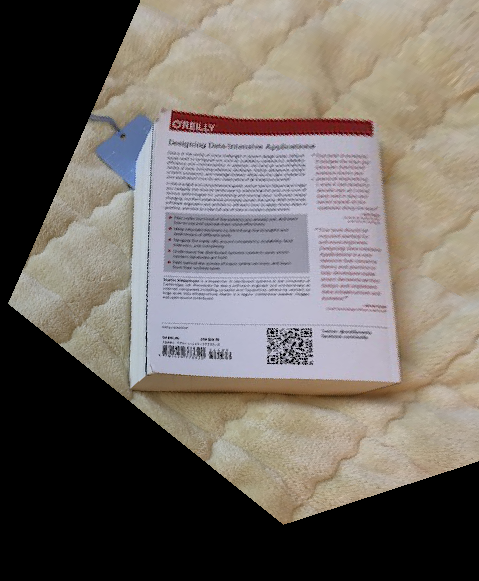
We are now able to rectify an image without needing two images. In this
section, I took the following raw image
and I took 4 points of the book and made 4 corresponding points in
rectangular coordinates i.e made the points parallel to the x-y coordinates.
Thus, we should expect this image to be in a front planar view. Here is the
following image after 'rectifying' to the front planar view through
calculating the Homography H Matrix from the points we described.
Here is the complete before and after side by side. (left = before, right =
after)
We can see that the image on the left was 'straightened out' and the
buildings now look front parallel to the viewer of the screen. This shows
that the Rectification was successful as we chose corresponding points that
accomplished what was intended. The book is now in the front planar view.
Stitched Mosaic
From the section 'Warp the Images', we can now take the warped Image 1 and
the untouched Image 2 and combine the two images to create a 'Stiched
Mosaic'. I did this by aligning both images by getting two corresponding
points in both images, and rescaling, rotating, and matching the image size.
After aligning the two images, I compute the average of the two images, with
a heuristic of if one of the pixels of either image is black or white, then
we will take the non black/white pixel instead of averaging the two. This
turned out to produce a reasonable mosaic that shows a panoramic view of the
white buildings outside.
Images to stitch
Stitched Image

What I have Learned
I have learned that to create a panoramic image, linear algebra comes in
pretty handy to transform one image to another image's perspective. I also
found it really interesting that after image alignment of two images that
are in the same view, taking the maximum of the two images works quite well
and the image that was produced as seen in the previous section looks really
smooth and clean. Finally, I have learned that there is a lot of room for
automation for stitching images to create a panoramic image. This is where
the next part comes in! Aligning imaging manually to produce points and
remembering the ordering is quite annoying so I learned that there is room
for growth and will see how the next part will mitigate this issue.