Image Warping and Mosaicing
Table of Contents
1 Introduction
In this project, I implemented image mosaicing. I combined two images and create an image mosaic by
registering, projective warping, resampling, and composing them.
2 Image Warping and Mosaicing
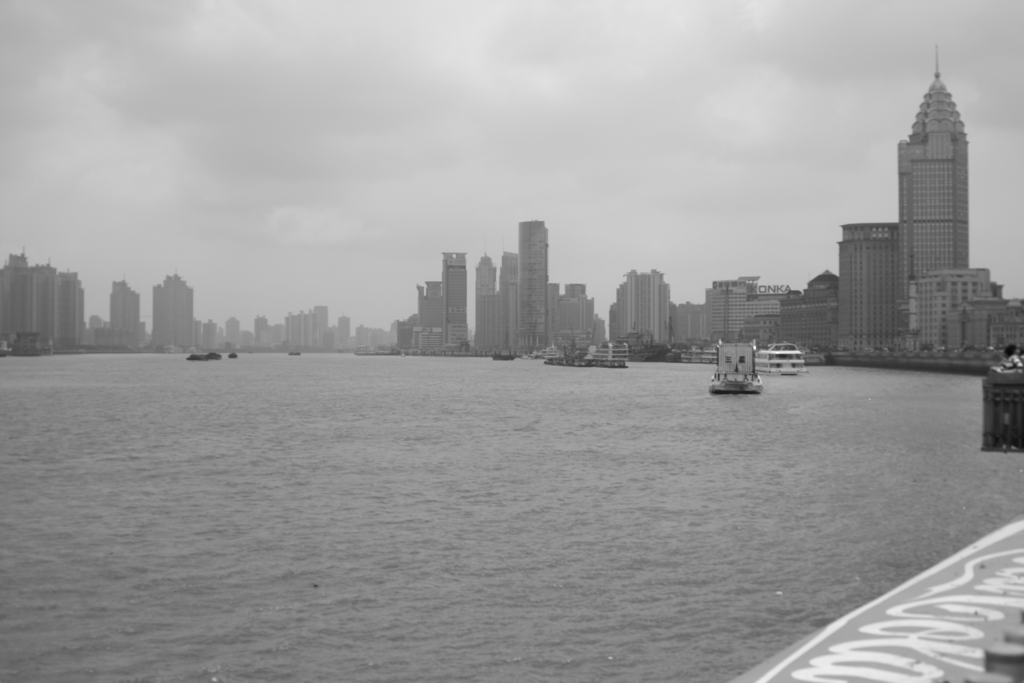
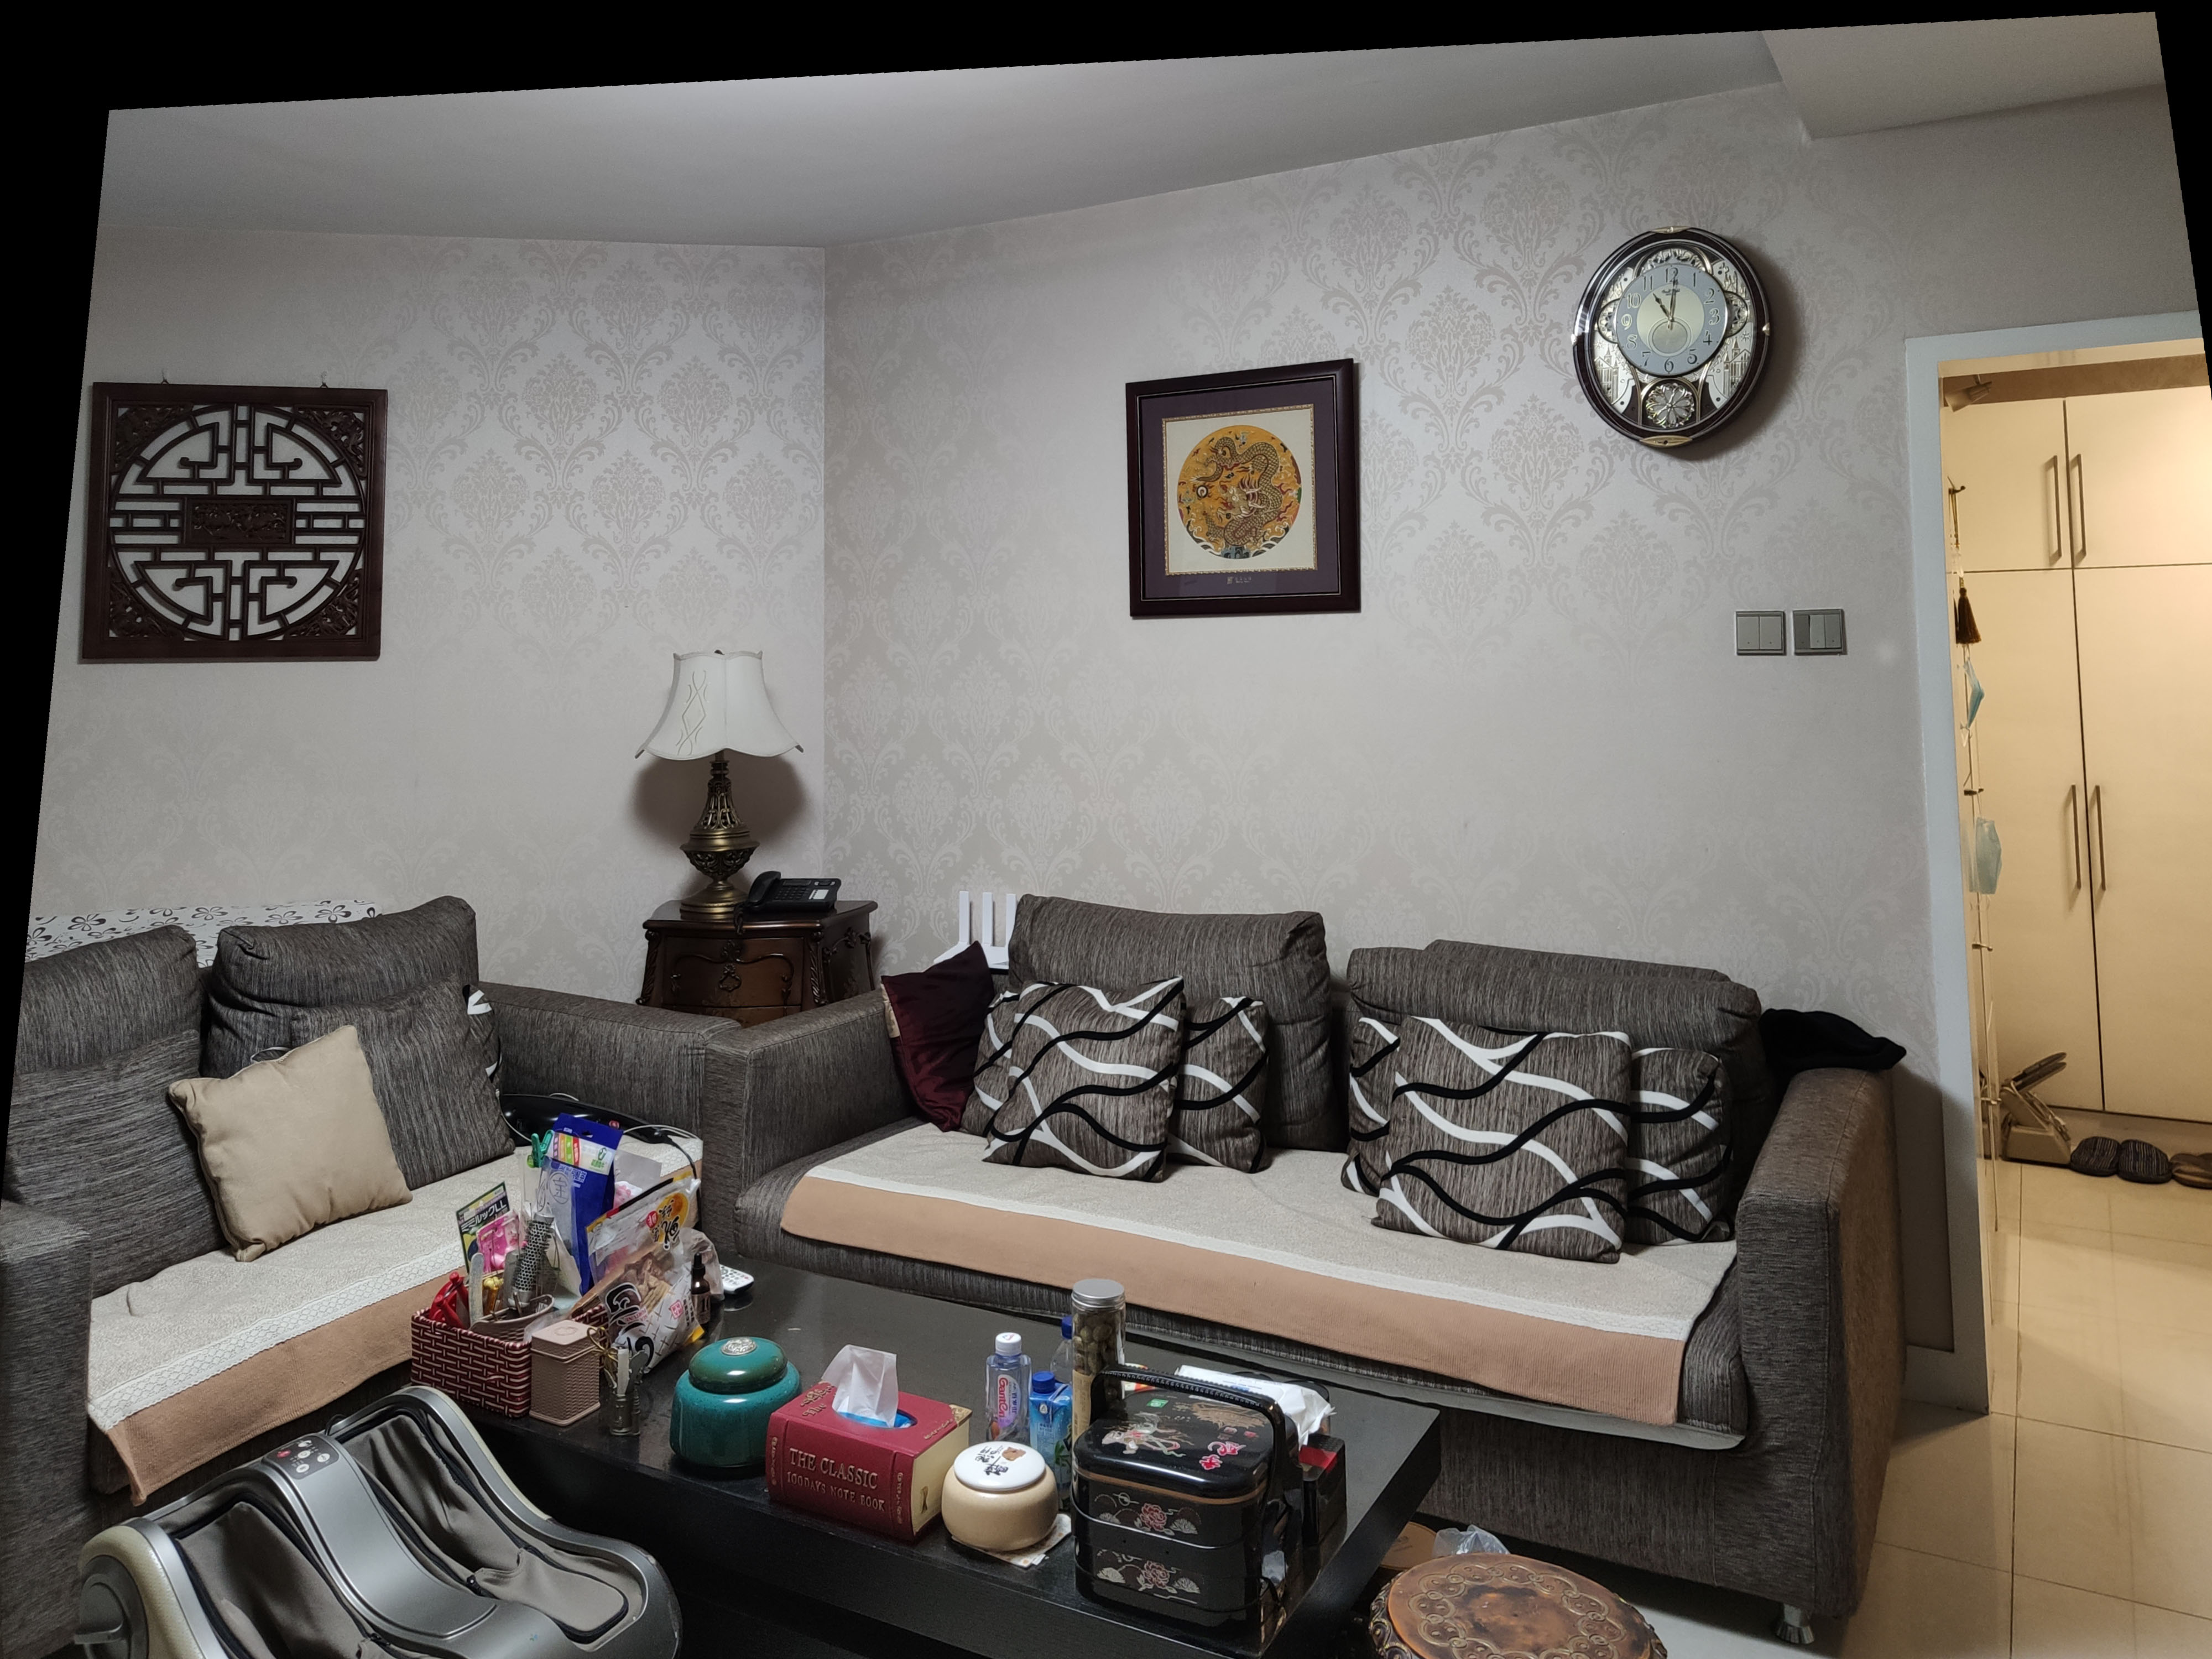
2.1 Shoot the Pictures


2.2 Recover Homographies
Before warping the images into alignment, I need to recover the parameters of the transformation between each pair of images.
The transformation is a homography: p’=Hp, where H is a 3x3 matrix with 8 degrees of freedom.
One way to recover the homography is via a set of (p’,p) pairs of corresponding points taken from the two images.
My homography functions takes the image1 points and image2 points as arguments. They are n-by-2 matrices holding the (x,y) locations of n point correspondences from the two images and H is the recovered 3x3 homography matrix.
To solve homography in python, I used numpy.lstsq, which approximates the overdetermined system using the least square method.
2.3 Warp the Images
After discovering the homographies, we need to apply the transformation matrix \(H\) to all the pixels. I used forward wrapping.
2.4 Image Rectification
Once we warped the image, we would have a rectified picture. We can rectify images and create frontal-parallel or ground-parallel
views of images without using any novel data.
I recovered the homography by computing the projective transformation matrix, H, between the two sets of points. Then, I used the corrospondences
to setup a system of linear equations and solved using least squares to find the parameters for the homography. This homography then allowed us to compute the transformation on the entire image.
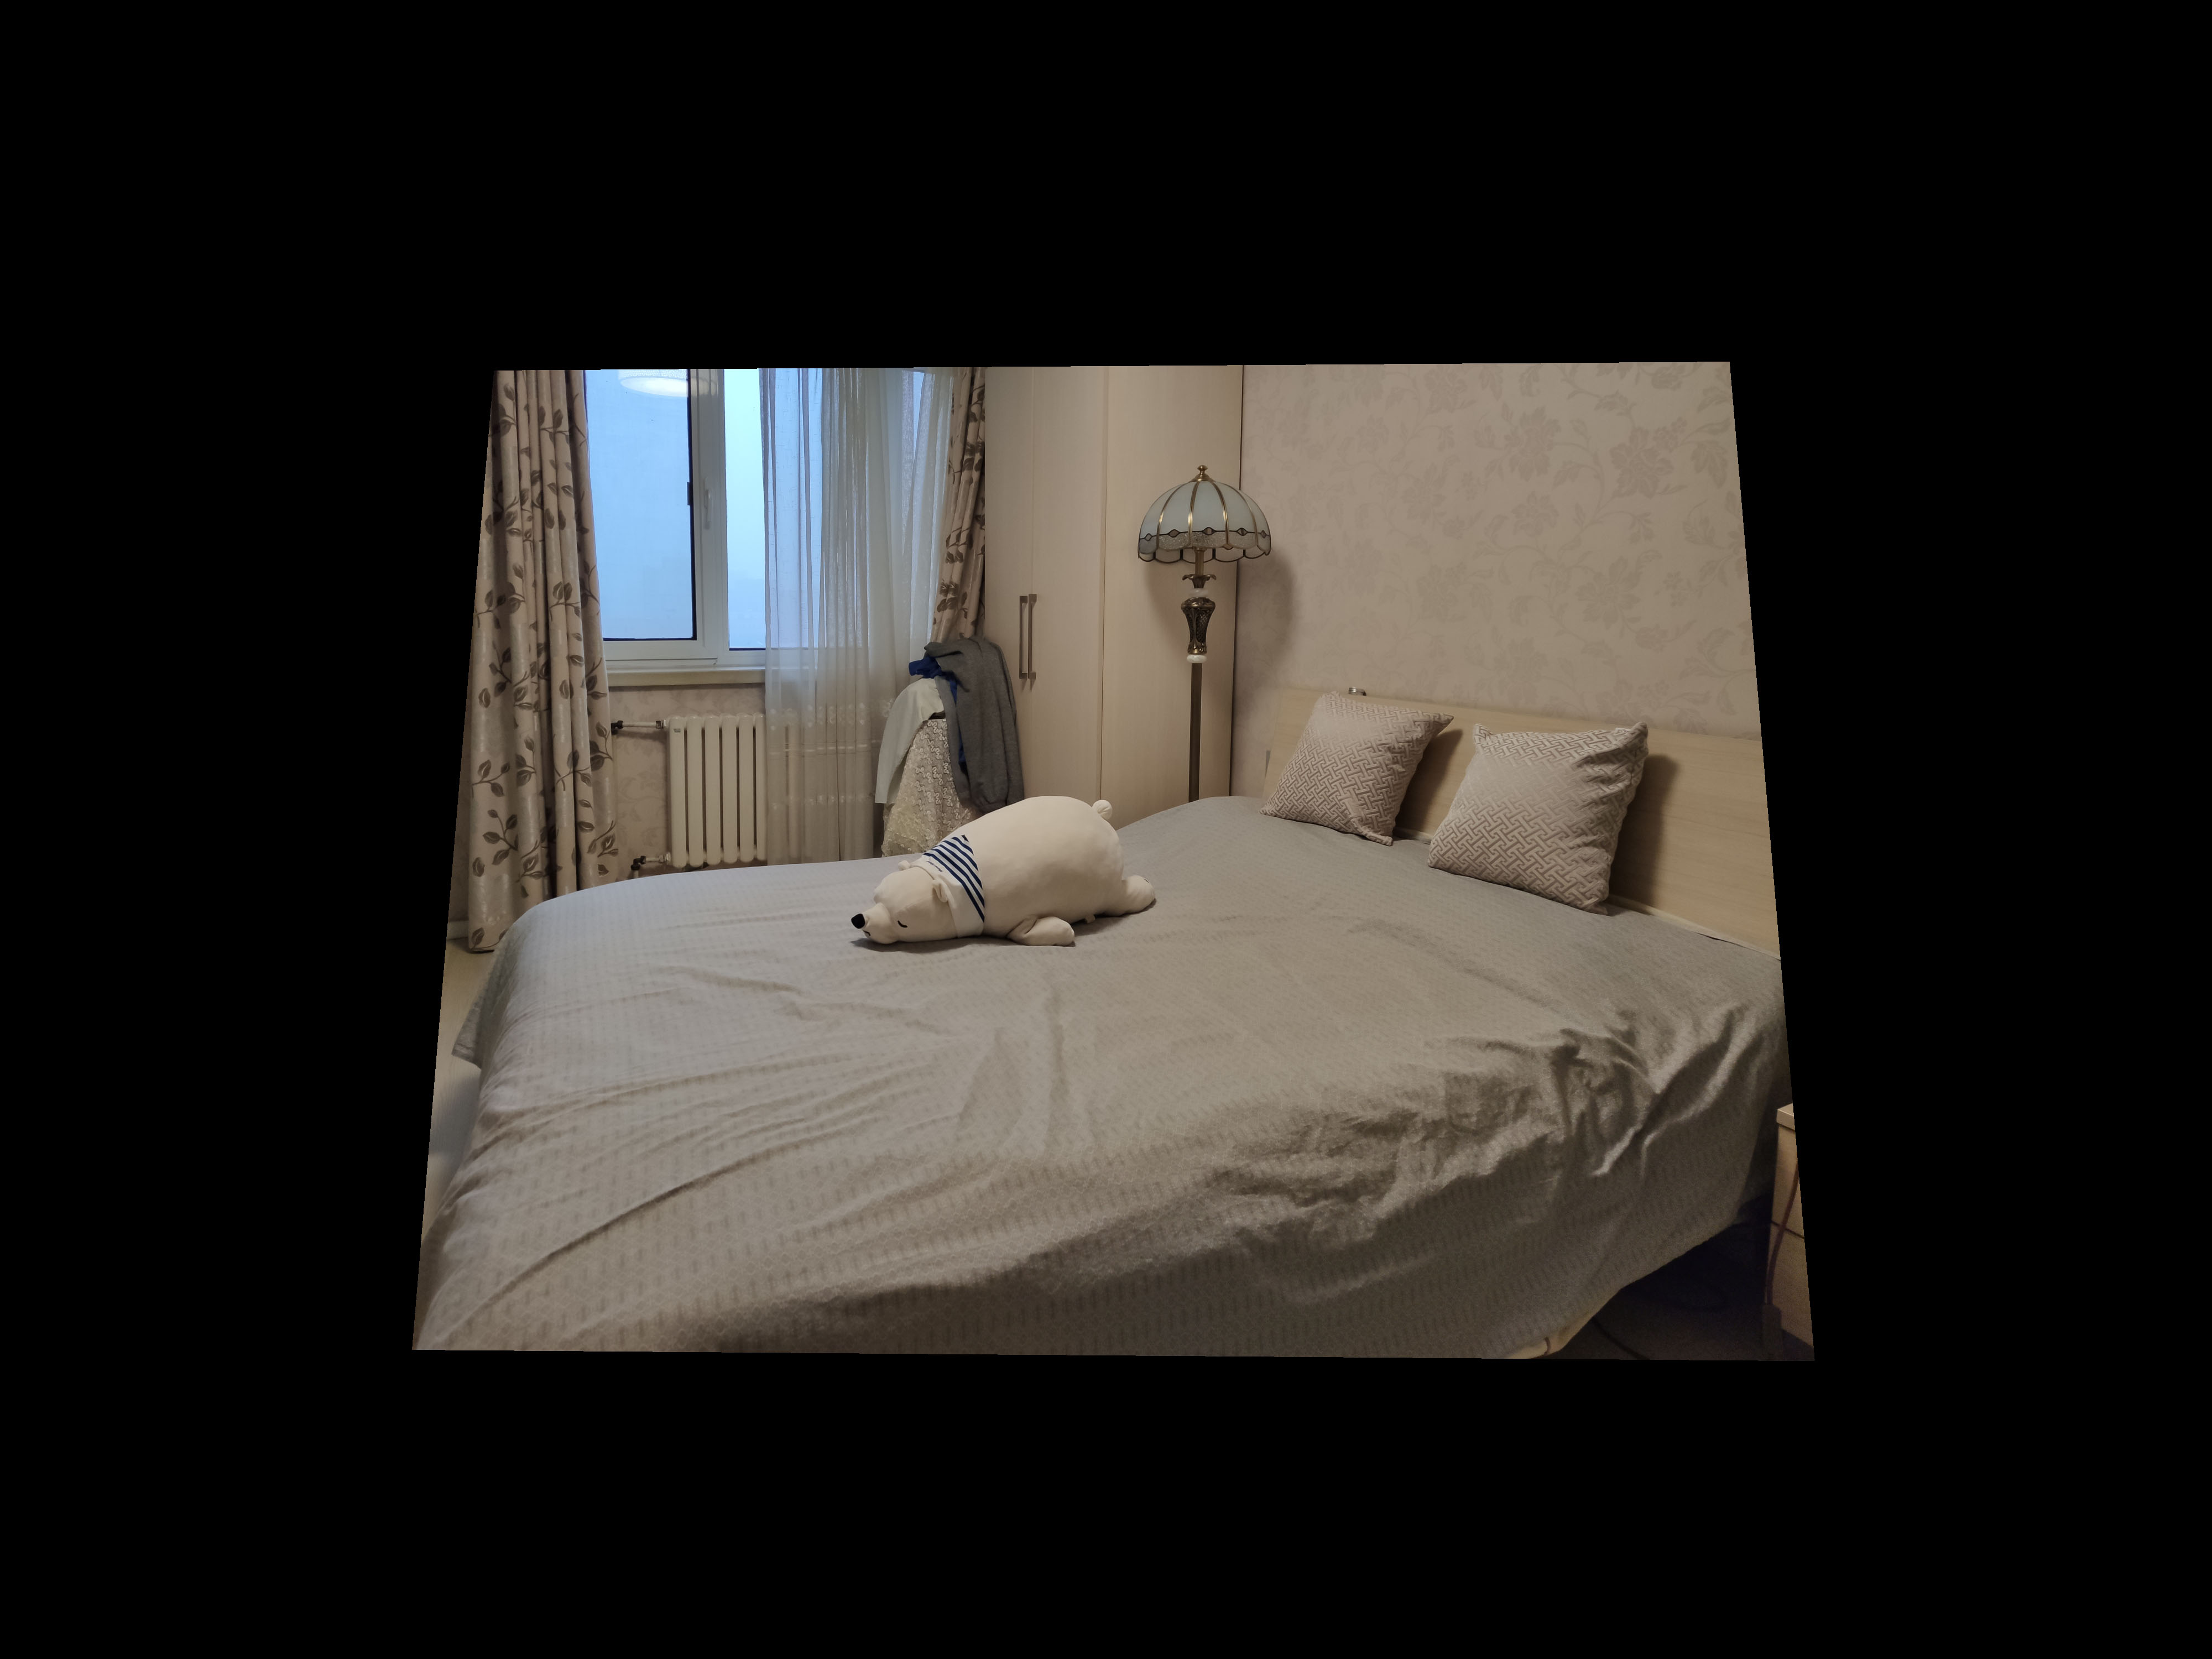
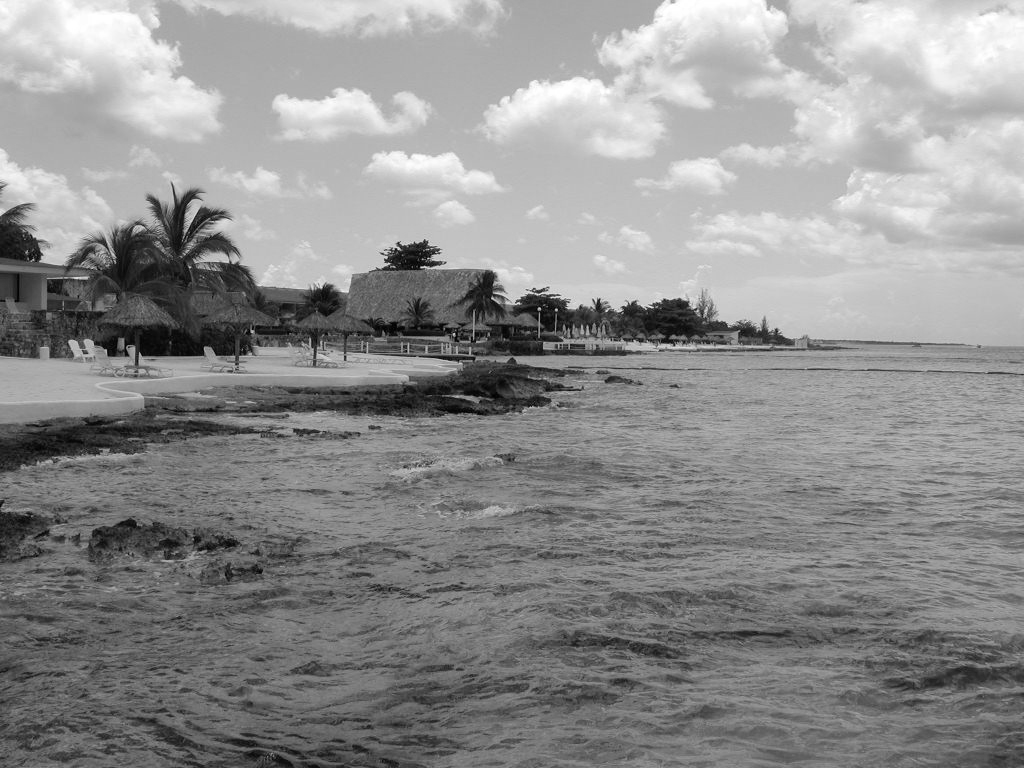
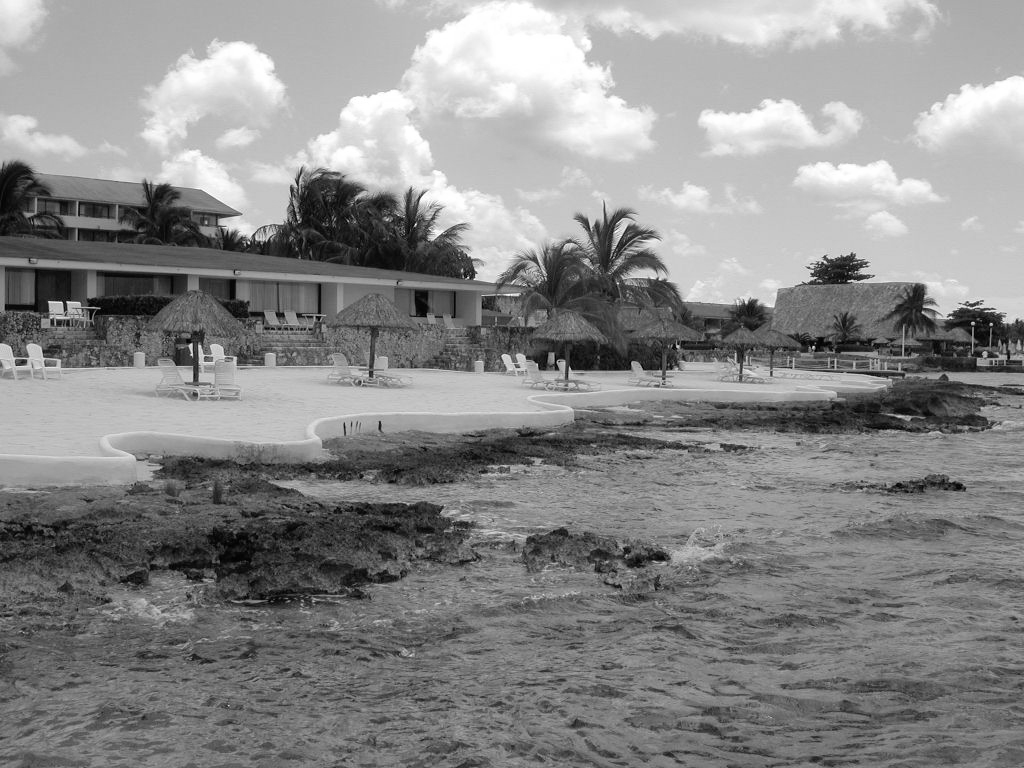
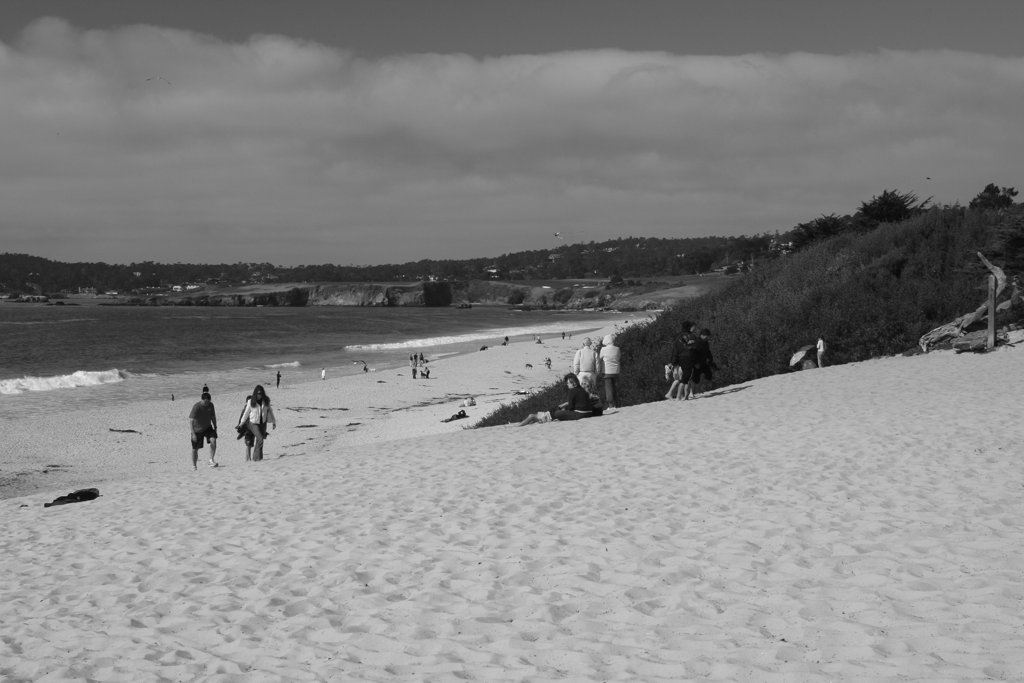
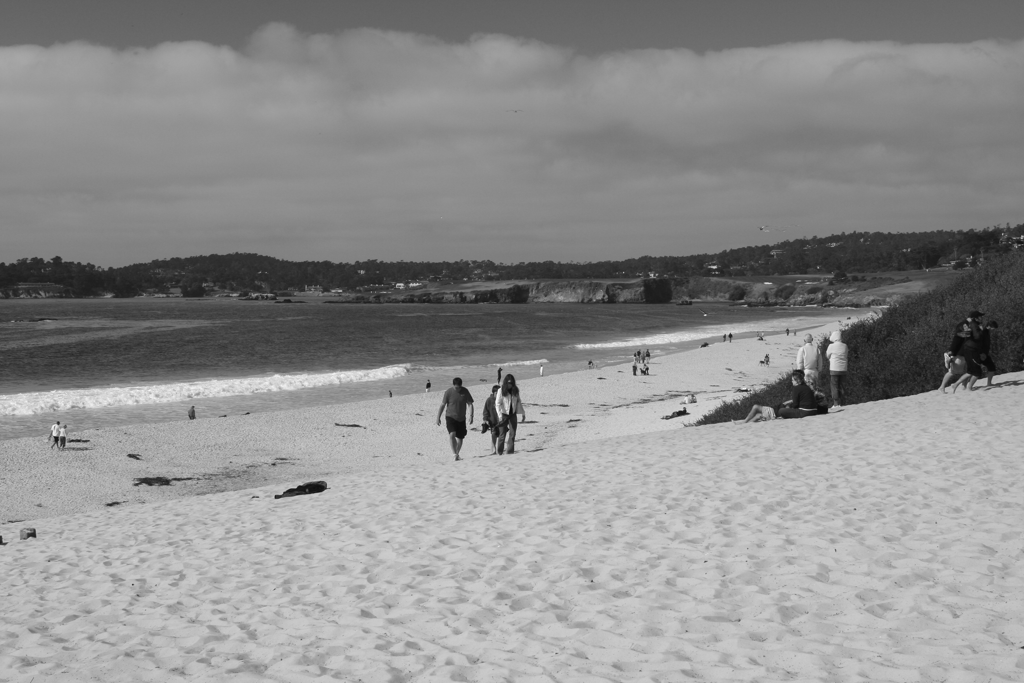
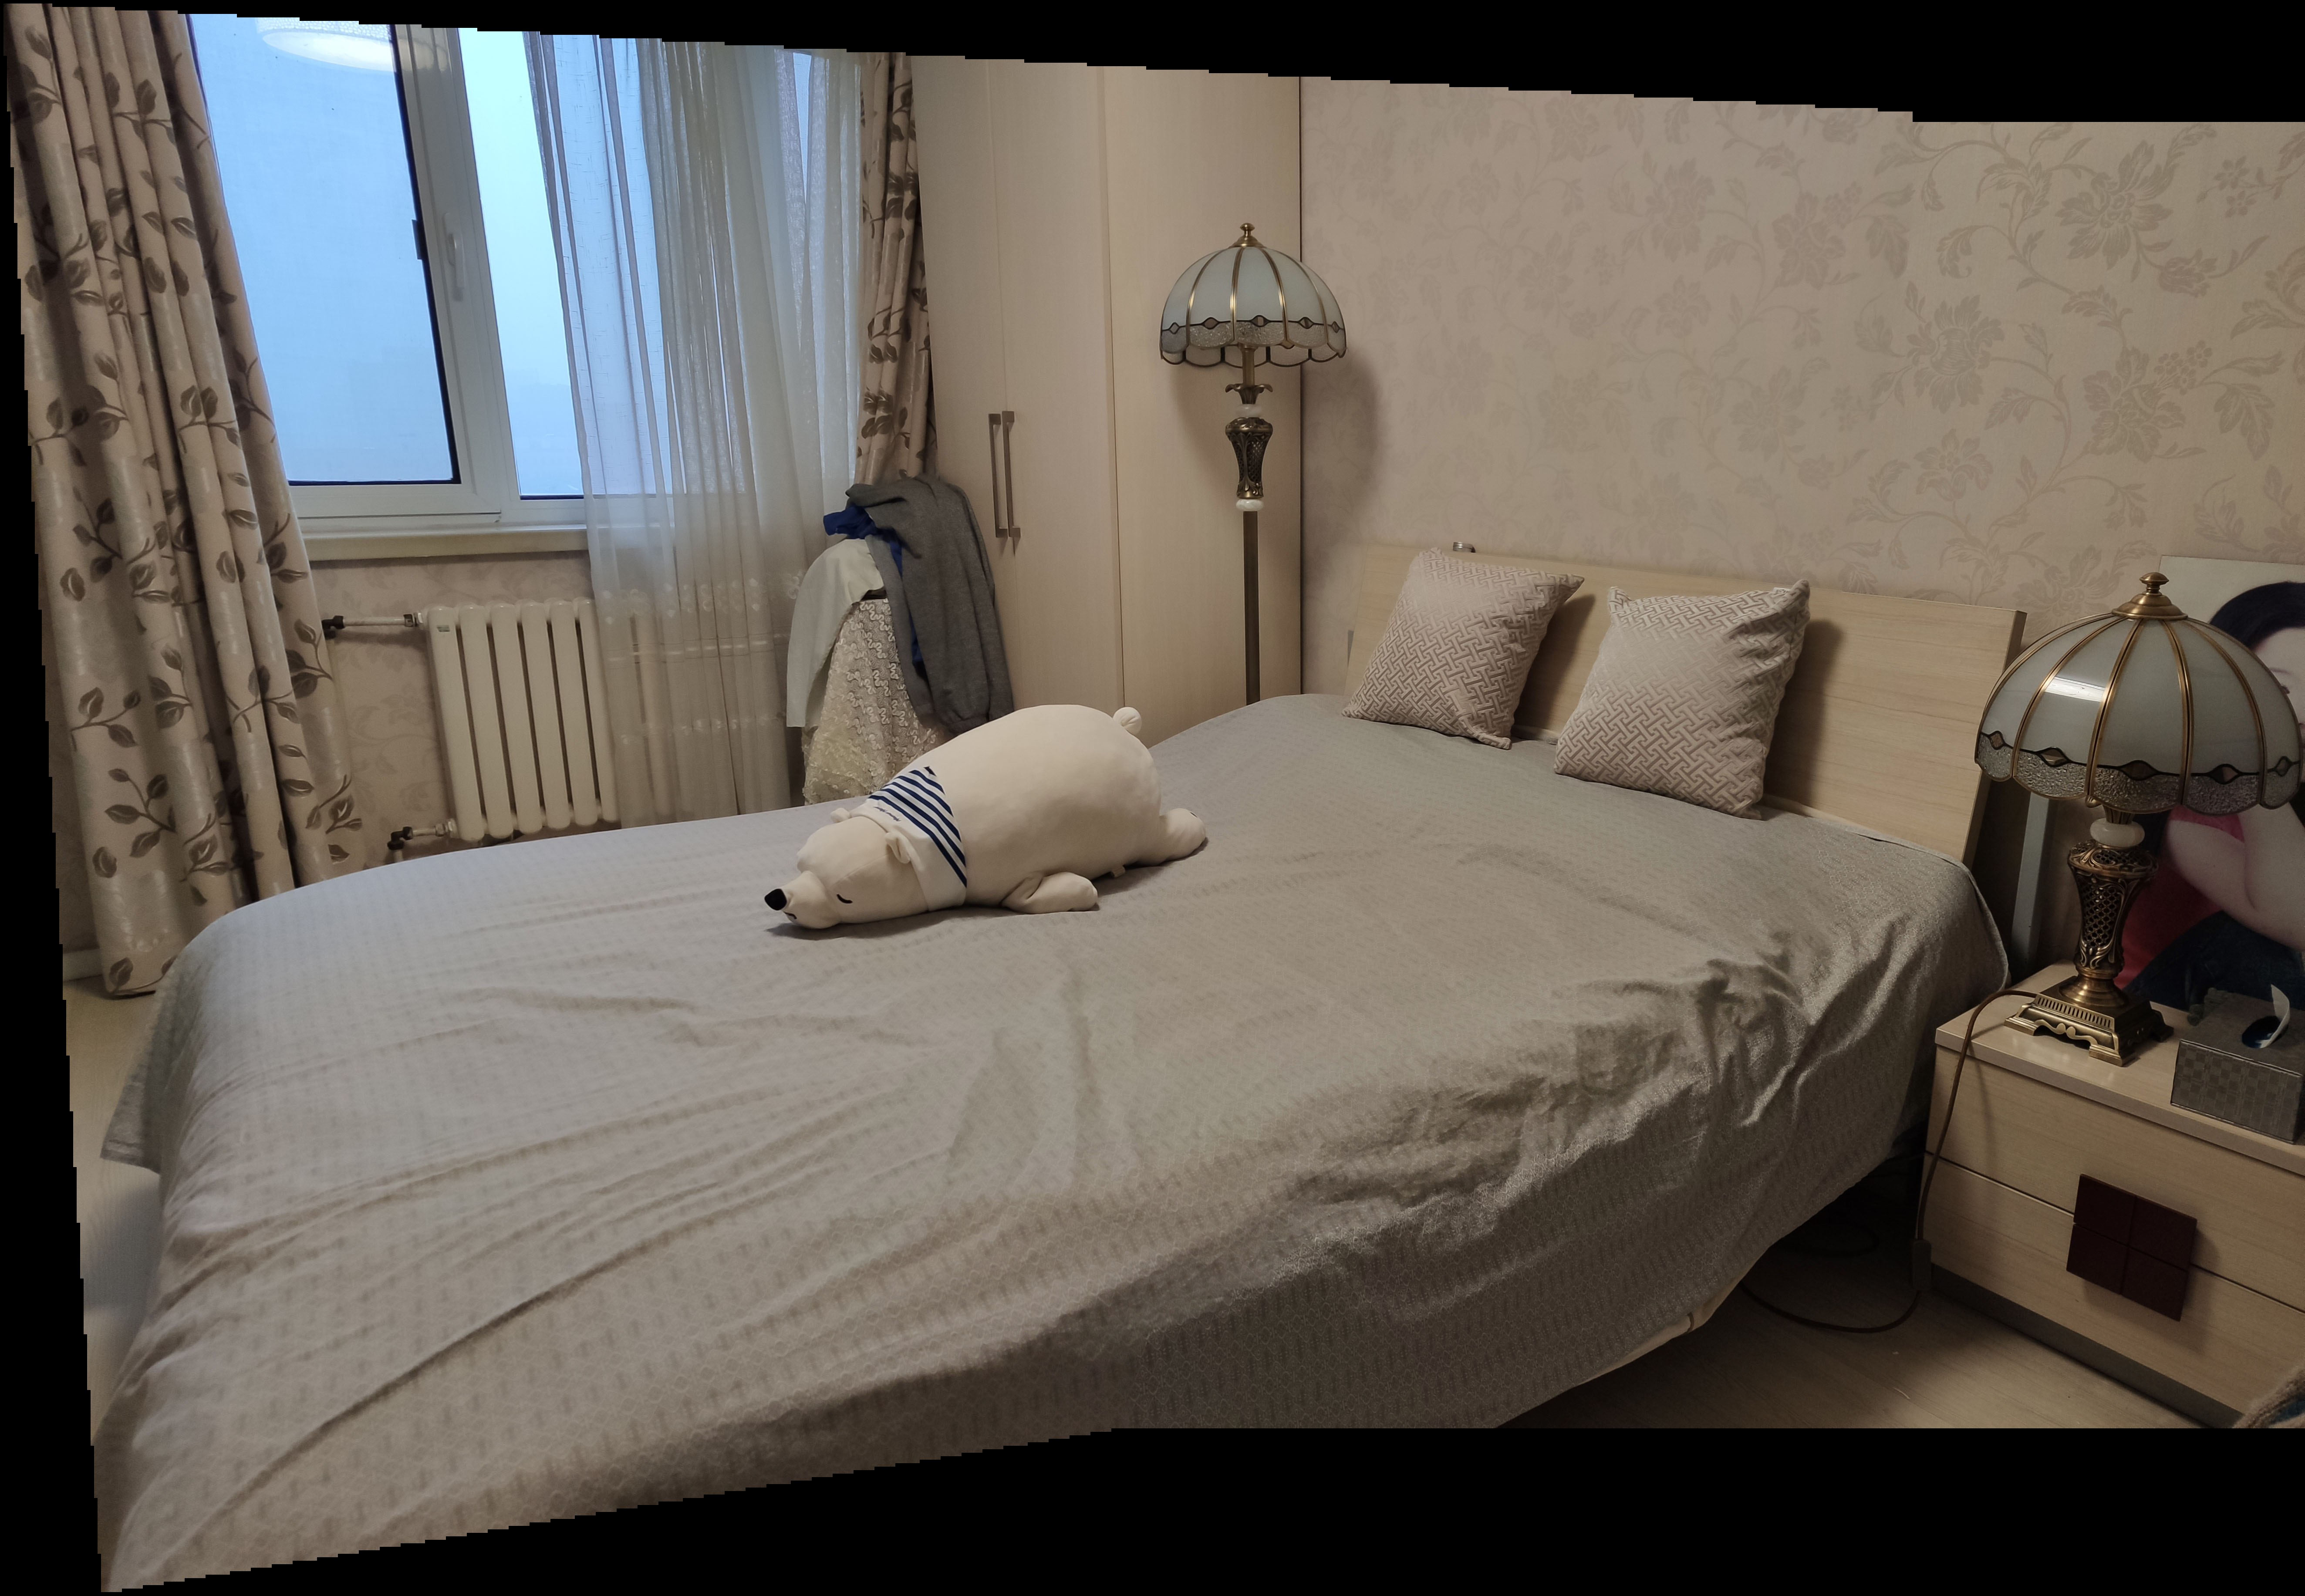
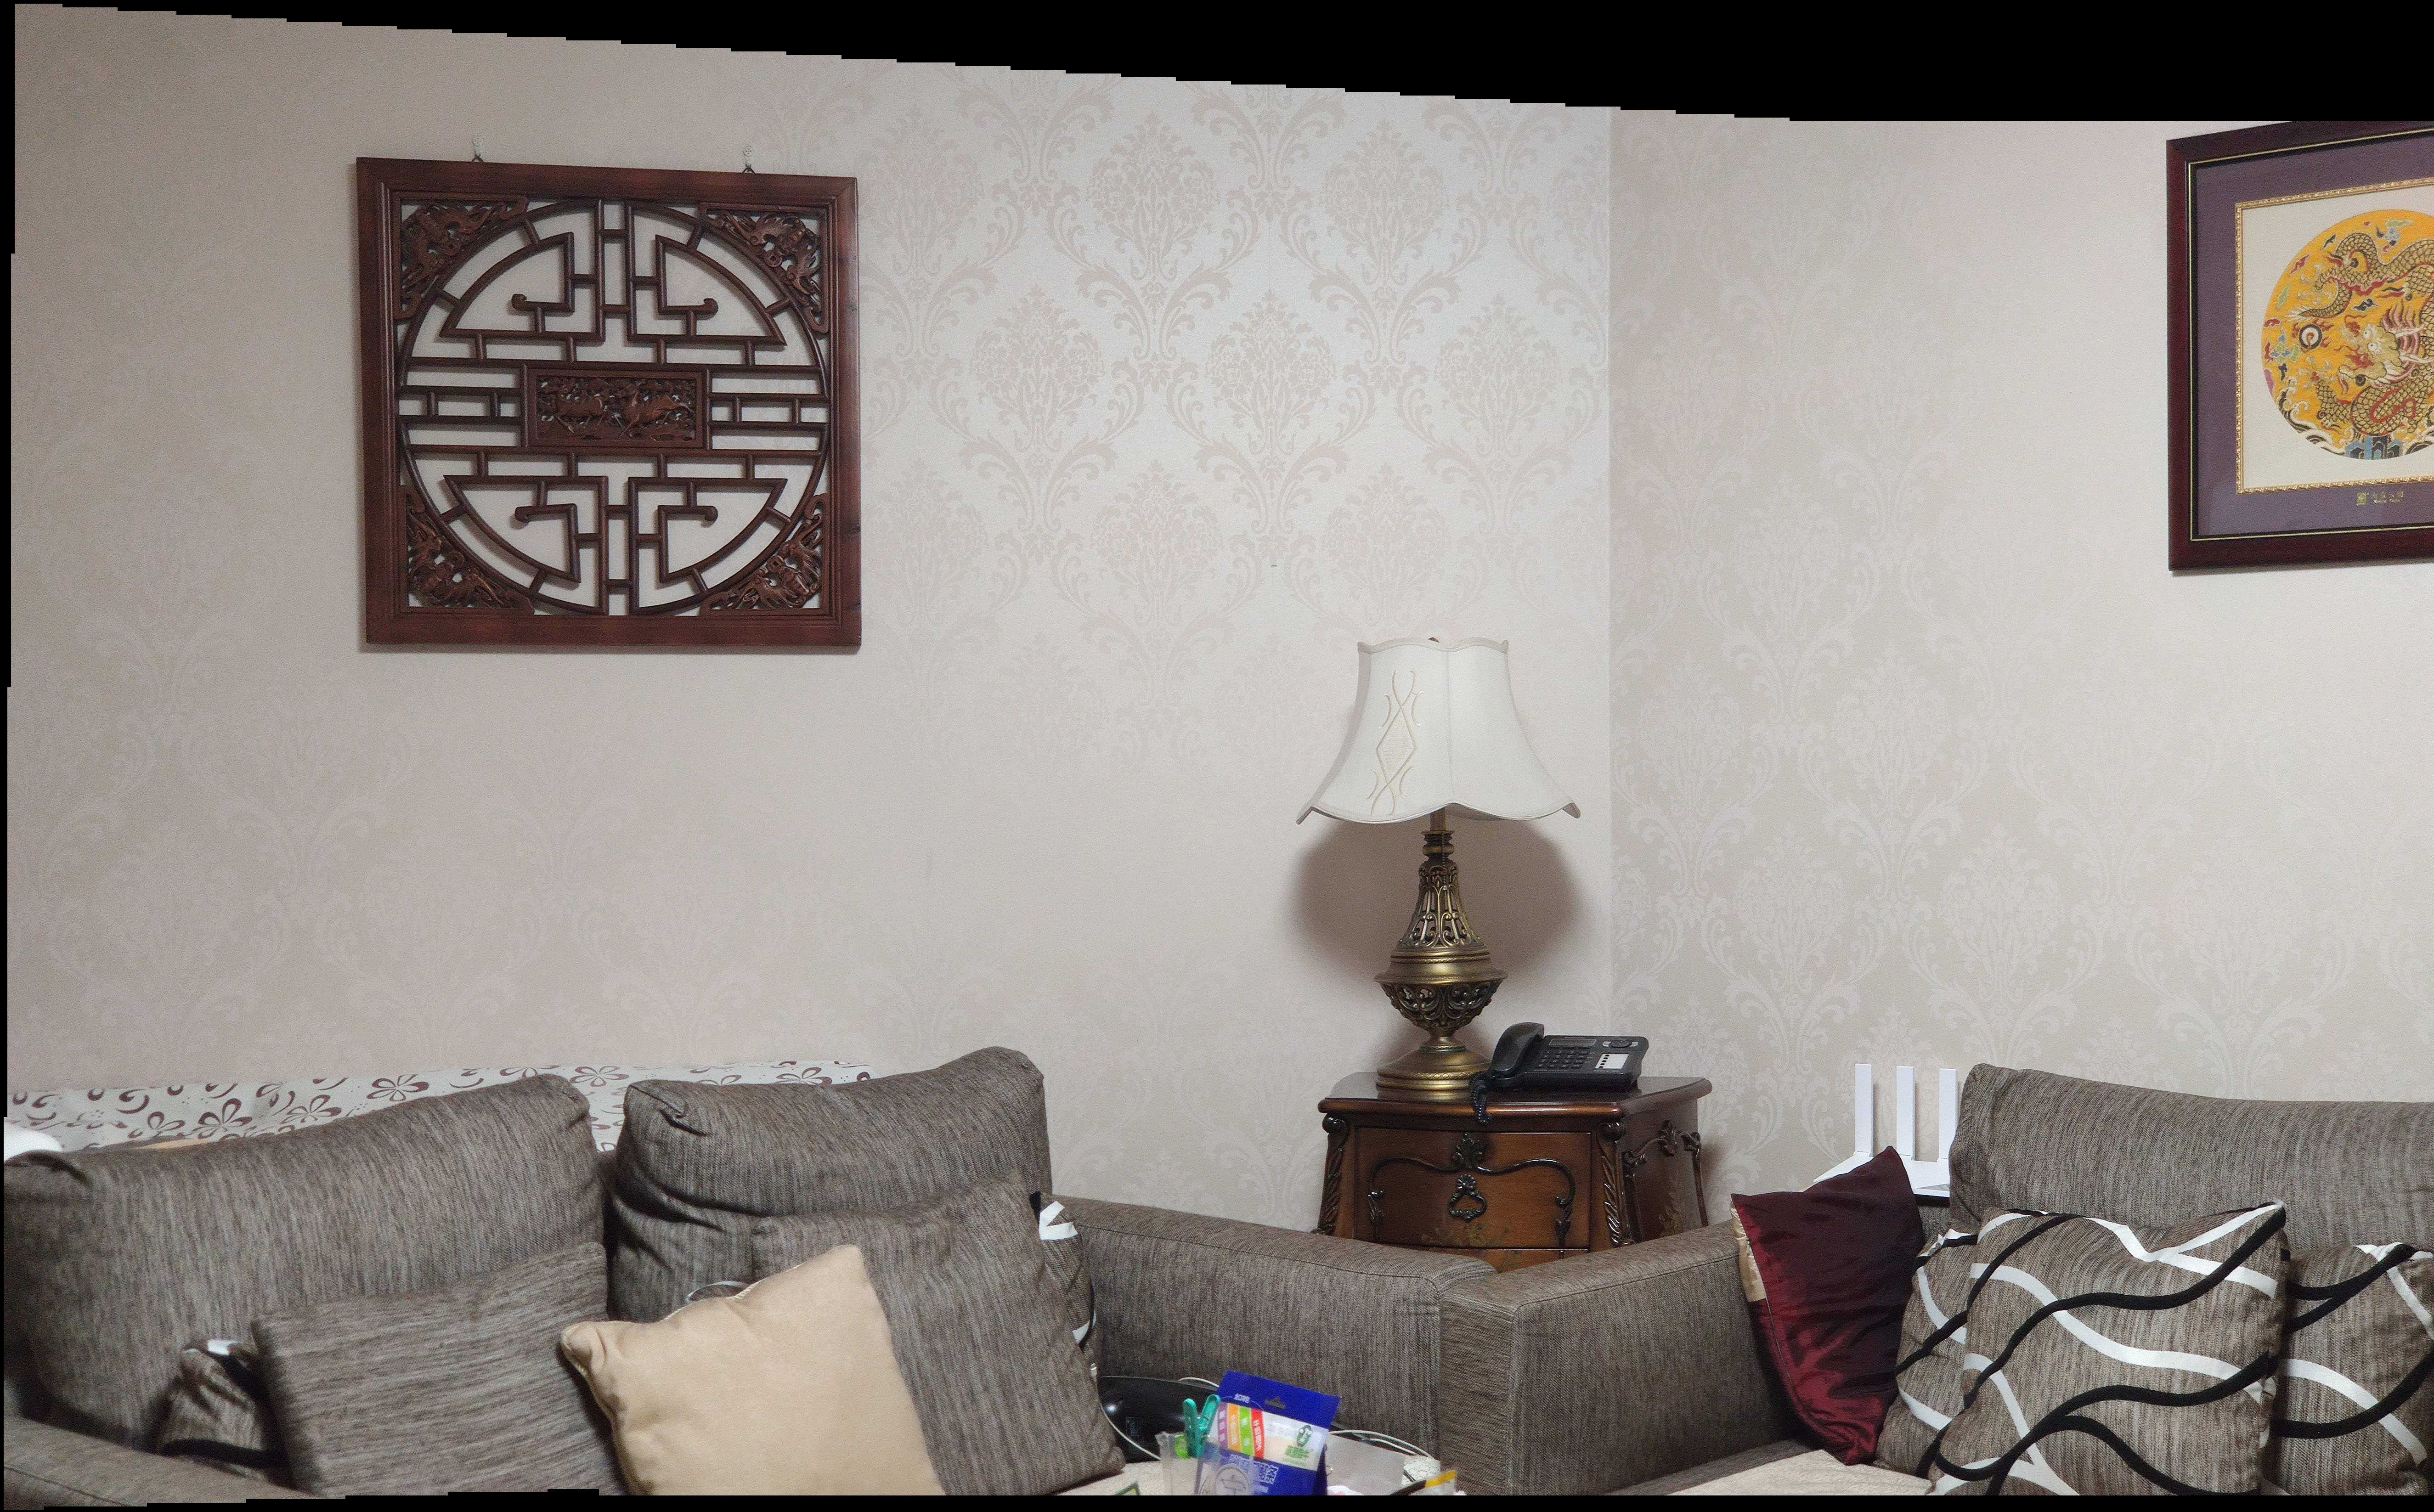
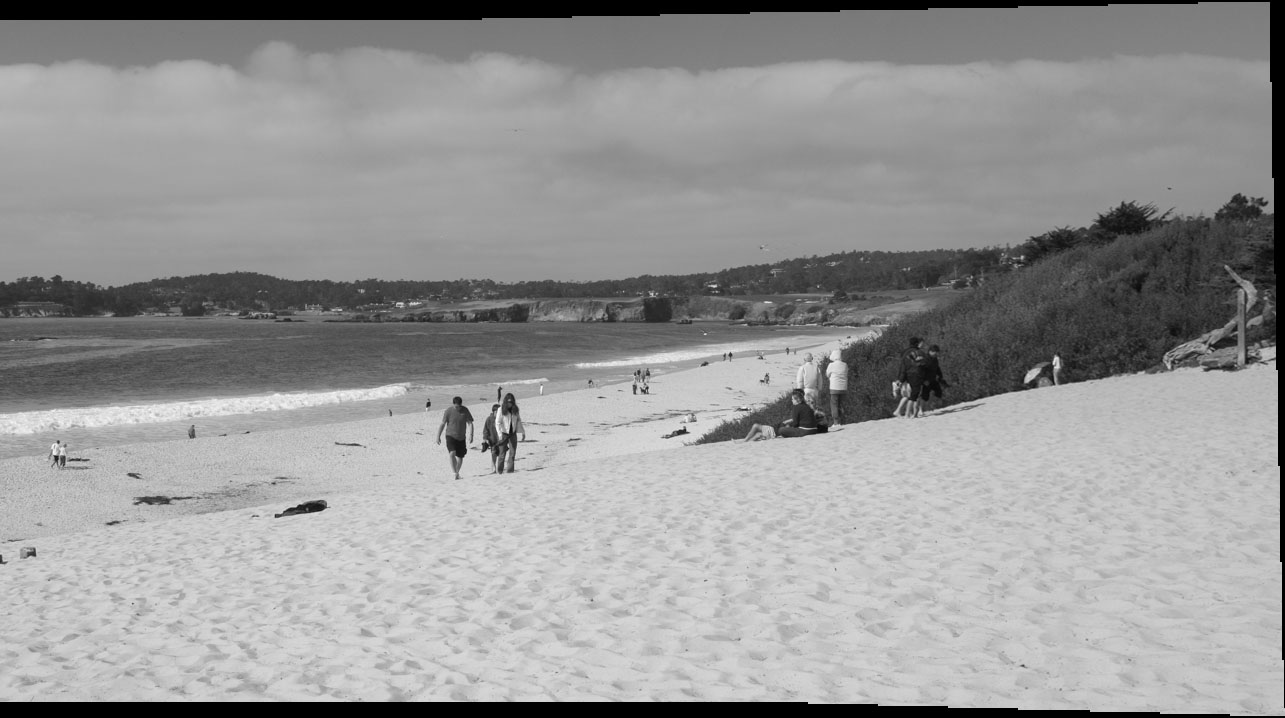
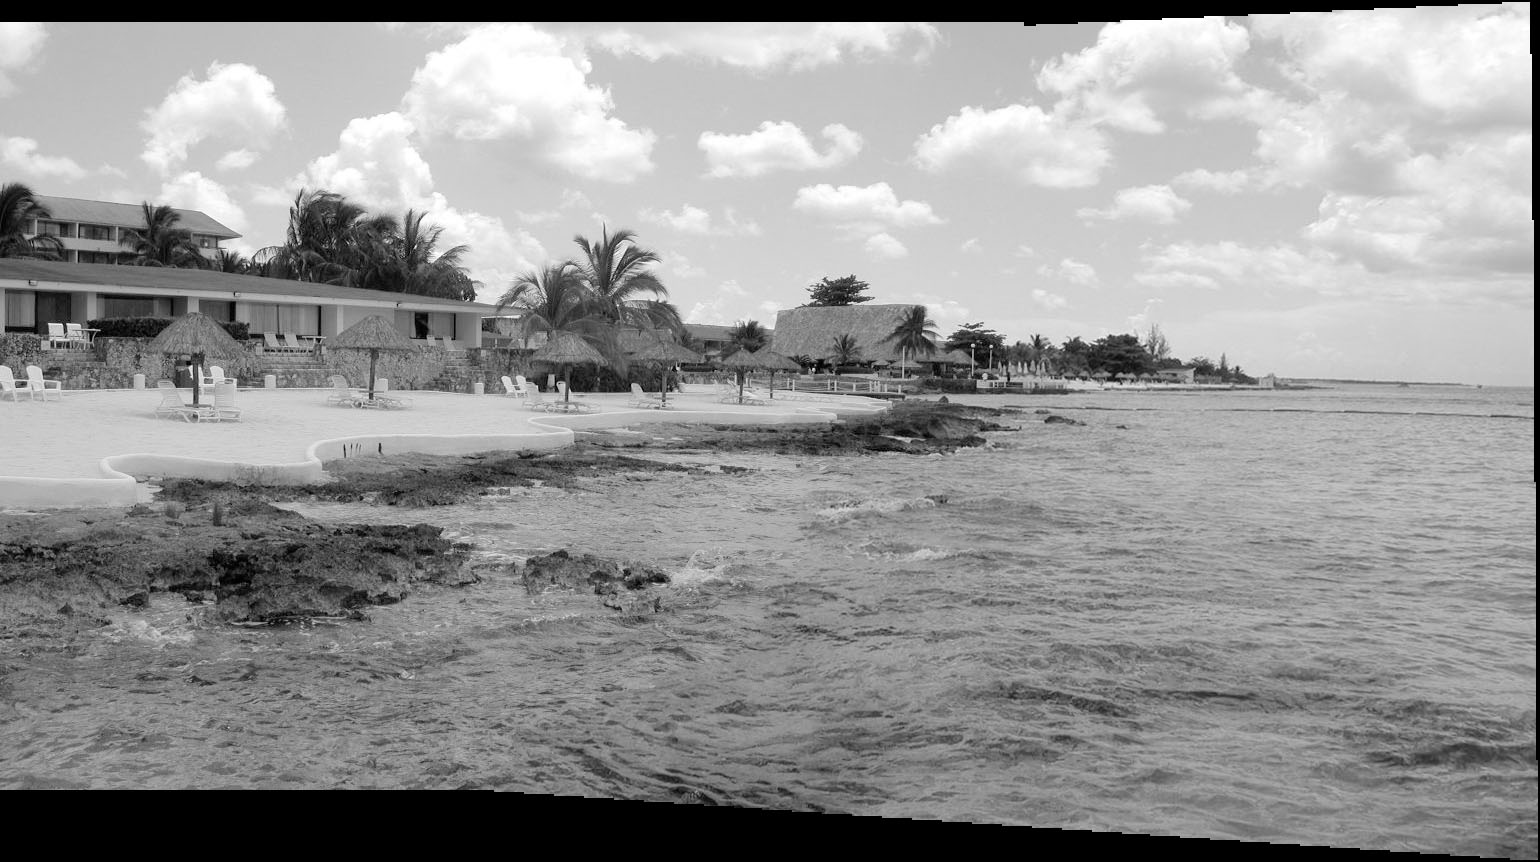
2.5 Mosaic Blending
We finally create digital mosaics and panoramas by stitching together pairs of images. I used alpha calibration blending.
The results are the following:

2.6 What I learned
First, I familarized myself with homography. When I took the Introduction to Robotics class, I once utilized it to transformed the image taken from
the robot's wrist camera. Now, after implementing the function by myself, I noticed it is powerful but not mathematically complicated.
Second, I was surprised at how accurate image rectification can really be, and especially how it can be used to view shapes and drawings from completely different angles,
offering new perspectives on elements of our visible world!