
This two-part project is focused on transforming and combining multiple photographs to form a single, cohesive image.
In this part of the project, I performed image mosaicing by taking two or more photographs and creating an image mosaic by registering, projective warping, resampling, and compositing them. Below, I will walk through the steps I took to produce my final result for this part.
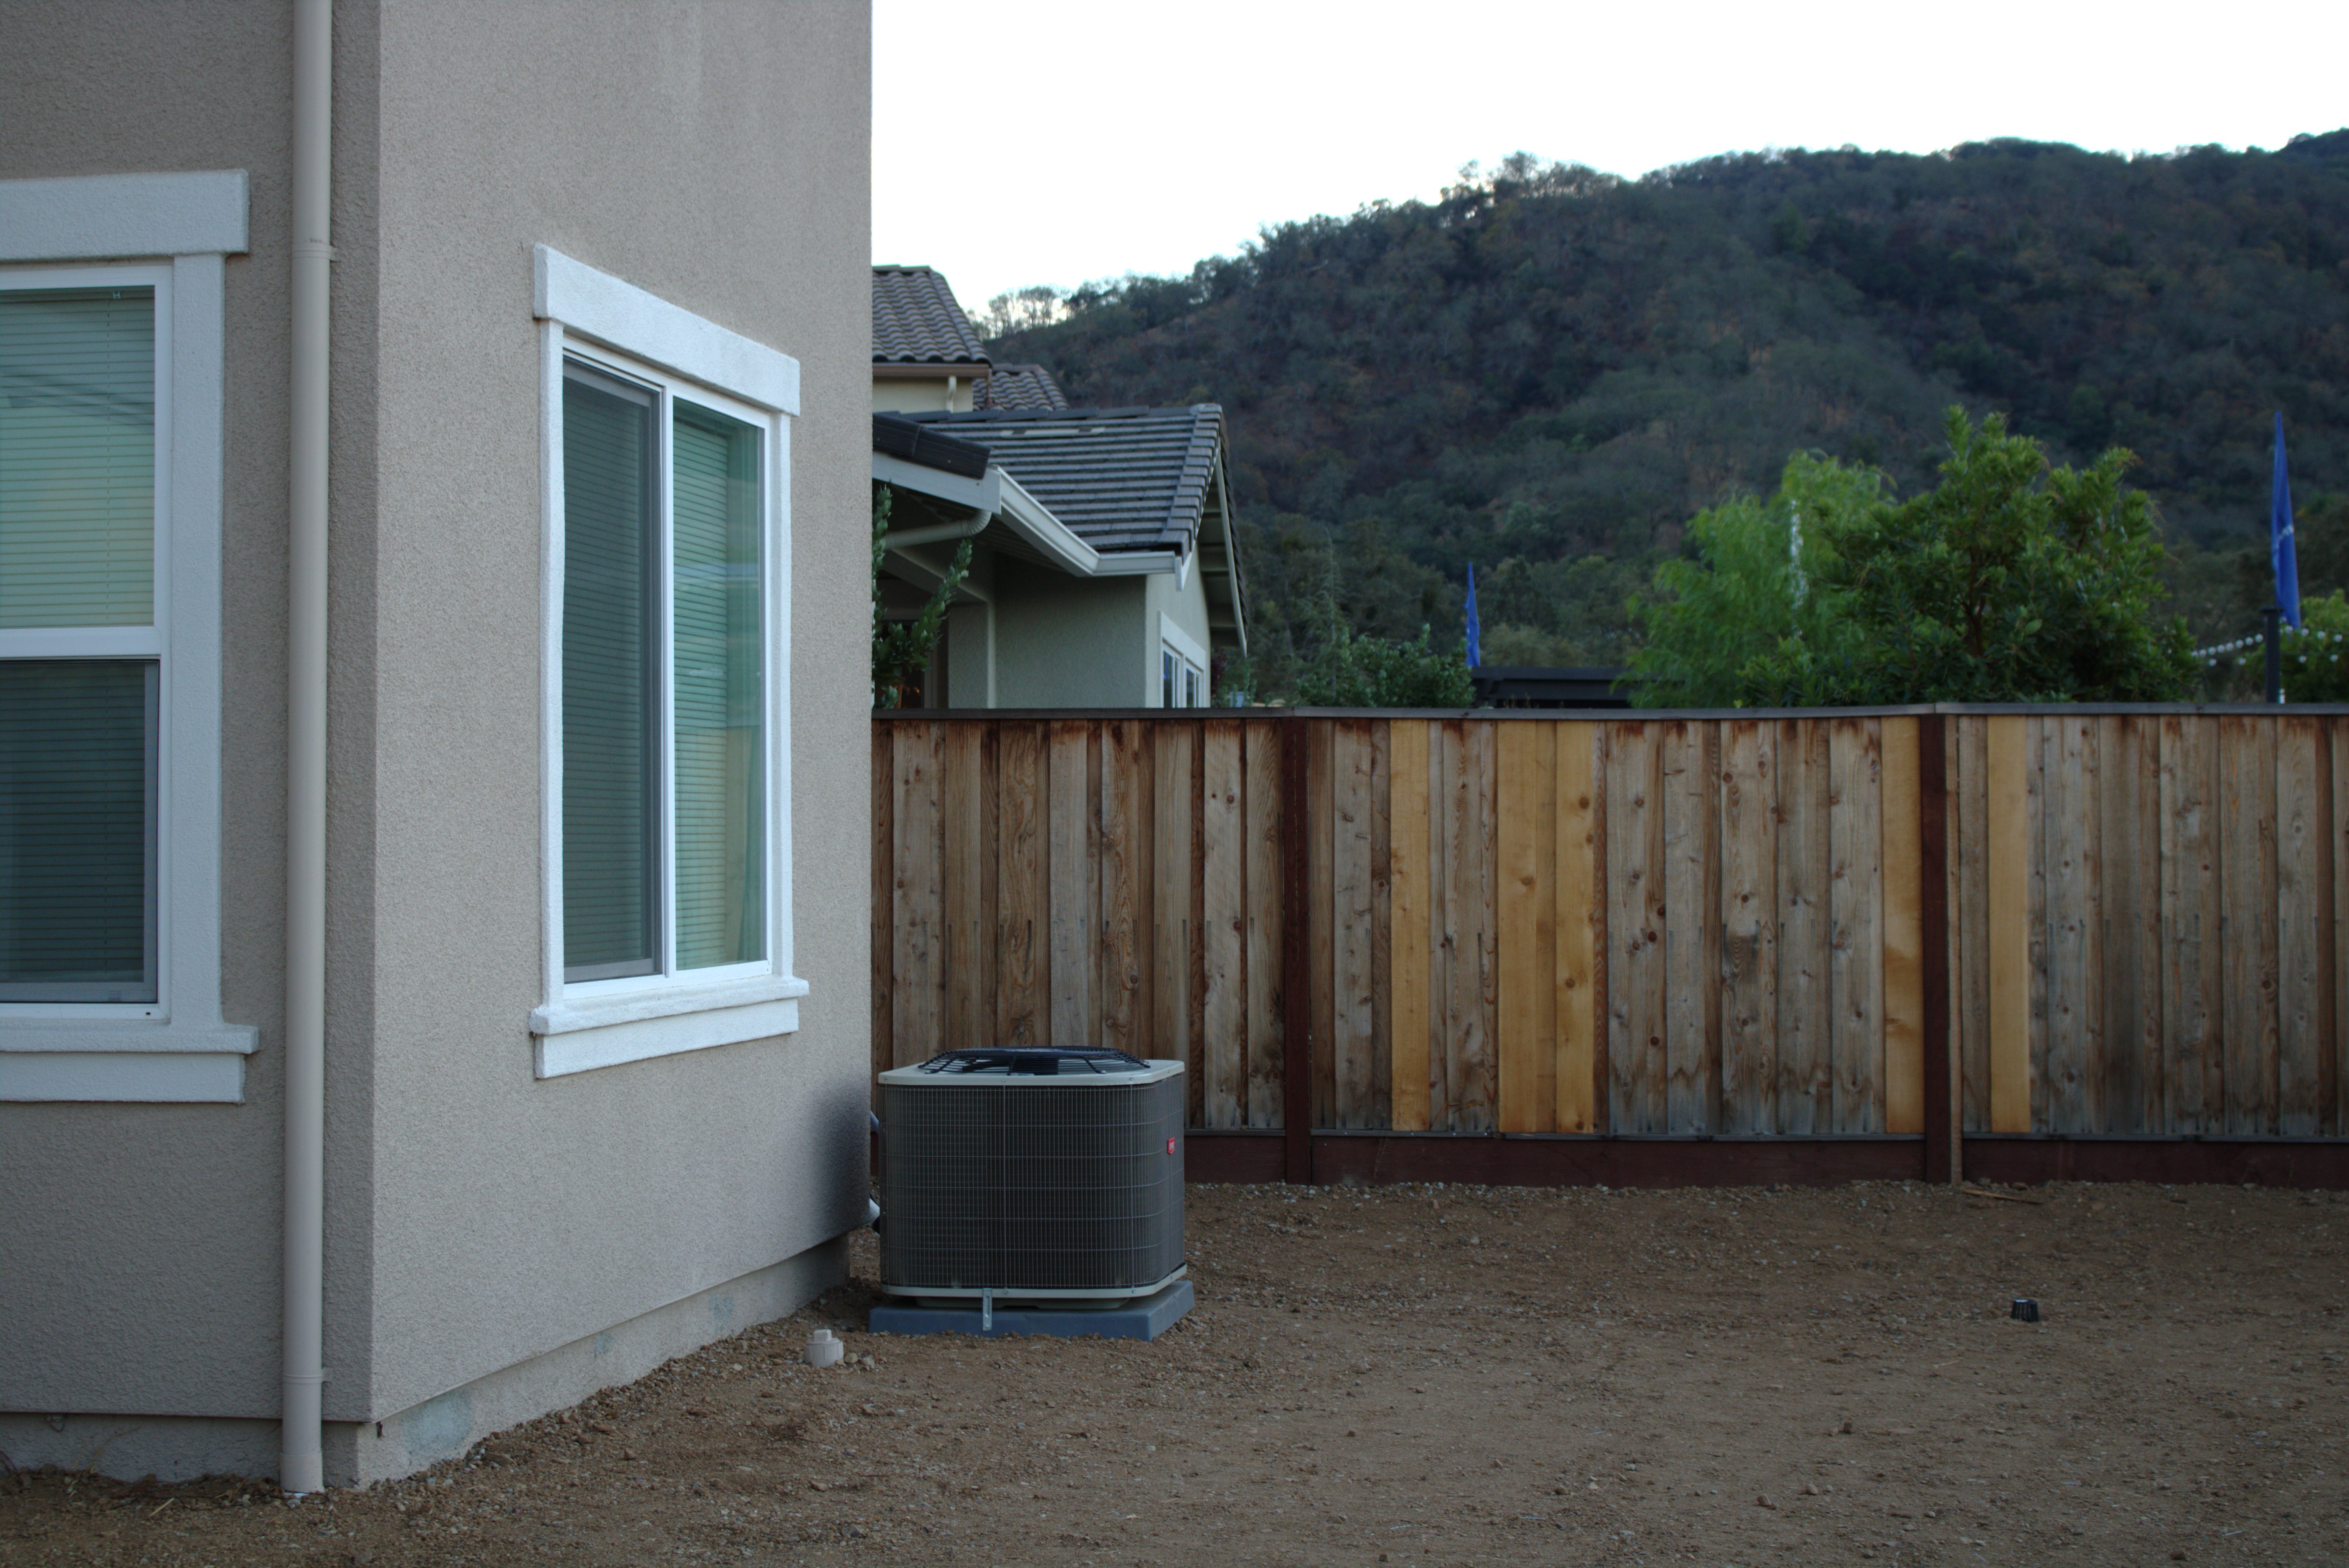
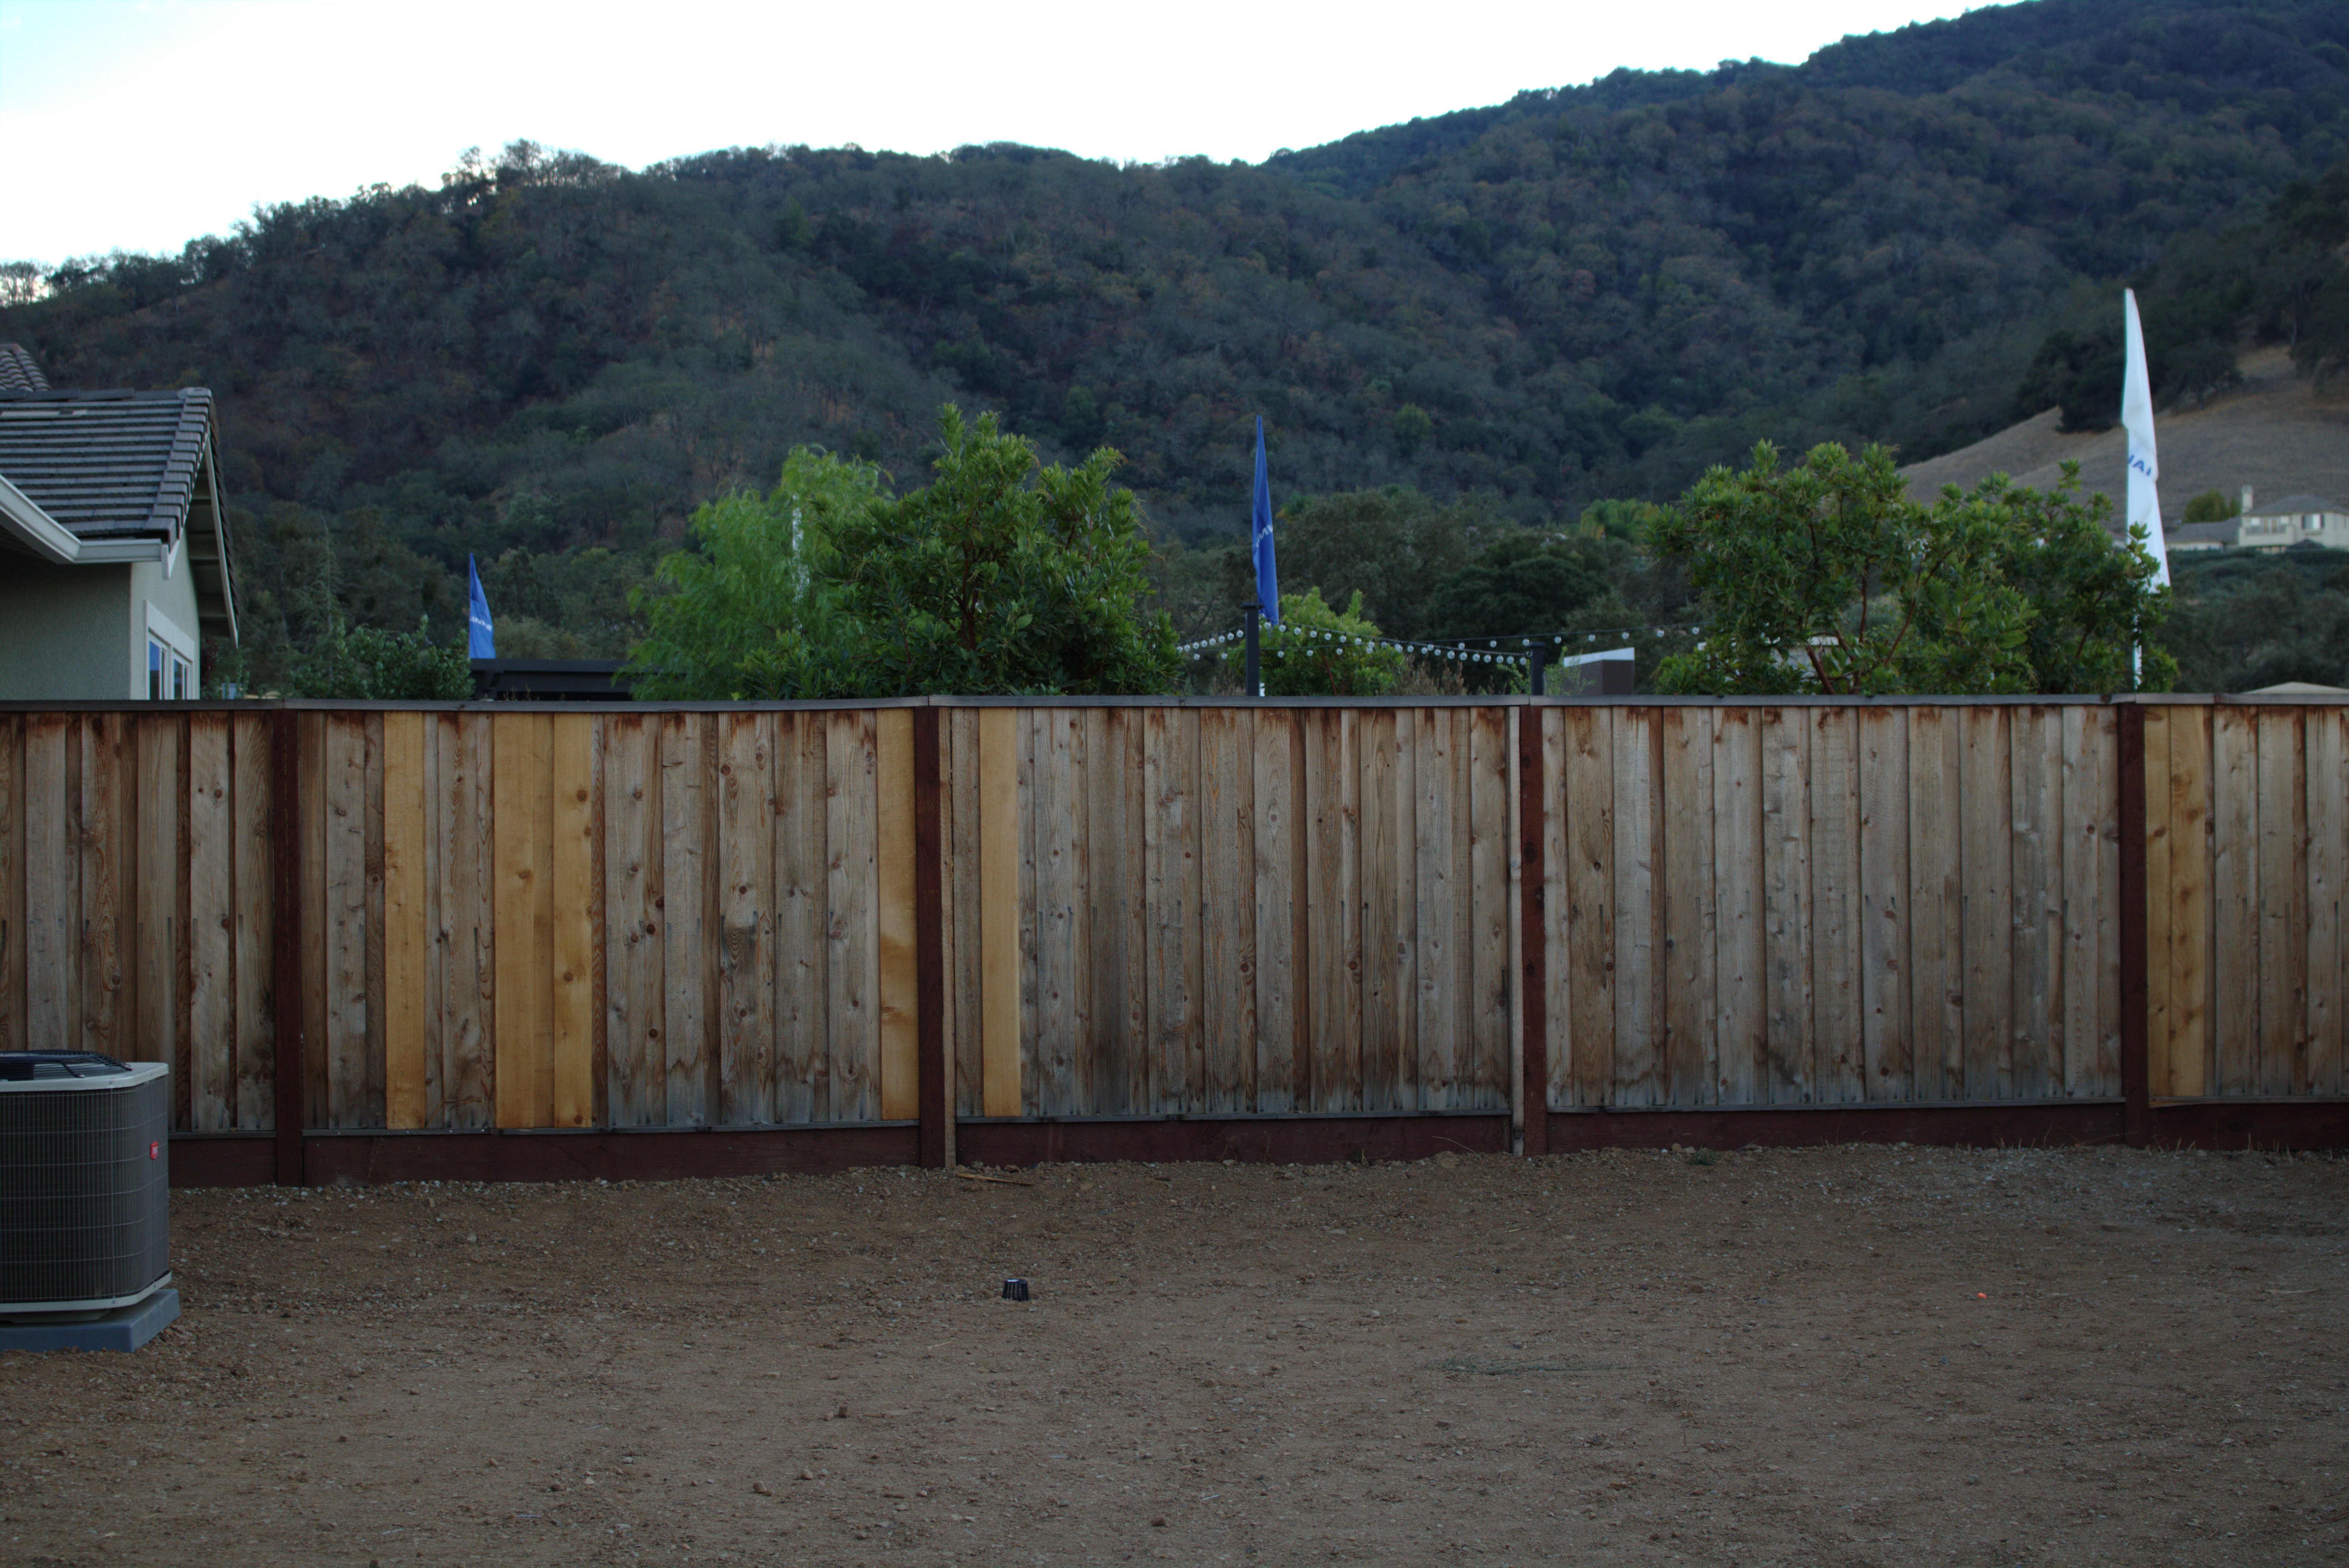
Below are the photograph sets I took. I aimed for 40-70% overlap between consecutive photos, using a tripod to maintain the same camera position while varying viewpoint.
Set 1: Scene
| scene 0 | scene 1 | scene 2 |
|---|---|---|
|
|
|
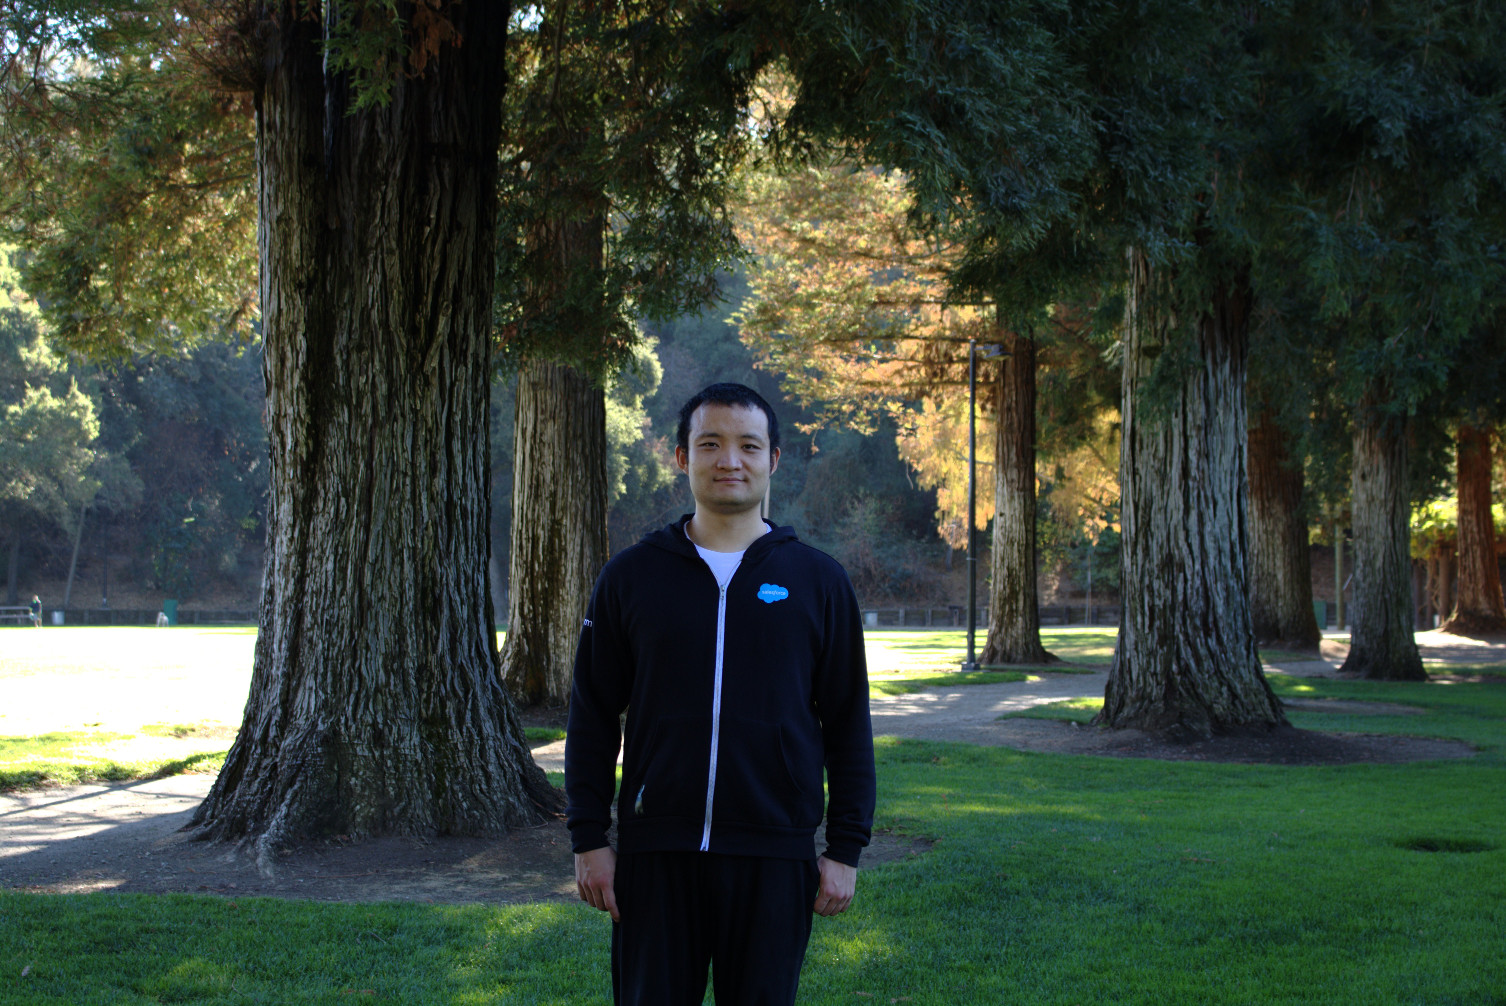
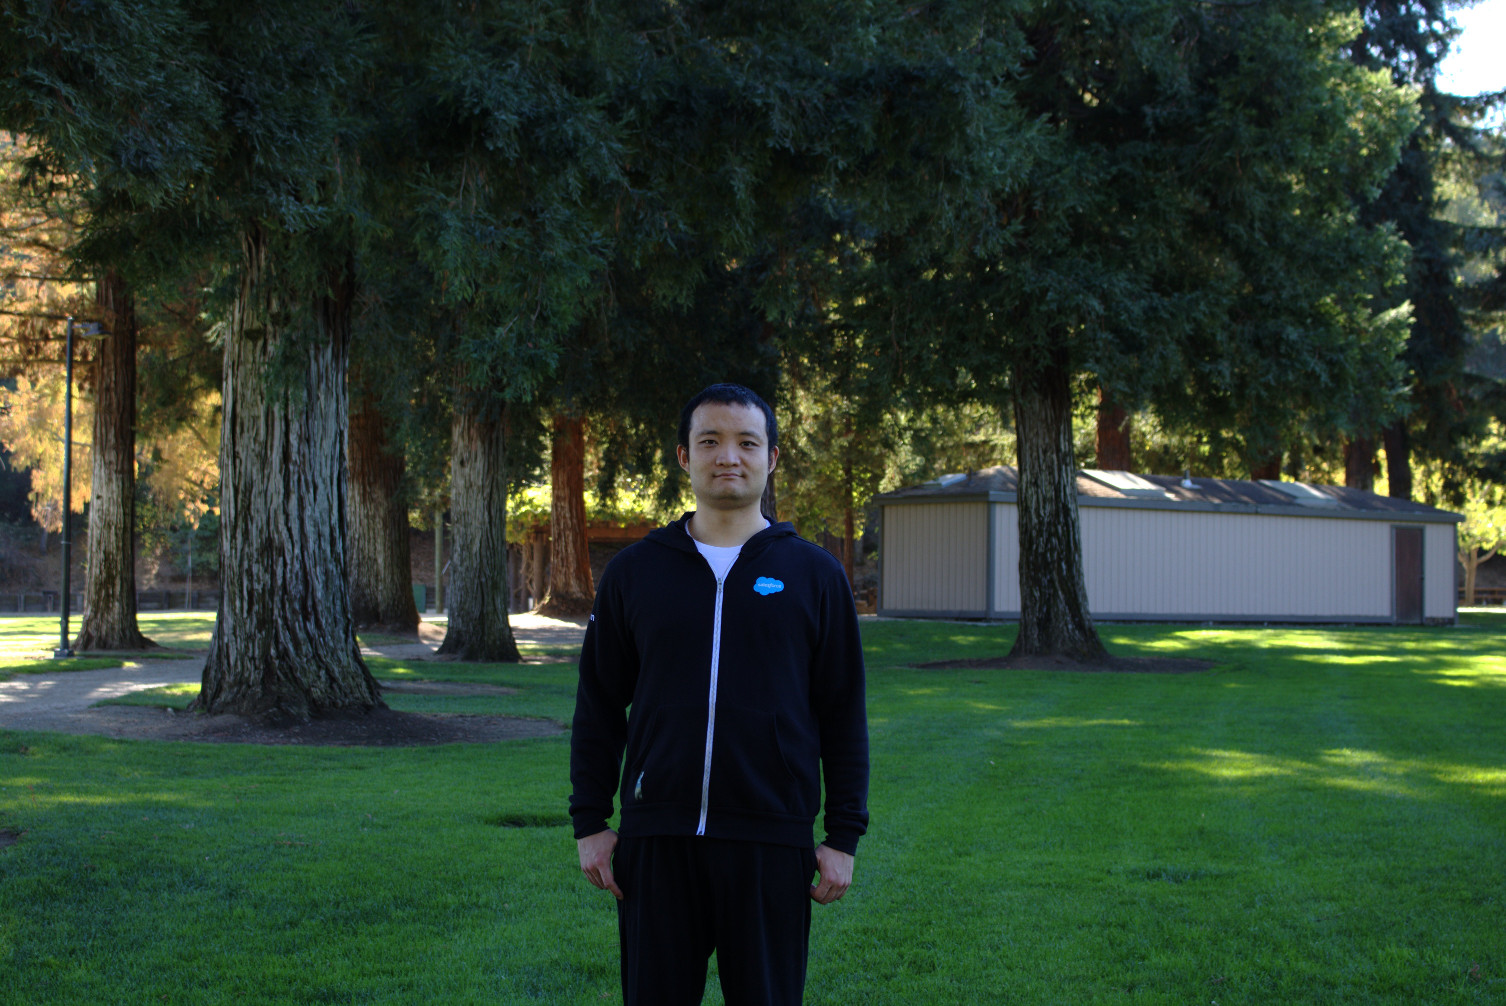
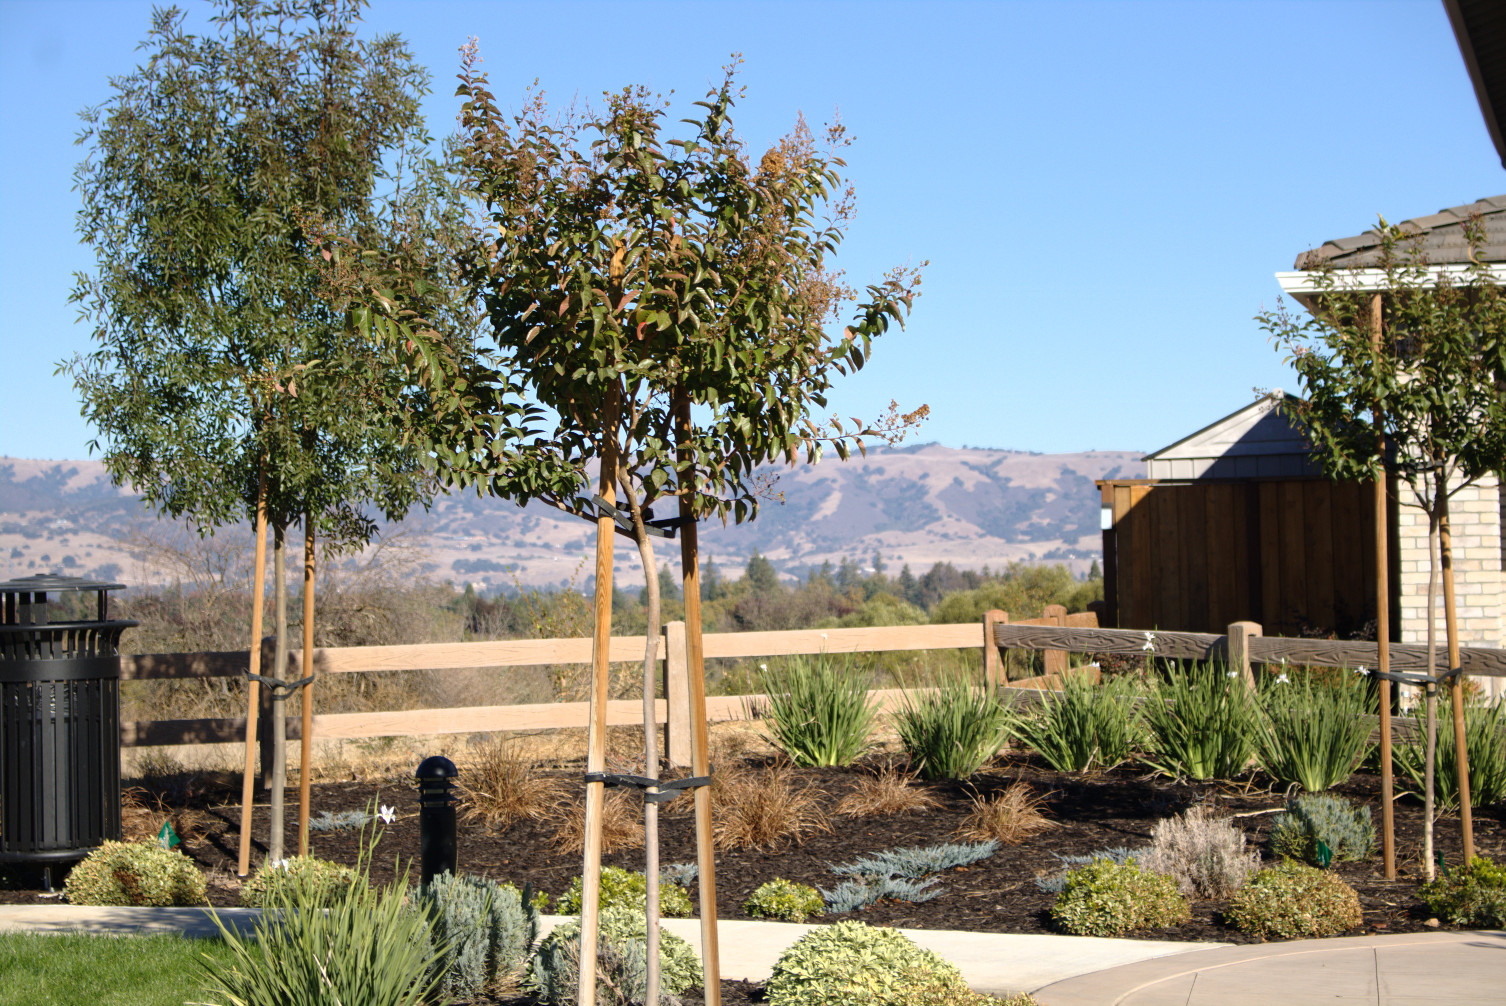
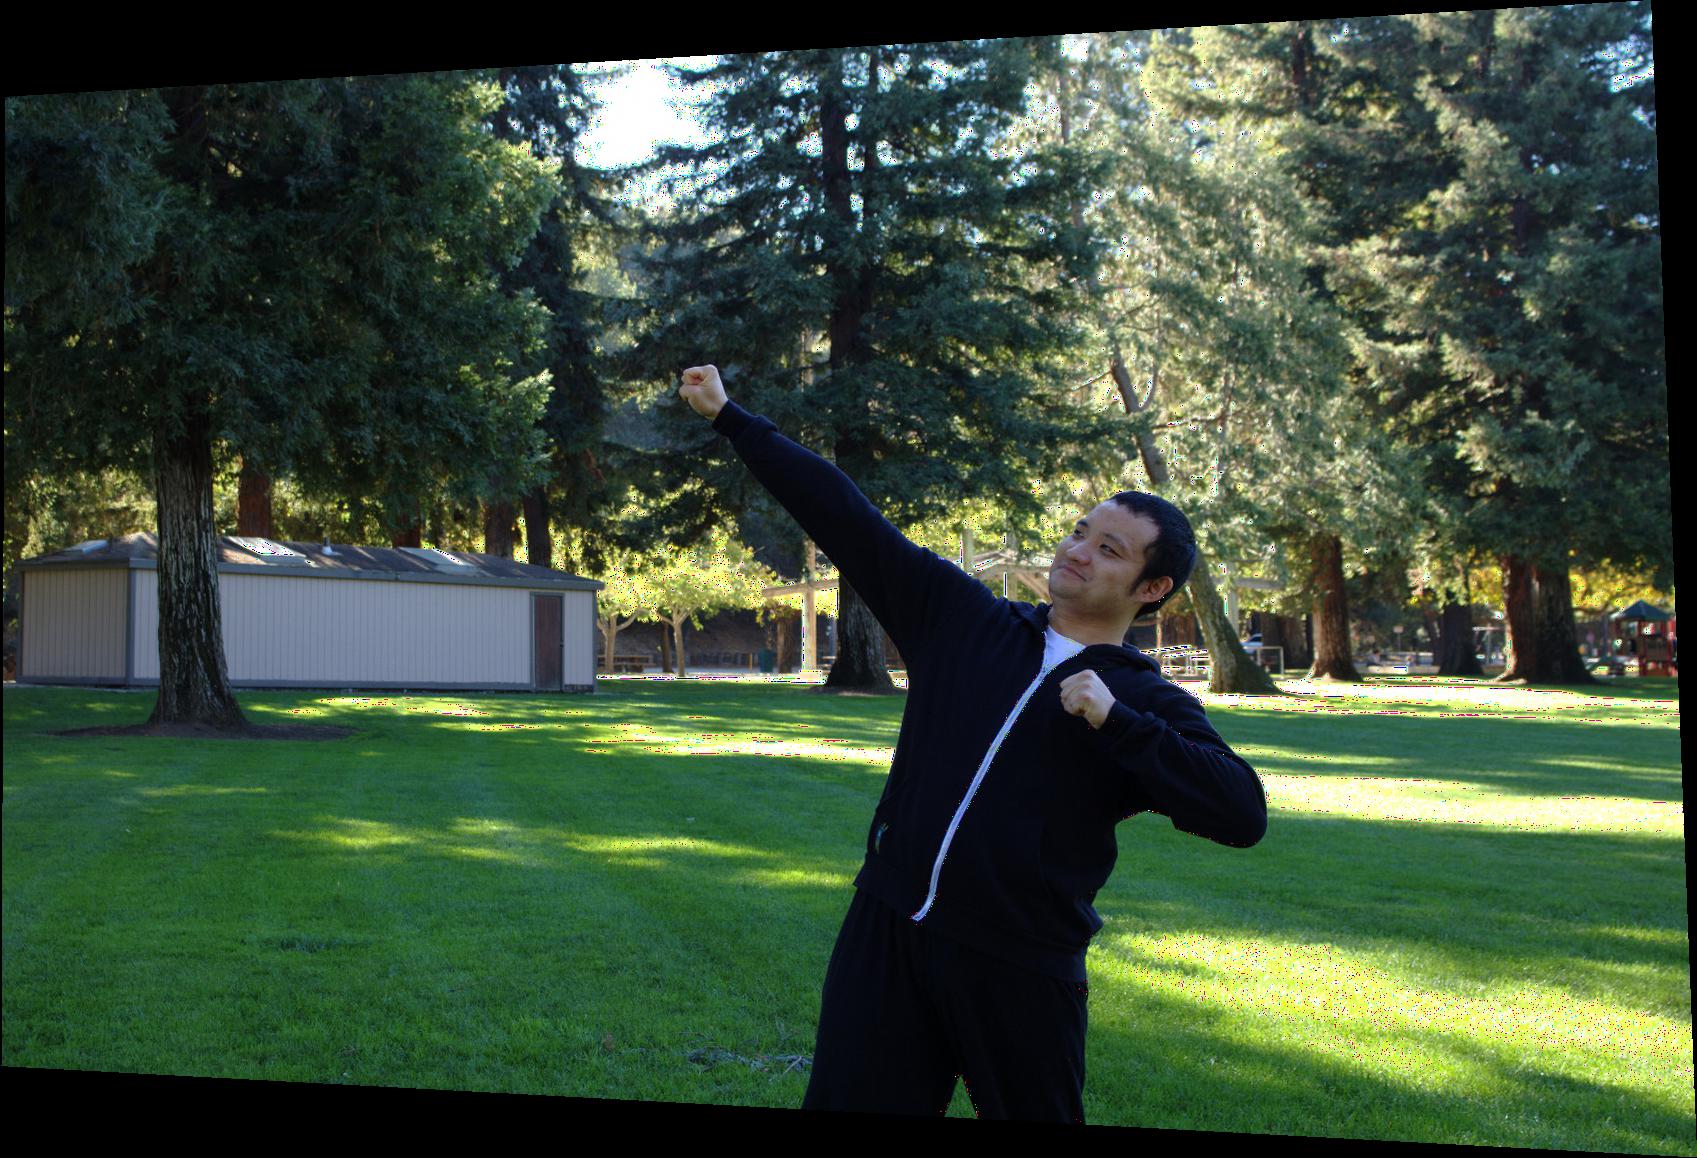
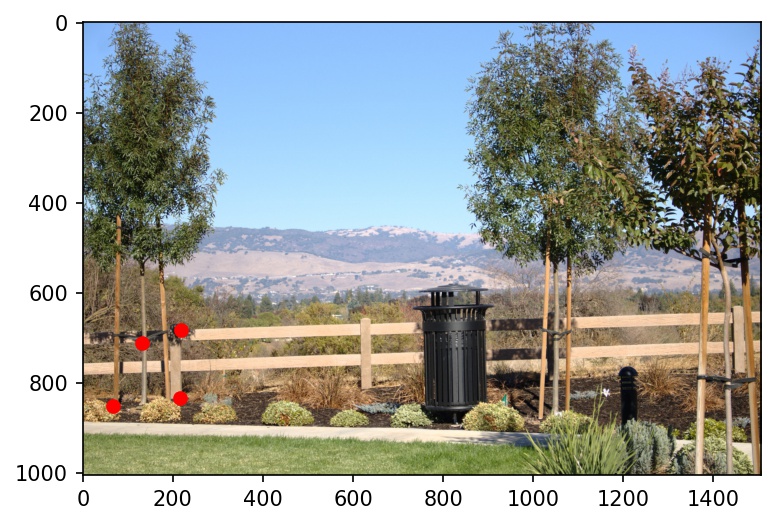
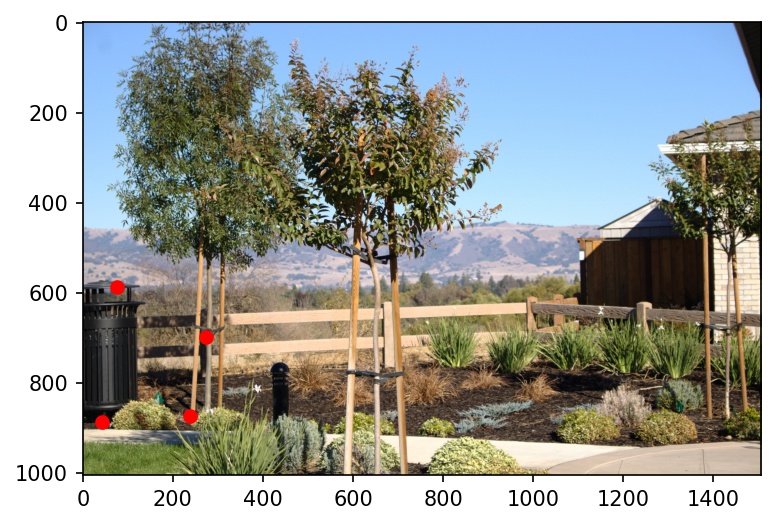
Set 2: Tree
| tree 0 | tree 1 | tree2 |
|---|---|---|
 |
 |
 |
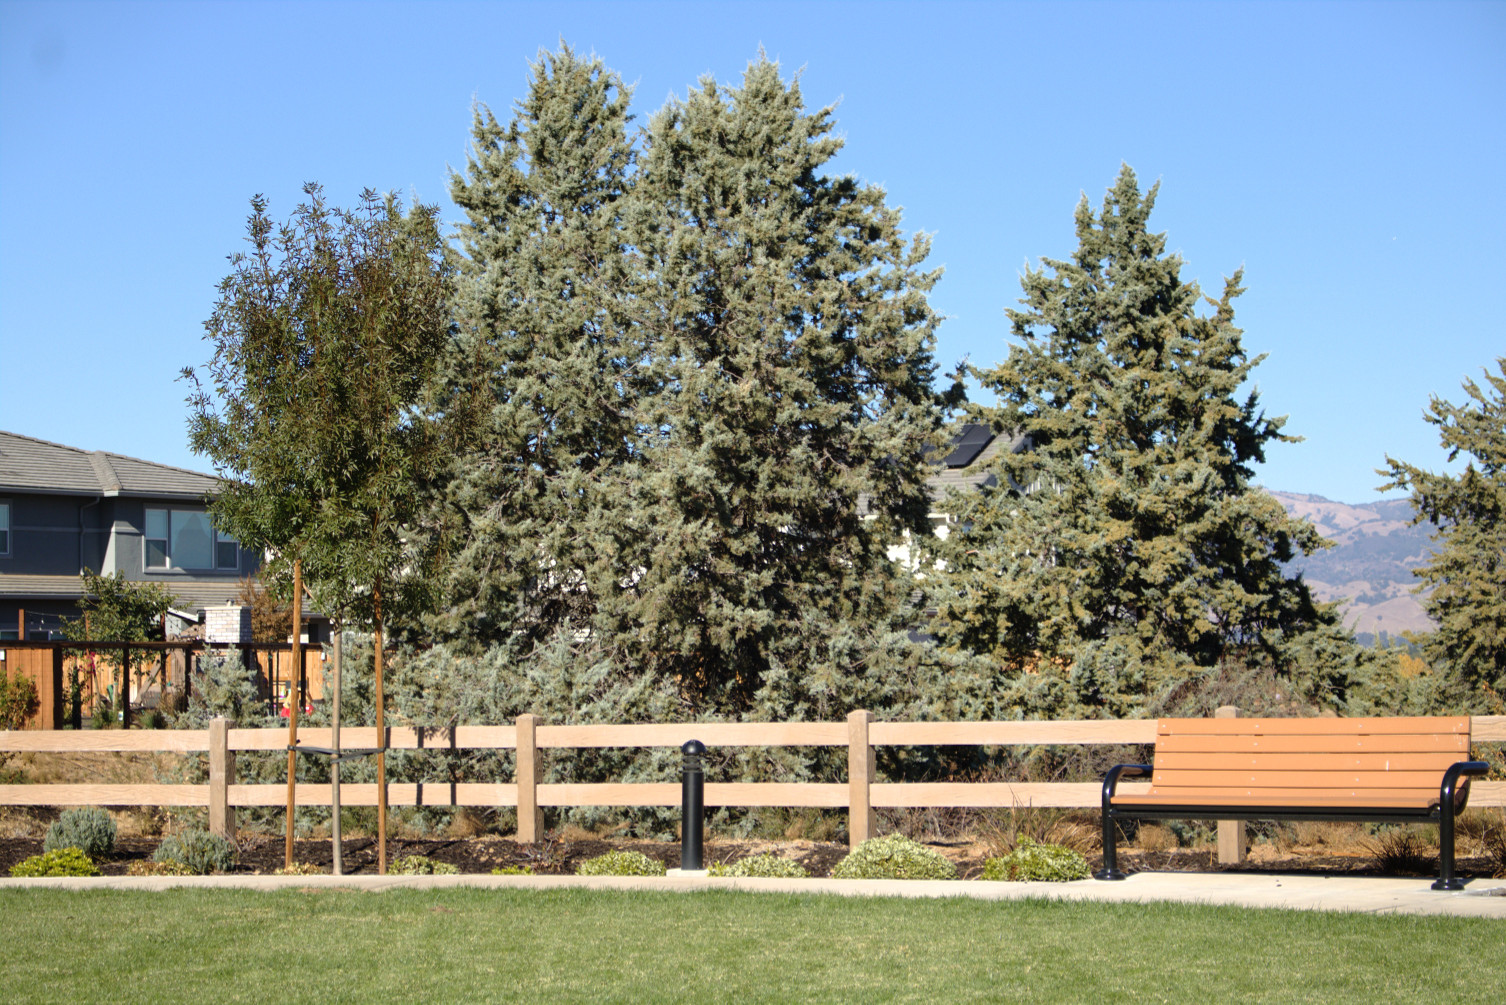
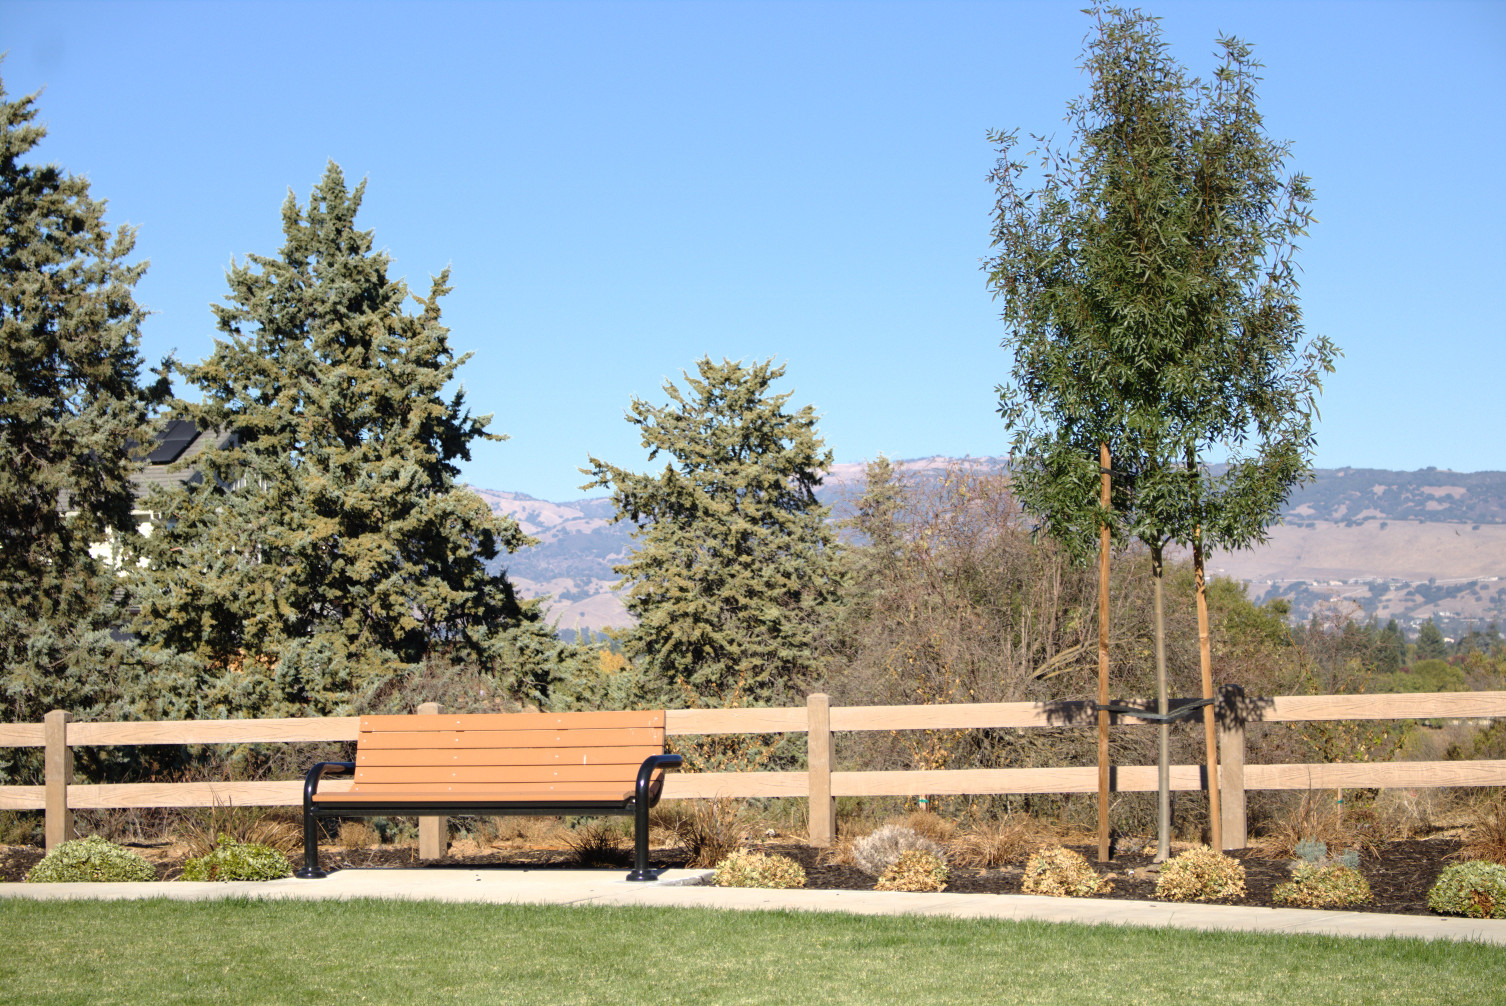
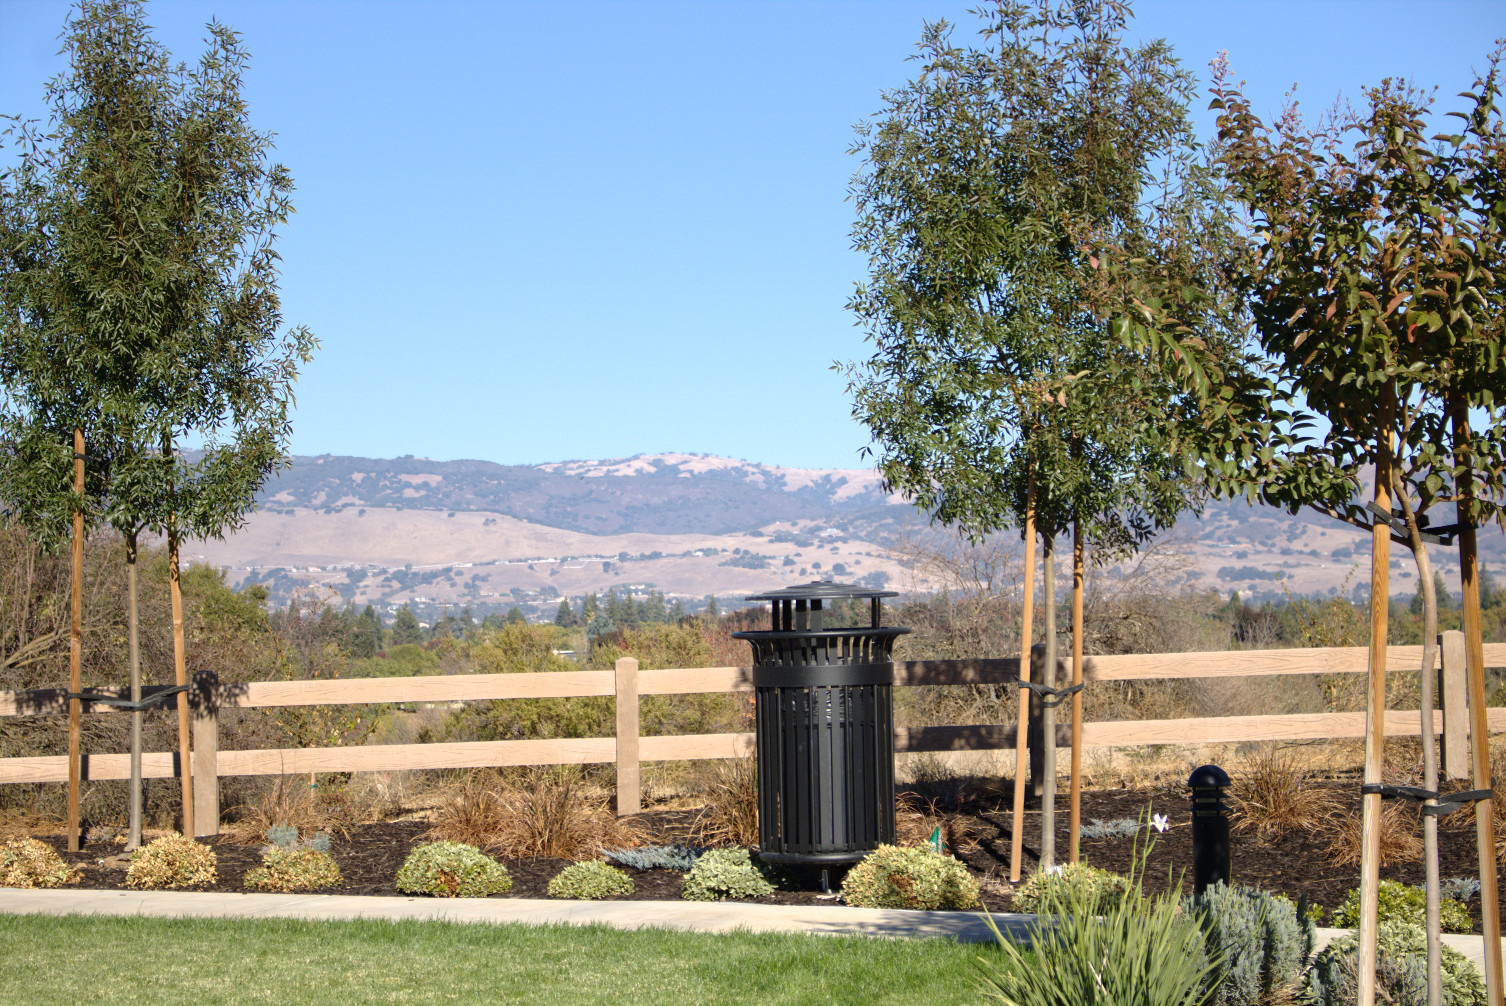
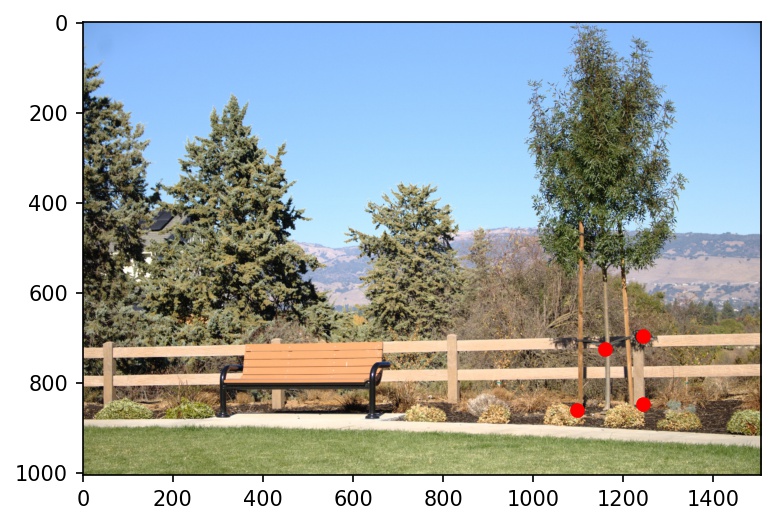
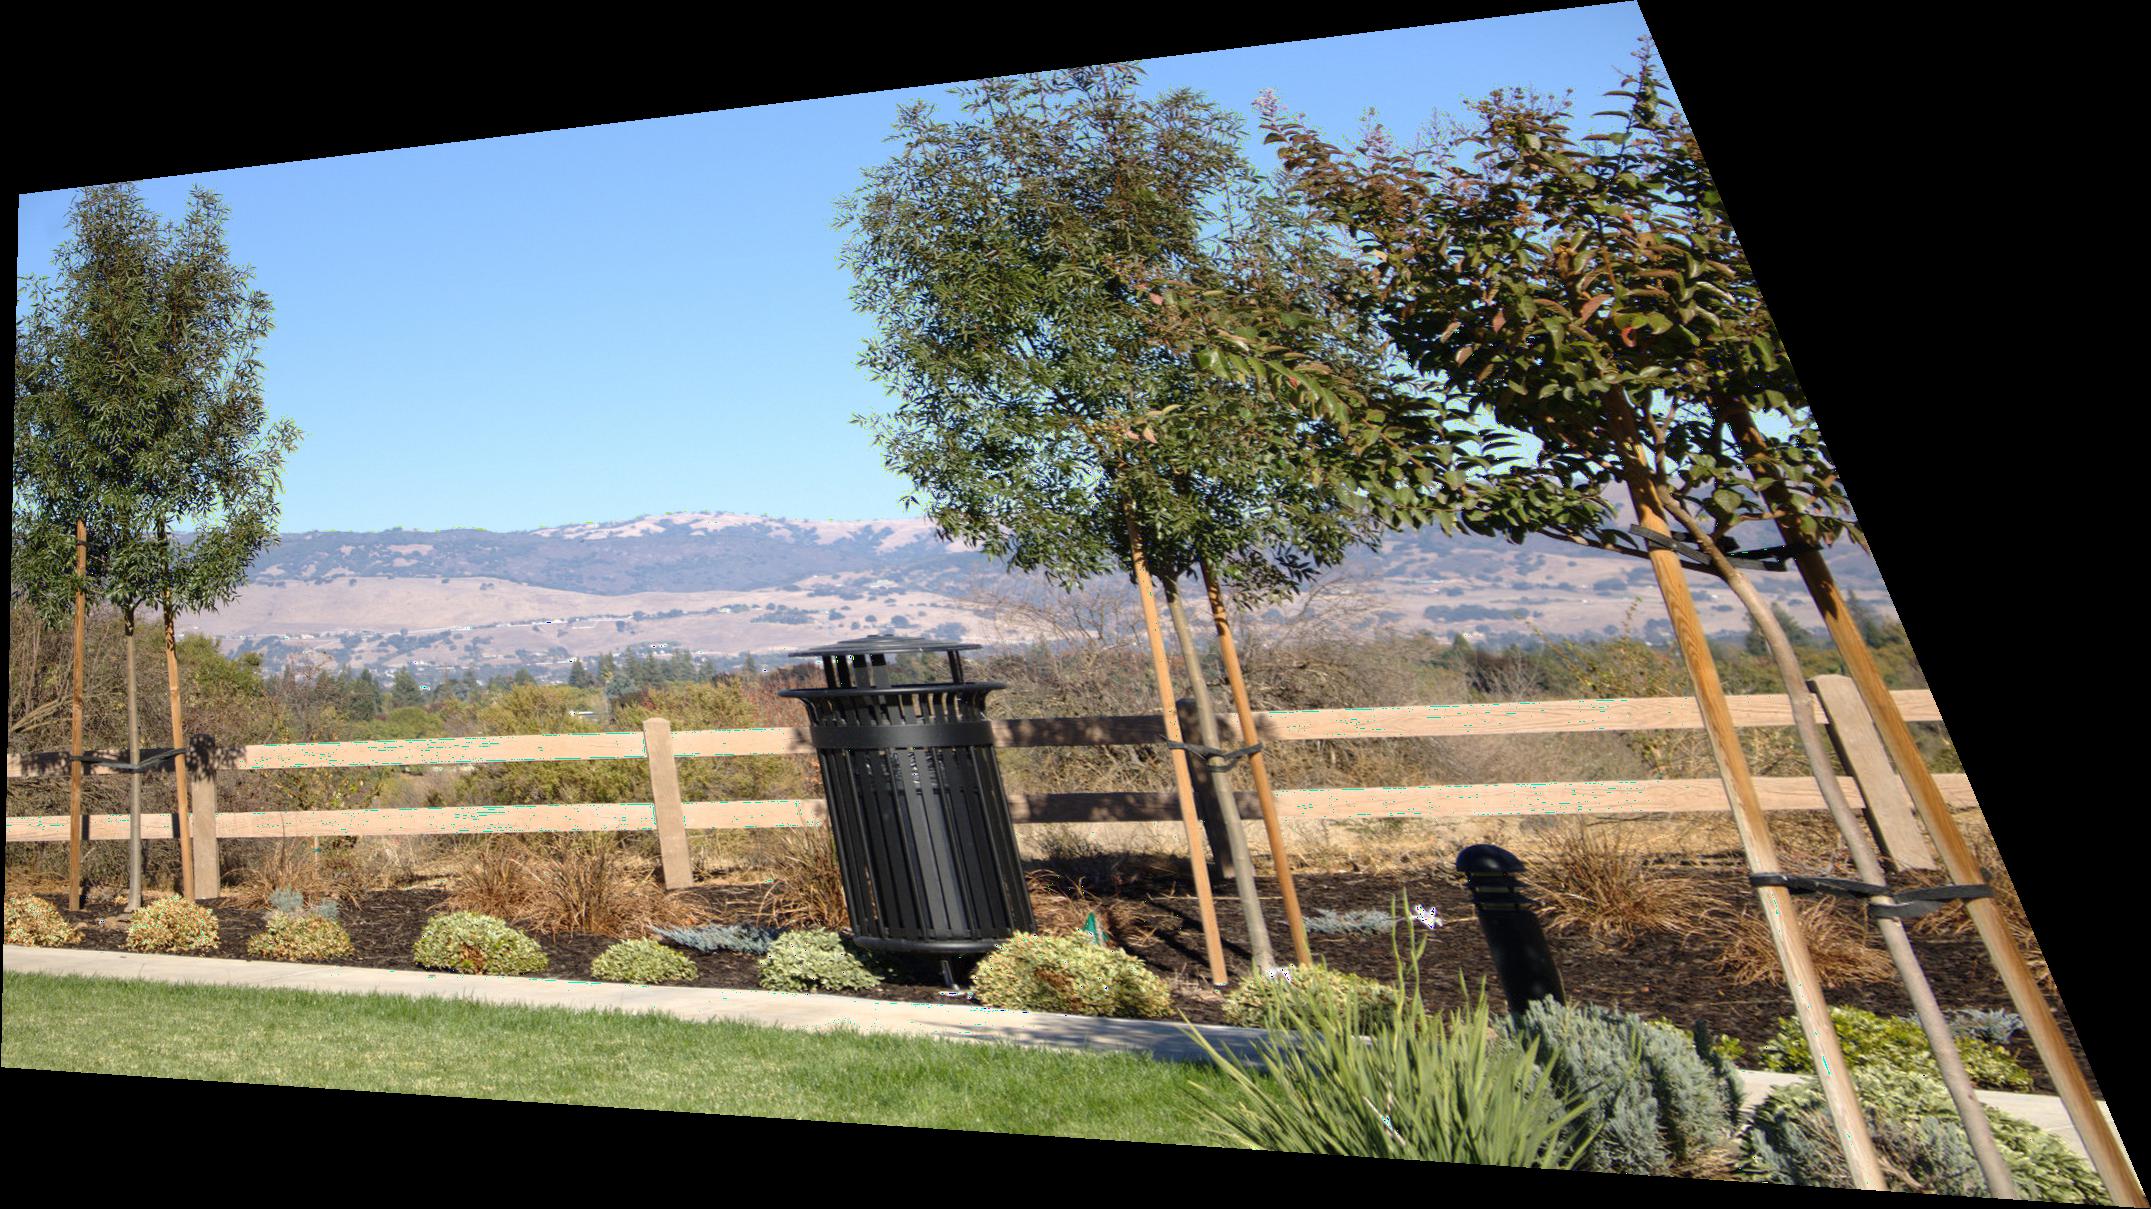
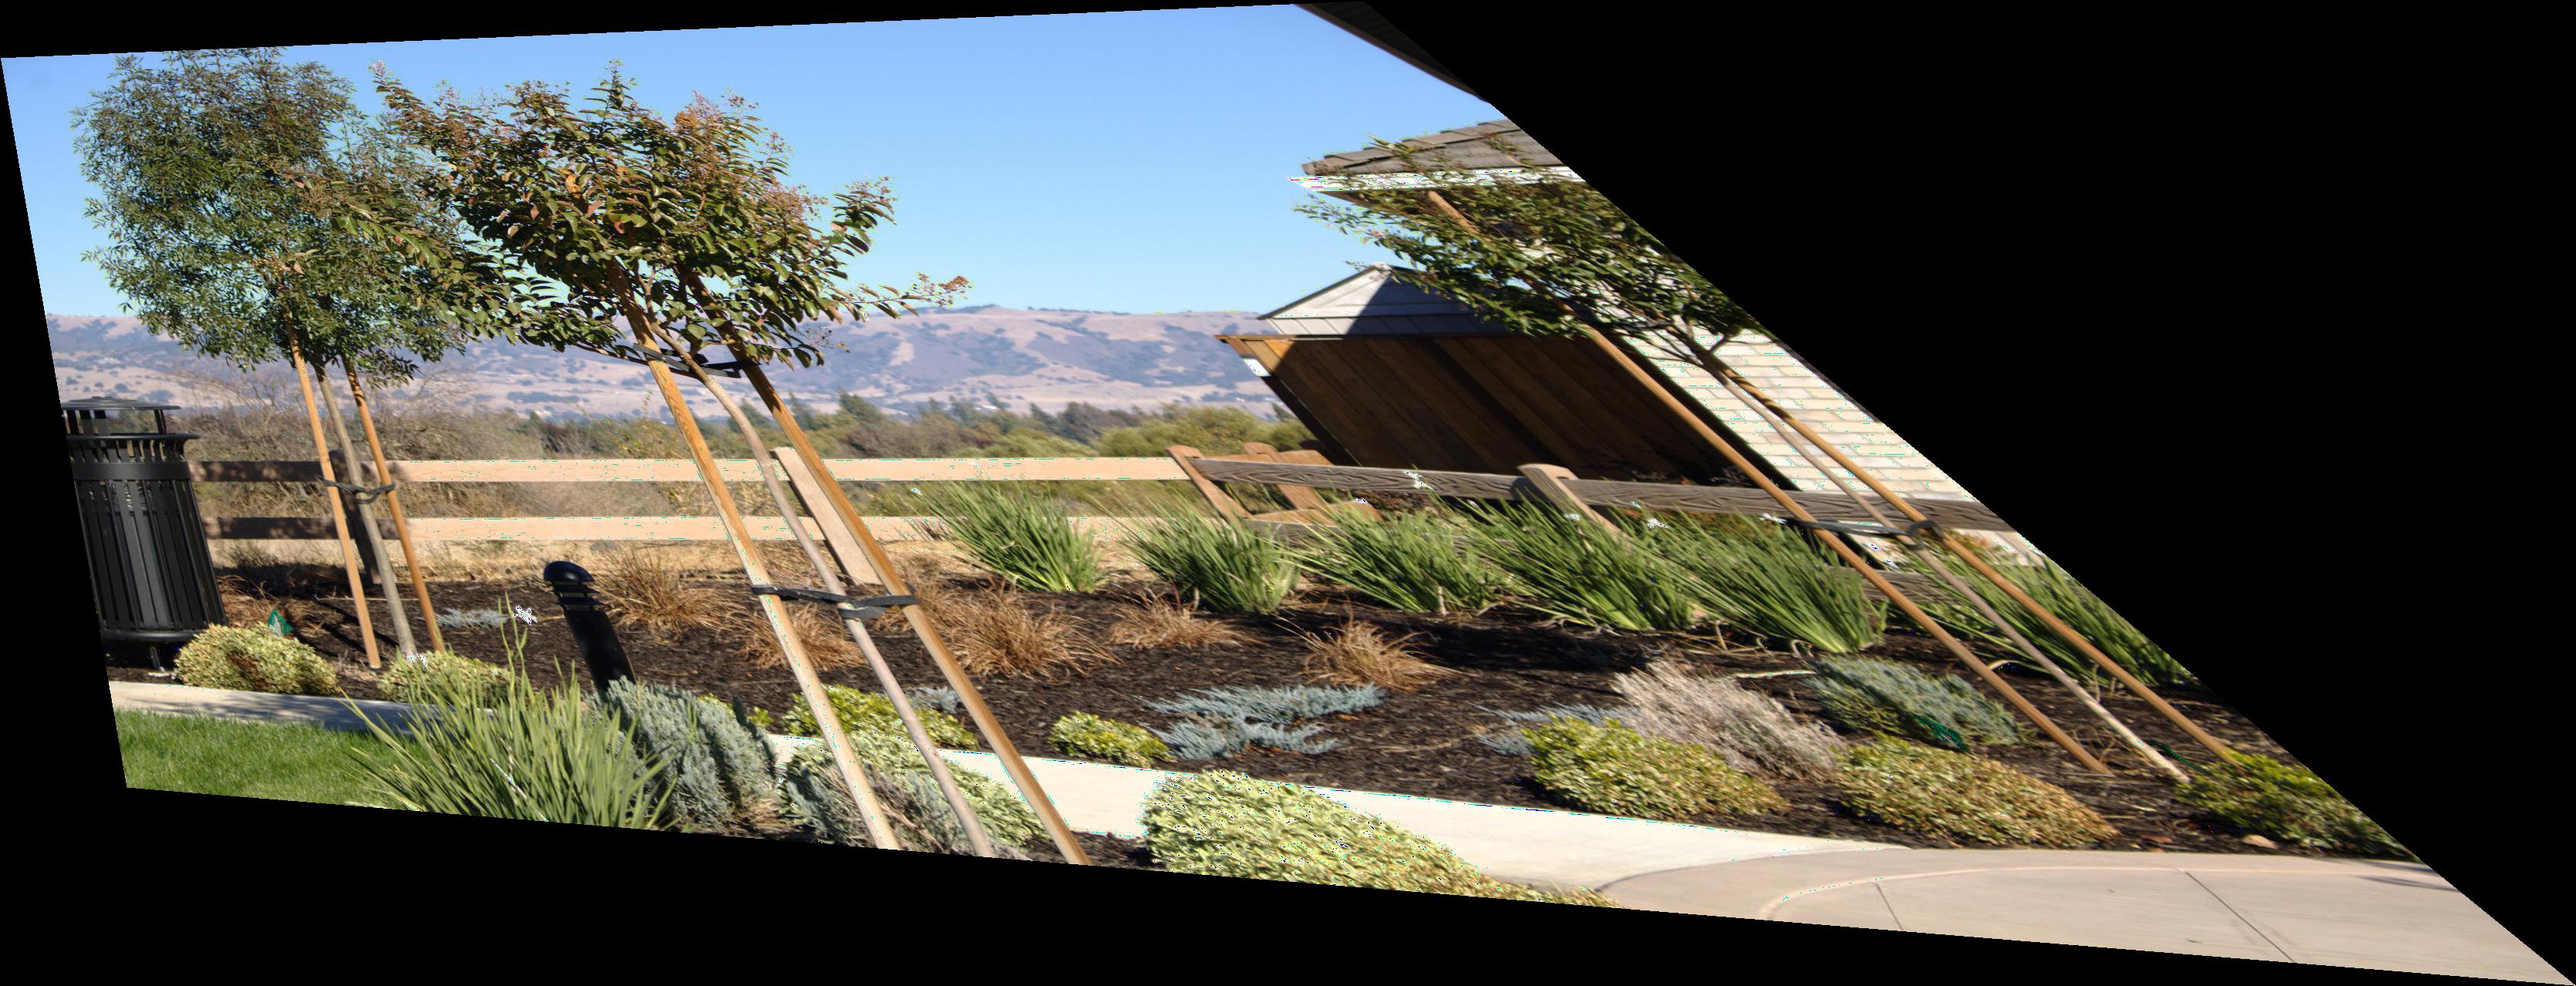
Set 3: Park
| park 0 | park 1 | park2 | park3 |
|---|---|---|---|
 |
 |
 |
 |
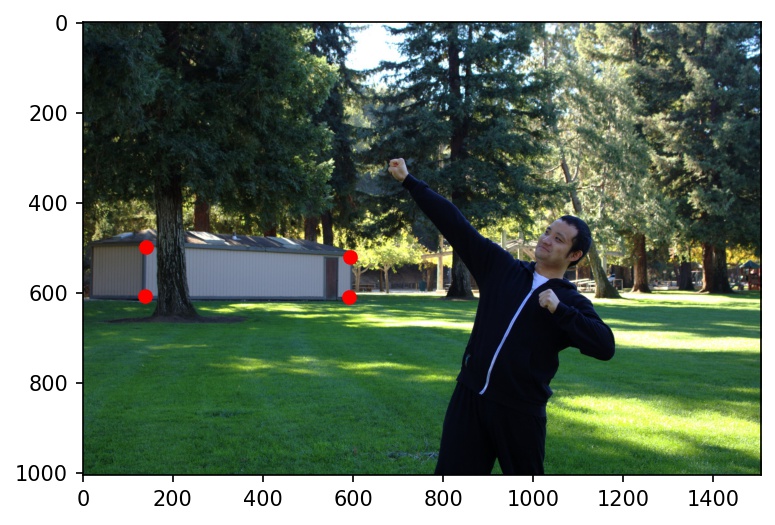
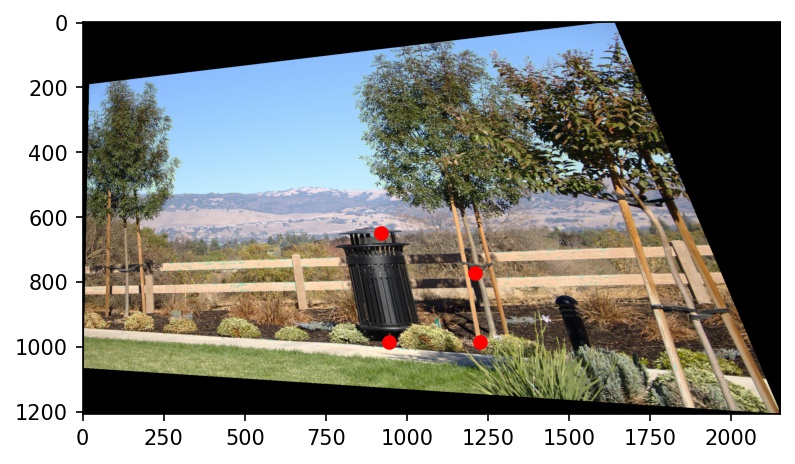
I warped my images into alignment with a projective transformation, or a homography, expressed as the matrix multiplication p' = Hp. To find the parameters for the transformation, I took corresponding points p from the original image and p' from the target image and calculated H with least-squares on Ah = b, where h is a length-8 vector of unknowns in H. A homography has four degrees of freedom, so four or more reference points are needed from each image. As an example, below are two of my photographs from above, each with eight lableled correspondence points.
| scene 0 | scene 1 |
|---|---|
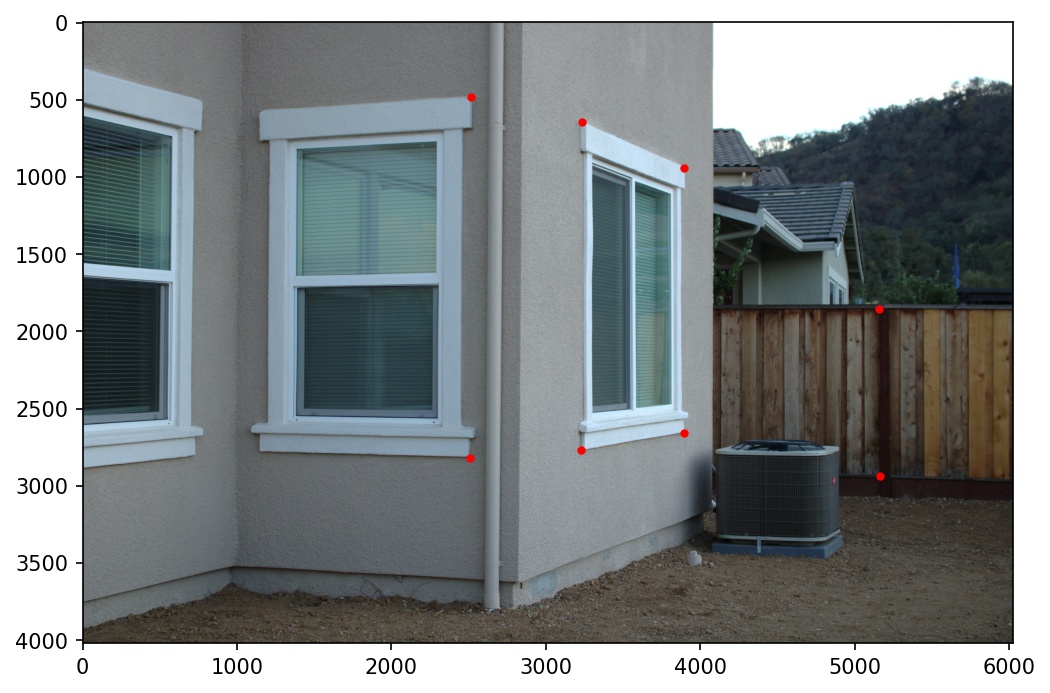 |
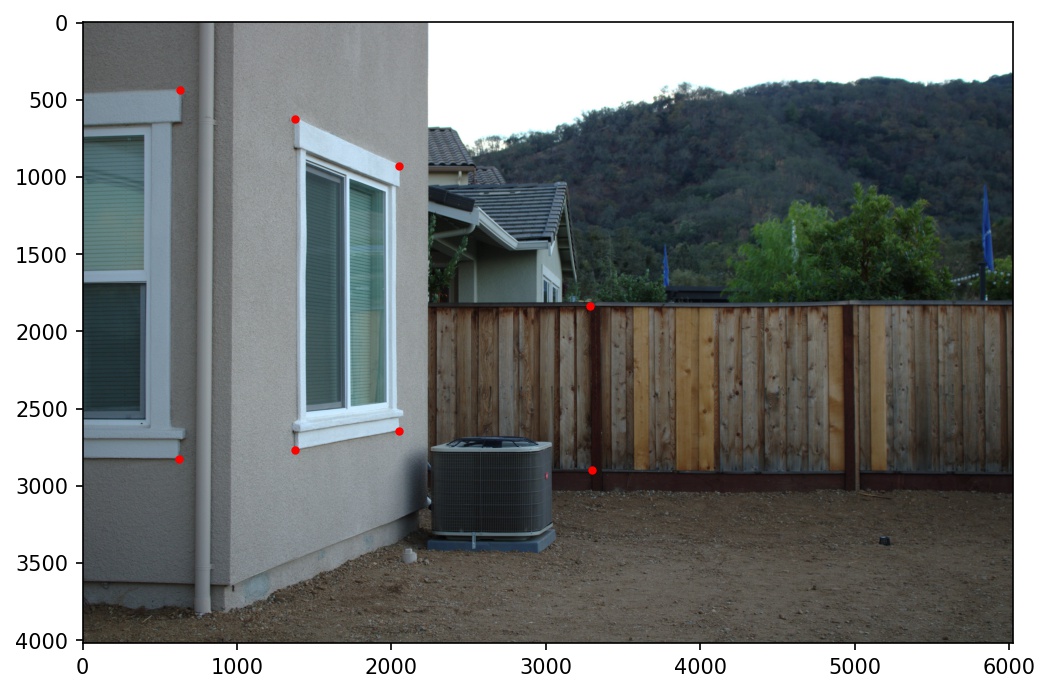 |
Once I have the homography matrix H, I can project any image onto any other by applying the transformation p' = Hp to the original image. To do this, I computed an inverse warp with bilinear interpolation. Projective warping is a very powerful tool. For example, I can use it to do...
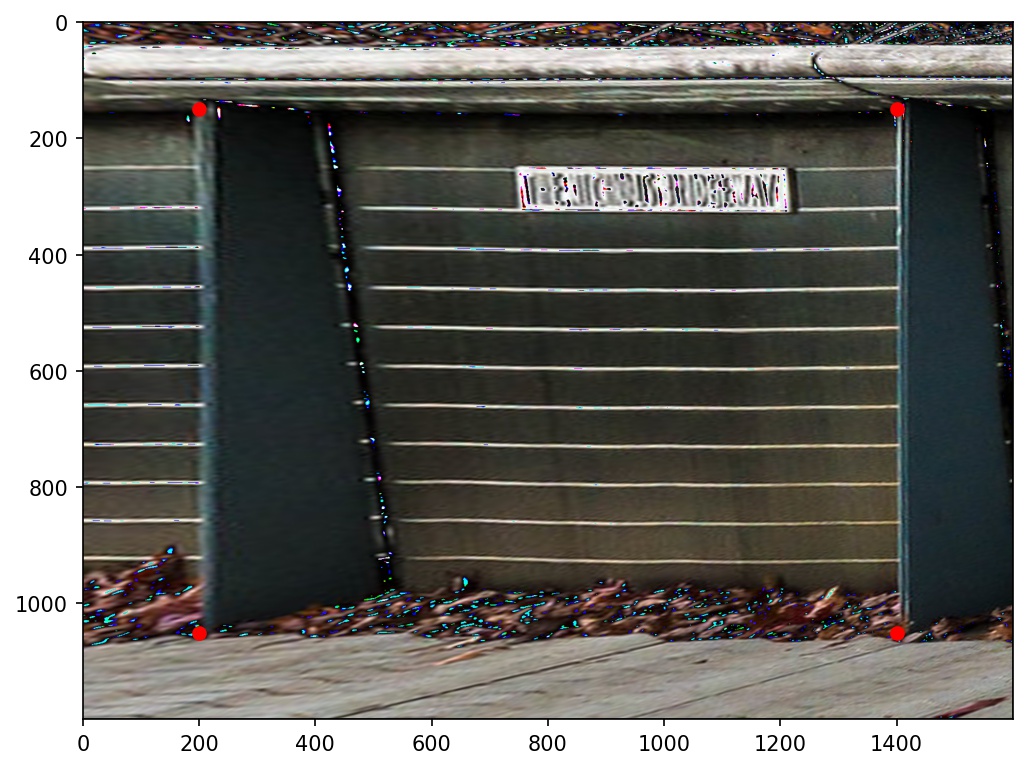
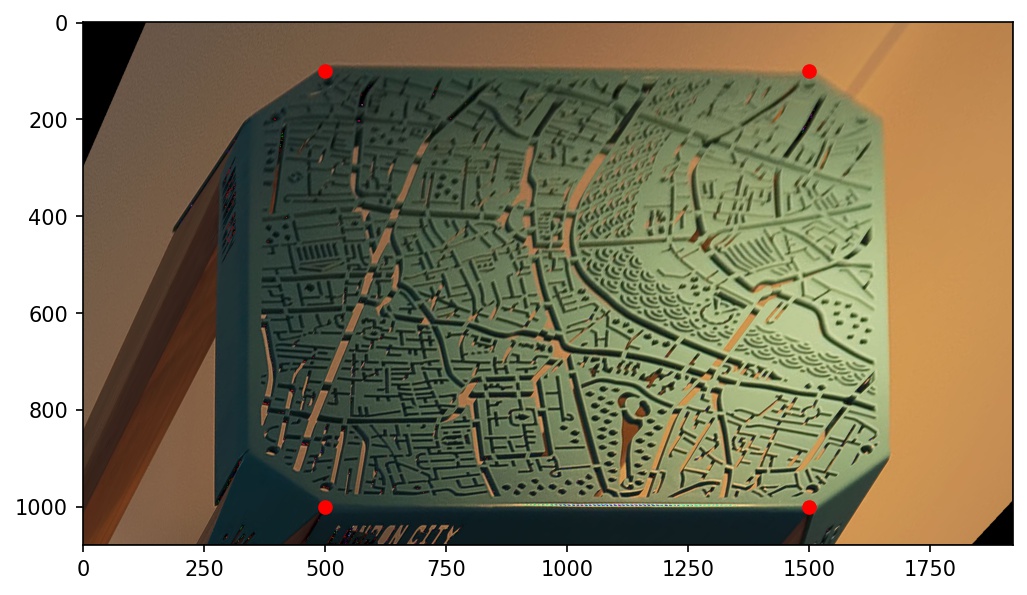
To make sure that my homography transformation implementation is correct, I first took some pictures of planar surfaces and warped them to make those surface planes front-parallel. Below are the original images, side-by-side with their warped counterparts. I have also plotted the reference points I used for rectification.
| Before Rectification | After Rectification | |
|---|---|---|
| Window |  |
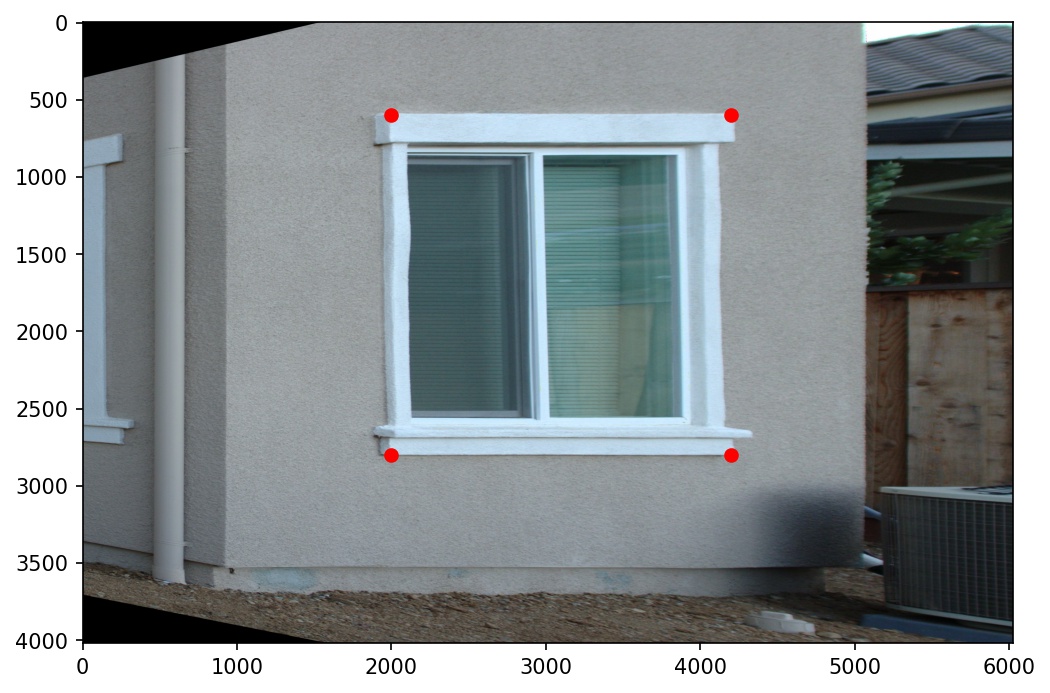 |
| Bridge Sign | 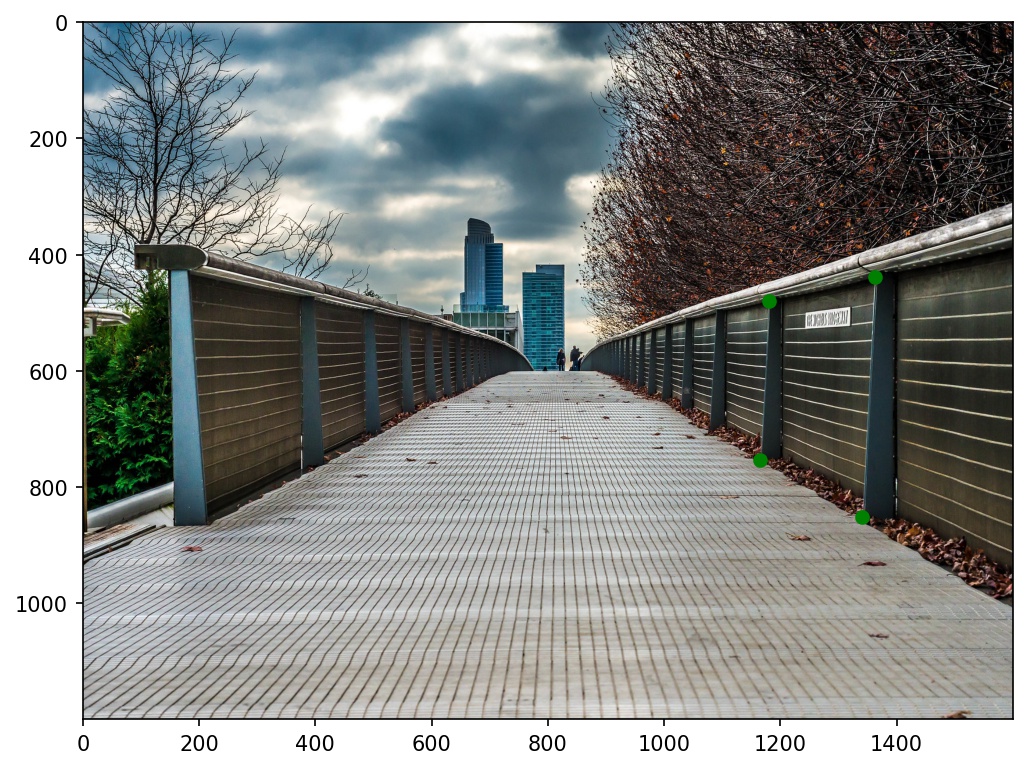 |
 |
| Map of London | 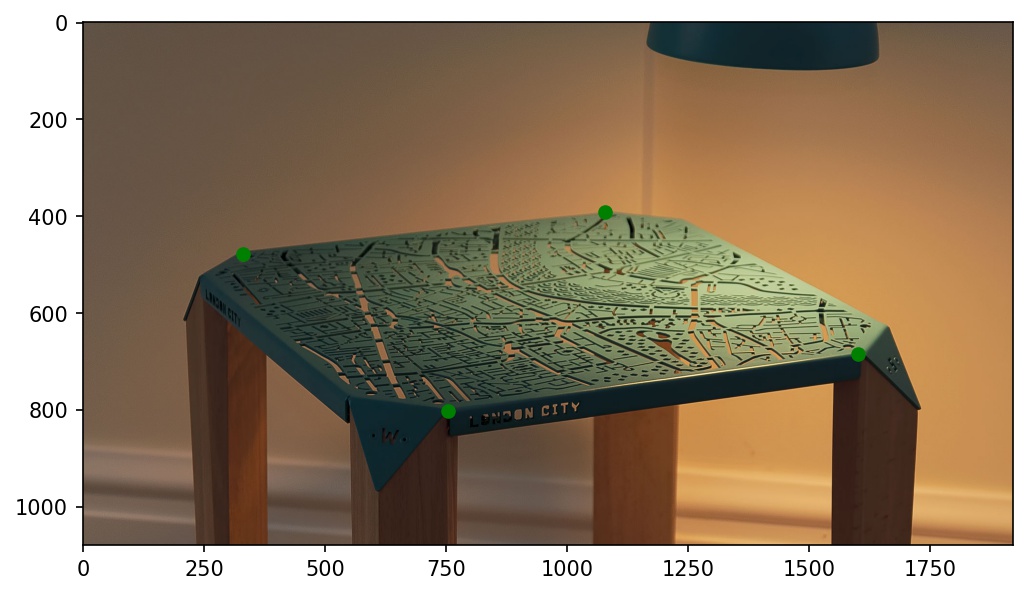 |
 |
Now, I will take my three overlapping photograph sets and blend each one into a single, continuous mosaic. First, I shall project the first and third images one by one to match the features of the middle image. Then, I will combine them using weighted averaging.
Here are the results of the warping:
Mosaic 1: Scene Mosaic
| Scene 0 | Scene 2 | |
|---|---|---|
| Before Warp | |
 |
| Scene 1 Labels | |
 |
| Warped to Match Scene 1 |  |
 |
Here are the pieces before combining:
| Scene0 | Scene1 | Scene2 |
|---|---|---|
|
|
|
And here is the final, combined result:
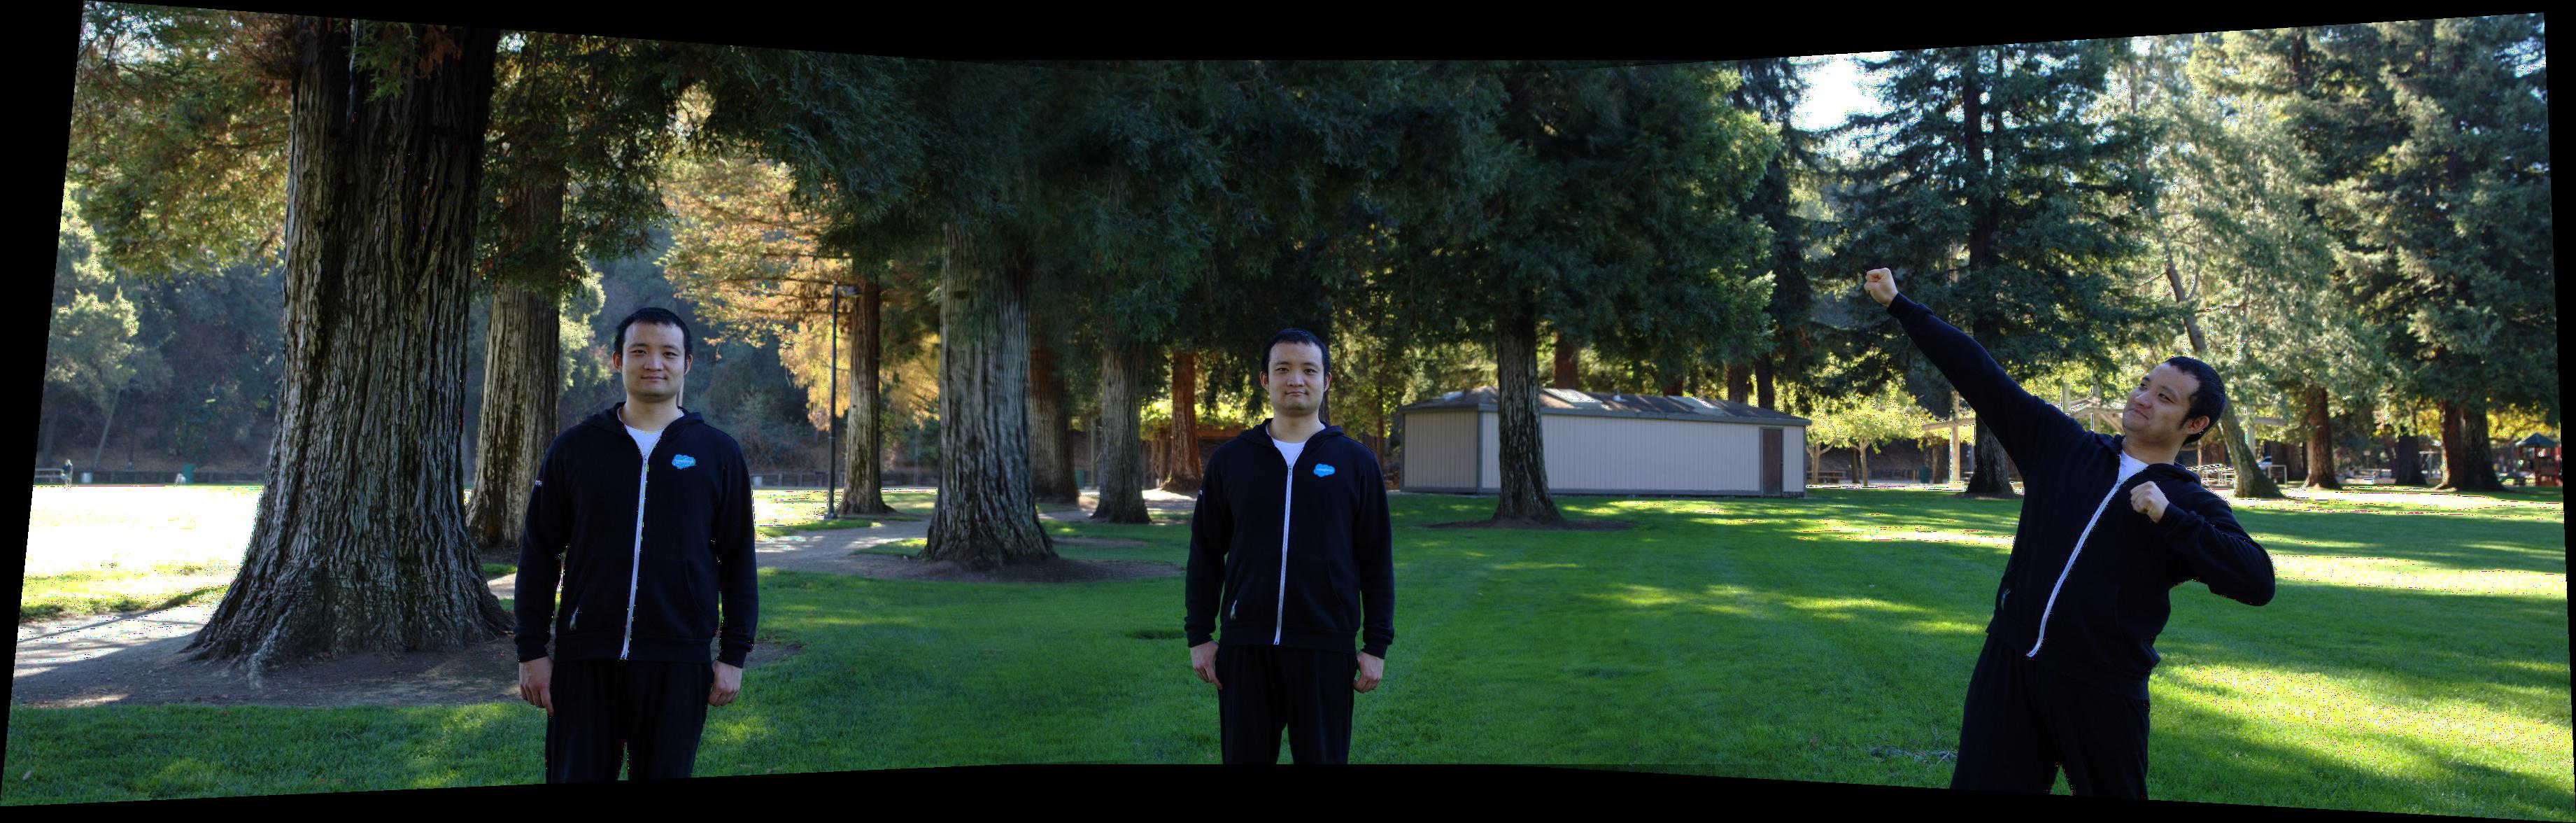
Mosaic 2: Tree Mosaic
| Tree 0 | Tree2 | |
|---|---|---|
| Before Warp | 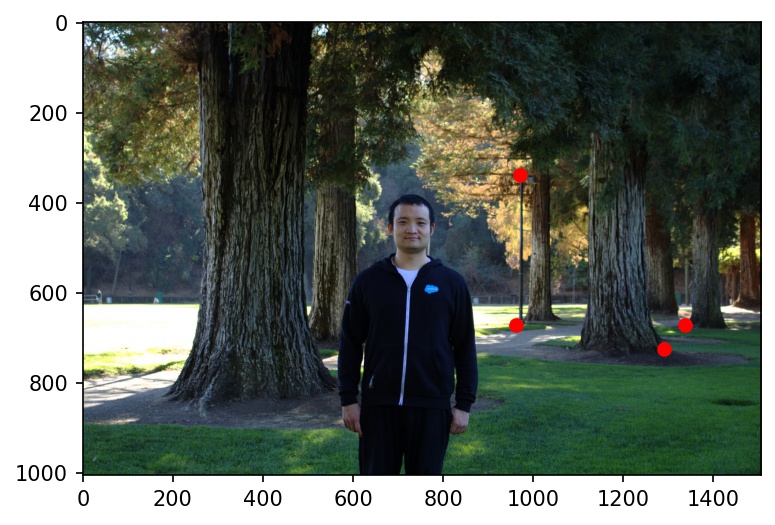 |
 |
| Tree 1 Labels | 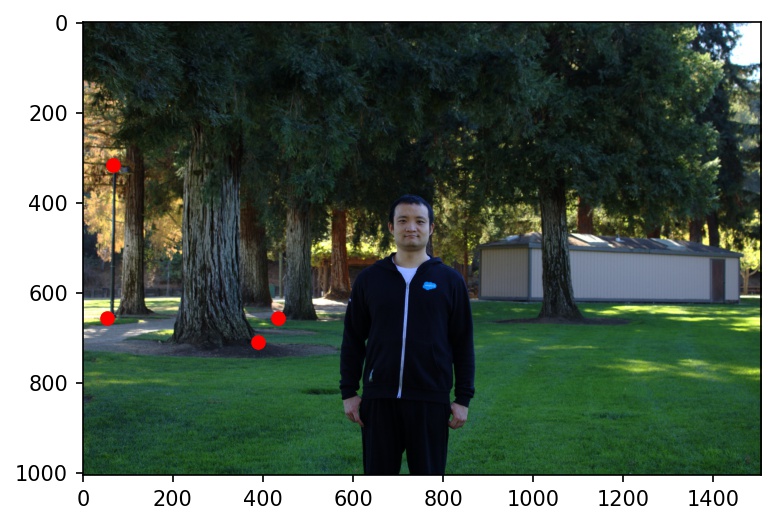 |
 |
| Warped to Match Tree 1 | 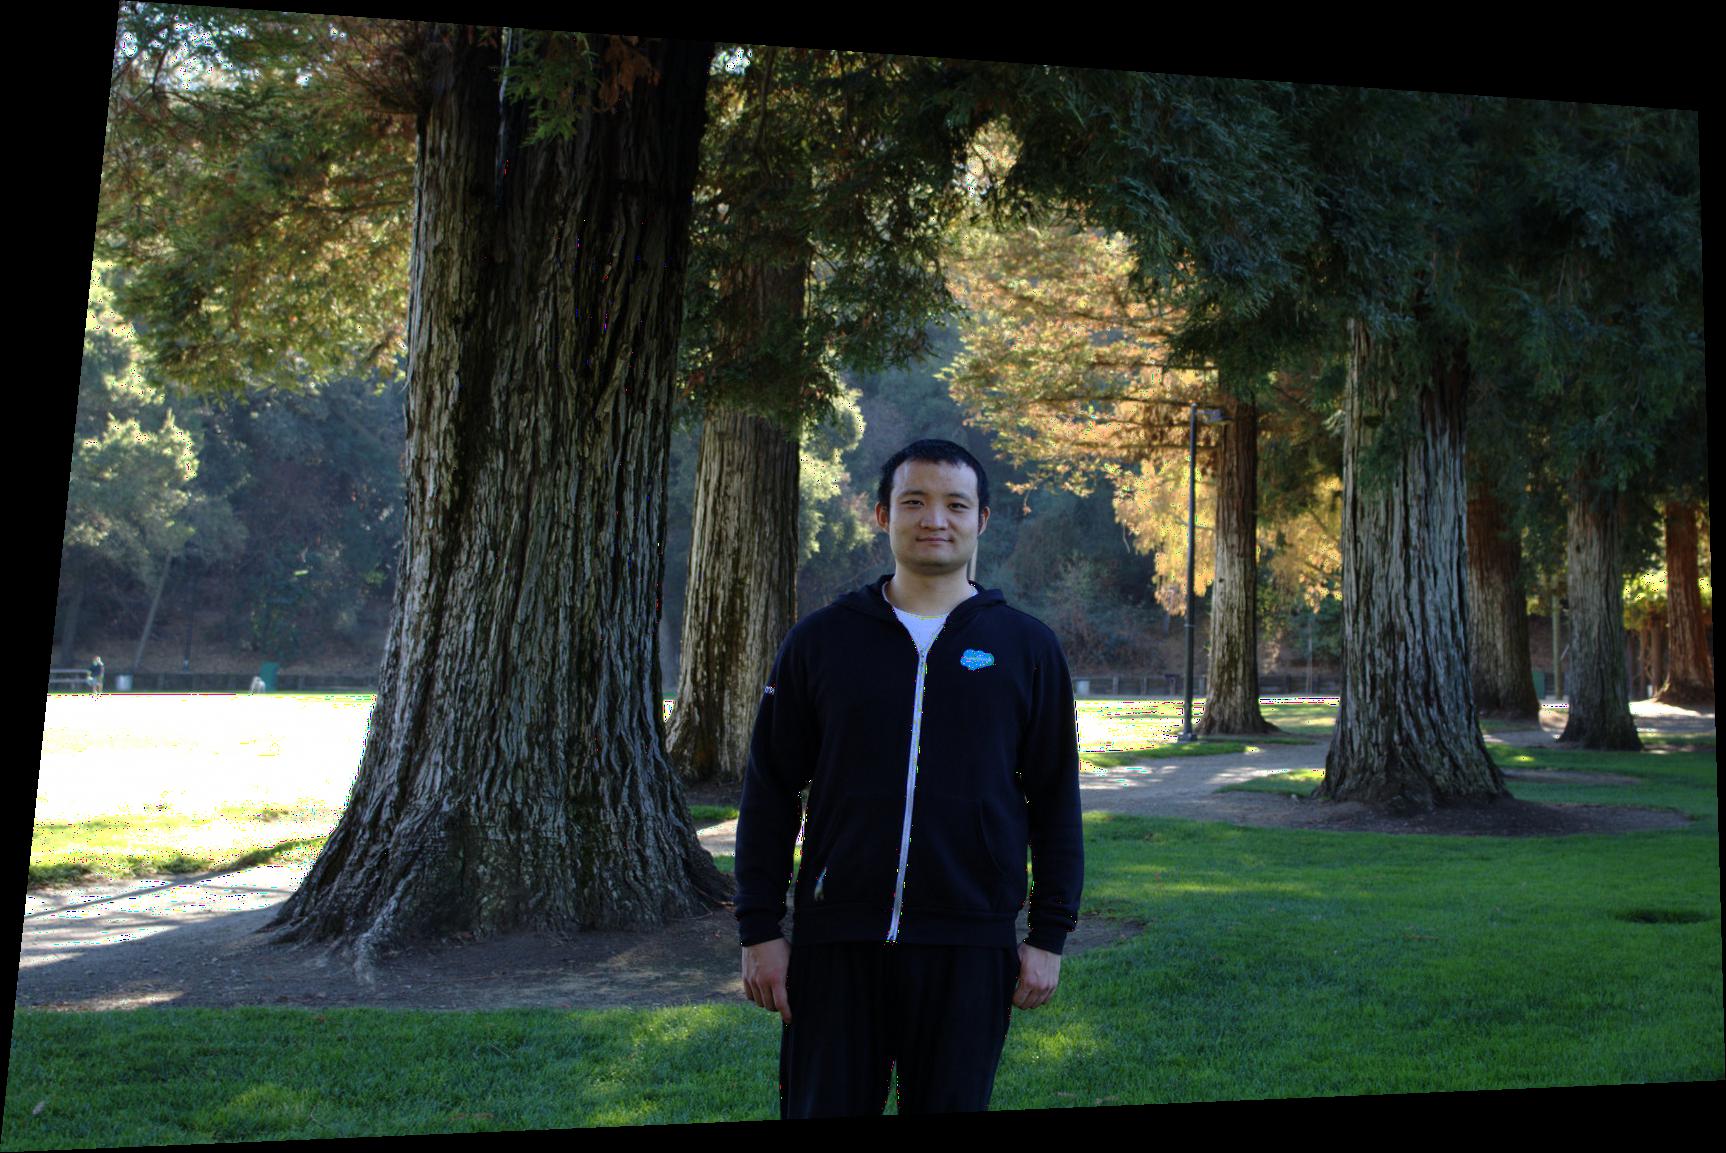 |
 |
Here are the pieces before combining:
| Tree0 | Tree1 | Tree2 |
|---|---|---|
|
|
|
And here is the final, combined result:
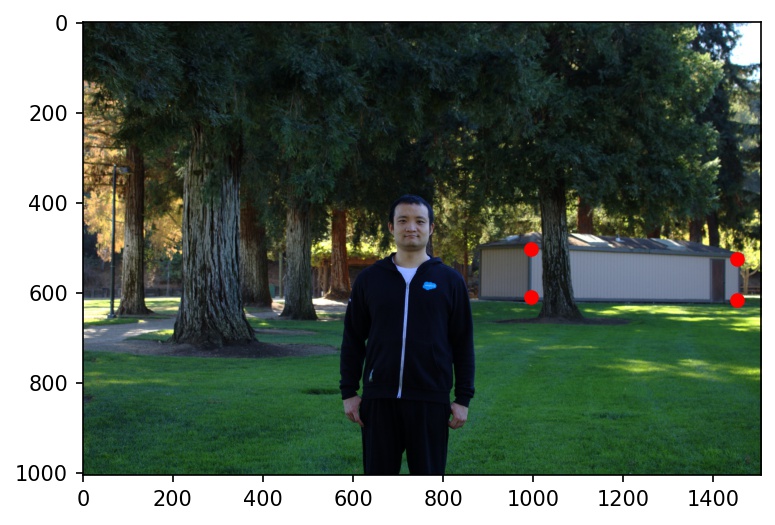
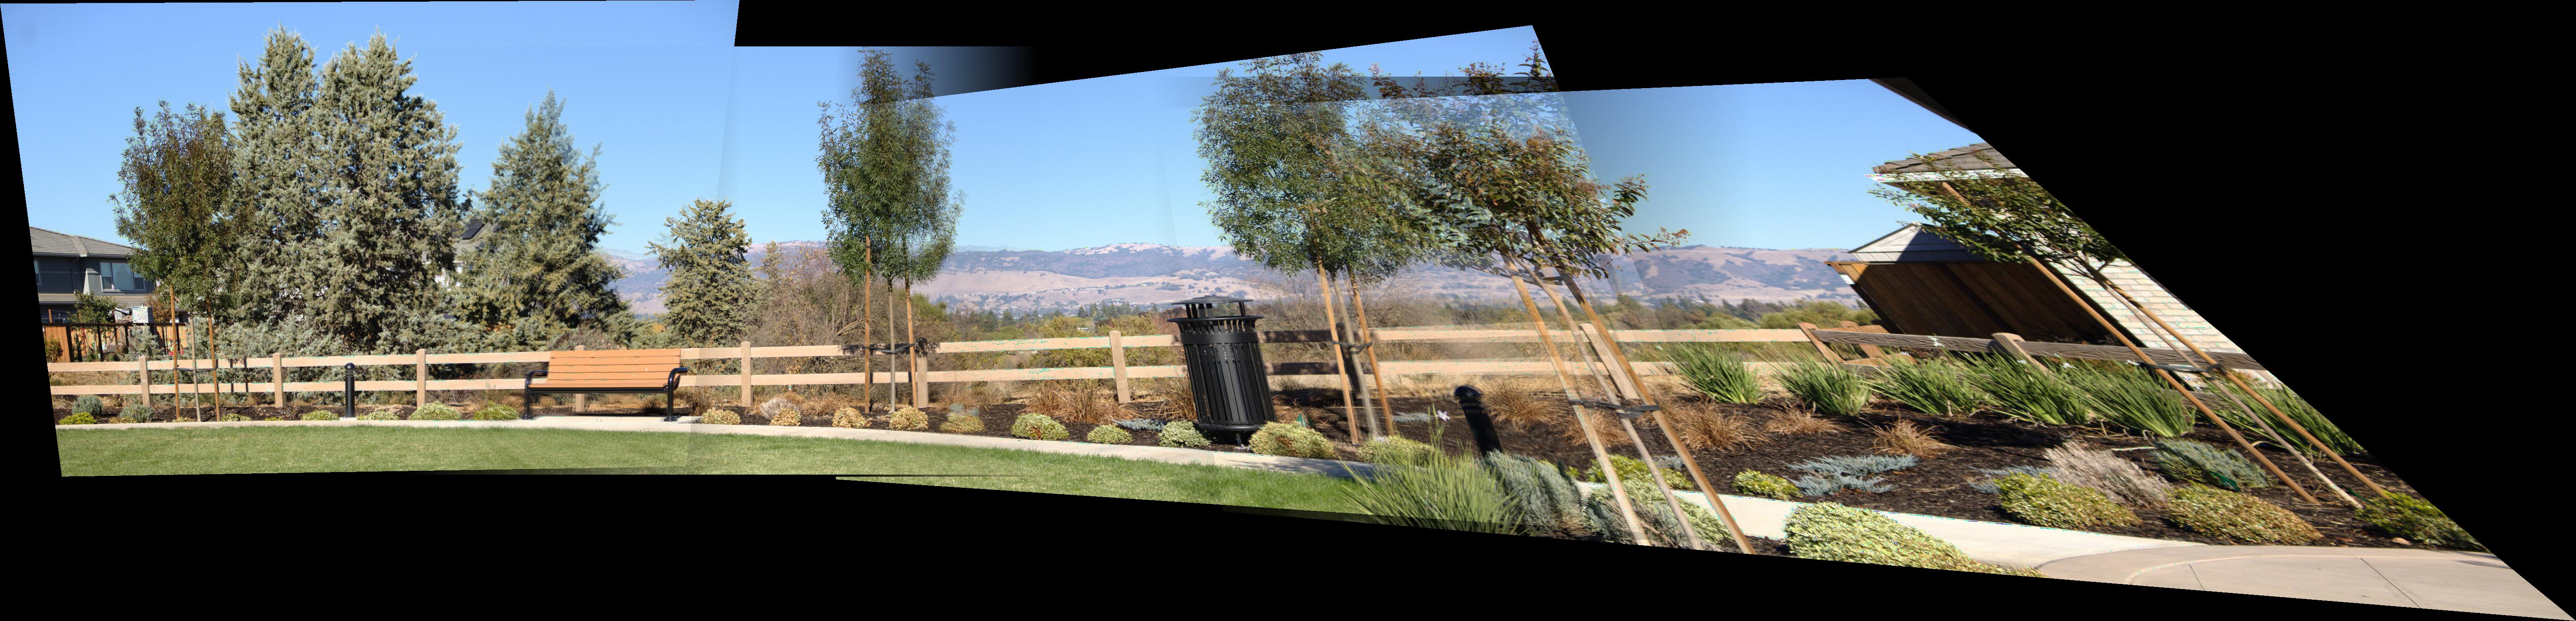
Mosaic 3: Park Mosaic
| Park 0 | Park 2 | Park 3 | |
|---|---|---|---|
| Before Warp | 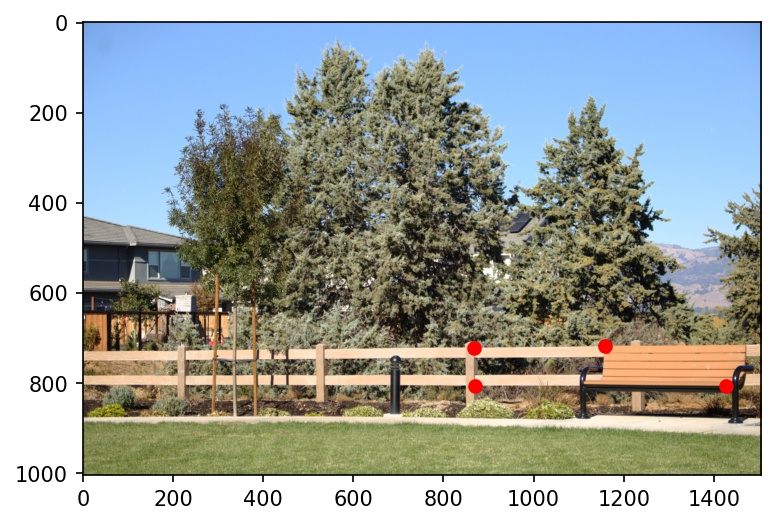 |
 |
 |
| Target Labels | 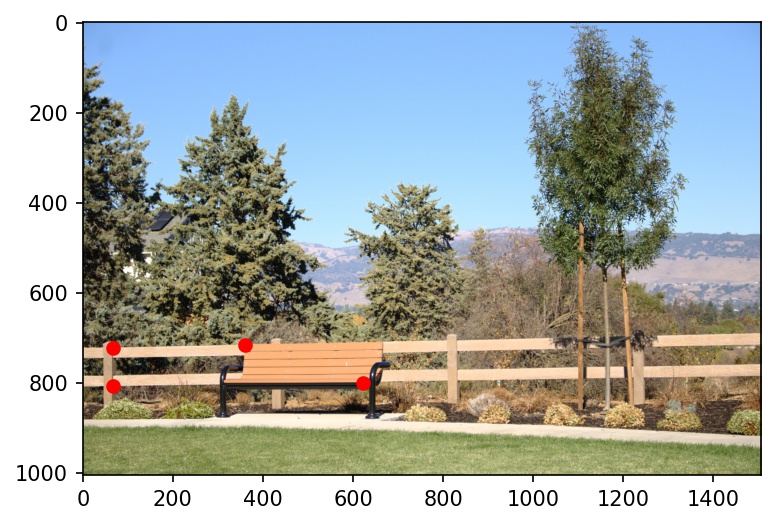 |
 |
 |
| Warped to Match Park 1 | 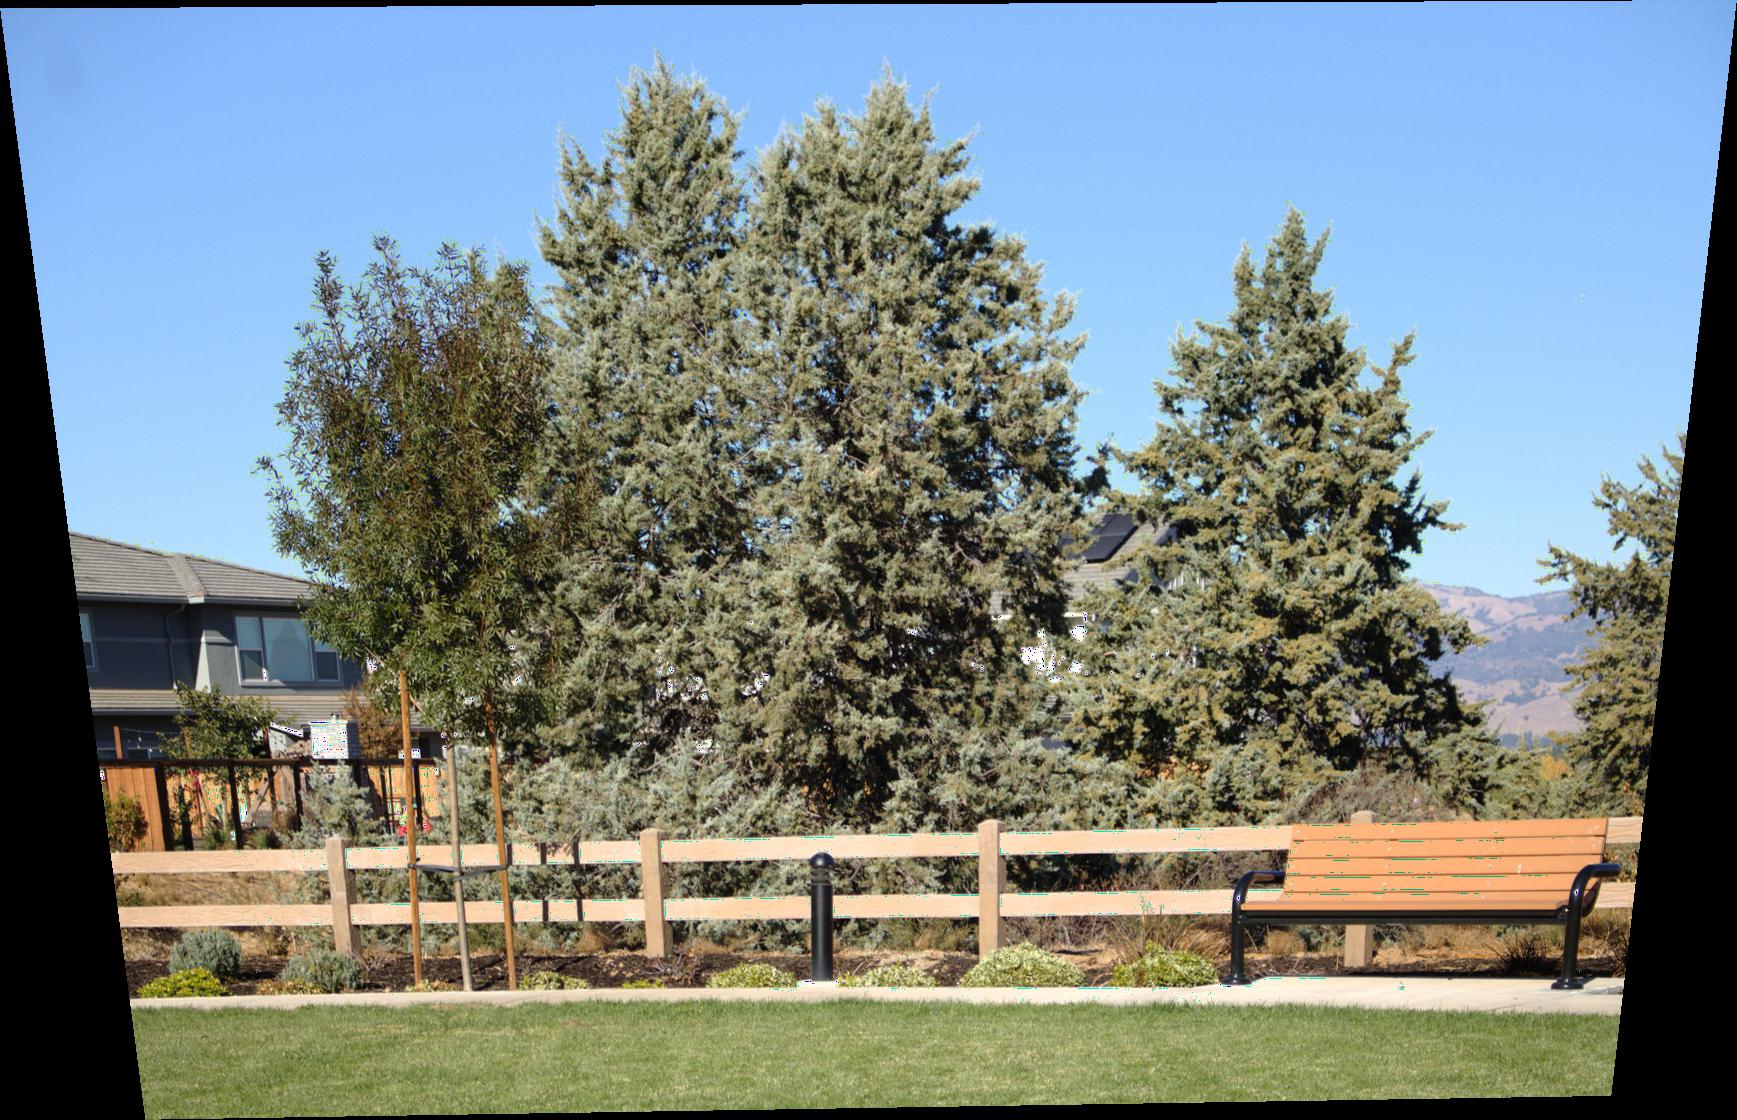 |
 |
 |
Here are the pieces before combining:
| Park0 | Park1 | Park2 | Park3 |
|---|---|---|---|
|
|
|
|
And here is the final, combined result:
This mosaic is not quite as well-aligned as the other ones. I suspect that the reason is a combination of wider total angle (combining four photos instead of one) and some slight variation in camera position from bumping the tripod.
One of the coolest things I learned from this project is how powerful projective warping is. Before this project (and the lecture covering the requisite material), I never suspected that a simple homography would be enough to completely transform the viewpoint angle of an image.