194 Project 5a: Image Warping and mosaicing
Kush Khanolkar
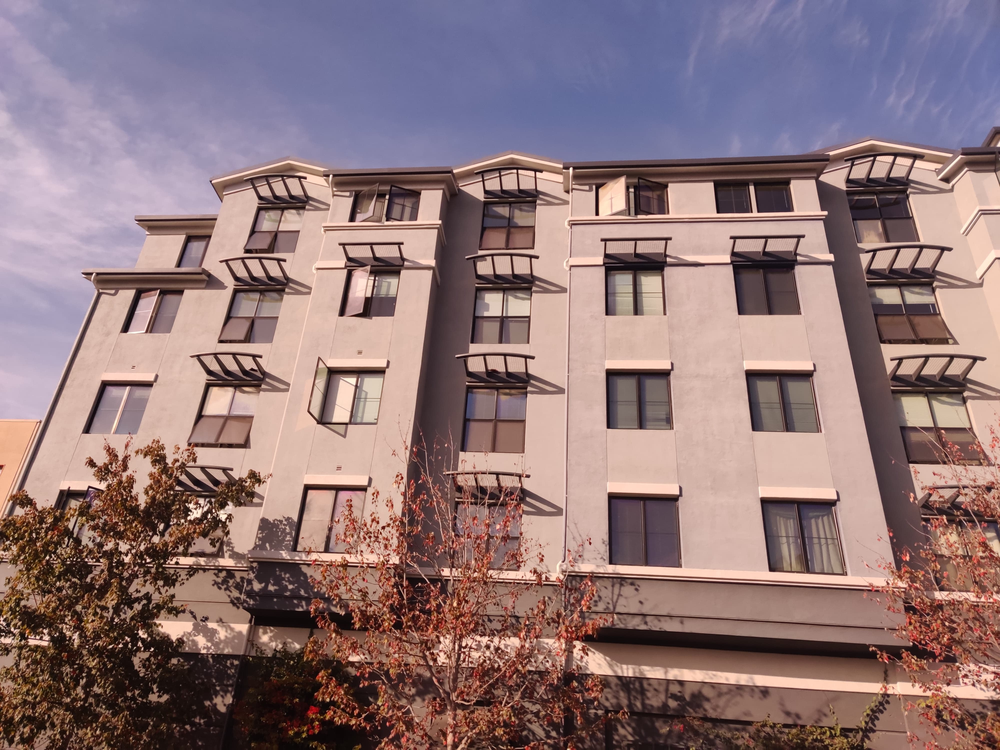
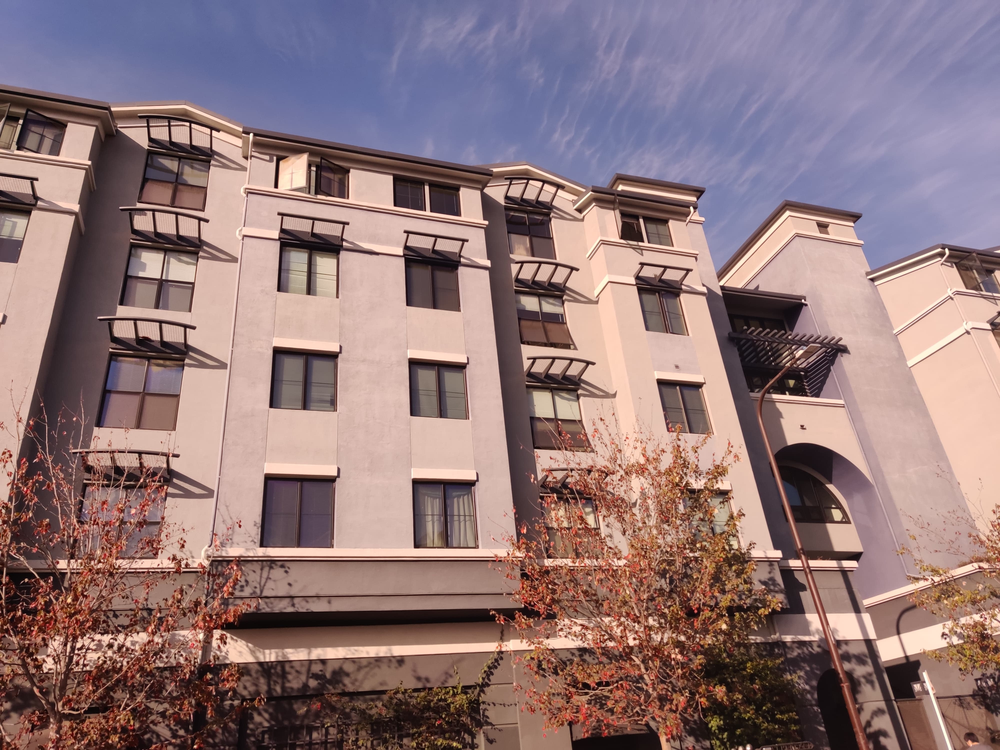
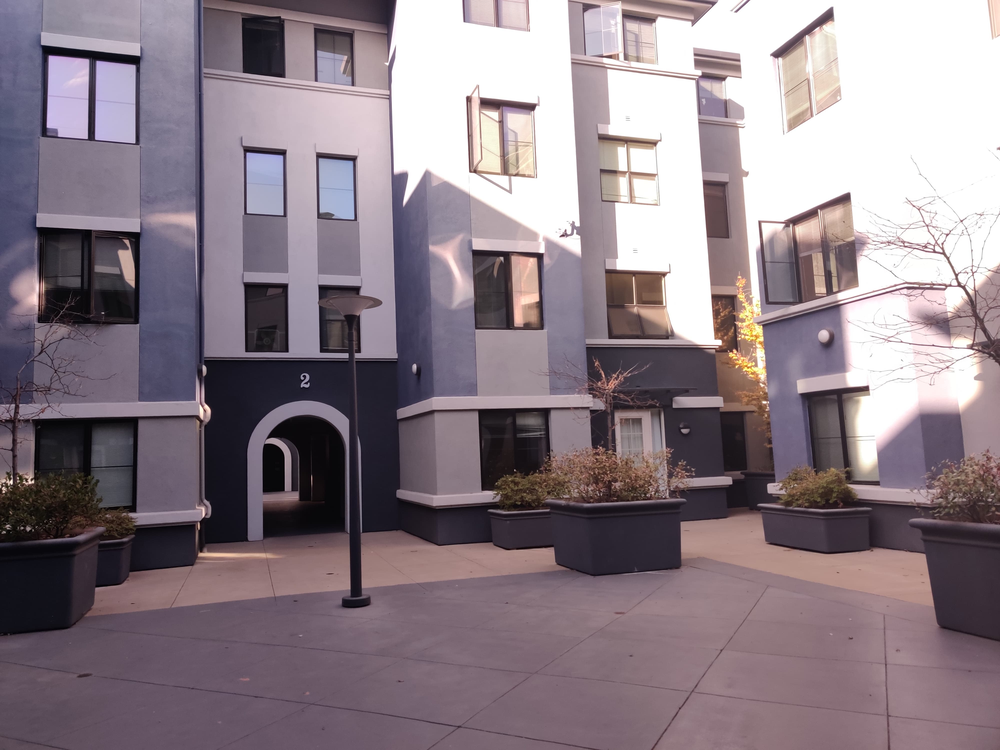
Part 1: Shoot the Pictures
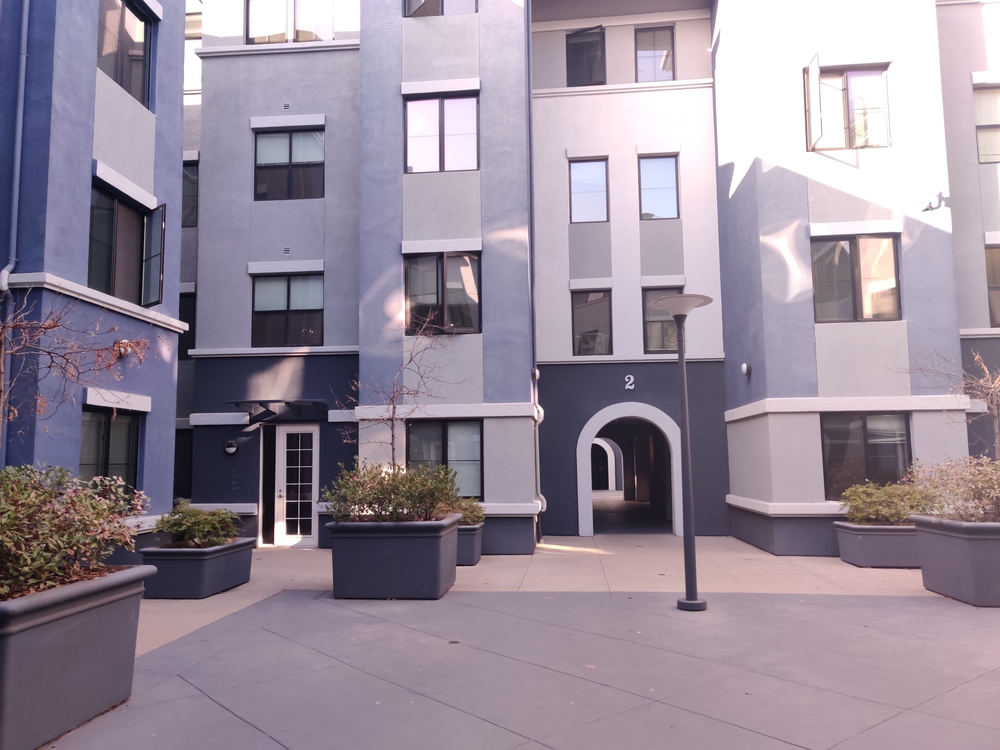
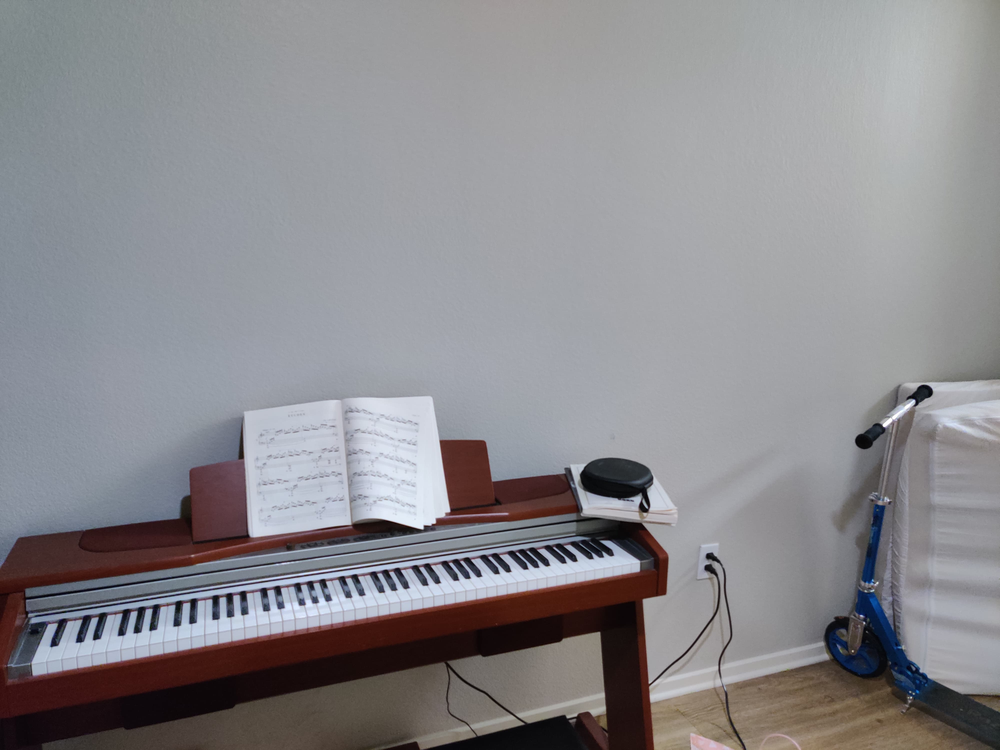
I took 2 pictures of my apartment facade to stich together. Here are the original images:
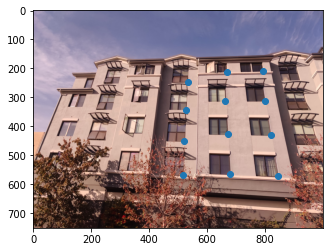
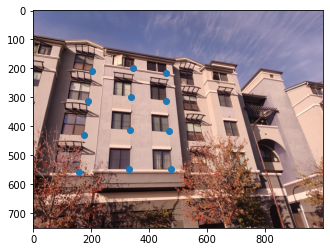
Part 2: Recover Homographies
In this section I selected a set of 12 points in both images to map between the images. Here are the points:
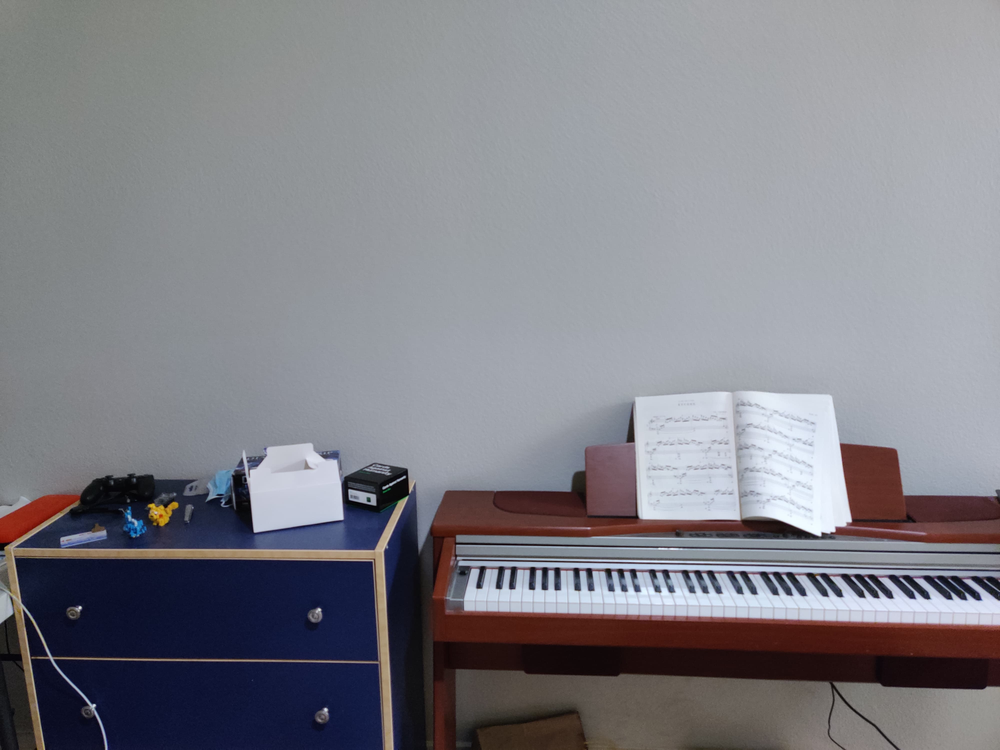
Part 3: Warp the Images/Rectified Images
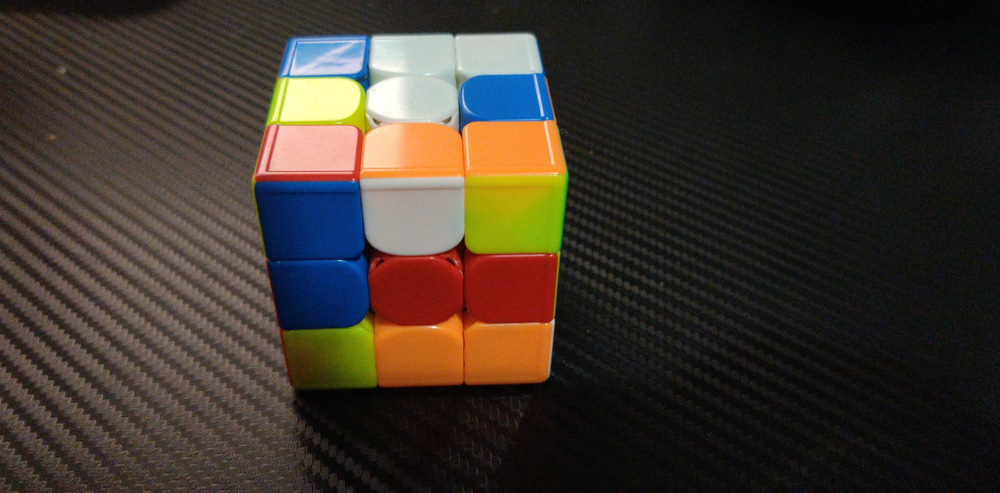
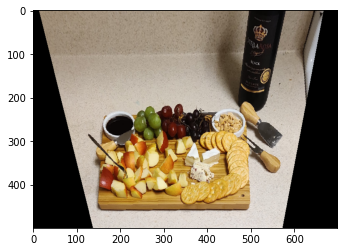
But first, lets test out the Rectification process on some sample images.
I used the Homography matrix to warp the images into the right positions. Here are a few examples where I warped some images to be frontal-parallel:
Before:
After:
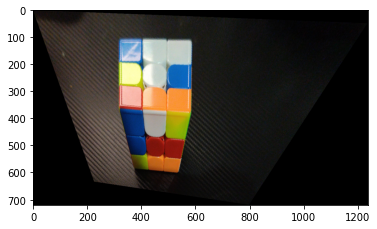
Before:
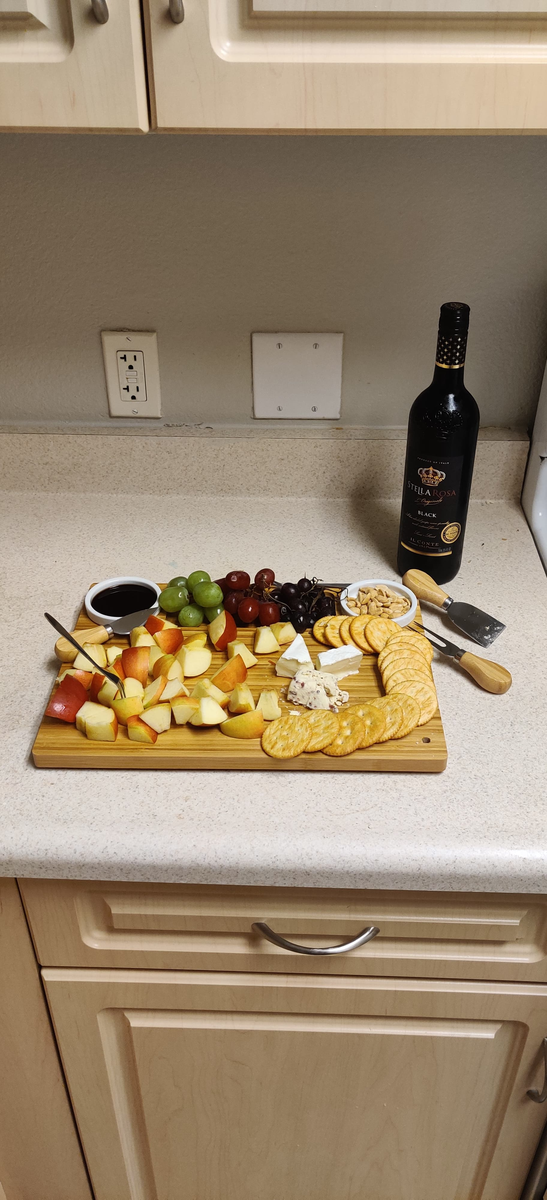
After:
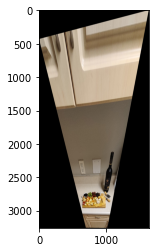
Cropped (Yum!):
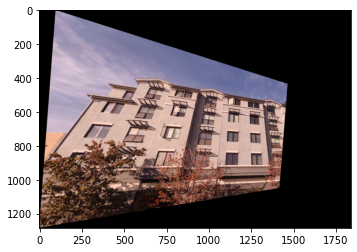
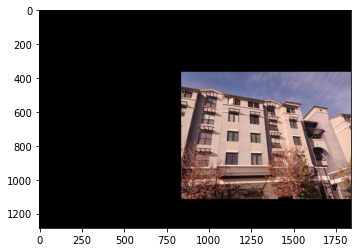
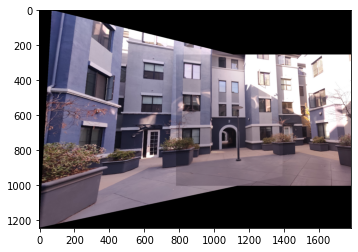
Part 4: Blend images into a mosaic
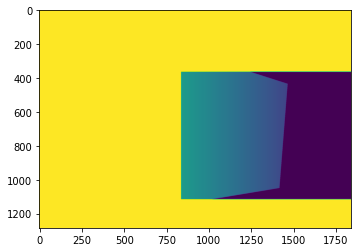
In this step I took the rectified left image and aligned it with the right image to generate the mosaic. I used a gradient mask over both images to smoothen out the mosaic. To deal with issues where points that weren't overlapping were more transparent (thus creating artifiacts) I made it so every point where only one image has data it's mask gives that image full (1) alpha.
For example one I will show the whole process:
Original:
Dots:
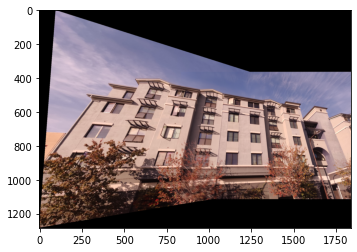
Transformed (left only) and Aligned:
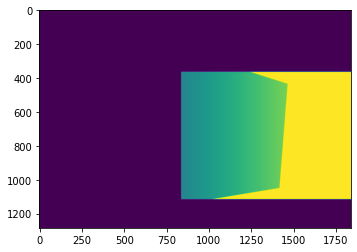
Filters:
Combined:
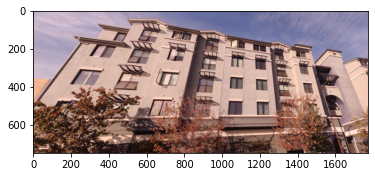
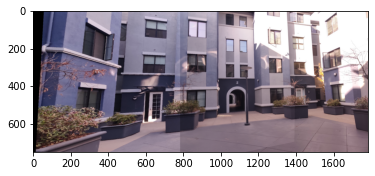
Cropped:
Example 2:
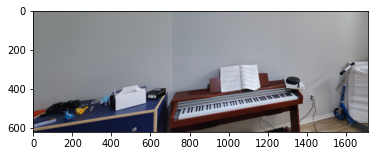
Mosaic:
Cropped:
Example 3:
Mosaic:

Cropped:
What I learned
I think learning how to change the perspective of an image just using math is super cool! Comparing the shifted top view version of the cheese platter vs the front view was very neat to see in action.