|
|
For this project, I got to implement the warping of a set of images taken of the same subject at slightly different angles to create a mosaic of all of the warped images, thereby showing more of the subject than could be shown with a single image.
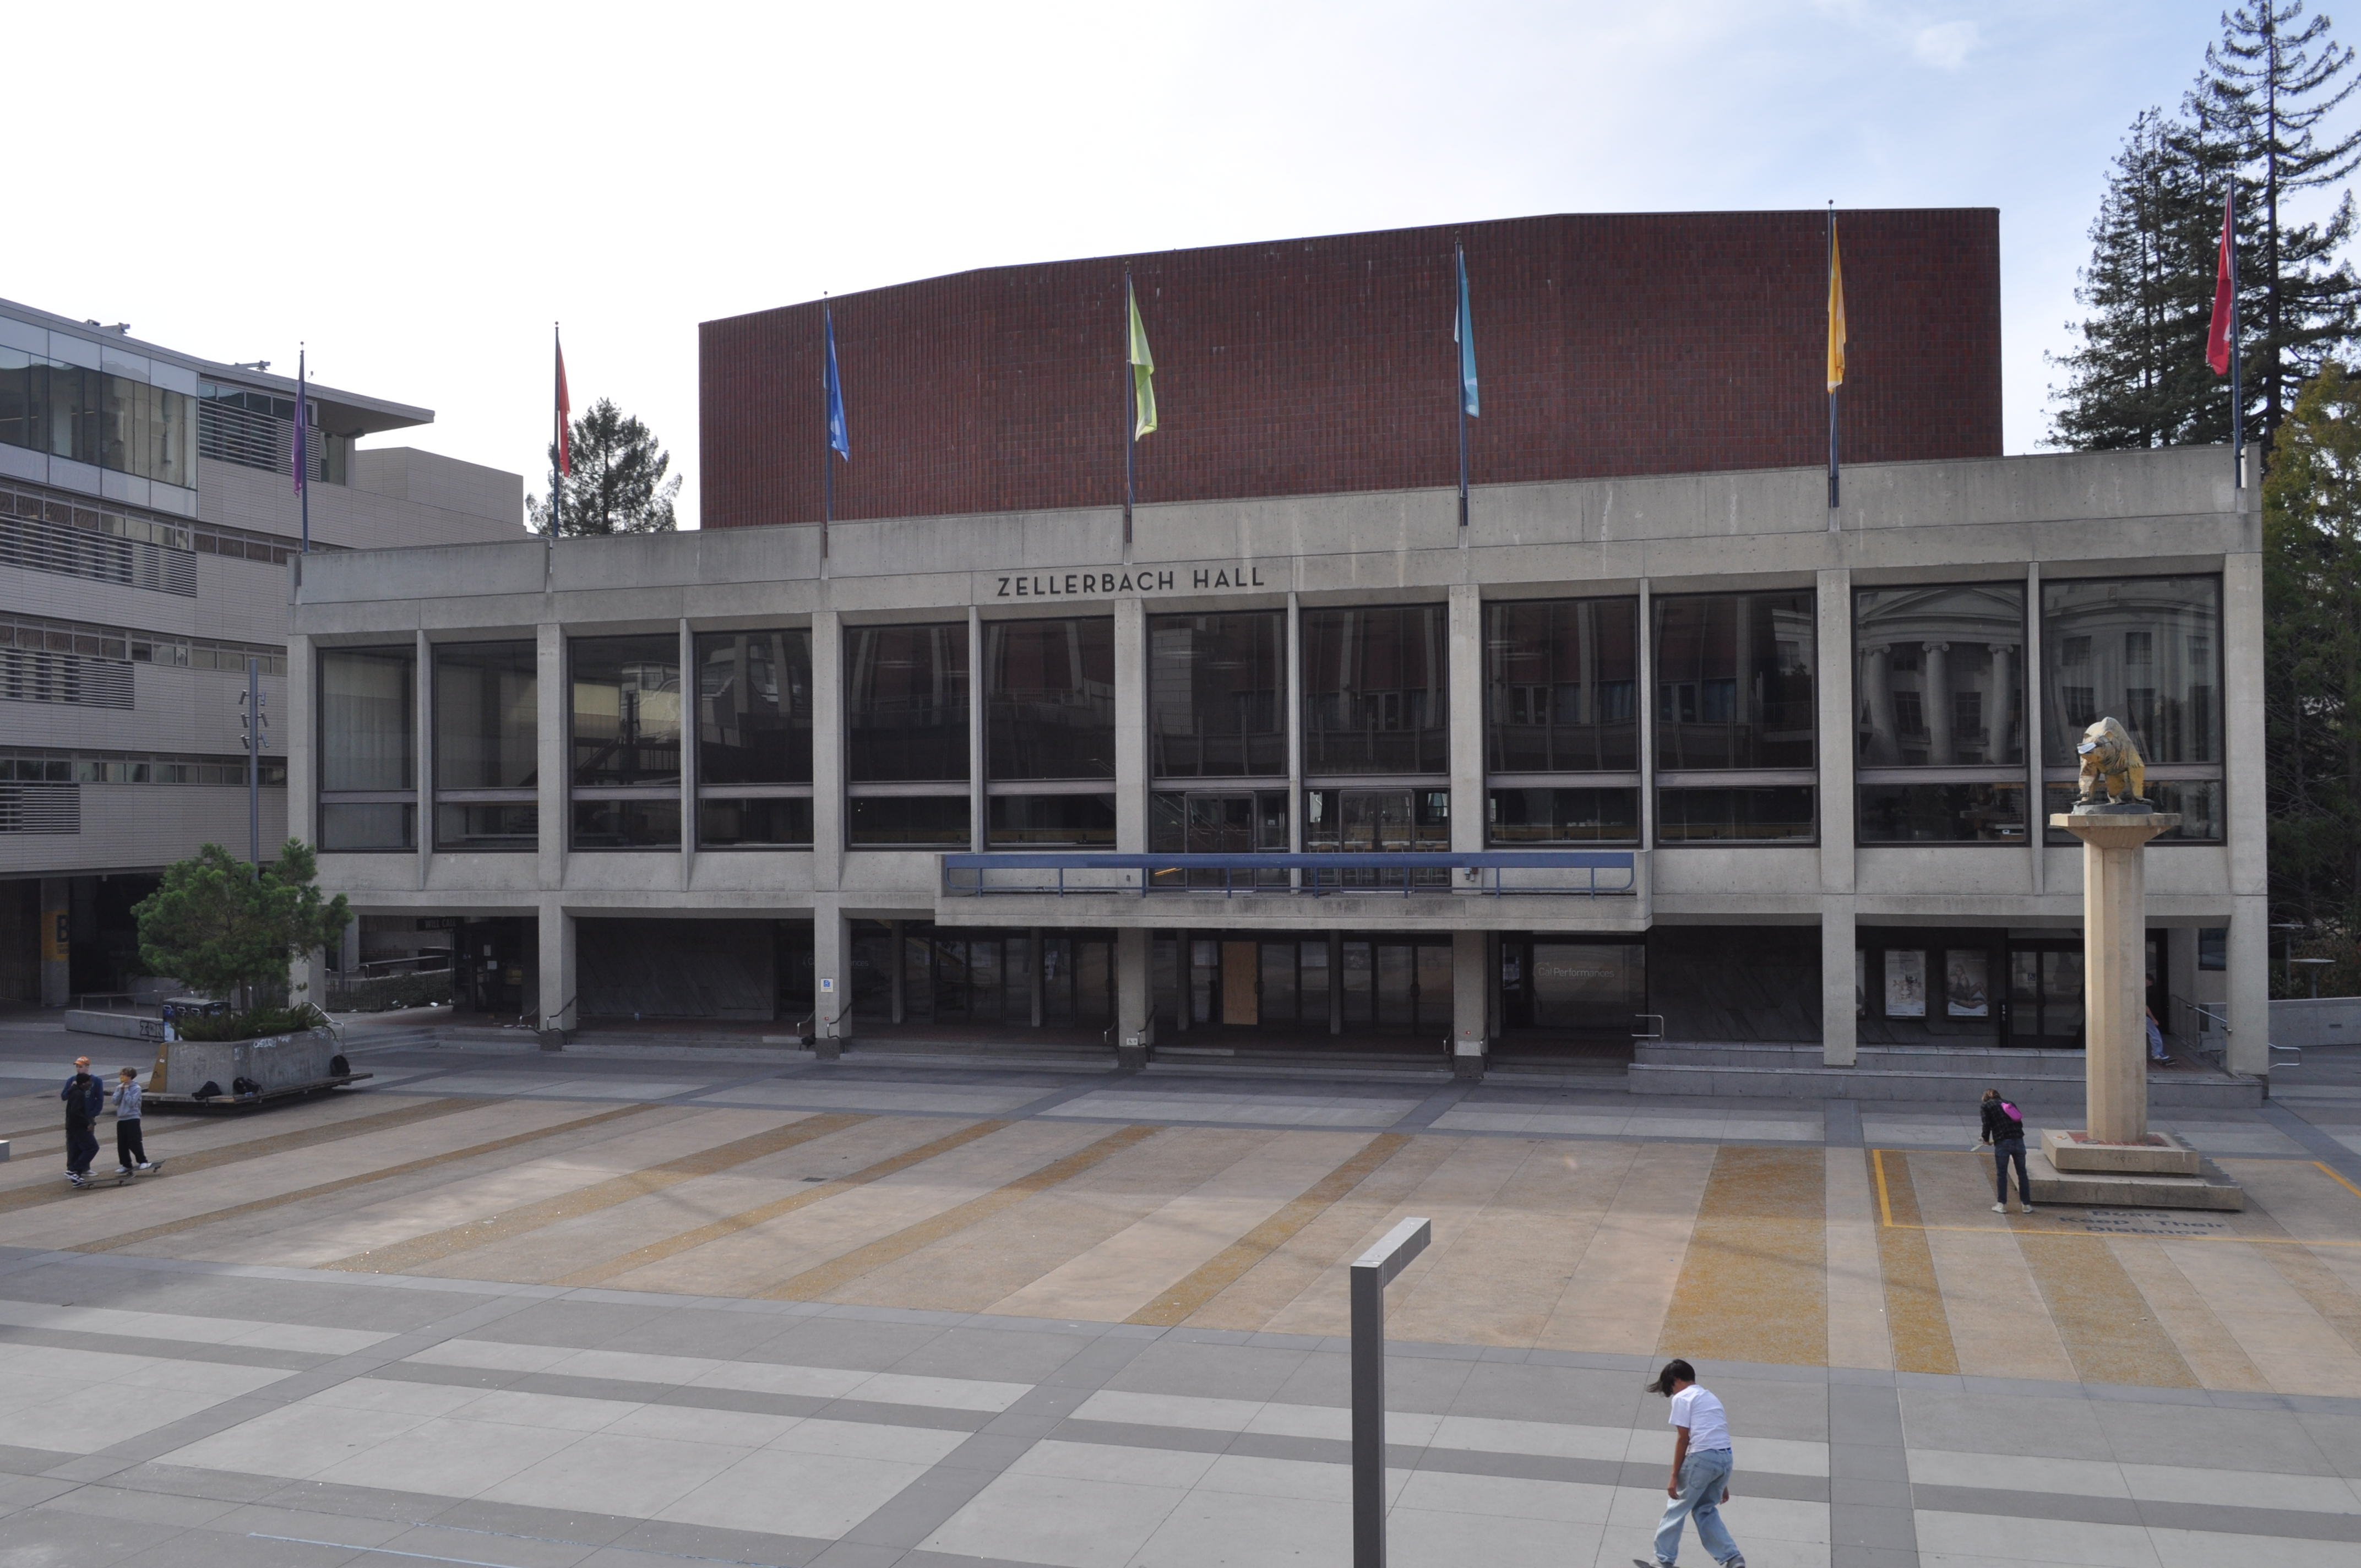
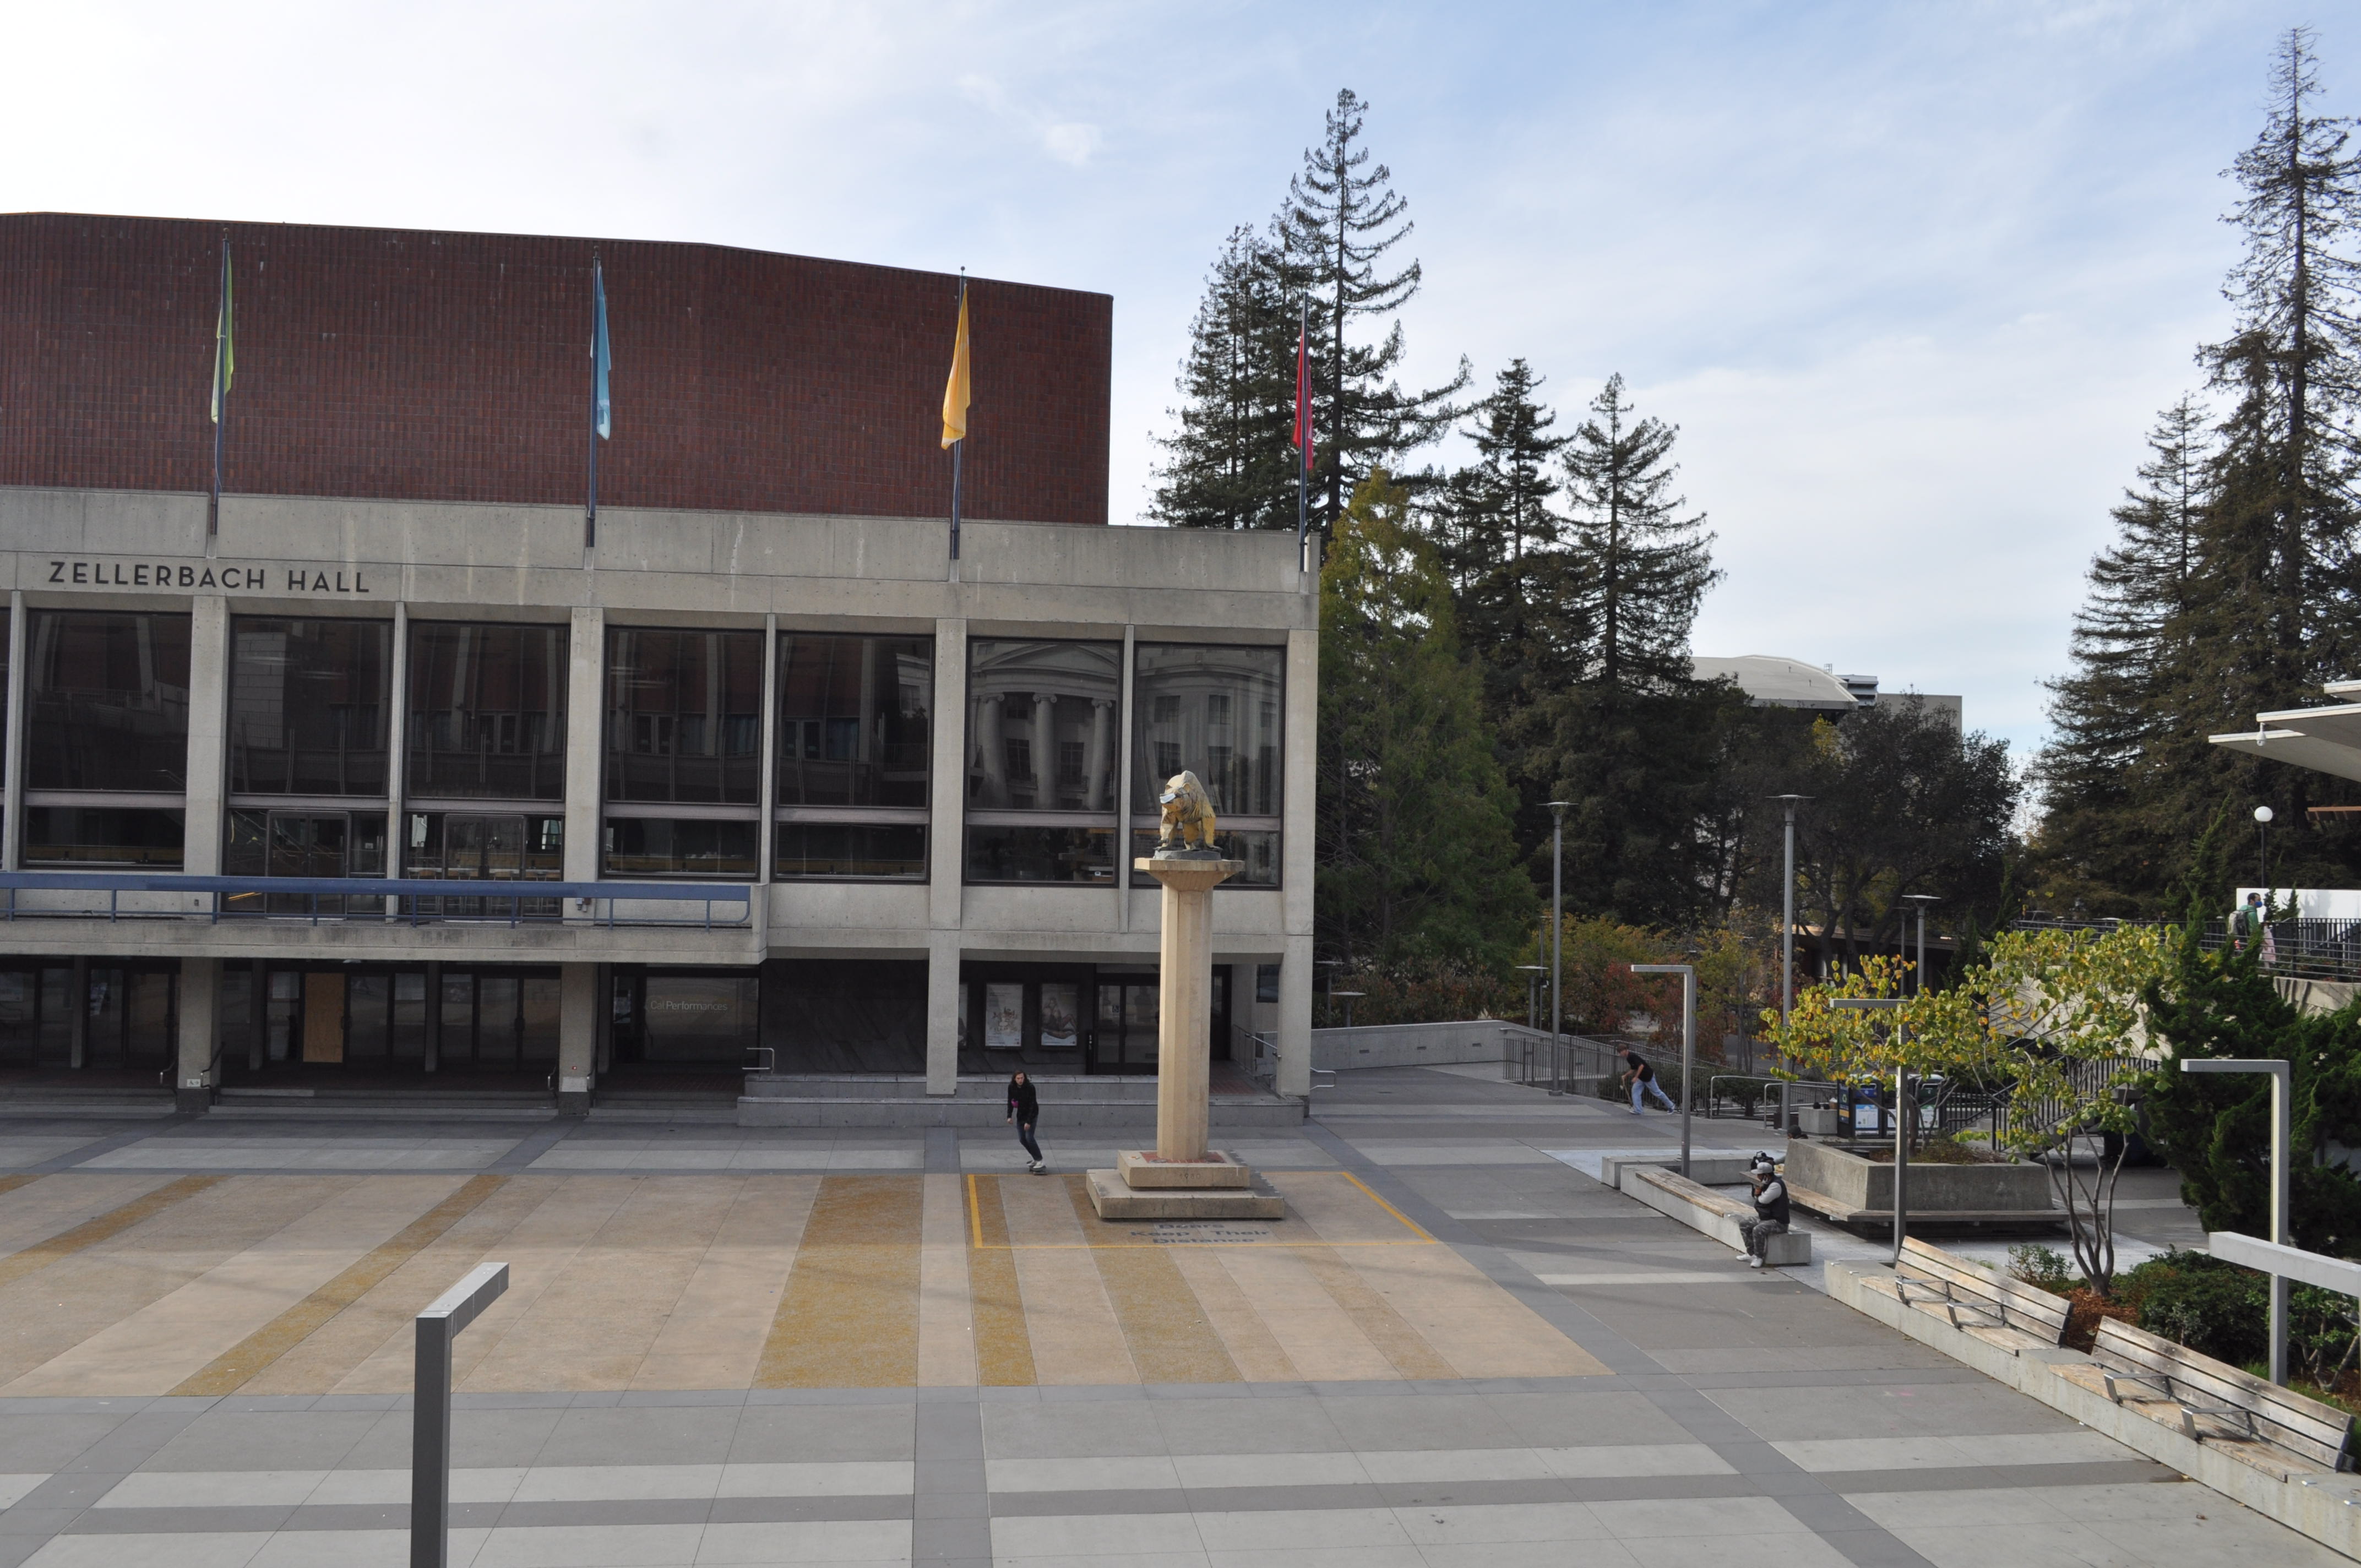
To start the project, I went out to Lower Sproul to take some pictures from the balcony near the Amazon lockers. I took a few different pictures but decided it would be best to stitch the below images together.
|
|
|
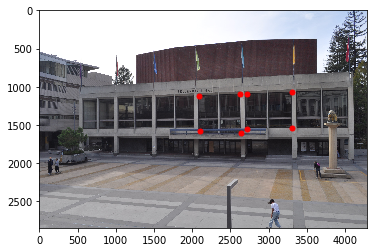
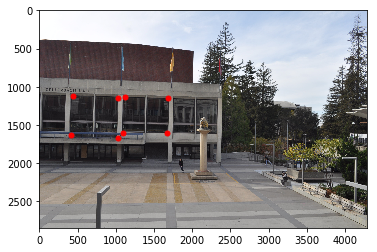
In this part, I selected some landmarks that were shared between the left and right images. I used those landmarks to construct a system of linear equations that would allow me to recover the necessary homography transformation to move the positions of the first set of points to the positions of the second set of points.
Below are the landmarks chosen for the original images
|
|
For this part, I implemented a function that would take in an image, and the homography transformation matrix associated with the image to produce a warped version of the original image that should fit nicely with the other image used to create the homography matrix.
Below, is the warped version of the left image that should align better with the landmarks of the right image.
|
|
As we can see, the landmarks line up quite nicely, and the orientation of the image is fixed appropriately as well.
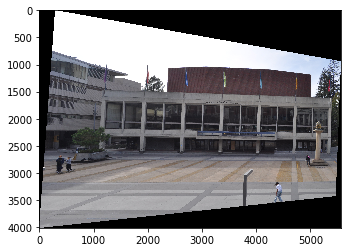
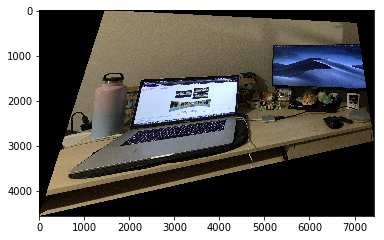
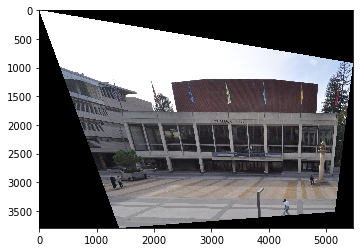
For this part, I wanted to view single images from different perspectives. Thus, I computed a homography transformation matrix between the image, and what I would assume the image would look like if viewed from the desired perspective. Then, I applied the warping to the original image, and received a result that showed the image from my desired perspective.
Here are some pairings of the original image with the image viewed from a different perspective.
|
|
|
|
|
While these perspective changes aren't perfect, they still capture the essence of what the subject would look like from the desired perspective.