Project 5 CS 194-26: Image Warping and Mosaicing
By Diego Uribe
Project Description
In this project I worked on creating an image mosaic out of pictures I took. I learned how to compute homographies and how to use them to warp images.
Part 1: Shoot the Picture
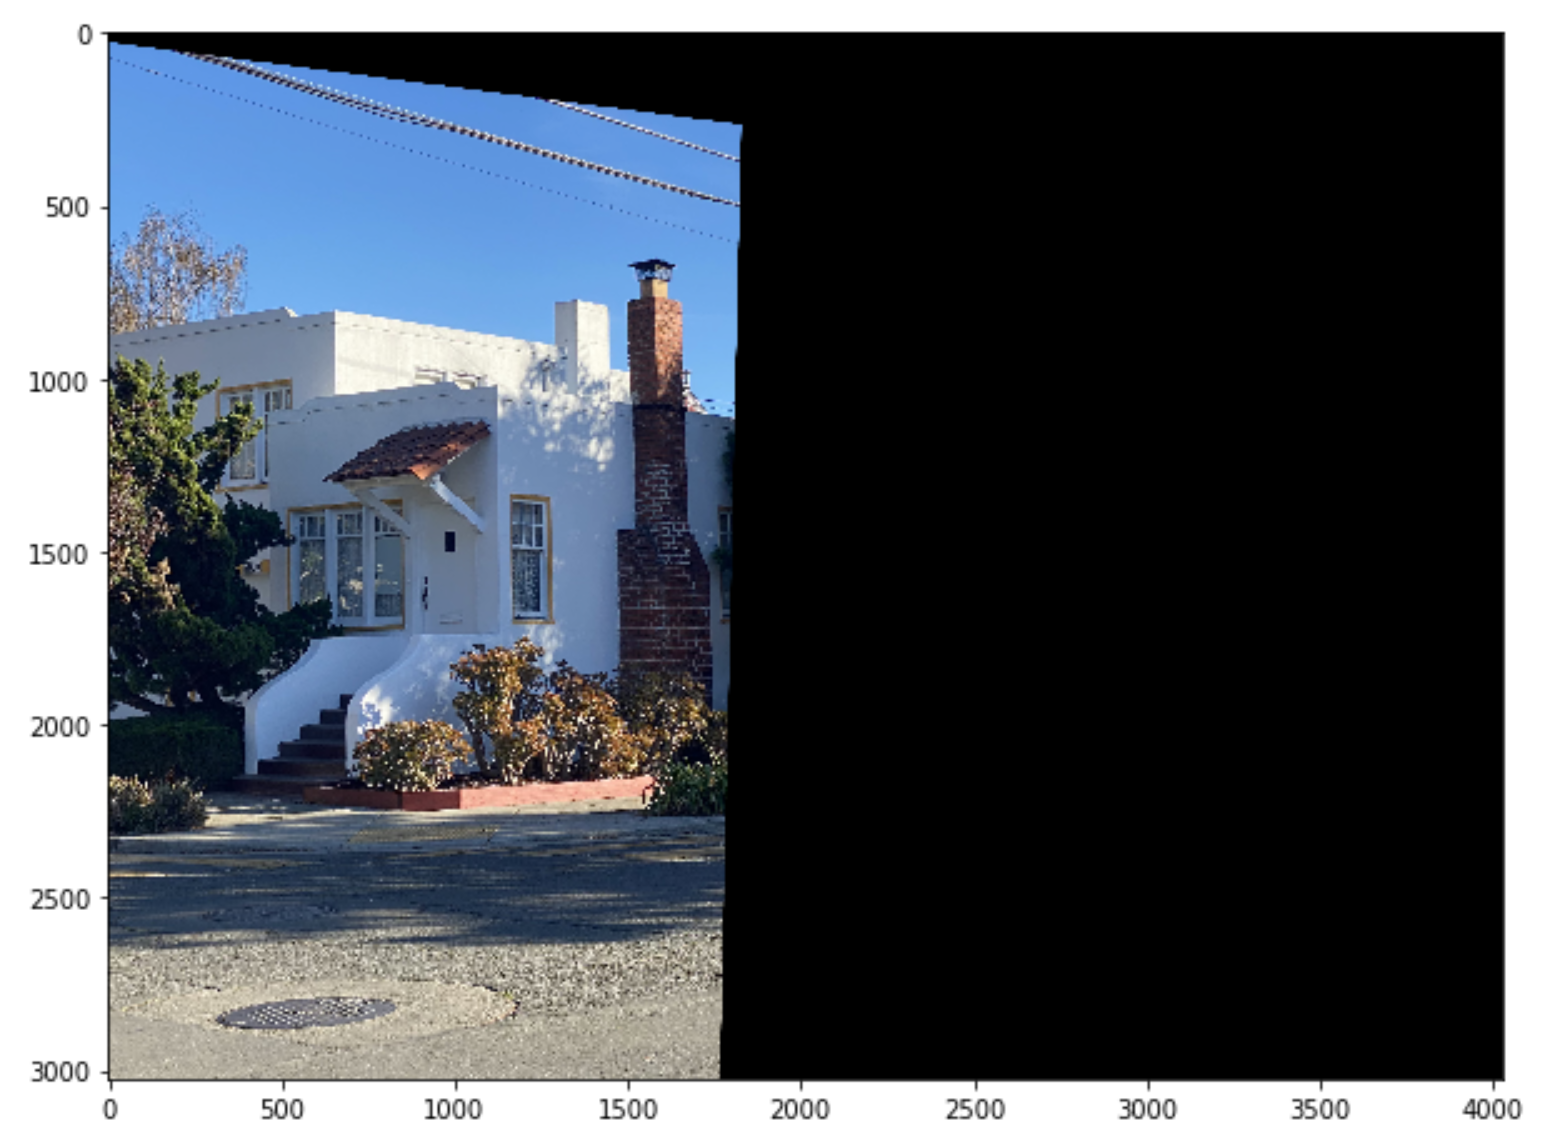
In this part I took two pictures of a house from the same point of view but with different view directions. You can see the pictures below. Also, I computed the point correspondance between the two images. I calculated correspondances between 38 points.
Pictures
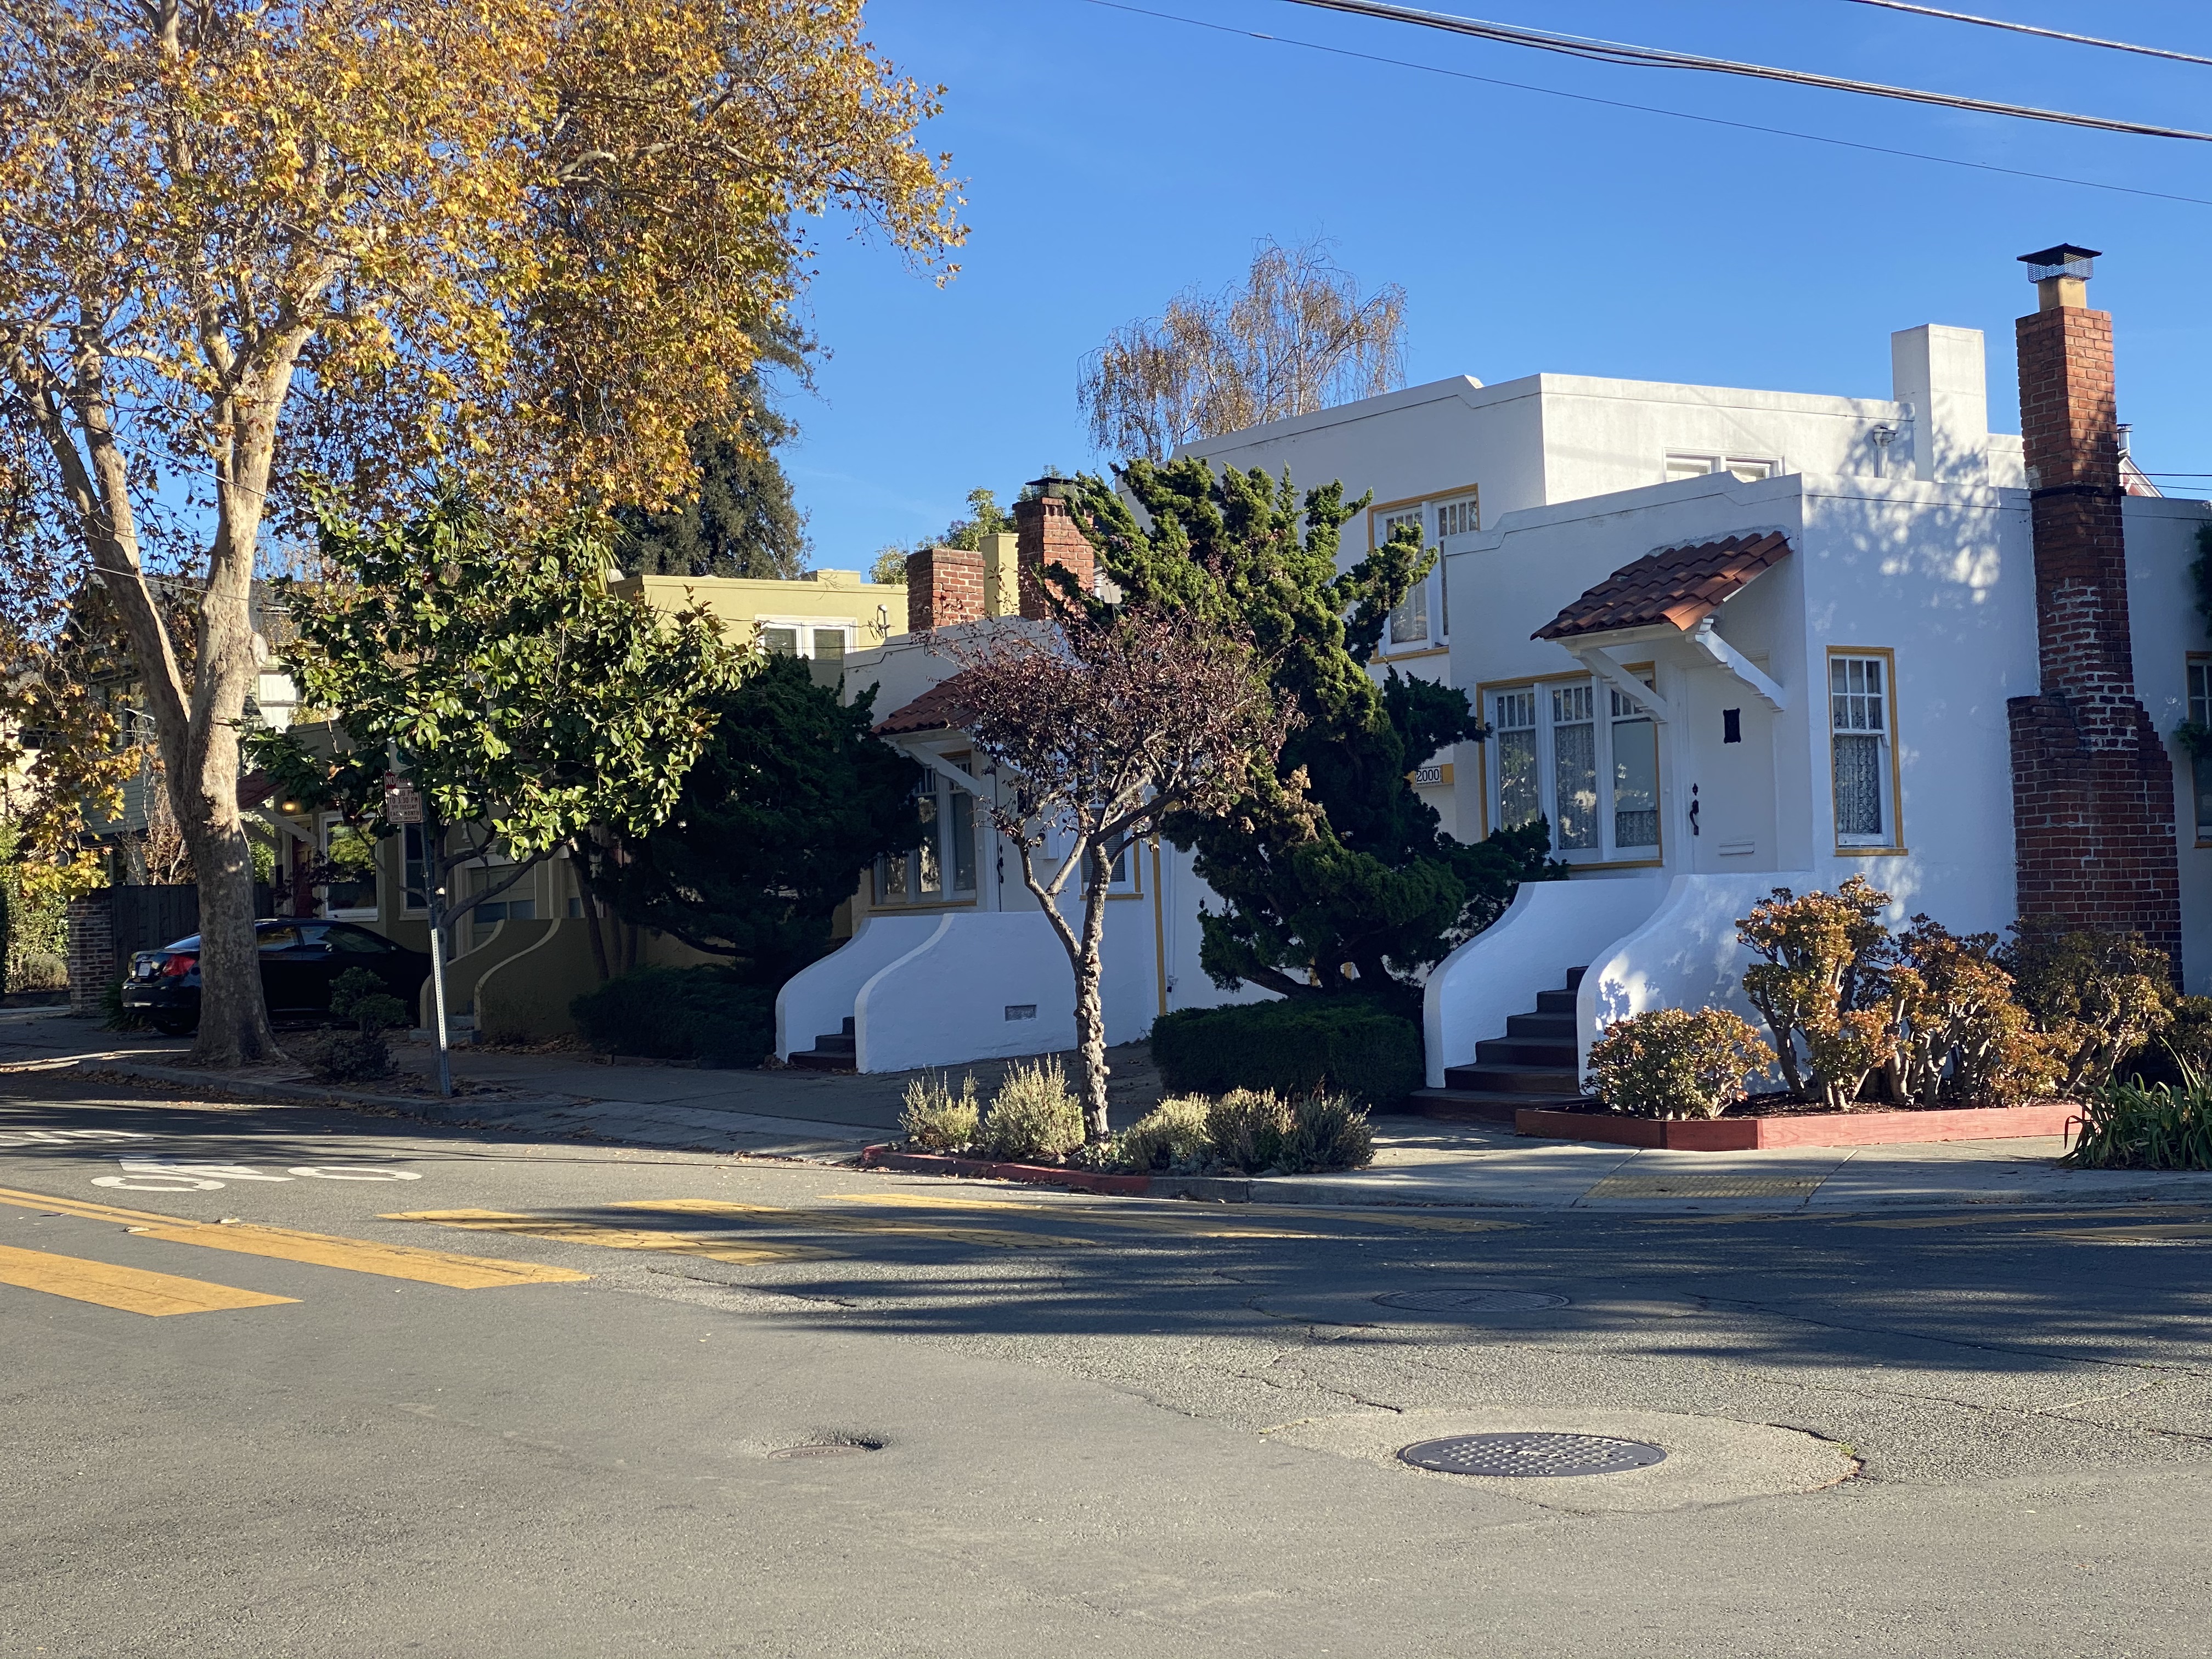
Building 1
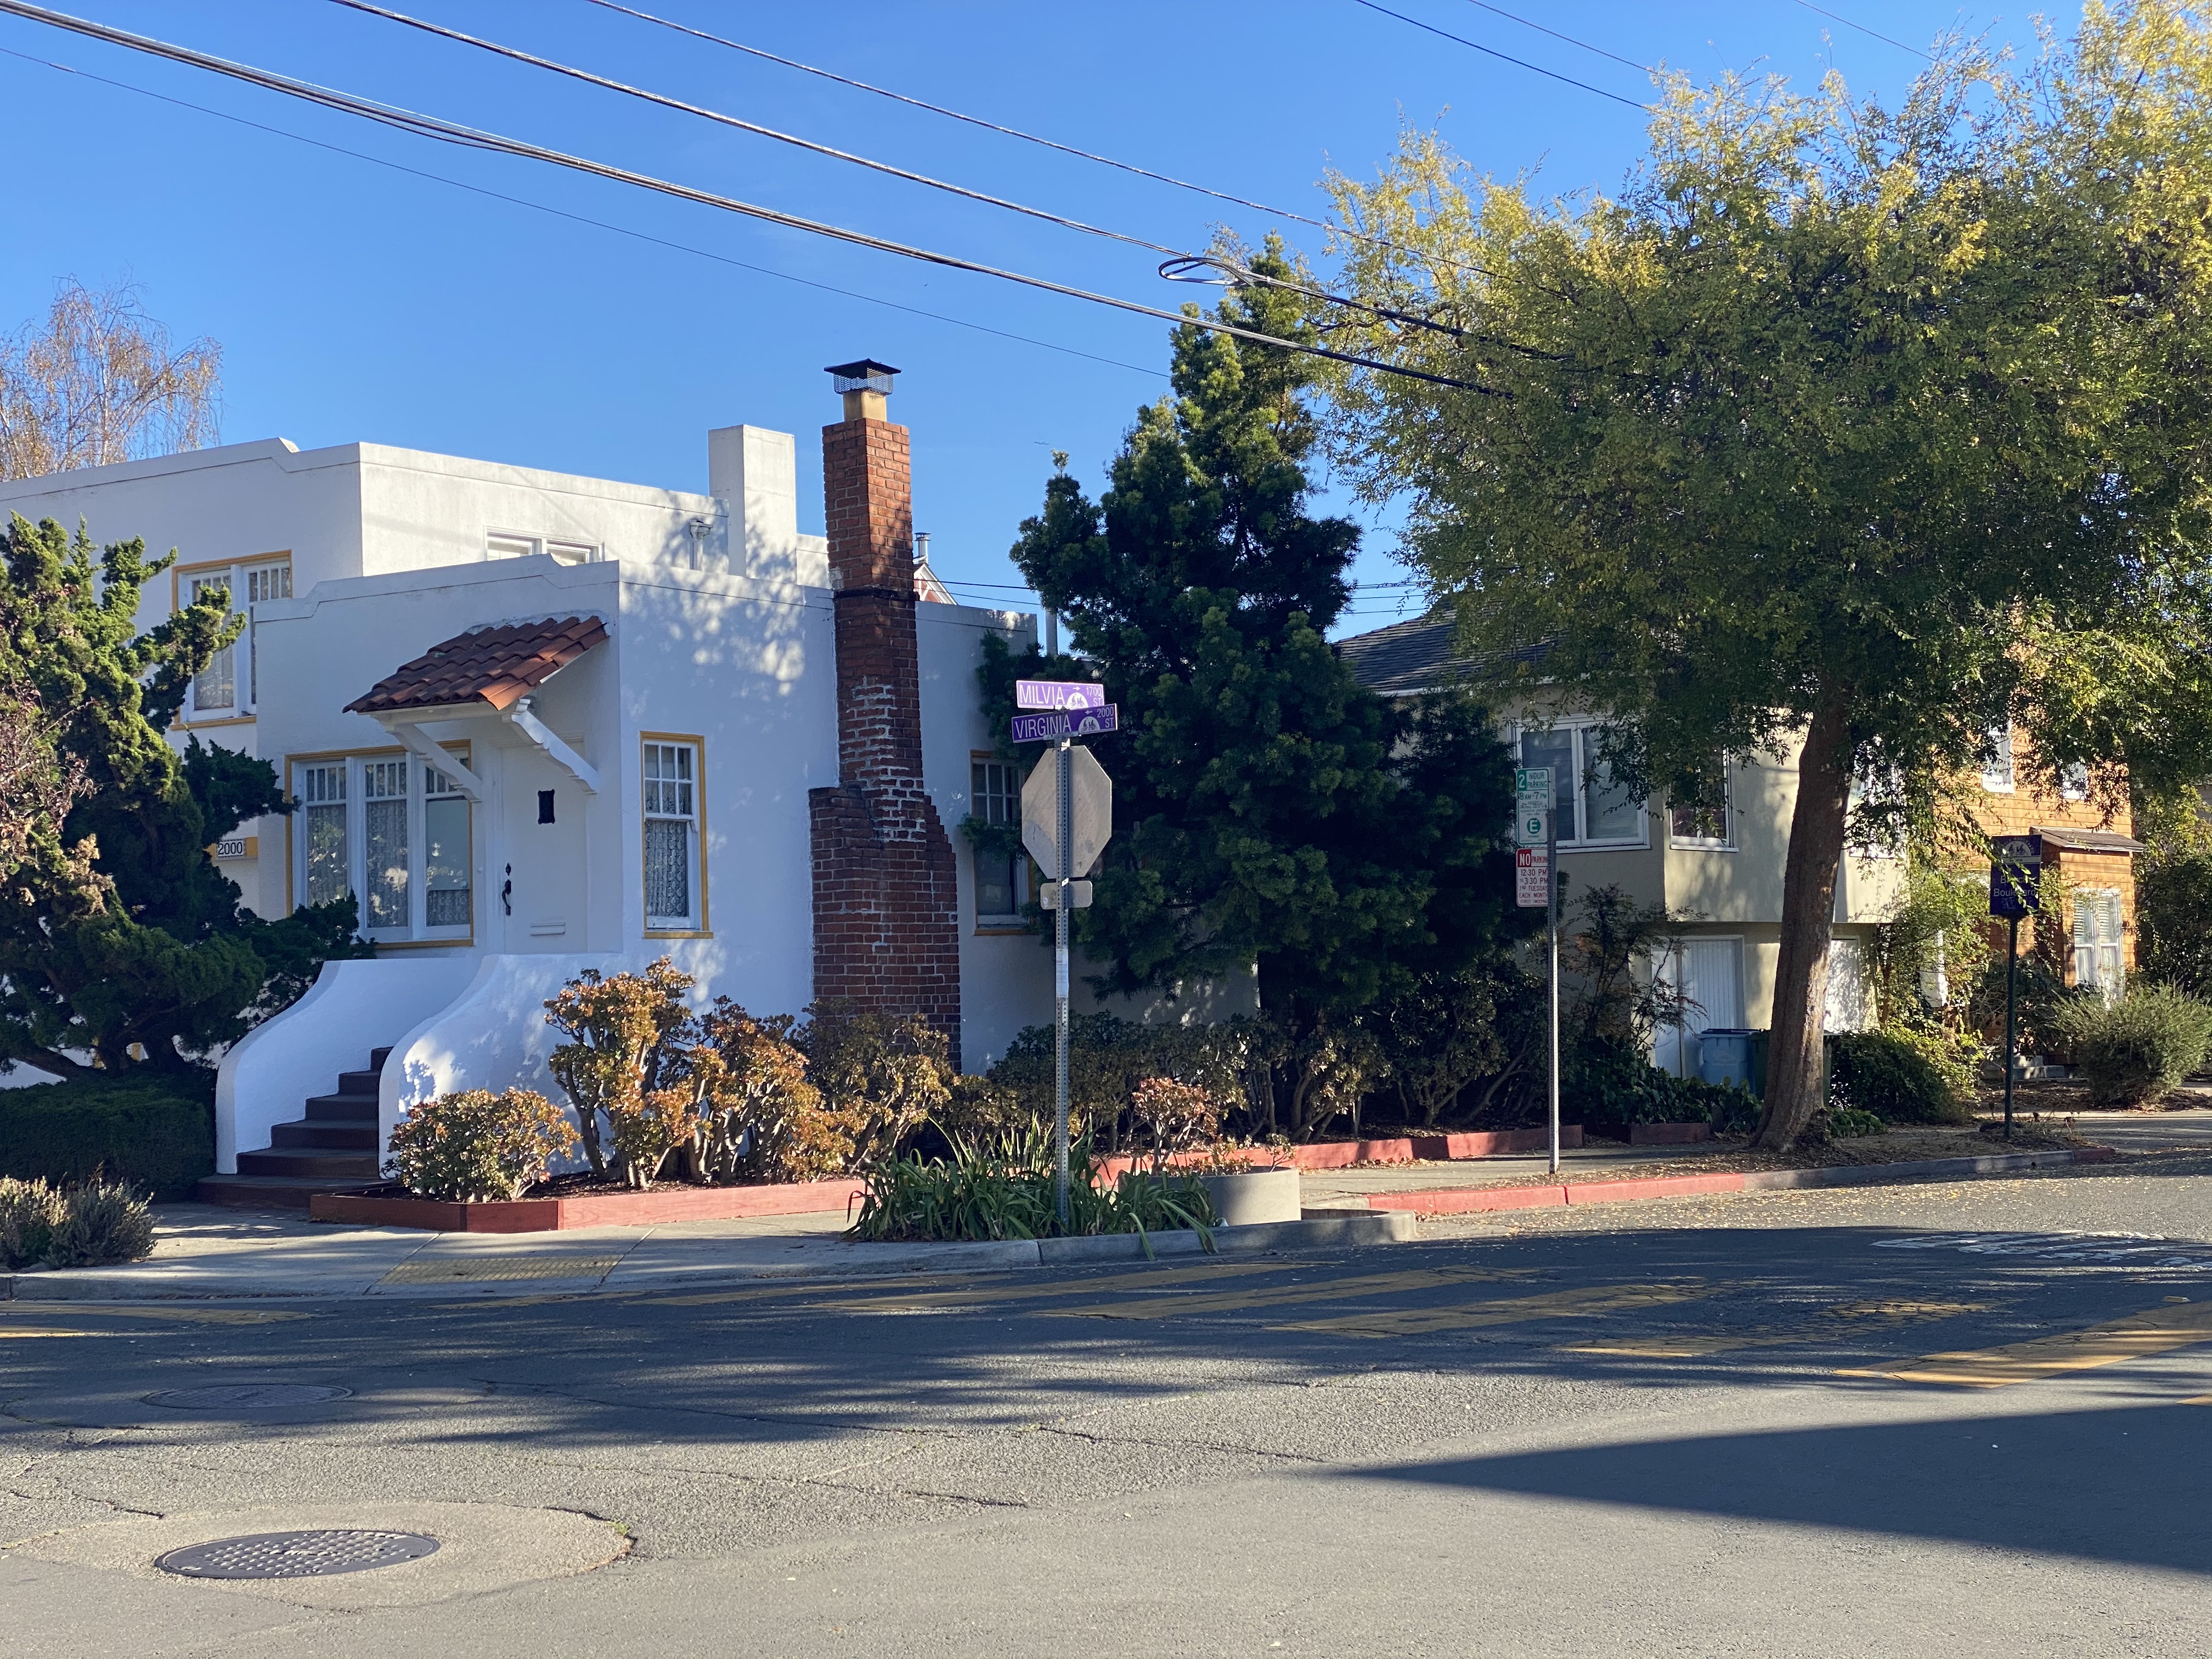
Building 2
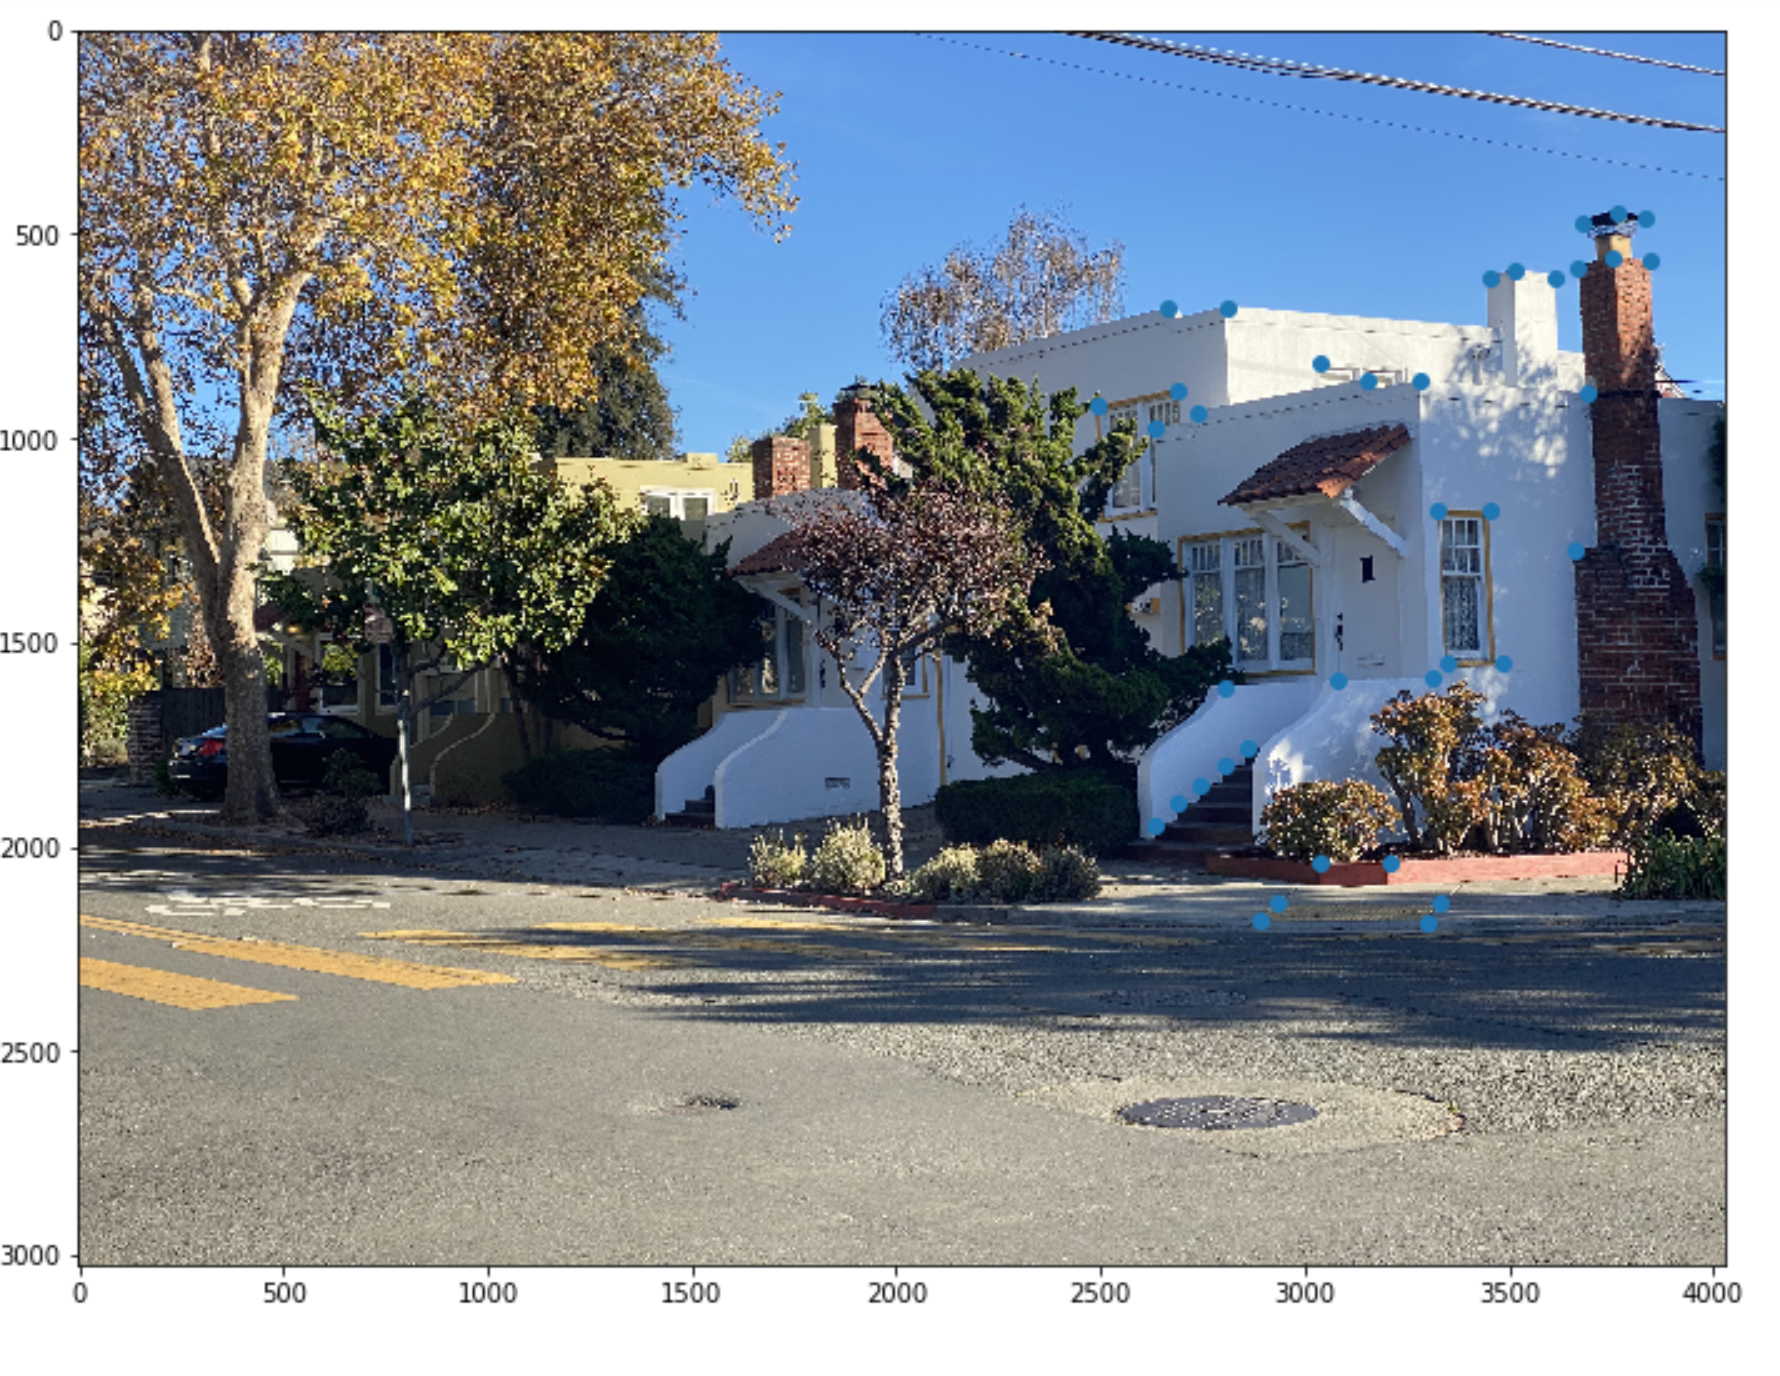
Building 1 Point Correspondances

Building 2 Point Correspondances
Part 2: Recover Homograhies
For this part I do not have any images to show. Please look at the code for a working implementation to compute the homography between the images above. To compute H I set up the Linear System of Equations (Ah = 0) and solved it by computing the SVD of A. The vector h corresponds to the 8 column of V (right eigenvector). The section below will show that my implementation worked since I will be warping images!
Part 3: Warp the Images
In this section I implemented the warpImage function. I implemented using inverse warping. I used RectBivariateSpline as the interpolation function. Below I compare my warp result with the warp result using sk.transform.warp. As you can see both results are the same except that in my implementation I do not set the pixel values of out of bounds coordinates to be black. This is something I will fix for phase 2, however, the important observation is the the image was warped and has the same dimensions as the one returned by sk.transform.warp.
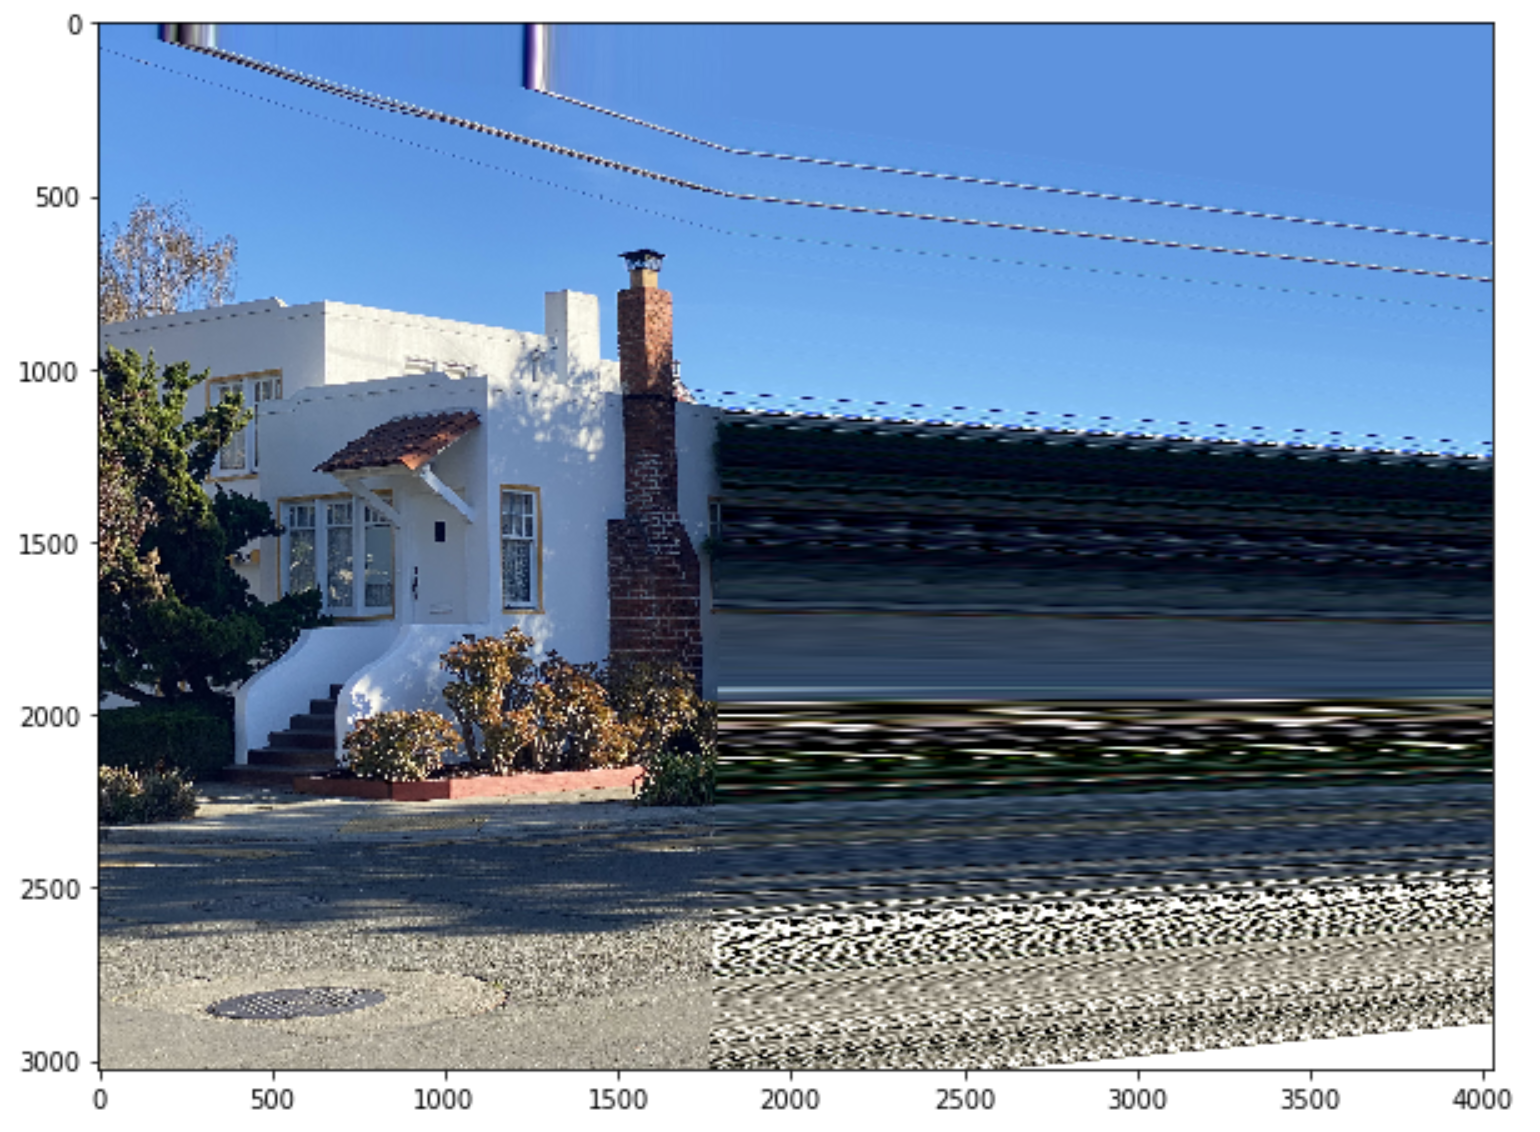
Warp of Building 1 into the computed homography (my implementation)
Warp of Building 1 into the computed homography (sklearn implementation)
Part 4: Image Rectification
To be Implemented in Part 2
Part 5: Blend the images into a mosaic
To be Implemented in Part 2