The goal of this assignment is to play with different aspects of image warping with a “cool” application -- image mosaicing. I will three set of photographs and create an image mosaic by registering, projective warping, resampling, and compositing them. Along the way, I learnt how to compute homographies, and how to use them to warp images.
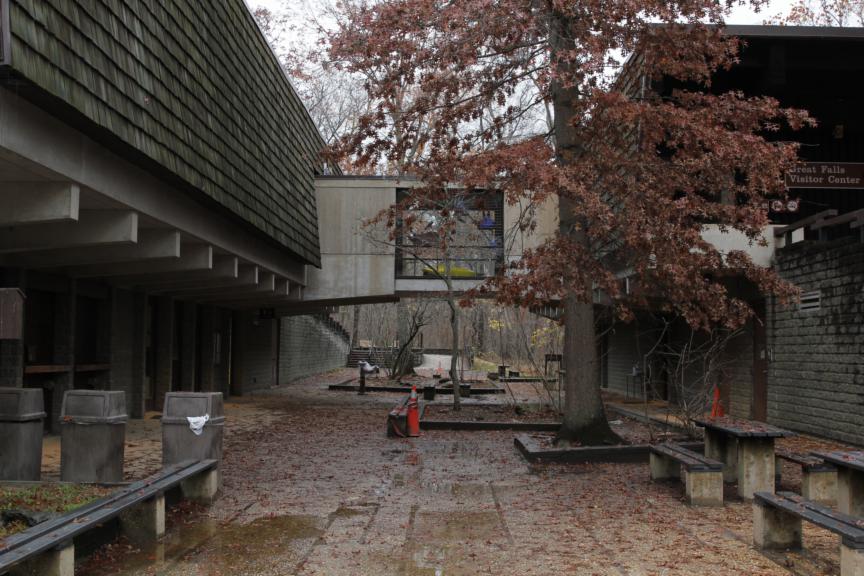
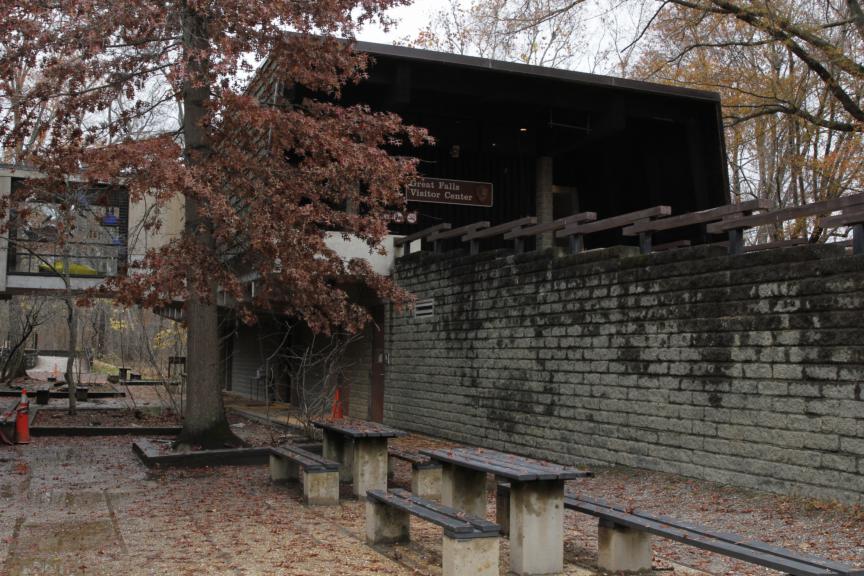
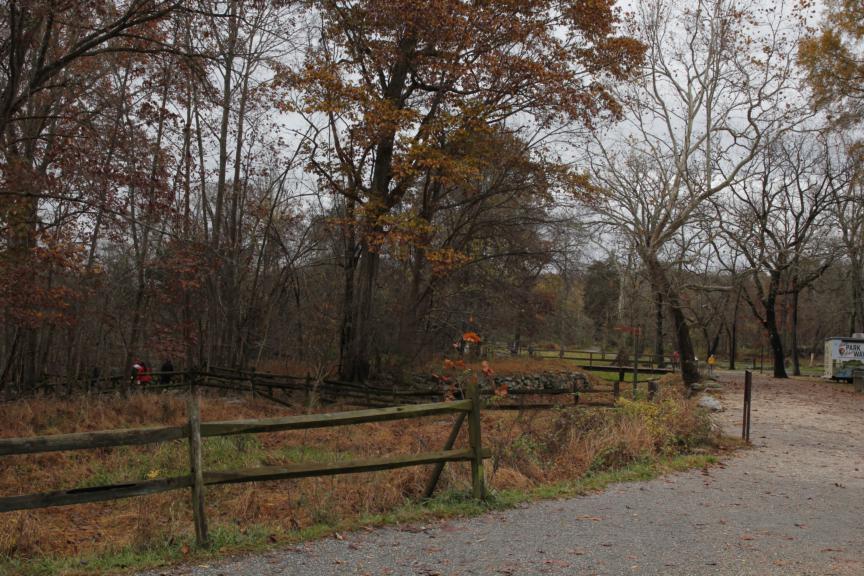
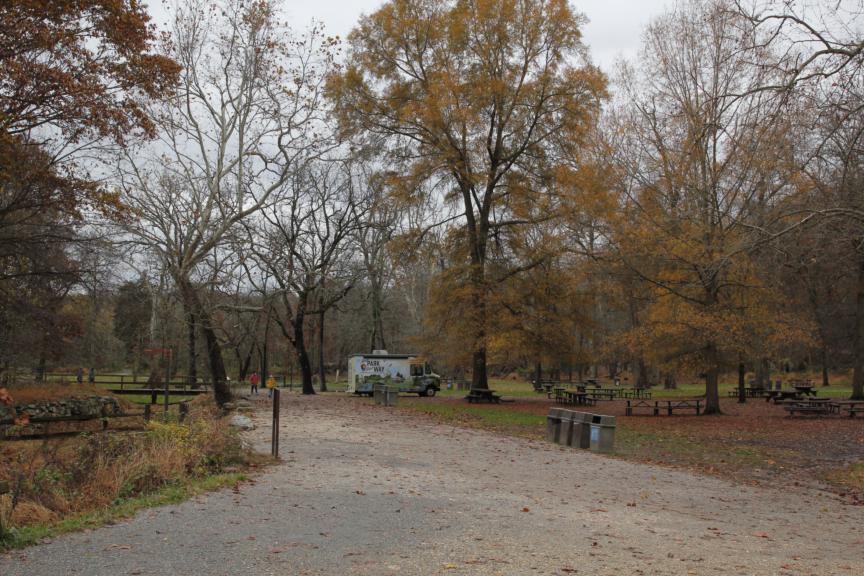
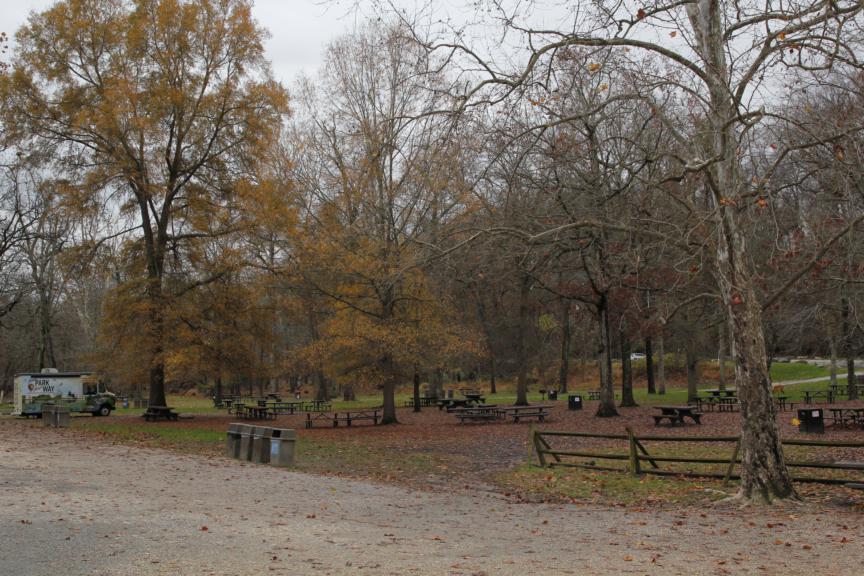
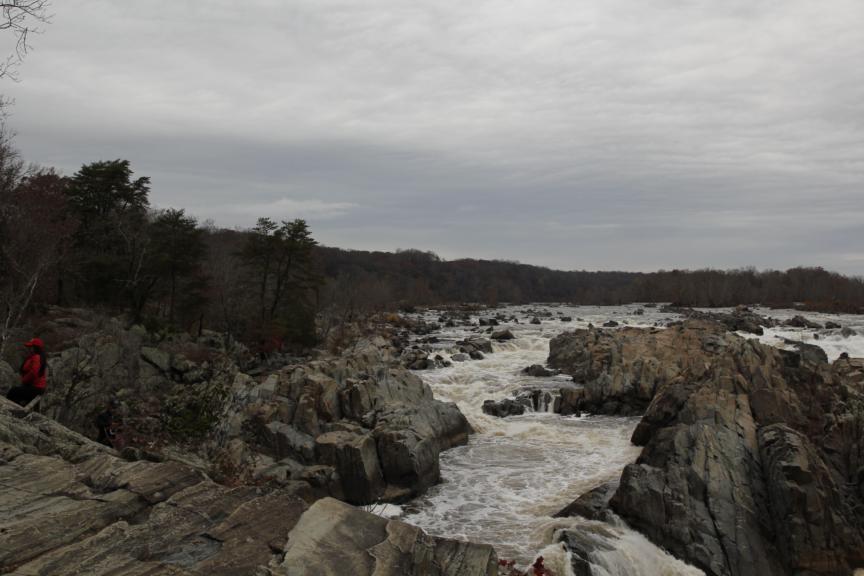
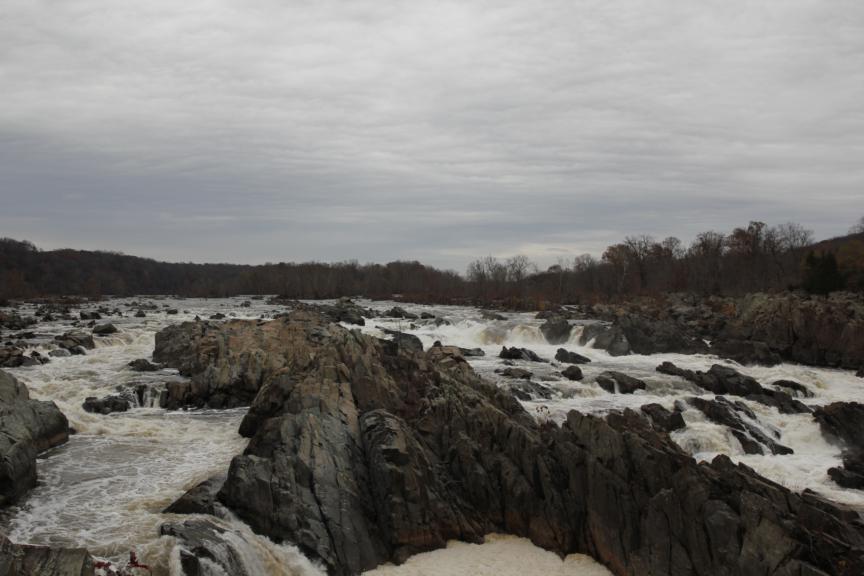
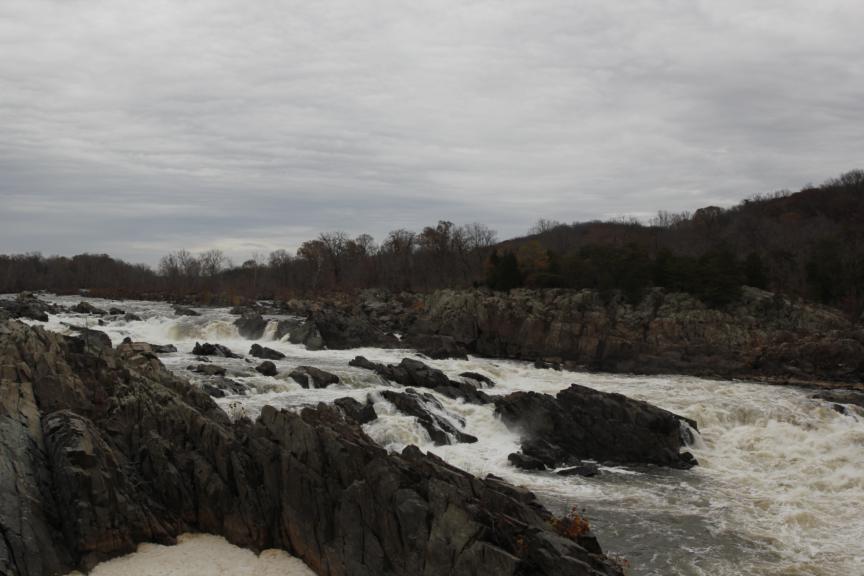
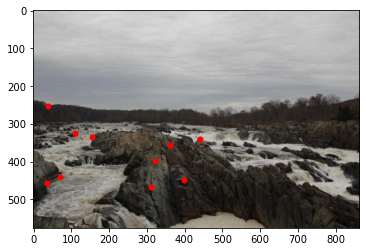
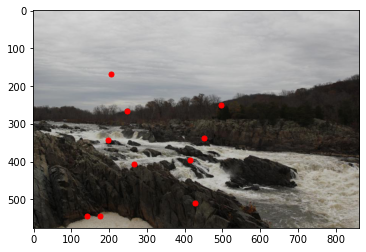
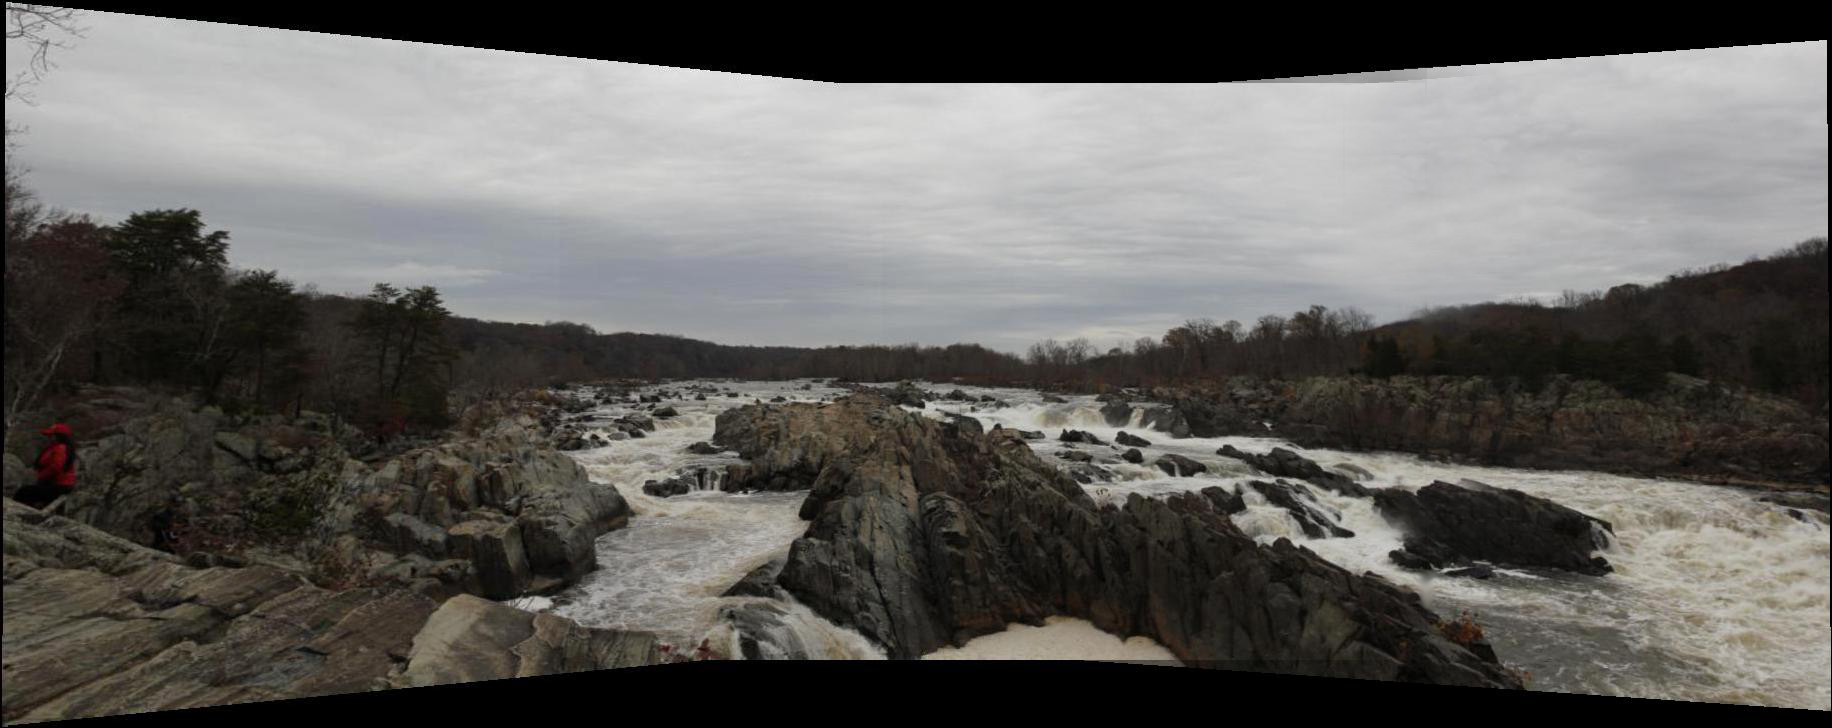
I went to the Great Fall Park, and I took three sets of photographs for this projects by simply rotating the tripod and use the Mannual Mode of camera (Canon cameras).

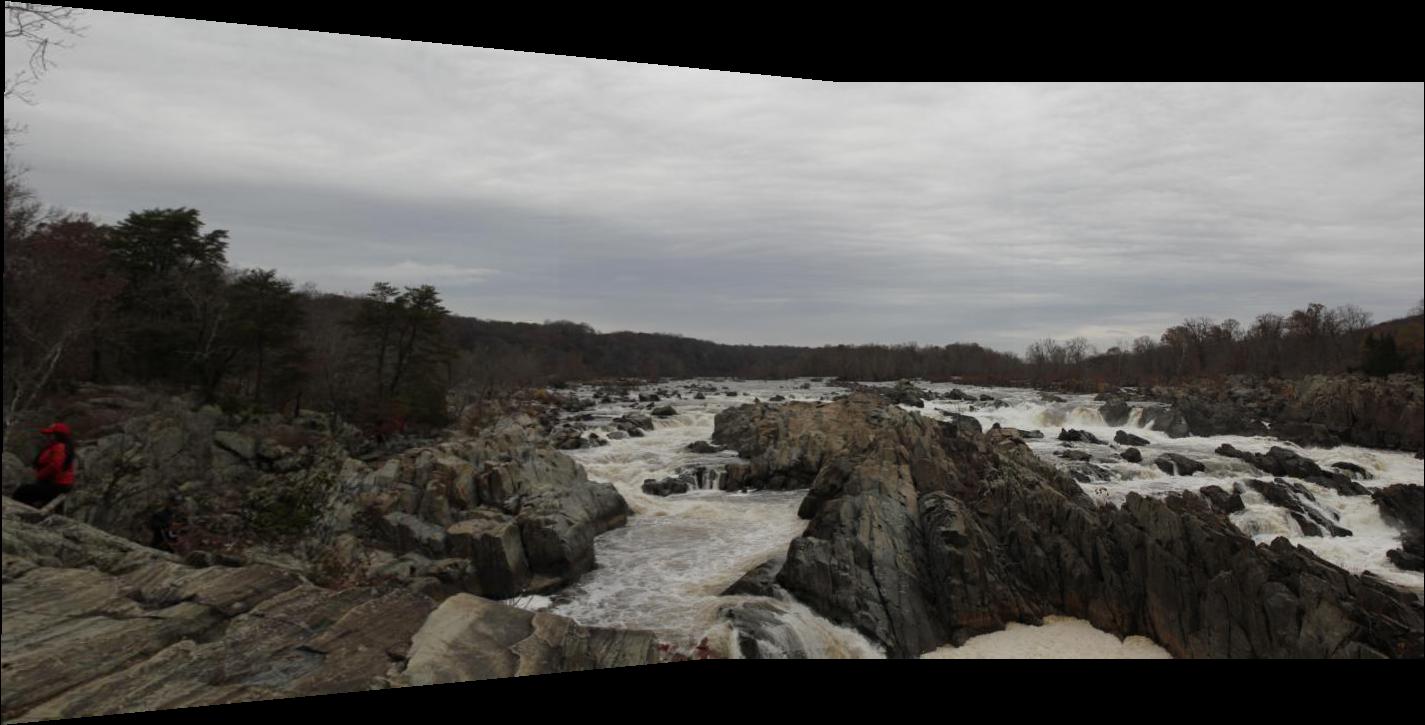
Before I can warp images into alignment, yI need to recover the parameters of the transformation between each pair of images. The transformation is a homography: p’=Hp, where H is a 3x3 matrix with 8 degrees of freedom. Due to the df, we actualy need 4 points for the parameters calculation, but in order to match two images perfectly, we usually choose more than 4 points. In this case, we solve the transformation with least square. And I used inverse warping for this project, so I use the inverse of the H to reconstruct the warped images.
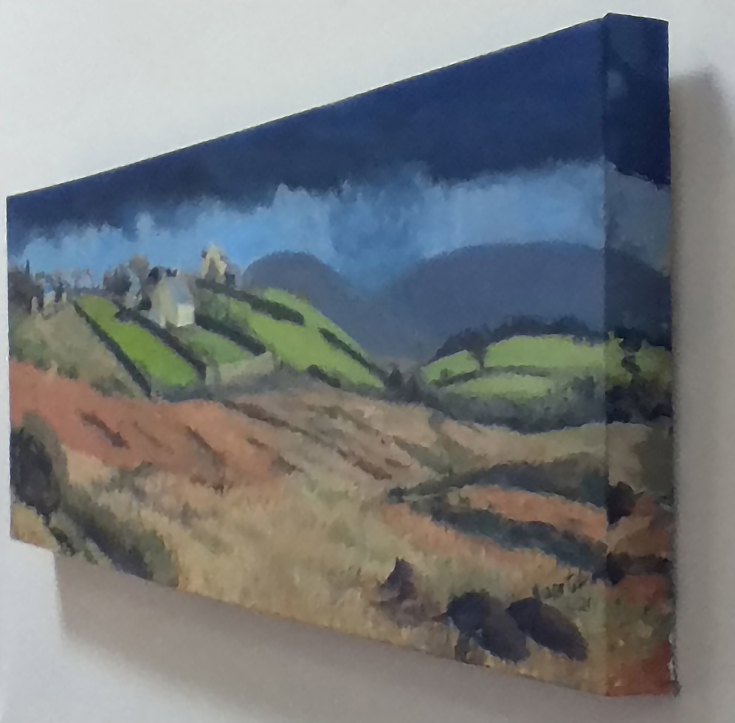
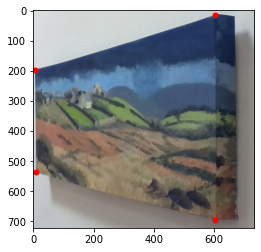
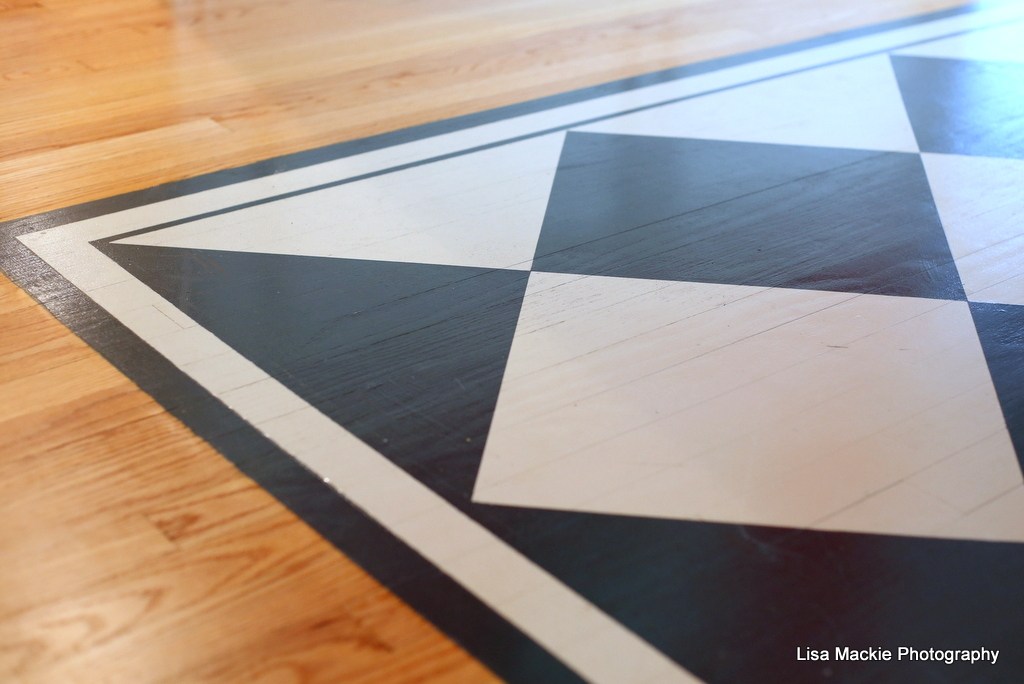
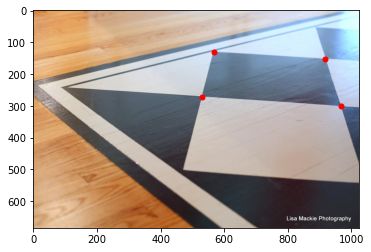
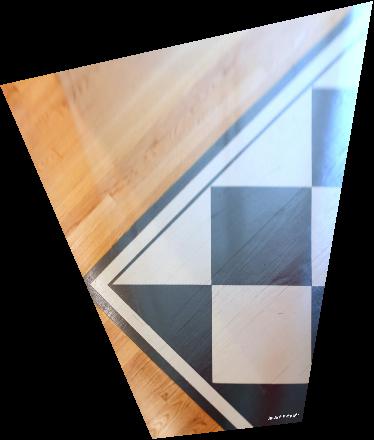
To test out my computeH and warpImage function. I chose two example images as following. And I assume that the painting on the wall is rectangular and the shape on the floor is square. Then I apply the target points and selected points to functions and get the following results.

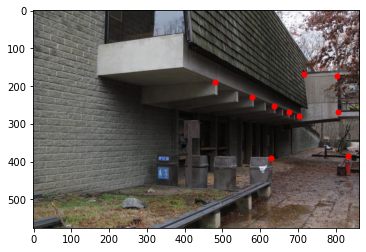
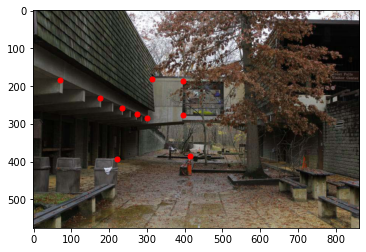
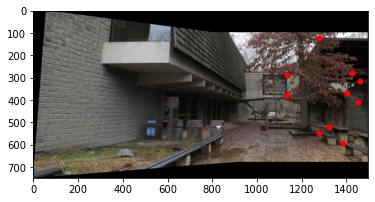
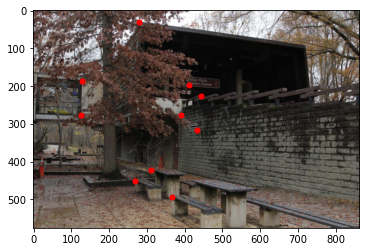
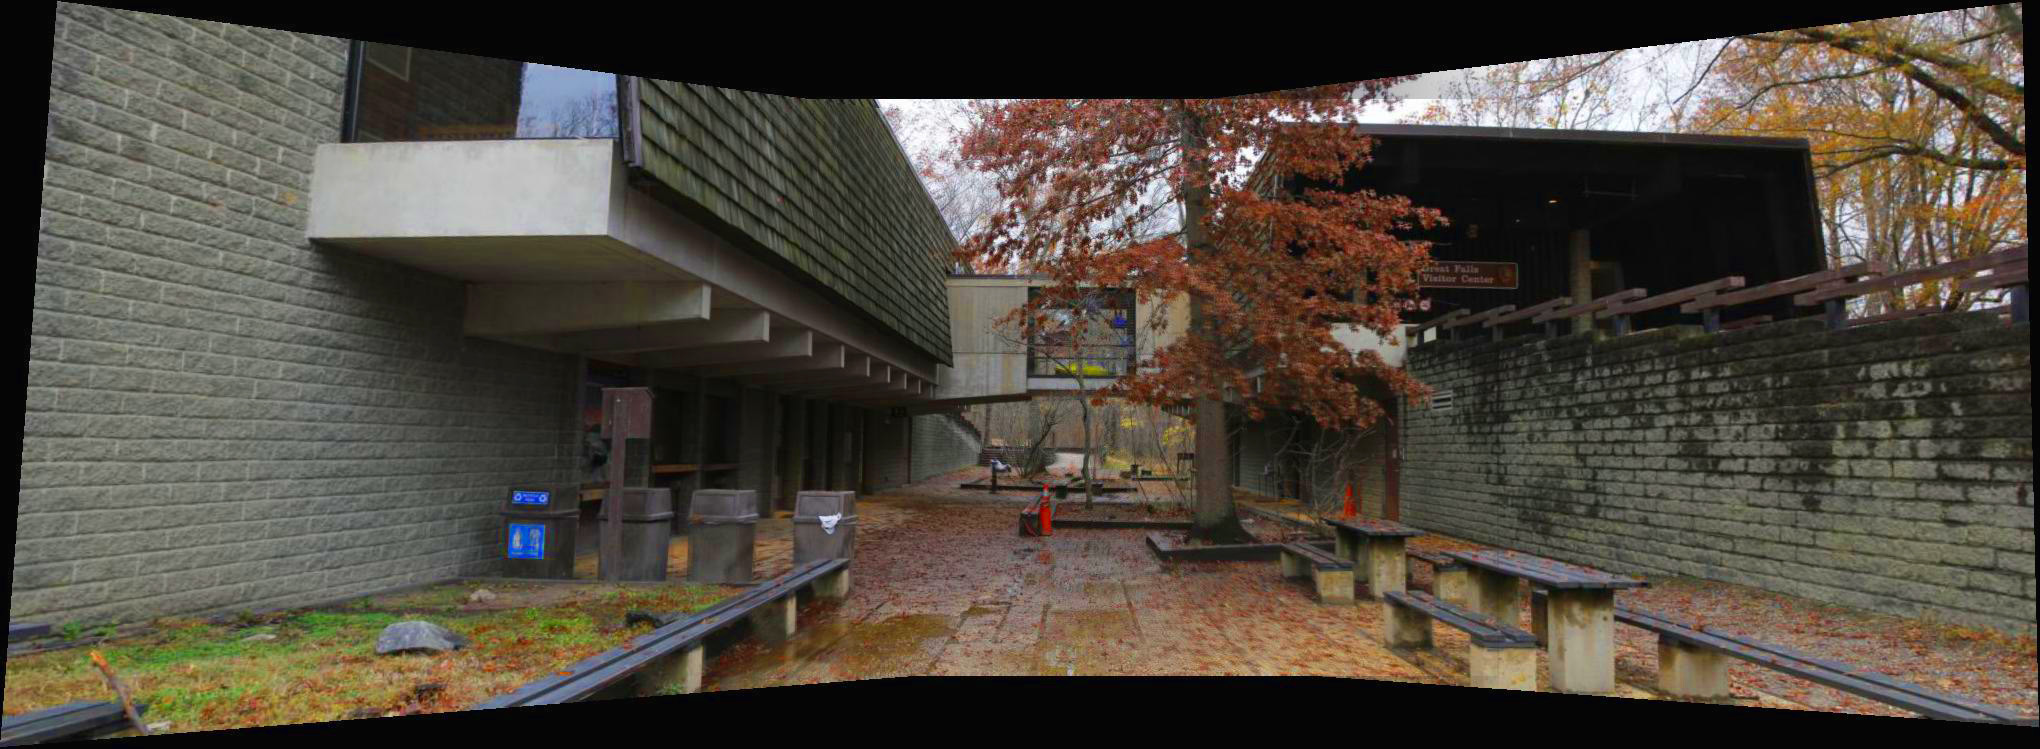
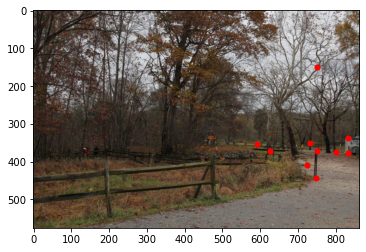
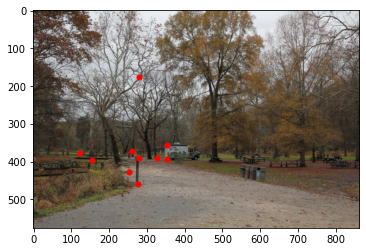
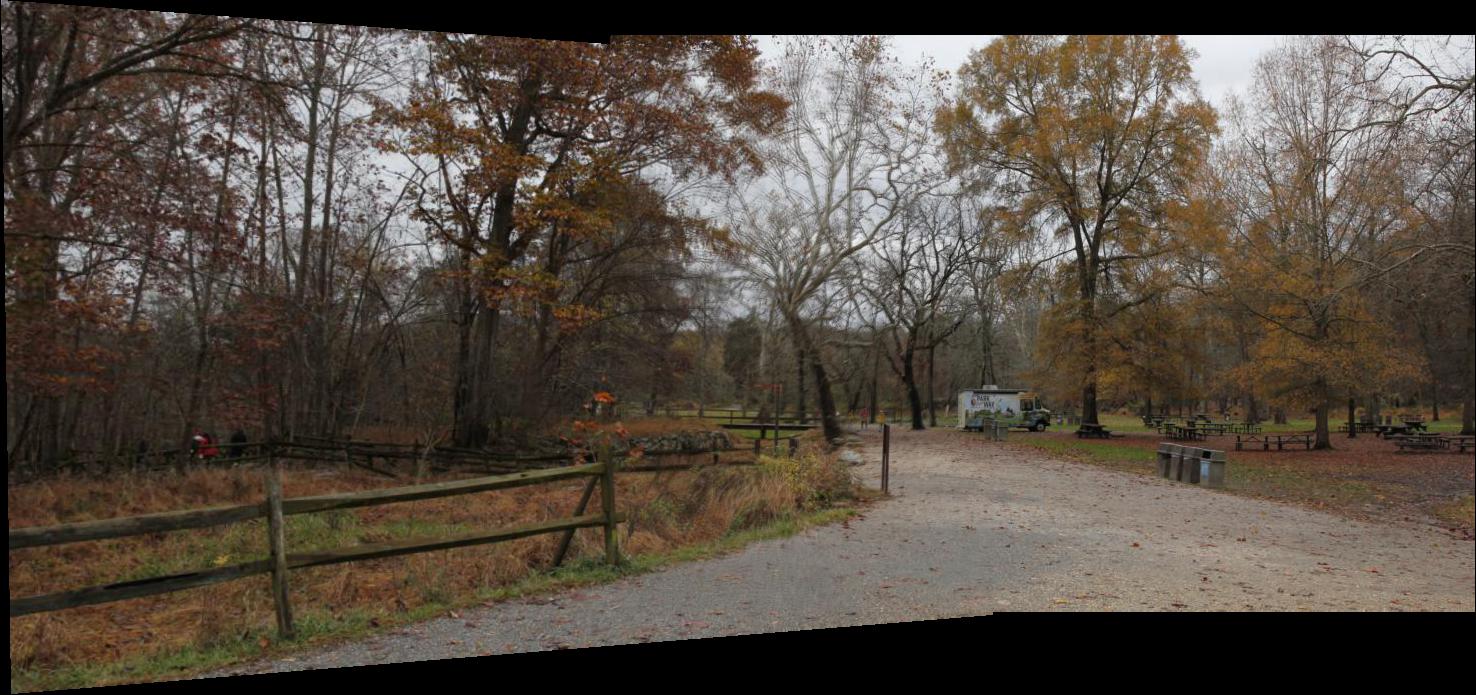
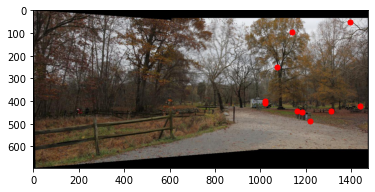
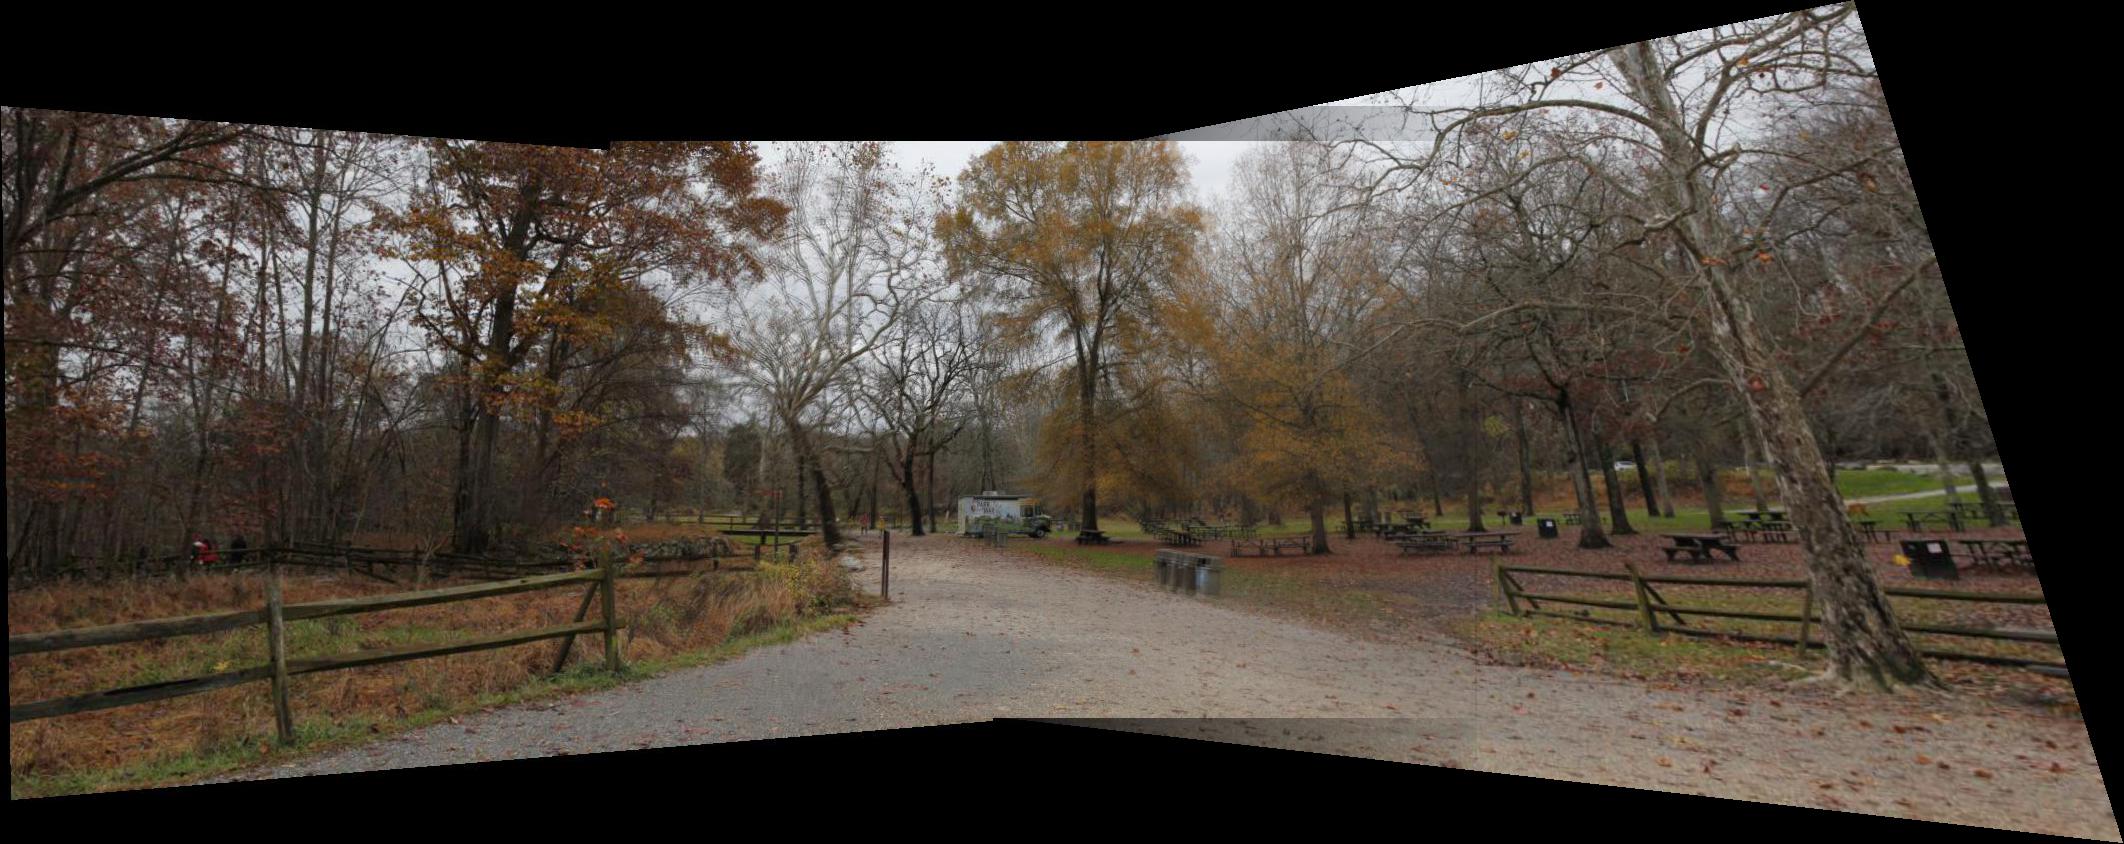
To blend images into a mosaic, I took two photos with overlapping points. I kept one image still while I warped the second image to points selected from the first. Becasue there are three photos, I first blended image on the left and the image in the middle. Then, I used the blended midway image with the right image to create the final look. I padded the image with zeros or black pixels to allow extension of the image vertically and horizontally. I have results for fixed-alpha blending.

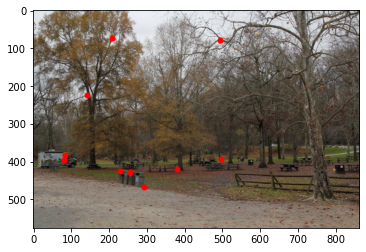

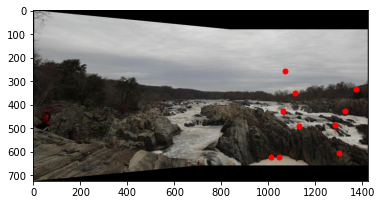
I love this project! It is tough to finish this project and I need to think of the how to do the alpha mask since I have no experience with the mask, but I really enjoy it. And I also find out that not only the number of the points selected in the photo is important, but also the distribution of the selected point is also important. We need to let the point distributed seperately in the picture, or non-selected area will create wired stuff.