|
|
Mosaicing! Or at least part 1. In this part of the project we're trying to manually stitch together two photos that have manually defined correspondence points. This is pretty cool, it's like a very simplistic version of panoramic photography, although I prefer just pressing the button on my phone, rather than computing the homography matrix personally. In the next part, we'll see how we can avoid manually marking correspondence points which is bound to introduce some human error.
In this part, we're just going to take some pictures. Not too much to say, so I'll just show you the source images that we're going to be stitching together later. It's worth noting that I had to carefully follow the guidelines in the spec, namely I overlapped about 40-50% of the entire snapshot to give myself some leeway with the correspondence points.
|
|
|
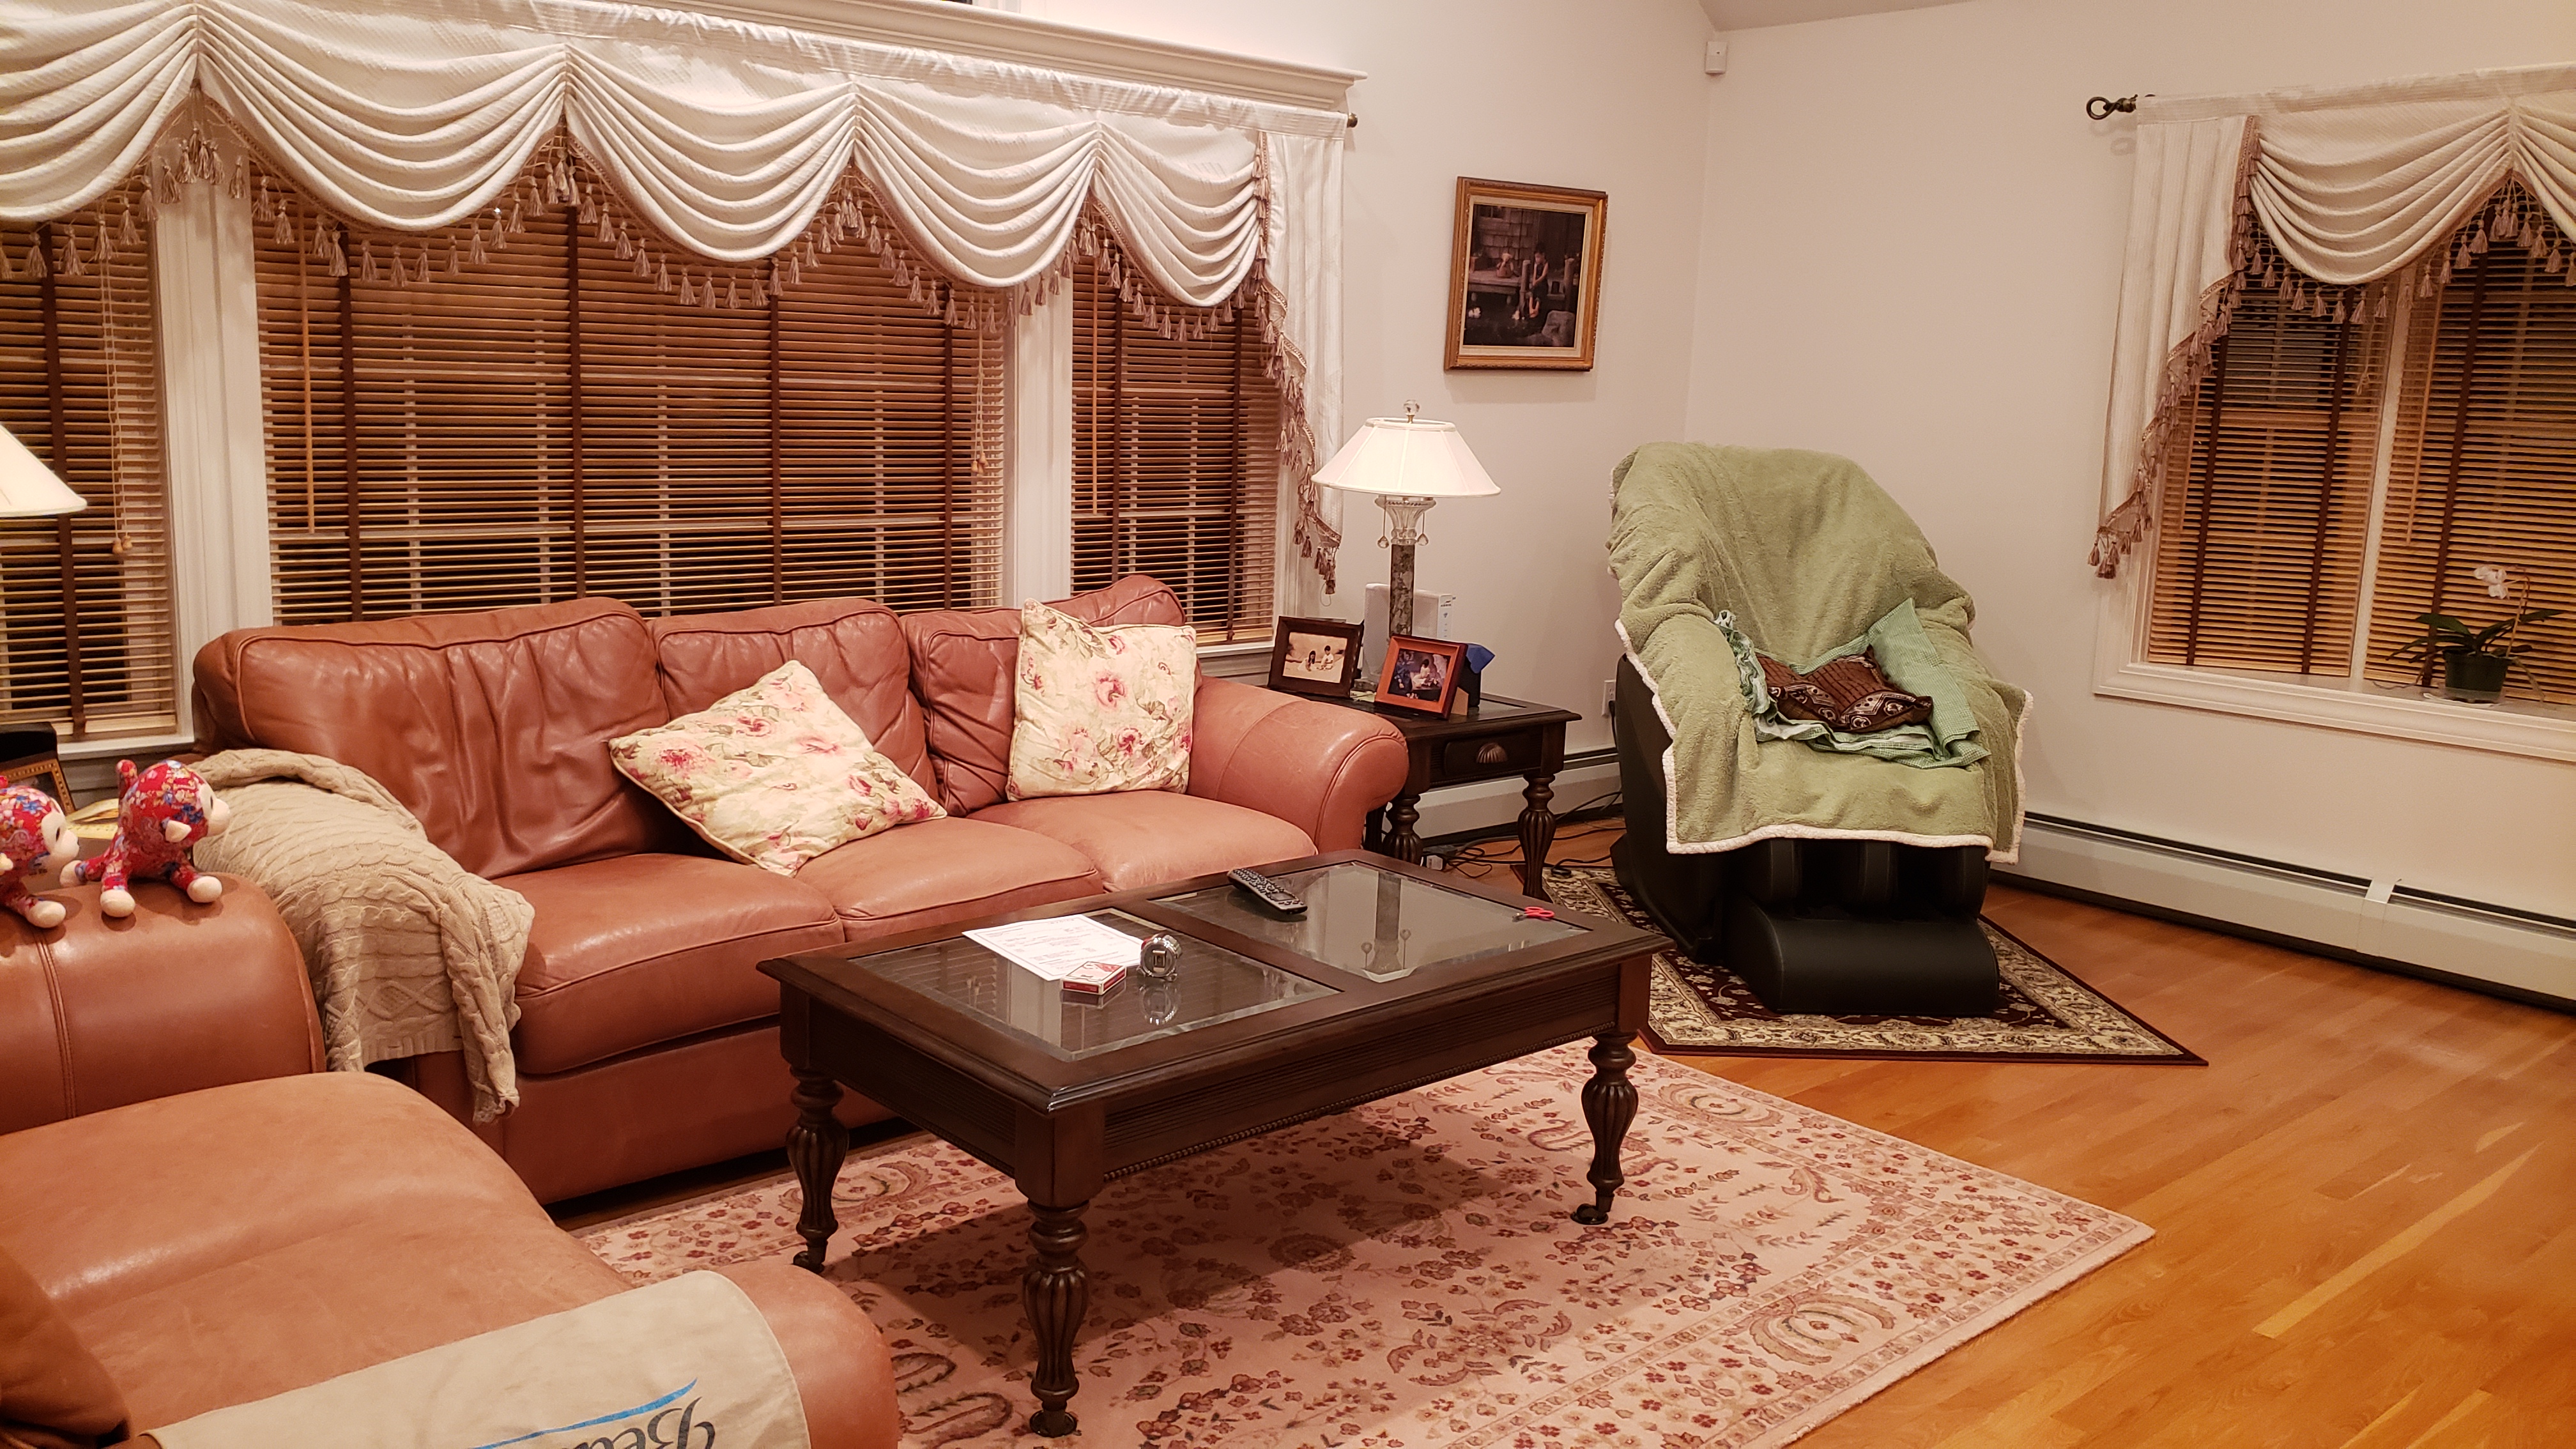
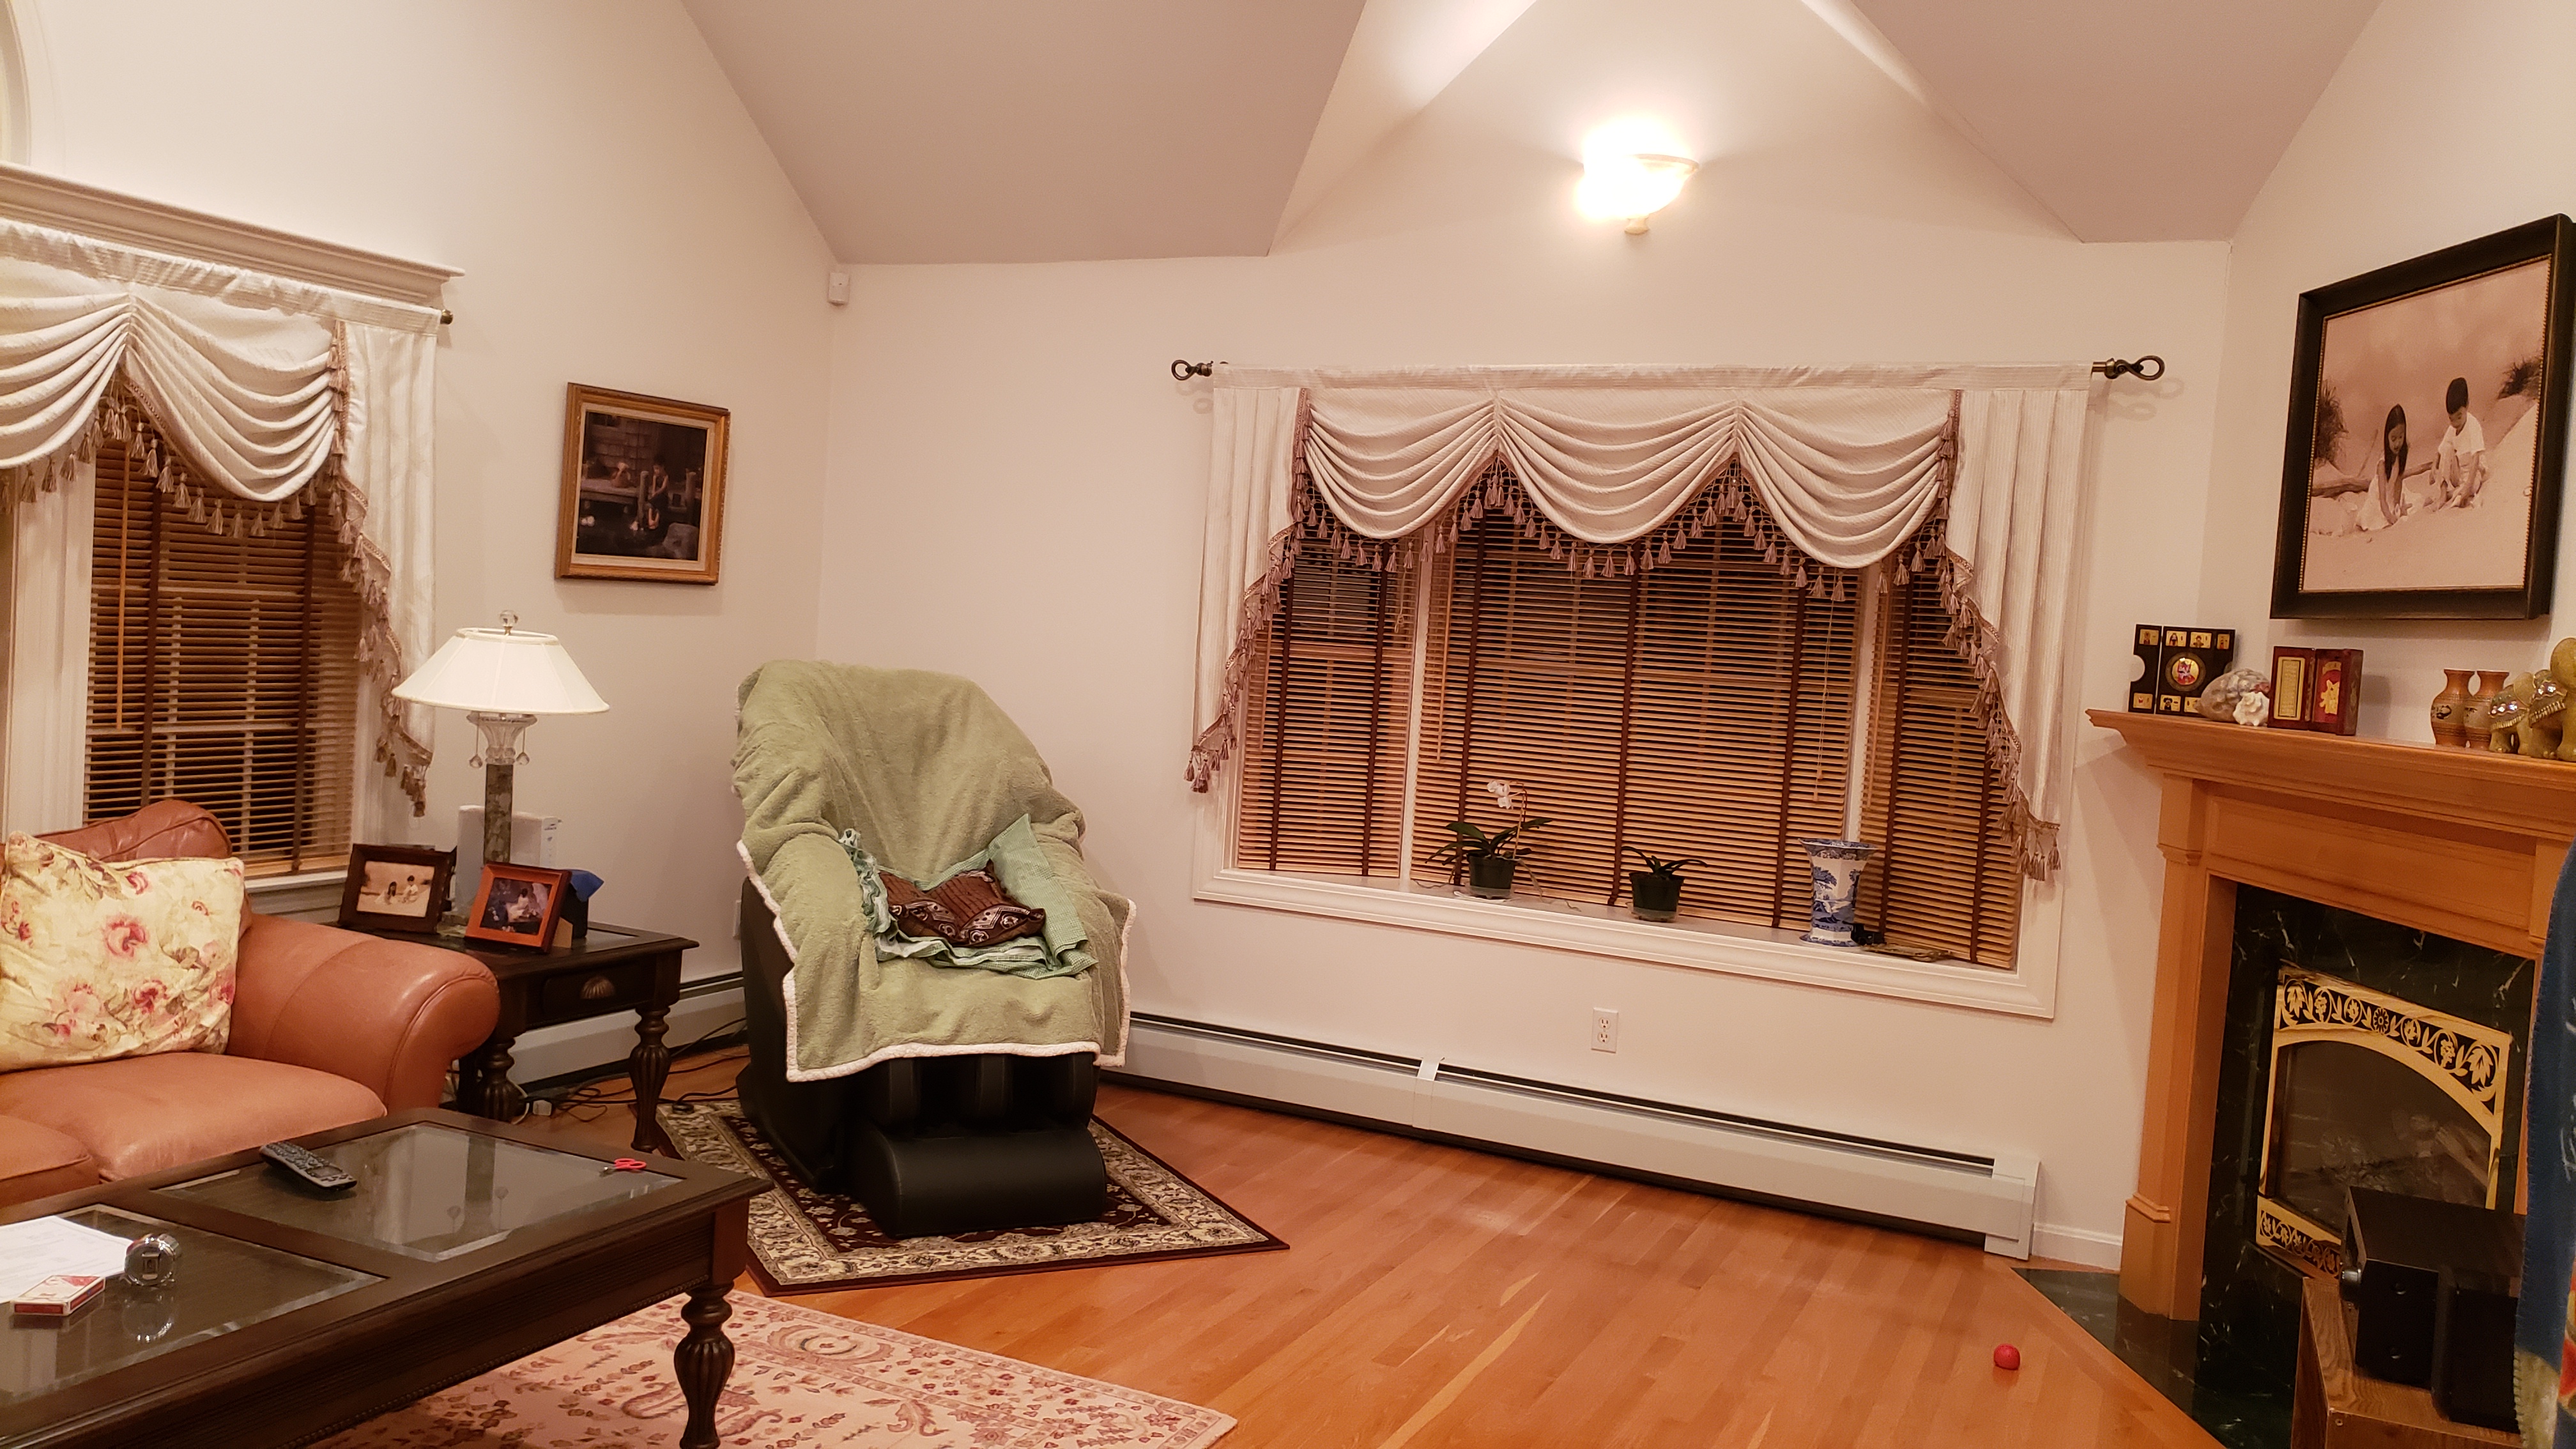
This is a picture of a room from my home in Massachusetts. Please don't judge the messiness :'( but do note how the curtains, chair and table overlap in the two snapshots. Also notice the aliasing in the blinds. It's not really important but I think it's pretty cool.
Like I mentioned, we're using some good old-fashioned ginput to get our correspondences. For the room, I defined 12 correspondence points along
the ceiling, curtains, chair, carpet, and table. I don't have the correspondence points anymore unfortunately, but we json dump the correspondences
so we can just load them next time.
For someone like me who has forgotten a good deal of Math54, the homography was actually the hardest part of this project. I had to consult numerous sources
to help me figure out how to generate the homography (and figure out what a homography was in the first place). I won't get into the mathematical proof of
homography computation. There are plenty of people far smarter and far better at math who can provide a much better explanation, but the general process I followed was:
for each point correspondence that I defined, I was able to create two matrix rows in my system of linear equations as described
here. For the room pictures, I mentioned that I took 12 correspondence points
which actually means I'll wind up with 3x the number of linear equations that I really need, thus we can use the least squares method to compute the solution to our linear
system, which thus allows us to complete out homography matrix. I've included the homography I computed for the room pictures below for reference. The one above is the one I
generated with least squares, and the one below, cv2.findHomography generated. Small differences are to be expected.
$$\begin{bmatrix} 5.33893200e^{-1} & 1.14942931e^{-1} & 5.70478238e^{2}\\ -1.02207360e^{-1} & 9.11064695e^{-1} & -7.59111412e^1\\ -3.40852585e^{-4} & 1.06278819e^{-4} & 1.00000000\end{bmatrix}$$
$$\begin{bmatrix} 5.35453952e^{-1} & 1.16700640e^{-1} & 5.69996204e^{2}\\ -1.02260985e^{-1} & 9.12701887e^{-1} & -7.61888916e^1\\ -3.40573532e^{-4} & 1.08284606e^{-4} & 1.00000000\end{bmatrix}$$
At the end of the day, a homography is a subset of a linear transformation (a projection transformation) in the world of 3D graphics. The thing is, we can't just slap a transformation on our src points to get our target
points and call it a day. Instead we're going to invert our transformation. In other words, we know our homography \(H\) will linearly transform between our source points and our target points
so that means \(H^{-1}\) should logically transform between target points and source points. So let's take a blank canvas that will be large enough for our source and target image stitched
together, and for each pixel in our canvas, we'll transform by \(H^{-1}\) to get the source input. Then we can just texture map this coordinate onto our canvas (essentially we're just
doing a manual texture map here anyways). This is a bit of an oversimplification of the process, which was really helpfully described here.
but this is how we can employ cv2.remap to texture map our canvas, which in effect linearly transforms our source image to our target image where the transformation operator
is the homography matrix \(H\).
Here's what the image looks like transformed by the inverse homography (without the target image stitched in as well).
|
|
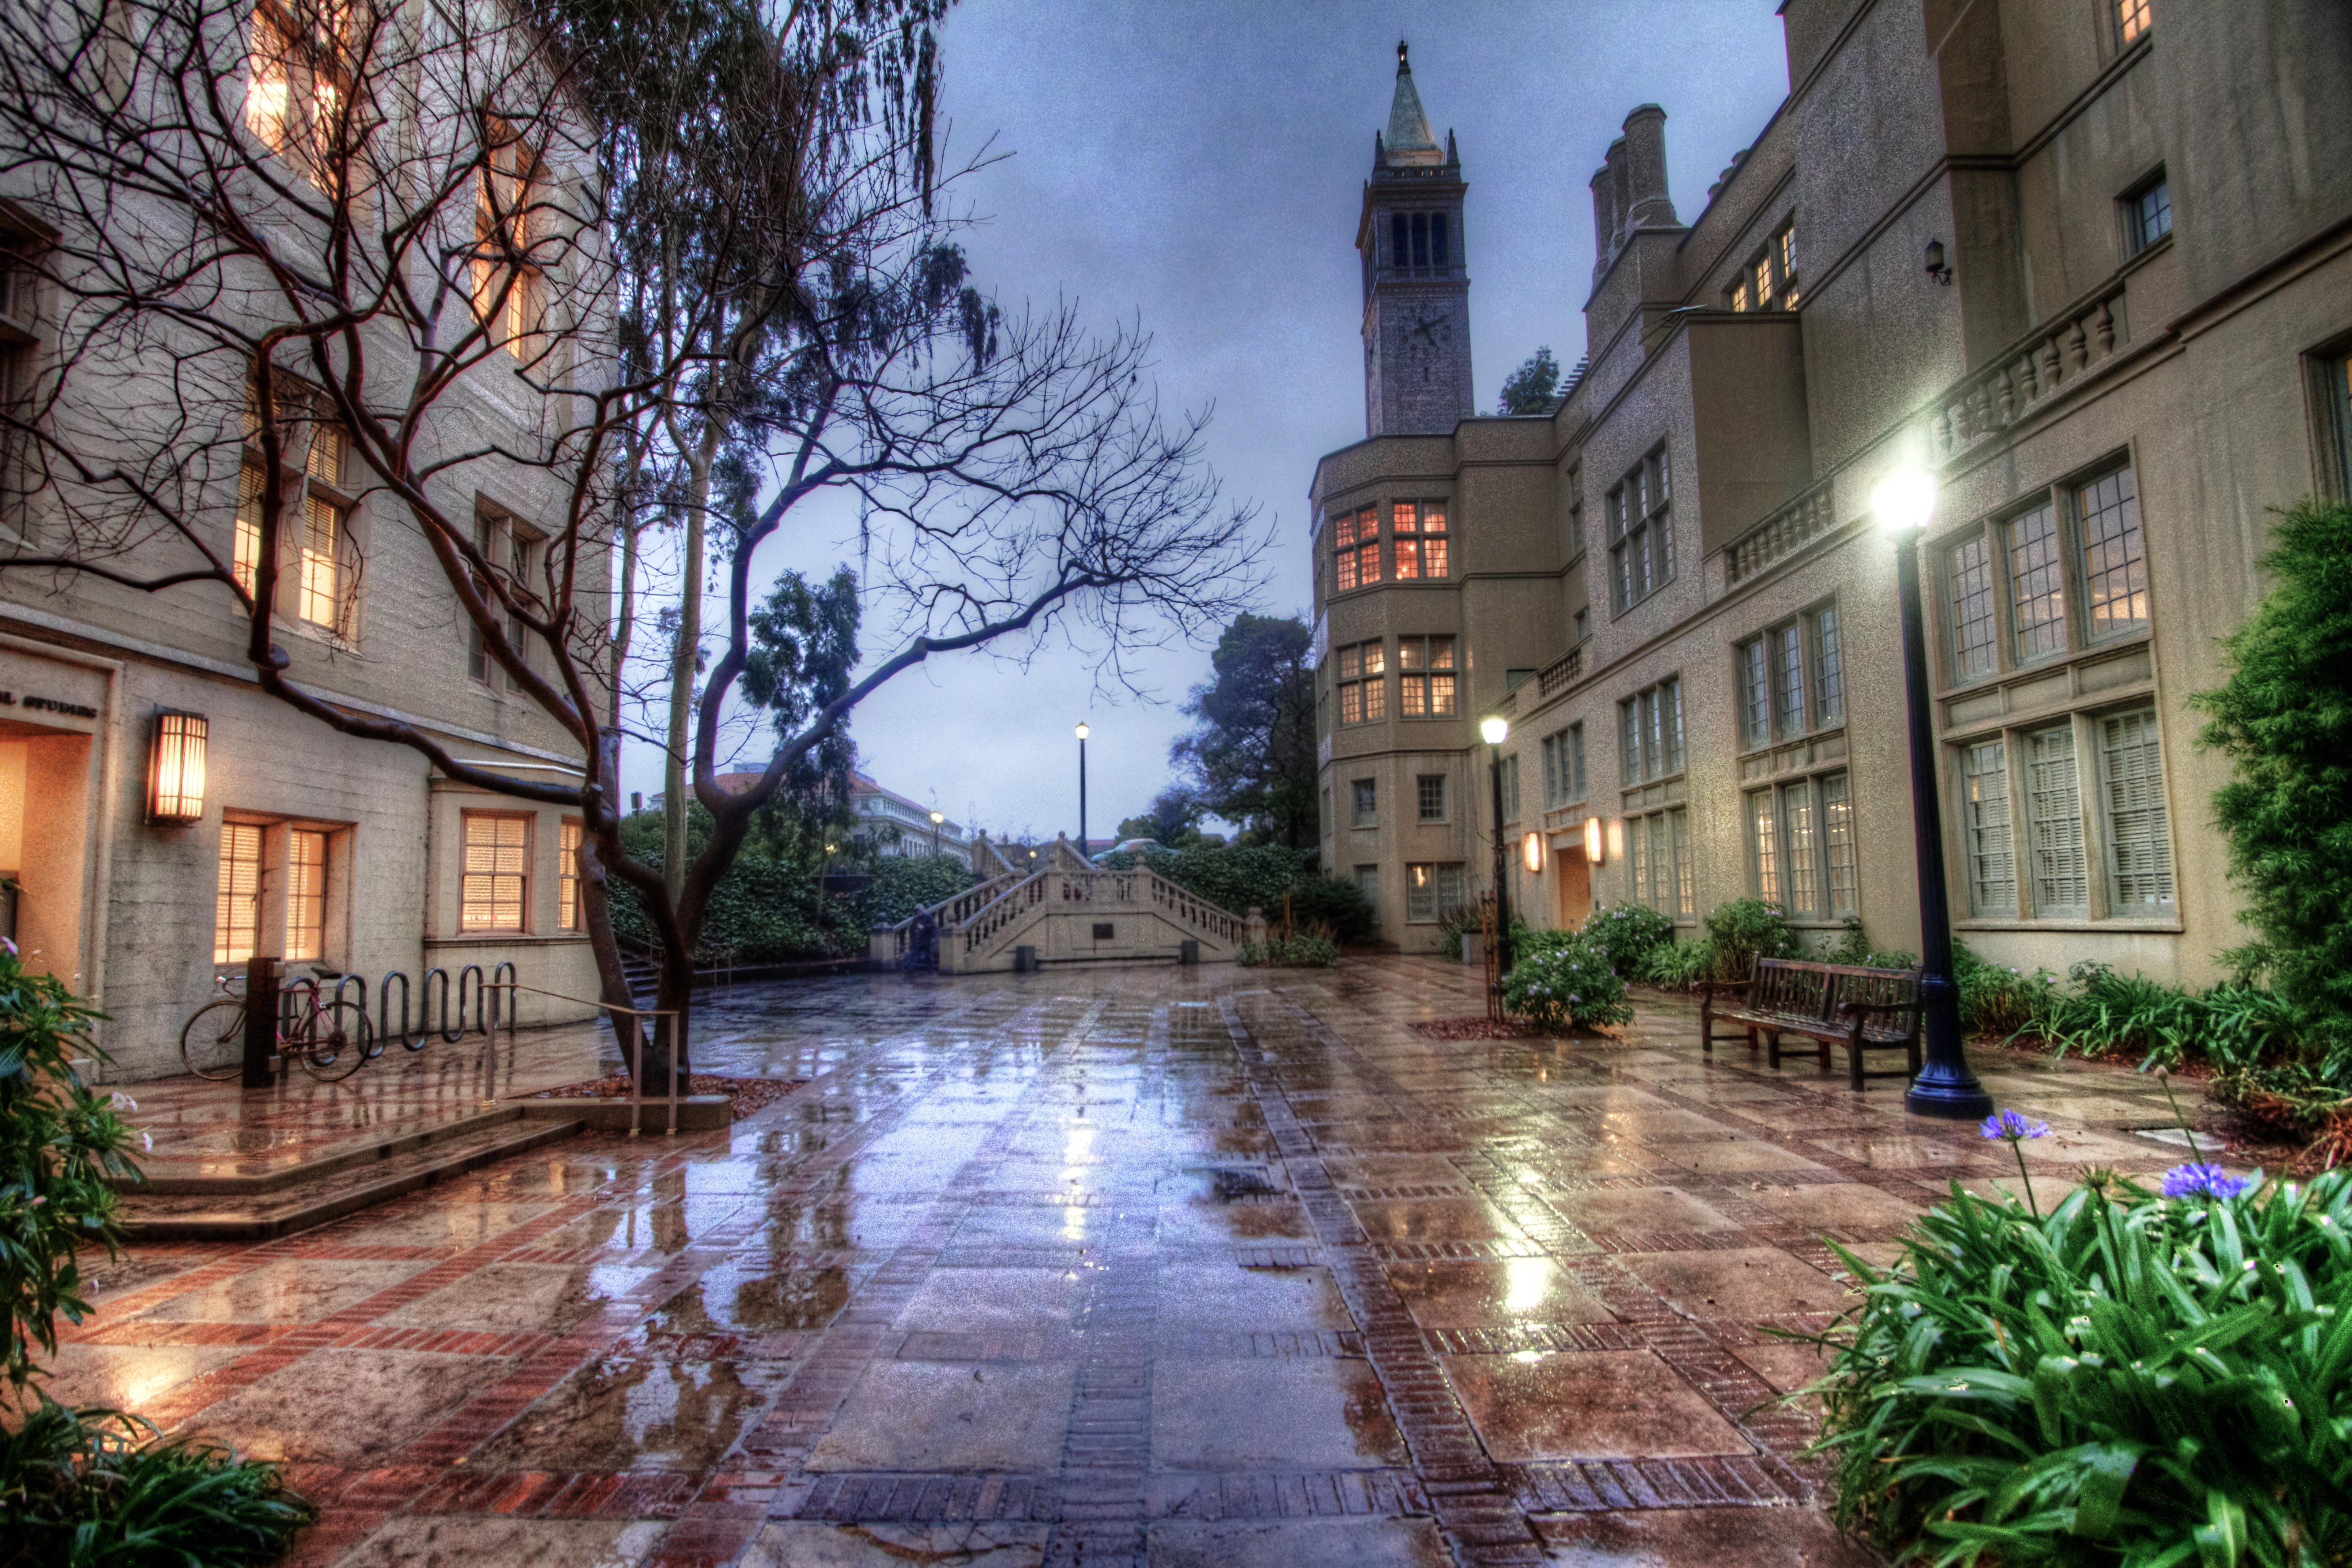
We're going to take a brief detour to see how image rectification works. This picture was taken by Berkeley Lecturer (and alumnus), the wonderful Michael Ball. I ~really~ miss Berkeley right now, so seeing this picture was a nice wave of nostalgia for campus :)
|
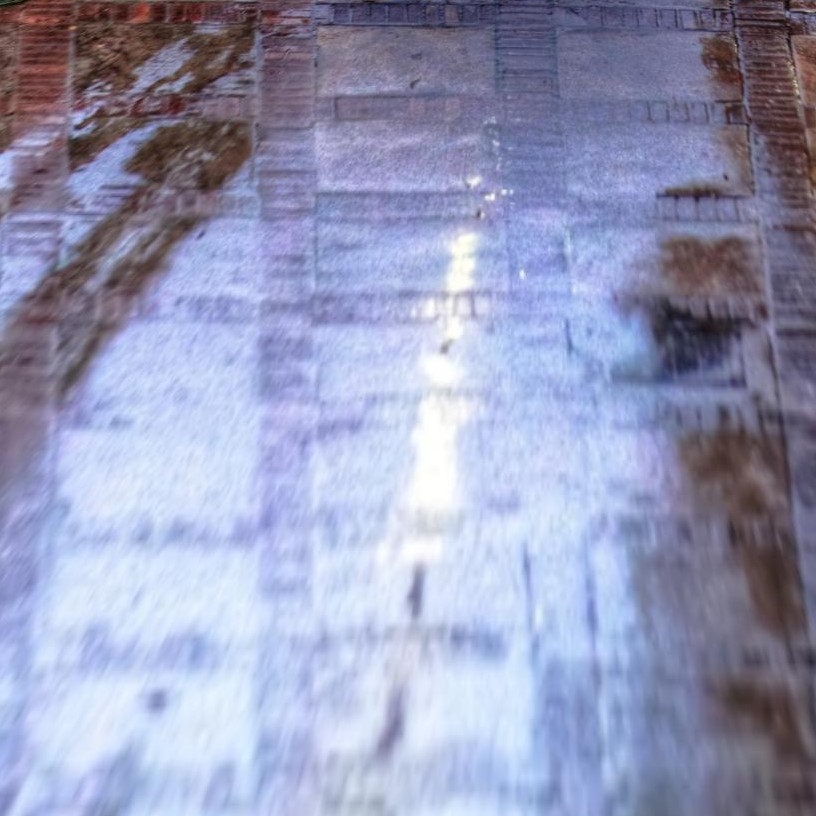
I really like the way the tiles look here, with the light drizzle reflecting the dim lighting, so let's say I REALLY wanted to look at the tiles head on and I didn't care about anything else in this scene. Again I'll need my correspondences, so I chose one of the square tiles in the front left. So I don't know what the dimensions of this square tile would be looking at them head on, and unfortunately quarantined at home, I can't go out and check, so I'll just guess, based on the coordinates of the points I selected, and synthesize a square at the same position of almost identical dimensions. If I apply the linear transformation again, like last time (after computing the homography), I'll see something like this!

|
Alright yea I admit it looks a little weird. But you'll notice that for the tiles, we're now looking at them from an orthographic view rather than a perspective view. It isn't perfect, because neither my clicking ability, nor my manual correspondence creation is perfect unfortunately, but it definitely gets the idea across. I'll manually crop it to just the tiles so you can focus on the effect.
|
I'll be the first to admit, I prefer the full version to just looking at the tiles though.
Ok time for the Big Kahuna. Mosaics or I guess a poor man's panorama is what we were after in the first place. I already transformed the room image in place, so now all I need to do is stitch in the target image to make it a real stitched photo. There are two options here. I could just take the combined photo, and overlay the target image, and if my transformation is decent, it won't be absolutely abysmal! Let's take a look.
|
|
Not abysmal isn't exactly aiming for the stars or anything, so we can actually make this better. Another option is basically whenever any of the pixel values would clash in our canvas we can just average the clashing pixels. Now I'm sure there are much better ways of doing this, but the following algorithm works and is easy so..... basically all we have to do is after transforming our source image onto the canvas, we can just iterate through all the pixels of the target image. If the corresponding pixel in the canvas is black, nothing is there, so we can just place our target image pixel. Otherwise, take the color currently in the canvas, average it with the target pixel, and place this averaged pixel in the canvas instead.
|
|
We don't really need to average here, so we can try different linear interpolation factors. Personally, since the image on the left is a bit darker, I opted to use more of the image on the right to kinda dull the super drastic lighting rift, so I used a lerp factor of 0.8, which I think looks better, since we've helped to conceal the seam a little bit better.
|
|