image warping and mosaicing
Nadia Hyder
OVERVIEW
In this project, I explored different aspects of image
warping, namely image mosaicking. I performed image warping by taking at least
2 photographs, registering, projective warping, resampling, and compositing
them. A key step in performing mosaicing was
computing homographies and using them to warp the
images.
PART
1
RECOVERING HOMOGRAPHIES
Before warping images
into alignment, I had to recover the parameters of transformation between pairs
of images. This transformation is a homography, which
relates the transformation between two planes (images are only related by a homography if they are viewing the same plane from a
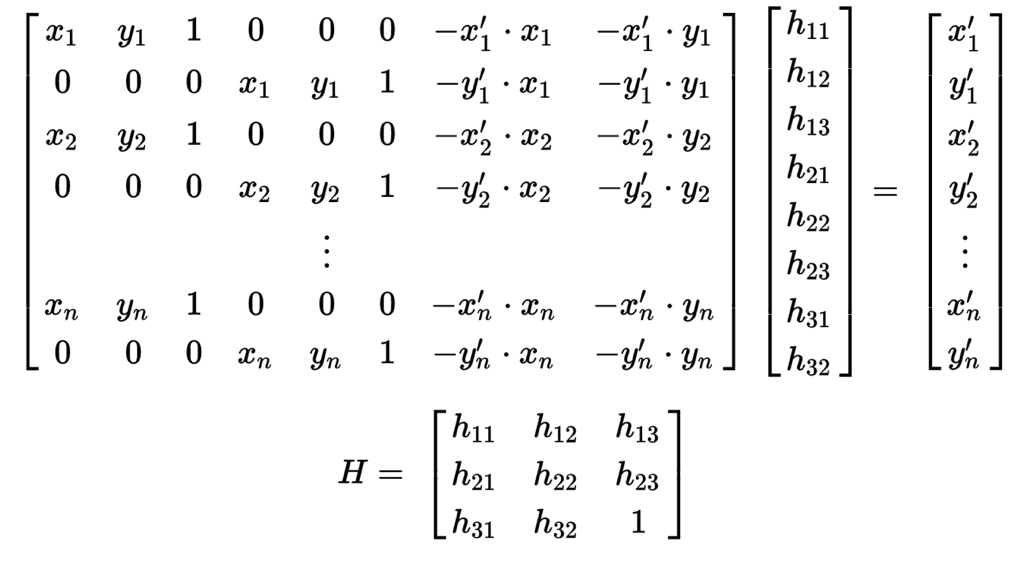
different angle). The homography matrix H is a 3x3
matrix with 8 degrees of freedom.
Given a point (x,y) in image 1, and its corresponding (x’, y’) point in
image 2, we can find H using the following equation (attaining H using least
squares):
WARPING AND RECTIFICATION
Warping an image with H
transforms the image into the desired perspective, as the homography
matrix maps the source points to the desired points. I used inverse warping
with linear interpolation to avoid aliasing during resampling. Finally, I was
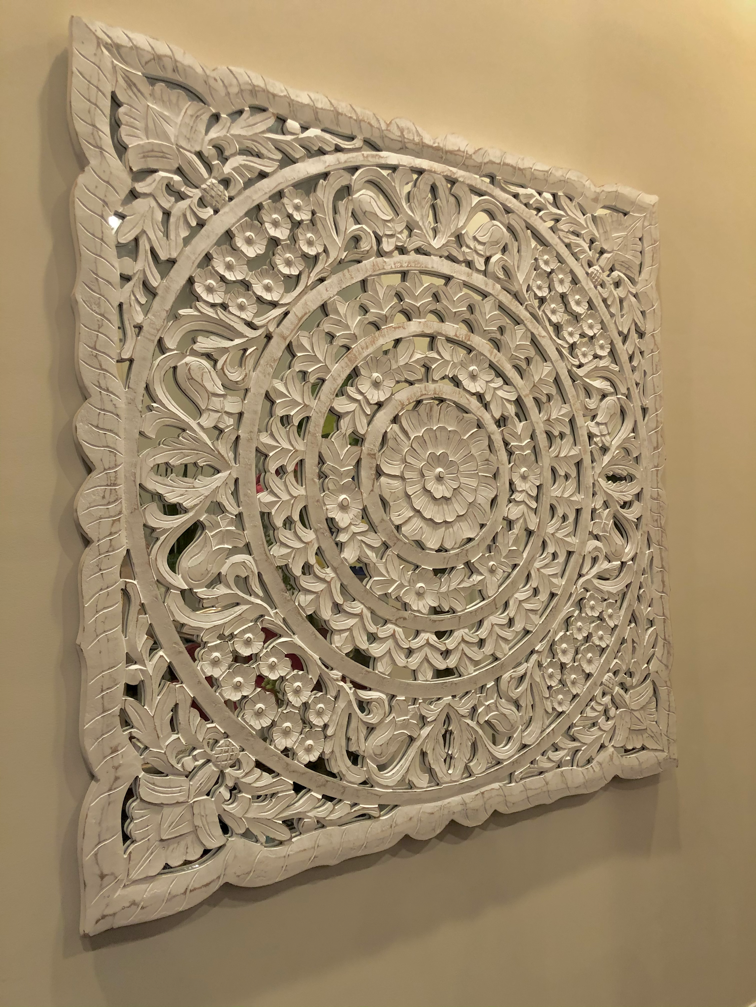
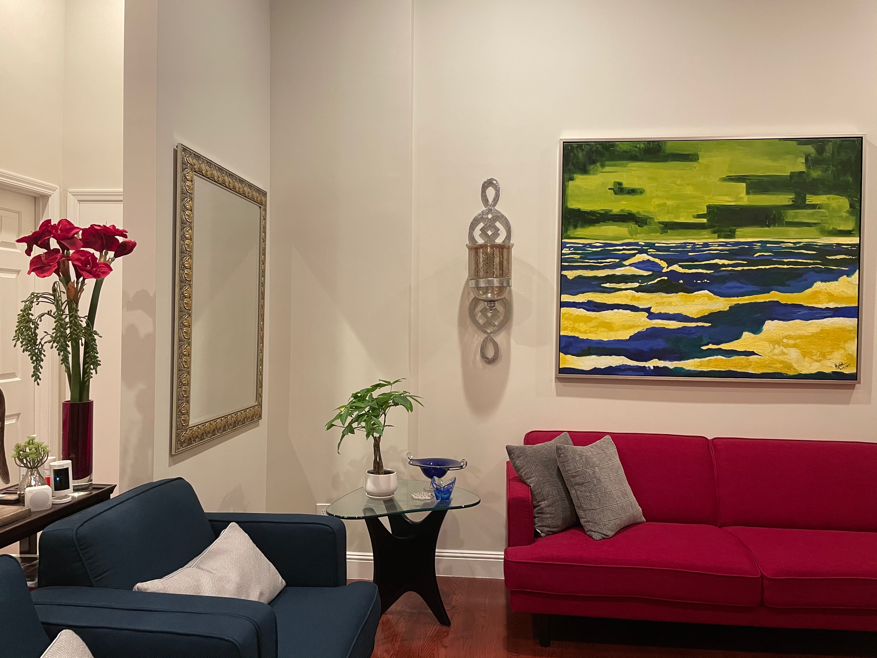
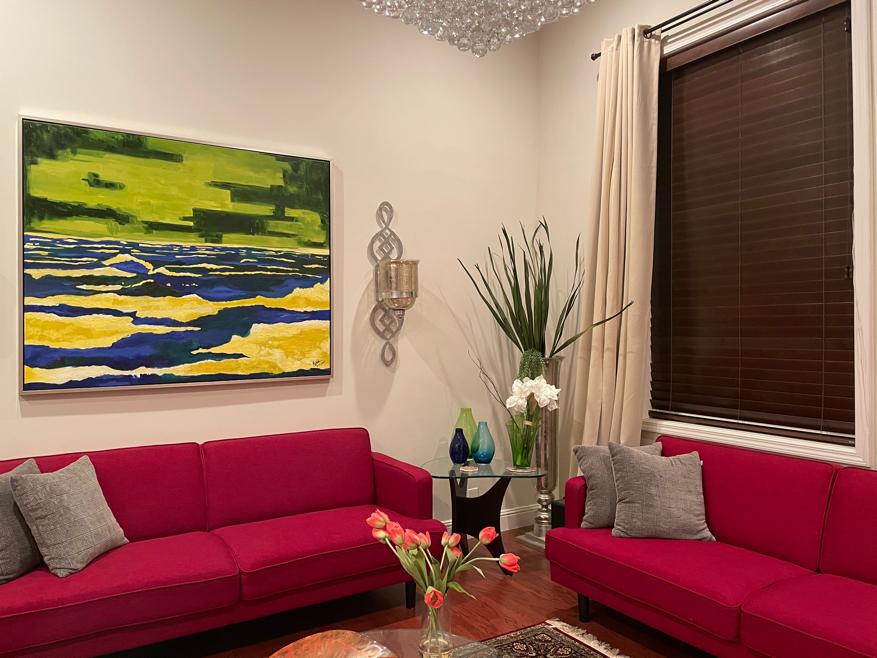
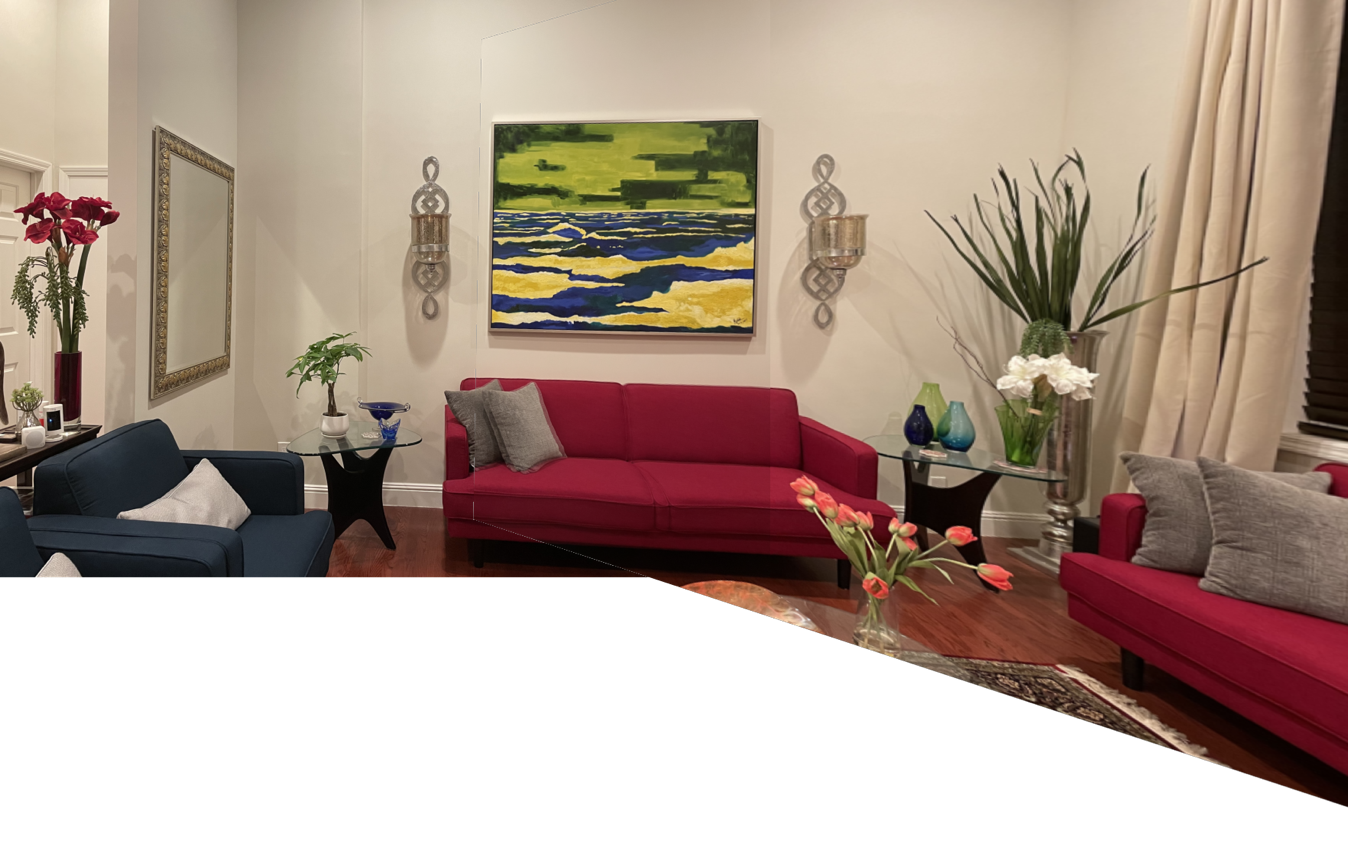
able to rectify images. I chose two sample images with planar surfaces (one
square and one rectangular) to warp so the plane is frontal parallel. I used ginput to select 4 points in each image, and defined the corresponding
(x’,y’) corners by hand to be square and rectangular,
respectively.
Here are the results of
rectification:
|
original |
rectified |
|
|
|
|
|
|

BLENDING INTO A MOSAIC
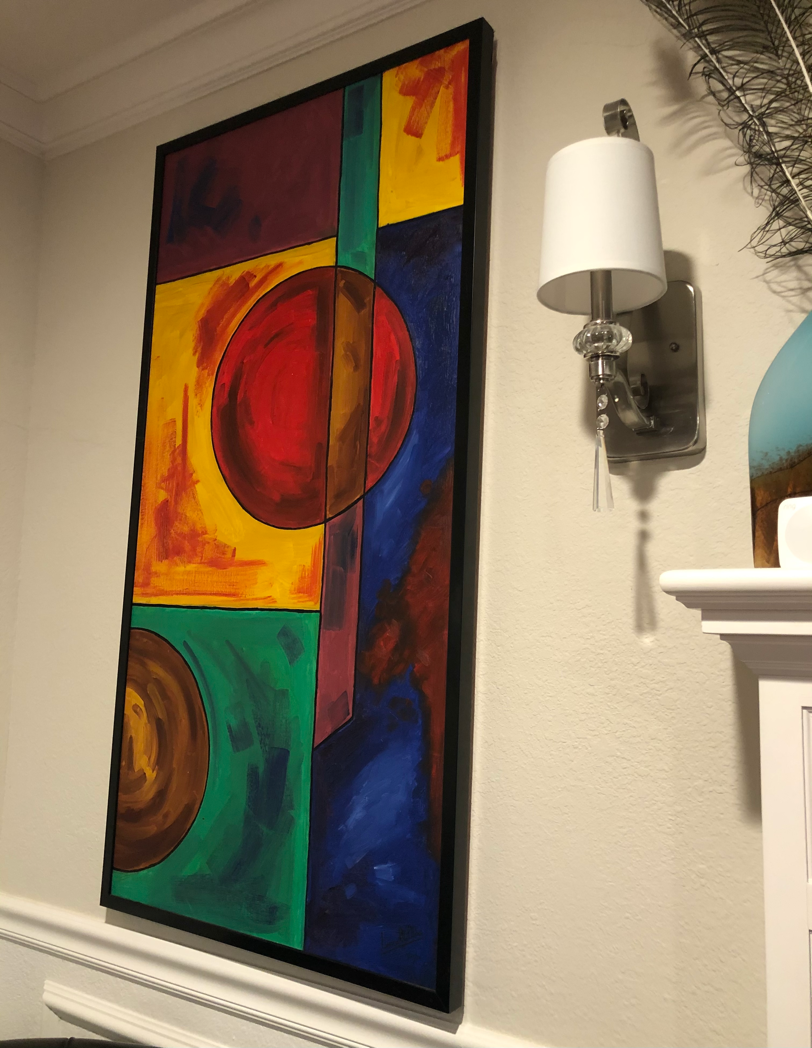
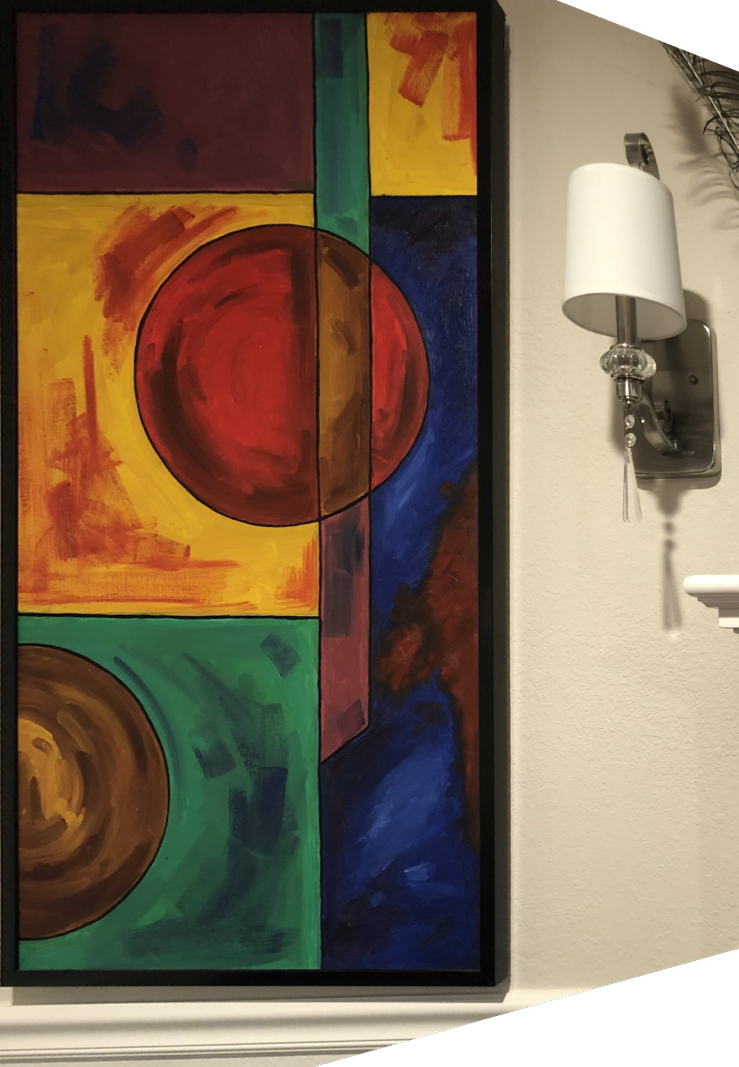
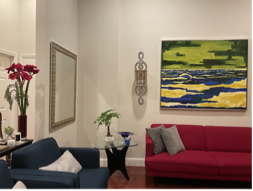
We now have the
capabilities to take 2 images, warp them, and blend them to create an image mosaic.
Where the two images overlap, I used weighted averaging. Here are the results:
|
Left image |
Right image |
|
|
|
|
Warped left image |
Warped right image |
Composite |
|
|
|
|
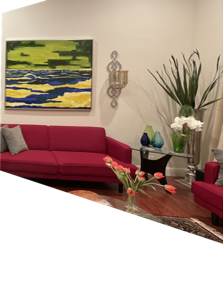
Unfortunately the warping created slight edges so I would hope to improve the warping soon. Learning how to rectify images was my favorite part of this assignment because I’ve always wondered how it was performed in photo editors and document scanning apps like Scannable.