Project 4 -- Facial Keypoint Detection with Neural Networks
By Myles Domingo
Overview
Given a defined set of corresponding points, we can calculate a homography transformation between two images and warp and stitch them into a cohesive moasaic panorama.
Taking Photos and Corresponding Points
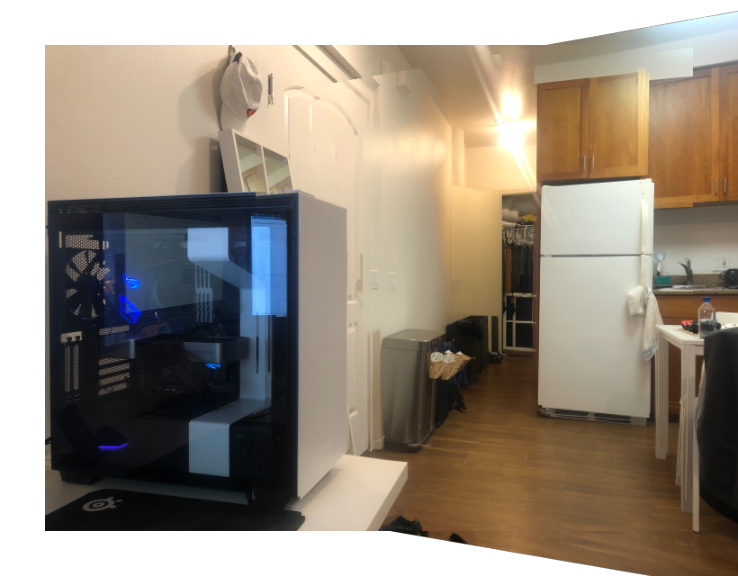
For taking shots, I looked at various attributes of my environment to ensure a correct warp. I used my smartphone to take photos of my room at different viewpoints, using AEF lock to keep the same focus and brightness.
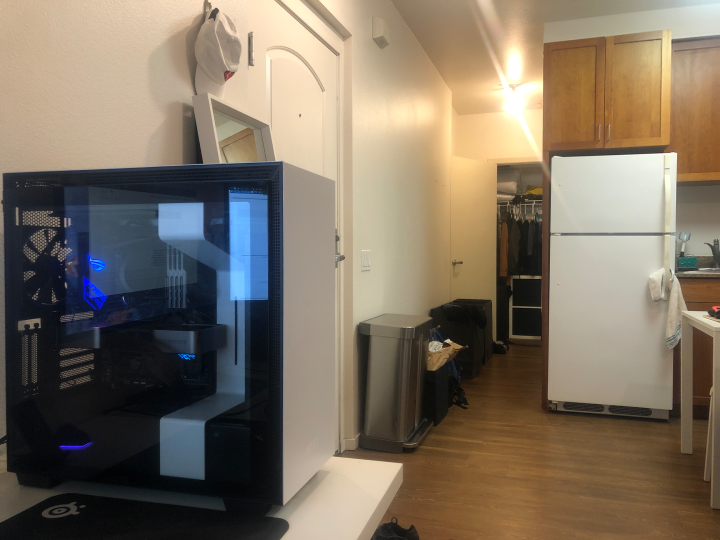

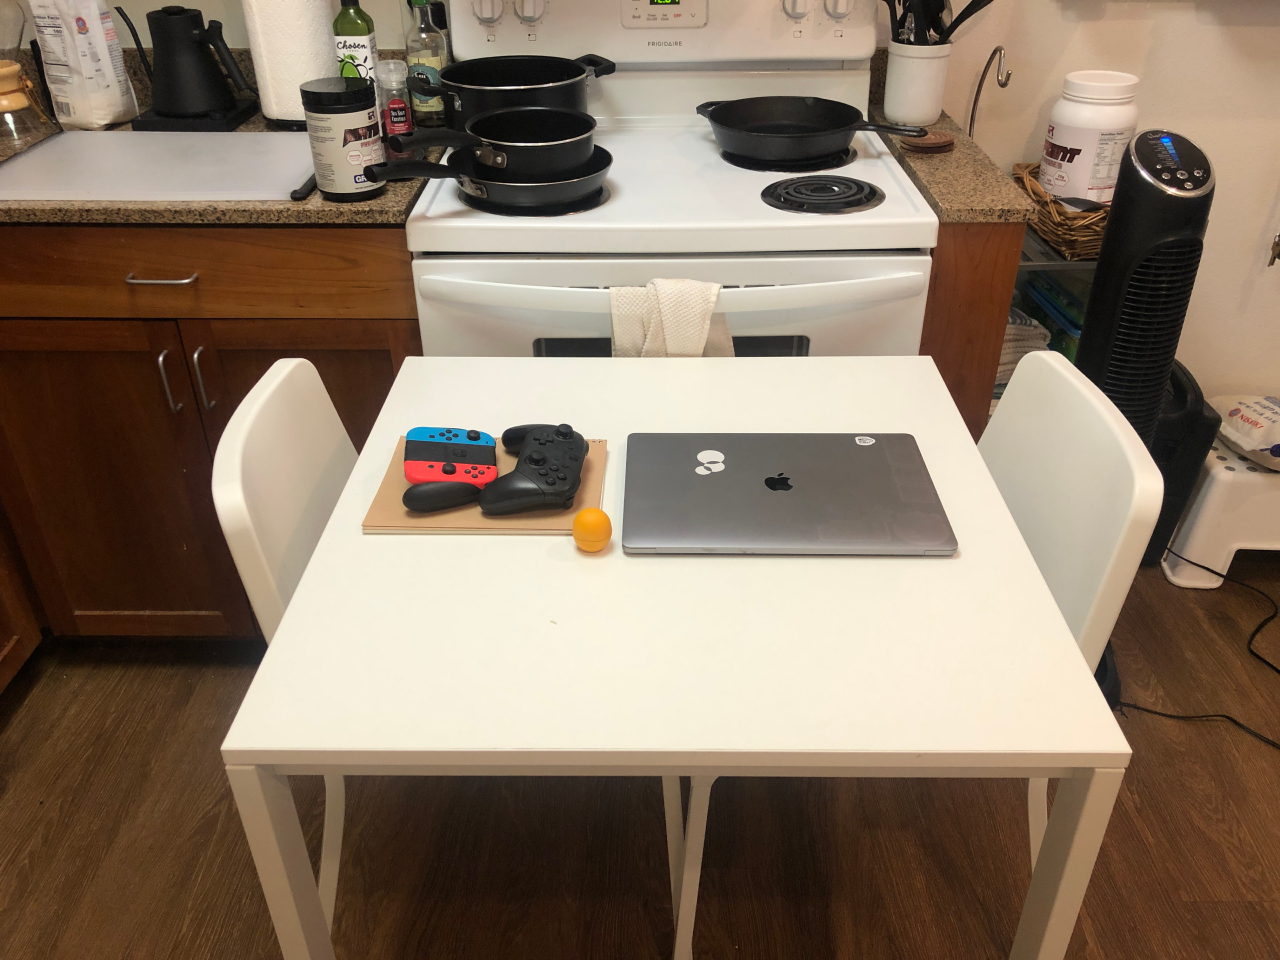
For defining points, I took easily identifiable points, including corners and edges. I used my PC and my refrigerator because they are both rectangular and easy to identify corresponding points by hand with ginput.
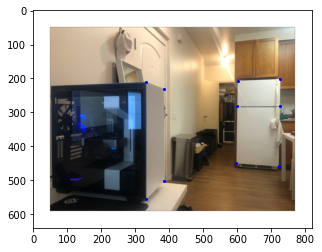
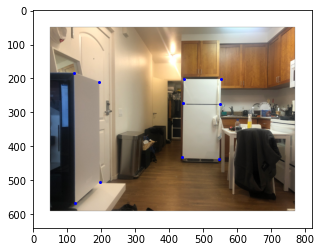
I estimated my homography matrix with 10 corresponding points across the two images by using Least Squares. Our scaling factor is then divided out to equal 1, to ensure homogeneity between transformations. Here's an example of a the homography between my first and second image, with red being estimated points and blue being original.

Rectification
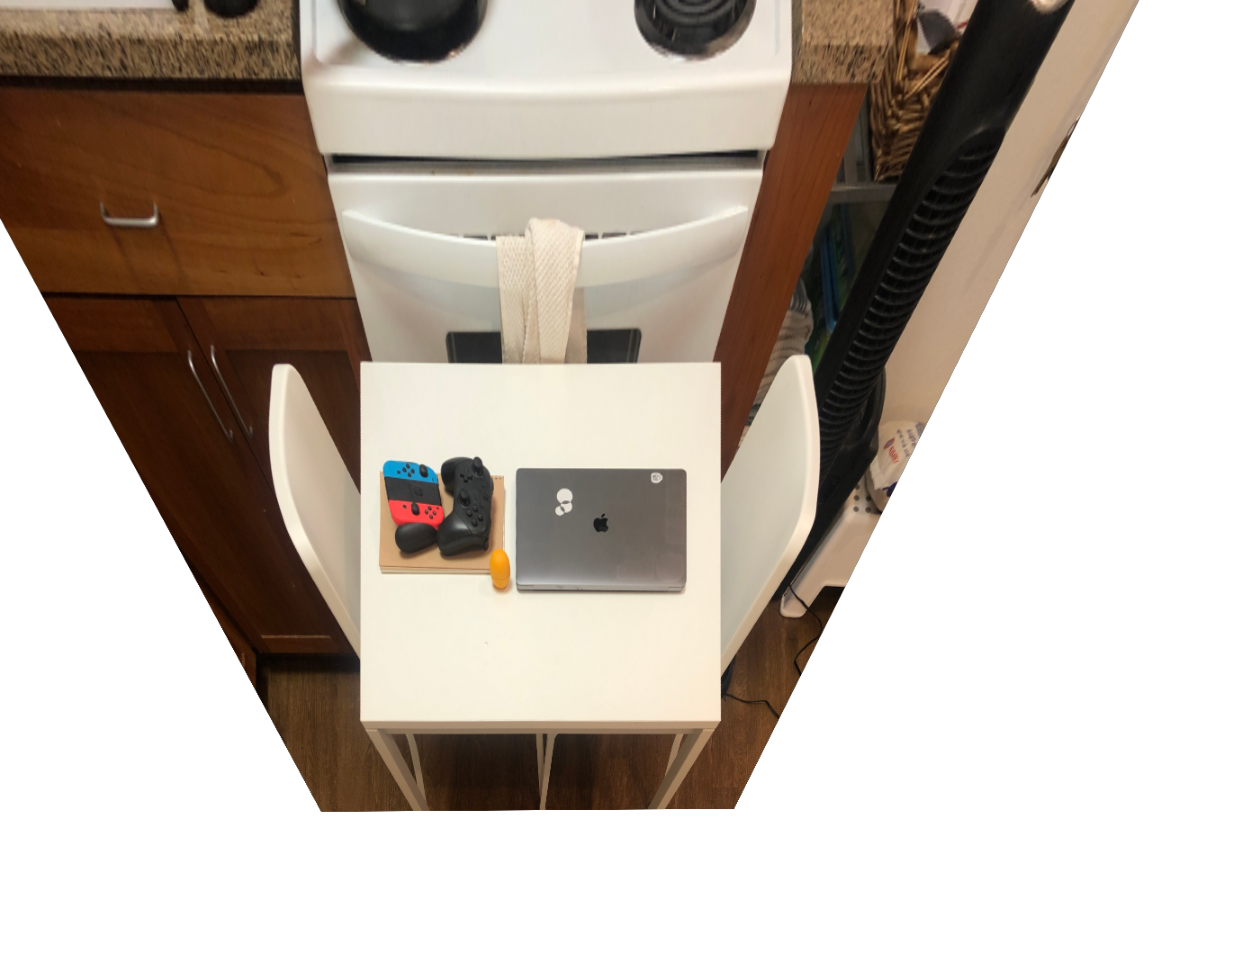
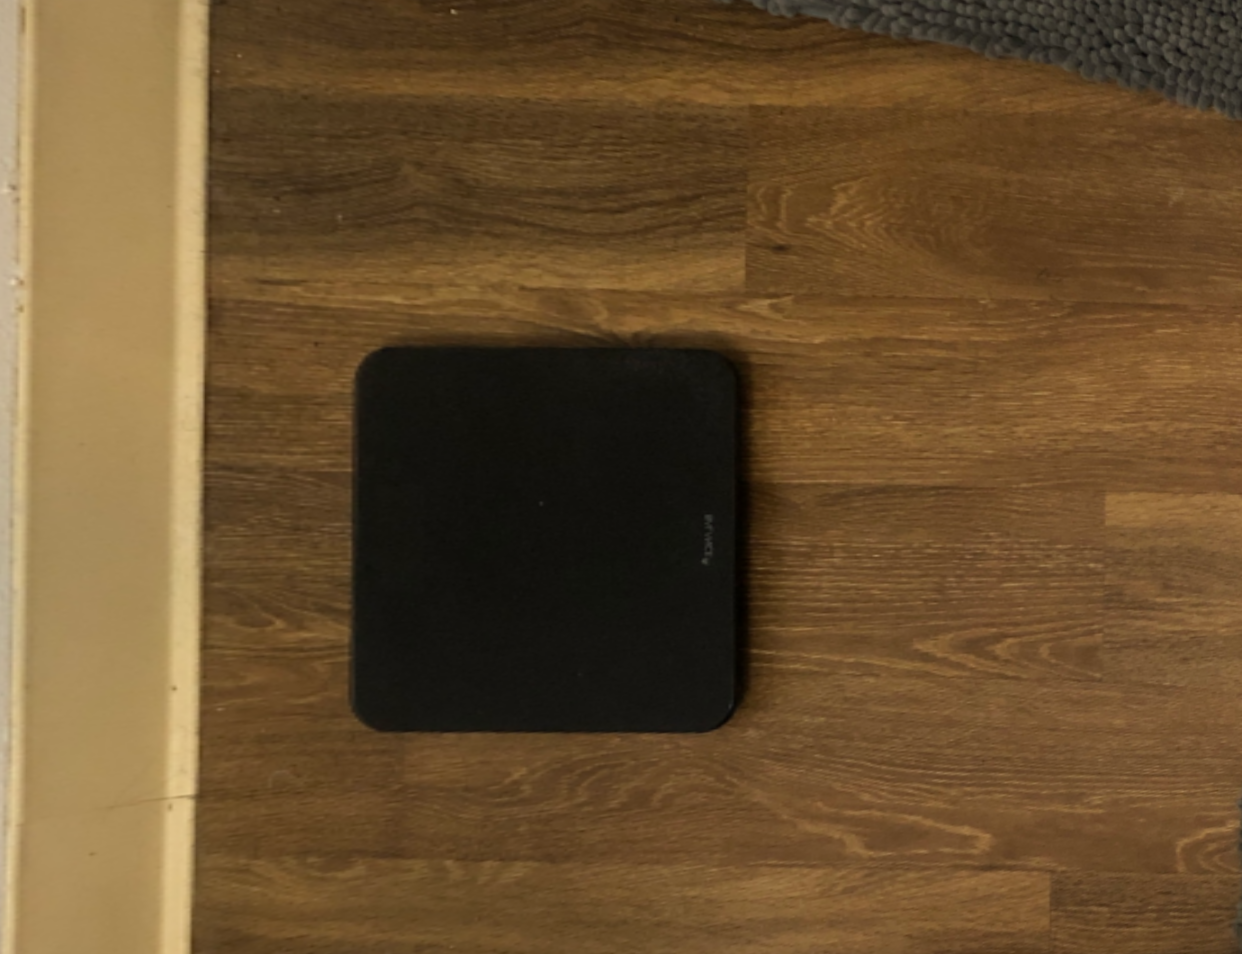
To rectify an image, we use the homography matrix to forward warp one image into another. I used cv2.remap() to create a coordinate grid representing each pixel of my first image, im1. I apply the homography matrix to im1 and interpolate the pixel value.
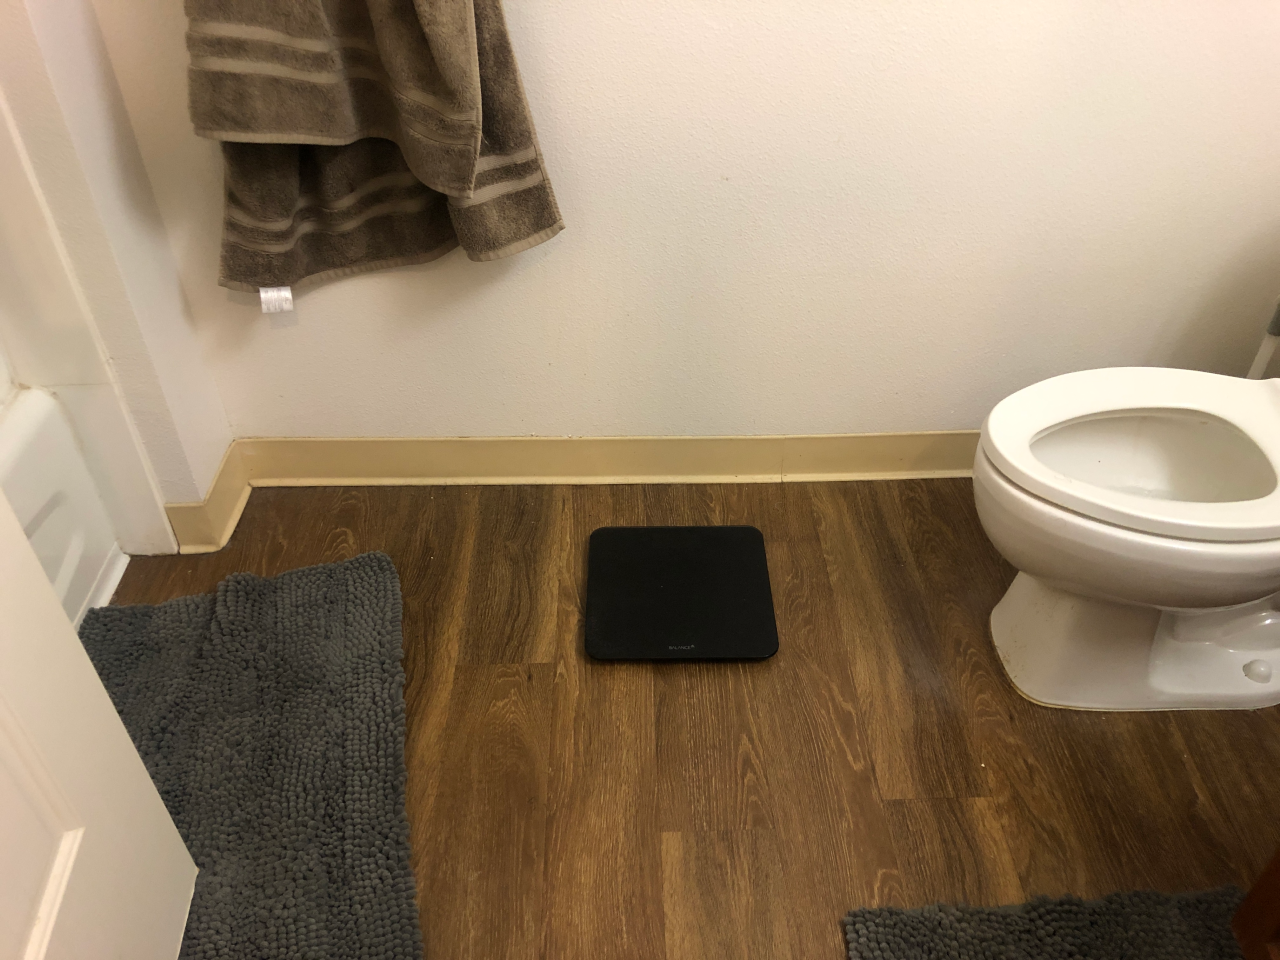
In this part, I also adding padding around my images to prevent sections from being cropped after warping. I took photos with identifiable squares, (a table, a scale) and transformed the corresponding corners into a unit square. Here are some examples --
Mosaicing
With our warping correct, we can mosaic our images together. I calculate a homography matrix to transform our first image, im1 into our second image. I overlay them on top of each other and cross-faded them using alpha blending to smooth the overlapping portions. Currently working on improving blending and potentially taking better photos. Looks like there some noise in my correspondances so I will be looking into that.