Romil Bhardwaj
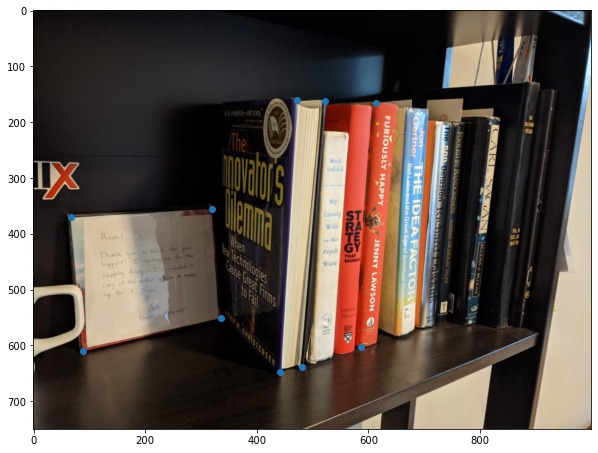
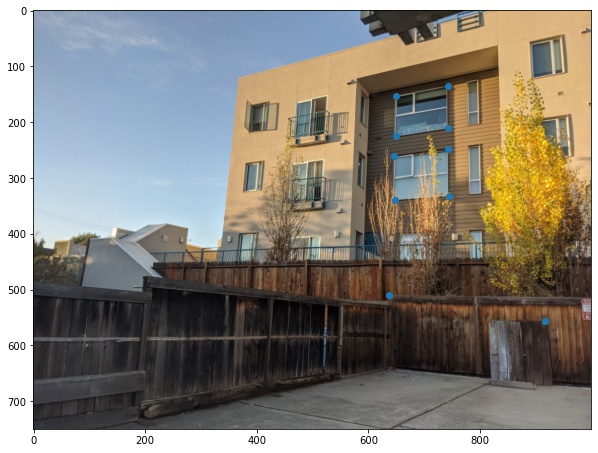
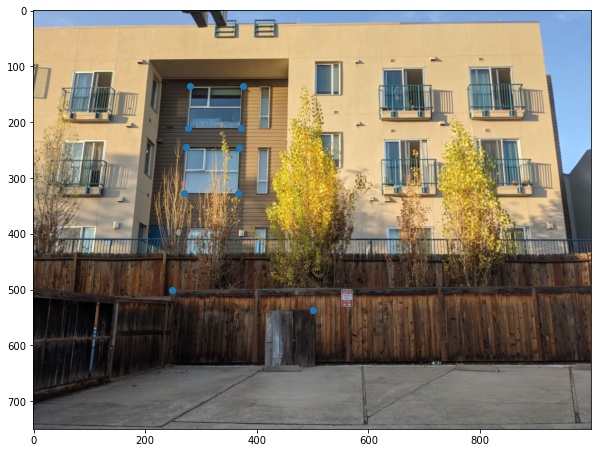
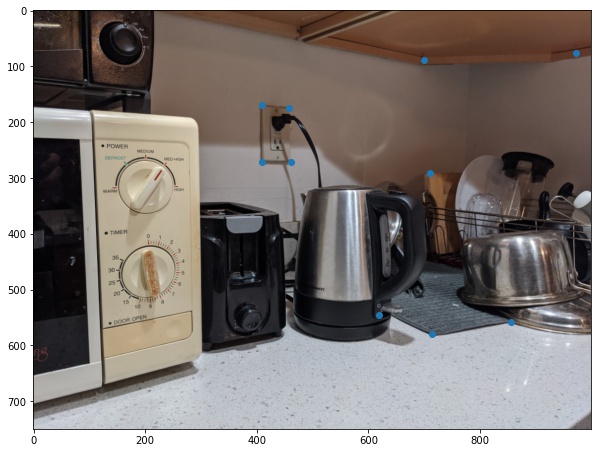
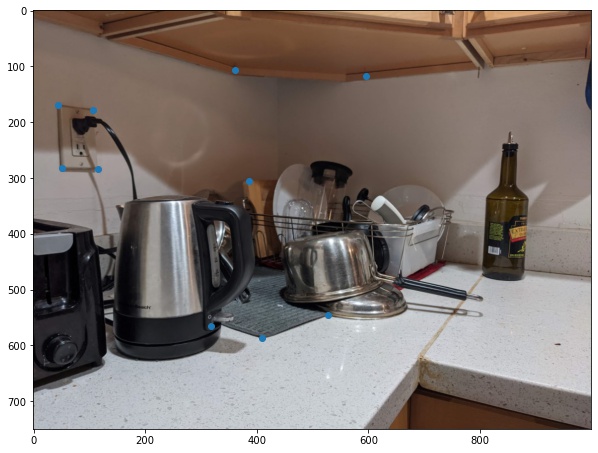
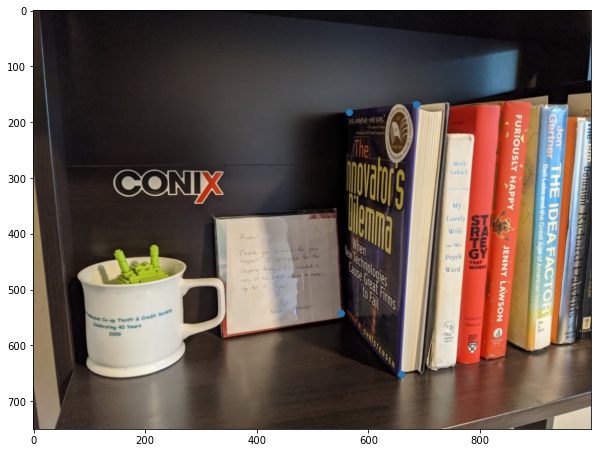
The first task is to shoot the photos. It is important to ensure that the transforms between the two images are projective, so we need to avoid moving the camera (translation) and only rotate the camera on its axis. I used AE/AF lock to ensure the photos are taken with the same exposure settings. After taking the photos, the homographies define the transform p' = Hp. To find H, we need to setup a system of equations of the form Ah=b. Each point correspondence provides one equation, so we need atleast 4 points. For each image, I collected 10 correspondences, and then used np.linalg.lstsq() to solve the equations with least squares method. Here are my input images and their annotated points.

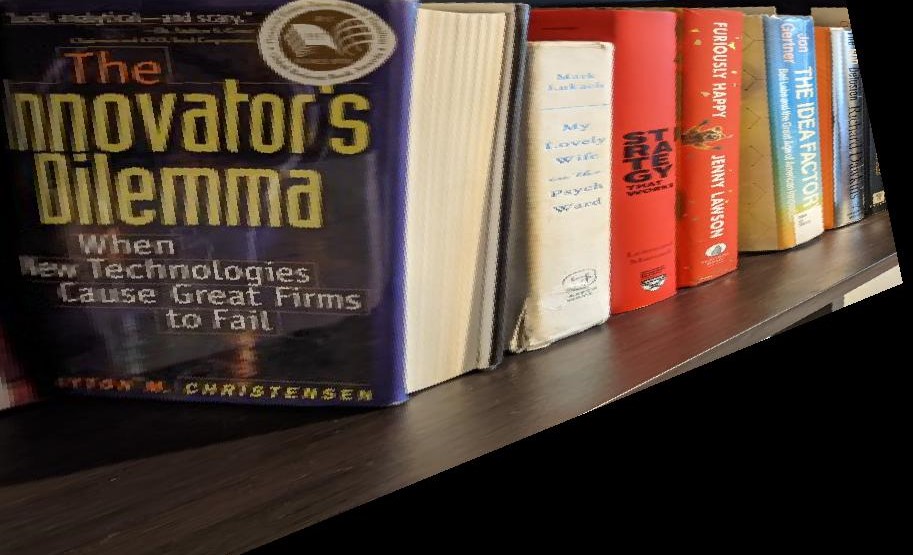
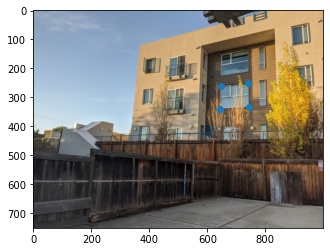
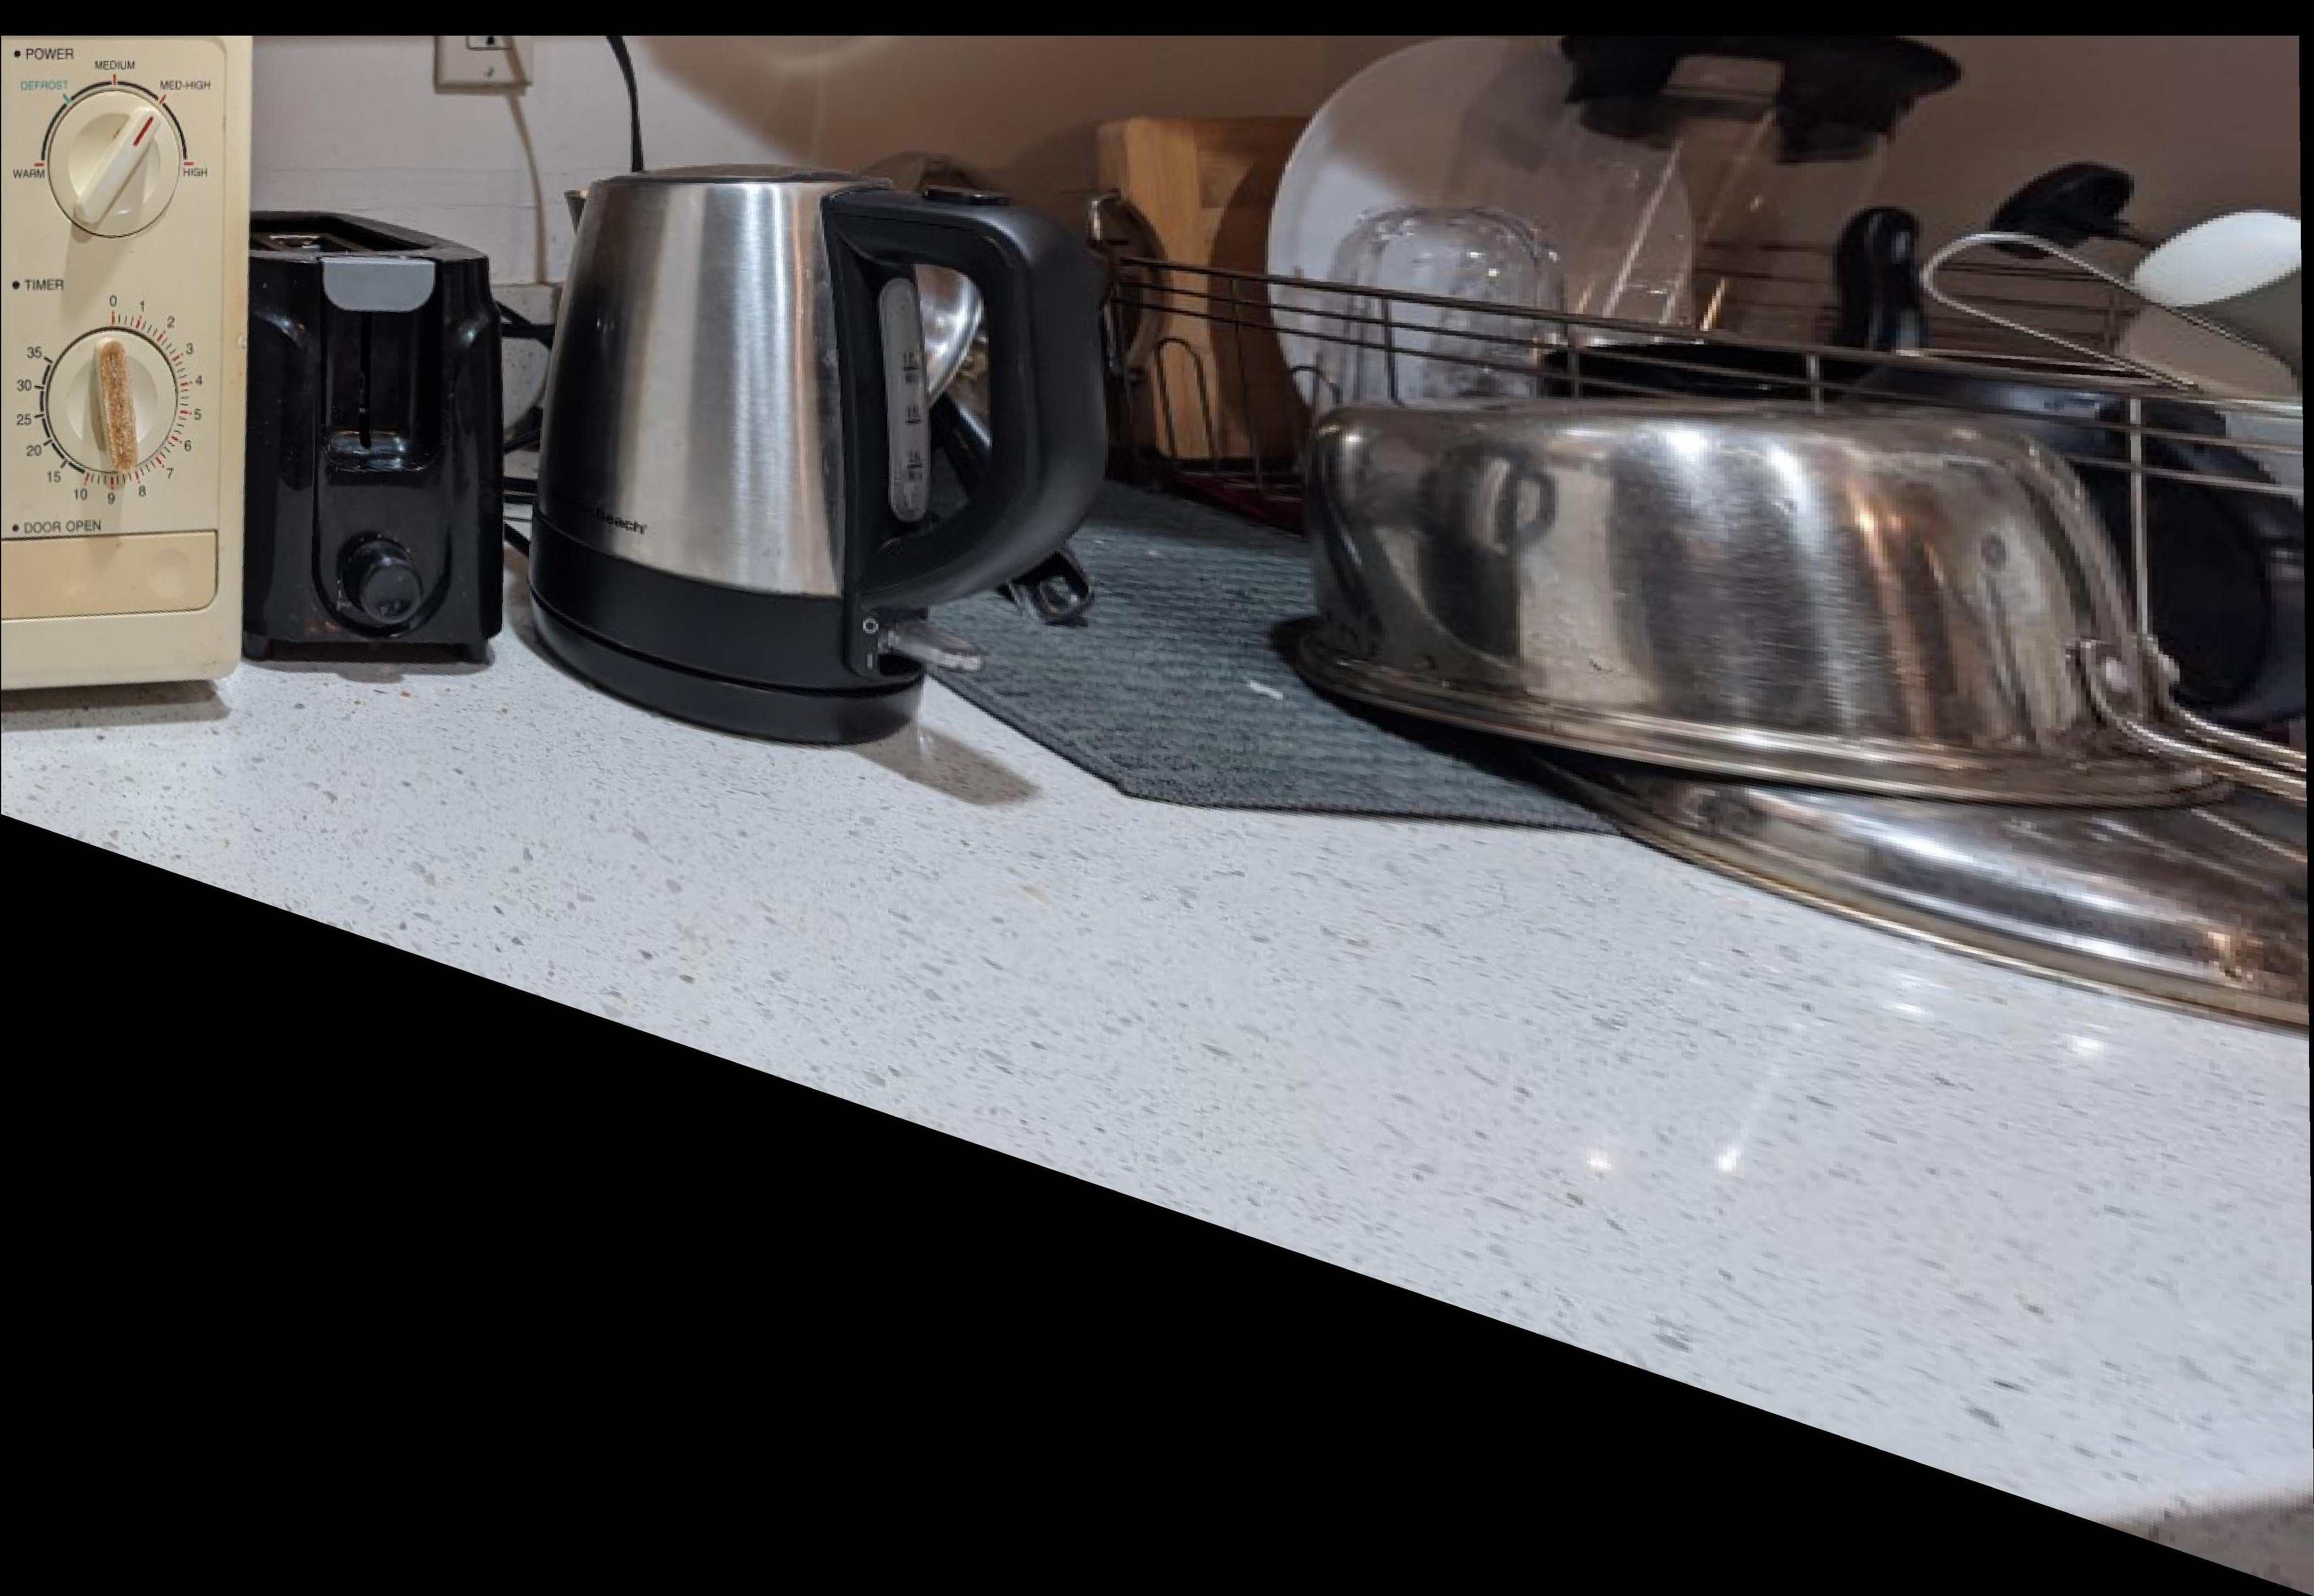
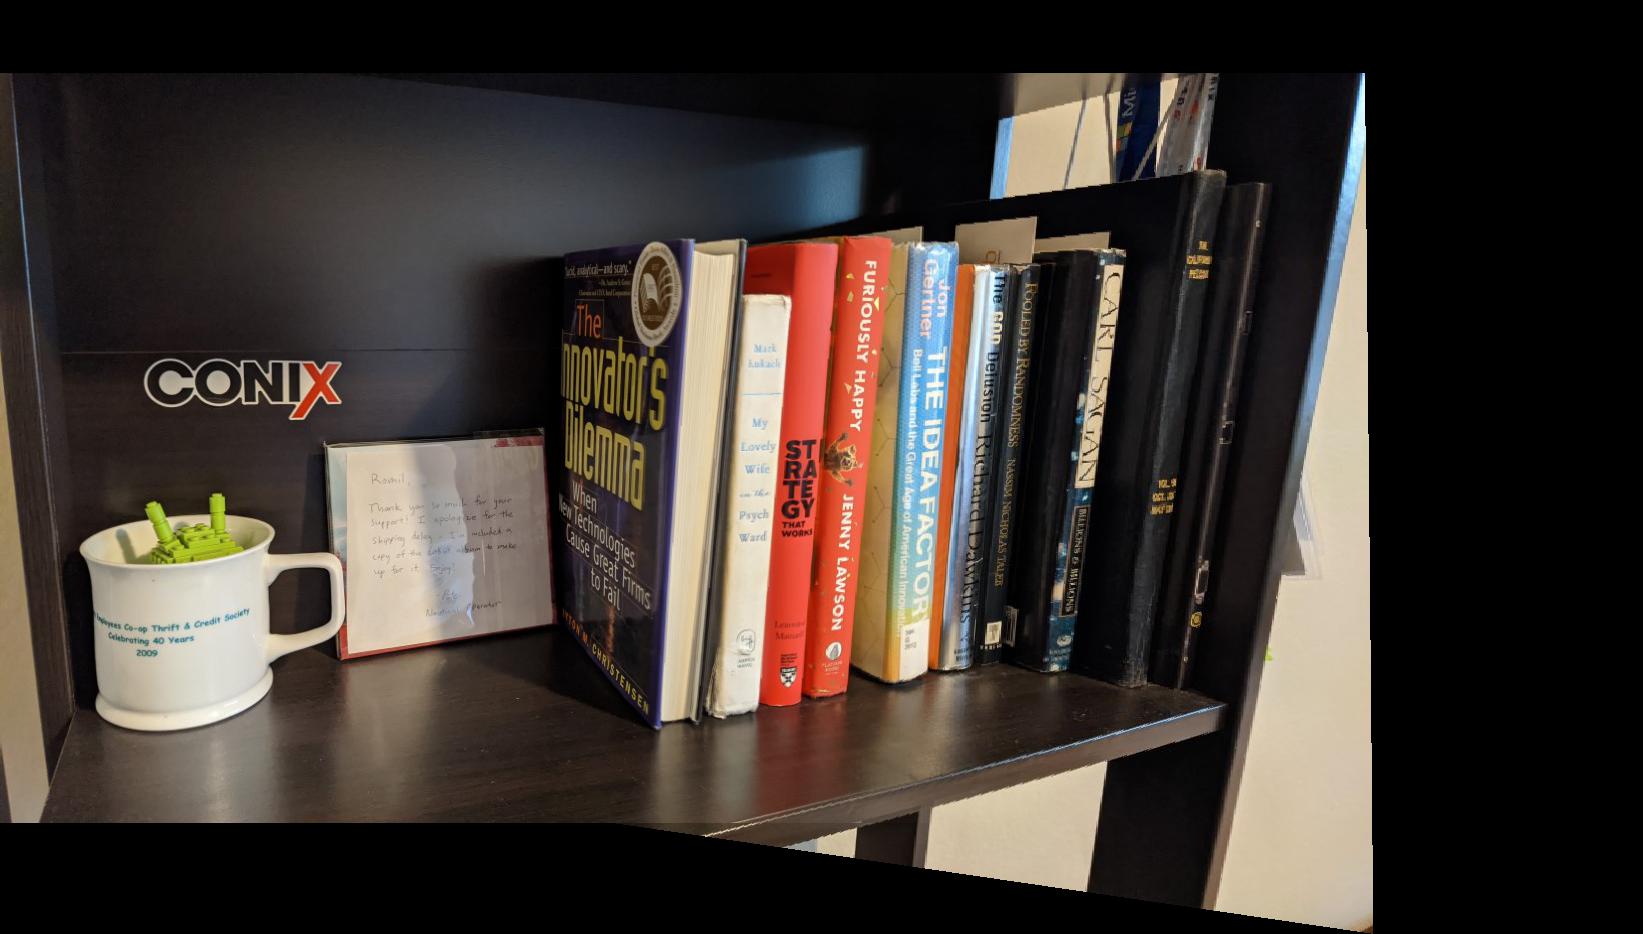
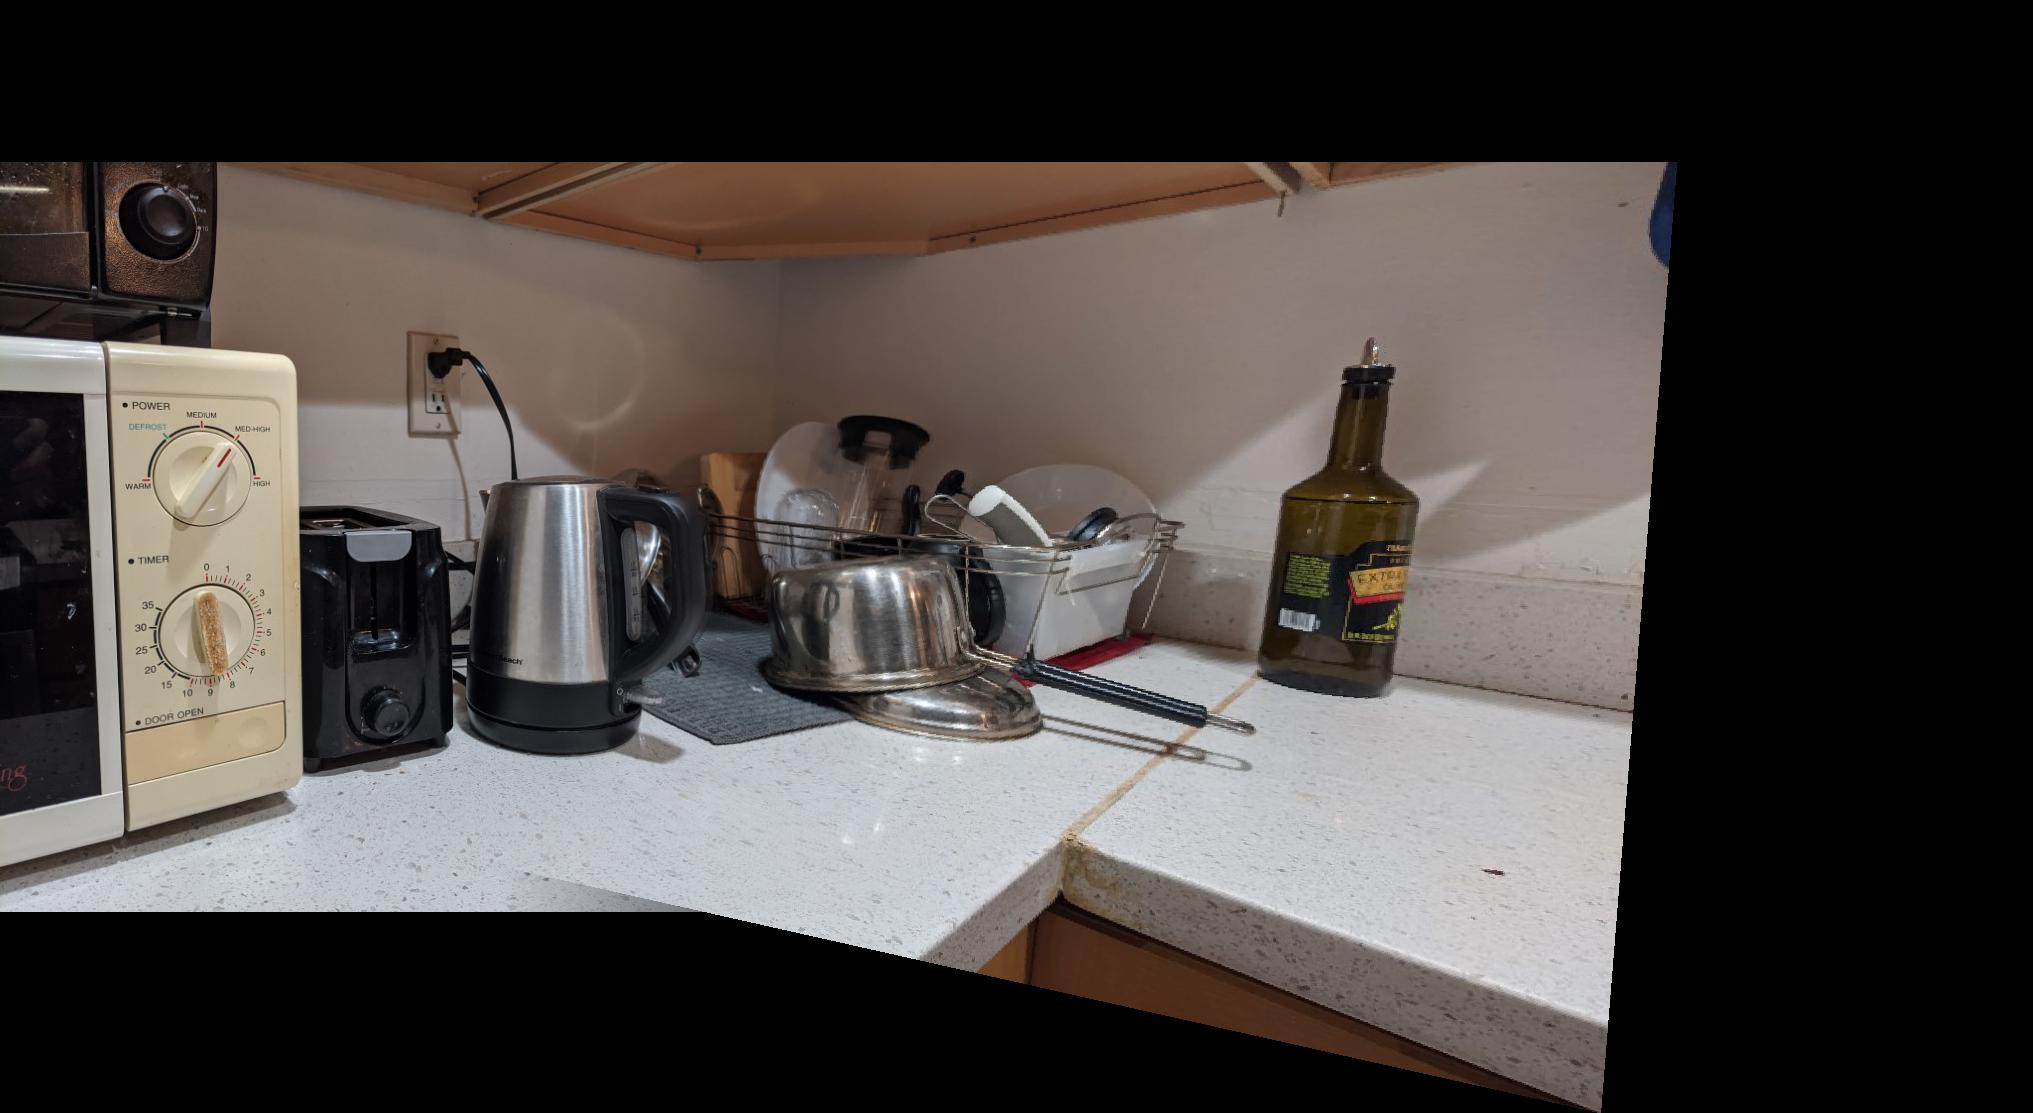
After computing the homographies, it is possible to rectify the images to make their planes frontal-parallel by creating a correspondence with a square's coordinates. Here are some examples of rectification for my images:
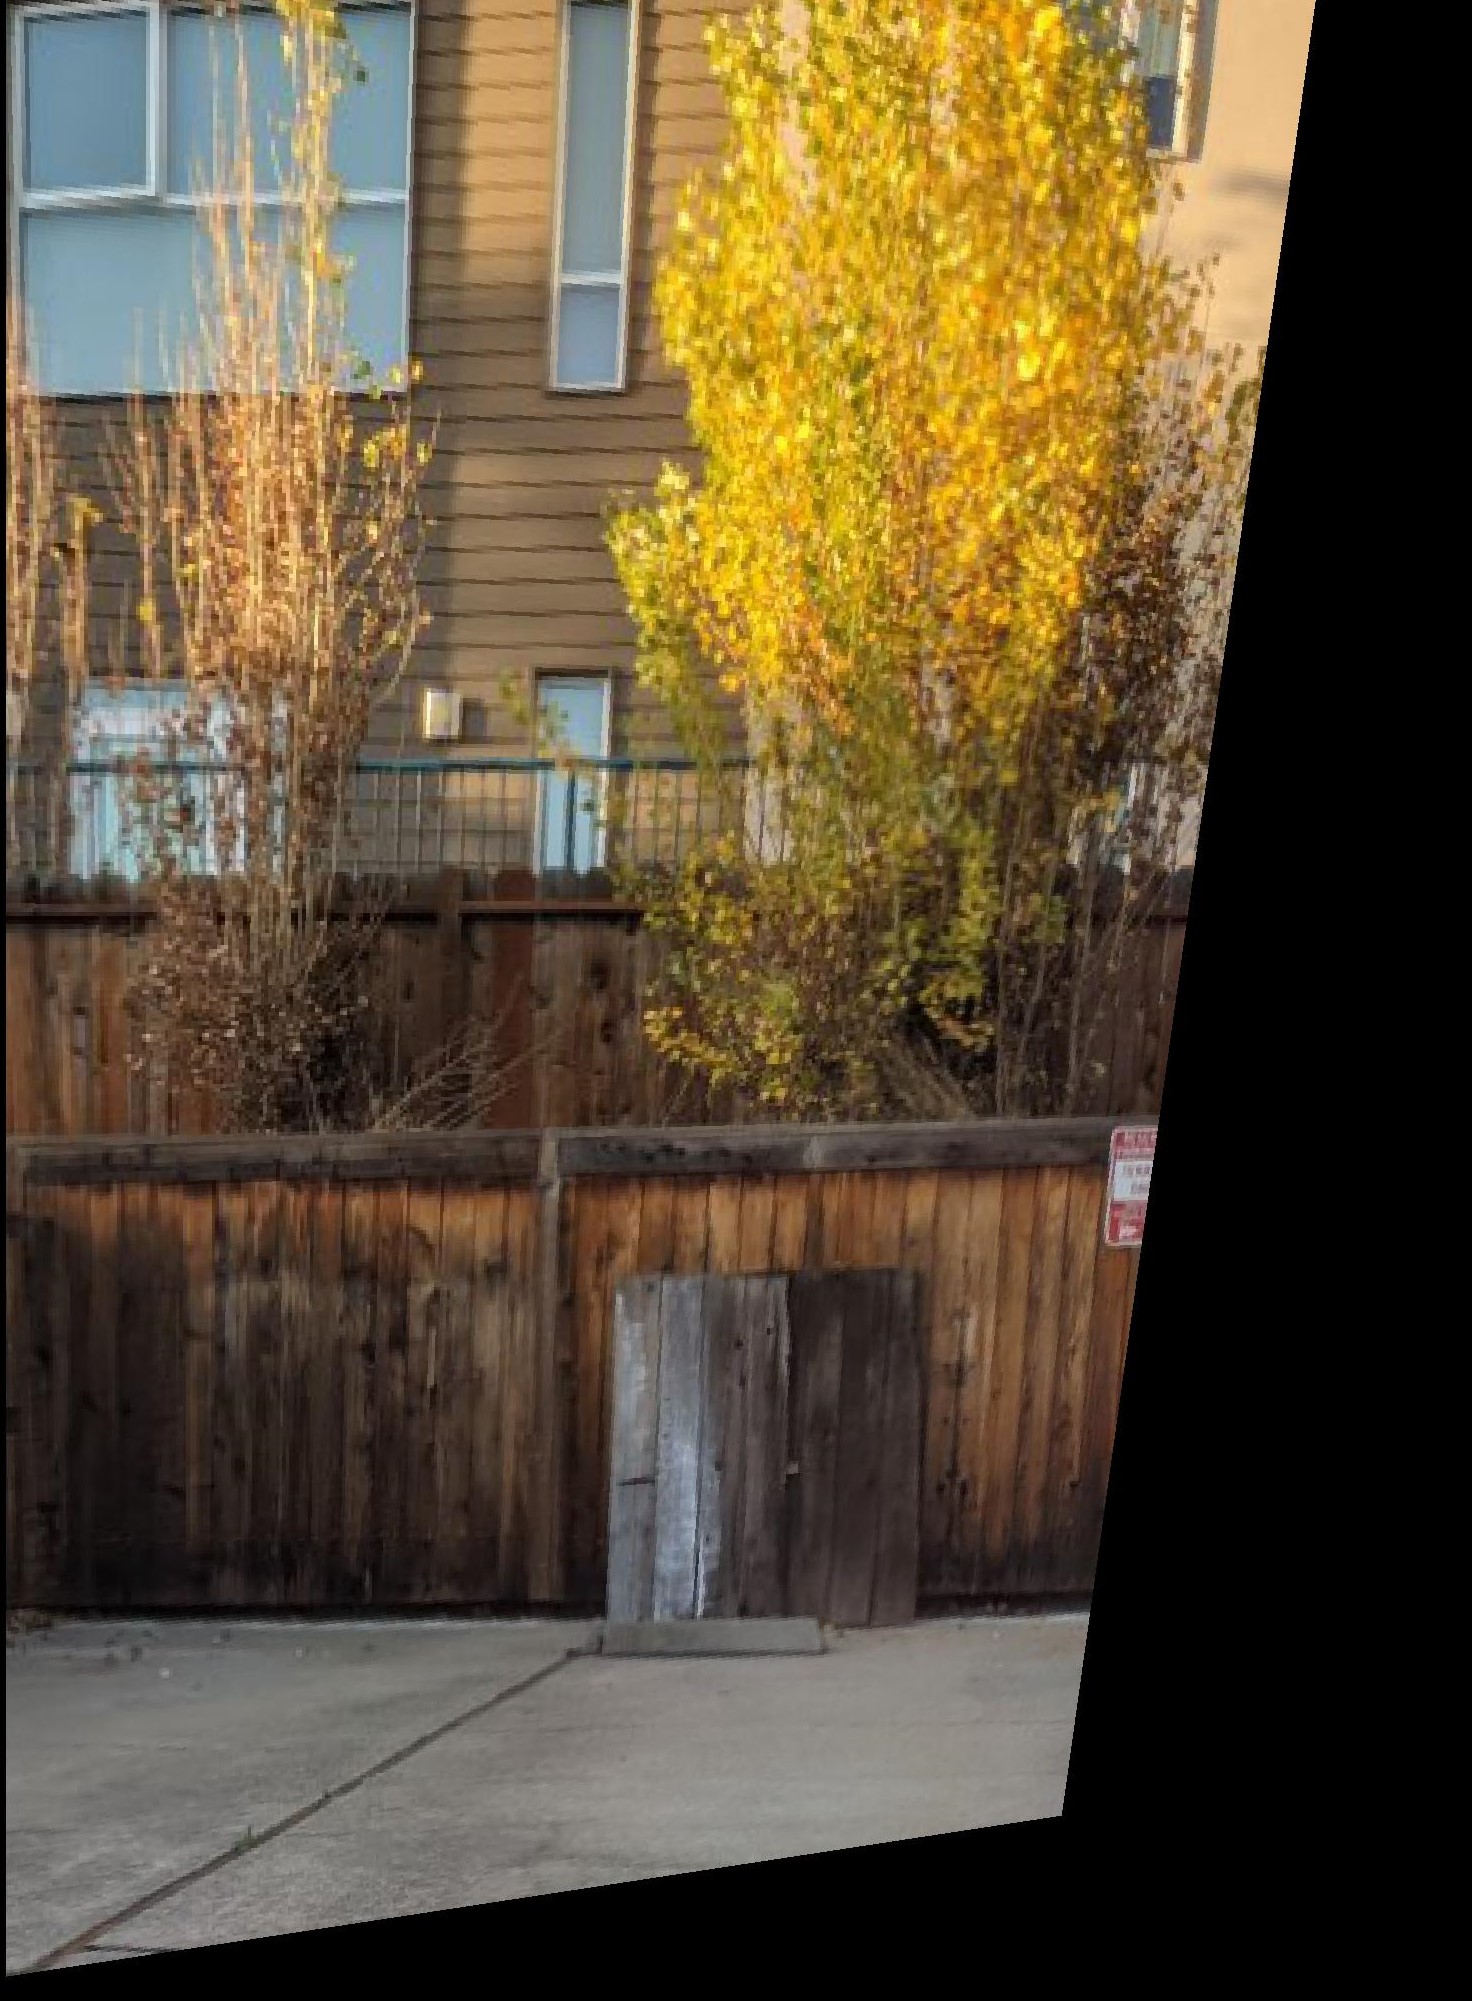

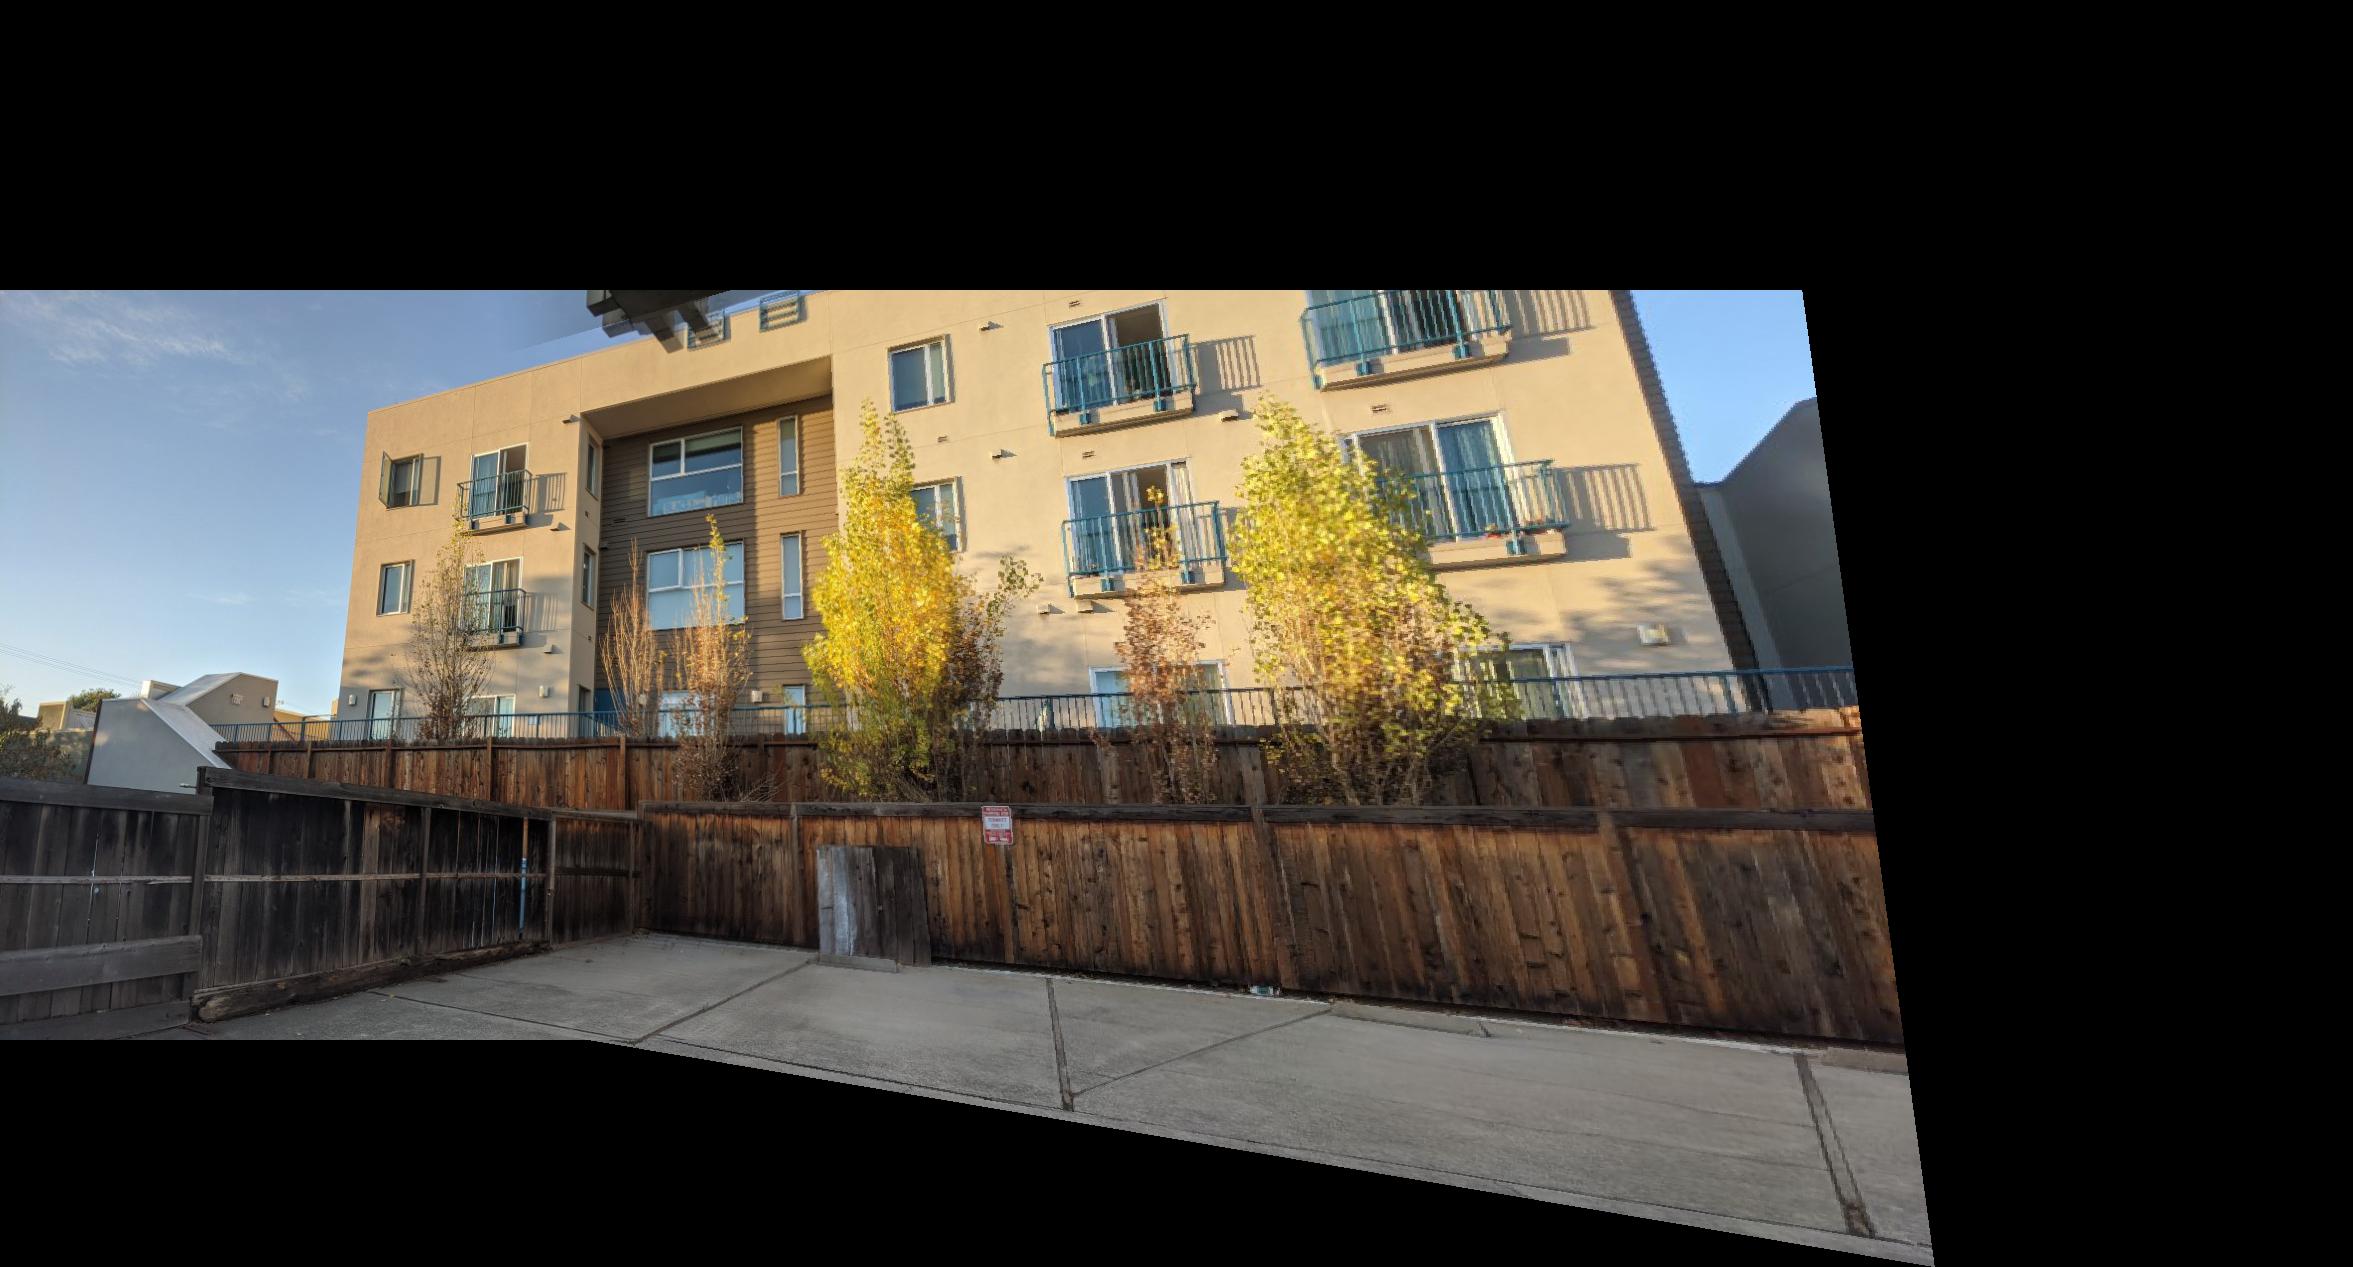
Once we get a homography between two images, we can compute mosaic which combines the two images seamlessly. I warped the second image onto the first and blended the two images by using an alpha of 1 for the first half of the image, then linearly decreasing the alpha from 1 to 0 for the second half of the image.
Computing homographies is really cool! It allows you to change the perspective of the image. Homographic transforms probably have a big role to play in computer graphics too, where the camera and its position must be manipulated given a fixed image/texture on surfaces.