CS 194-26: Project 5
Akshit Annadi
Part A
Shoot the Pictures
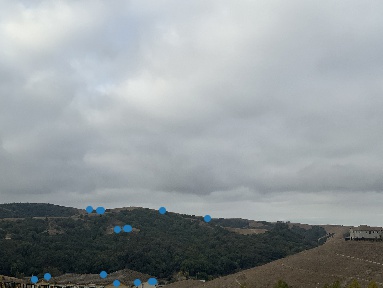
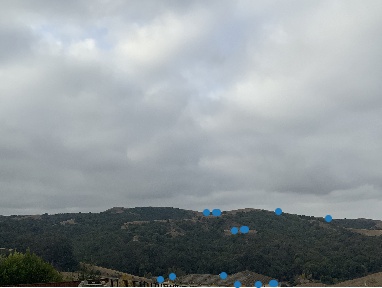
The first step in this project was to actually shoot the pictures. This had to be done in a way such that the transformation between the pictures was projective
and there was enough overlap to find common correspondances. I accomplished this by standing in one place with my camera and simply rotating to take multiple pictures. Example photos
are shown below, which I used to make a mosaic in a later part.
Recover Homographies
To recover the homography between two images, we need to find a matrix H that gives us the point(x',y') in the target that corresponds to a point(x,y) in the source image. Specifically, the matrix should do the following:

To find the matrix H, we need find a series of correspondences such that a point(x,y) in the original image corresponds to a point(x',y') in the target image. Once we have the
correspondances, we can set up the system of equations below for each correspondance to find the values of H.
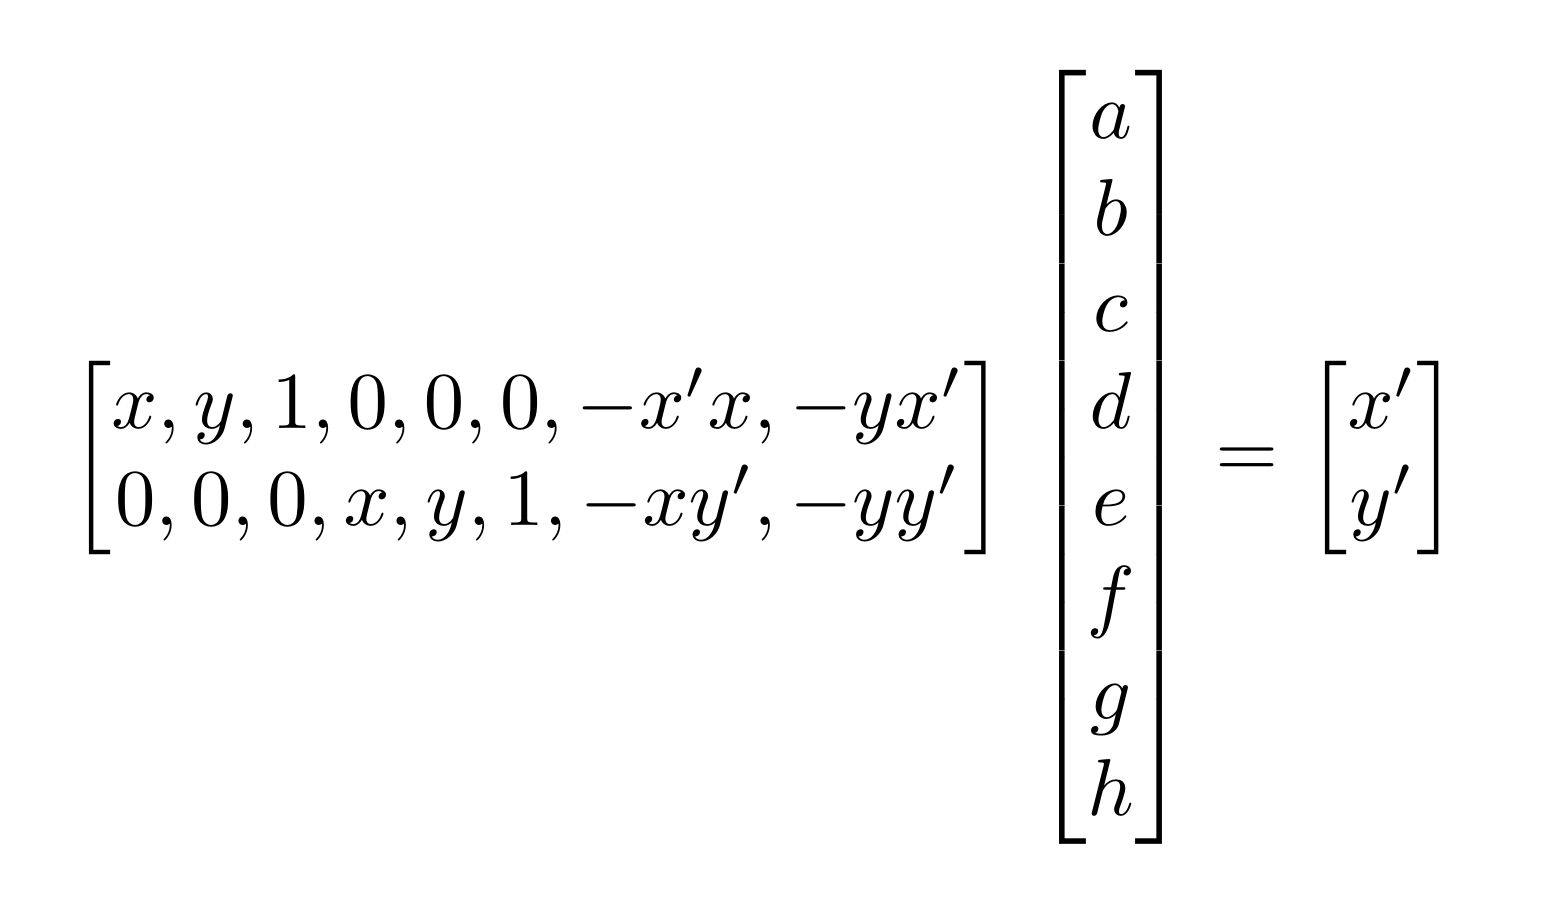
Note that we need 4 points to give us a complete set of equations. If we have more than 4 points, we will need to use least squares to solve for the values of H
Warp Images/Rectification
Once I created a function to calculate the homography transformation between two sets of points, I was ready to start warping images. To do this, I used inverse warping
in a manner very similar to Project 3, where I took each pixel of the output projected image, figured out which pixel in the original image it corresponded to using
the homography matrix, and used bilinear interpolation to get a final pixel value.
Here are a couple examples of using warping to rectify images. The original images had planar surfaces at an angle, and I took the corners of those planes and transformed them into
rectangles in the output image. This allows us to visualize the image from another perspective.
Pictures
Rectified pictures
Books
Rectified books
Blend Images into Mosaic
Now that we can warp images into other geometries, we can blend together multiple images into a mosaic. I did this by choosing a center/base image, finding correspondances between
that image and the images surrounding it, and finally warping the surrounding images to match the geometry of the base image. Simply stiching together the images after transforming them produced
ugly seams, so I used weighted averaging to blend the images together once transformed. The results for three sets of images are shown below
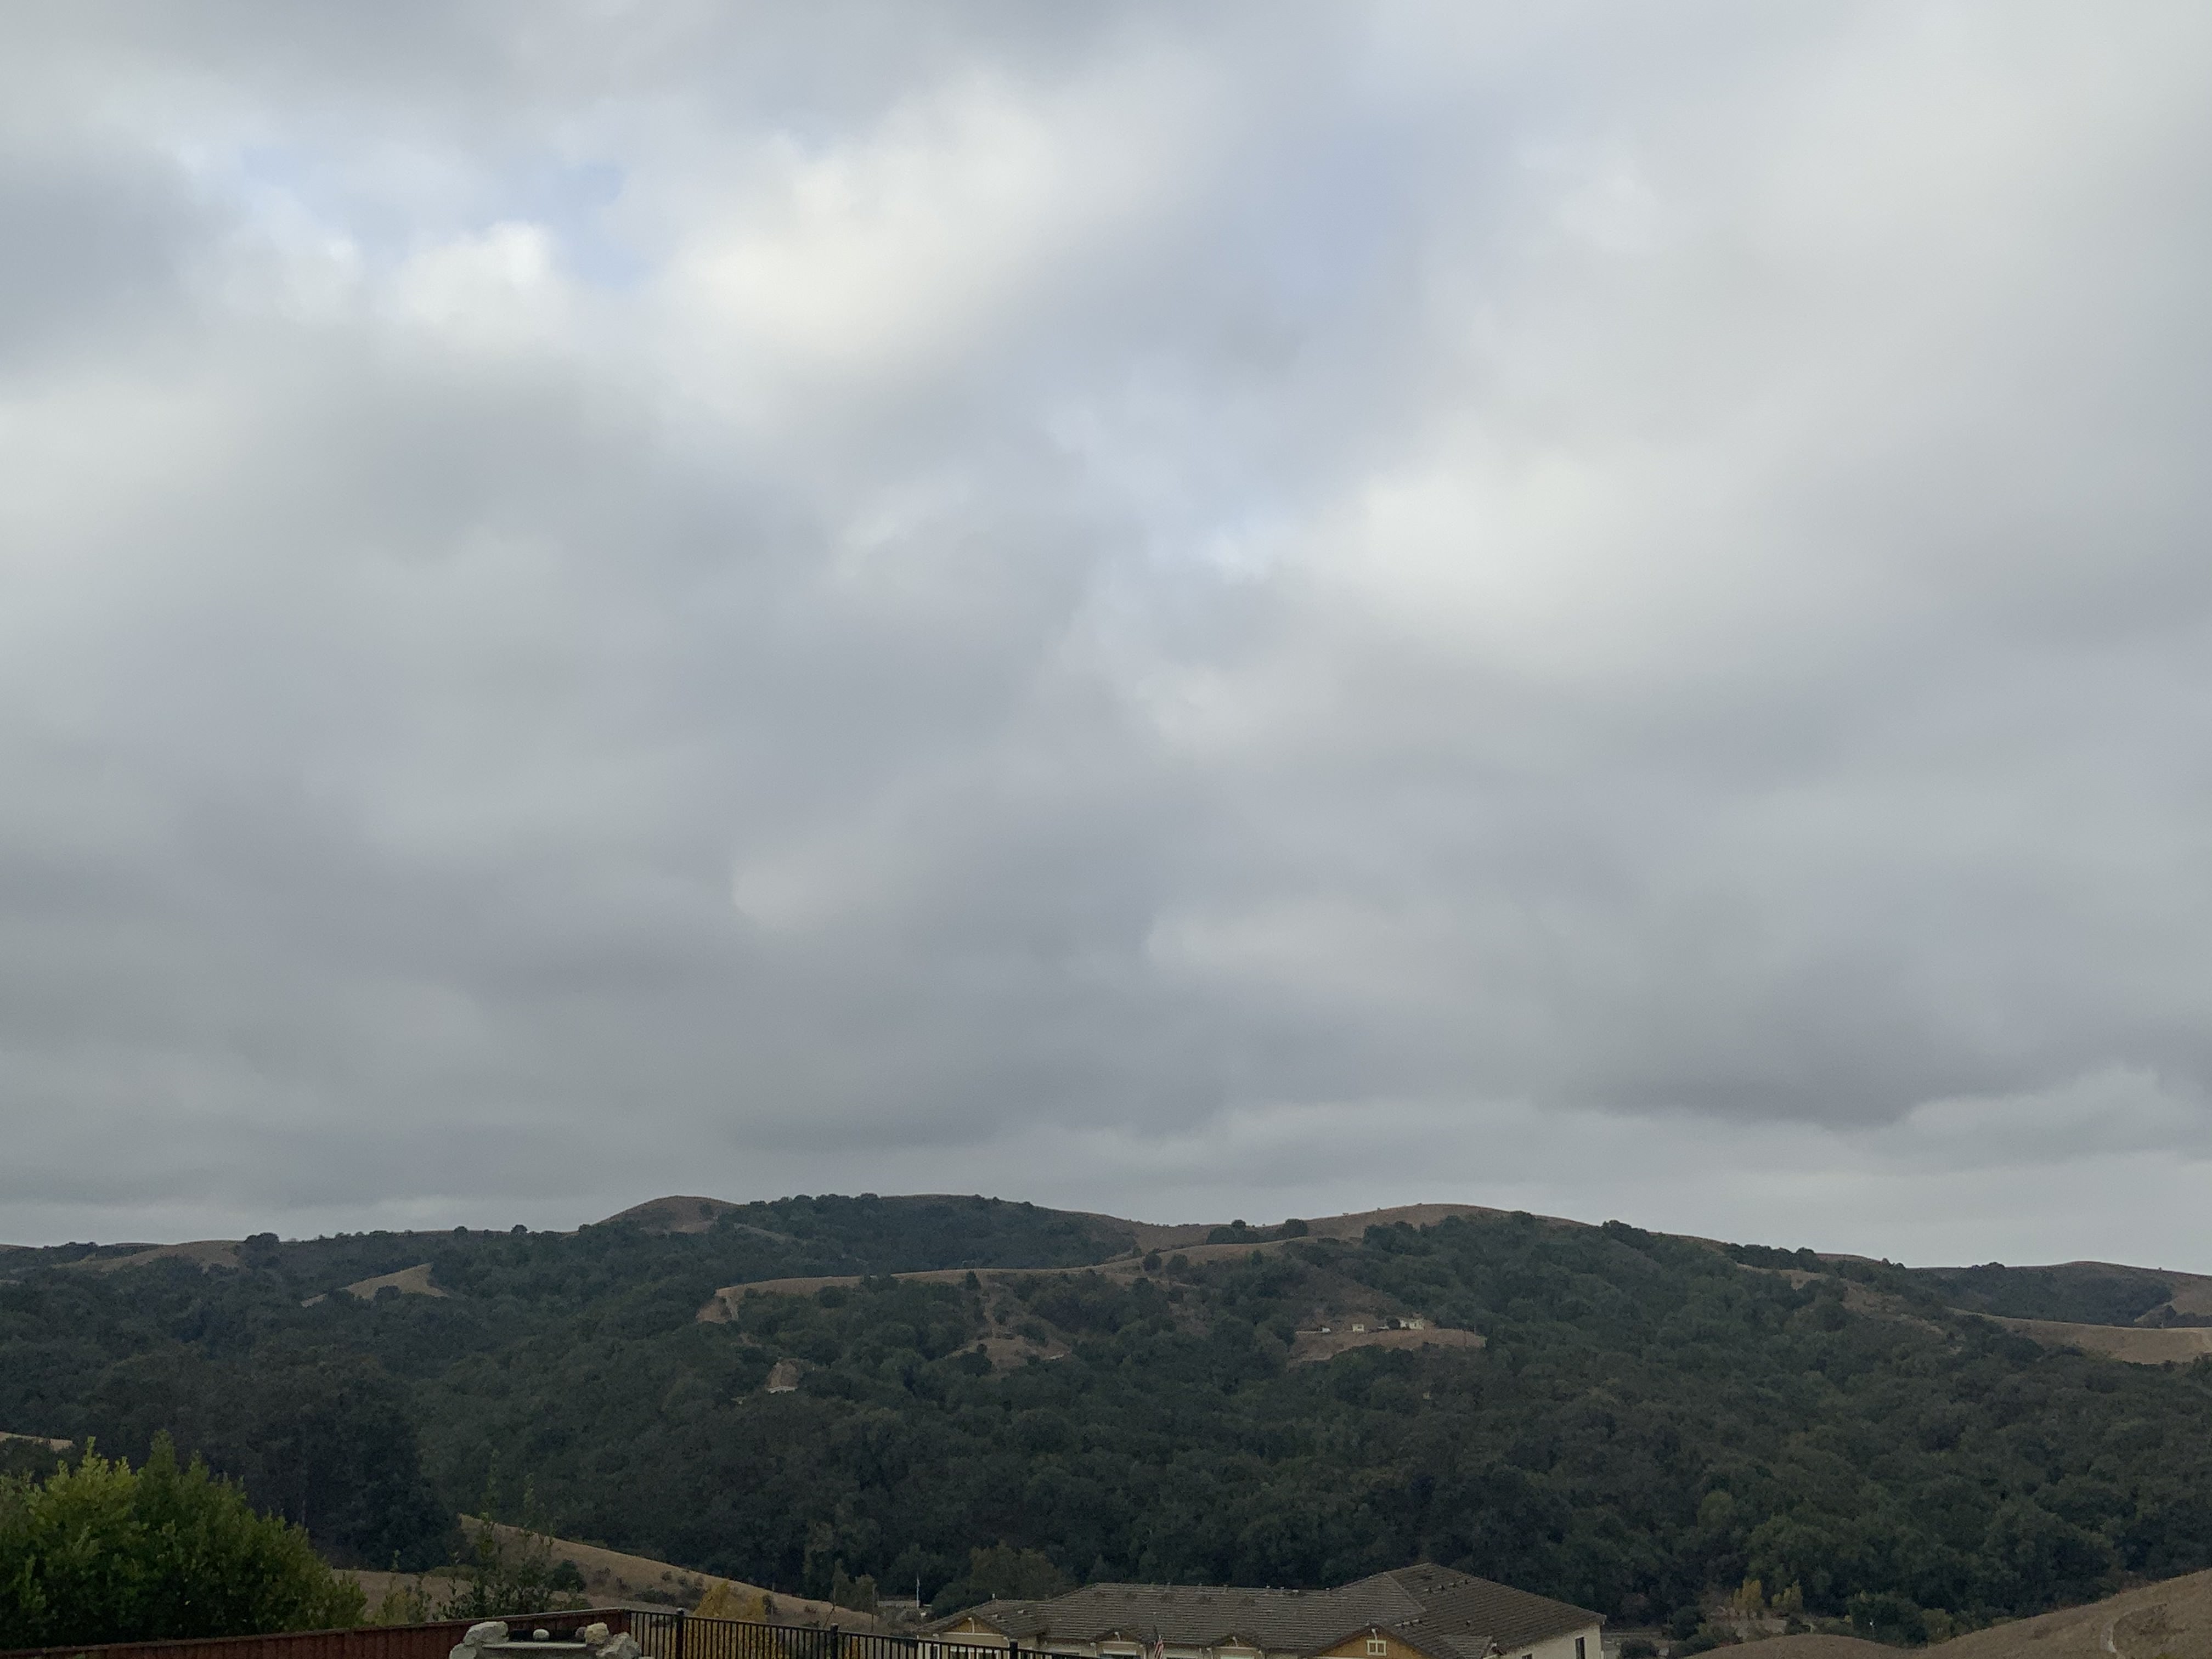
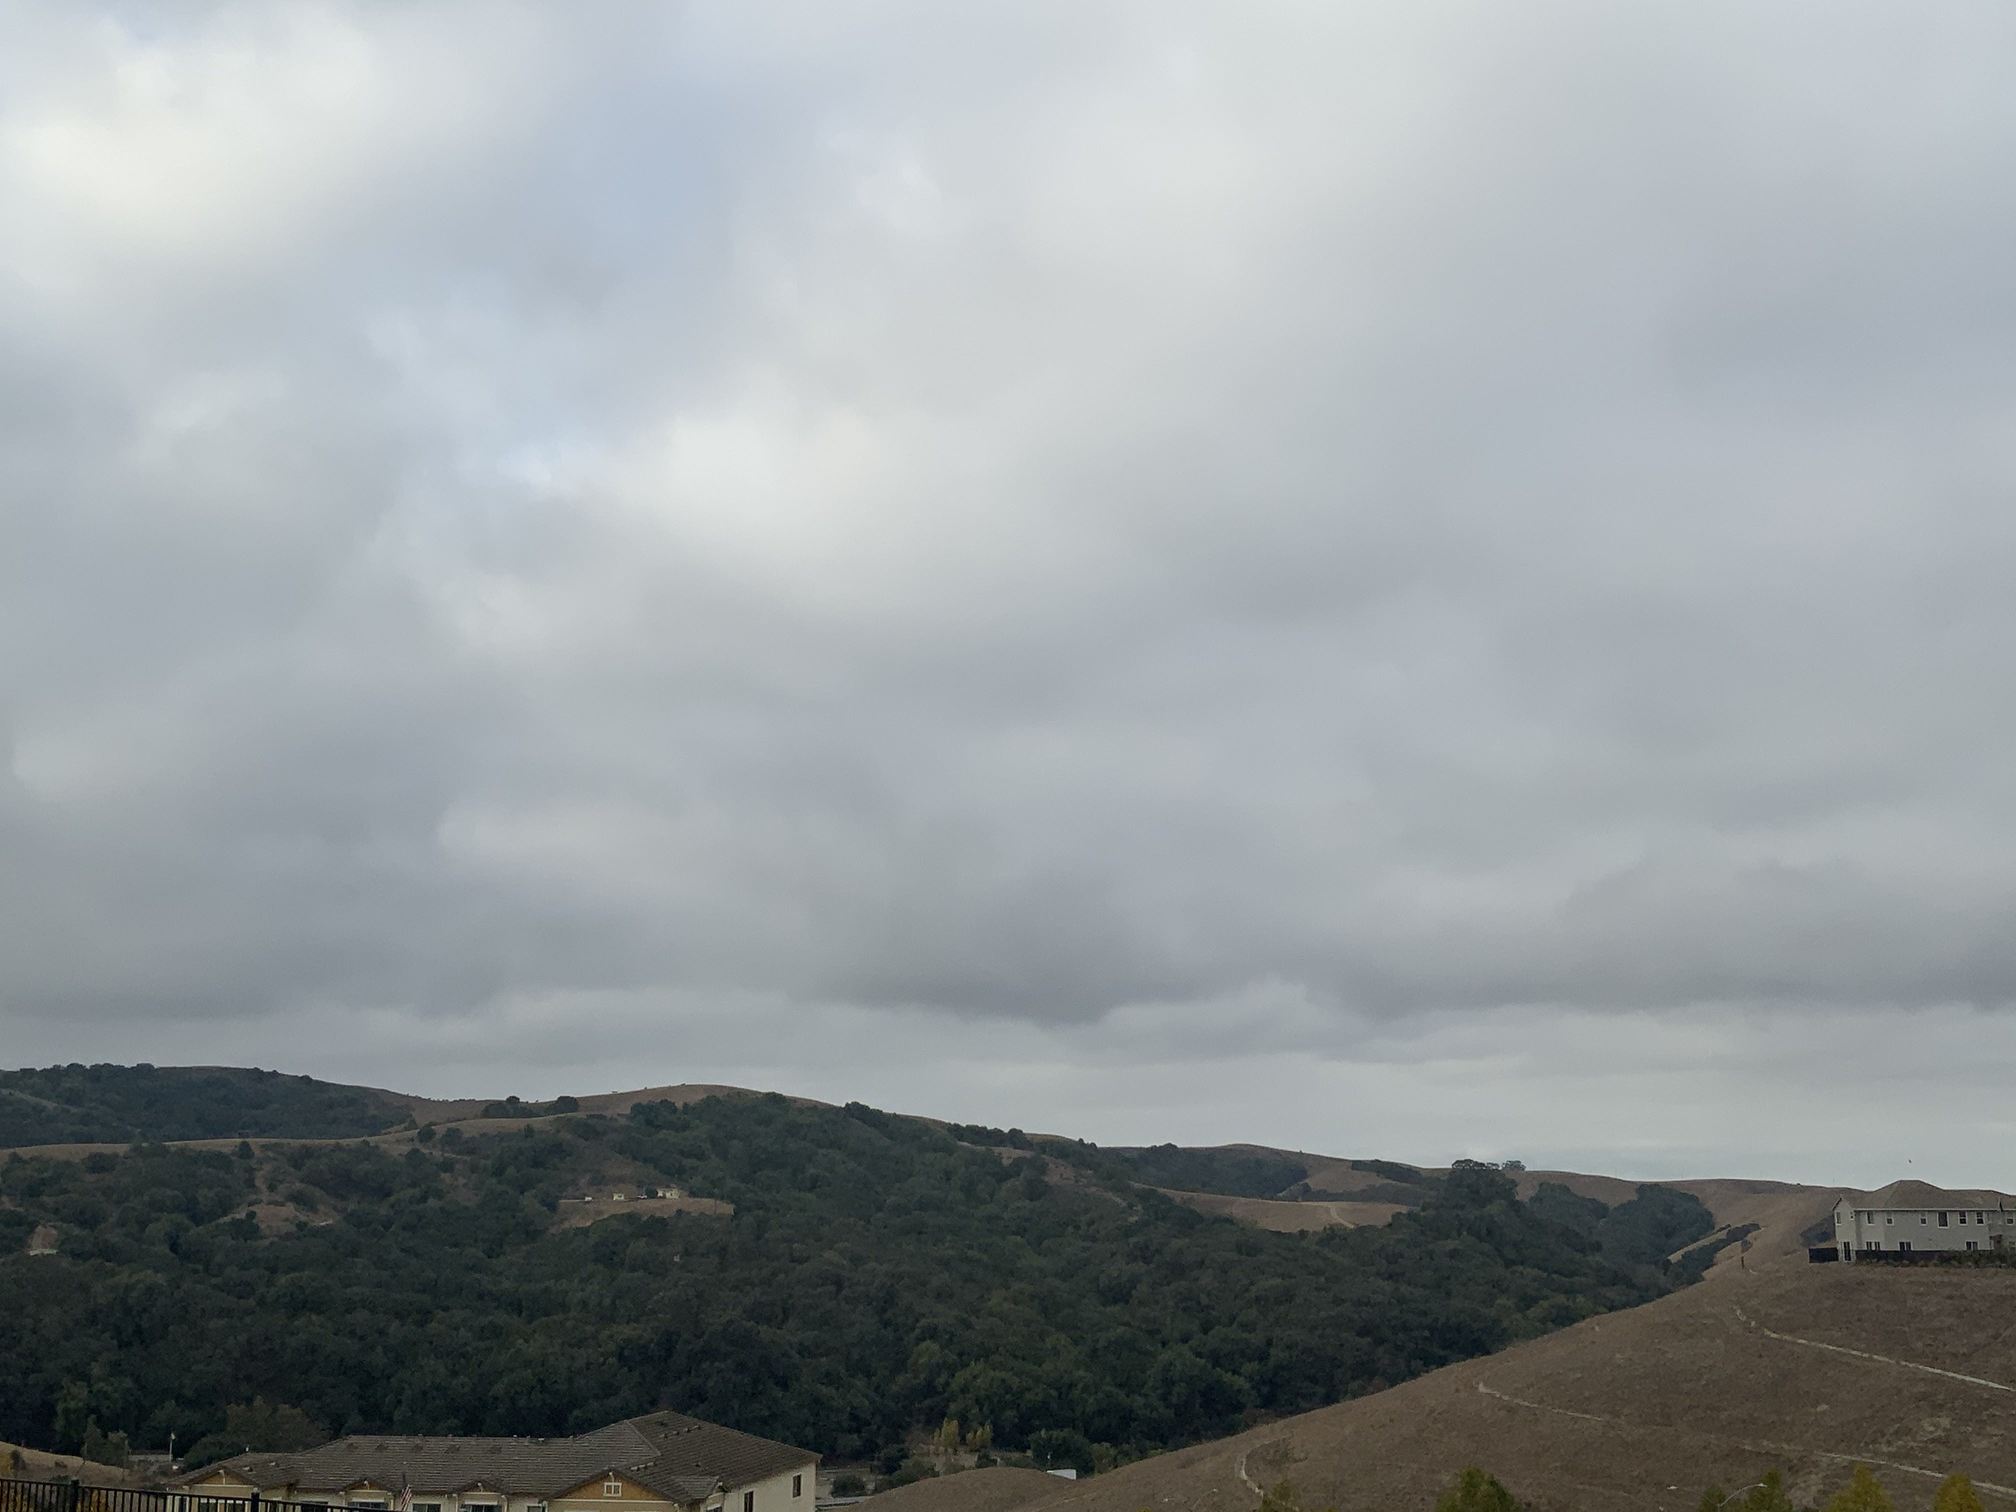
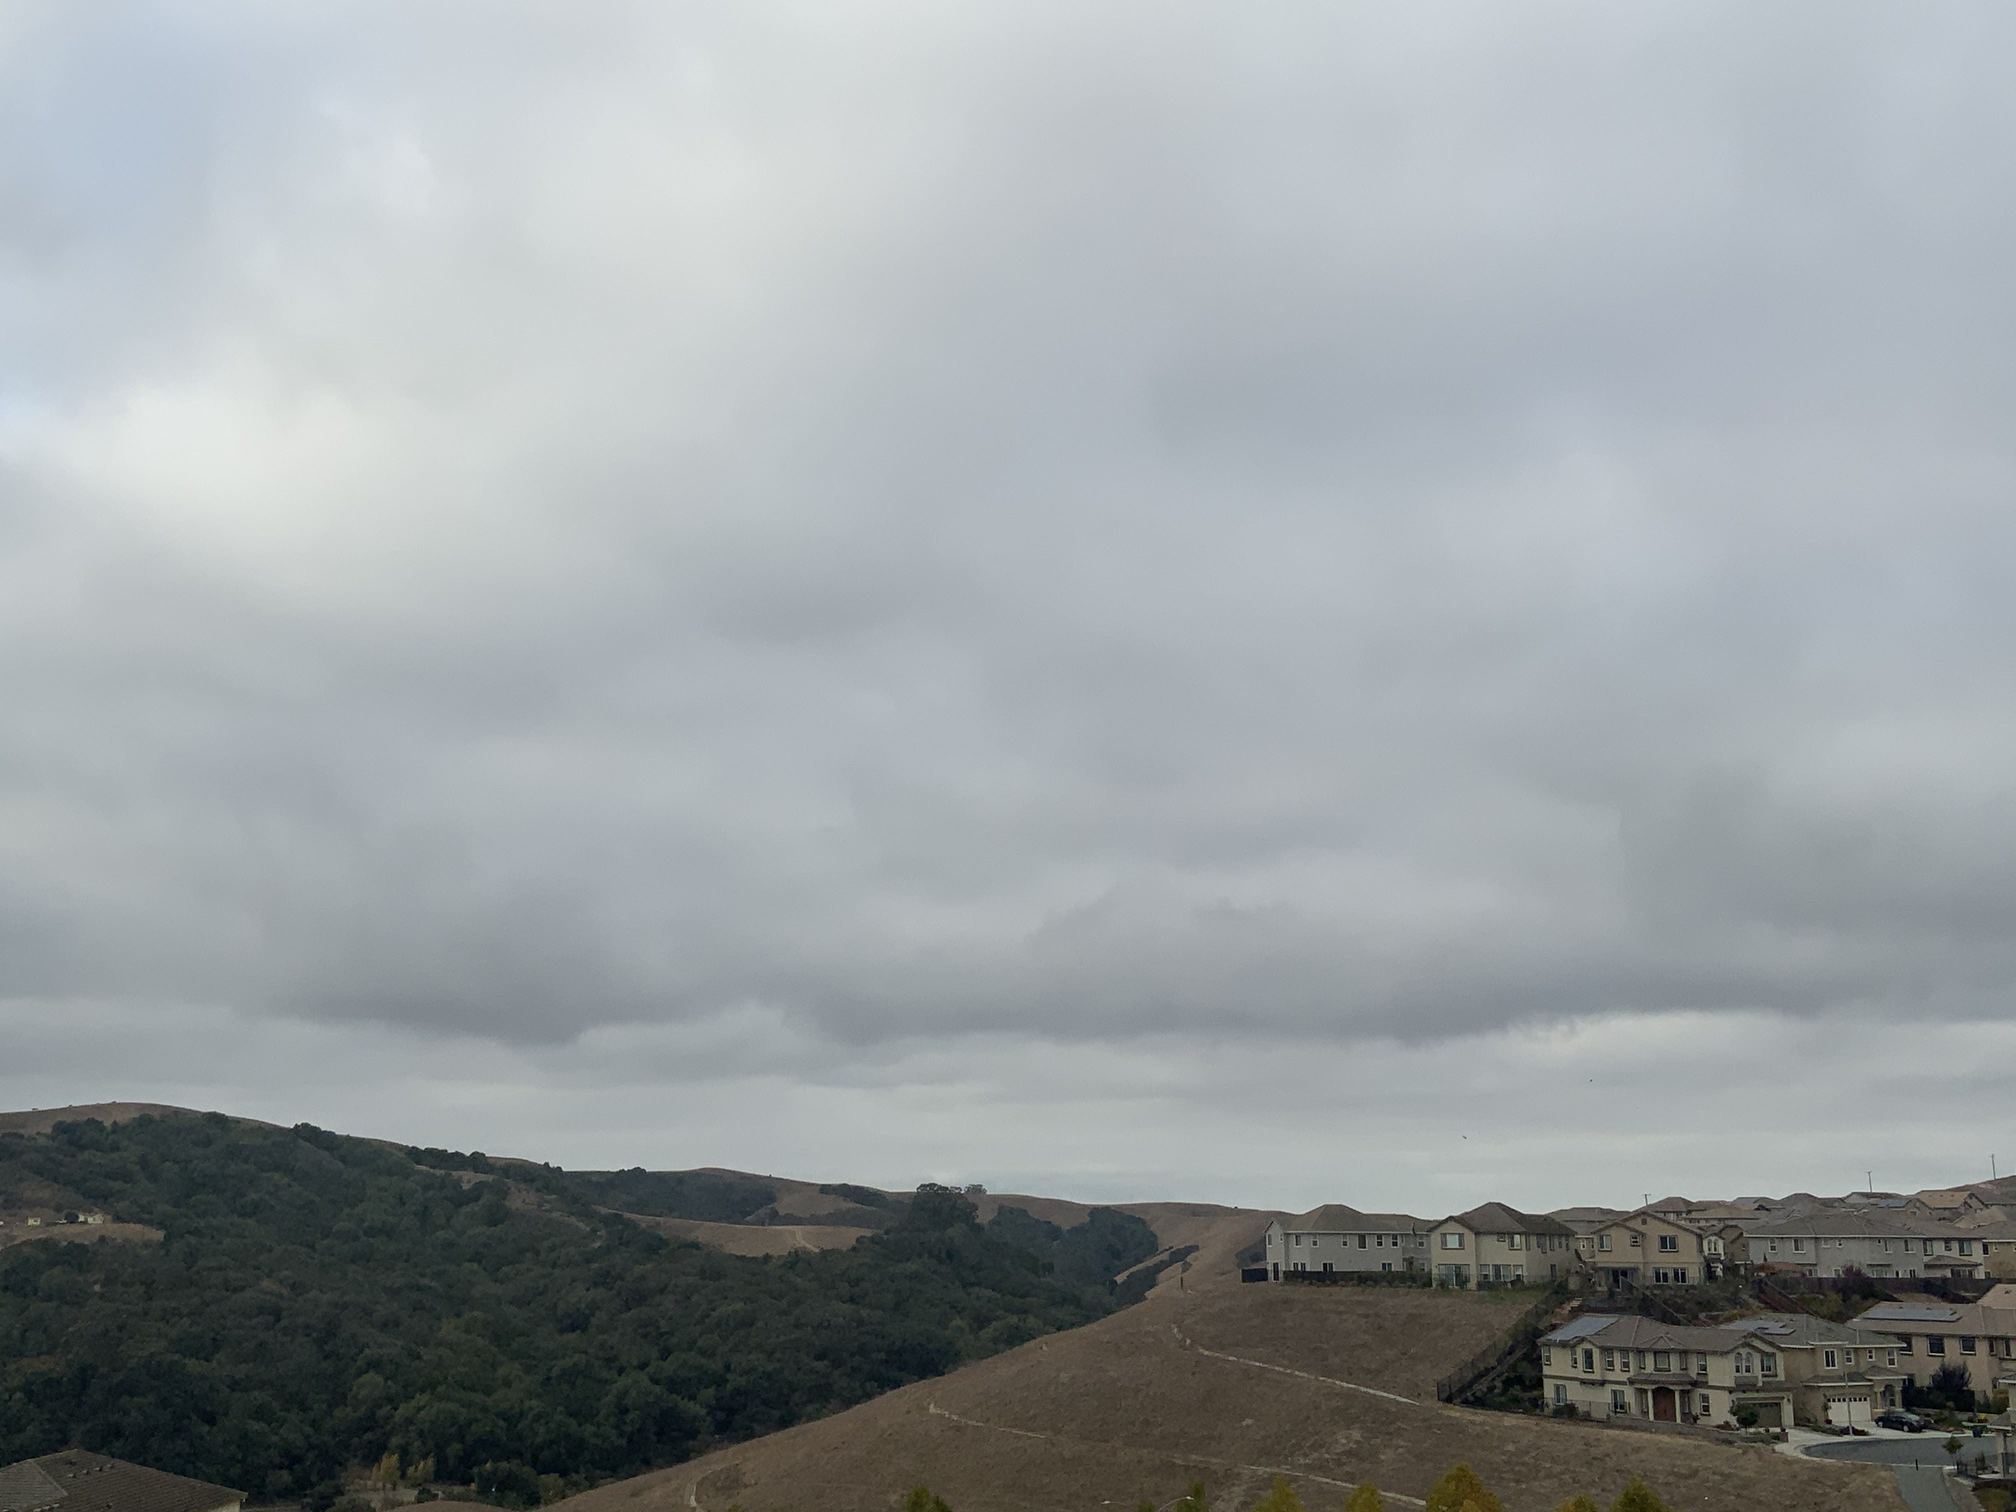
view from my backyard
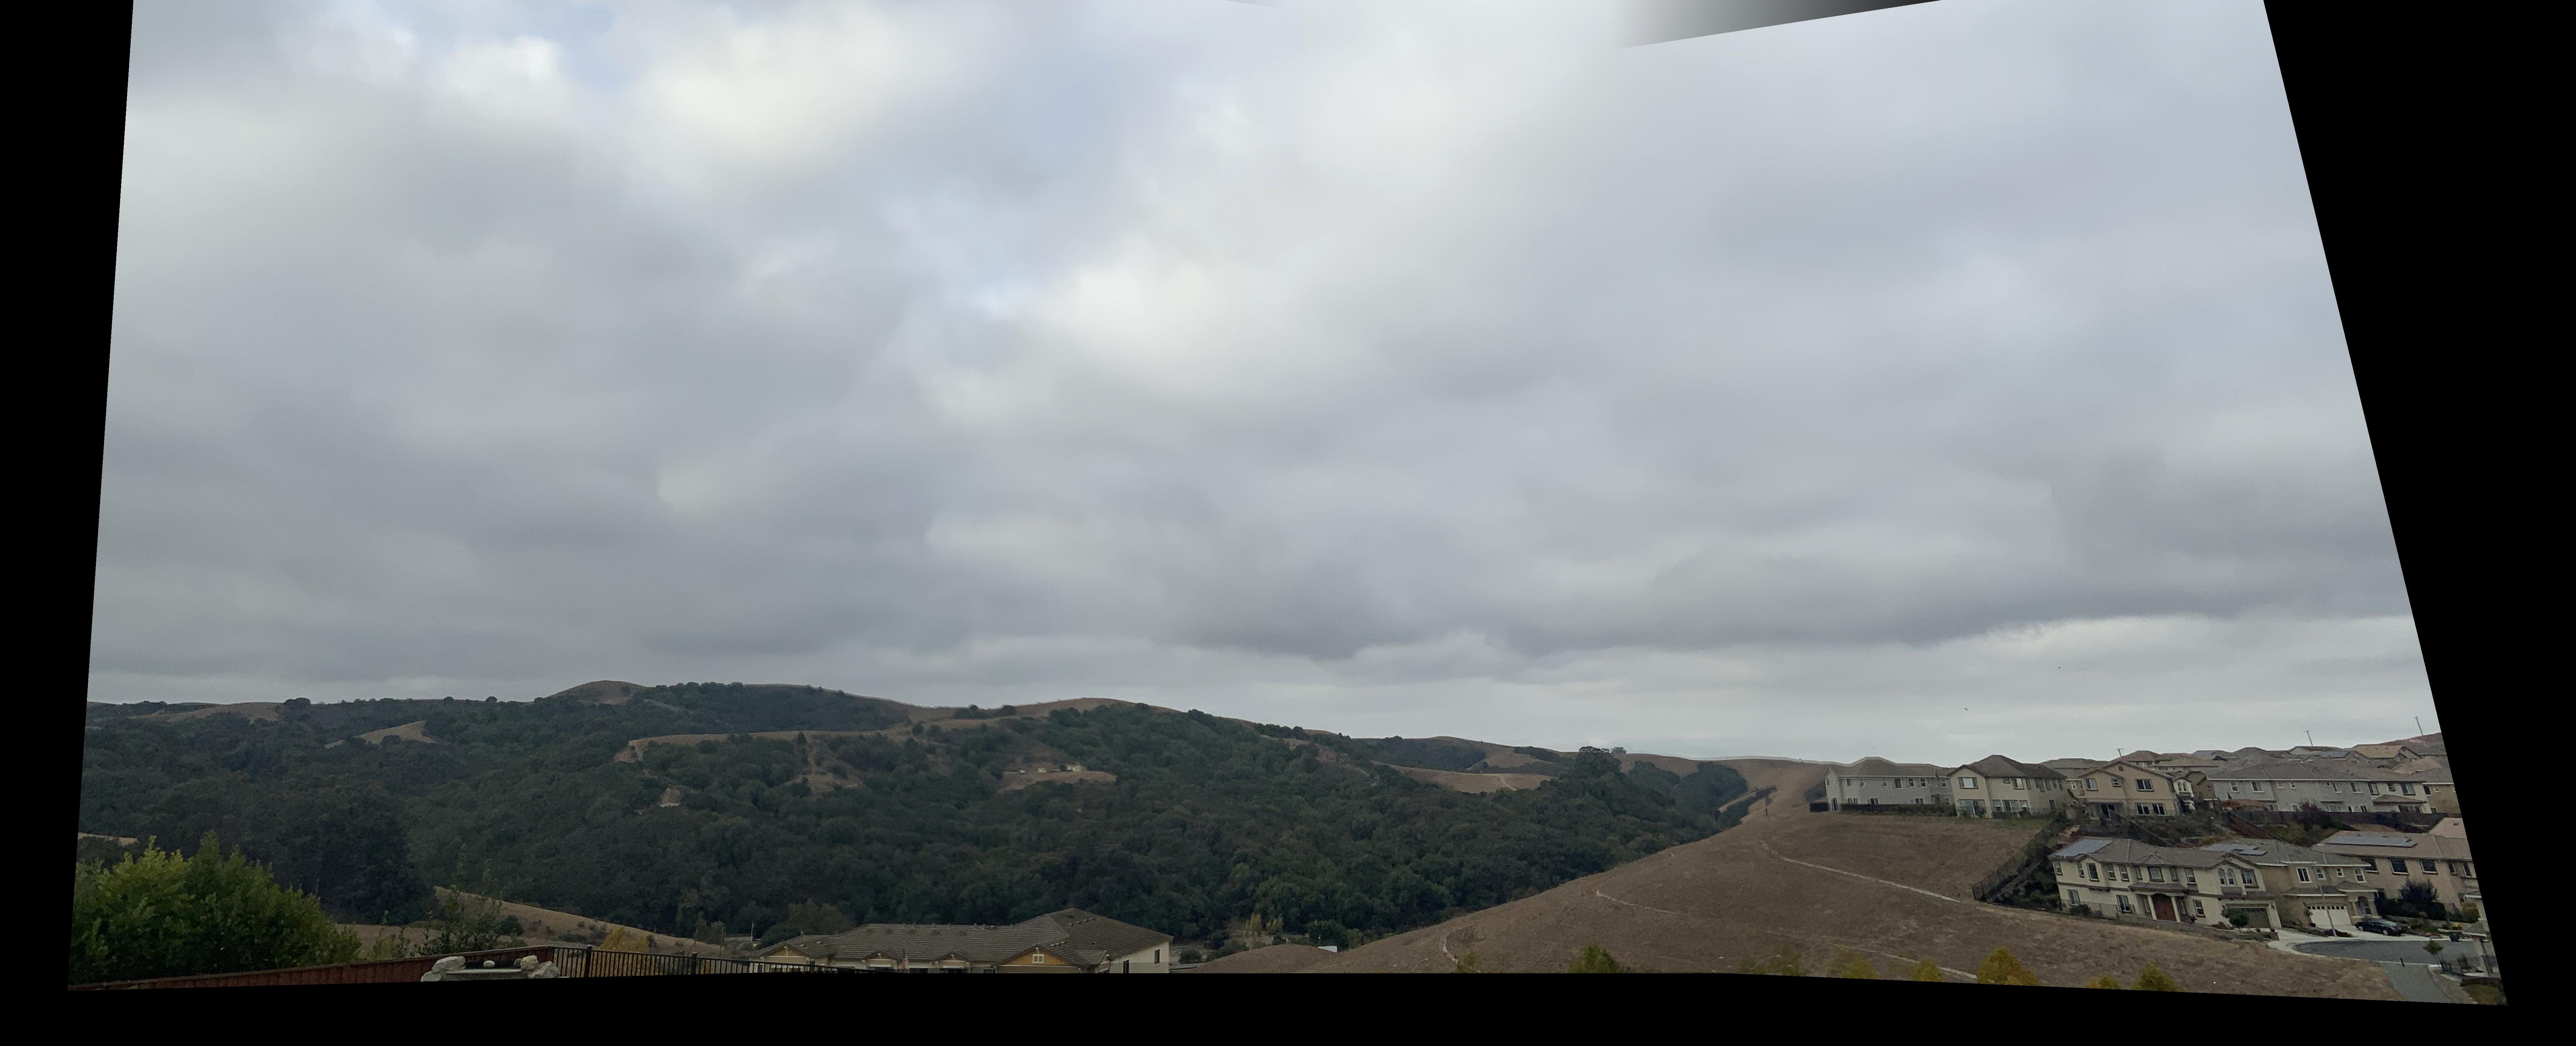
mosaic
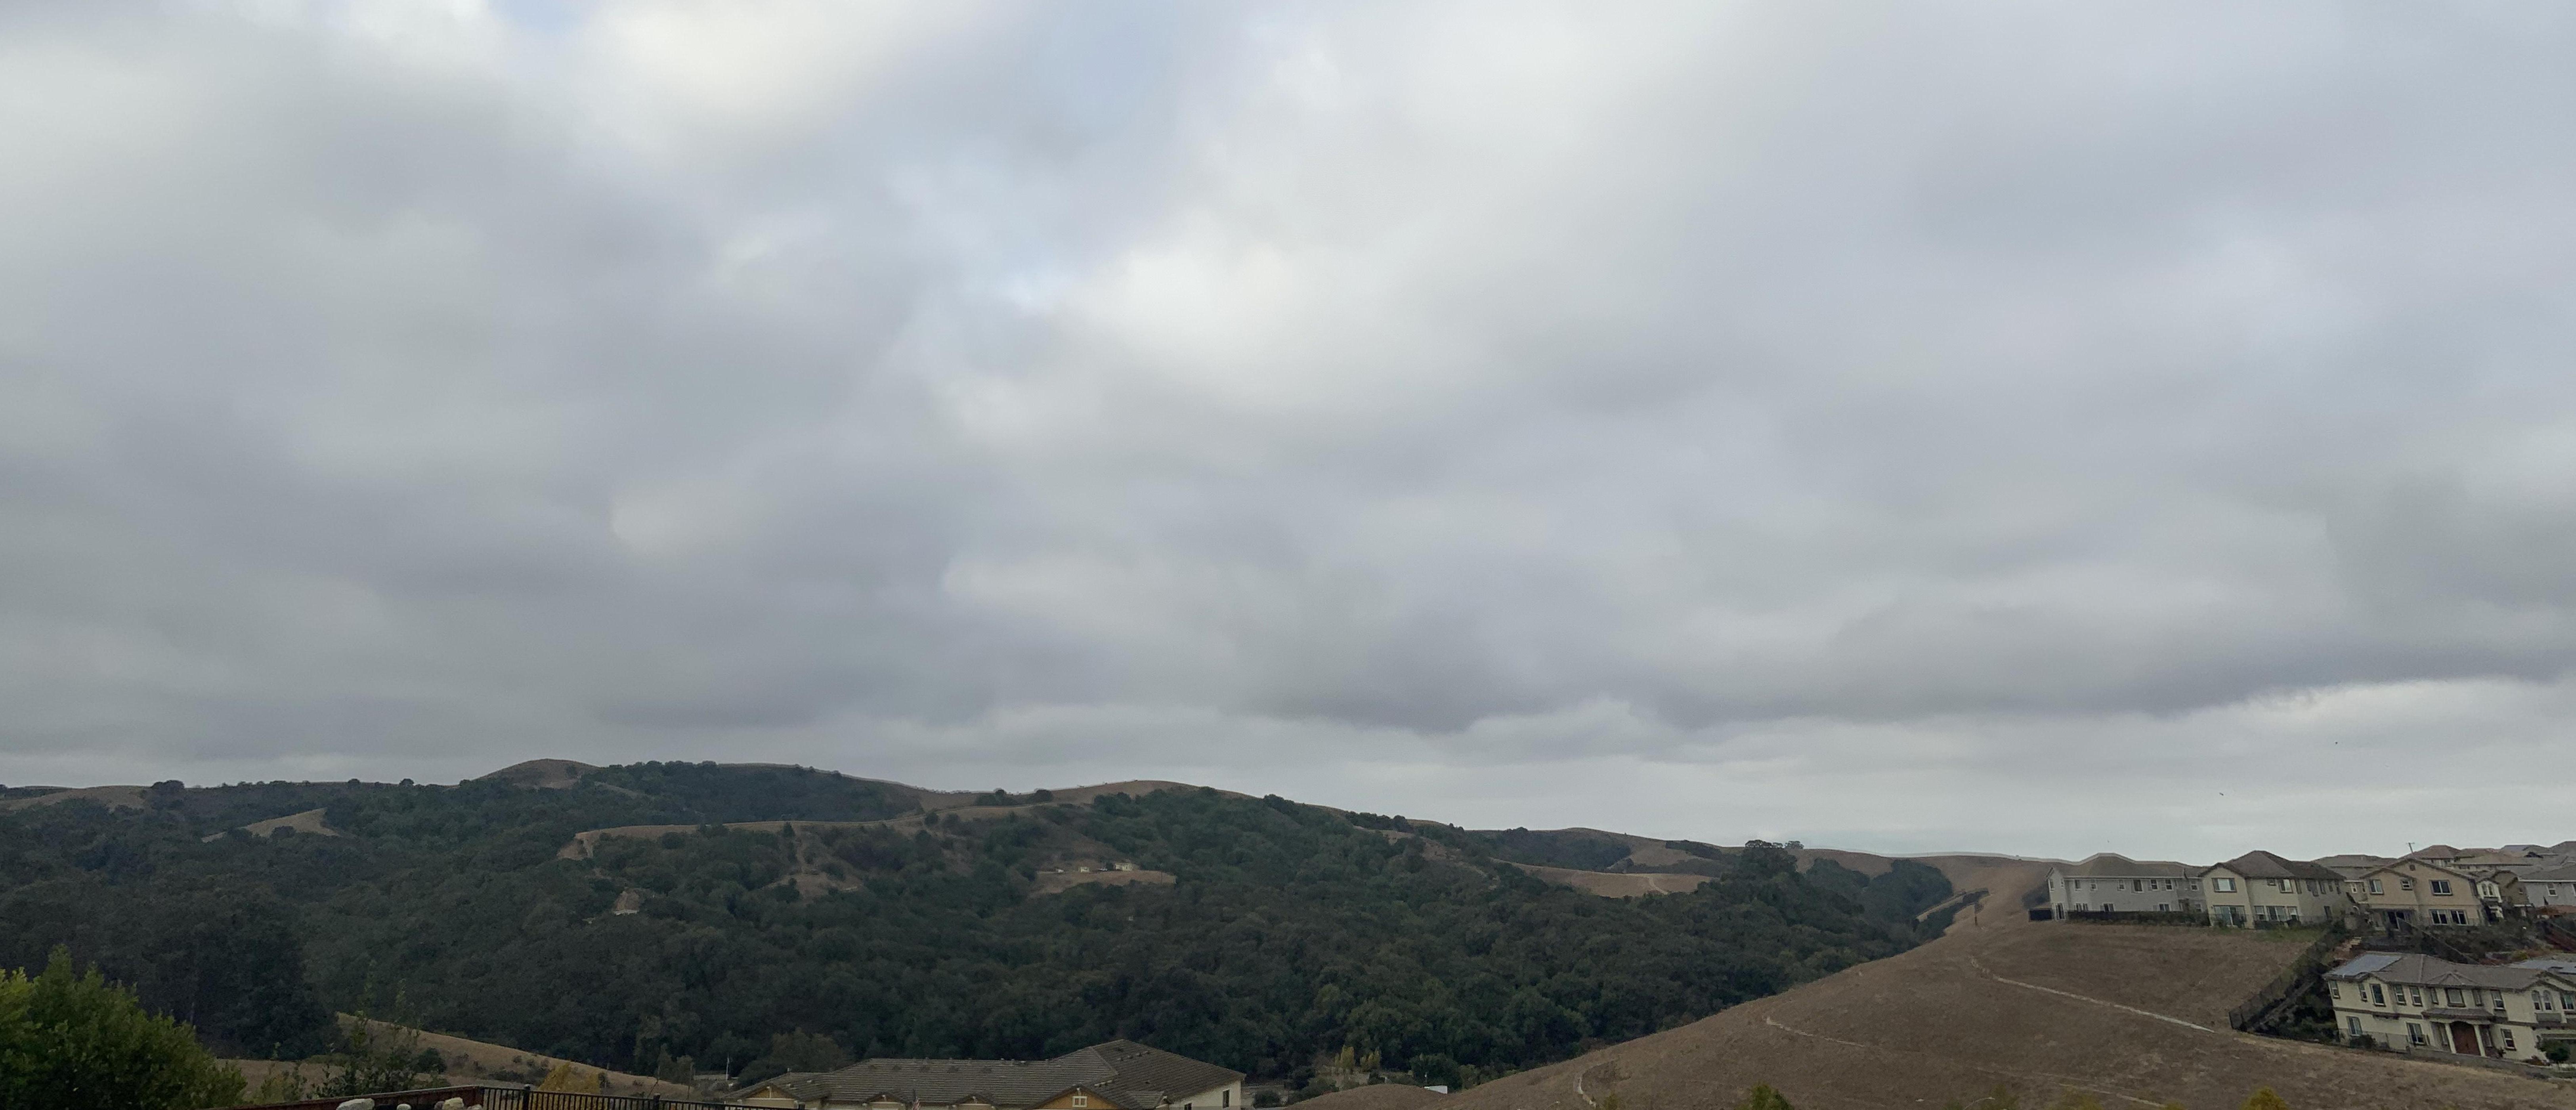
cropped mosaic
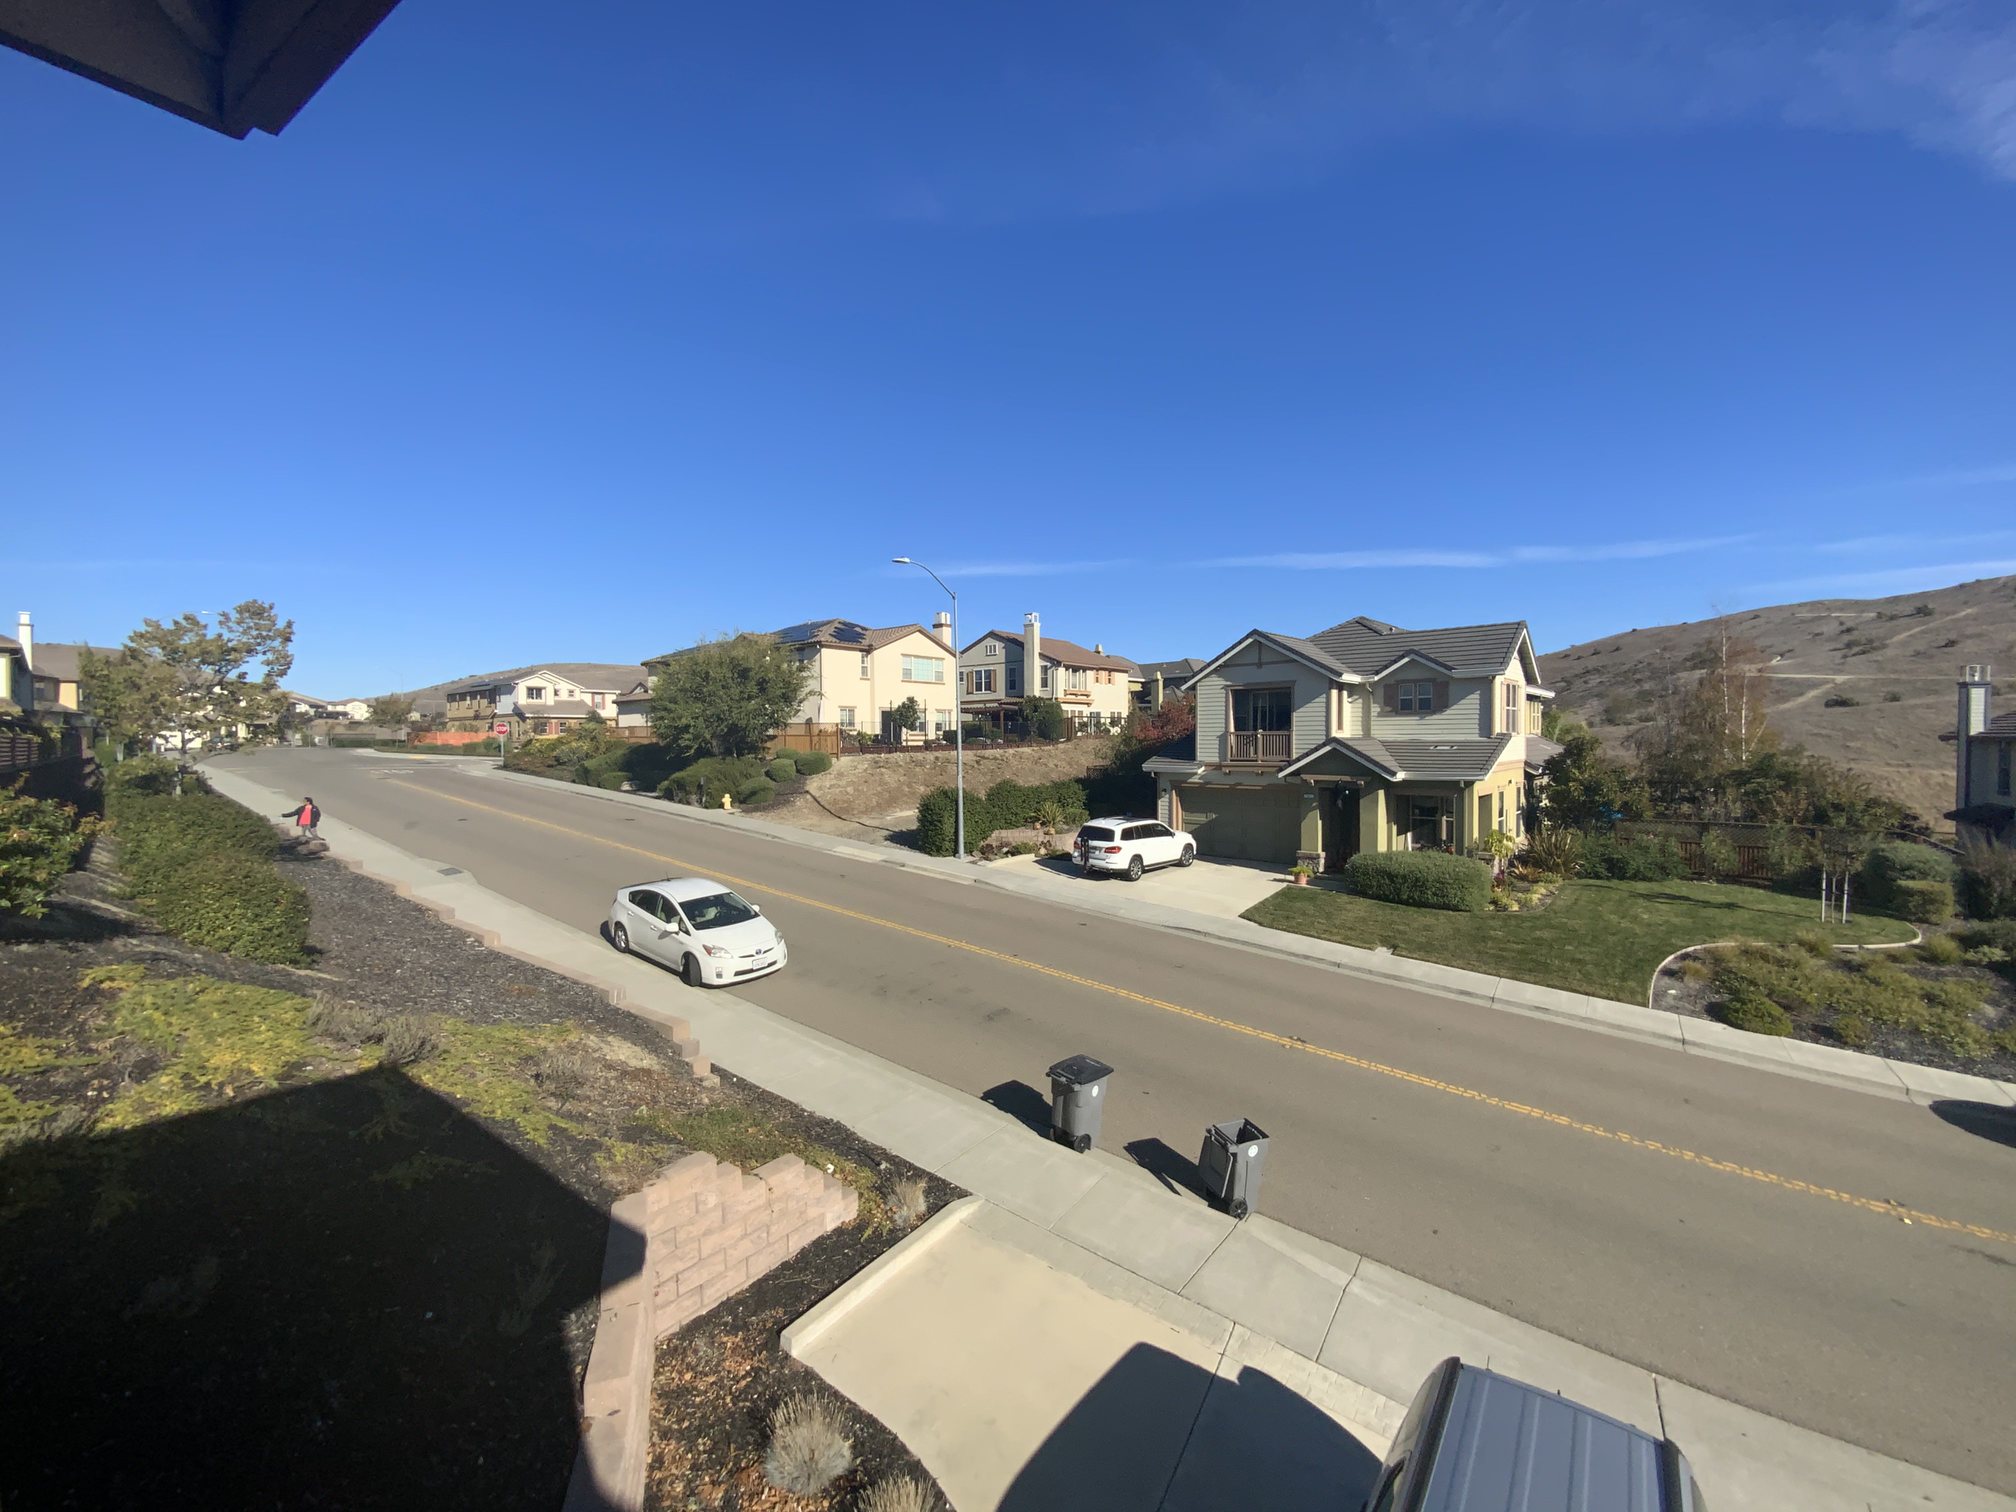
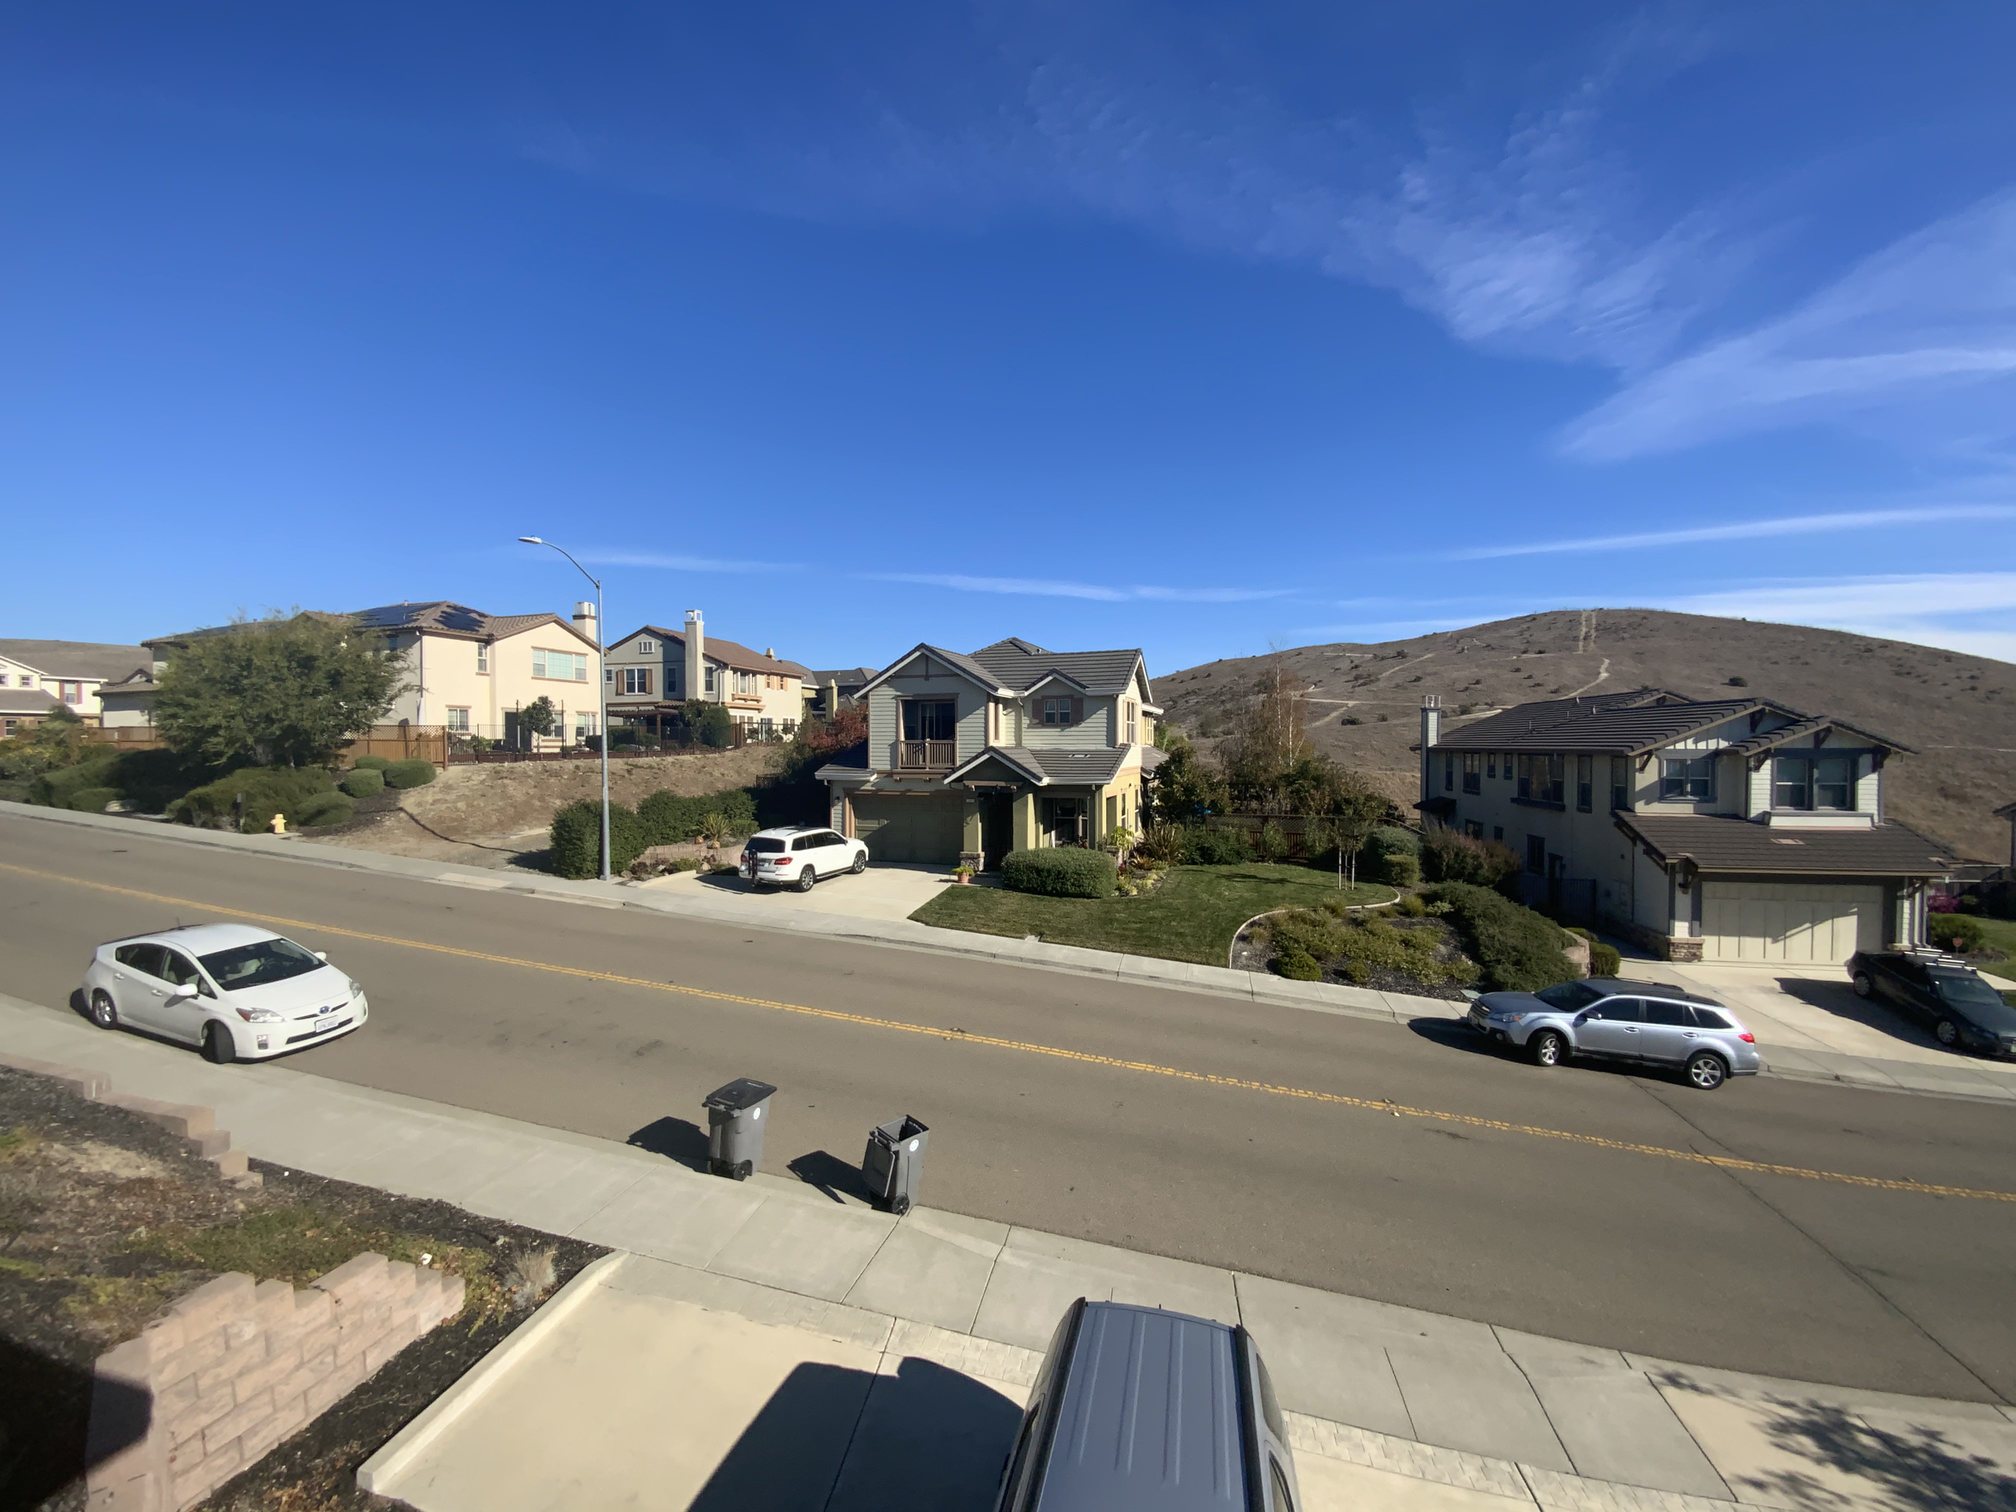
my street
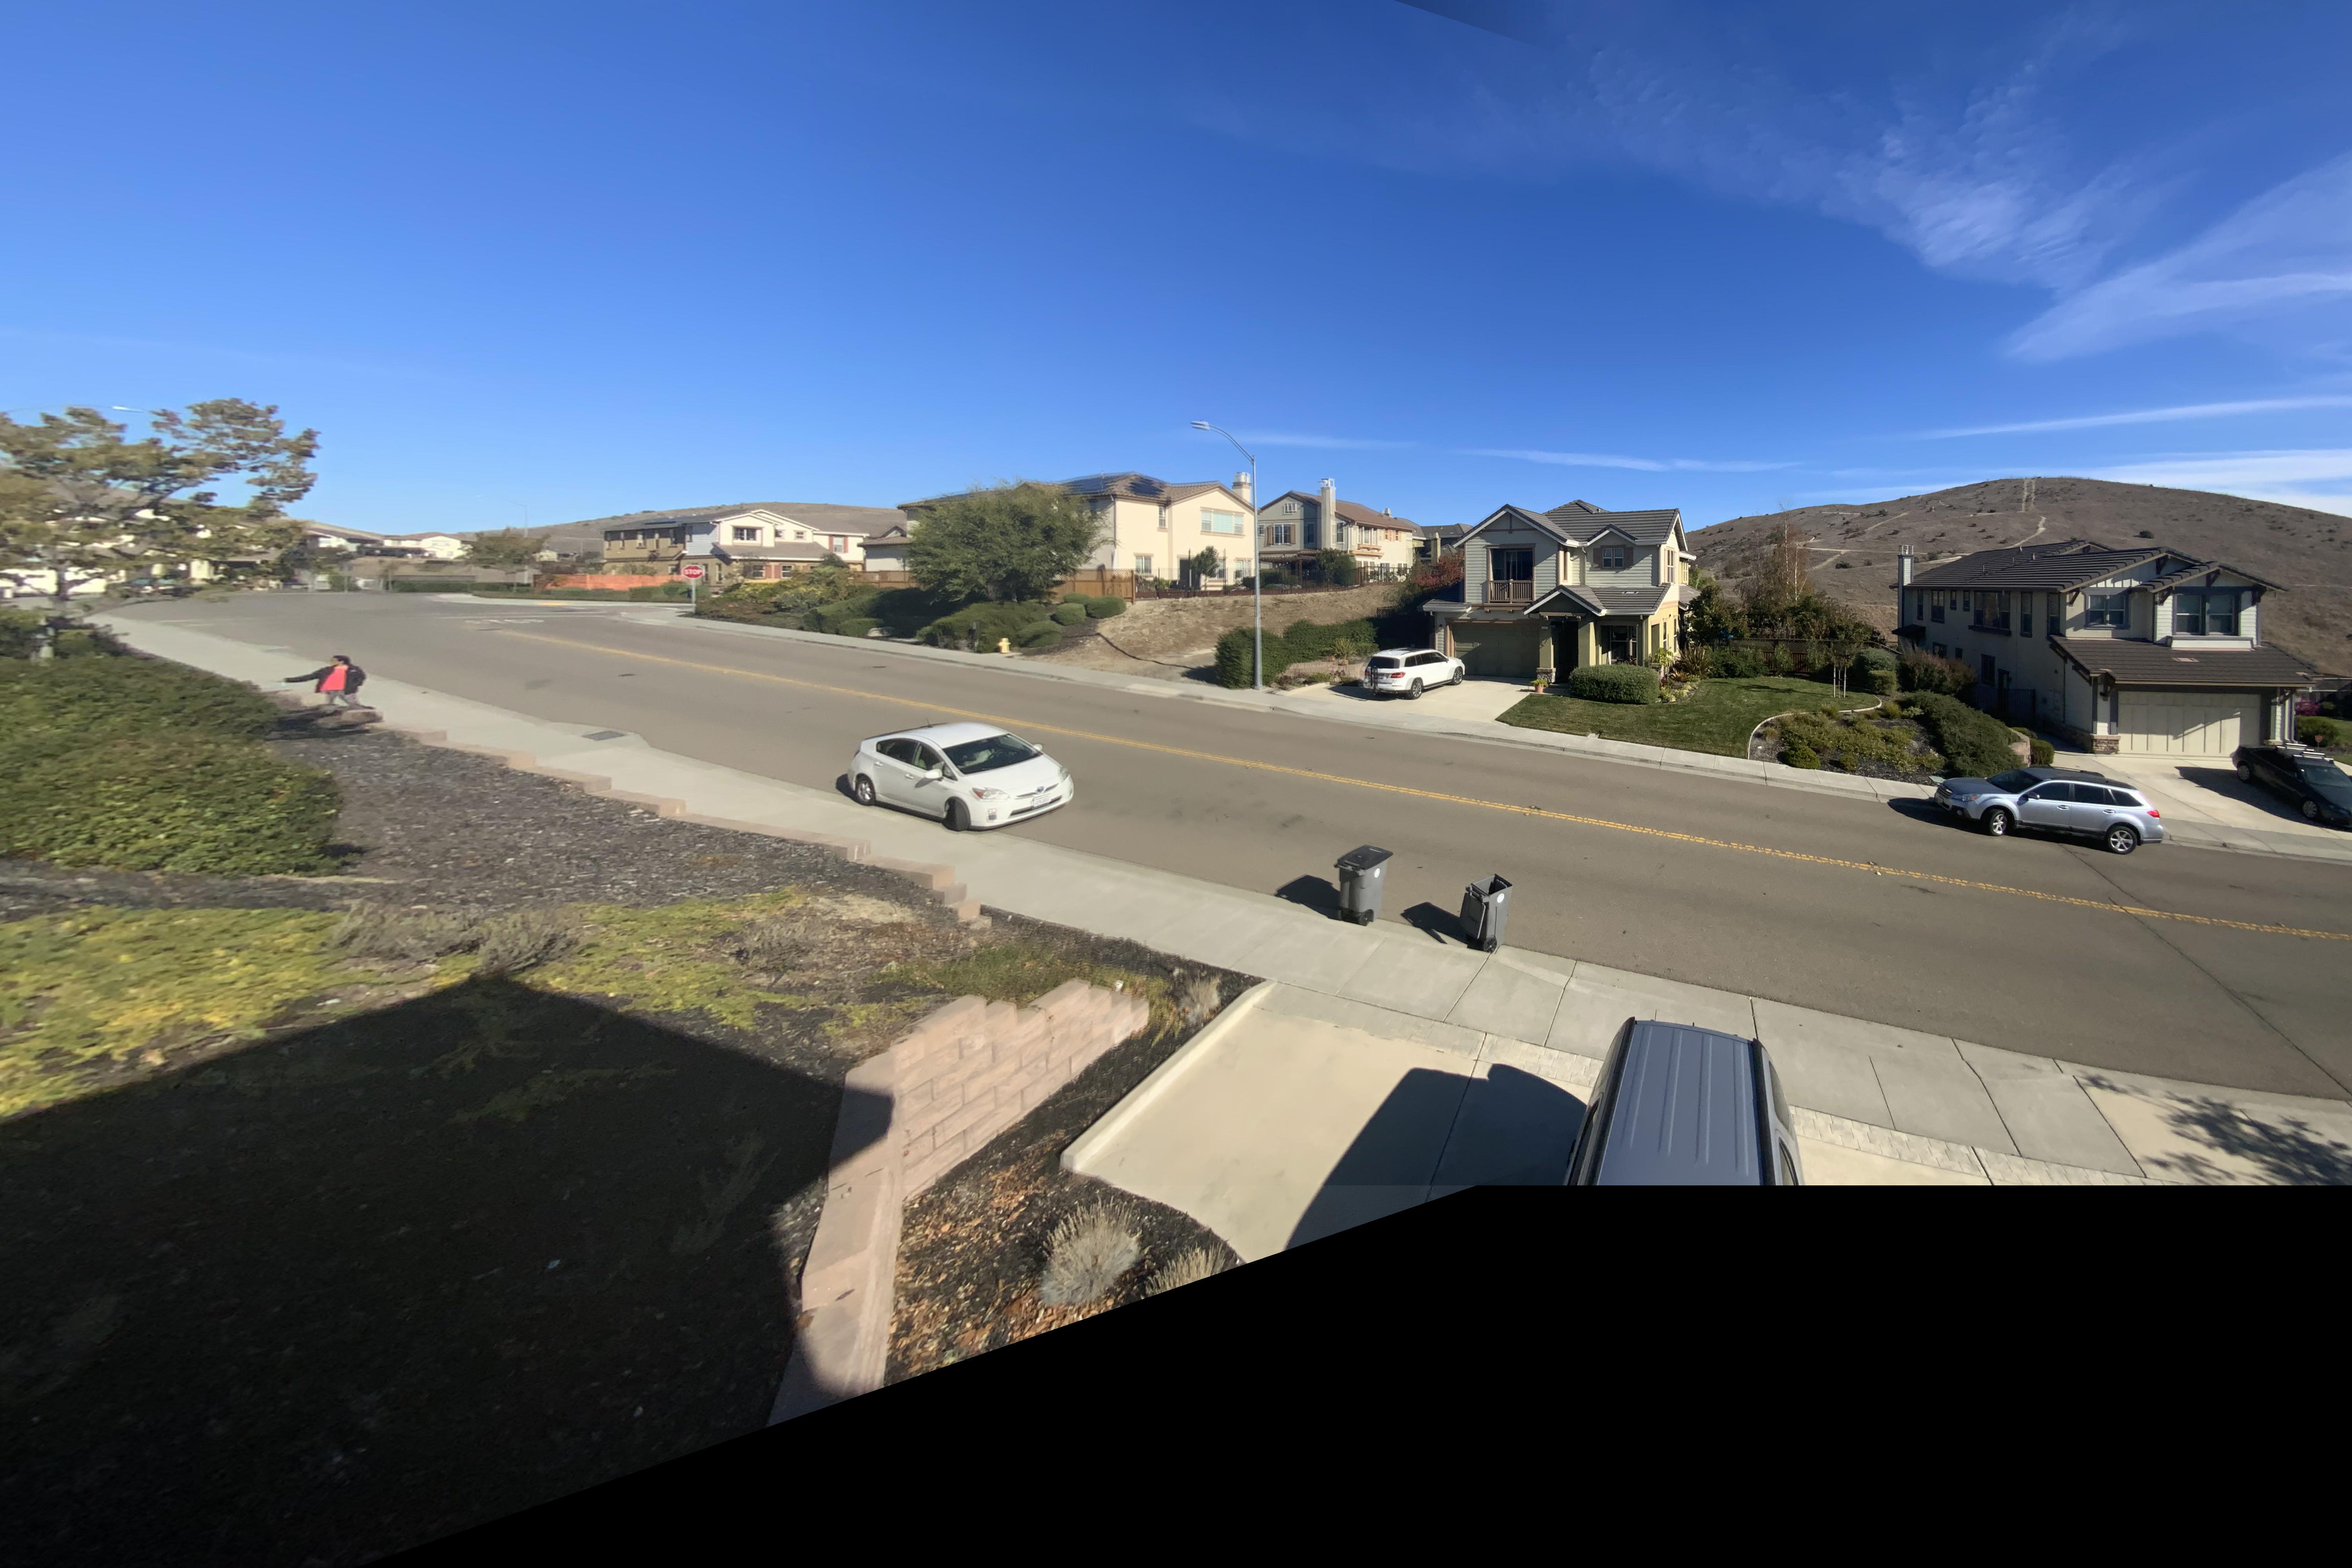
mosaic
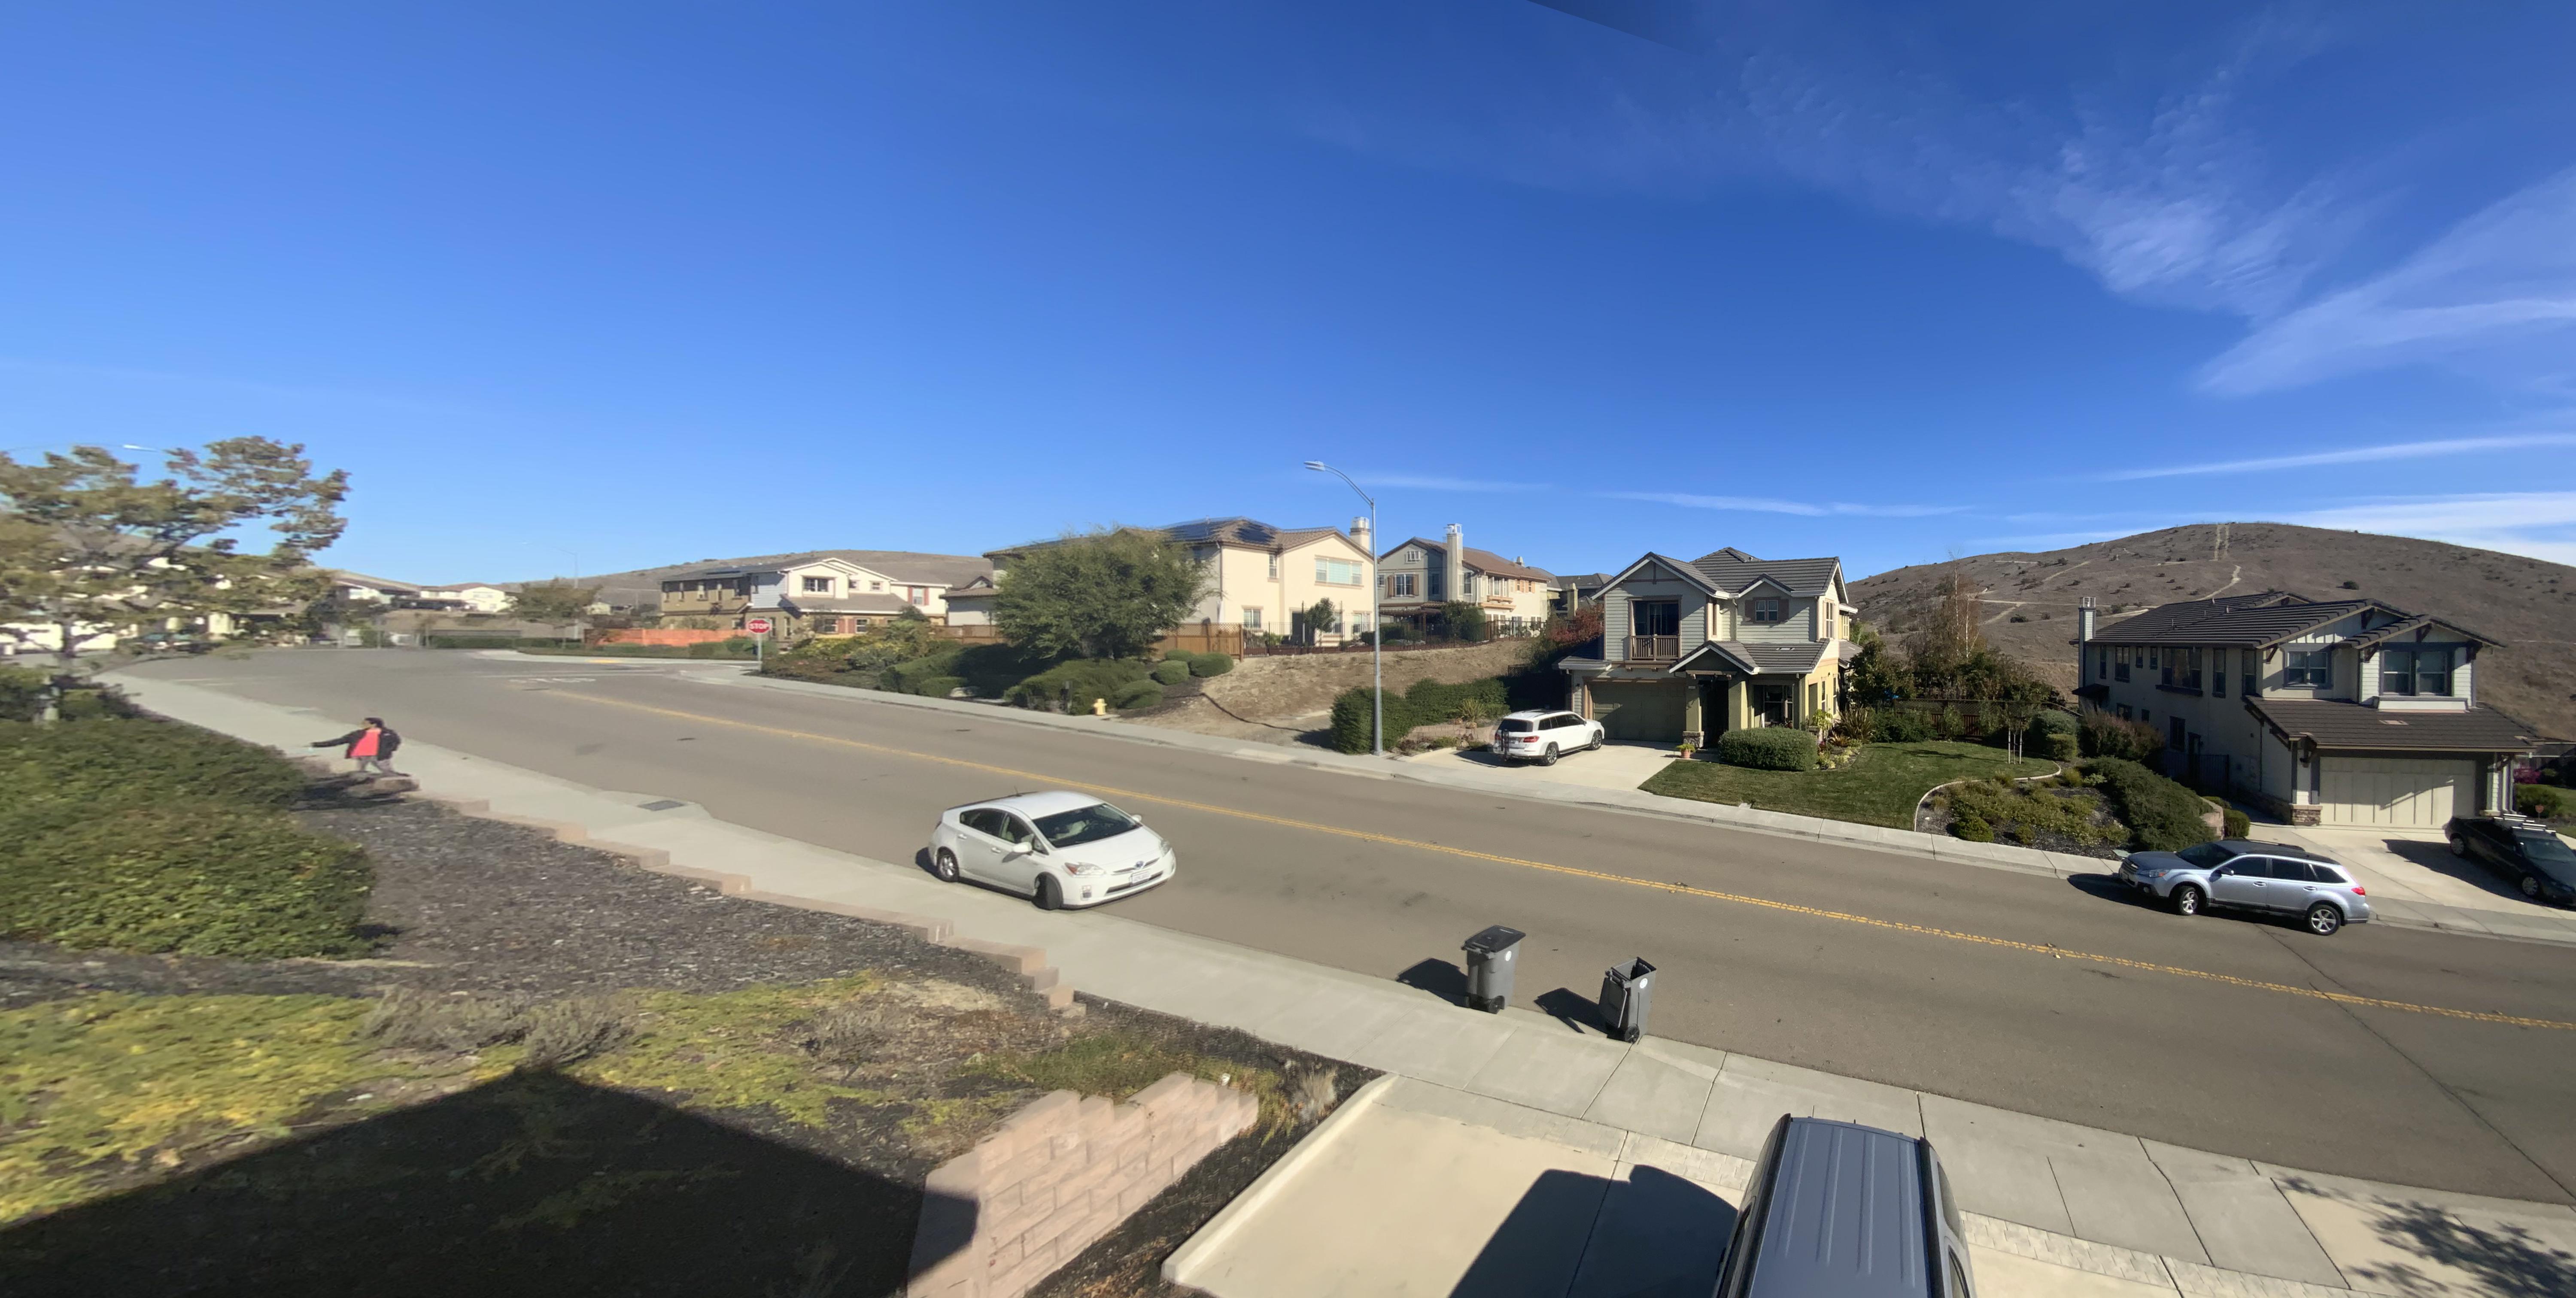
cropped mosaic
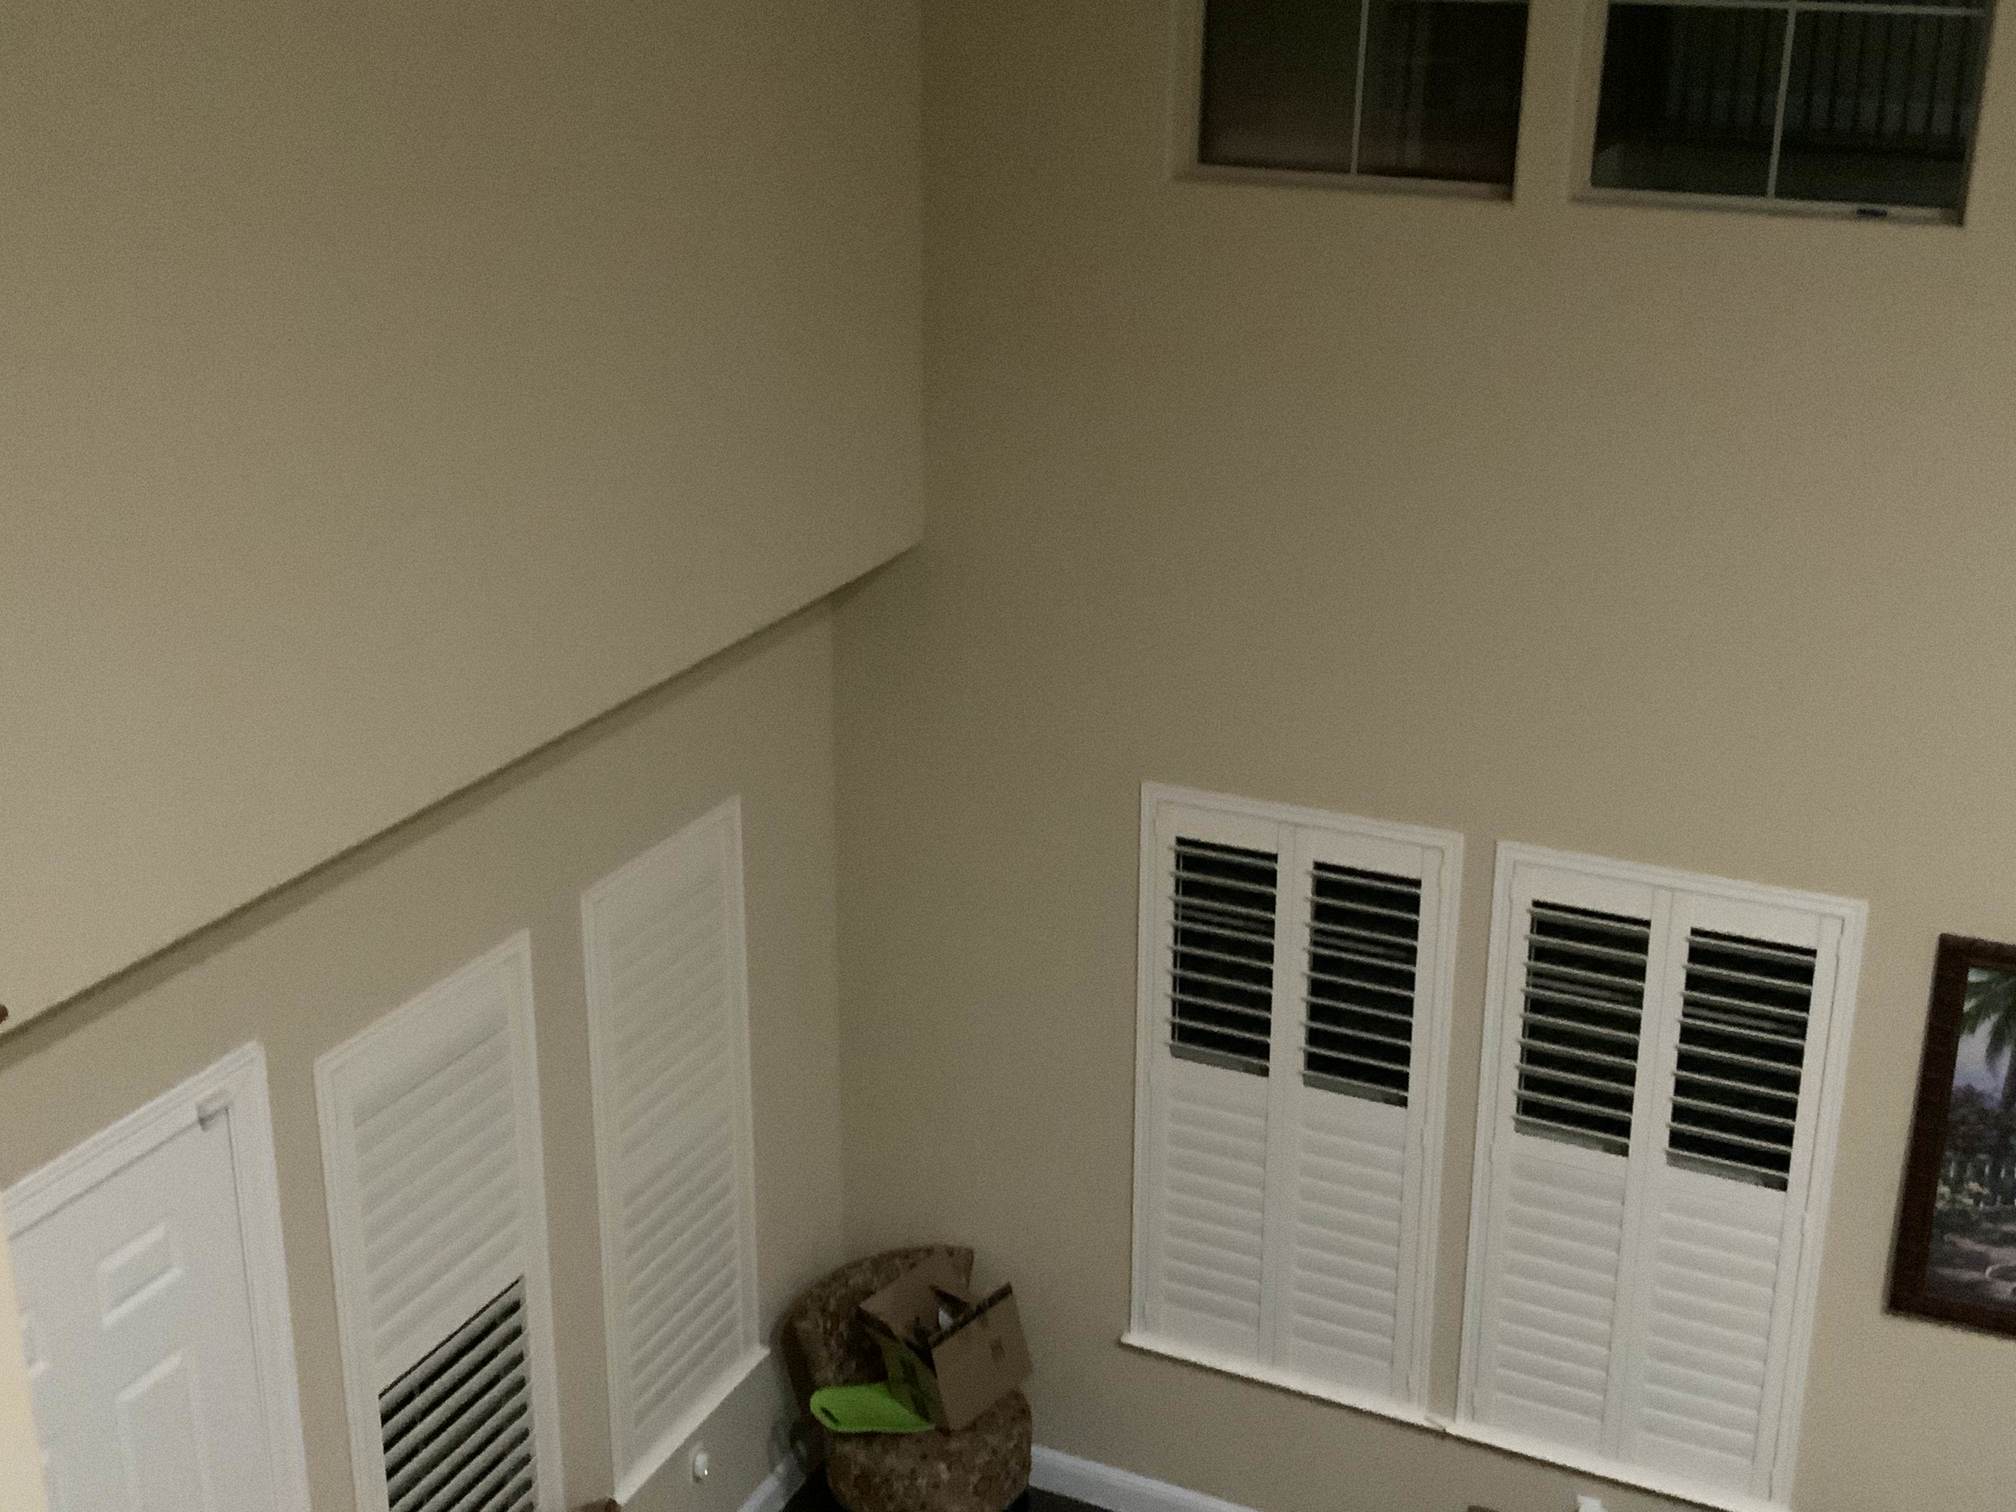
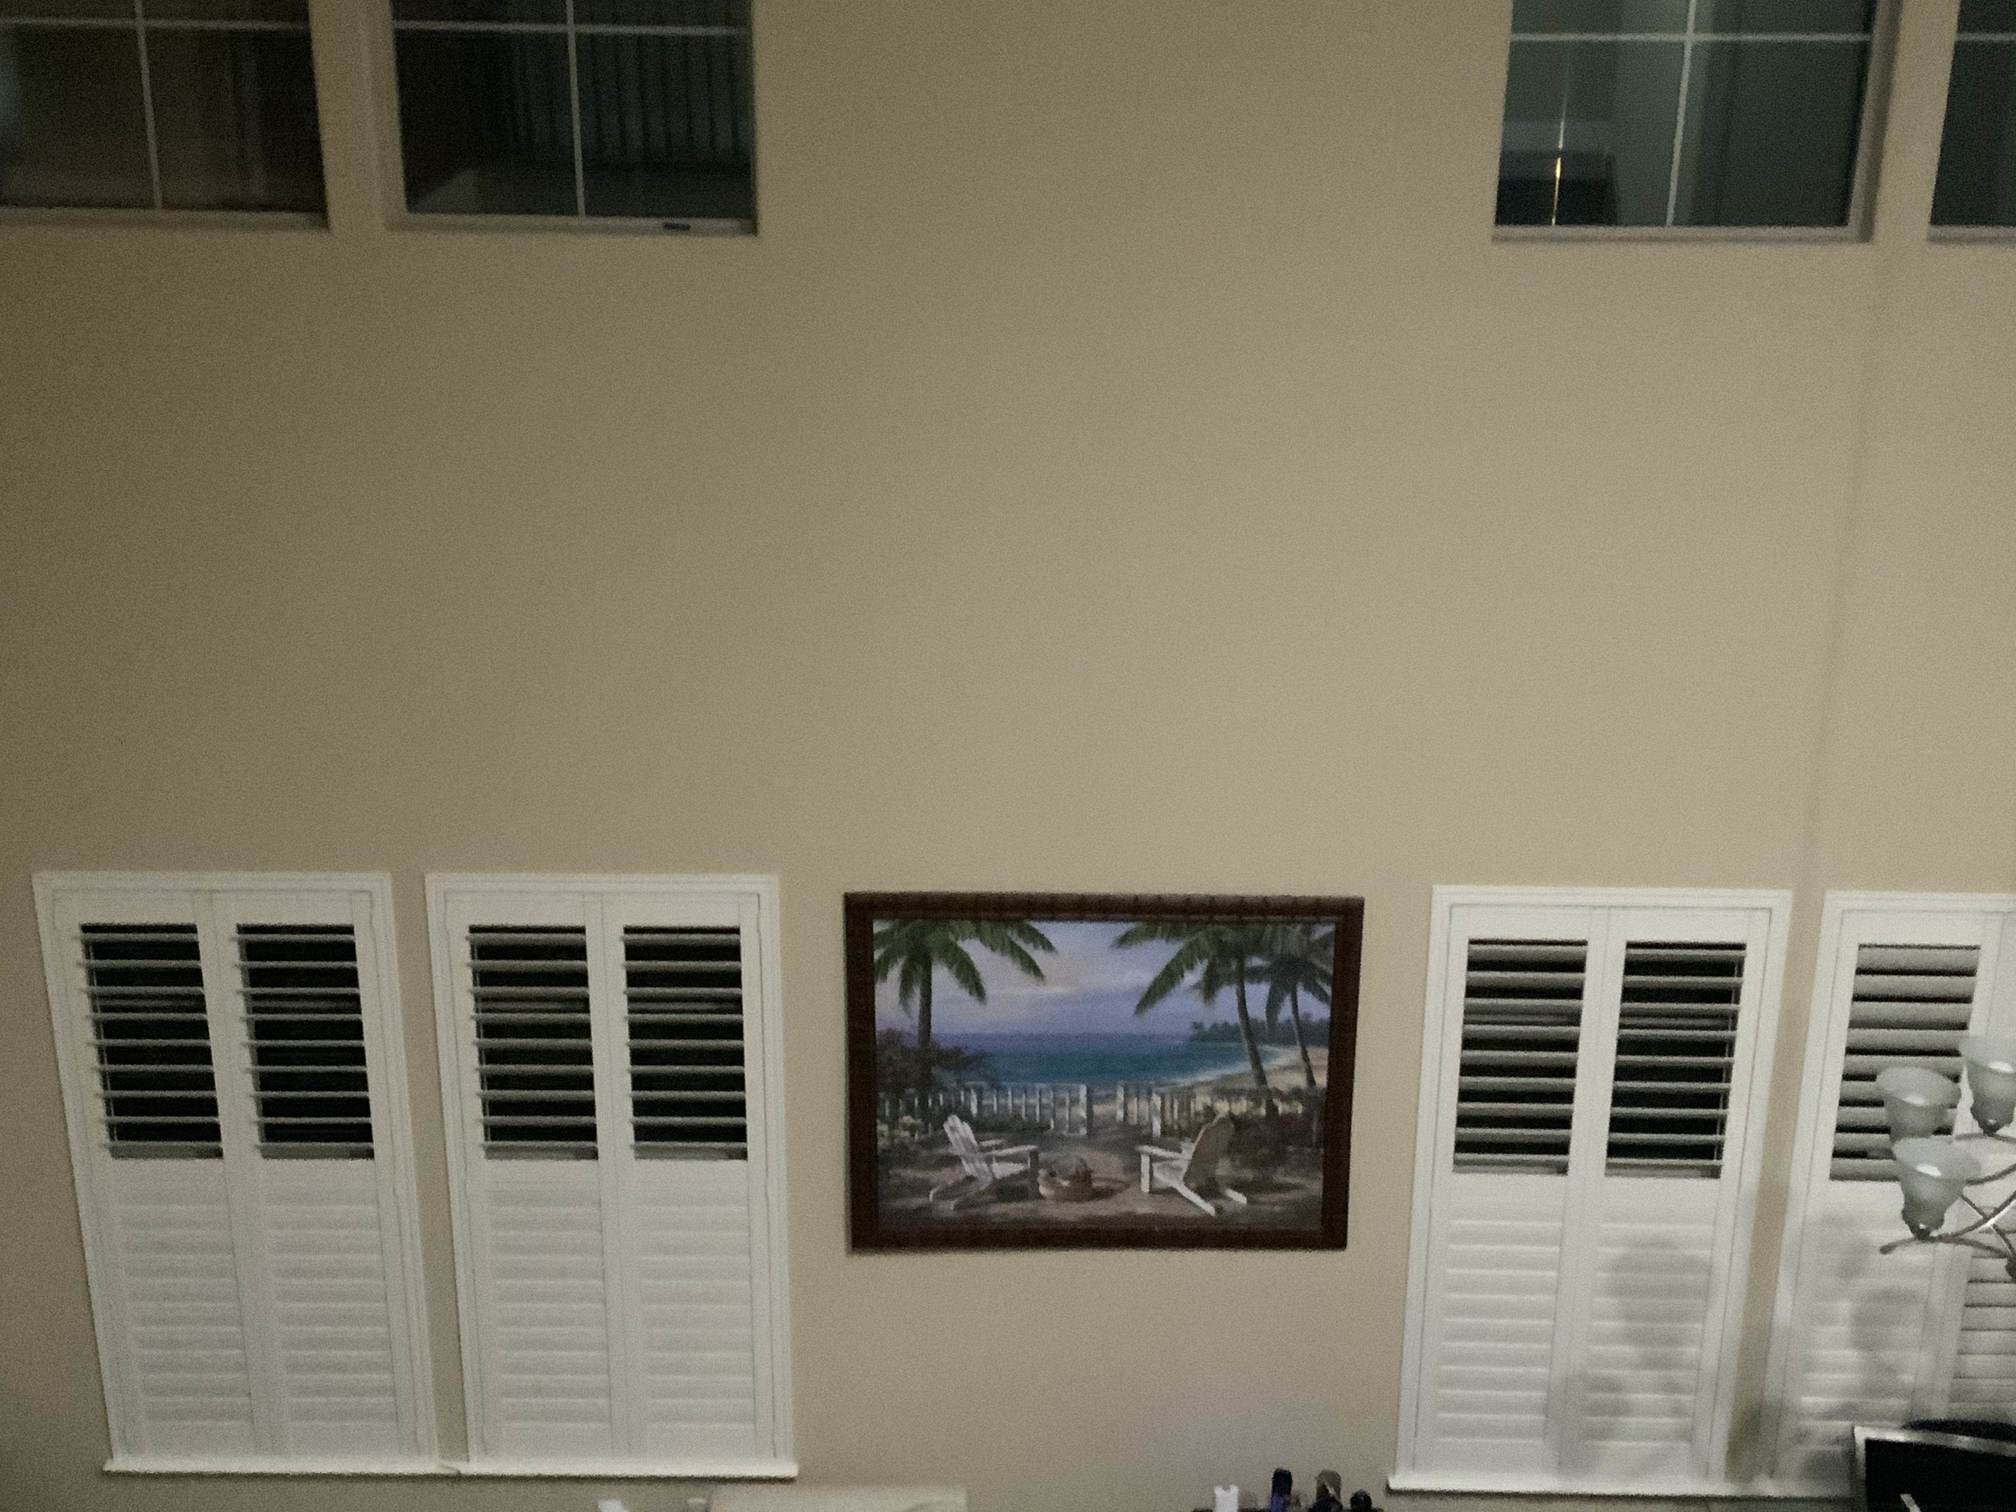
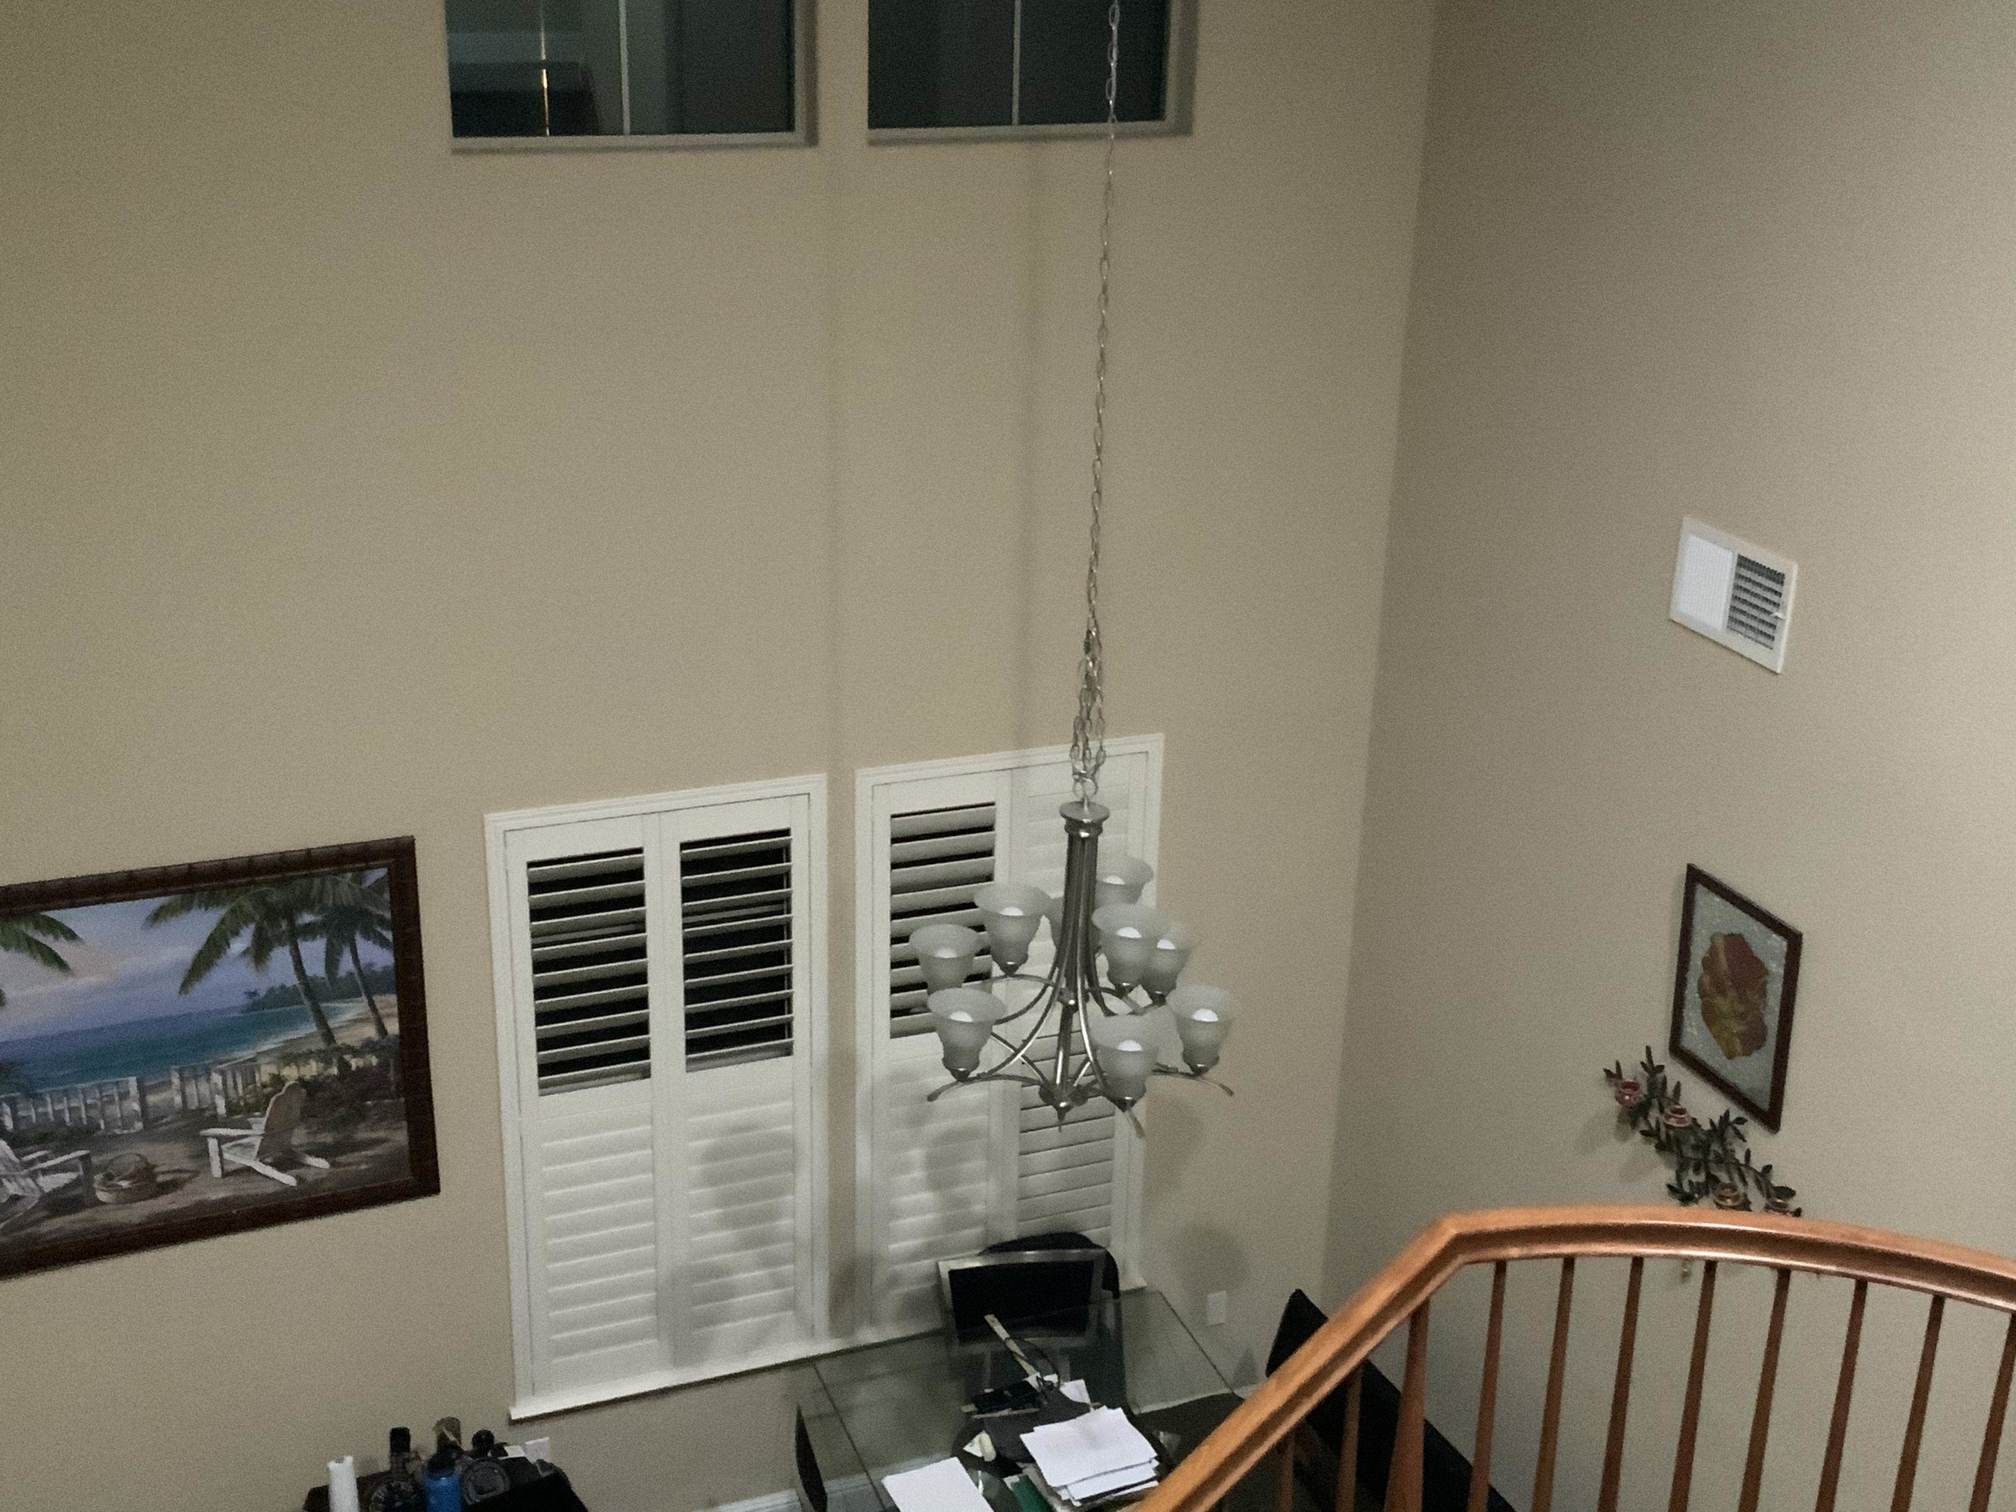
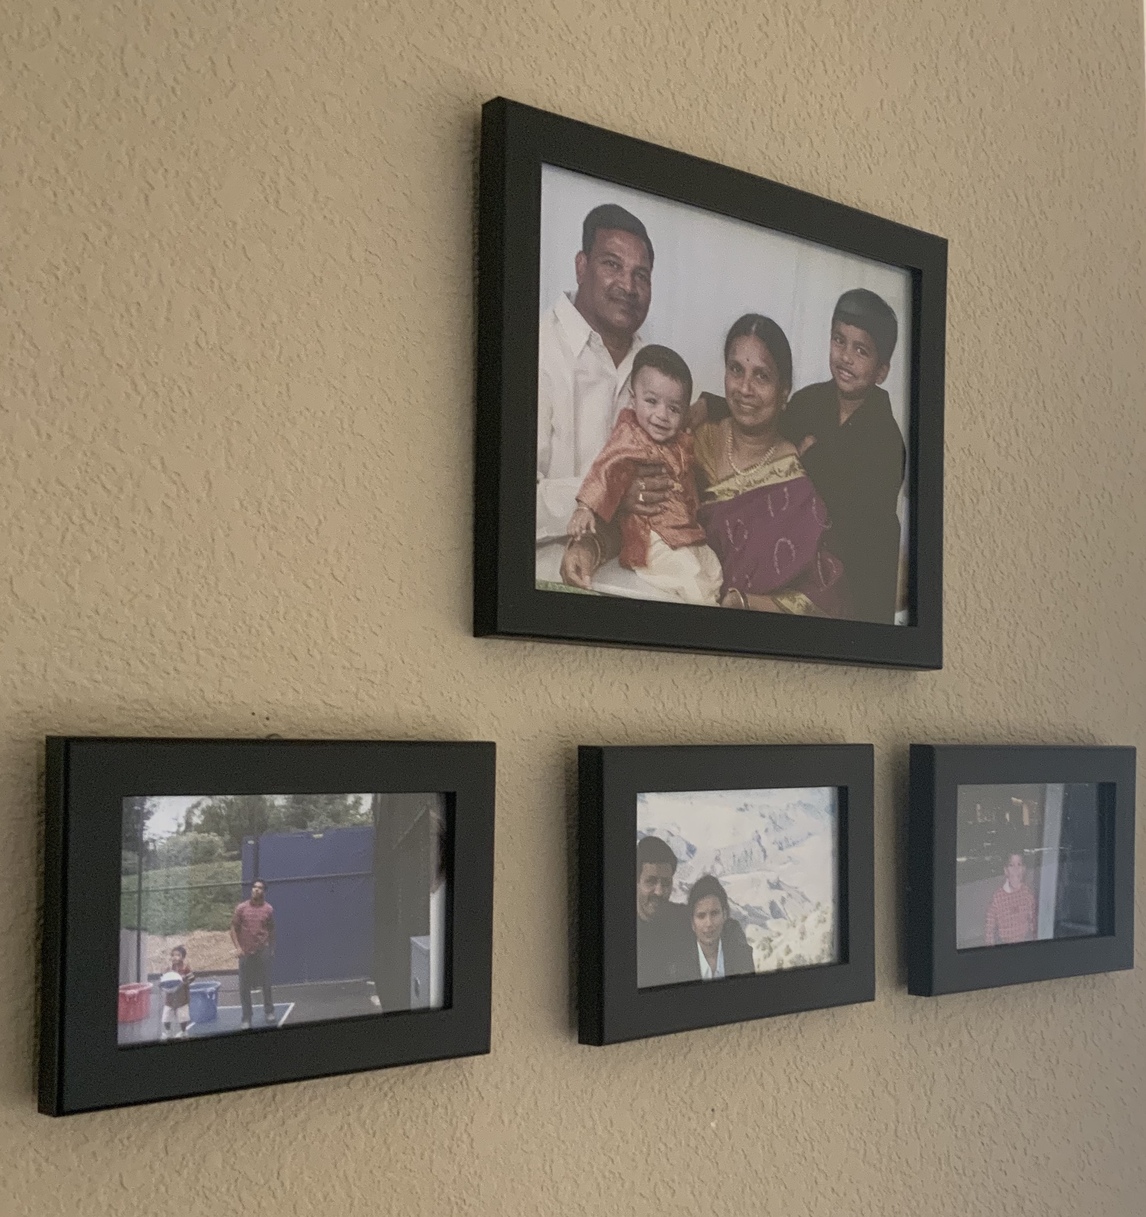
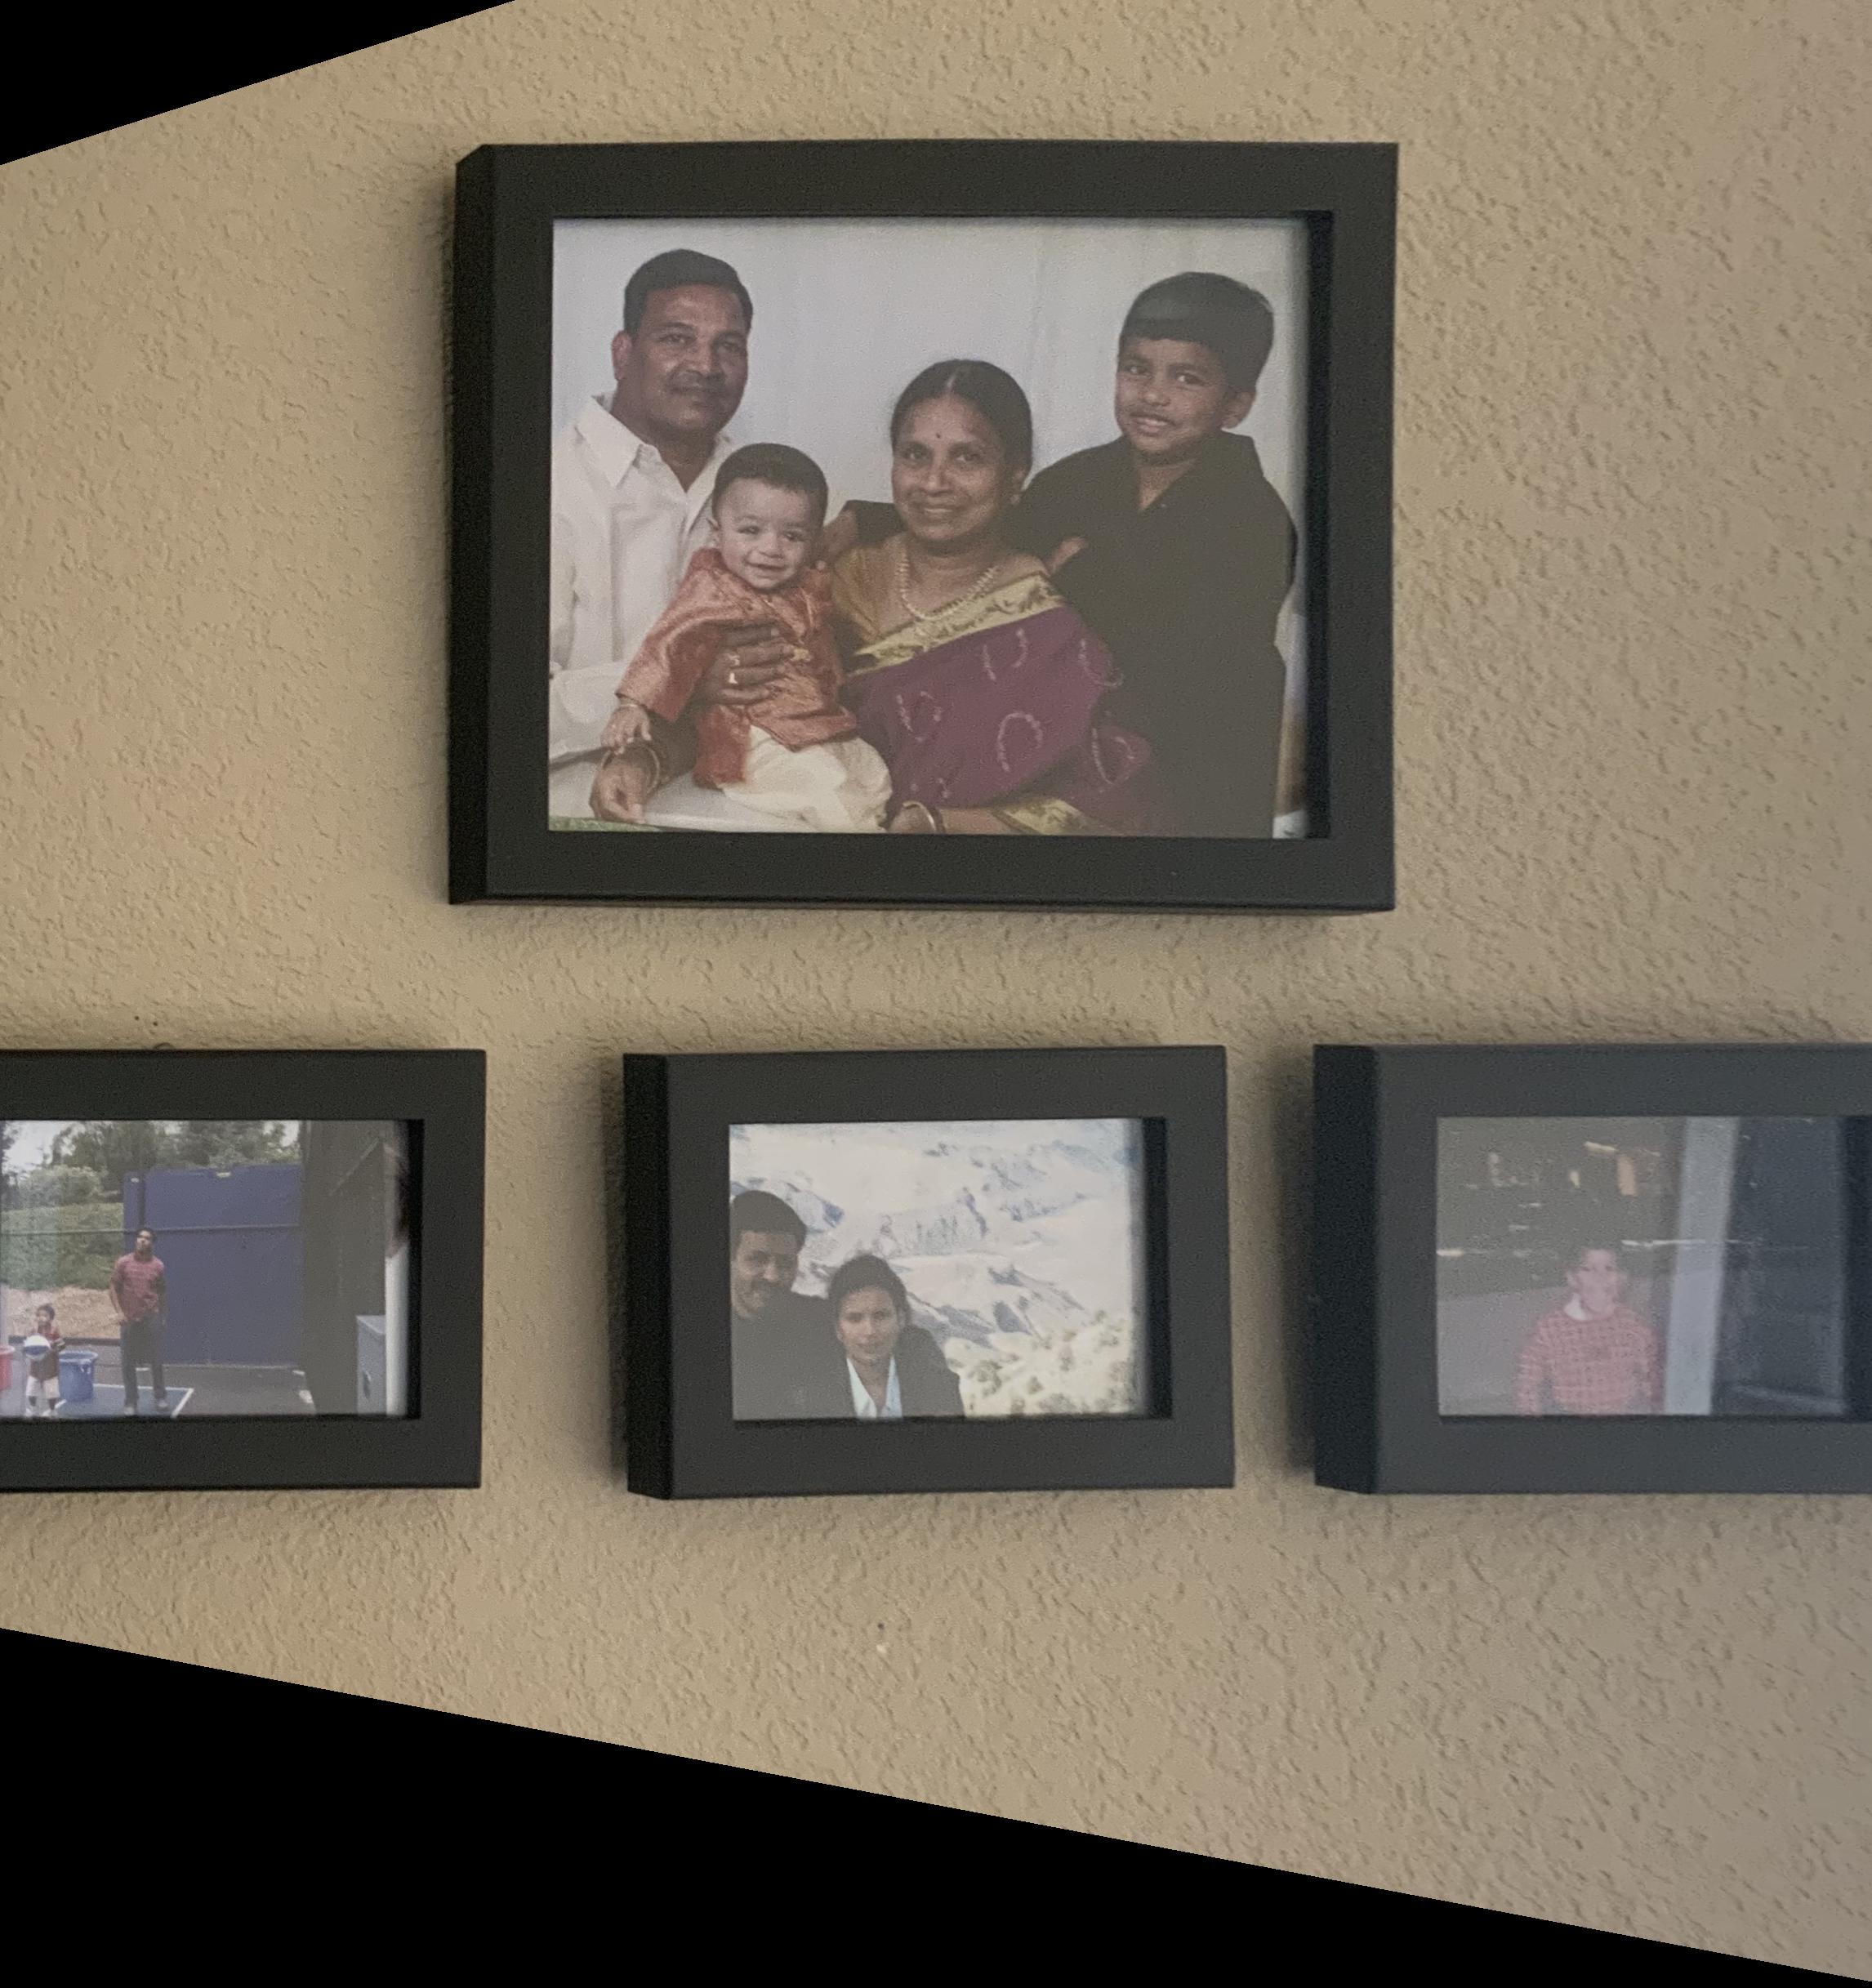
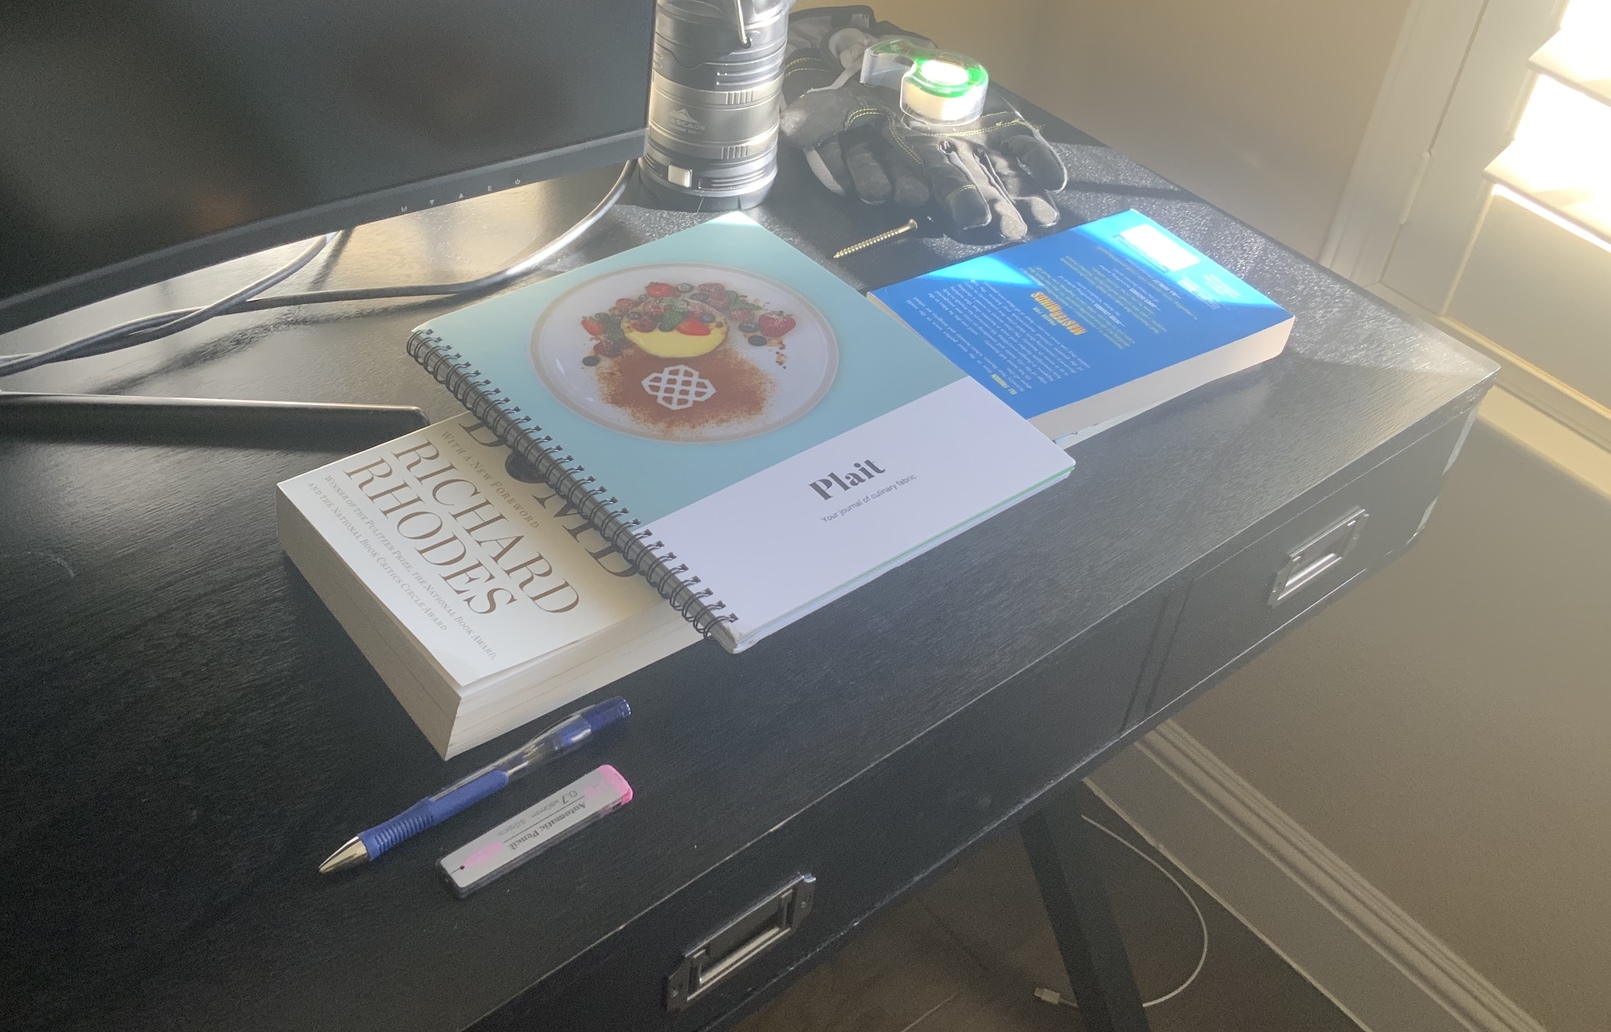
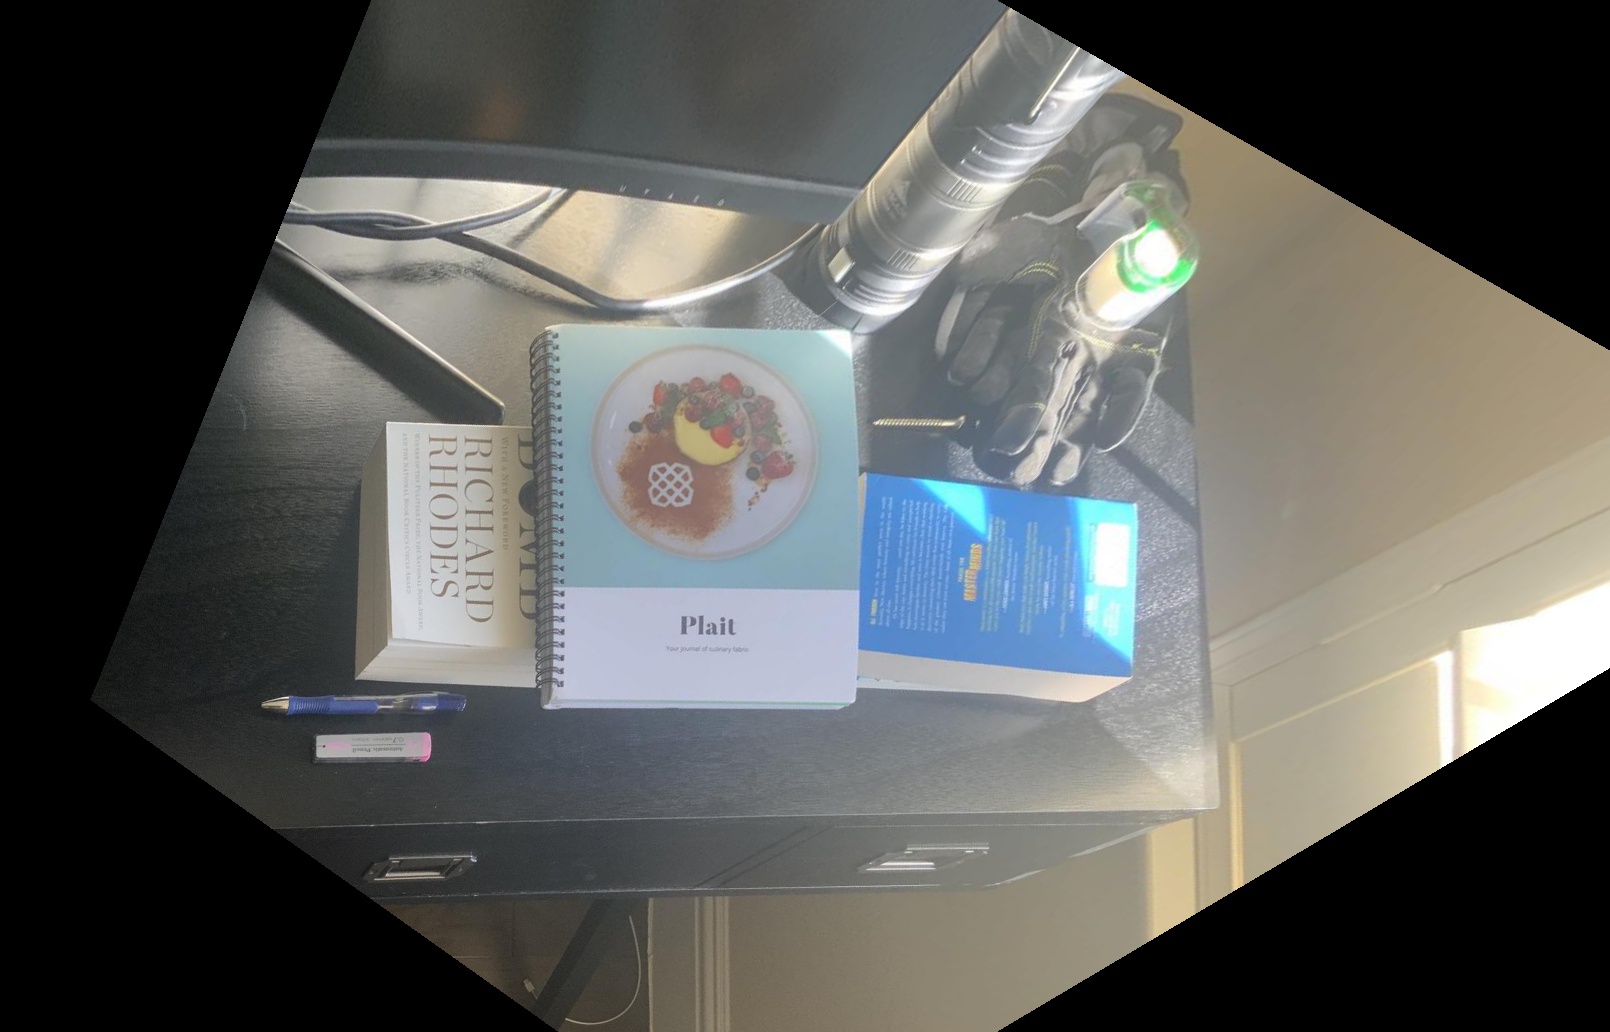
my living room
mosaic
cropped mosaic
Learnings
I think the coolest thing that I learned is that an image has a lot of data encoded in it, more than what is simply visible to the eye. Image rectification really shows this, as
even though the image is only taken from one perspective, it has data on what the image would look like from other perspectives to, which can be recovered using a homography.
Part B
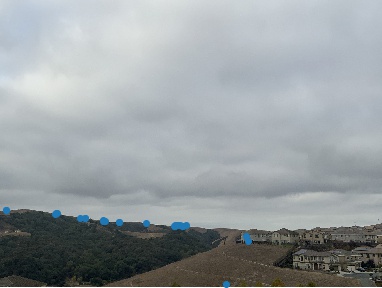
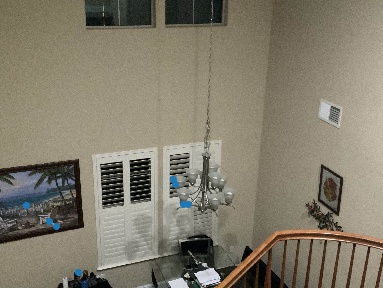
In this part of the project, we build off the previous part's progress in creating image mosaics. In the previous part, correspondances between images needed to be
selected manually. In this part, we take images such as the images below and find correspondances between them automatically to later blend them.
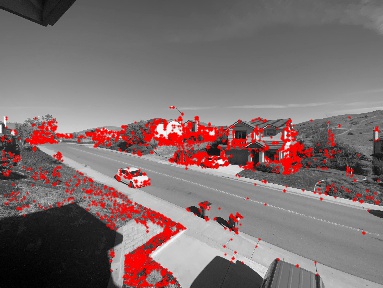
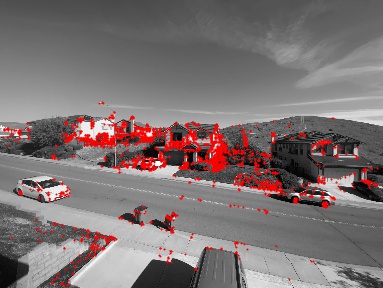
Detect Corner Features
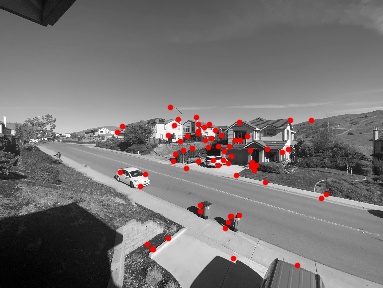
The first step to detect interest points in each of the images that could potentially be correspondances. To do this, we use the Harris point detector. The results of
the detector on the two images is shown below.
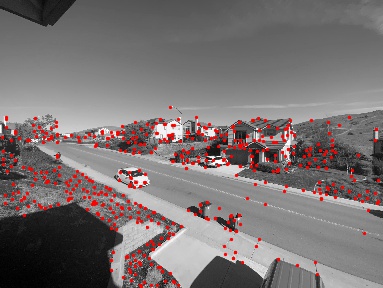
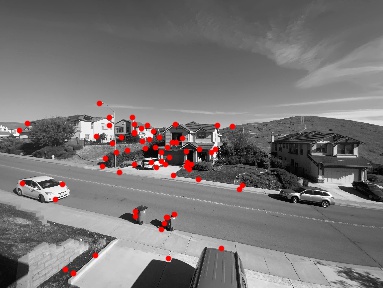
Adaptive Non-Maximal Suppression
As seen above, the amount of harris interest points number in the hundreds or thousands. To filter them, we used a technique called Adaptive Non-Maximal Suppression. This technique
allows us to select the strongest points while also making sure the points we choose are spaced apart. To do this, we first calculate the minimum surpression radius for each point which is equal to the following:

The 500 points with the highest radiuses were chosen. These points for the two images are shown below:
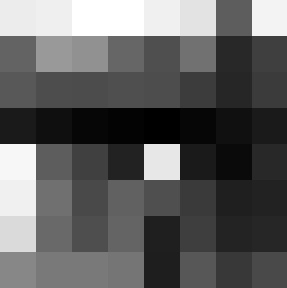
Feature Descriptor Extraction and Matching
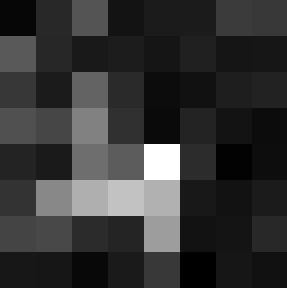
Once the interest points were chosen in each image, we needed to extract a descriptor for each one to match them. This was done by taking a 40x40
window around each point, using a gaussian to blur it, and downsizing it to an 8x8 square. The descriptors for two sample points are shown below:
Once descriptors were calculated for all the points in each image, we could move on to matching. To match, we just found the nearest neighbor(1-NN) in the second image for each descriptor in the first image by
calculating the norm of the difference between descriptors. However, some matches ended up being bad. To figure out which matches were "good", we calculated the following value for each descriptor in the first image: error(1-NN) / error(2-NN),
which is the distance from the first nearest neighbor divided by the distance form the second nearest neighbor in the second image.
We only kept the matches that had a value that was less than a certain threshold(e.g. .5). This ensured that not only were
the descriptors a strong match, but that all the other descriptors in the second image were much farther. The matched features for the two images are shown below:
RANSAC
To ensure that there are no outliers in our correspondances, we used a technique called RANSAC to further filter the points. The steps of the RANSAC loop are as follows:
- Select four random pairs of points
- Compute the homography
- Compute inliers where SSD(p’, H(p))) < epsilon
- Keep track of largest set of inliers
After doing serveral hundred iterations of the loop, I only kept the points in the largest set of inliers. The final
set of points for the two images are shown below
Here are the results for the other pairs of image used to make the mosaics below:
Blend Images into Mosaic
Using the correspondances that were automatically generated, we can blend the images into a mosaic in the same way we did in Part A of the project. Here are the results for a few set of images, showing the source
images, the mosaic created by manually choosing correspondances, and the mosaic created by using the correspondances that were automatically generated.
my street
The point detector was very successful for these images as shown above. This led to the auto-stiched mosaic to mimic the manually-stiched mosaic nearly identically.
automatic mosaic
manual mosaic
view from my backyard
The point detector was successful for these images. This led to the auto-stiched mosaic to mimic the manually-stiched mosaic very closely, with the only noticeable
difference being the orientation of the right most image.
automatic mosaic
manual mosaic
my living room
The point detector worked fairly well for these images. This led to the auto-stiched mosaic to mimic the manually-stiched mosaic pretty closely. However due to the lack
of distinct features in the overlap(a lot of the items in the images are duplicated such as the windows), only a few strong correspondances were found. This led to some artifacts
like a blurry chair at the table in the auto-stiched image.

automatic mosaic
manual mosaic
Learnings
I think my largest takeaway was that it's possible to have automatic processes without training a model. Often times, tasks like these are thrown at a neural net,
but simply using existing tools and no ML worked well for feature matching.