In part of the project, I took three photos and implemented programs to recover homograhies, warp the images, rectify the images, and blend the images into a mosaic.
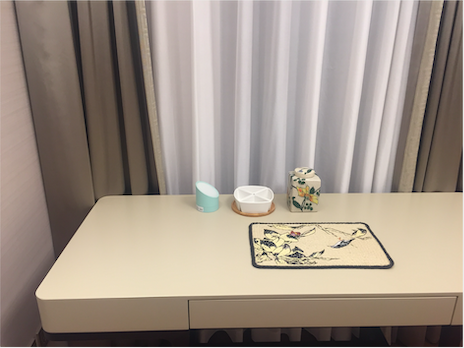
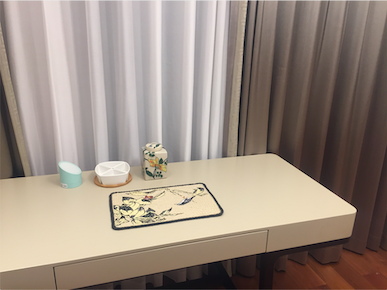
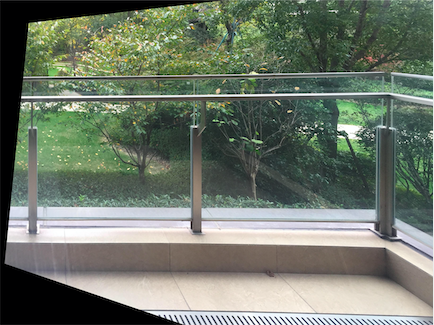
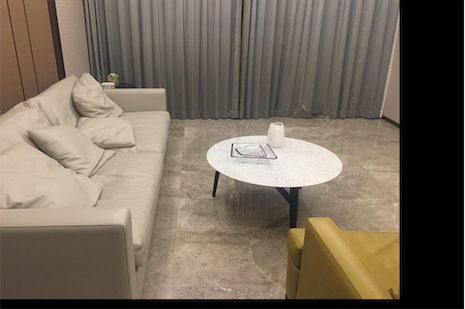
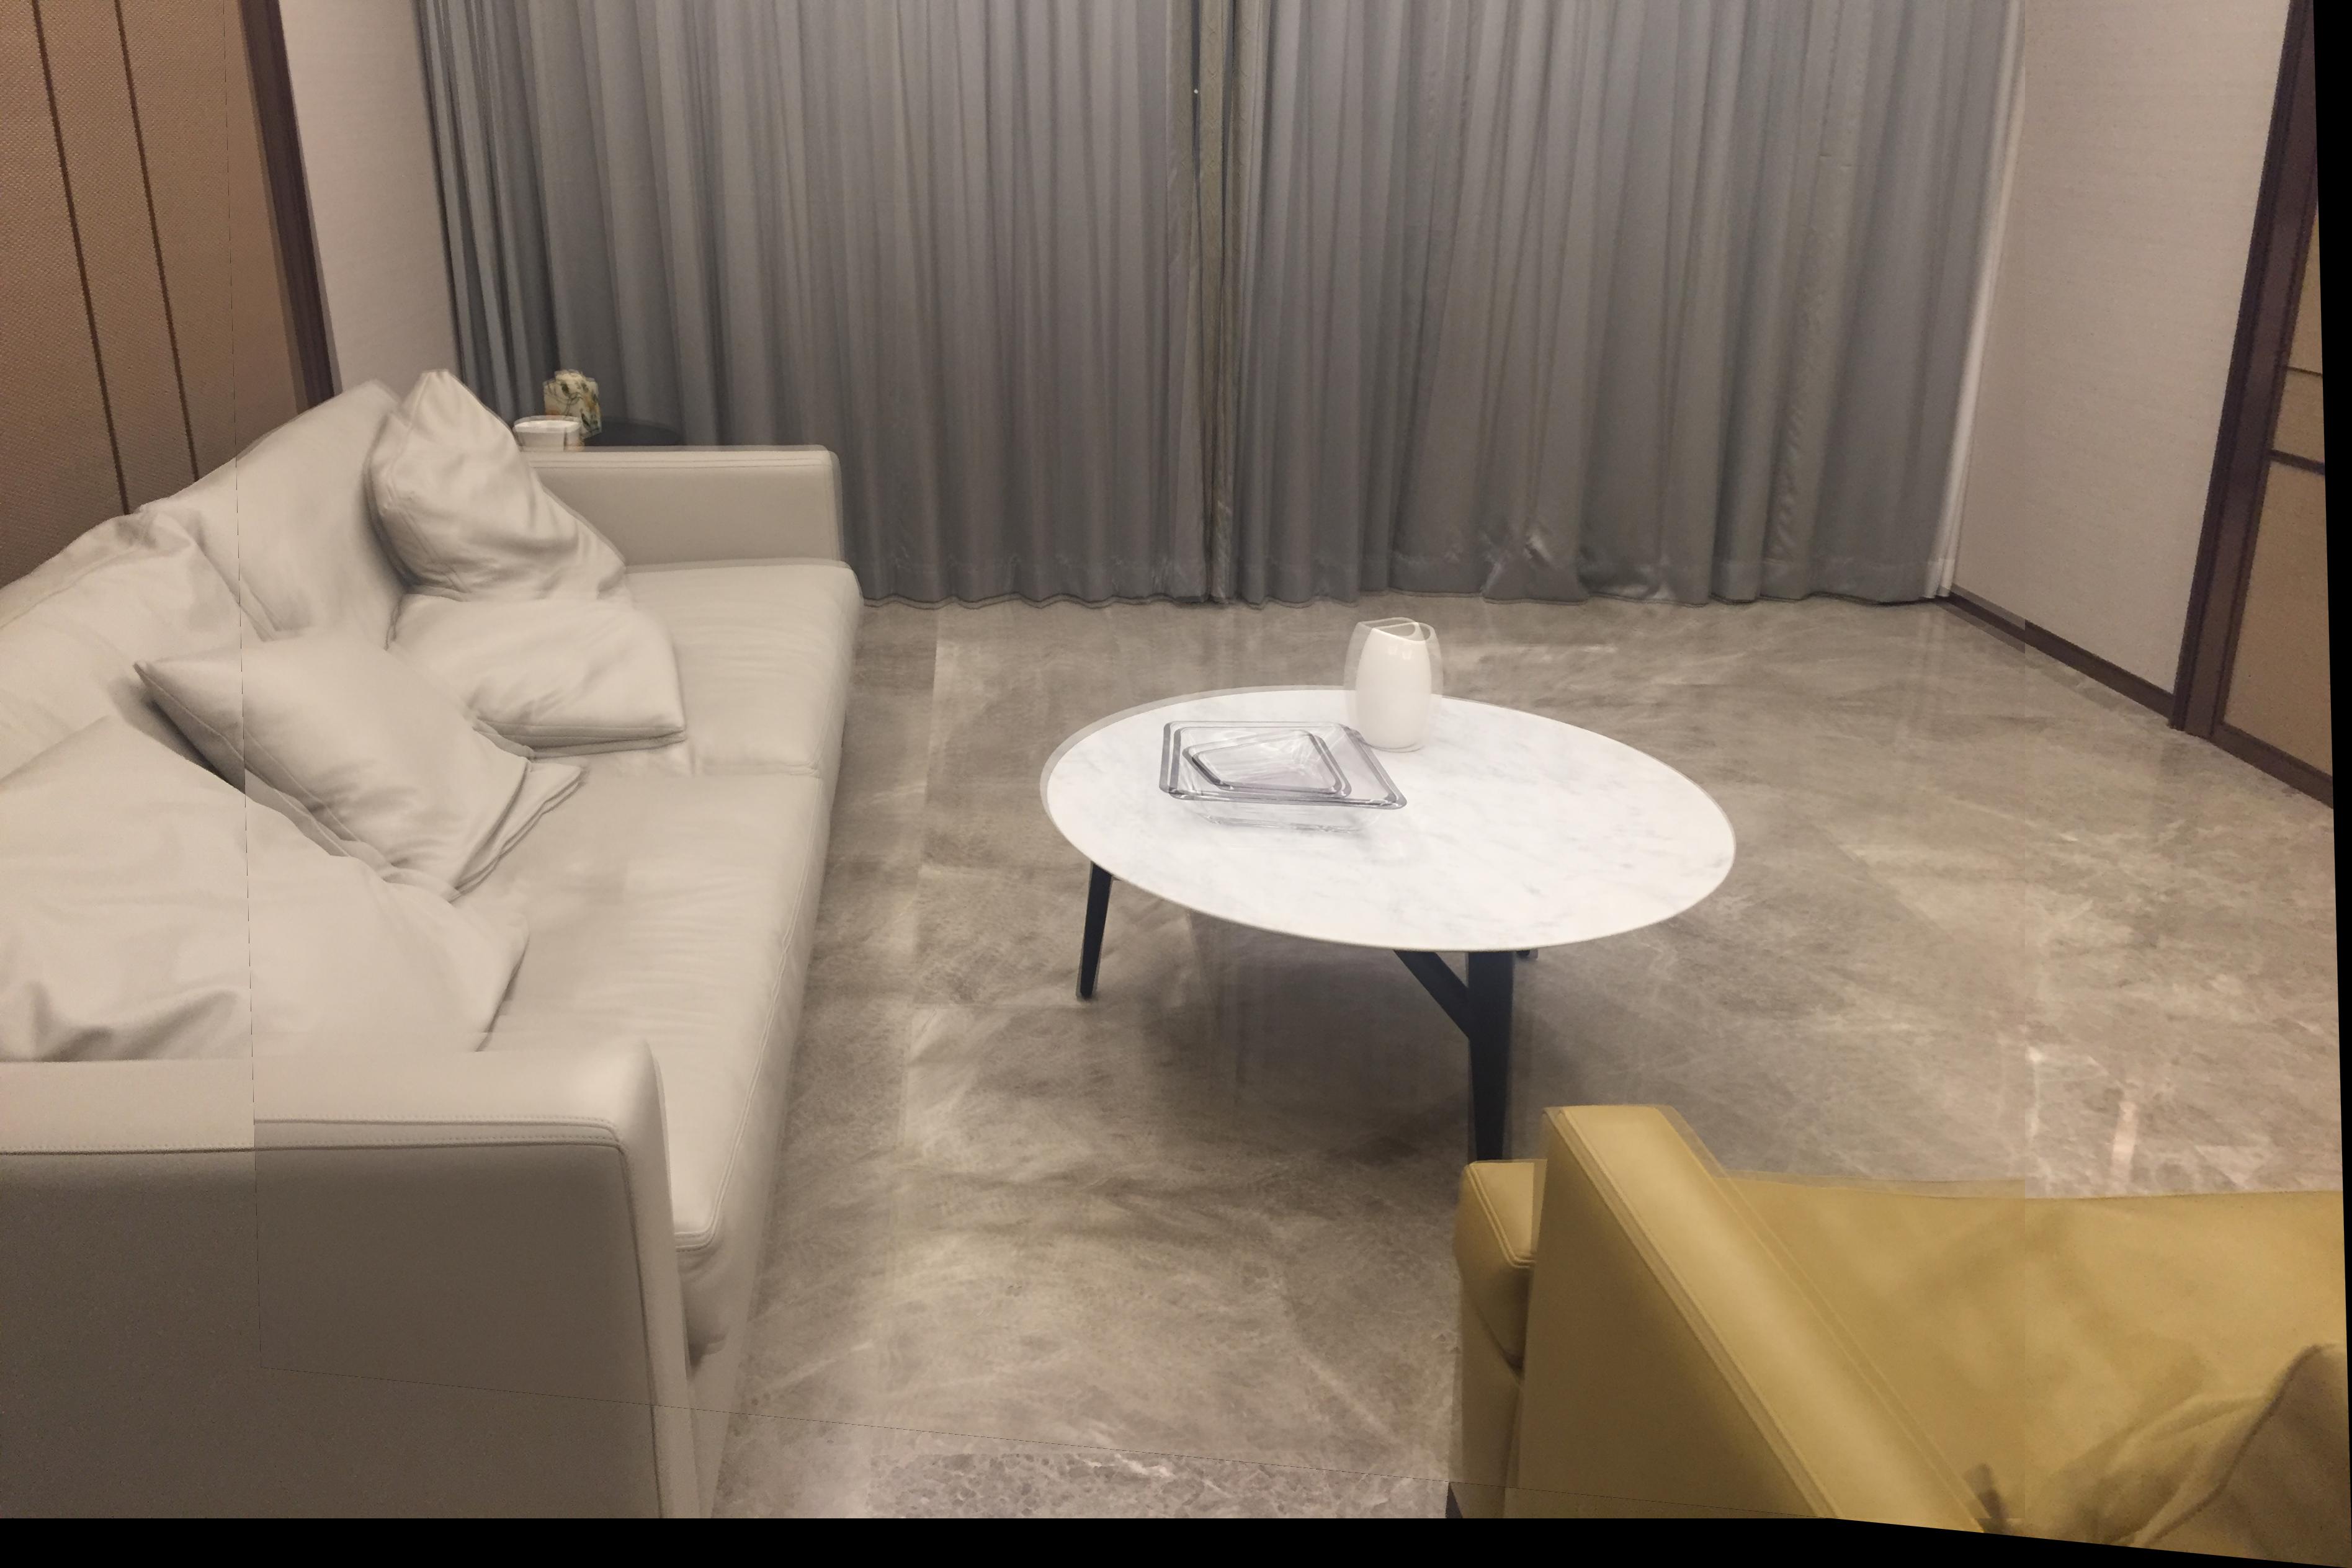
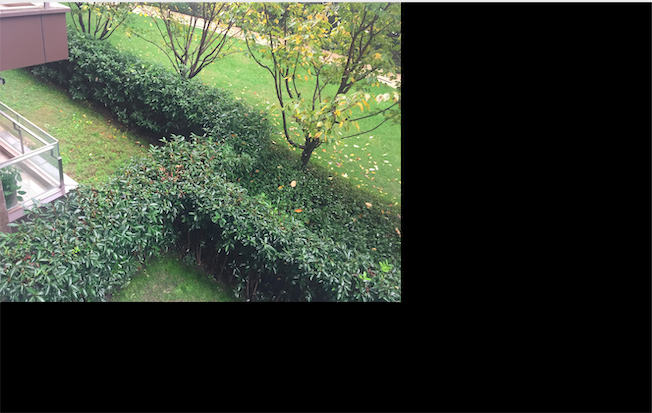
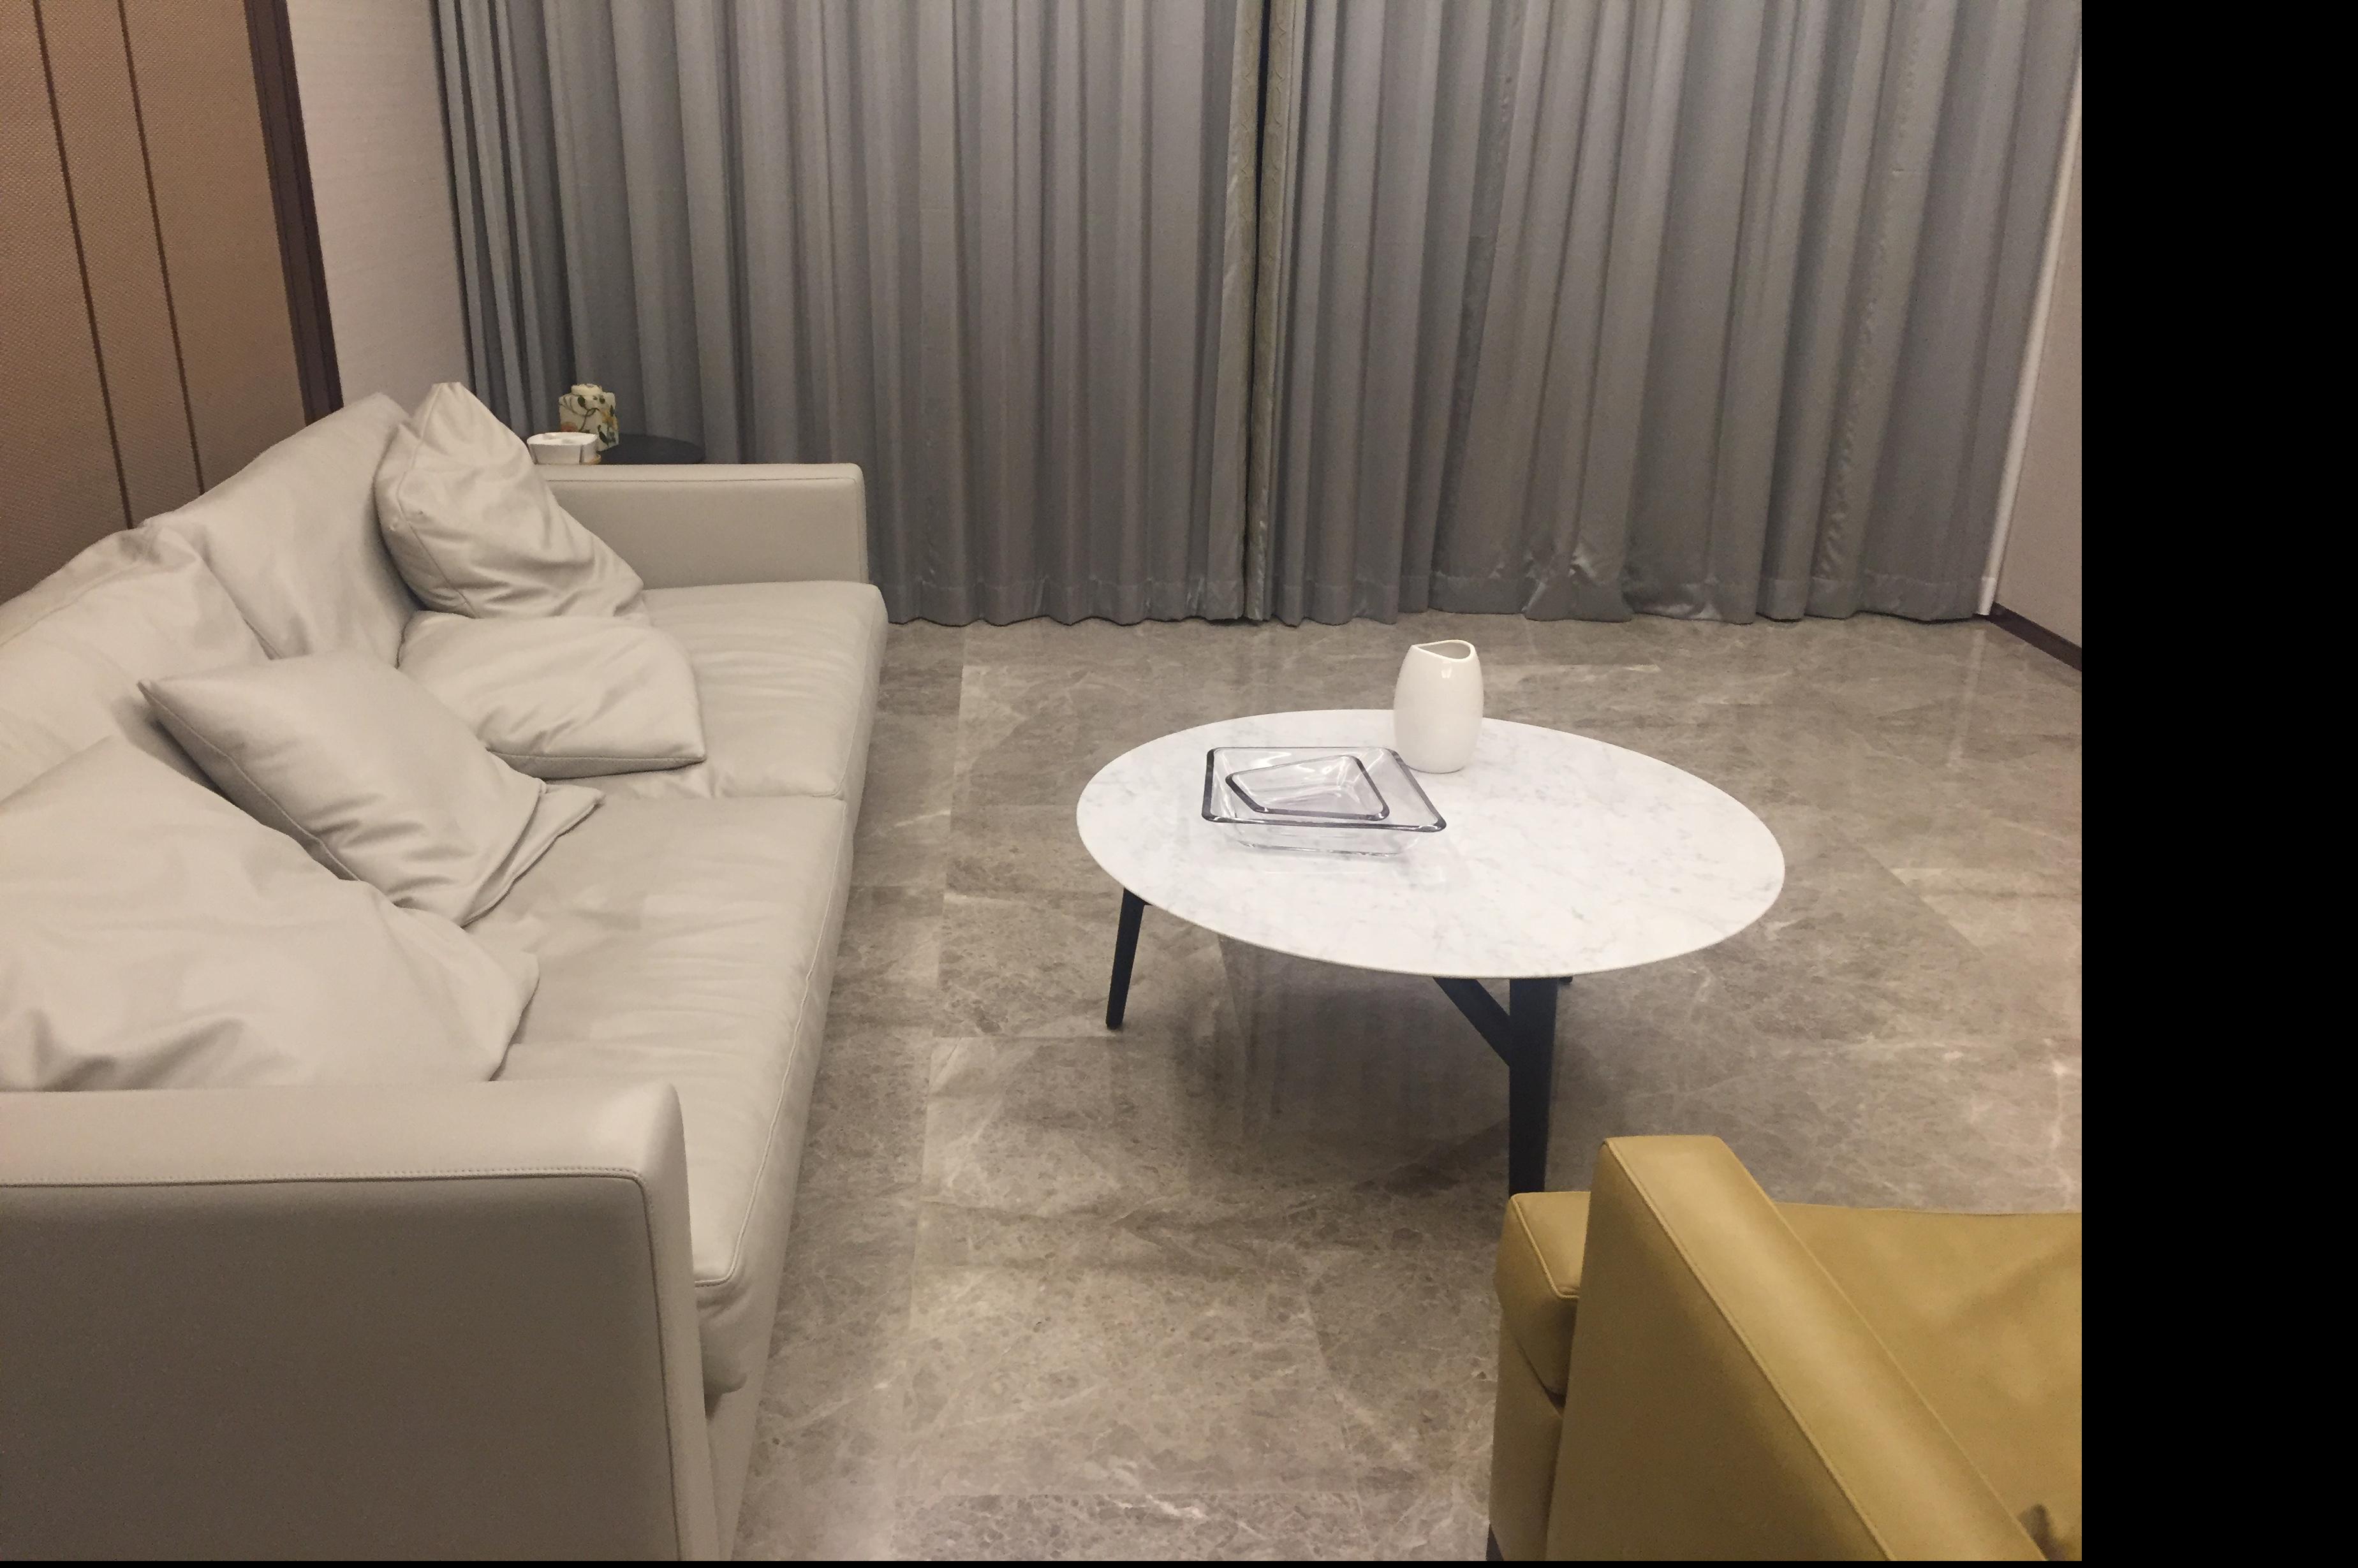
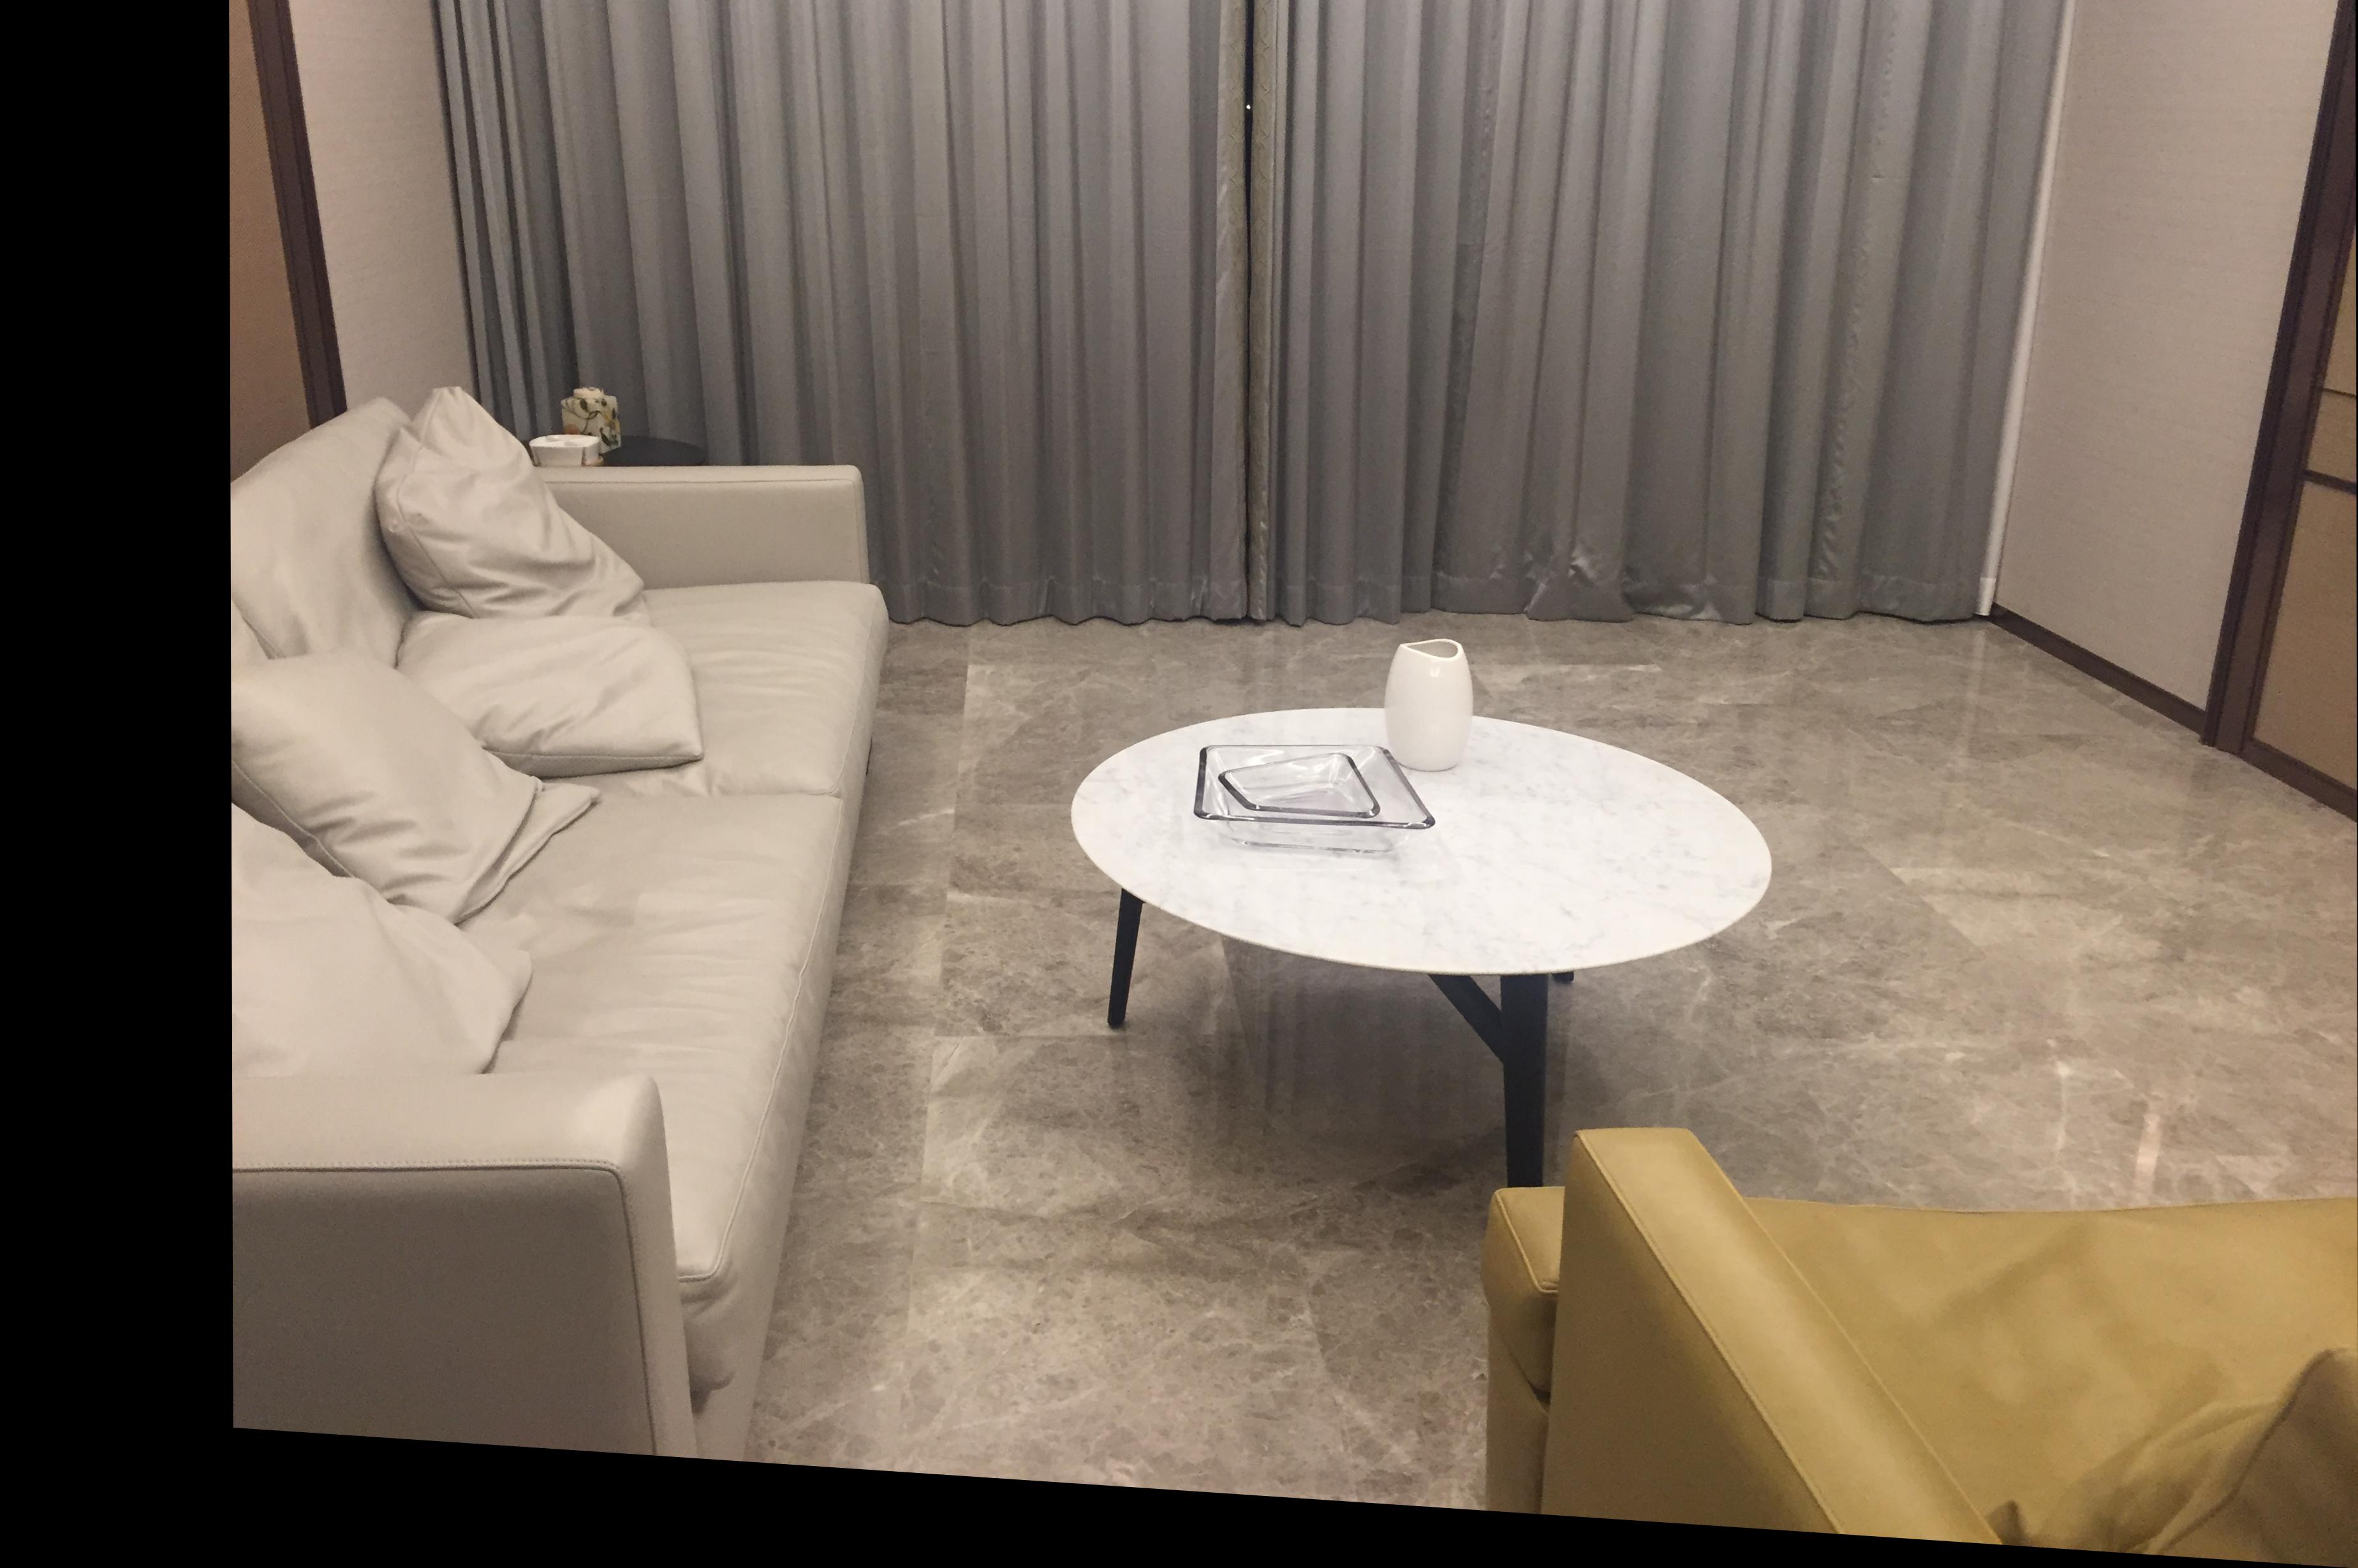
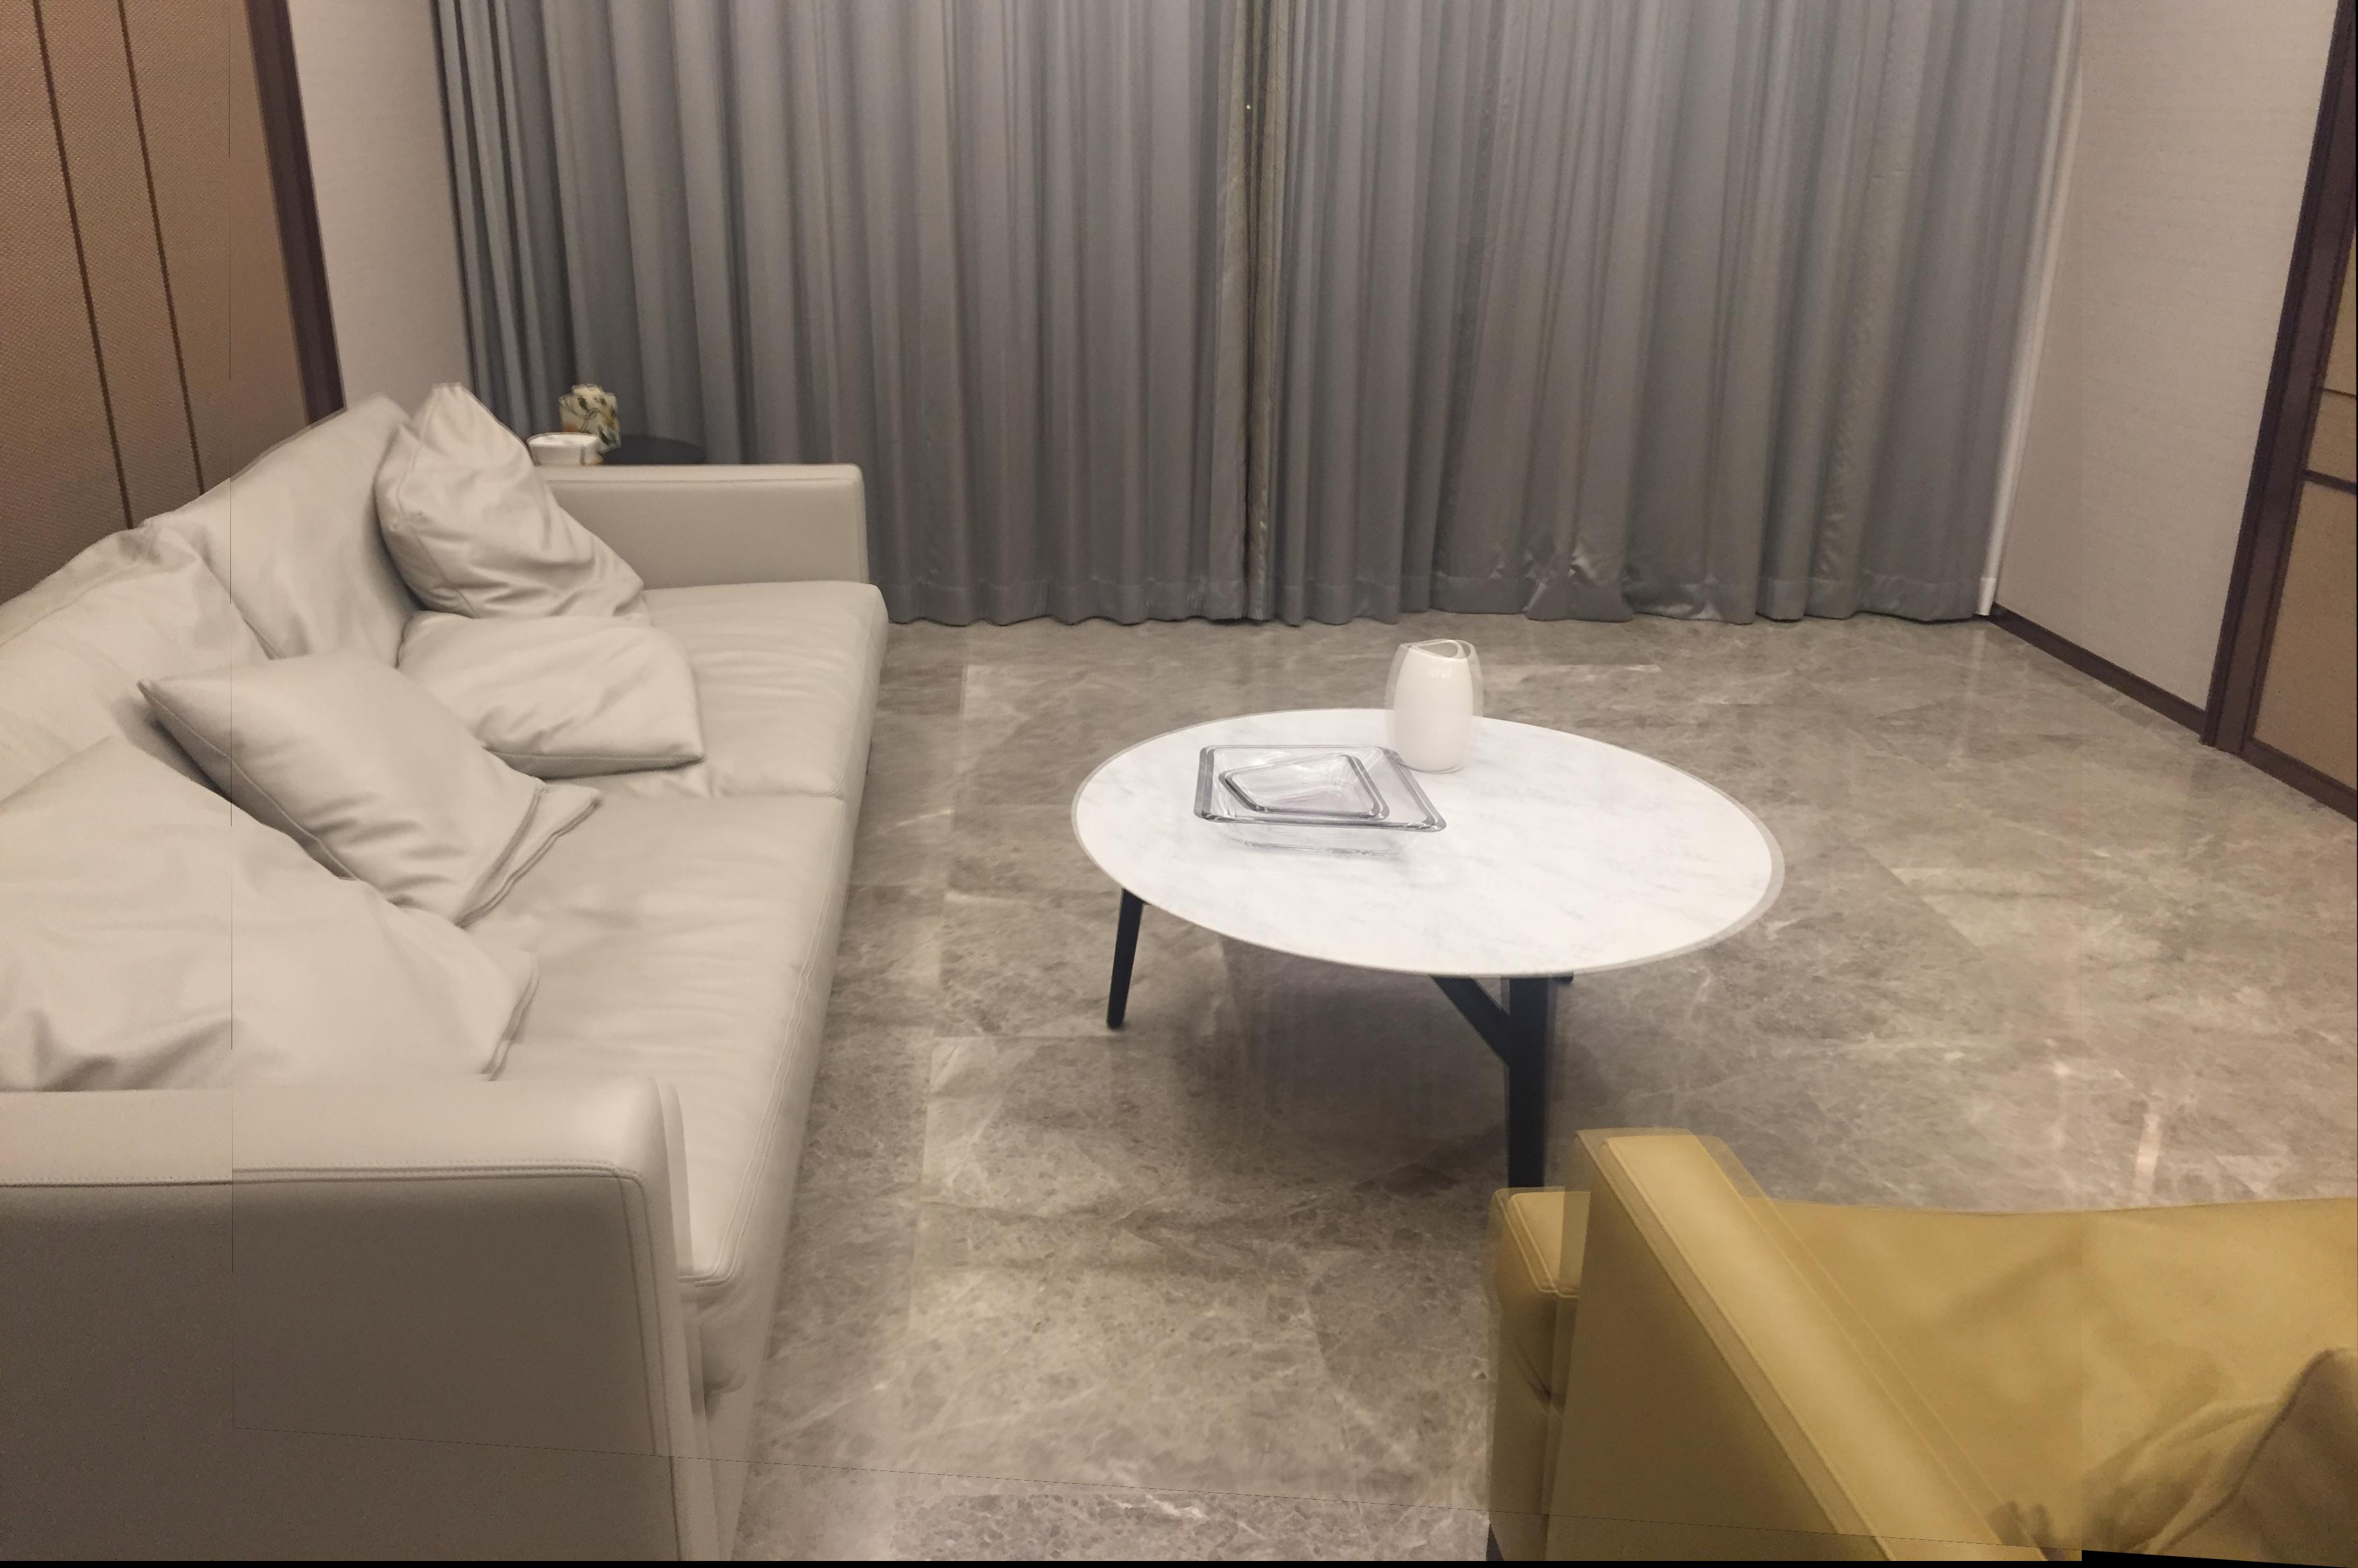
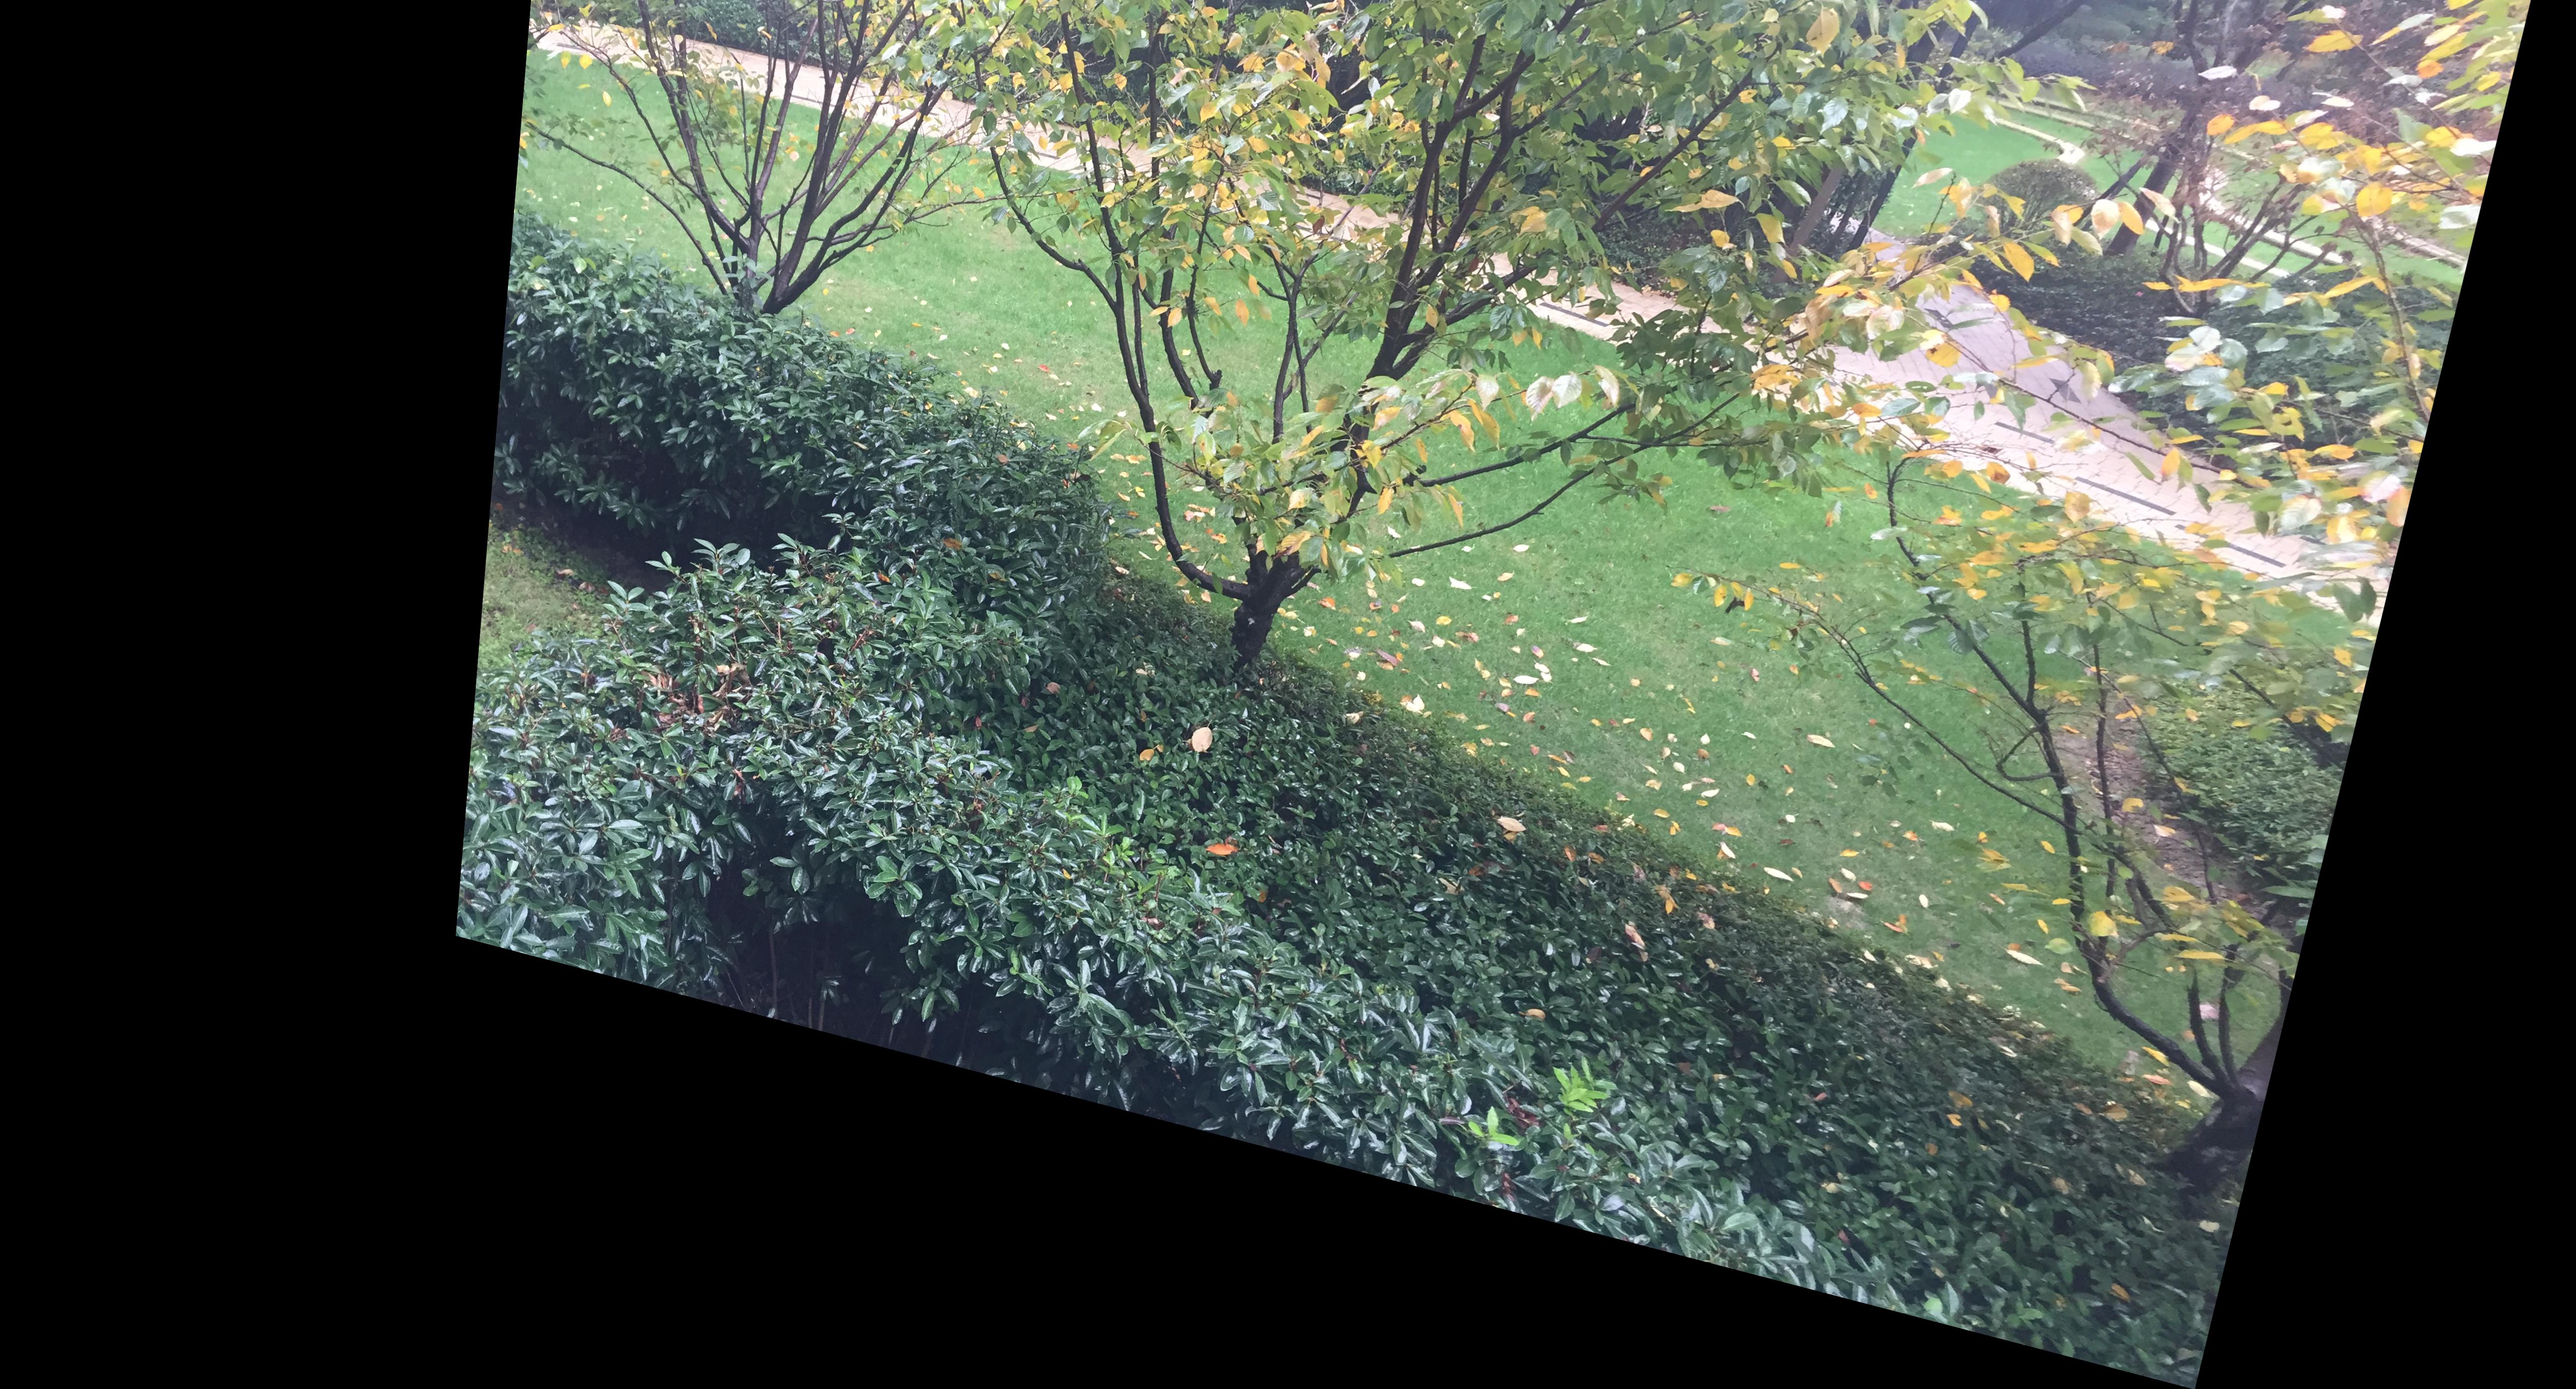
In this part, I shoot 3 images for rectification, and 4 pairs of images for stitching. These photos are taken with my smart phone camera.
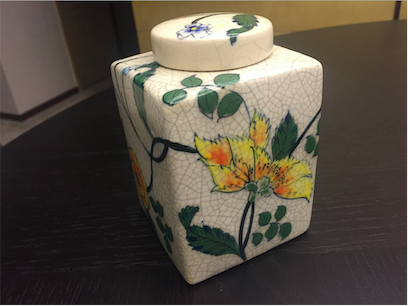
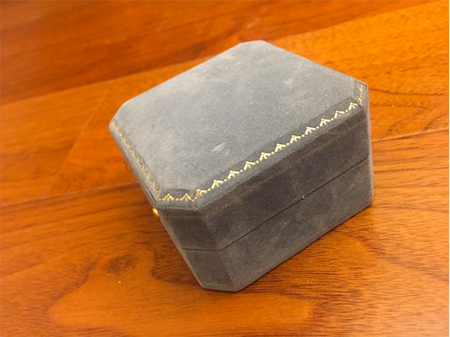
Photos for Rectification
| |
|
|
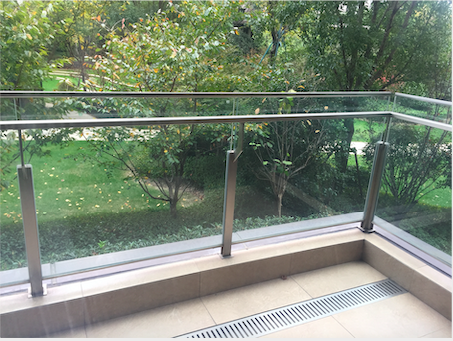
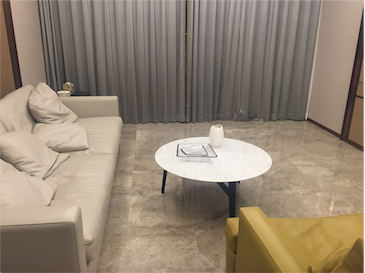
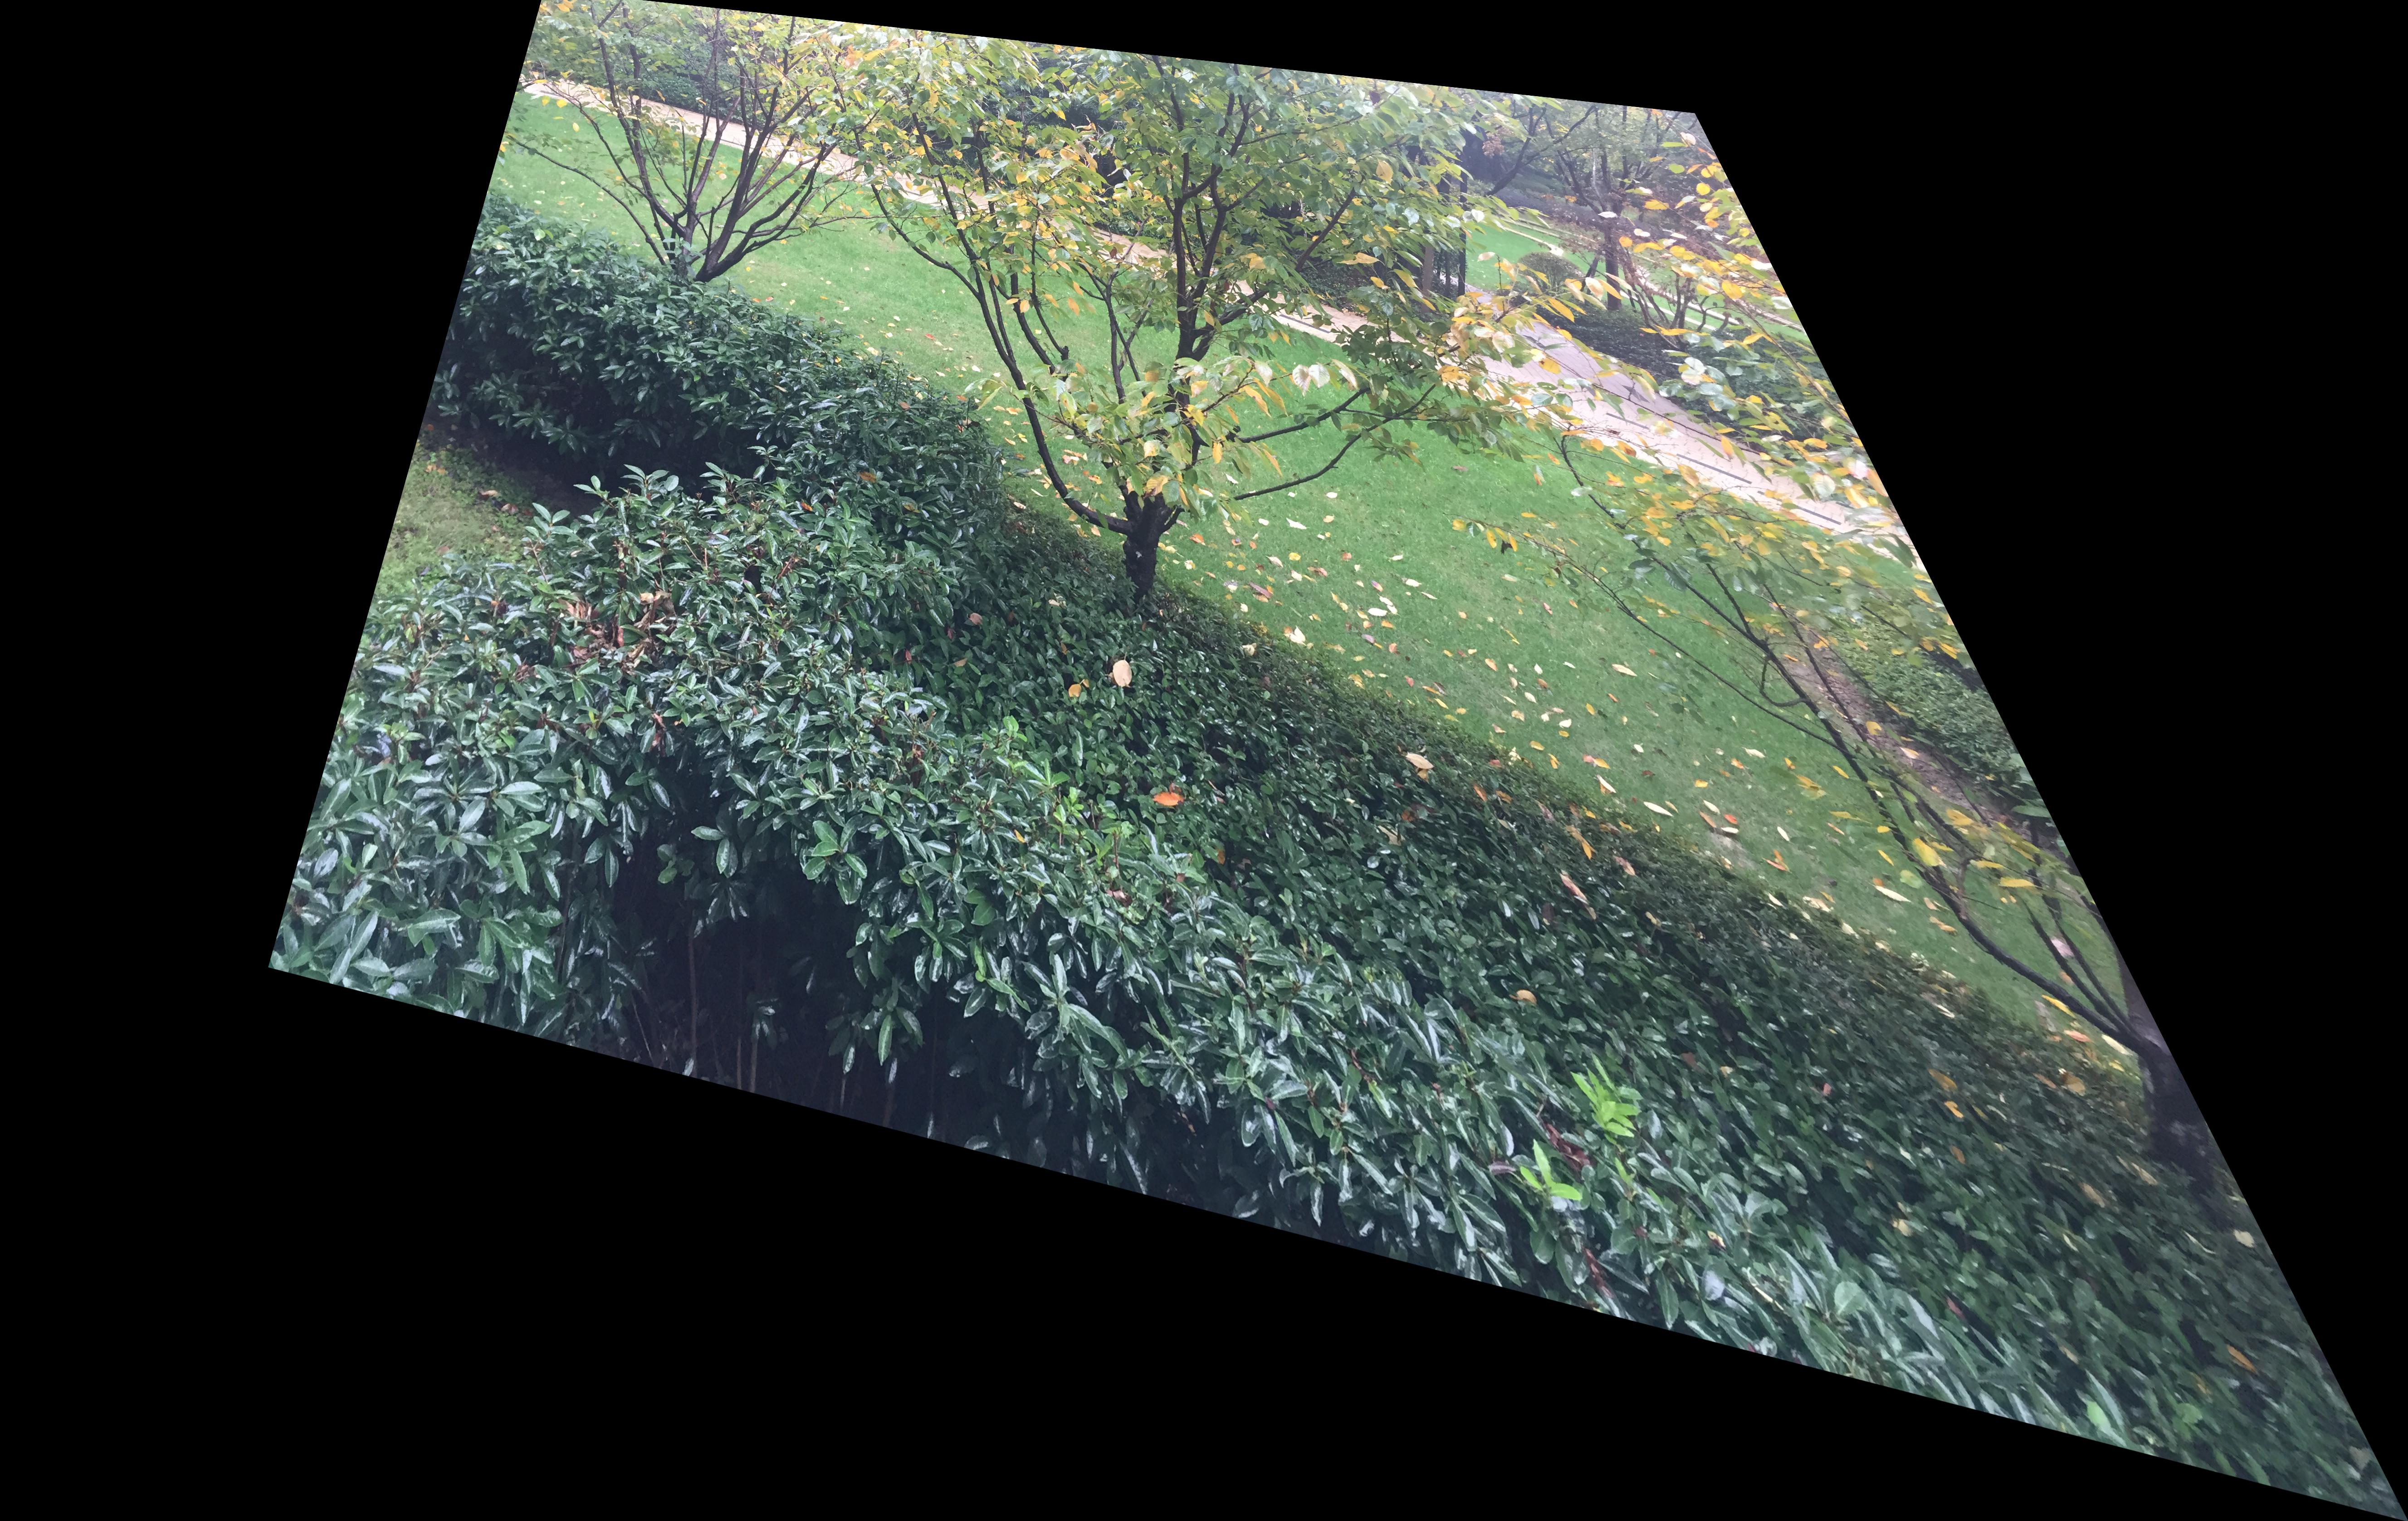
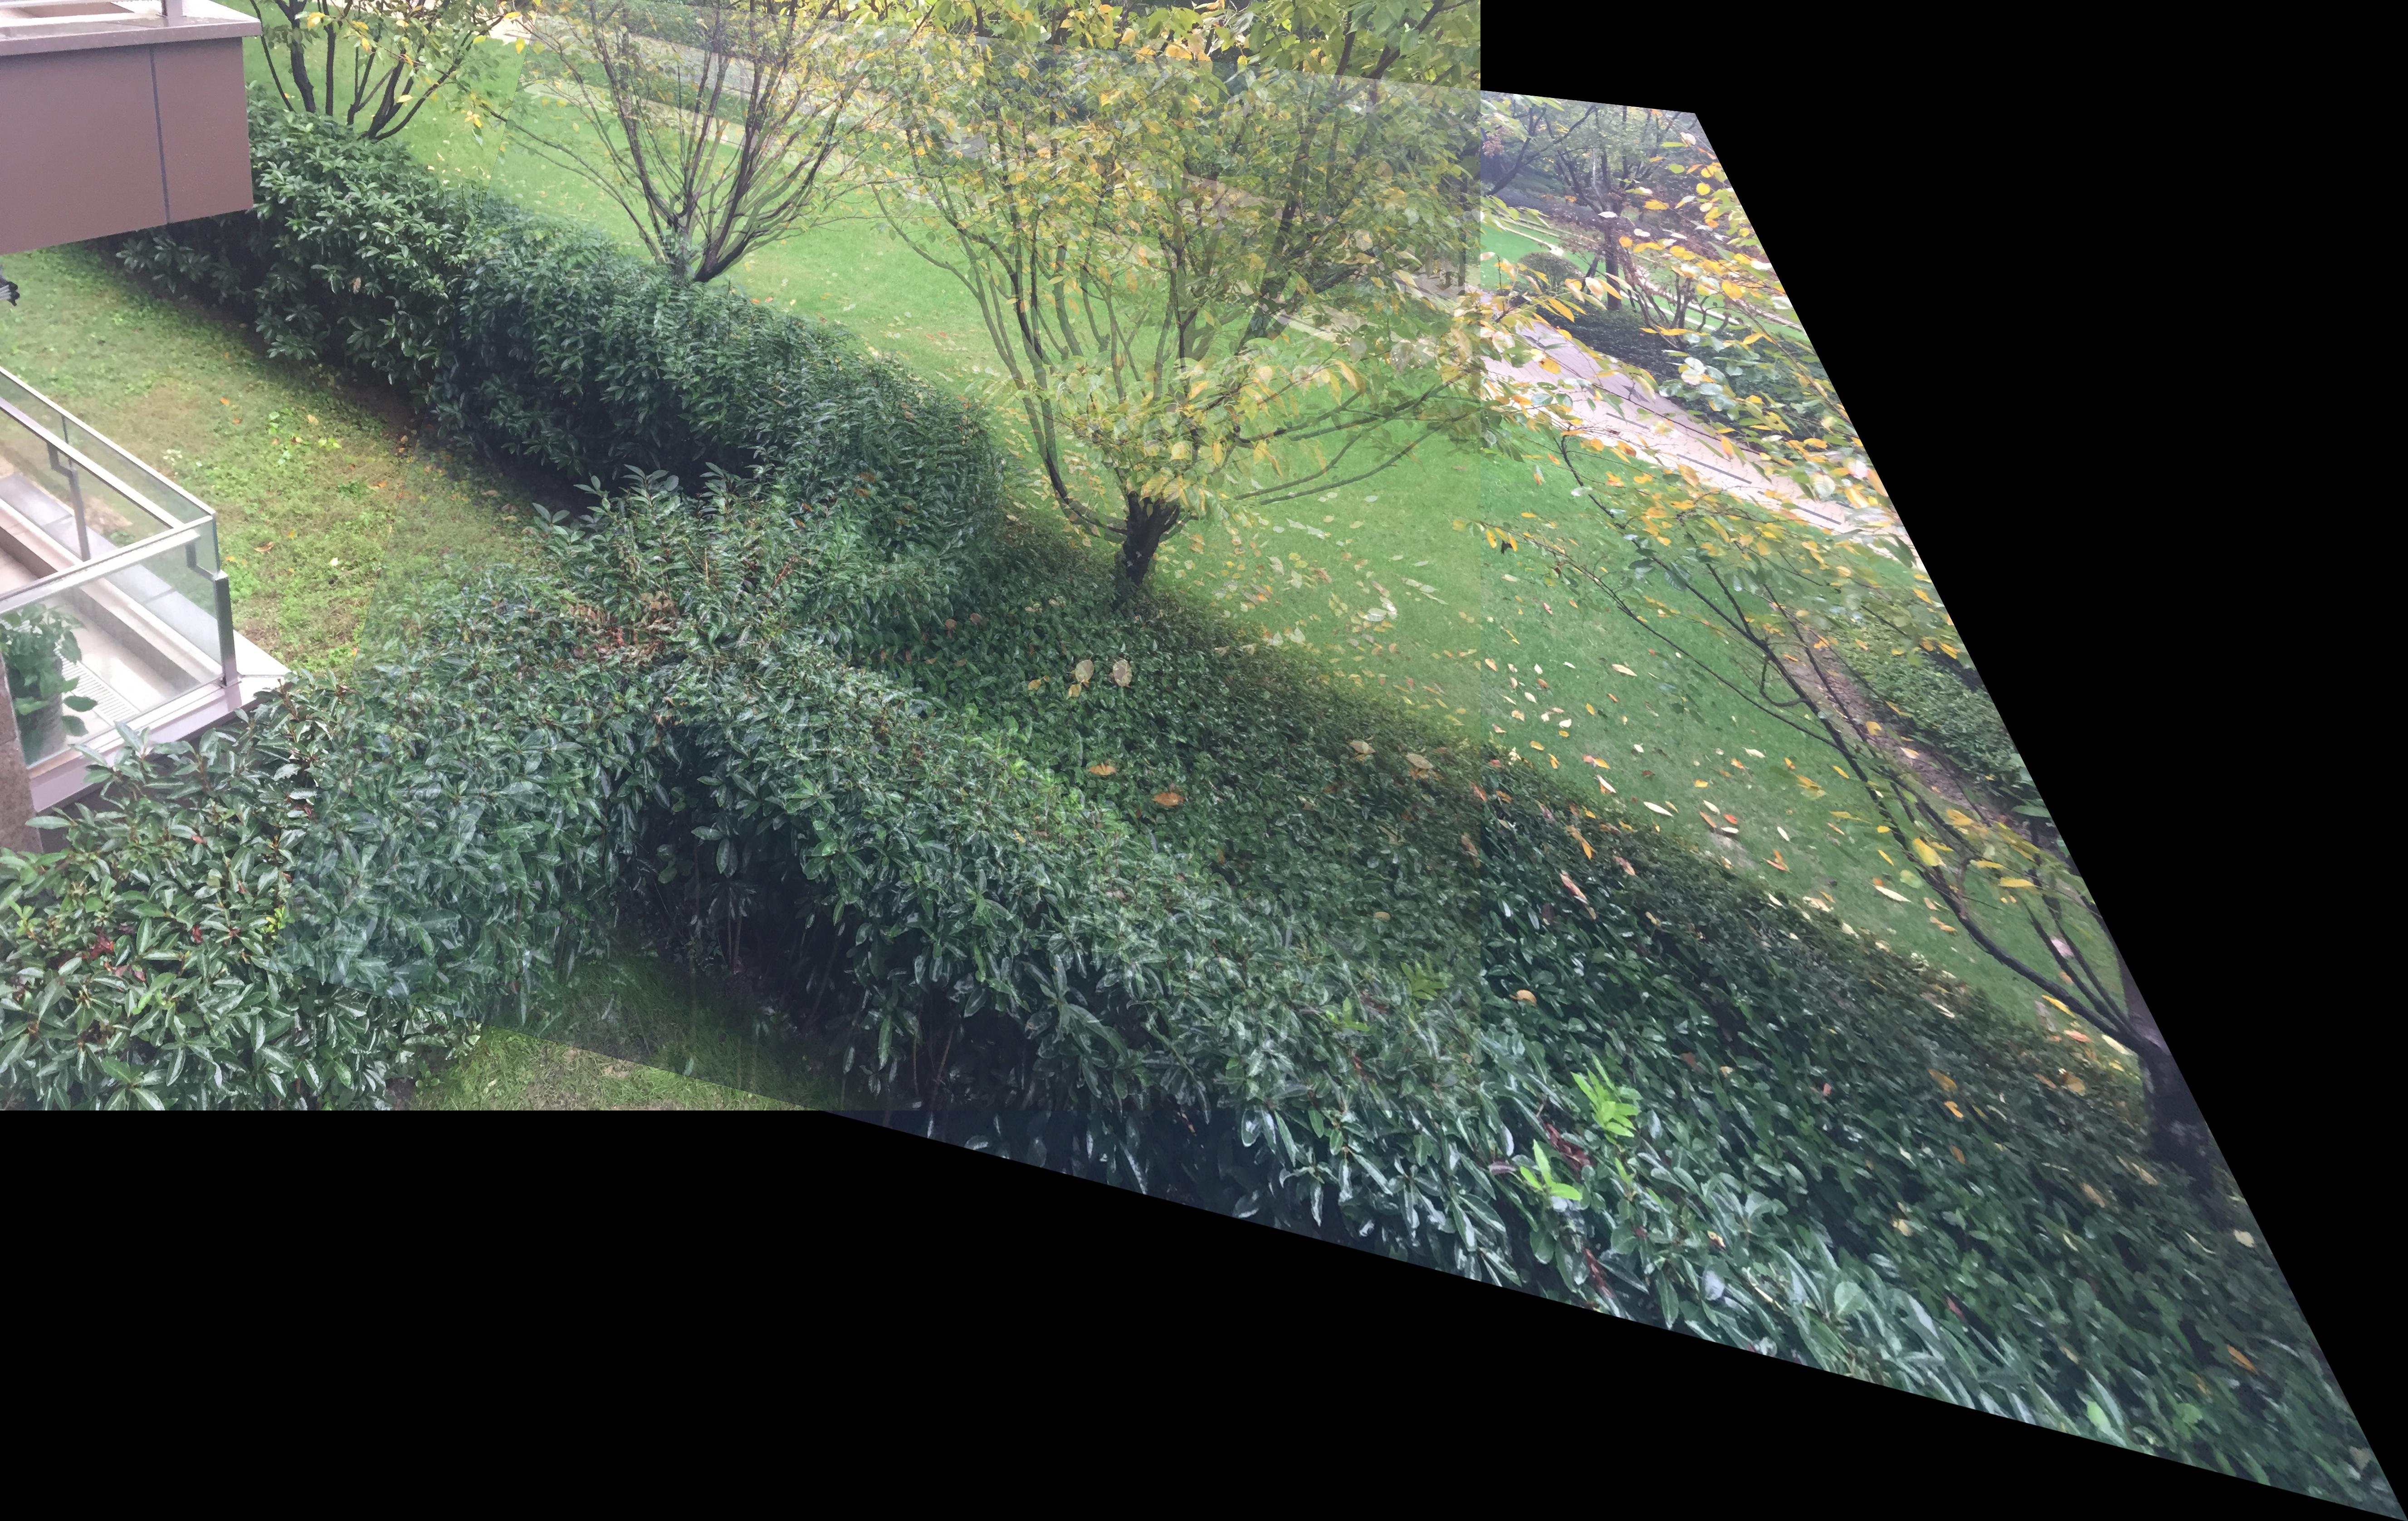
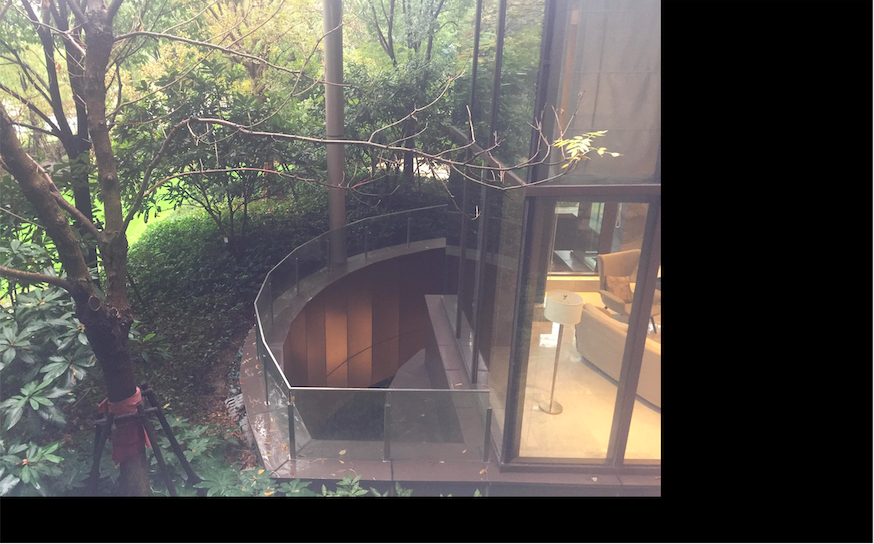
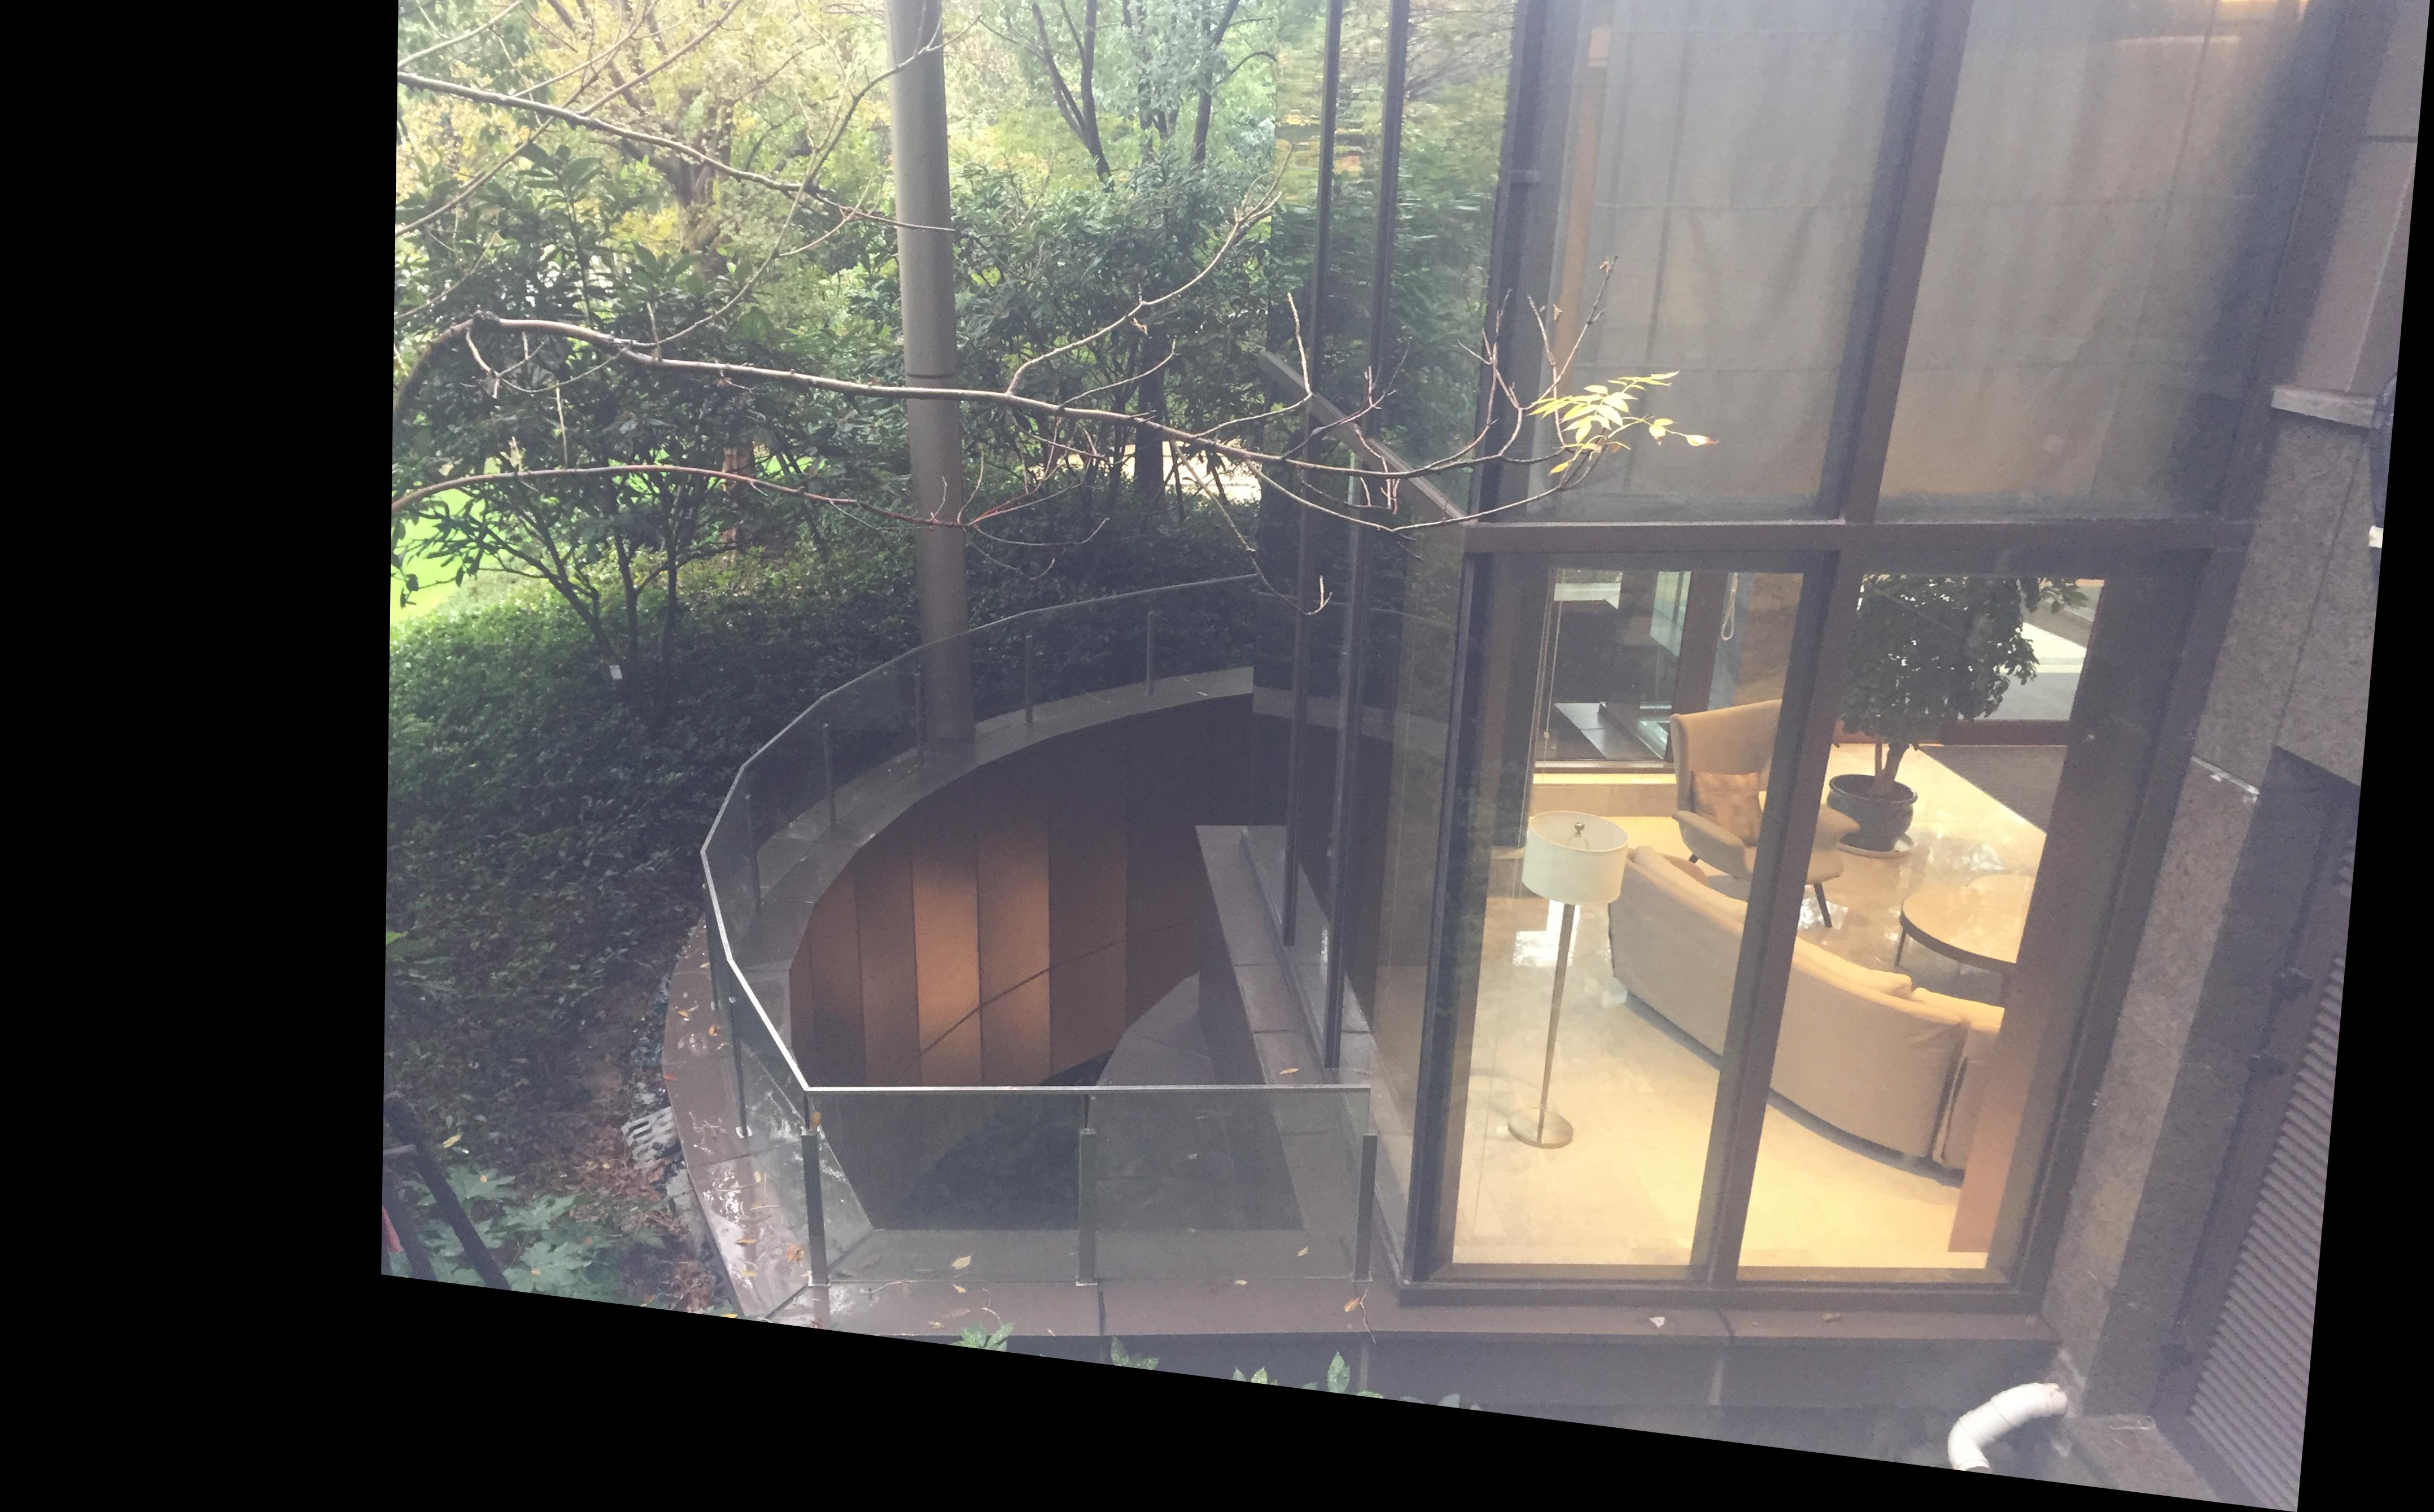
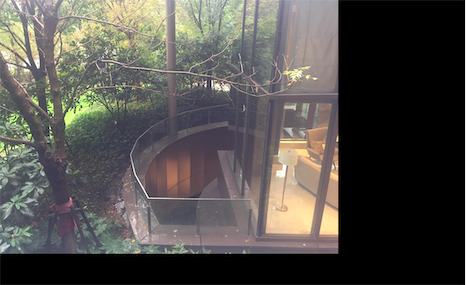
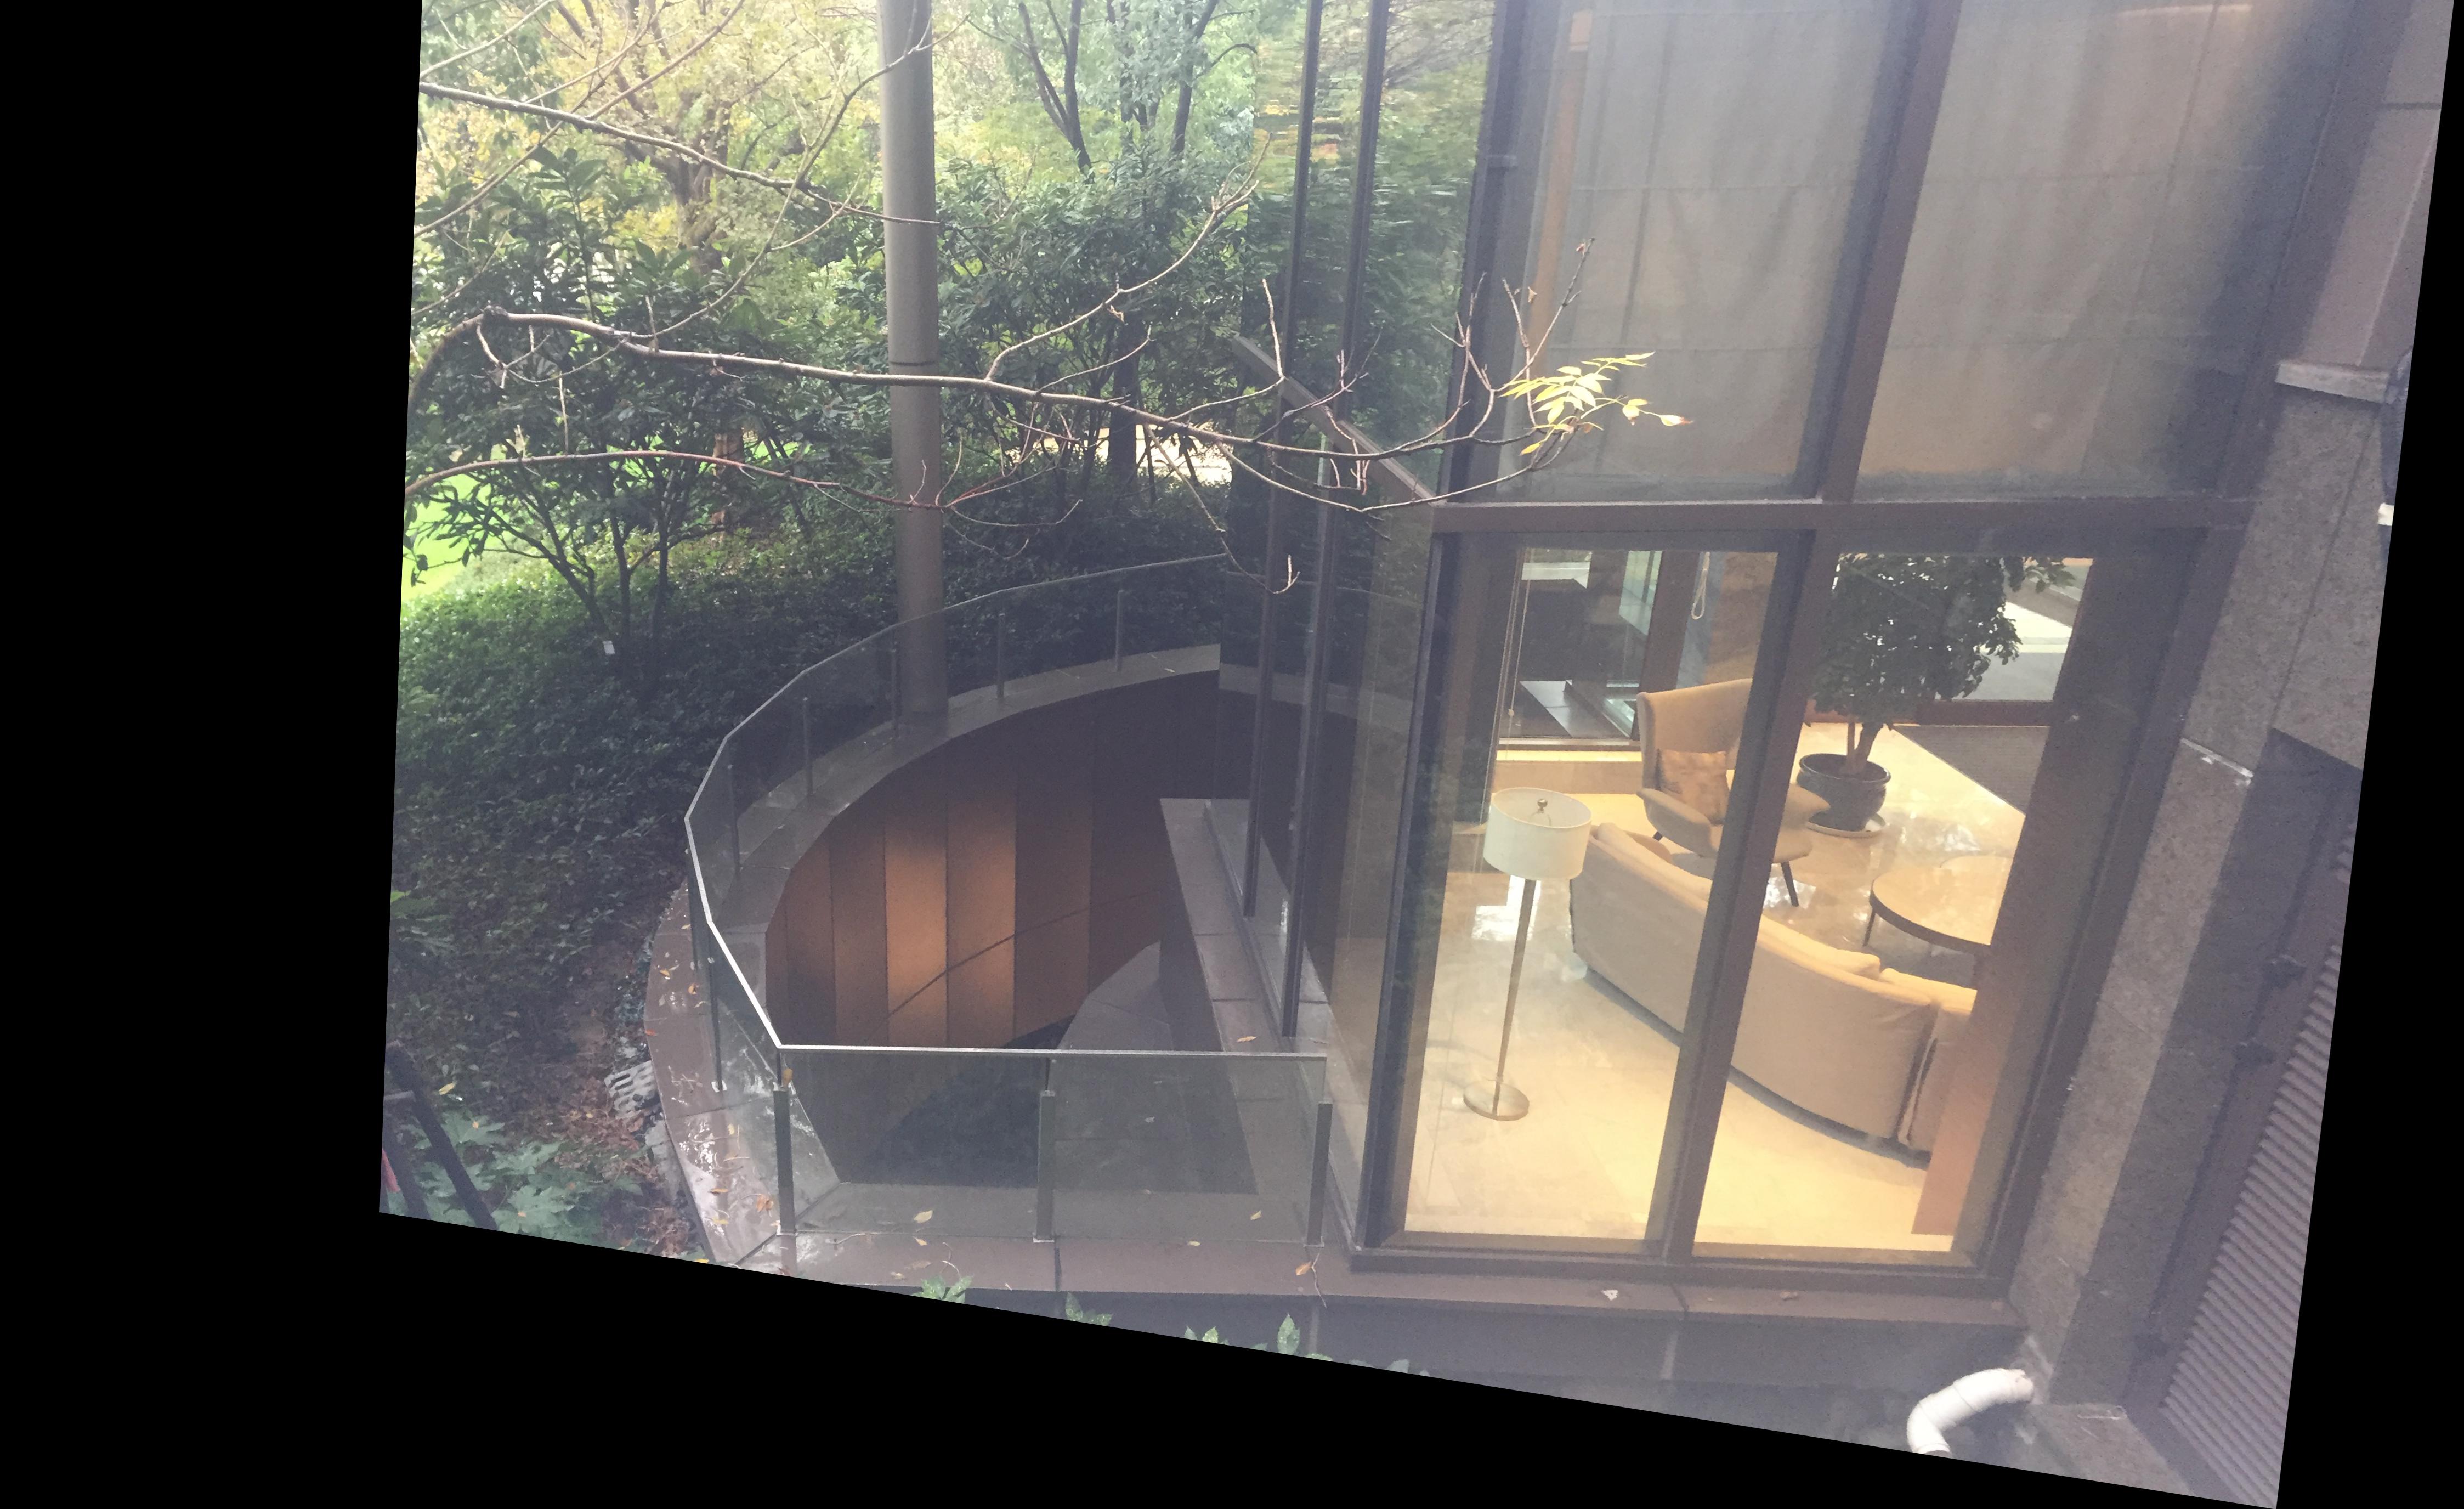
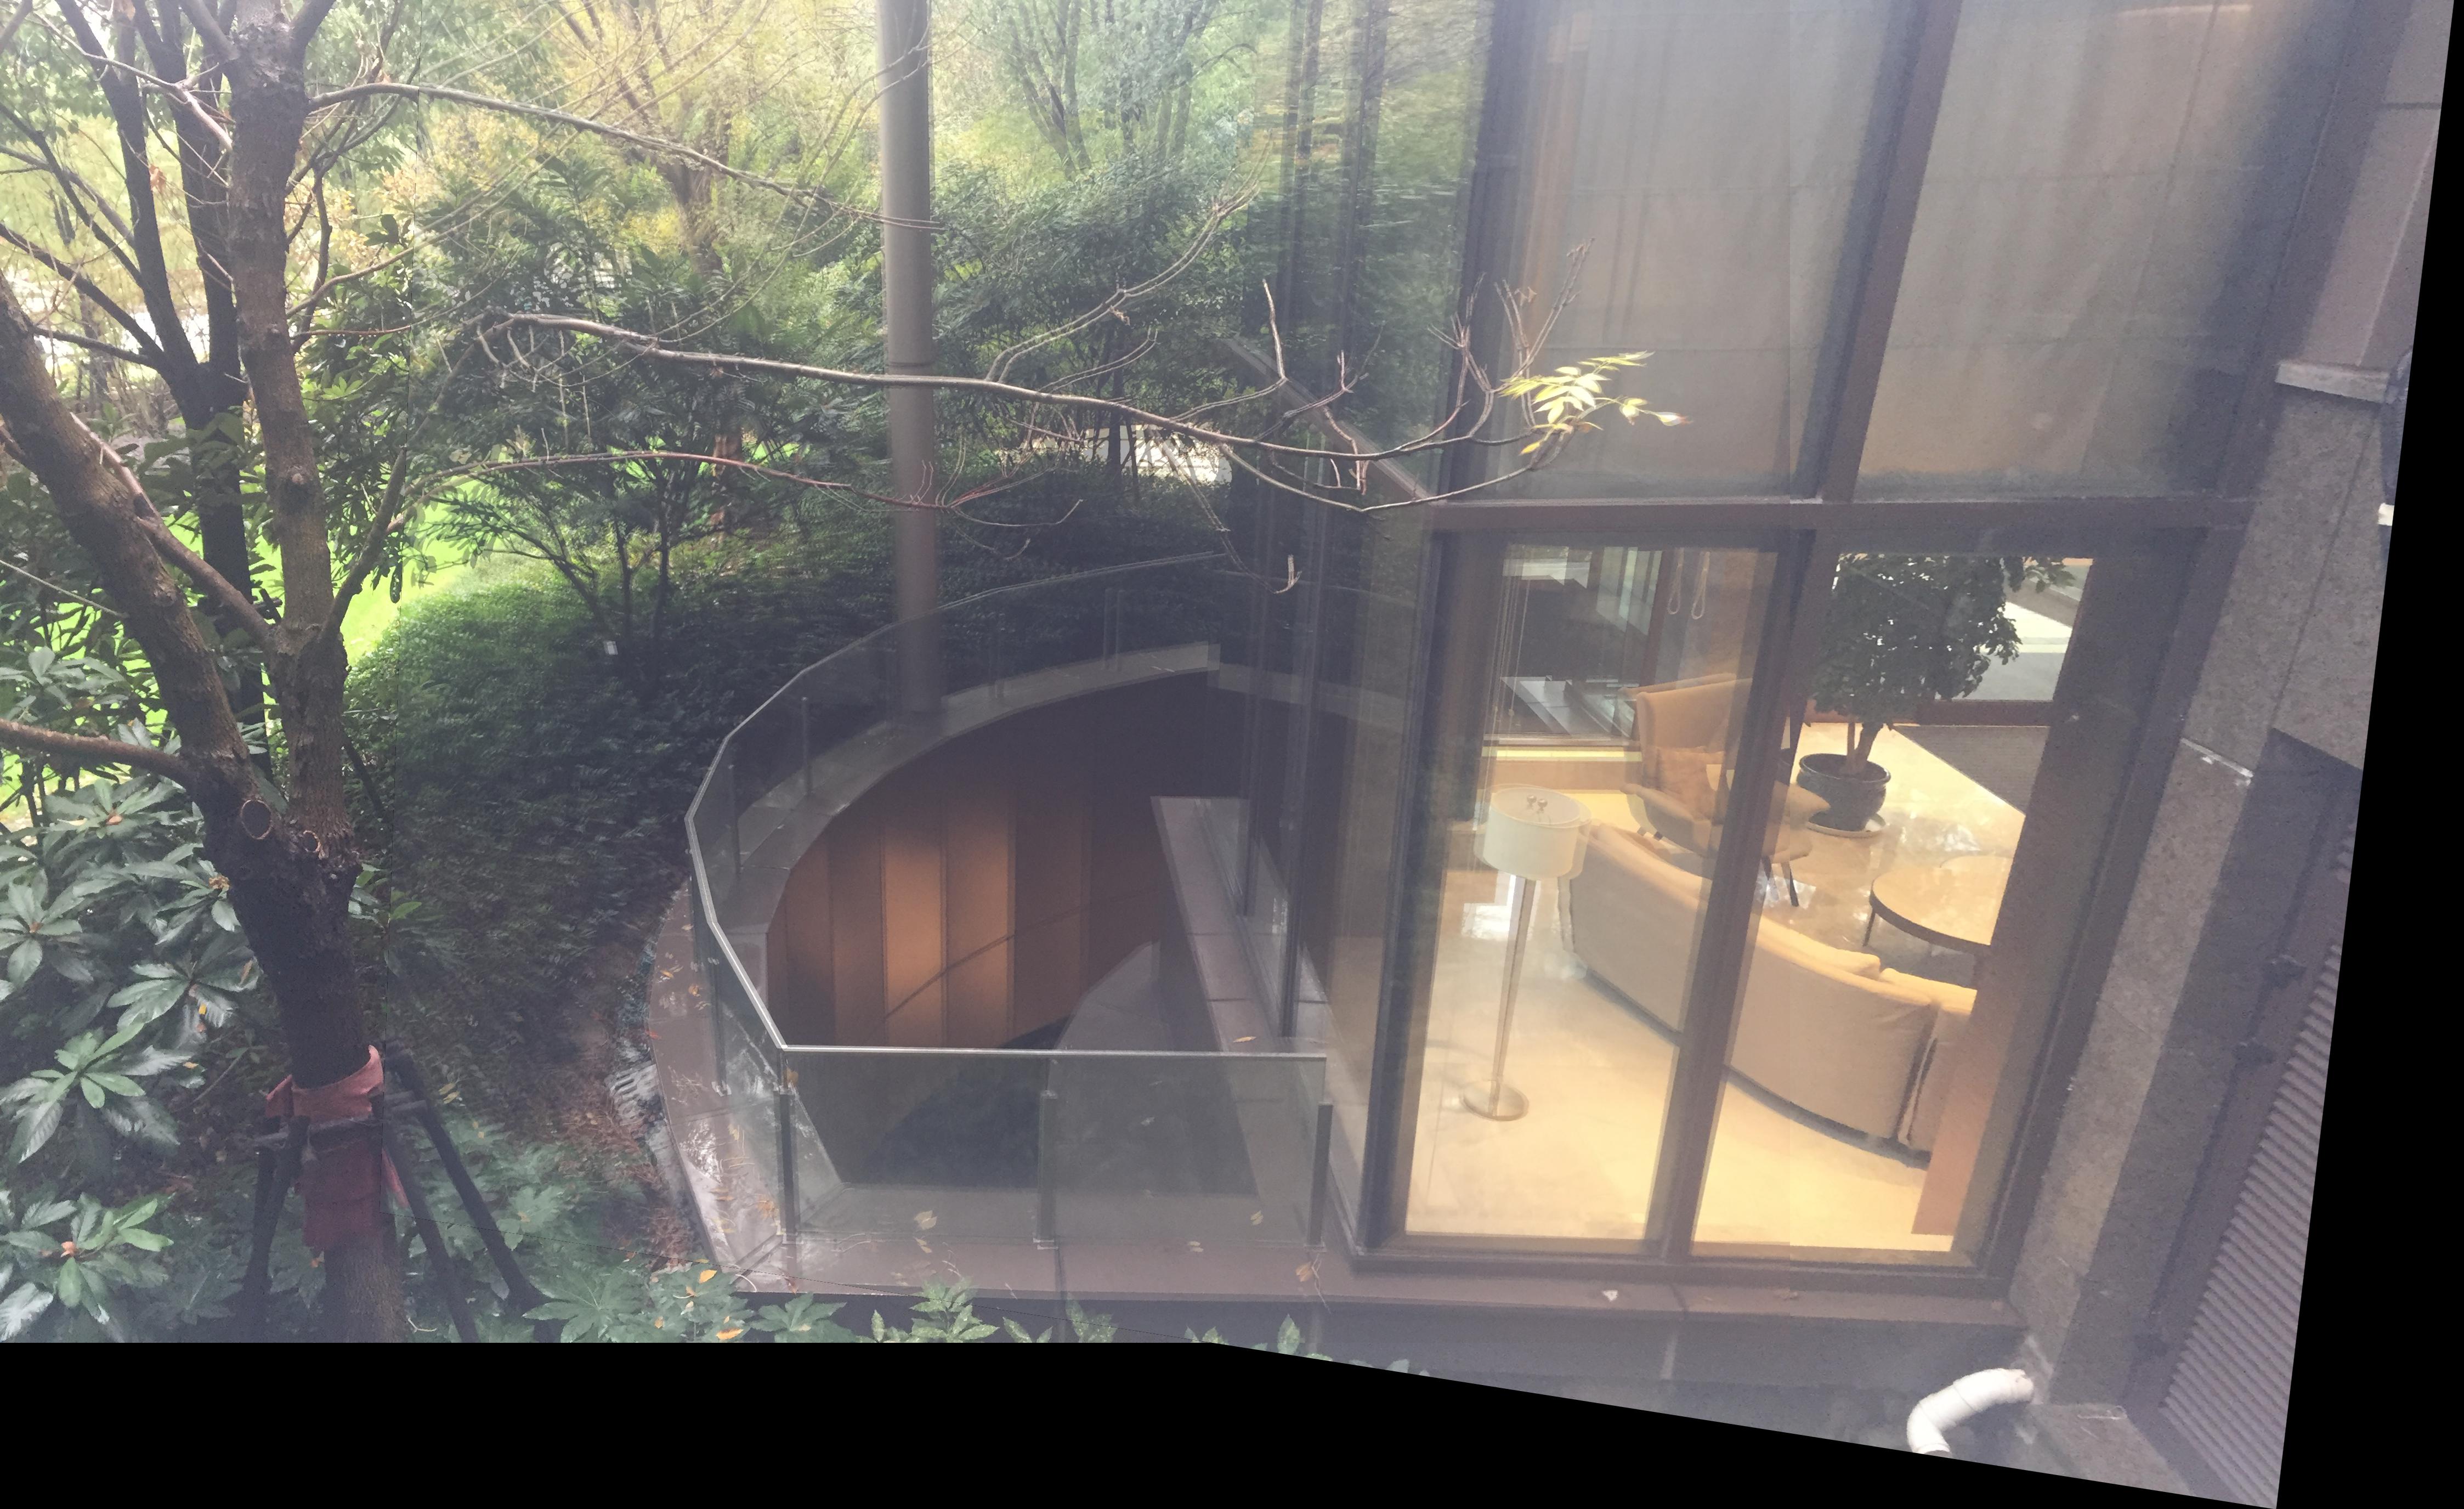
Photos for Mosaicing
 |
 |
 |
 |
 |
 |
 |
 |
This part of the program produces a 3x3 matrix H with 9 degrees of freedom (lower right corner is a scaling factor that equals 1) that recovers the homography between each pair of images - p' = Hp. It first uses ginput to collect a set of (p', p) pairs of corresponding points taken from the two images. Then I set up A and b to compute the entries of matrix H. The correctness is verified by the following parts that are based on homography computation.
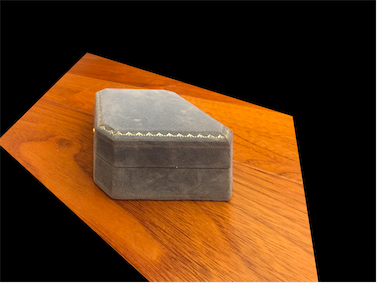
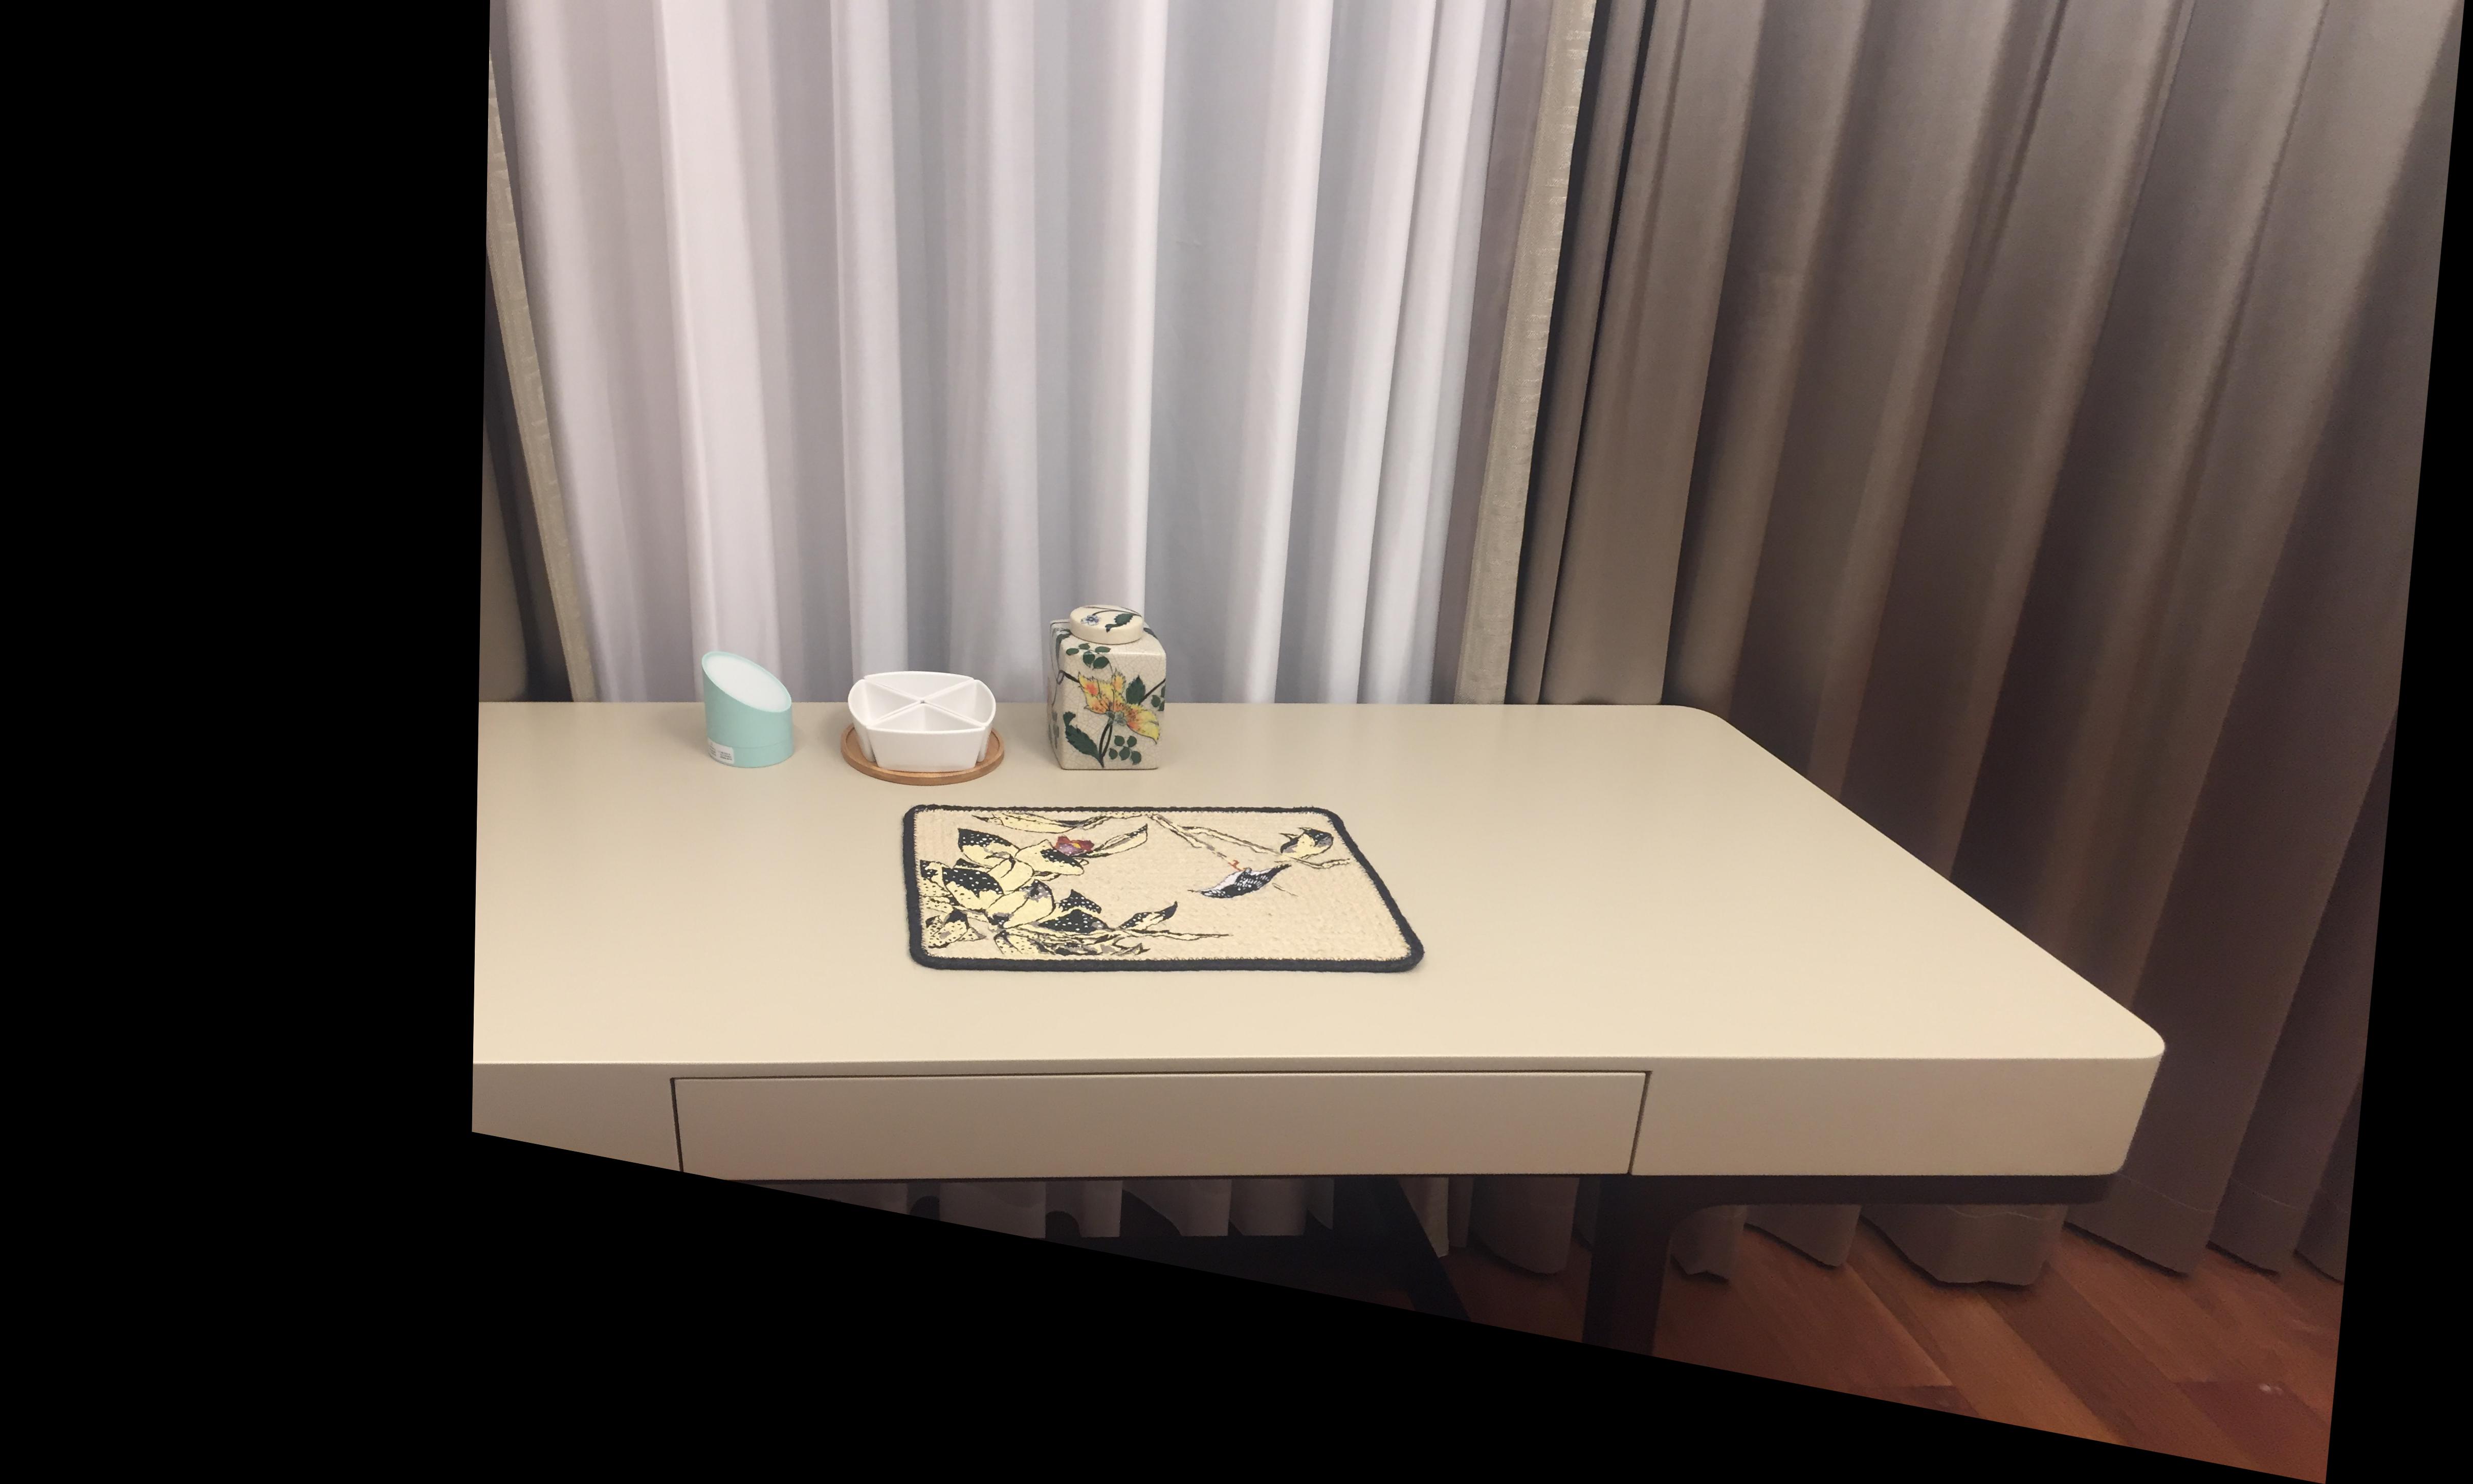
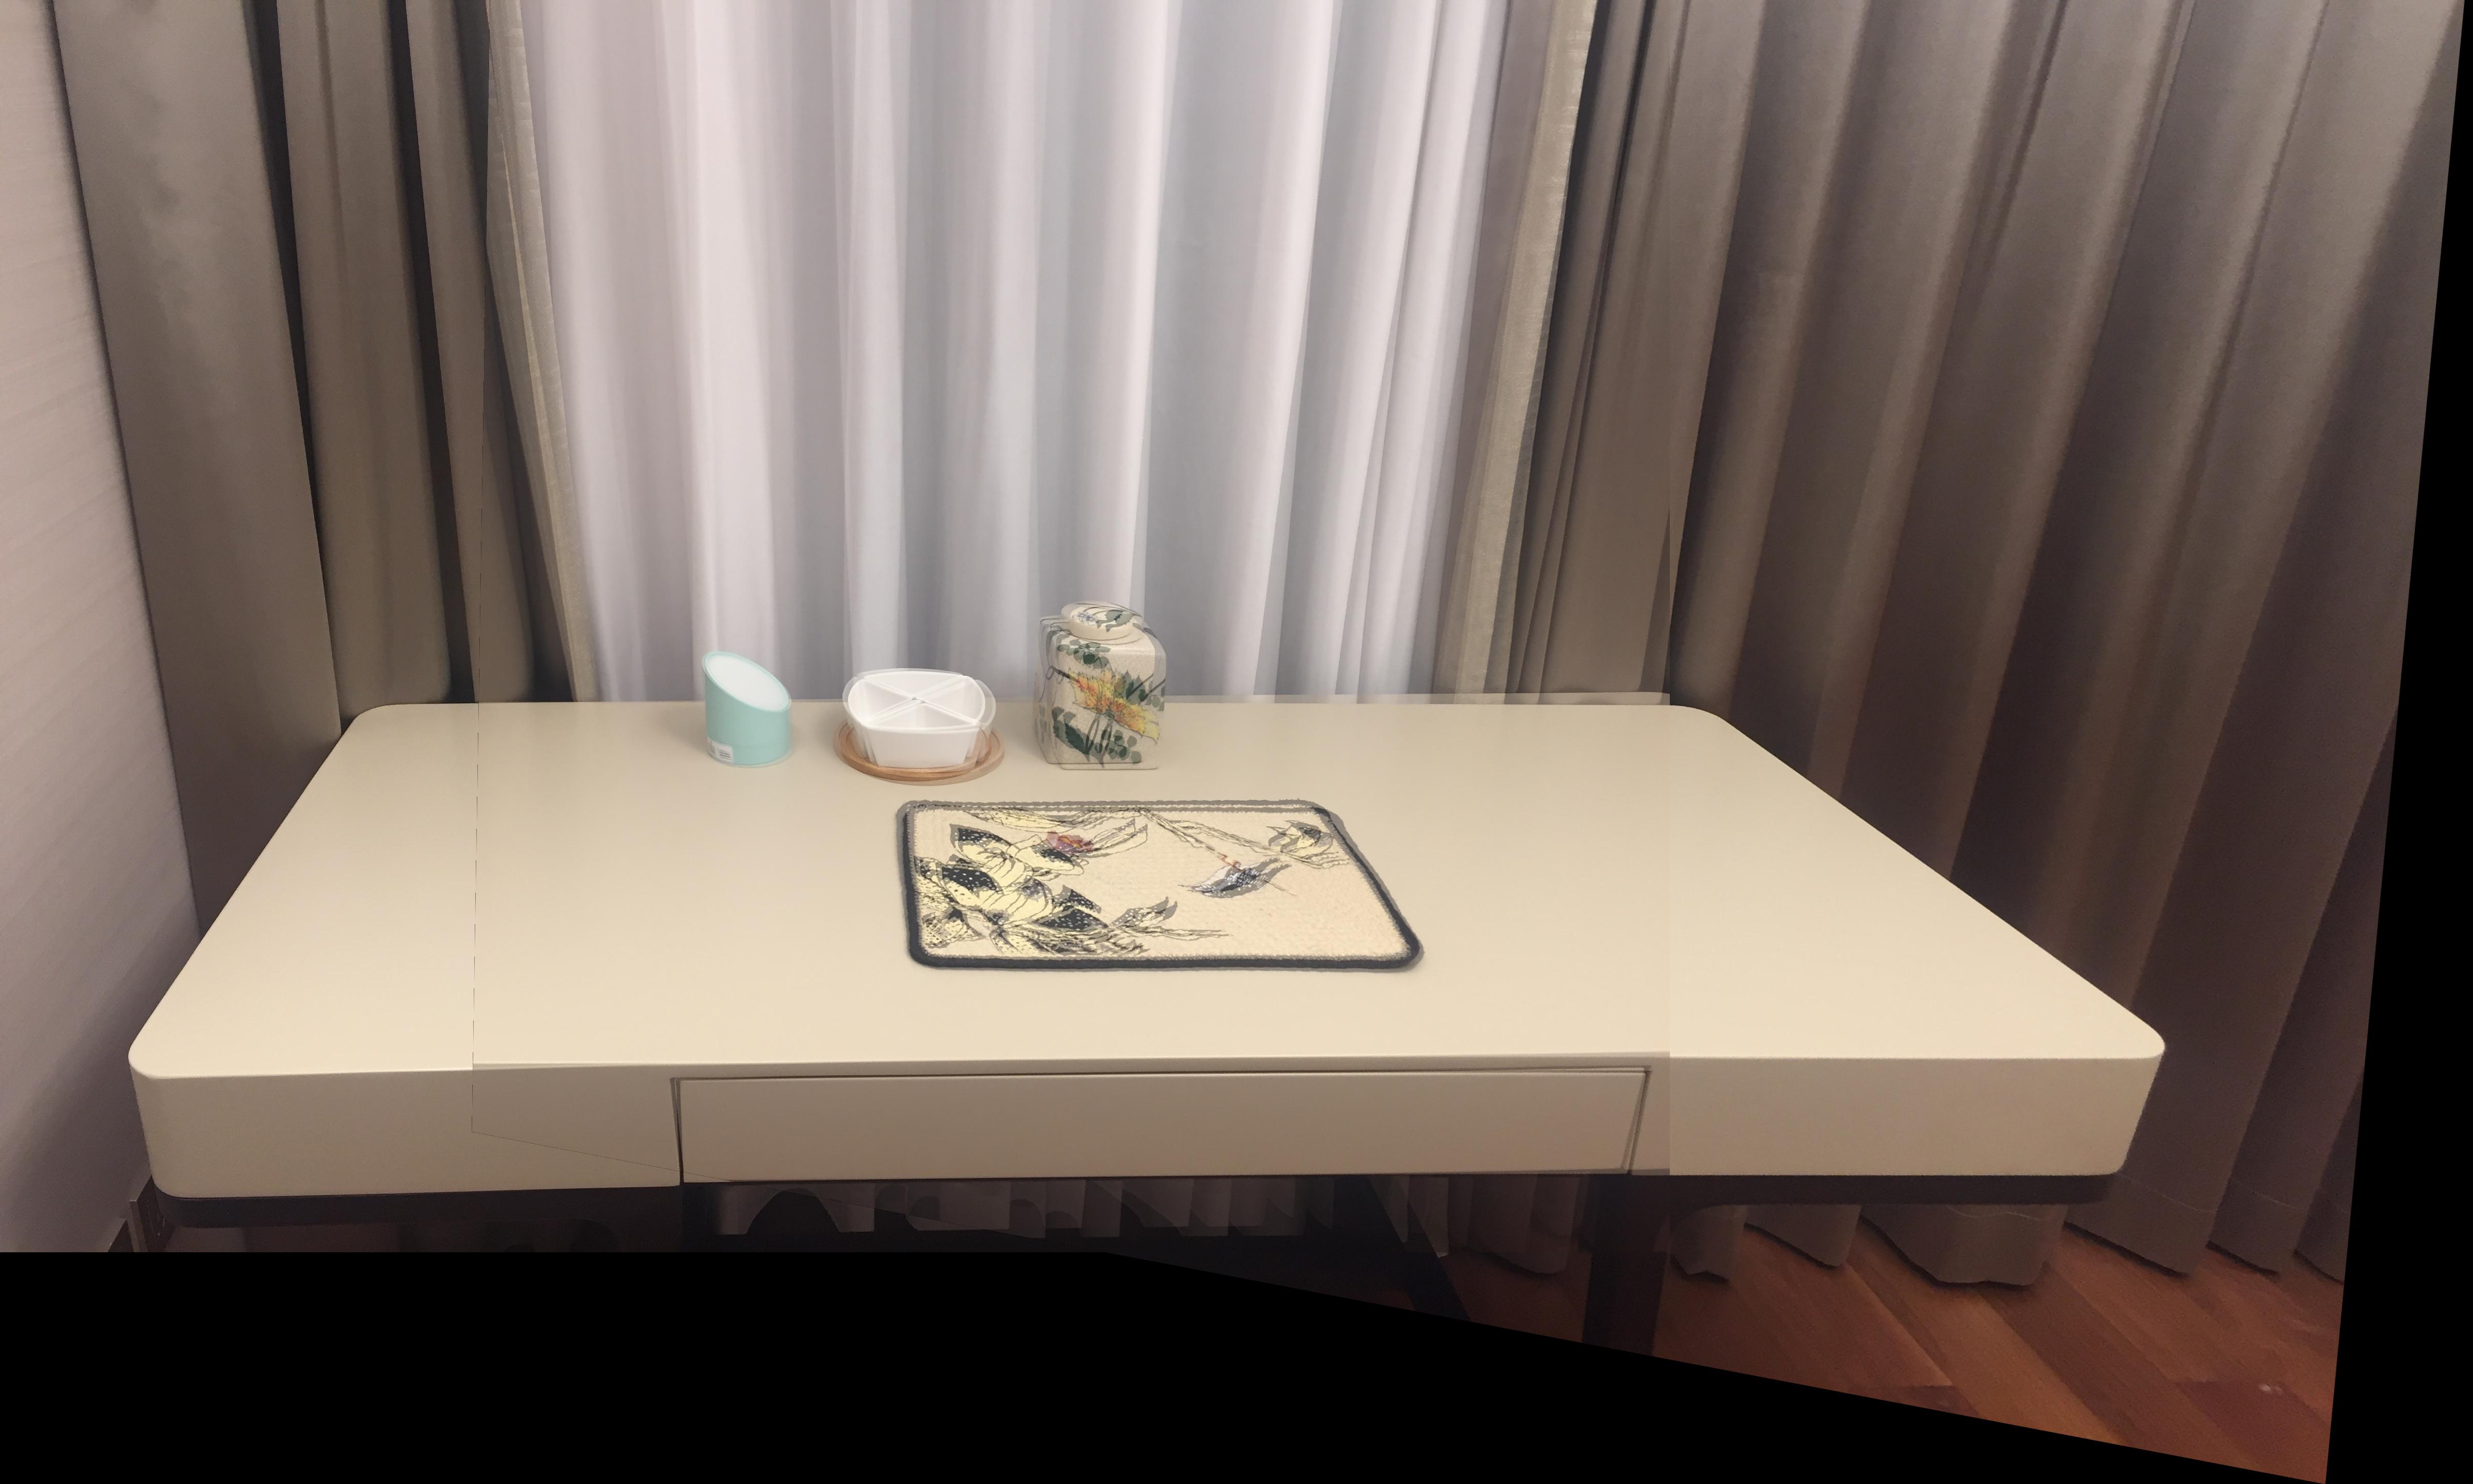
In this step, I used the homography computed in the previous part to warp my images. The warpImage function takes an image and a matrix H, and warp the image in the direction represented by the homography. The size of the resulting image is passed in as an argument, and cv2.remap is used to do the interpolation. By passing in four coordinates that form a rectangle (based on my observation) and selecting the four corresponding points in the planar surface images, I warped those planes to be frontal-parallel.
| Original | |
|
|
| Rectified | 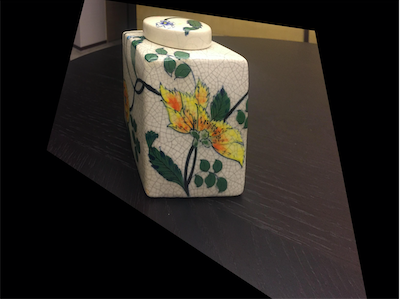 |
 |
 |
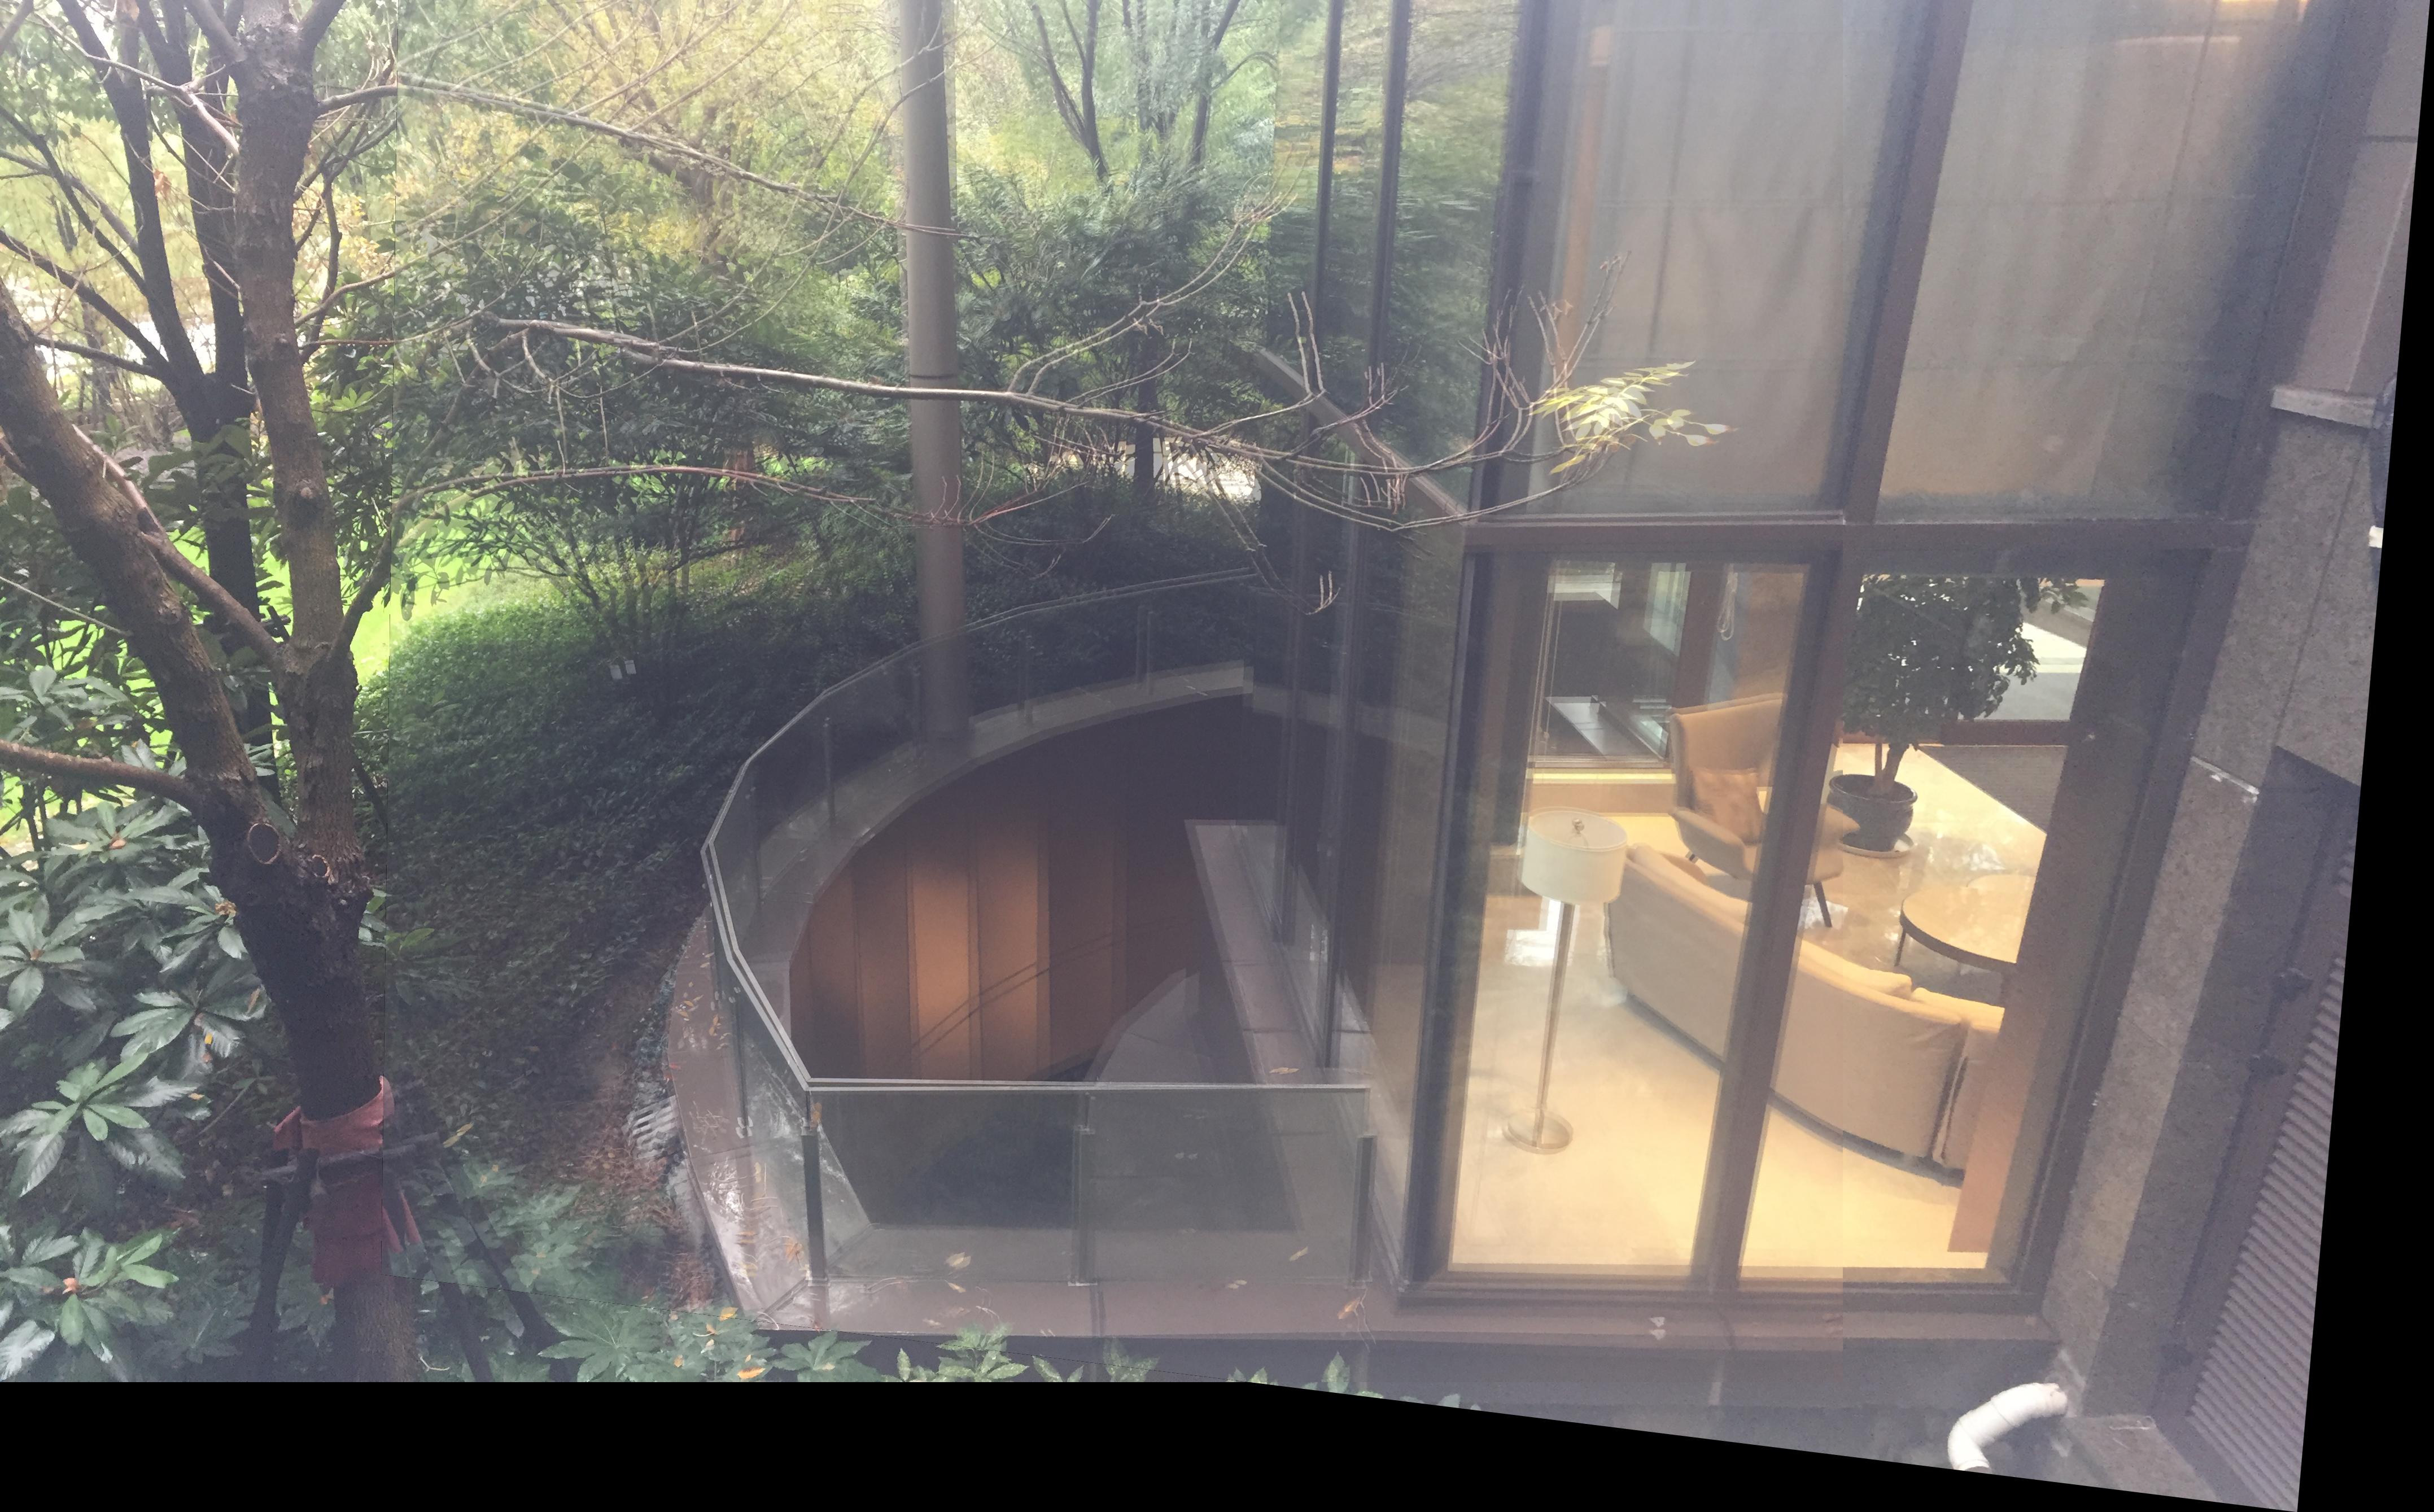
In this part I created image mosaics by warping the right images and leaving the left images intact. The overlapping parts of the two images are weighted averaged to avoid strong edge artifacts.
| Intact | Warped | (Manual) Mosaic |
 |
 |
 |
 |
 |
 |
 |
 |
 |
 |
 |
 |
I learn that it is important to set up and transform matrices and equations and through this project I am getting more comfortable coding matrices. I get a better idea about homography, and learned the cv2.remap approach to interpolation (from Piazza).
In part of the project, I used four pairs of photos and implemented program to automatically finding correspondances and create panoramas. The techniques refers to "Multi-Image Matching using Multi-Scale Oriented Patches" by Brown et al.
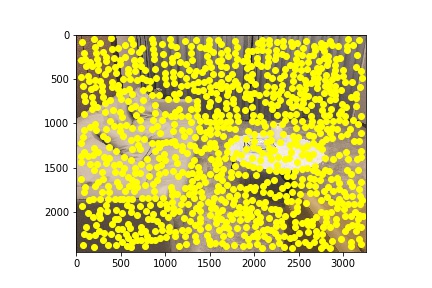
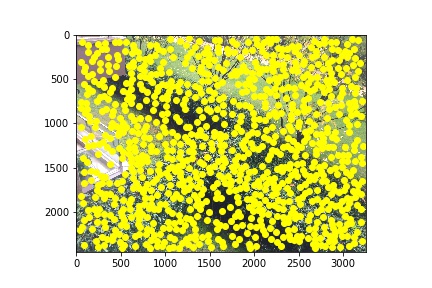
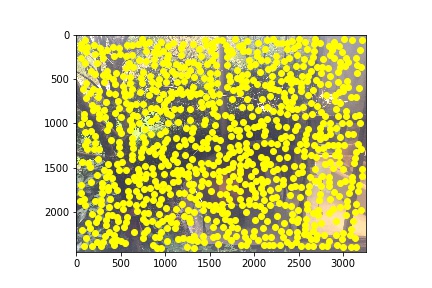
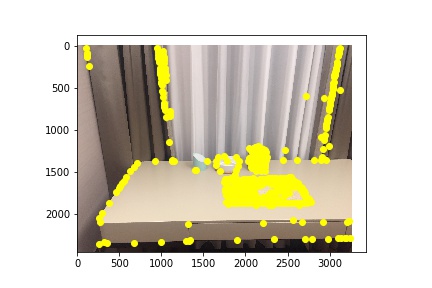
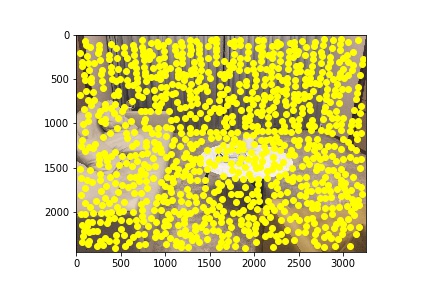
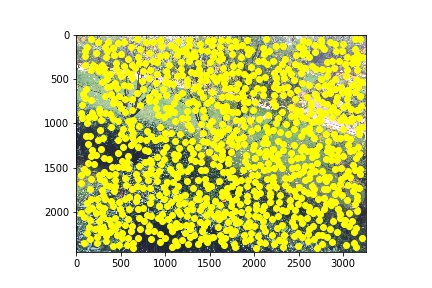
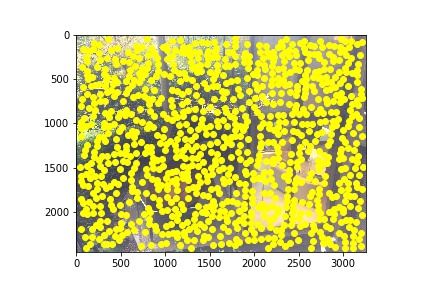
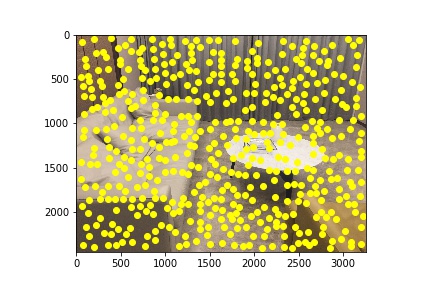
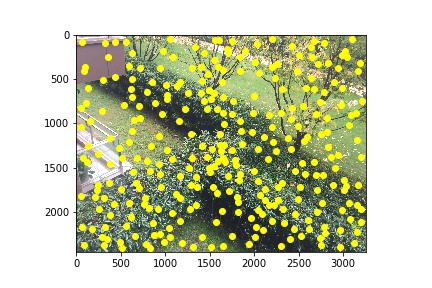
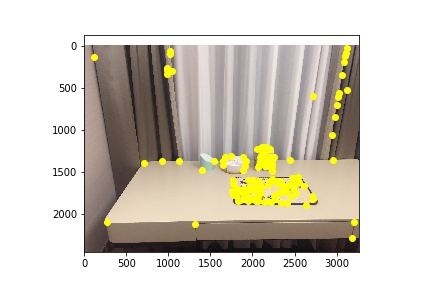
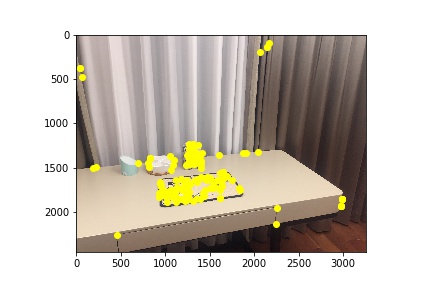
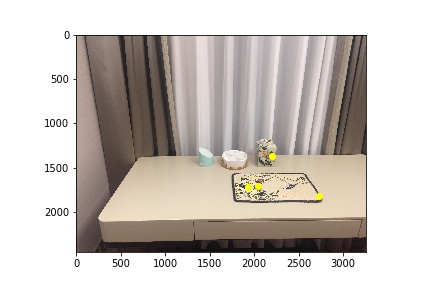
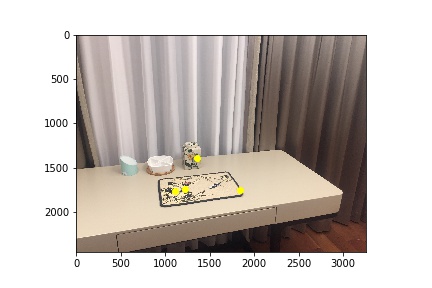
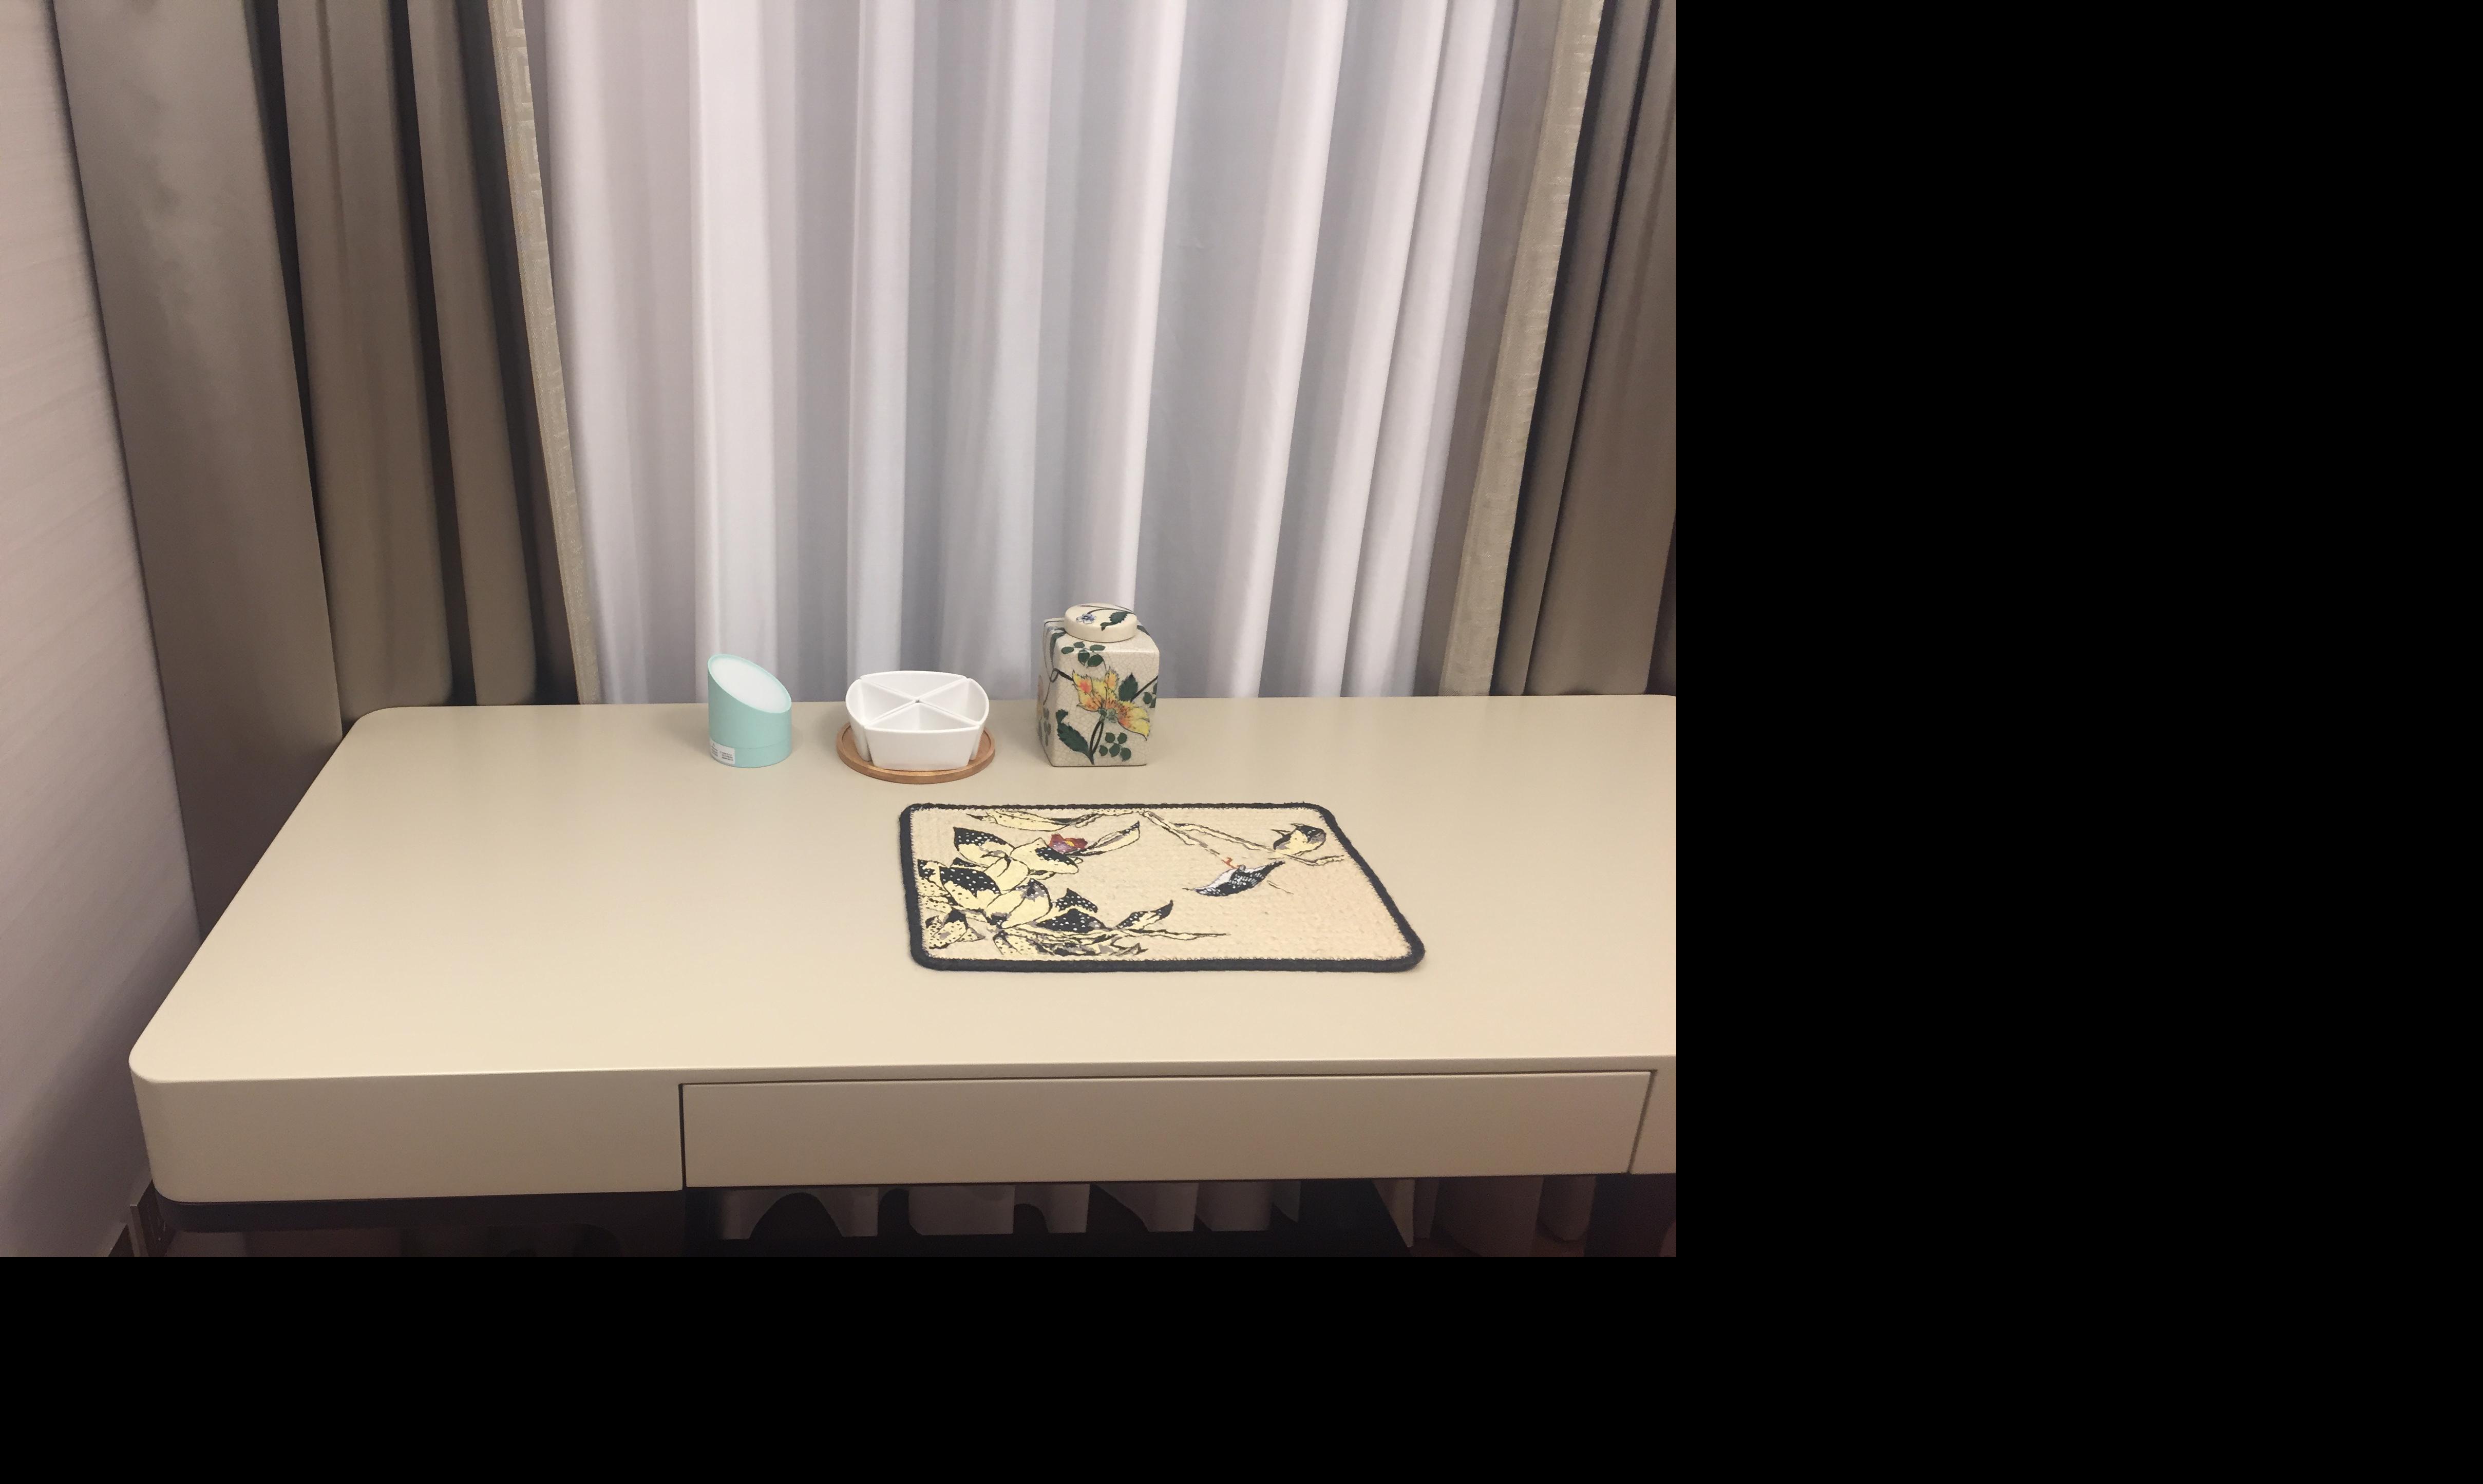
With the Harris Interest Point Detector sample code provided, I set reltive thresholds (for the "Desk" image) and min distance through arguments for each pair of images. The Harris Interest Point detector finds the corners because corners can indicator some features of an image.
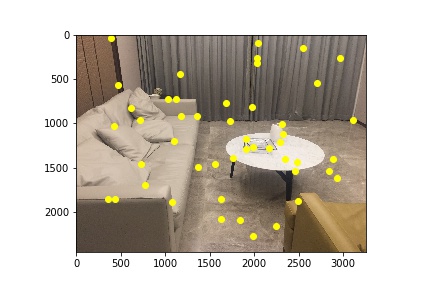
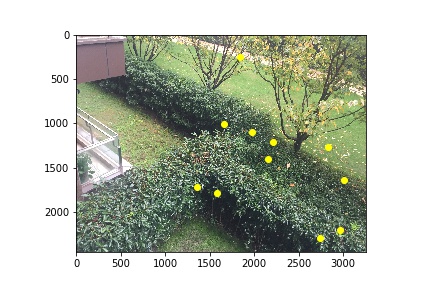
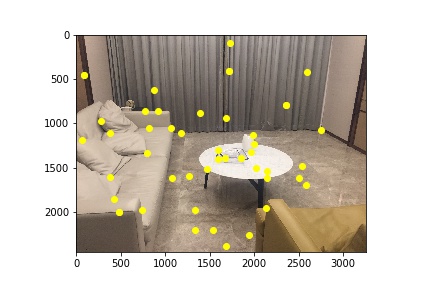
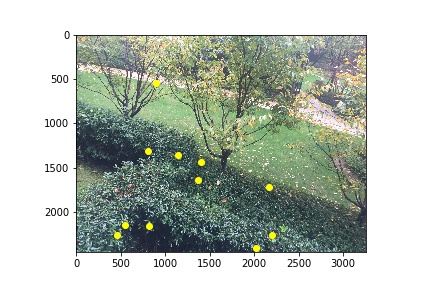
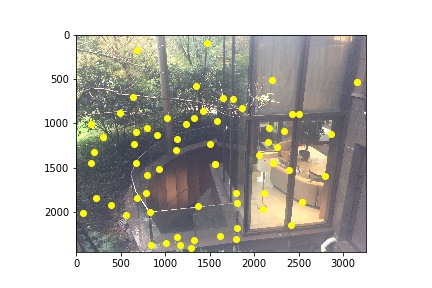
In the next step I implemented Adaptive Non-Maximal Suppression (ANMS) to reduce the number of corners. This works by computing the radius from a point to other points and keep k points with the largest radius value while suppressing the weakers points.
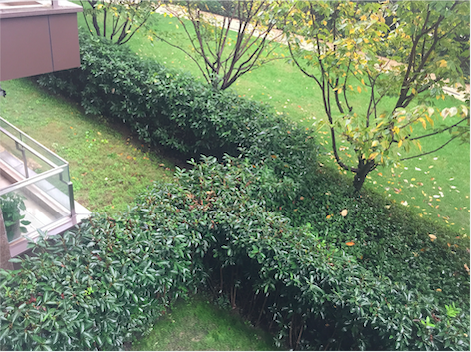
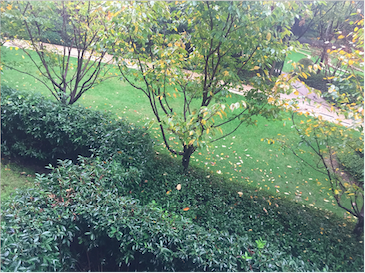
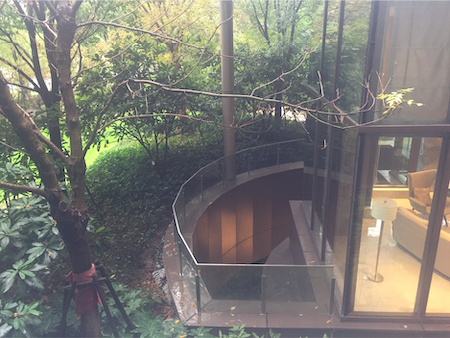
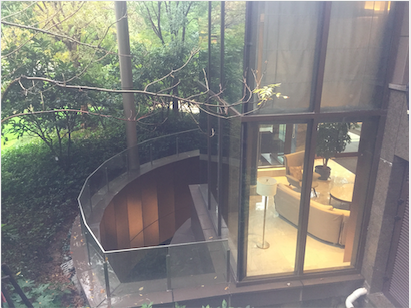
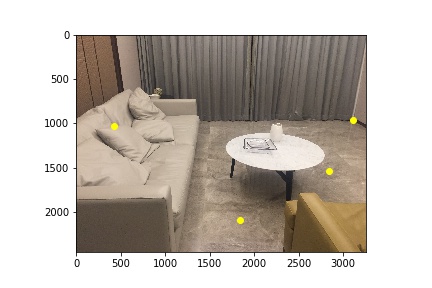
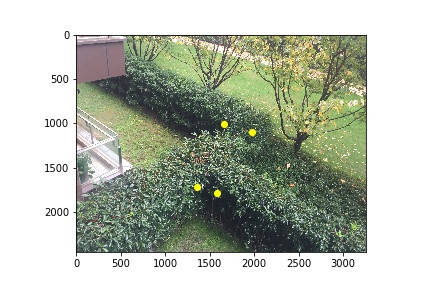
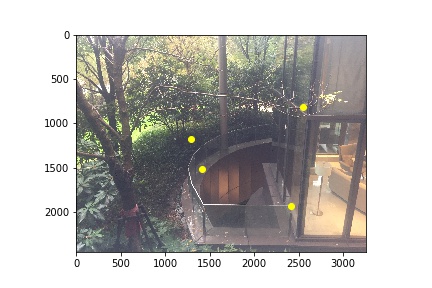
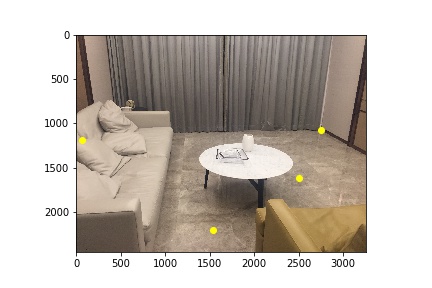
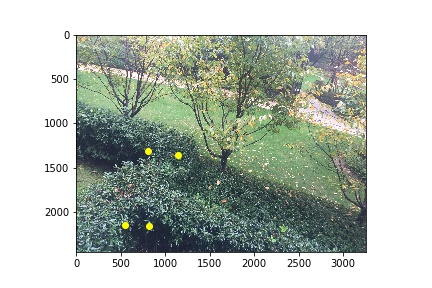
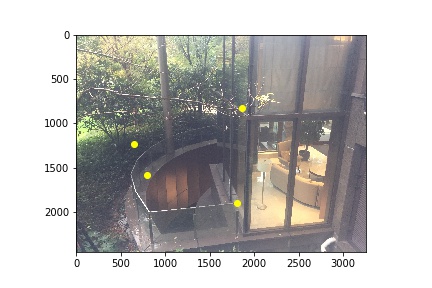
| Living Room | Front Yard | Back Yard | Desk |
| |
|
|
|
| |
|
|
|
| Harris | |||
 |
 |
 |
 |
 |
 |
 |
 |
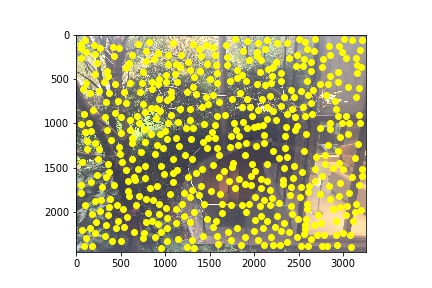
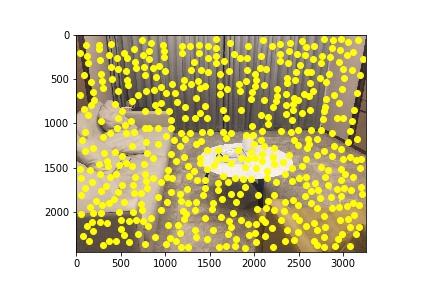
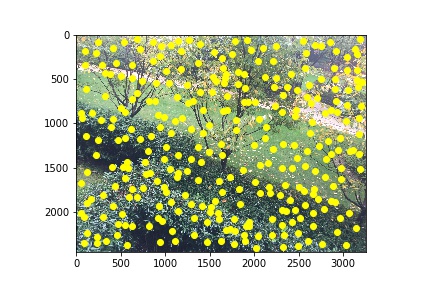
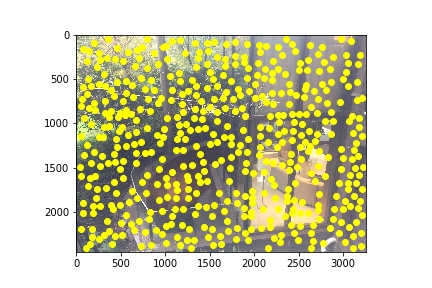
| ANMS | |||
 |
 |
 |
 |
 |
 |
 |
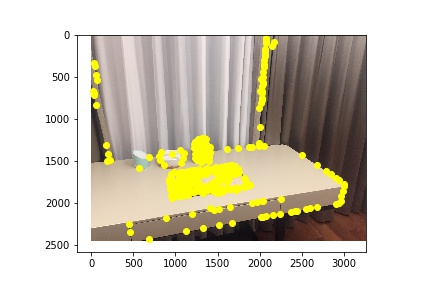 |
In the second and third steps, I extracted feature descriptors and find matches between two images. I sampled 8*8 patches from 40*40 window, and normalize by subtracting mean and dividing by standard deviation. Then I computed squared distances and find a ratio of 1NN and 2NN, and compare with the threshold.
| Matches | |||
 |
 |
 |
 |
 |
 |
 |
 |
As introduced in class, the RANSAC loop starts by randomly sampling 4 points, and compute homography. Then I compute and count the number of inliers relative to an epsilon value. I keep the largest set of inliers and output the cooresponding points.
| RANSAC | |||
 |
 |
 |
 |
 |
 |
 |
 |
The outputs of RANSAC are used as inputs to recompute homography, warp image, and make mosaic. The manual and automatic results are shown as the following.
| Manual | Auto | ||
| |
|
 |
 |
| |
 |
| |
|
 |
 |
| |
 |
| |
|
 |
 |
| |
 |
| |
|
 |
 |
| |
 |
The techniques introduced in this part of the project are amazing - they are effective and the intuition makes a lot of sense to me. Some of the automatic output actually masaics better than manual input, and the process is really convenient and powerful.