194 Project 5a: Image Warping and mosaicing
Kush Khanolkar
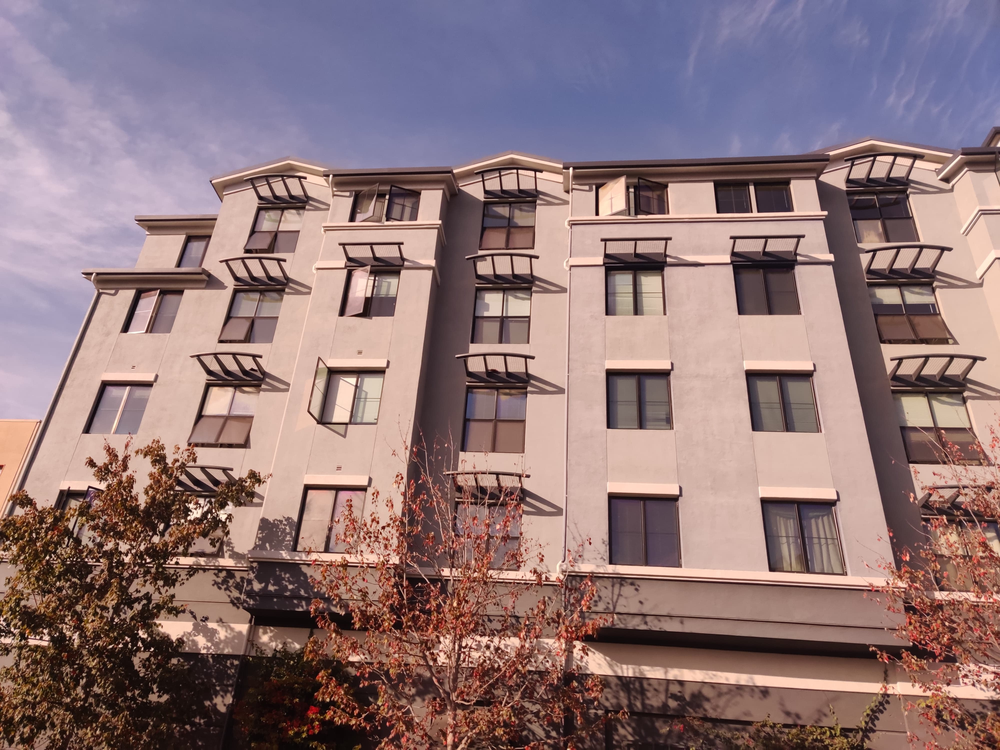
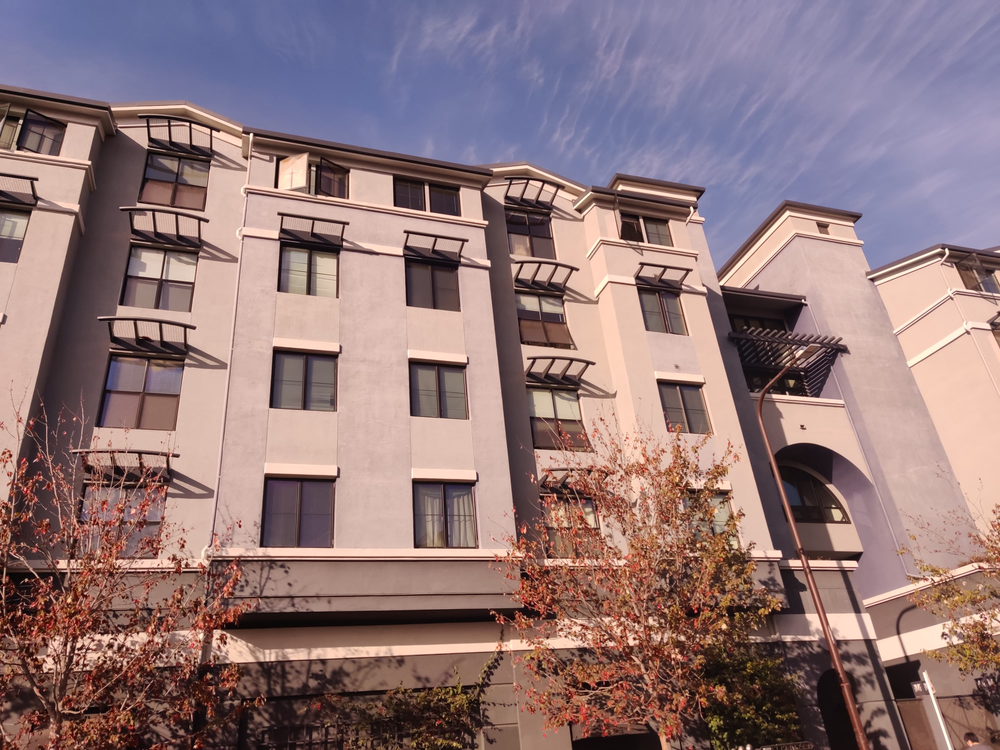
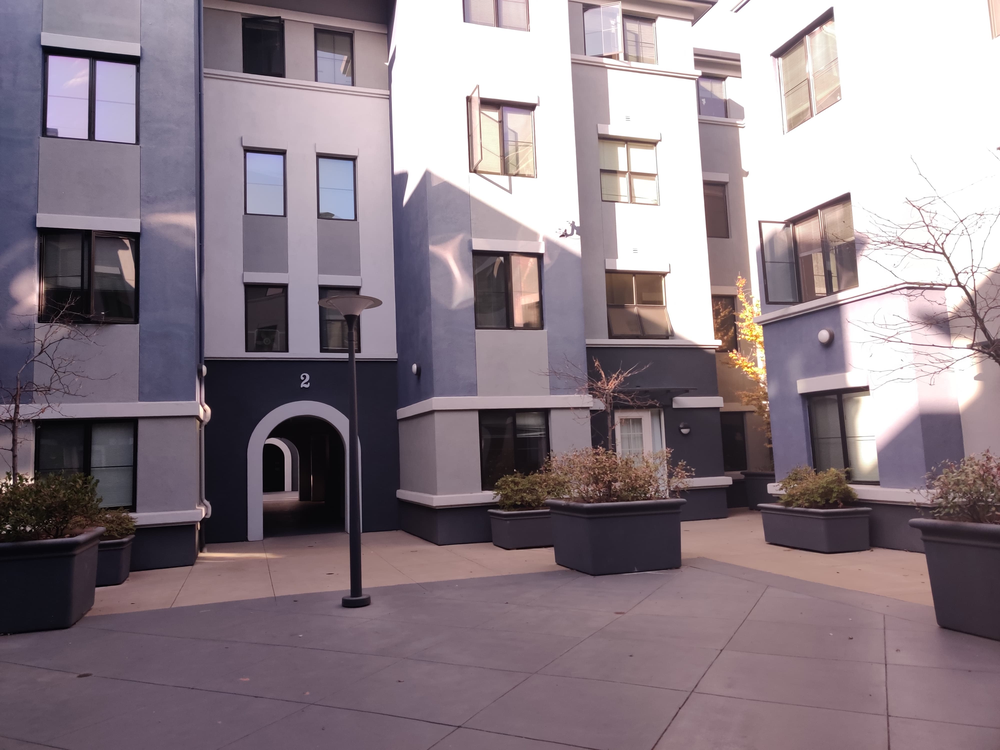
Part 1: Shoot the Pictures
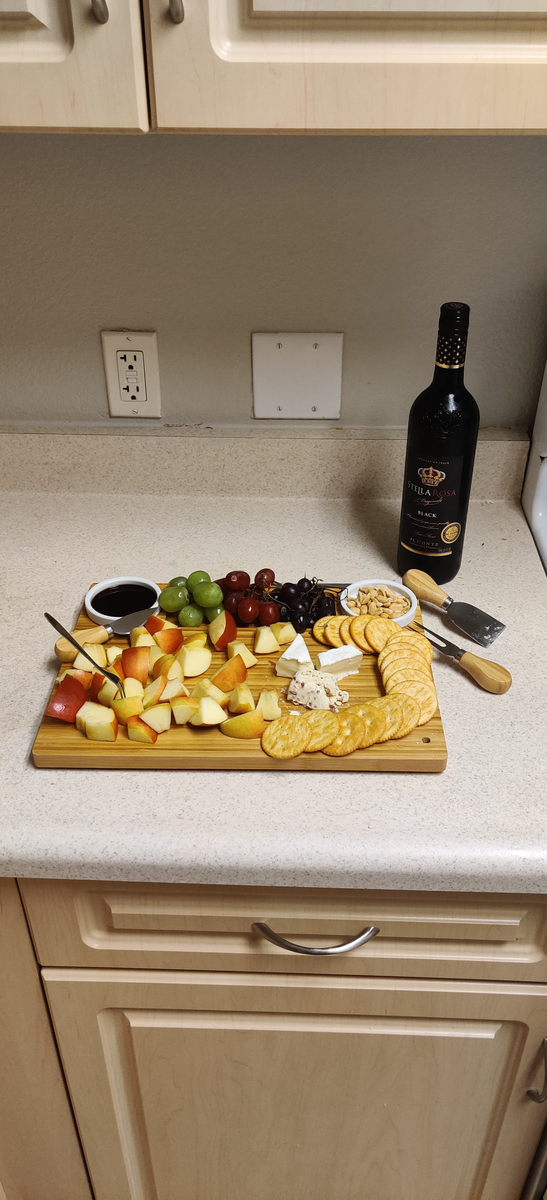
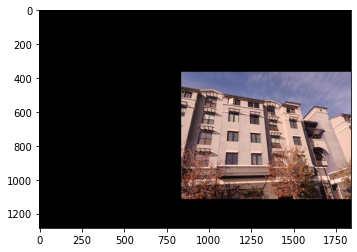
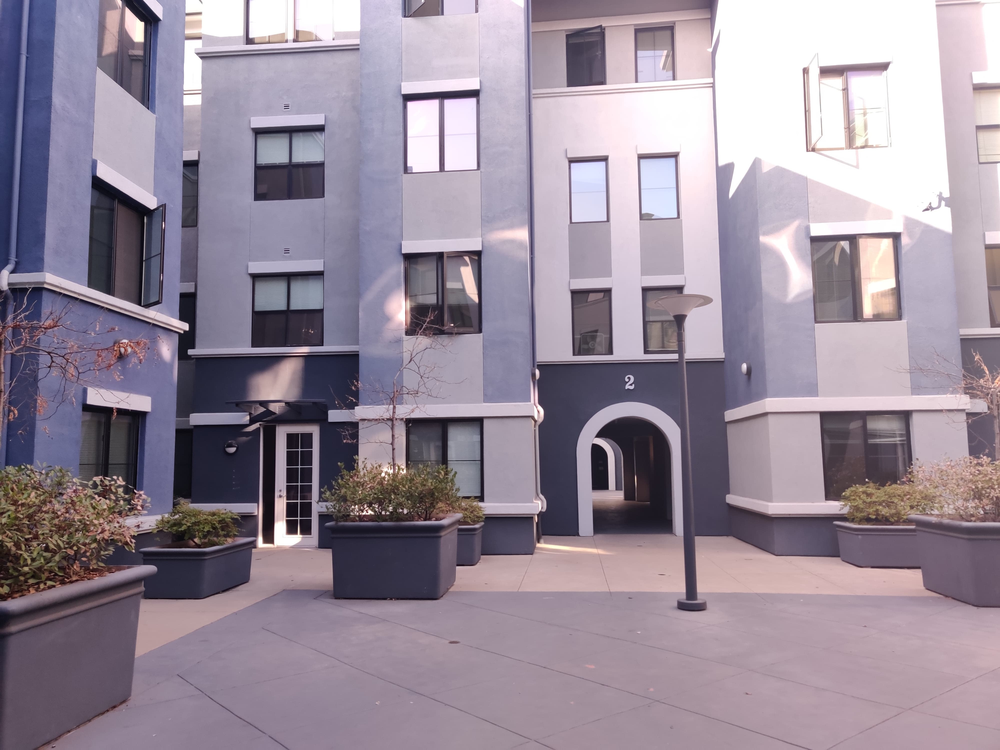
I took 2 pictures of my apartment facade to stich together. Here are the original images:
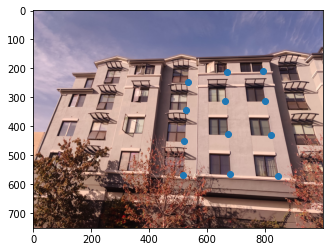
Part 2: Recover Homographies
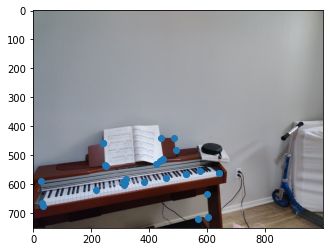
In this section I selected a set of 12 points in both images to map between the images. Here are the points:

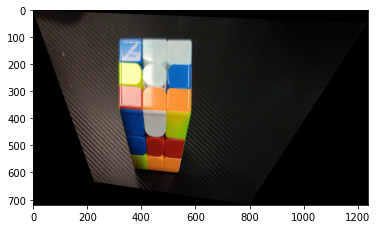
Part 3: Warp the Images/Rectified Images
But first, lets test out the Rectification process on some sample images.
I used the Homography matrix to warp the images into the right positions. Here are a few examples where I warped some images to be frontal-parallel:
Before:

After:
Before:
After:
Cropped (Yum!):
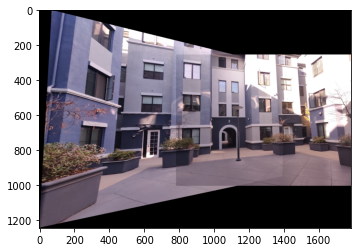
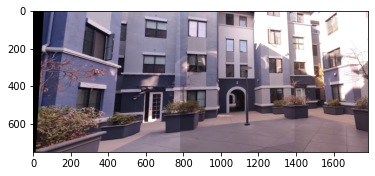
Part 4: Blend images into a mosaic
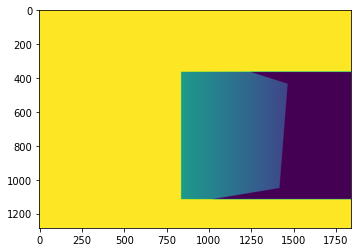
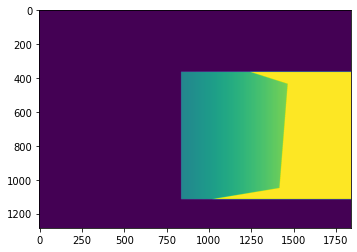
In this step I took the rectified left image and aligned it with the right image to generate the mosaic. I used a gradient mask over both images to smoothen out the mosaic. To deal with issues where points that weren't overlapping were more transparent (thus creating artifiacts) I made it so every point where only one image has data it's mask gives that image full (1) alpha.
For example one I will show the whole process:
Original:
Dots:
Transformed (left only) and Aligned:

Filters:
Combined:
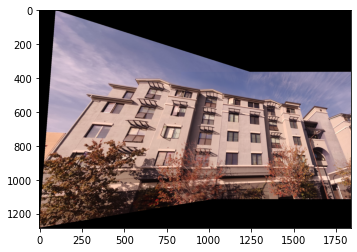
Cropped:

Example 2:
Mosaic:
Cropped:
Example 3:
Mosaic:

Cropped:

What I learned
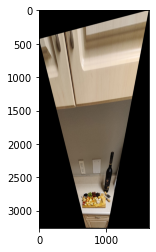
I think learning how to change the perspective of an image just using math is super cool! Comparing the shifted top view version of the cheese platter vs the front view was very neat to see in action.
194 Project 5b: FEATURE MATCHING for AUTOSTITCHING
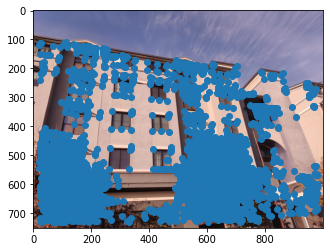
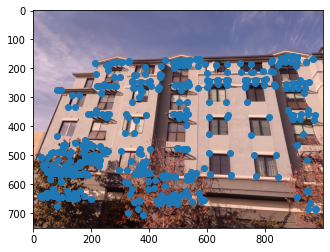
Part 1: Harris Corners + ANMS
In this section we first used harris corners algorithm to identify promenent edge locations in the image. Then to reduce the number of interest points most effectively rather than taking the top 500 points we used anms to "spread out" the points throughout the image.
All points:

Top 500 (Weight):
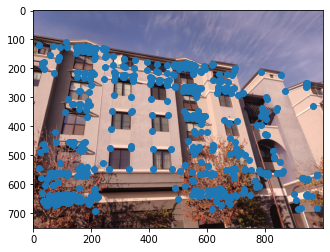
ANMS 500:
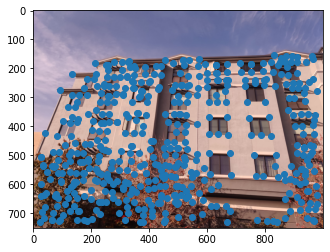
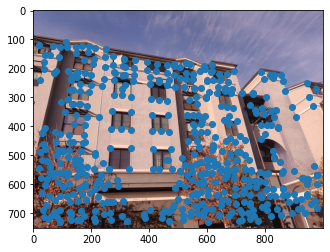
As you can see the anms 500 spread the points out much more evenly throughout the image for better mapping
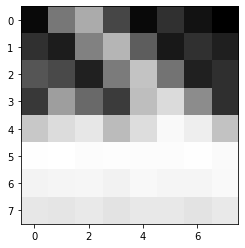
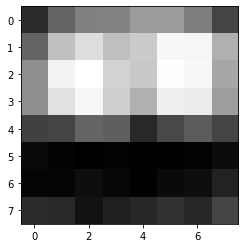
Part 2: Feature Descriptors
In this section I used we selected 40x40 patches around our keypoints. Blurred these patches and downsampled to 8x8 them to get a matching feature for each keypoint.
Blurred 40x40 patch , Blurred 8x8 feature

Blurred 40x40 patch , Blurred 8x8 feature

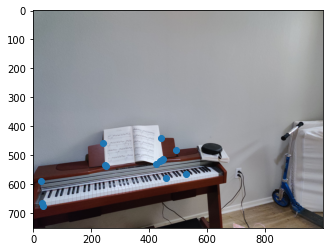
Part 3: Matching Images
Next I matched these features against each other in both halves of the images. Any feature where the ratio of dist(1-nn)/dist(2-nn) was less than 0.5 was included in these next filteration of points to identify the best matching keypoint candidates between the images. Below are some examples of the matching keypoints.
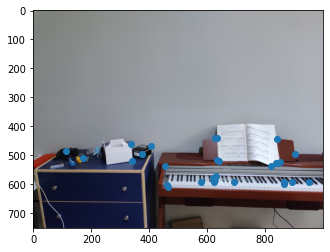
Image 1:
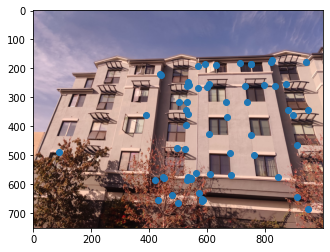

Image 2:
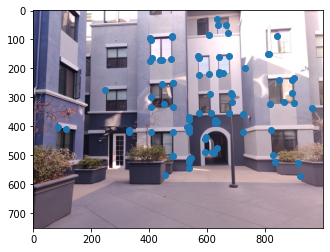
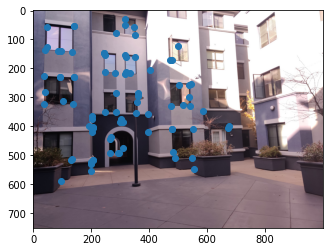
Image 3:
Part 4: RANSAC
Next we used the RANSAC algorithm to do a final pass to exclude match outliers by geneterating H matricies from 4 points and seeing which points followed that particular H matrix. The best set of 4 points was used to determine the inliers set (which was used to make the final H matrix). These inliers are shown below:
Image 1:
Left points (Blue) projected on right (Orange) with best H projection
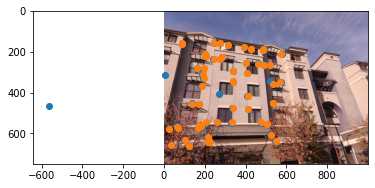
Inliers

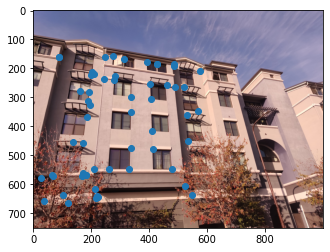
Image 2:
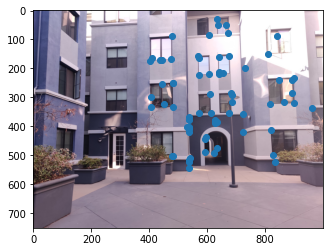
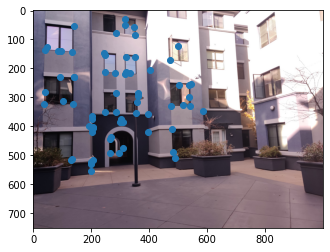
Image 3:

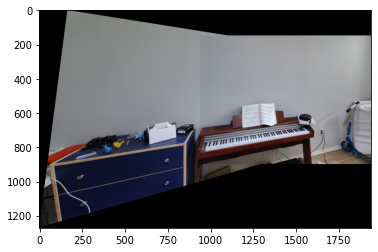
Part 5: Mosaic
Finally we can use these inliers just as we did in Part A to generate mosaics! Here are the results of this automatic mosaicing.
Image 1:
Manual:
Automatic:

Image 2:
Manual:
Automatic:

Image 3:
Manual:
Automatic:
What I learned
I learned the cool way of automatically selecting matching points between two sets of related images. I thought the method of slowly filtering down points in both images til only matches were left was a very clever way of finding these matches without resorting to any type of CNN type heavy computation.