|
|
For this project, I got to implement the warping of a set of images taken of the same subject at slightly different angles to create a mosaic of all of the warped images, thereby showing more of the subject than could be shown with a single image. In Part B, I got to automate the process of specifying the corresponding points in each image of the mosaic.
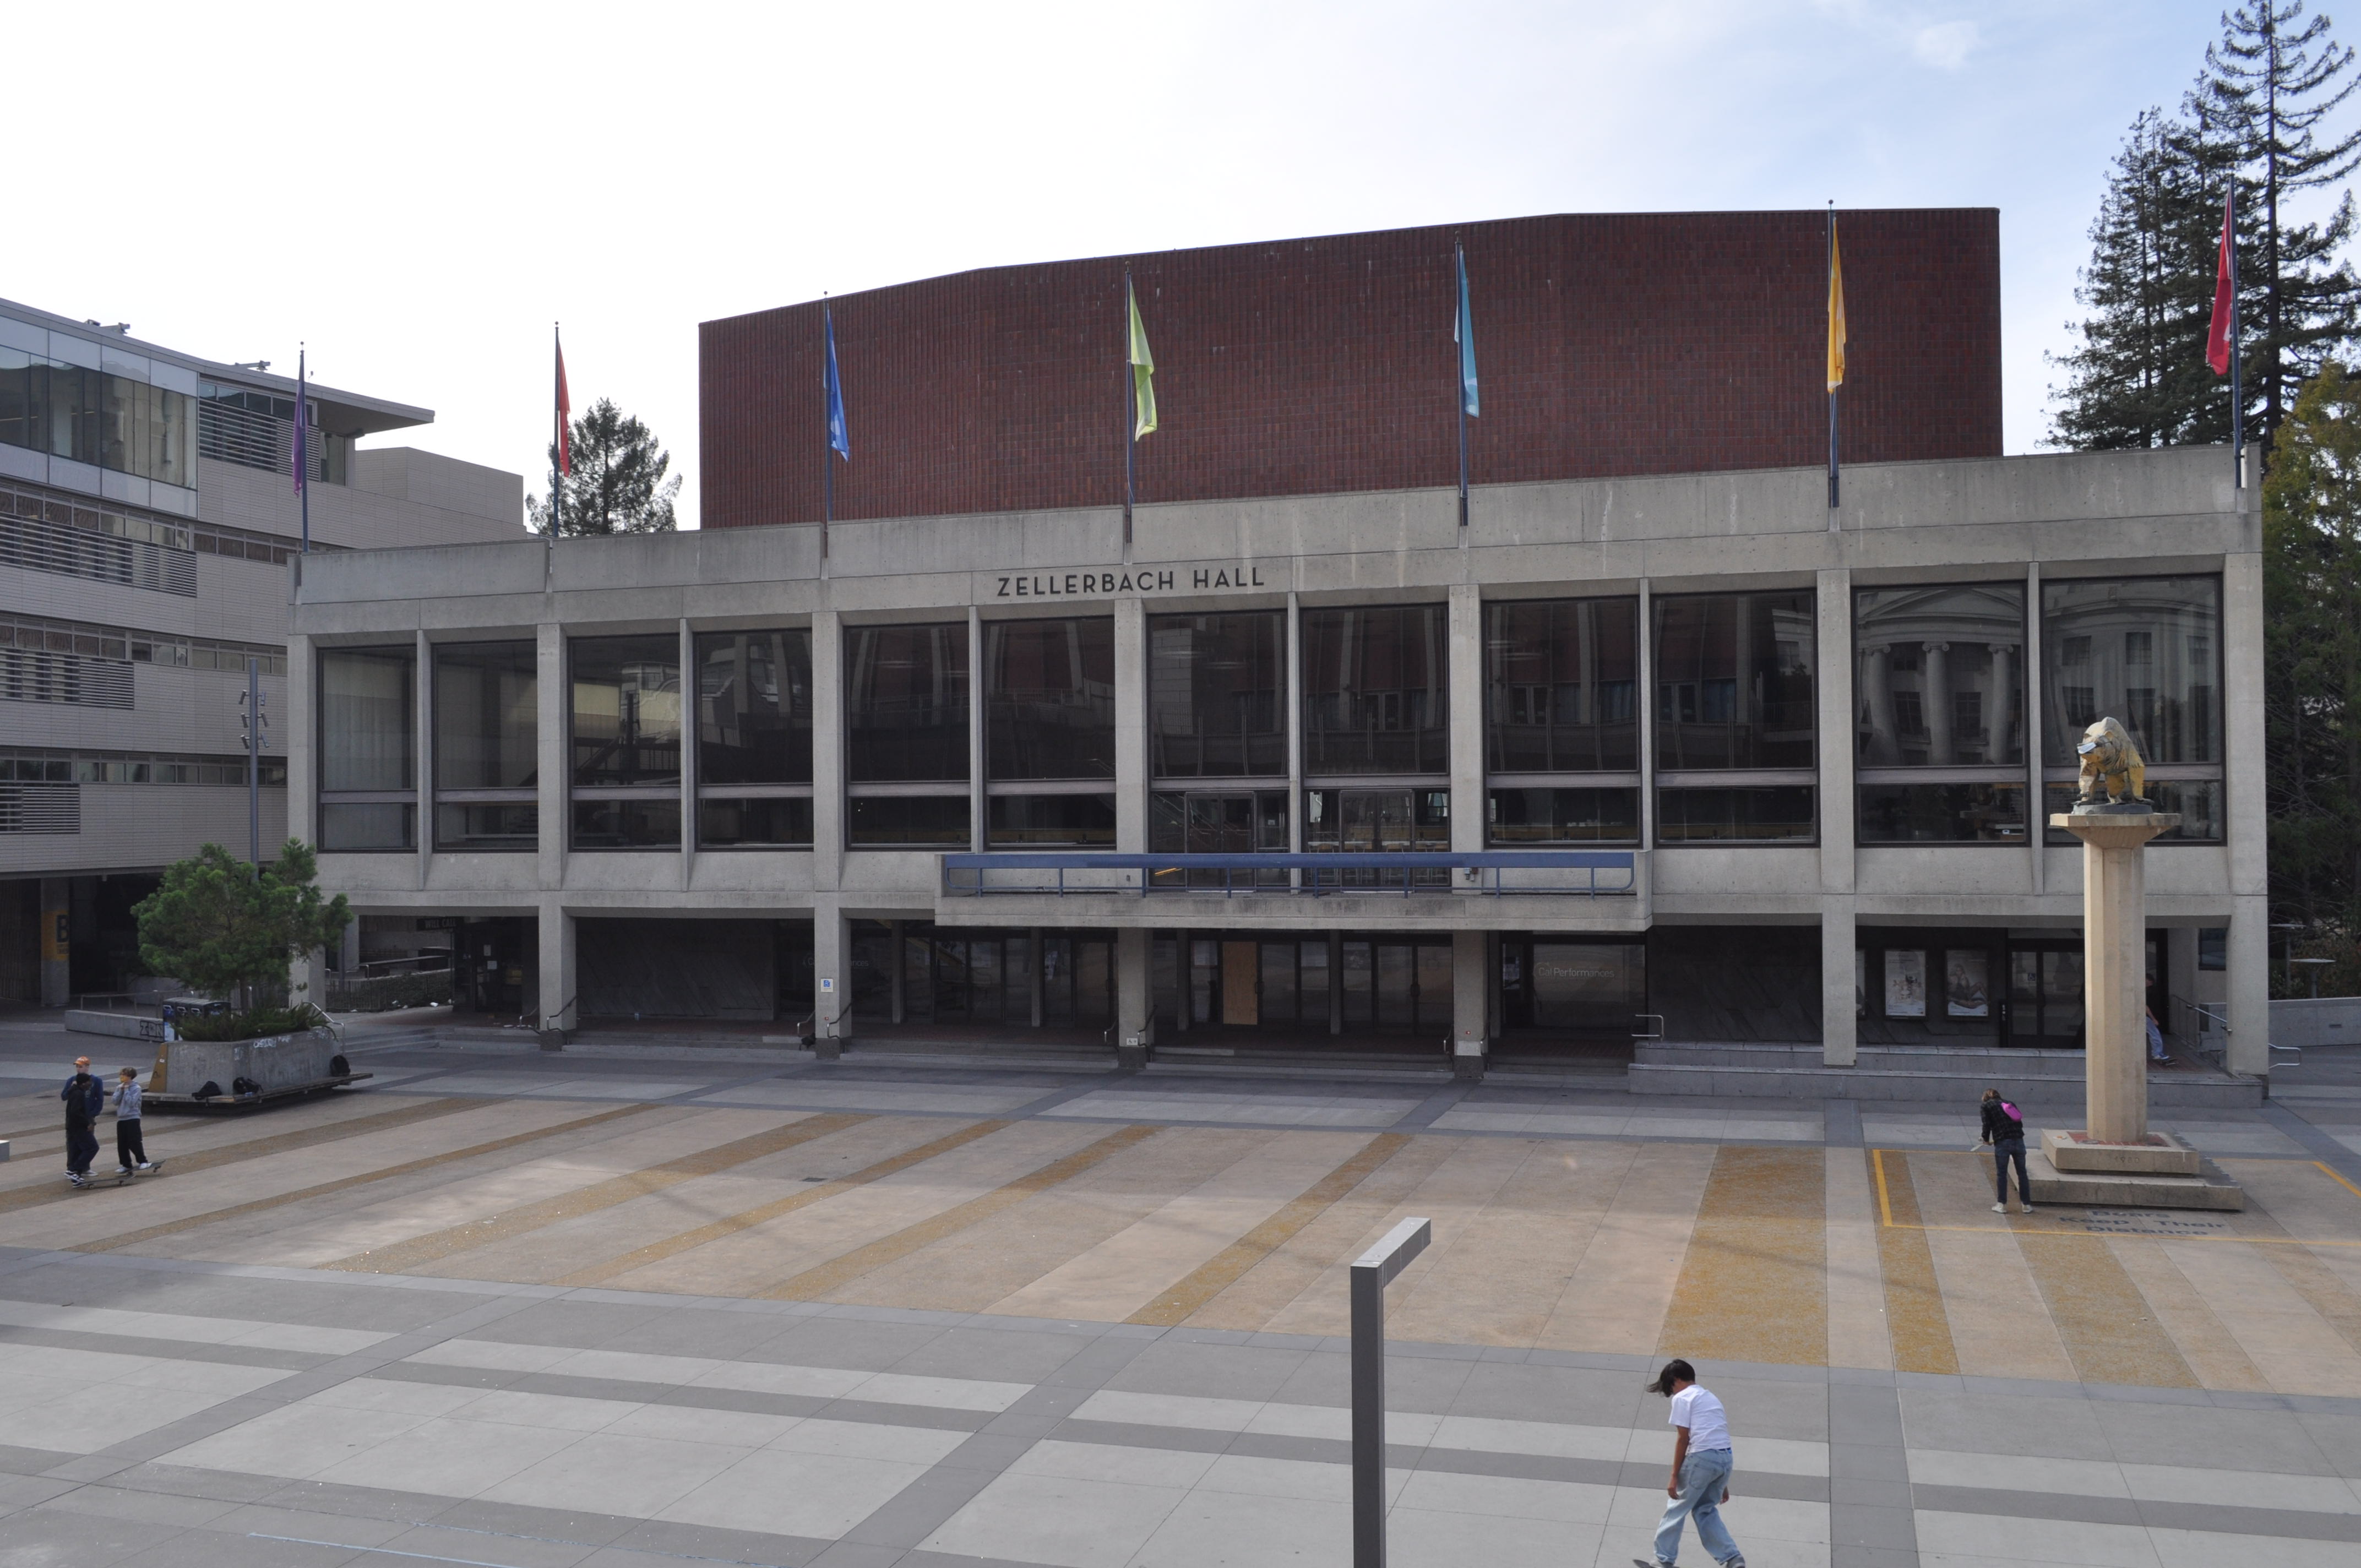
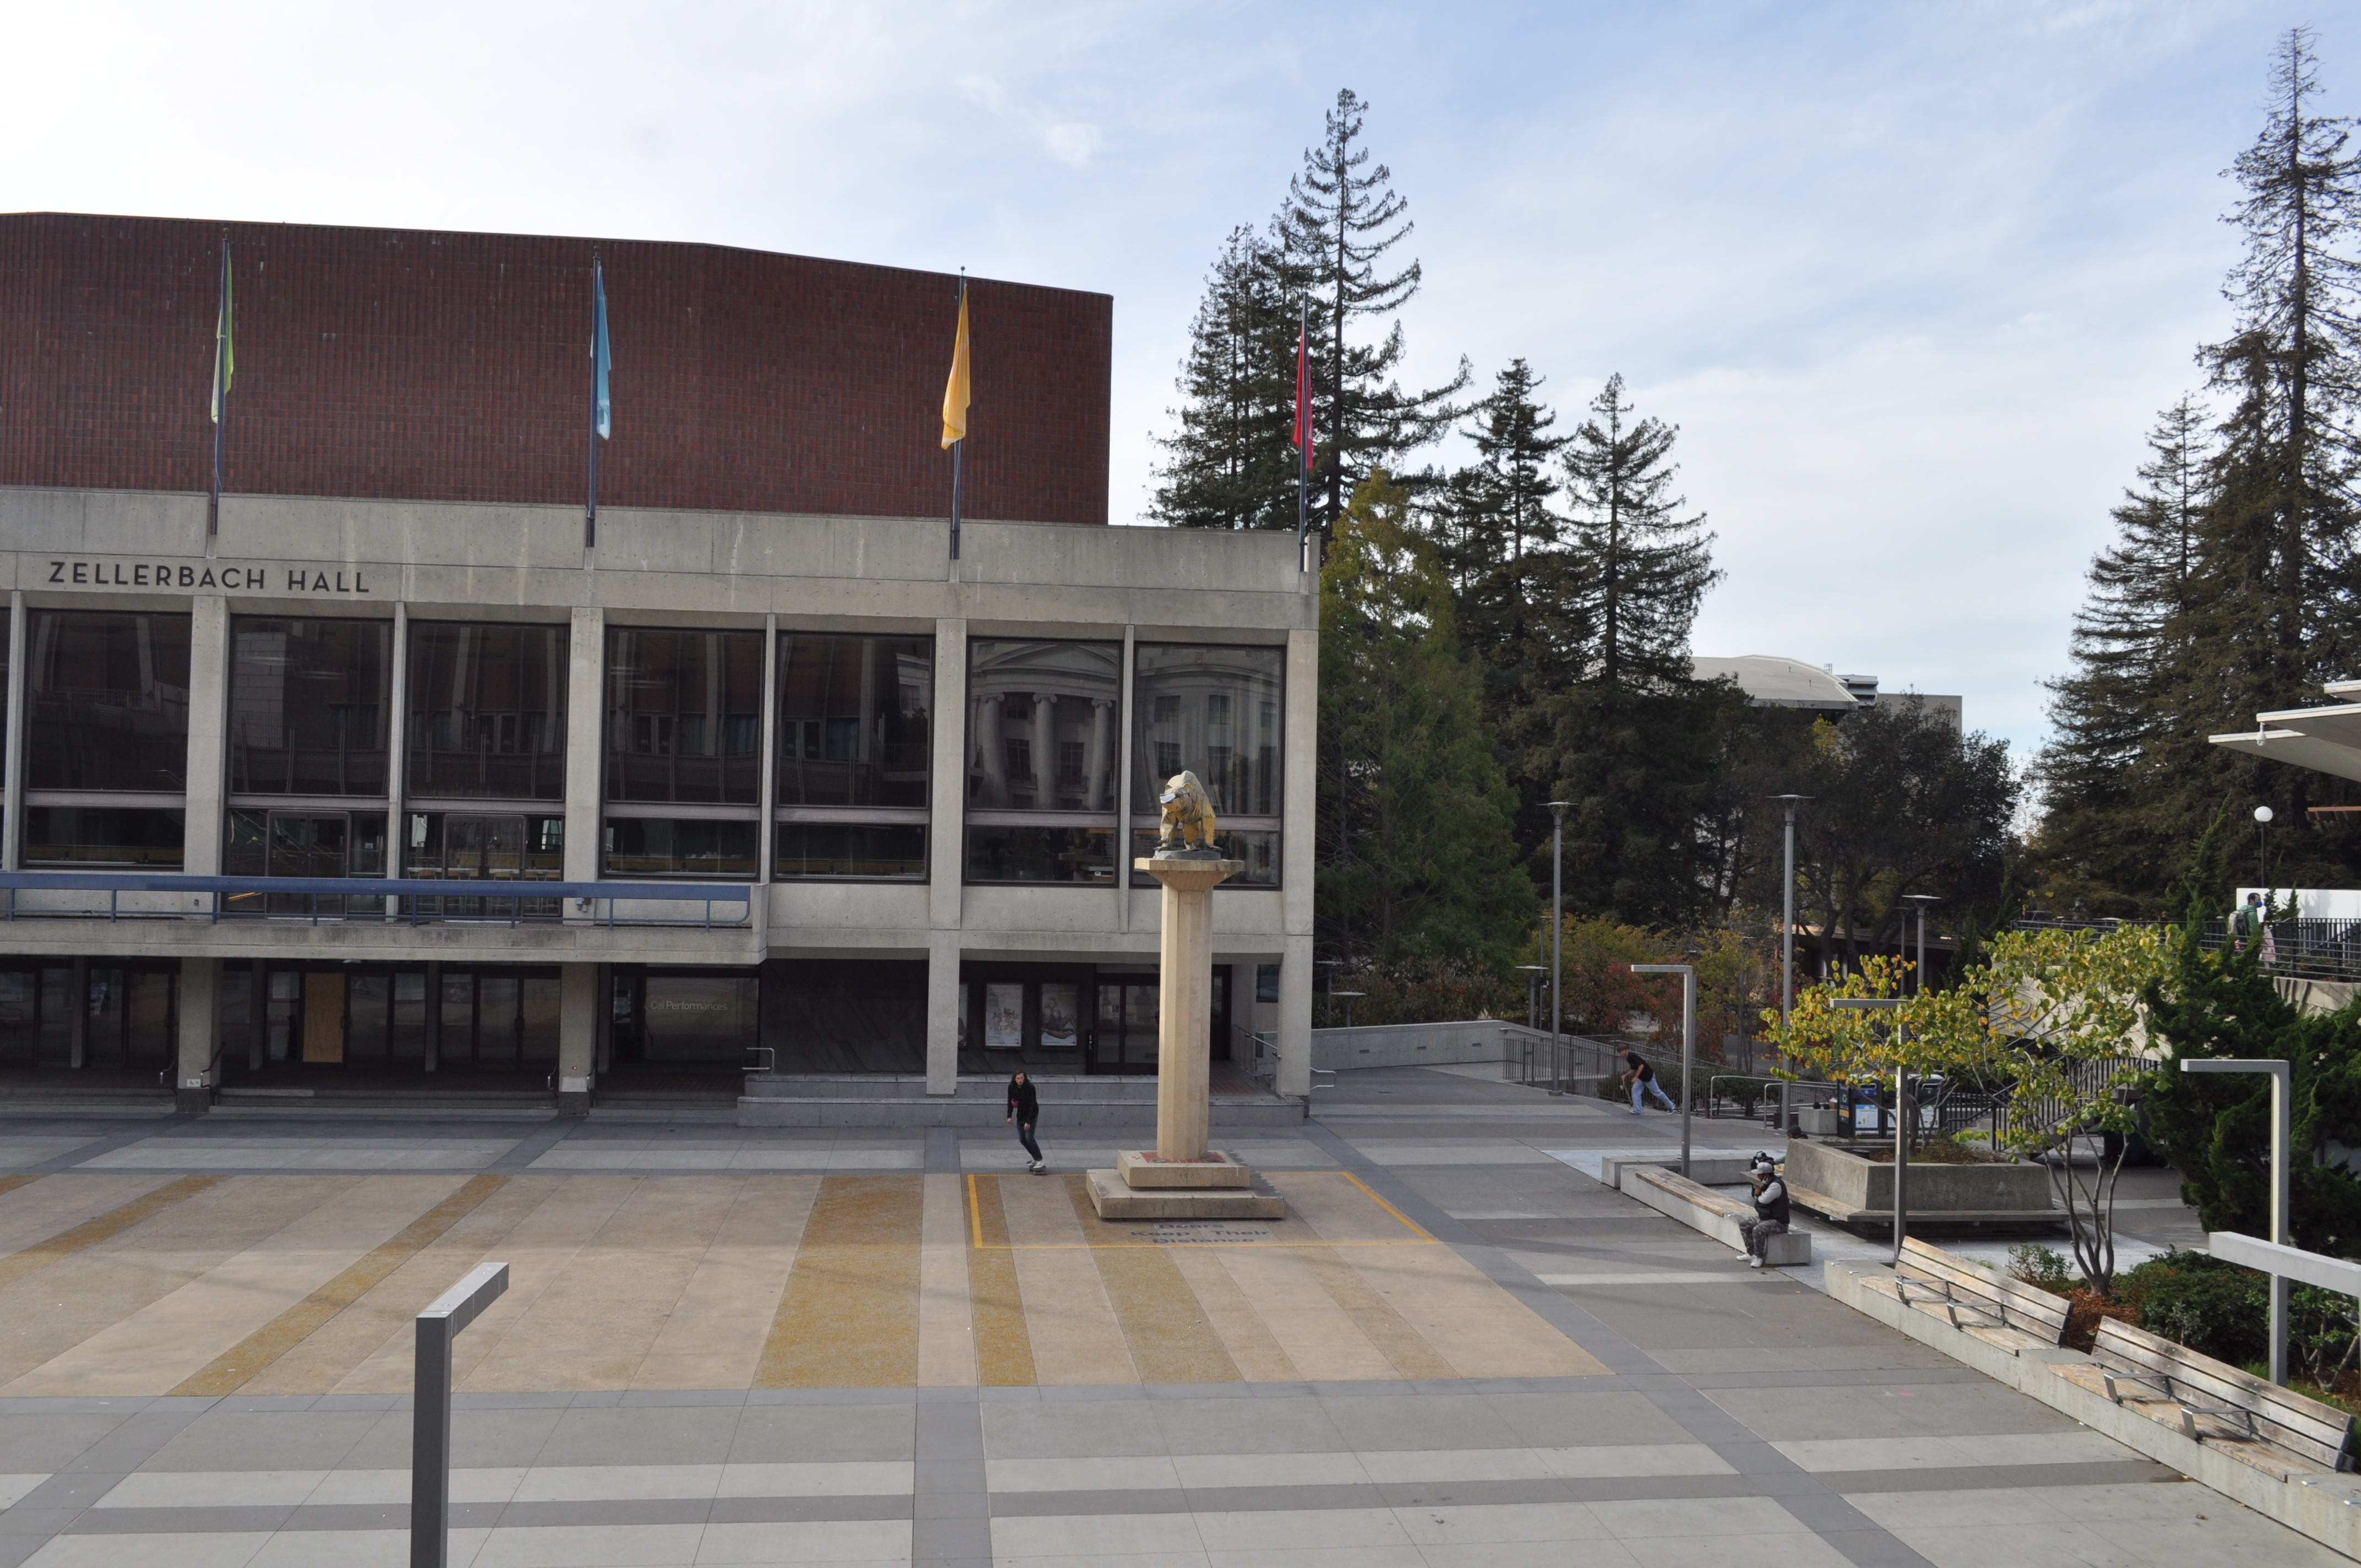
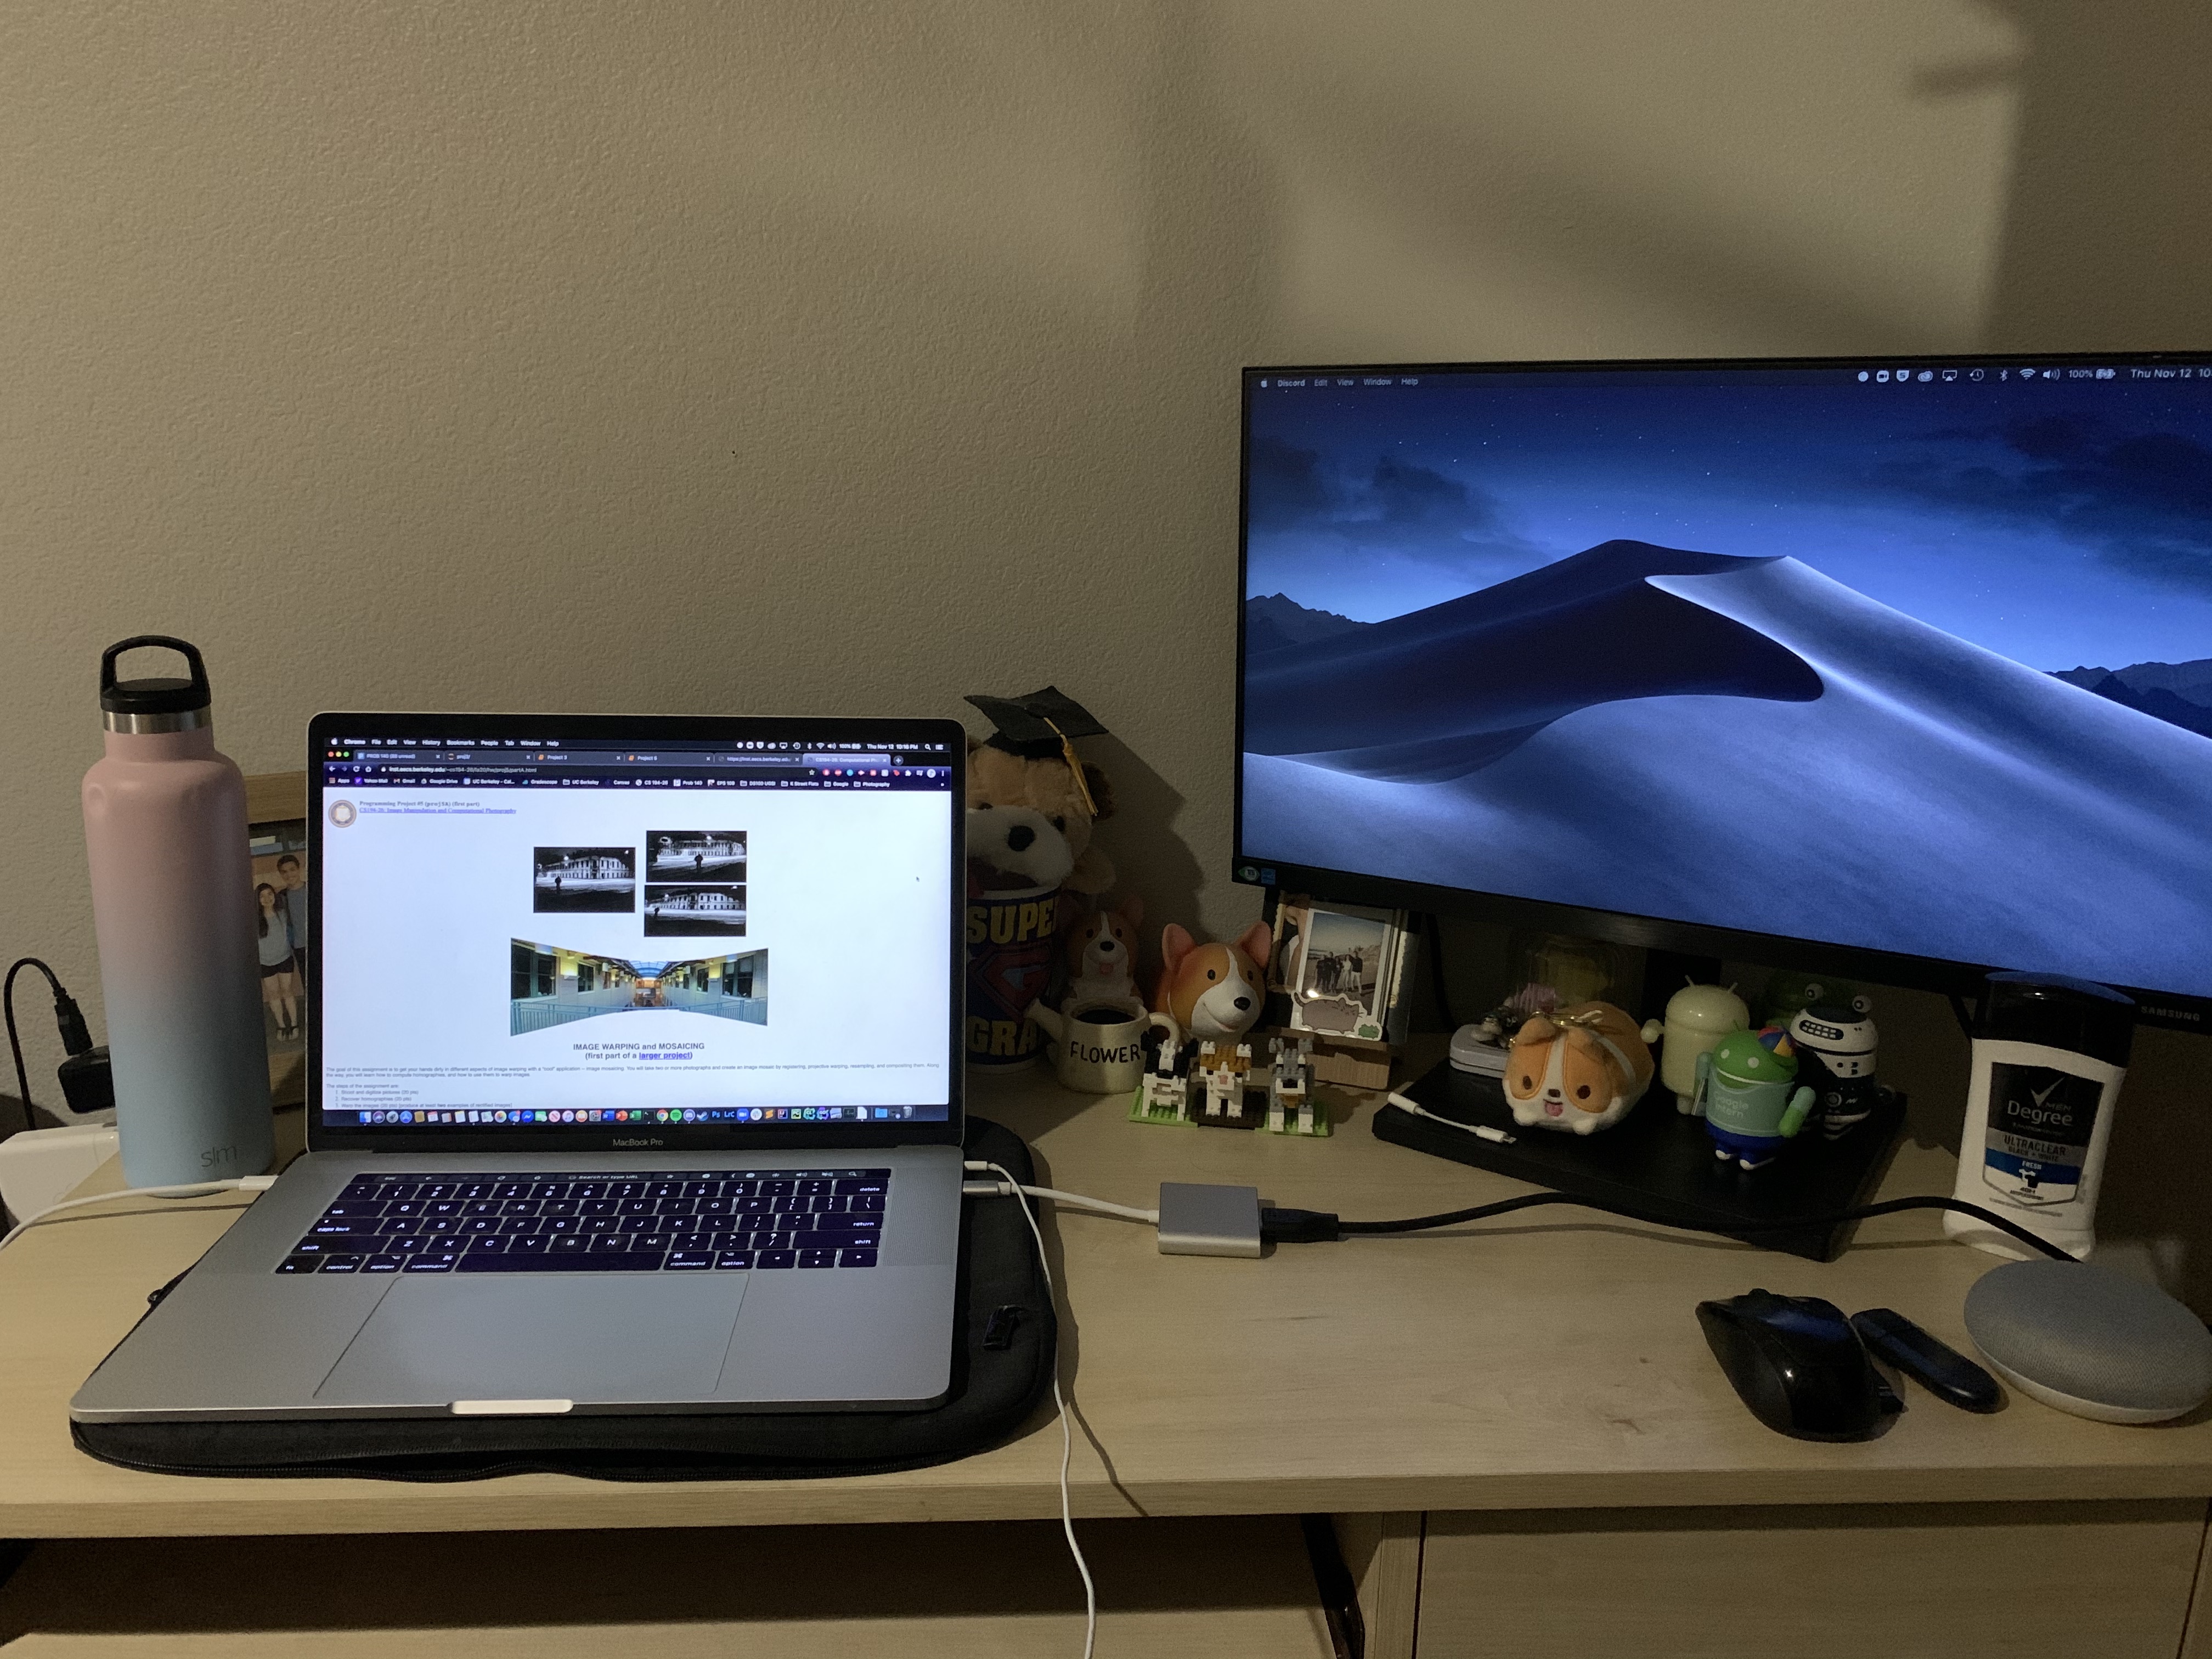
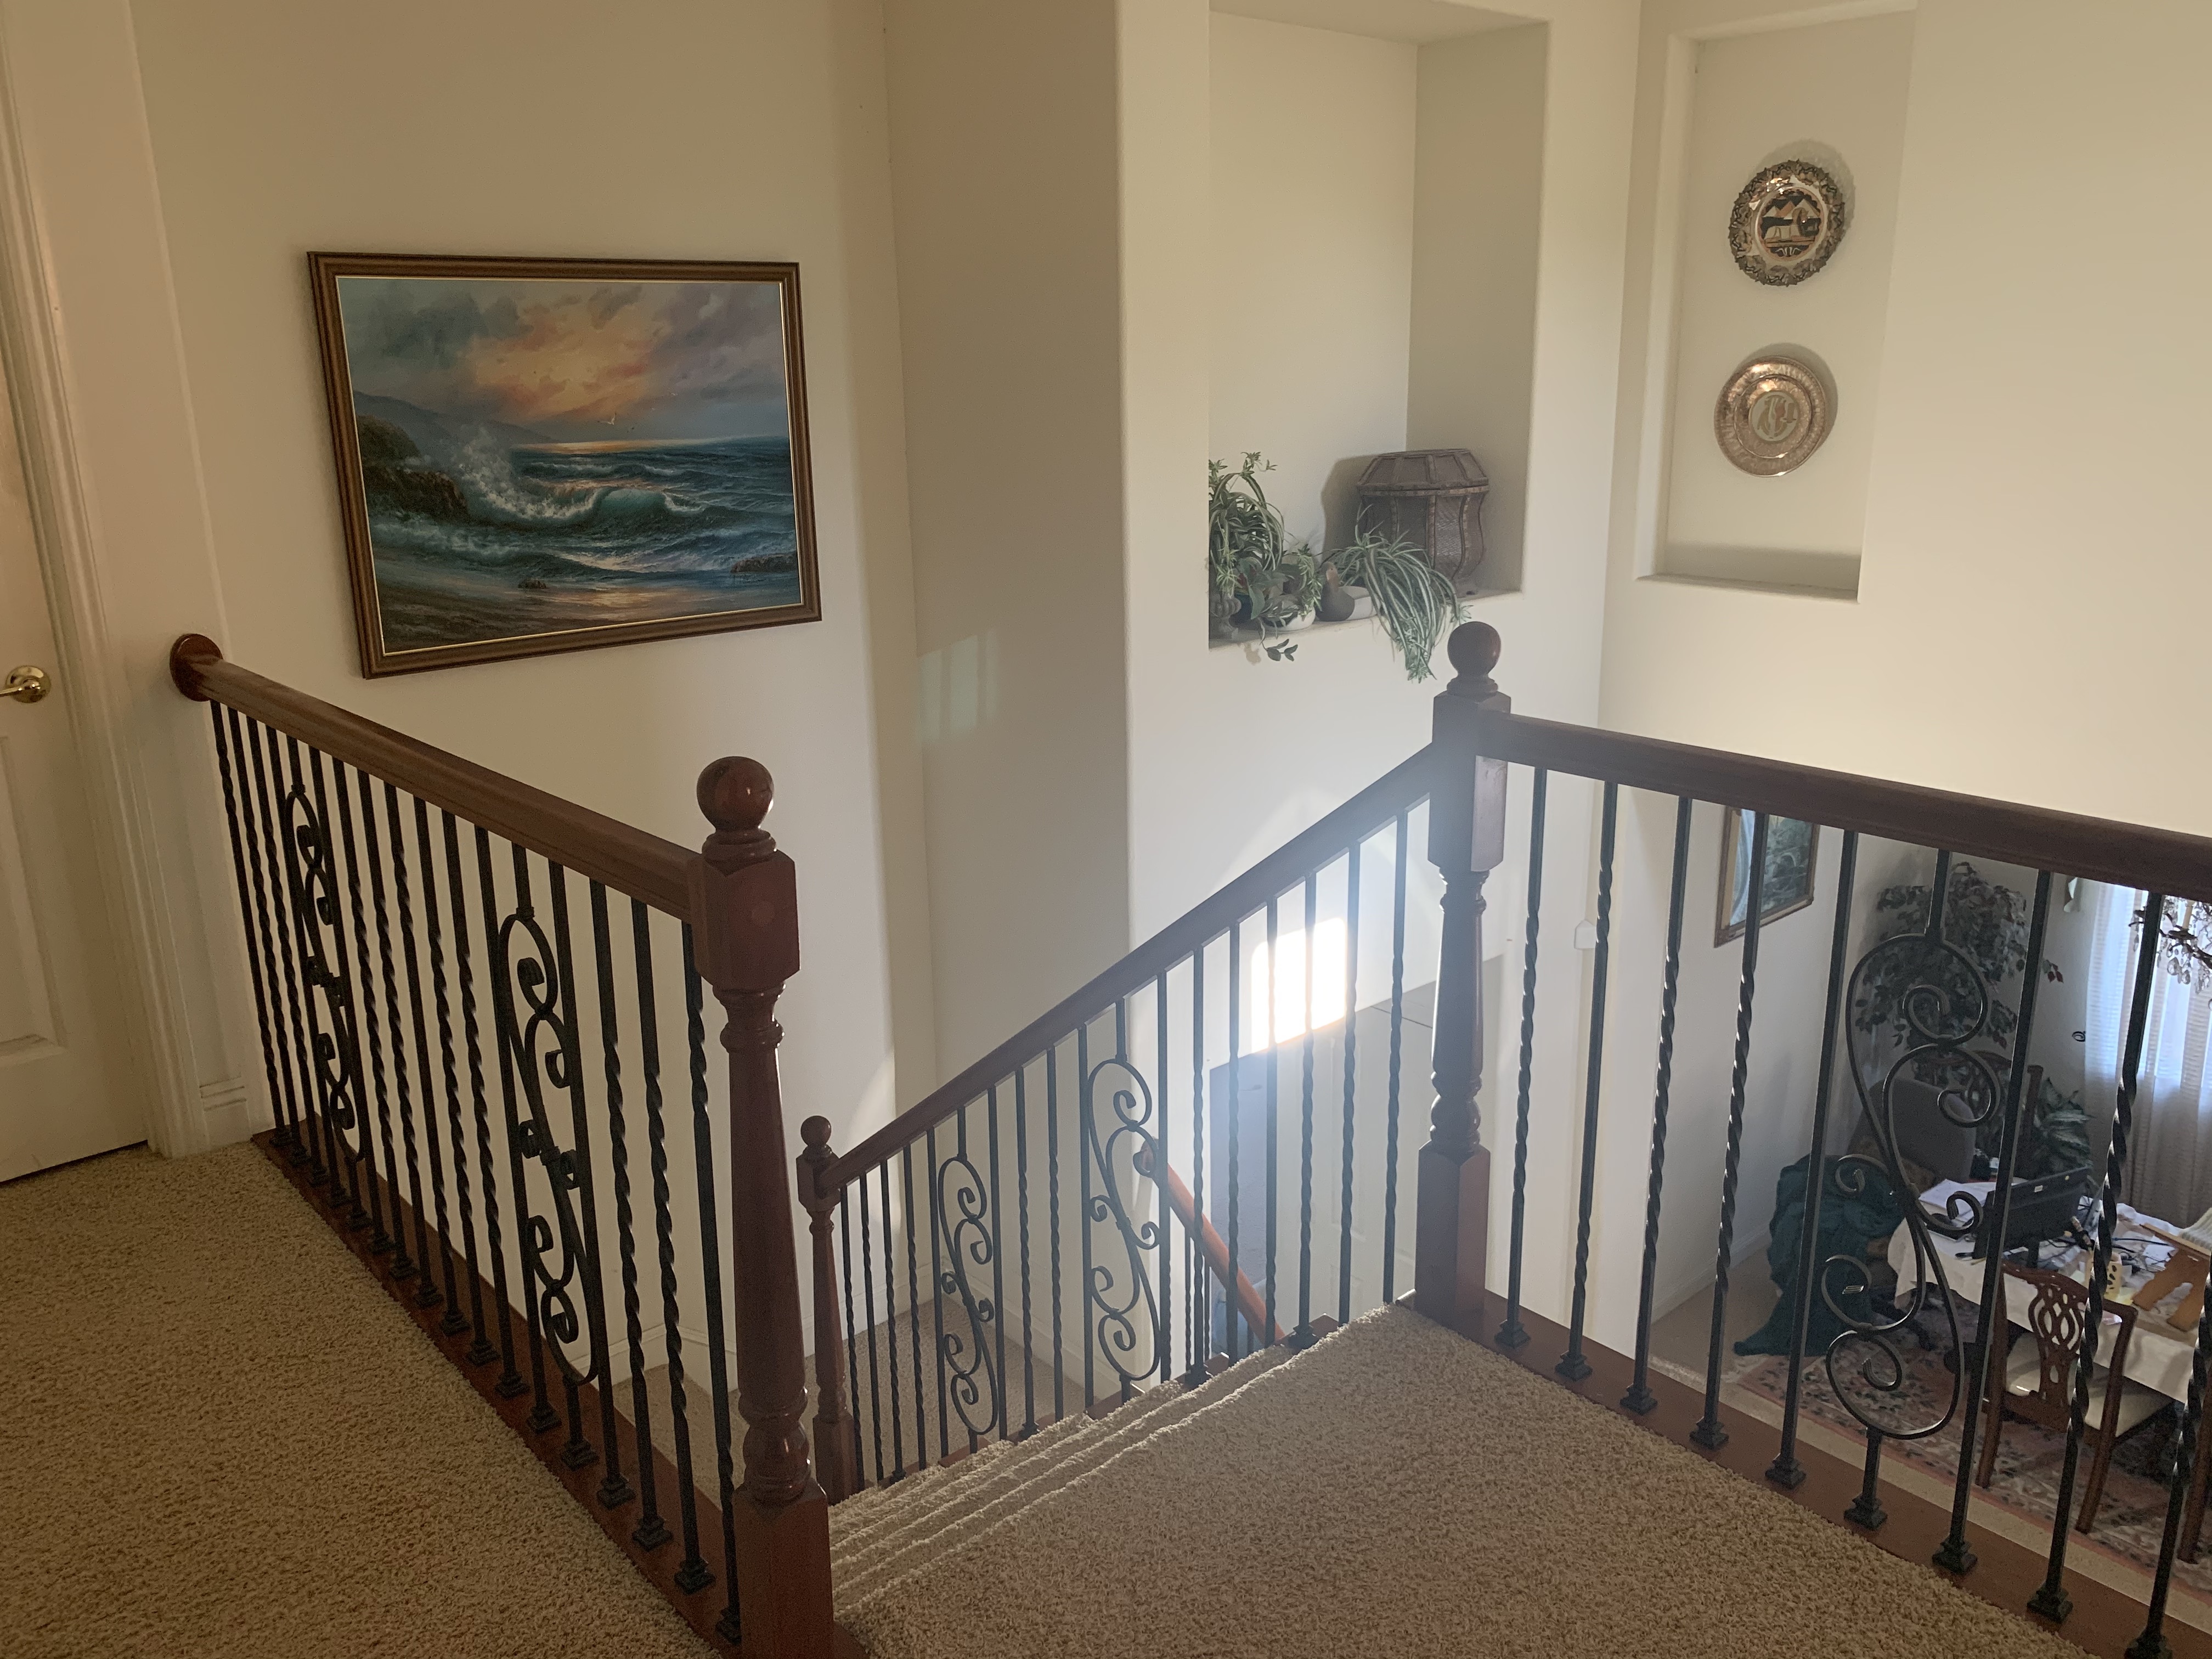
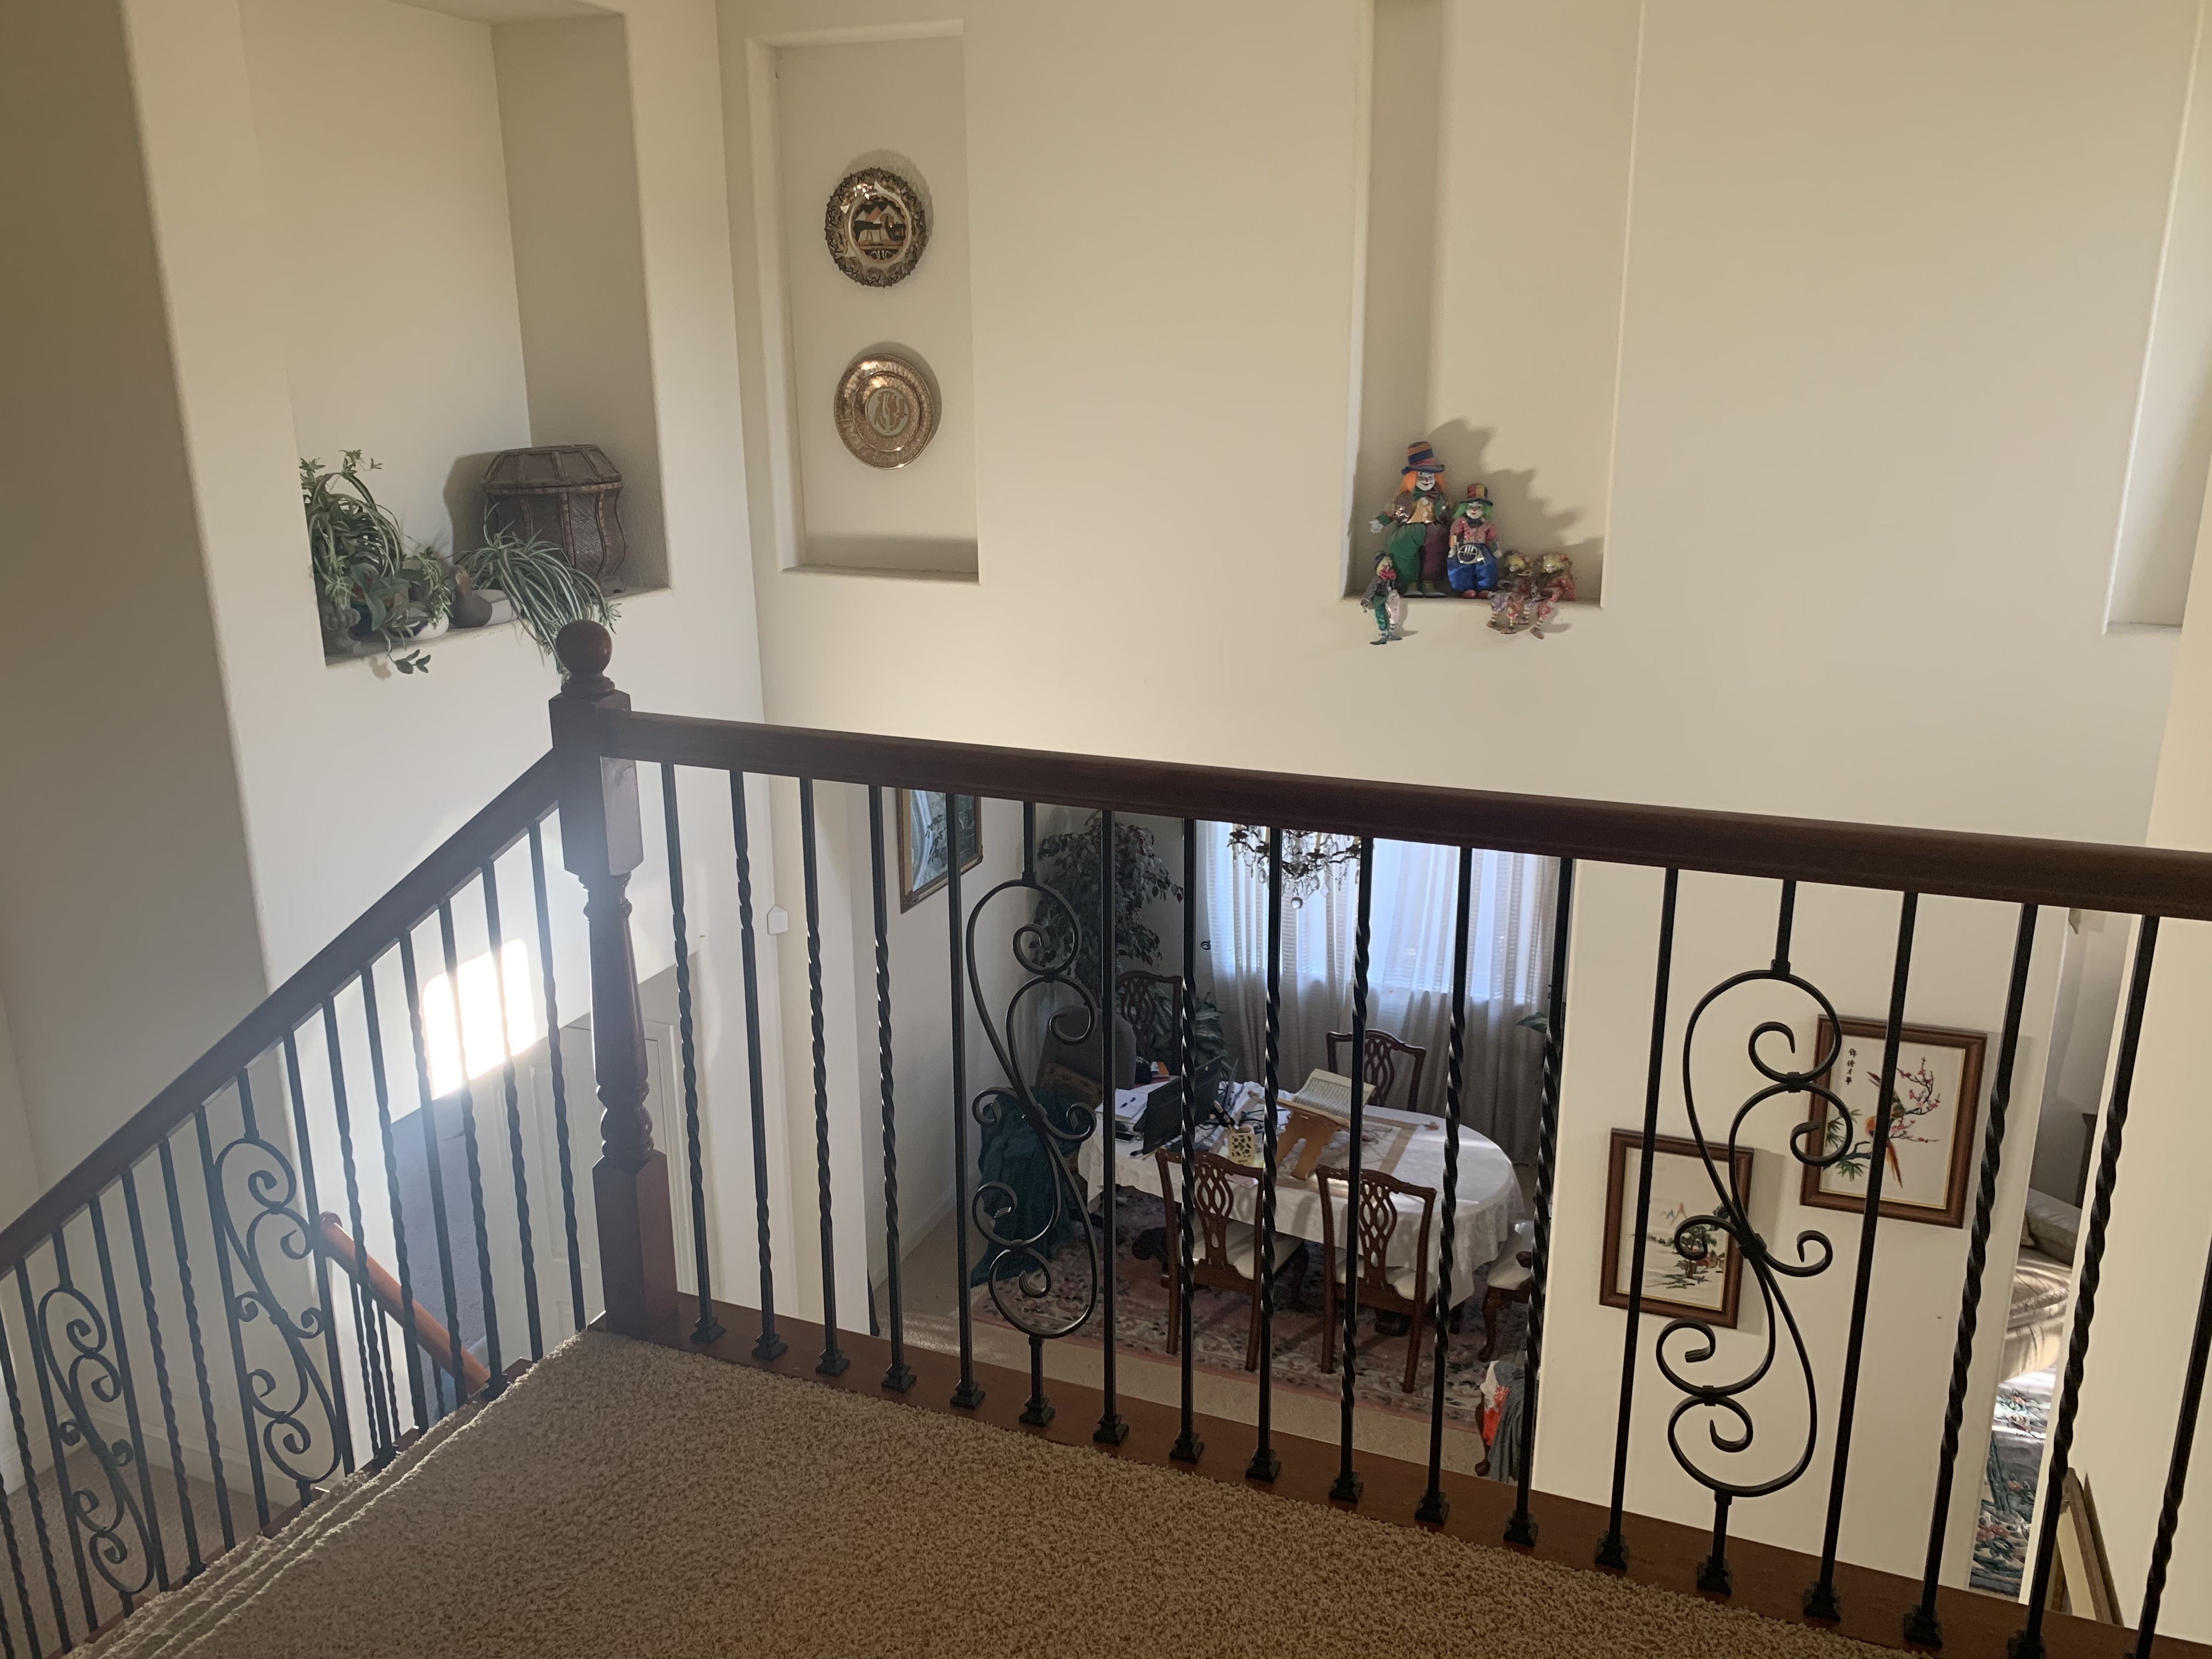
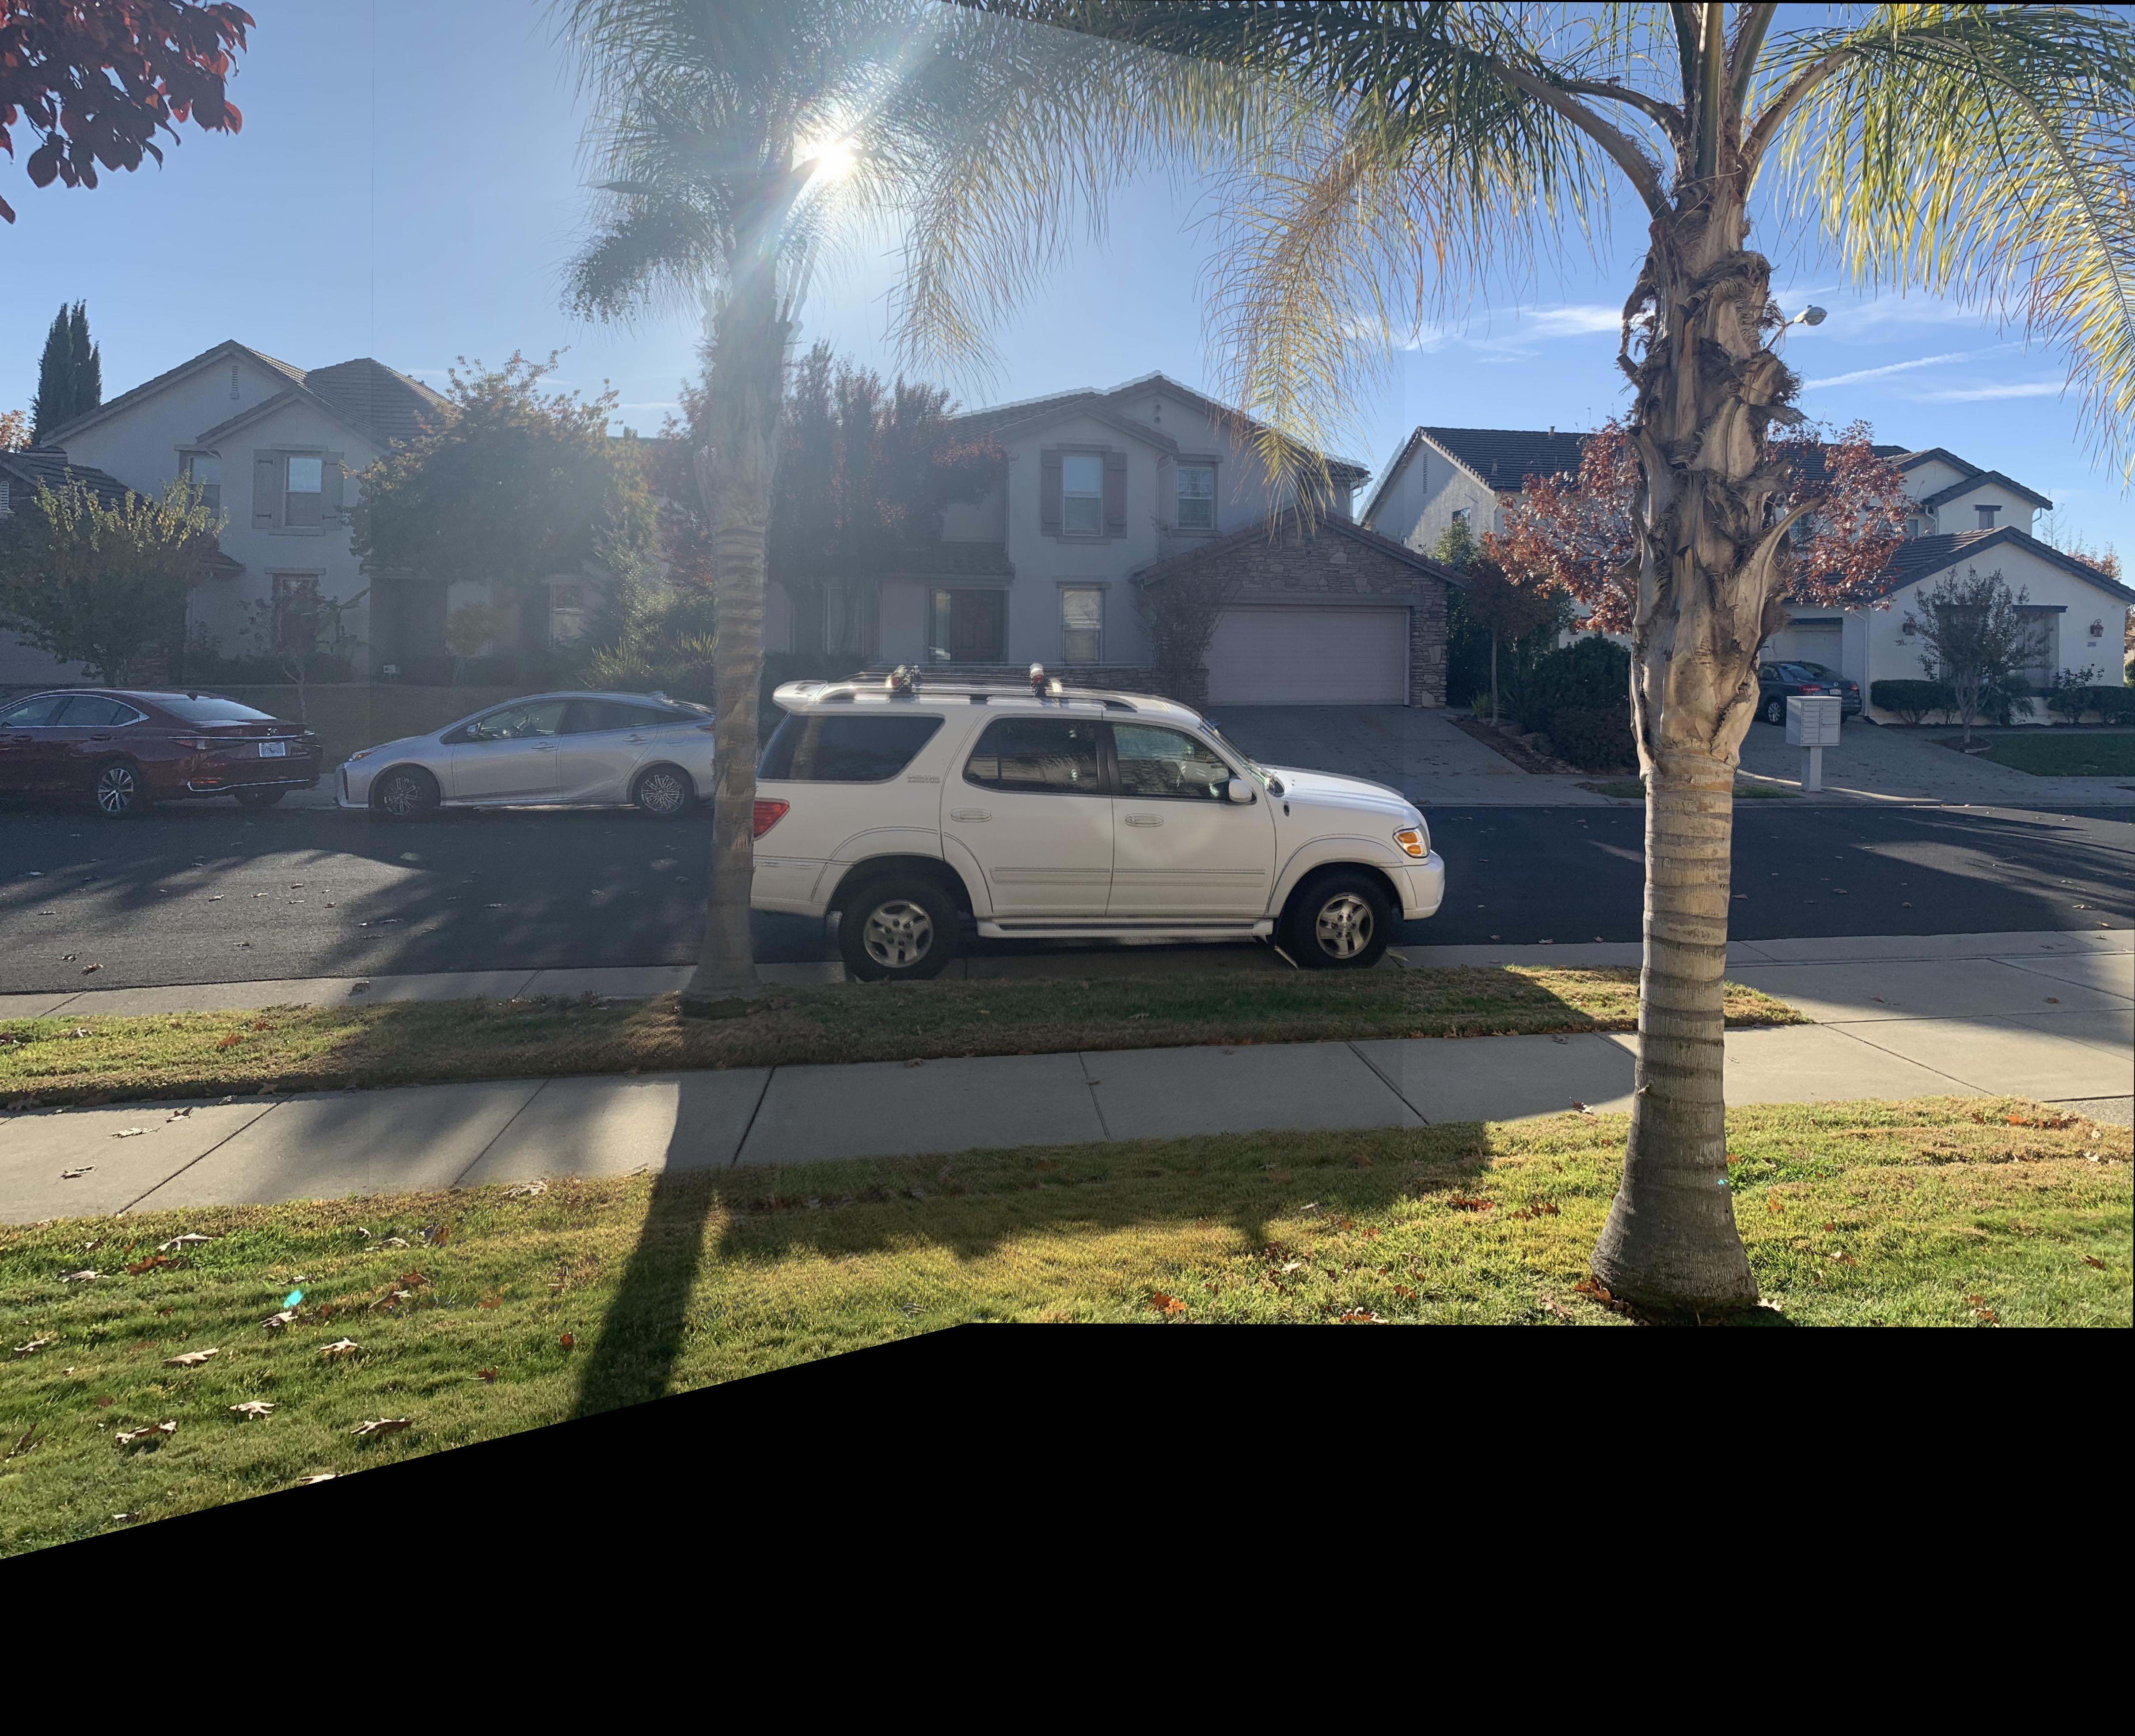
To start the project, I went out to Lower Sproul to take some pictures from the balcony near the Amazon lockers. I took a few different pictures but decided it would be best to stitch the below images together.
|
|
|
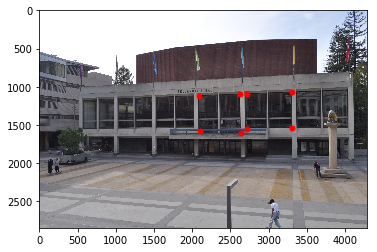
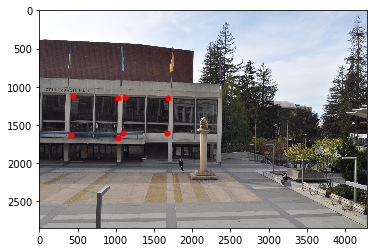
In this part, I selected some landmarks that were shared between the left and right images. I used those landmarks to construct a system of linear equations that would allow me to recover the necessary homography transformation to move the positions of the first set of points to the positions of the second set of points.
Below are the landmarks chosen for the original images
|
|
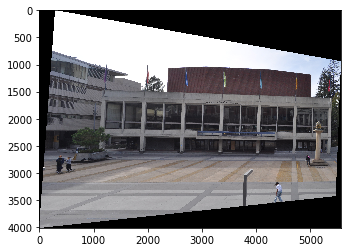
For this part, I implemented a function that would take in an image, and the homography transformation matrix associated with the image to produce a warped version of the original image that should fit nicely with the other image used to create the homography matrix.
Below, is the warped version of the left image that should align better with the landmarks of the right image.
|
|
As we can see, the landmarks line up quite nicely, and the orientation of the image is fixed appropriately as well.
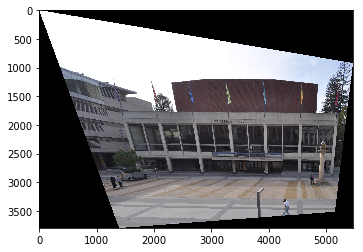
For this part, I wanted to view single images from different perspectives. Thus, I computed a homography transformation matrix between the image, and what I would assume the image would look like if viewed from the desired perspective. Then, I applied the warping to the original image, and received a result that showed the image from my desired perspective.
Here are some pairings of the original image with the image viewed from a different perspective.
|

|
|
|
|
While these perspective changes aren't perfect, they still capture the essence of what the subject would look like from the desired perspective.
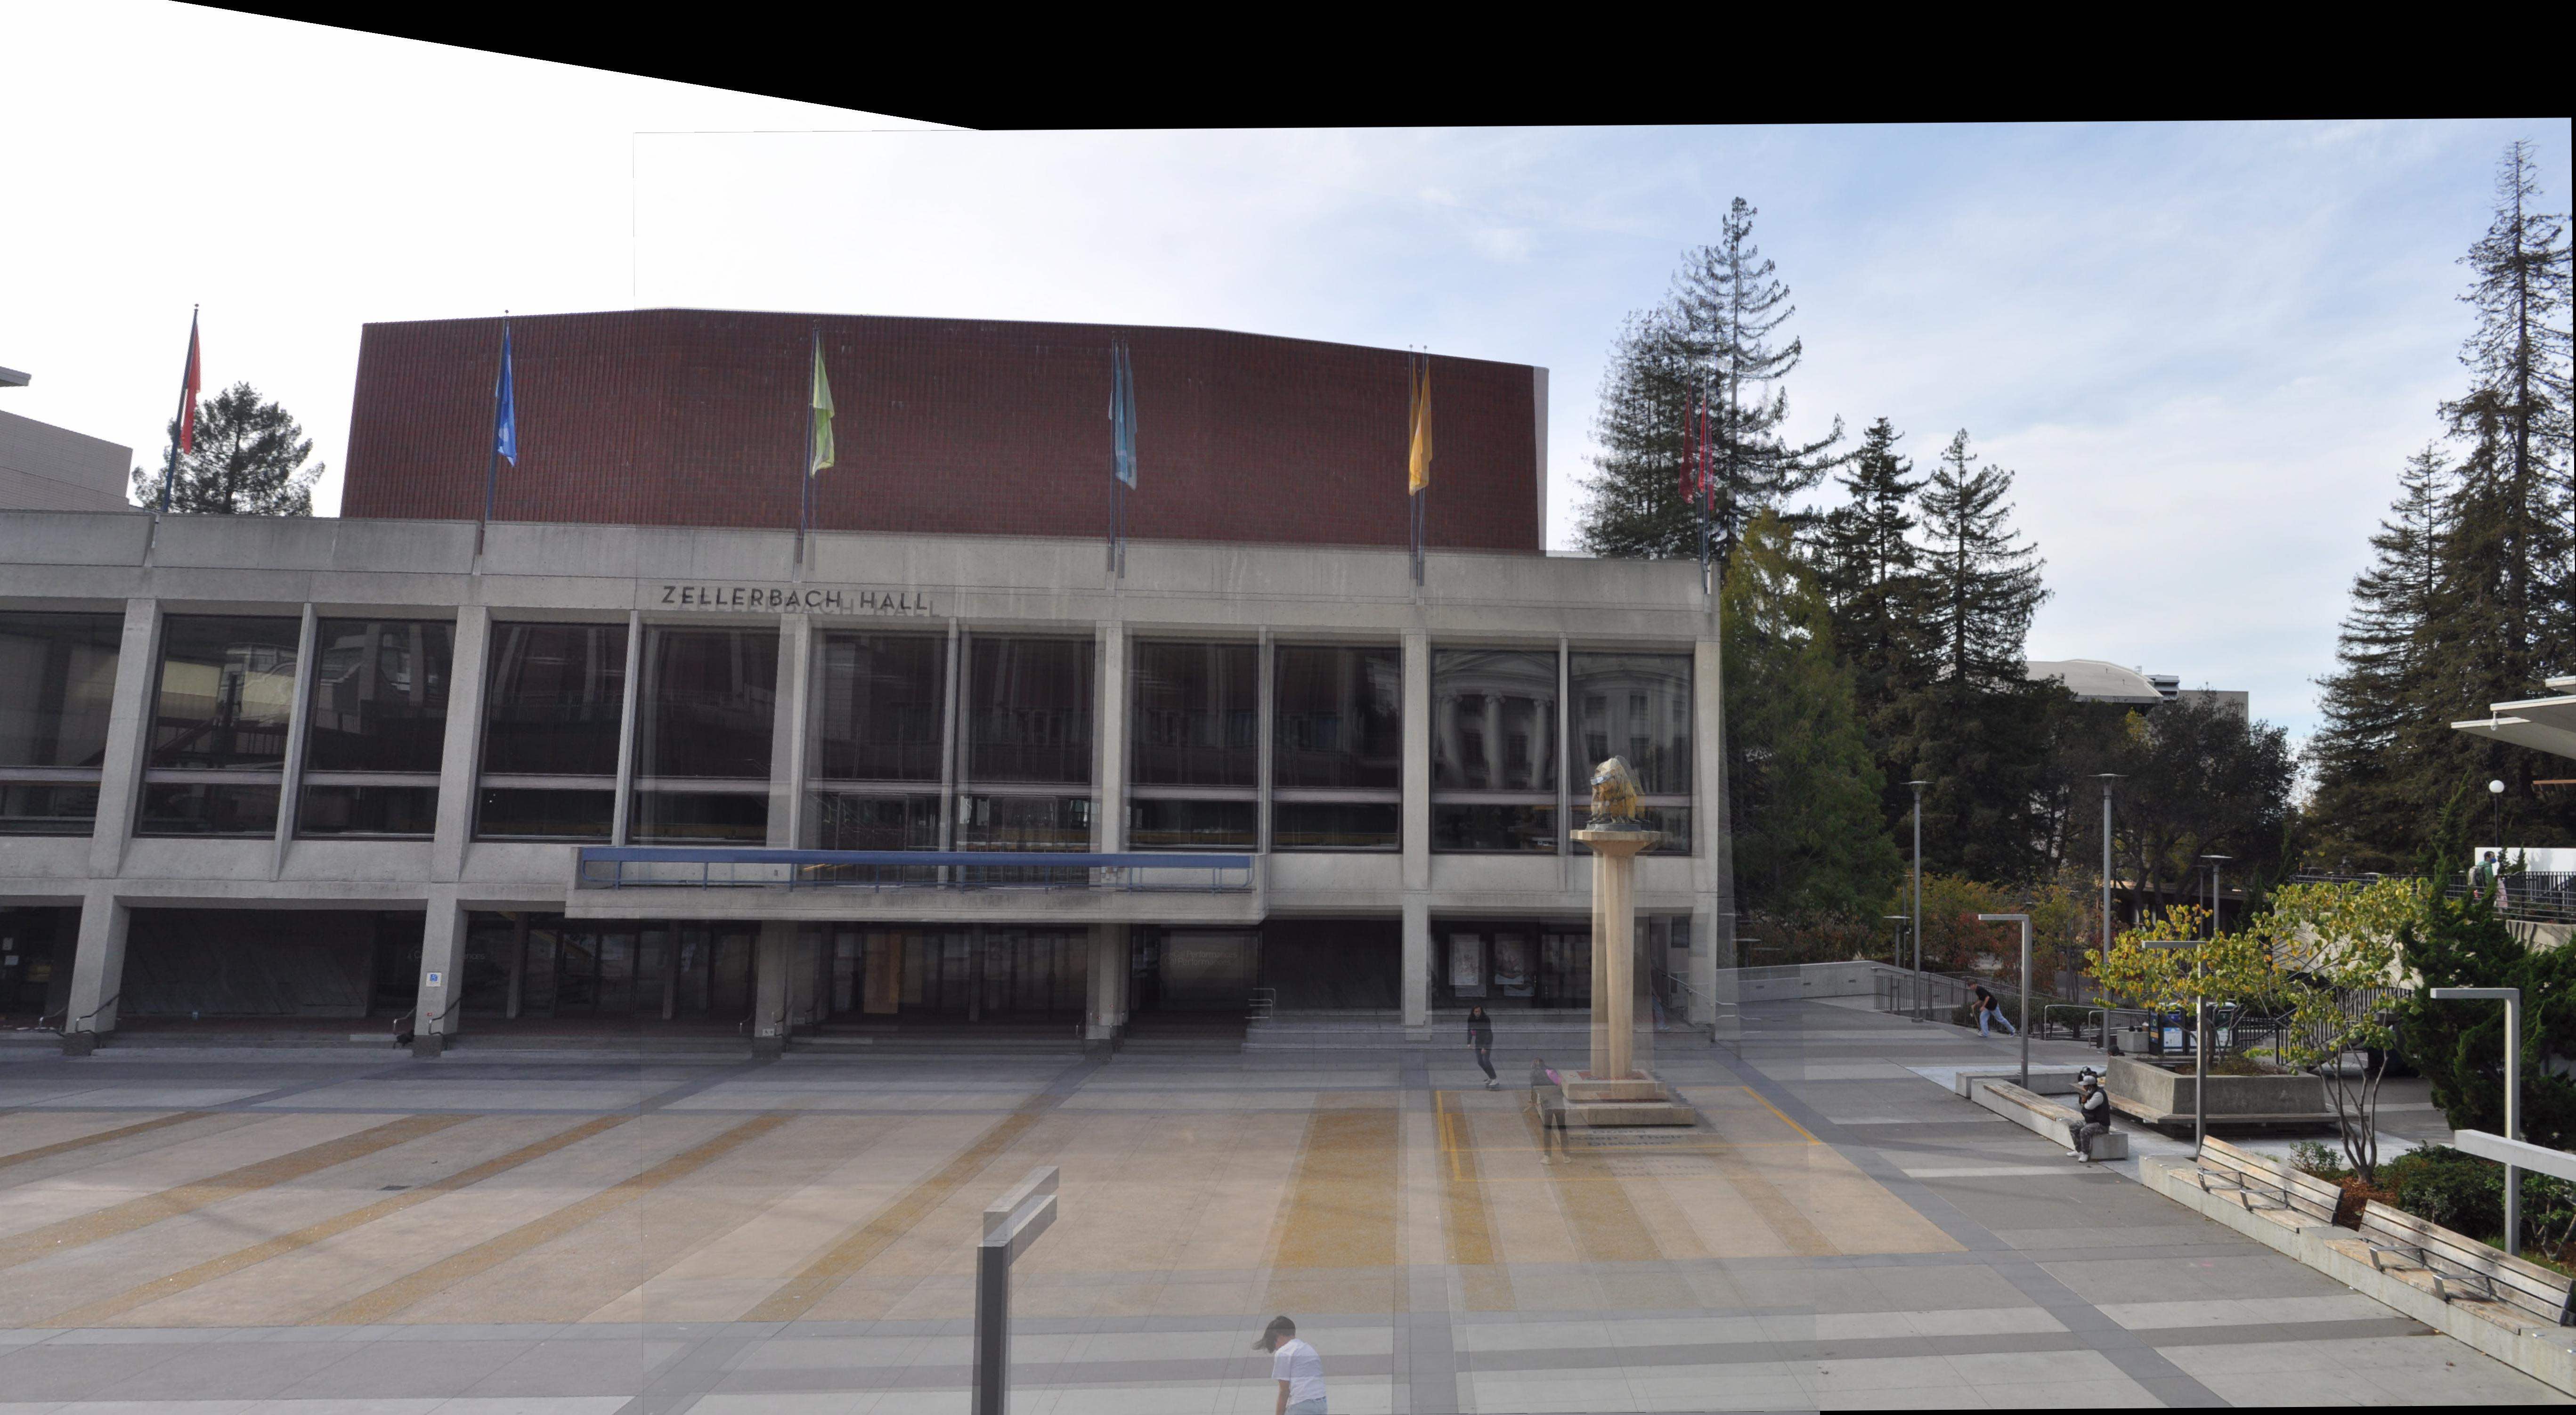
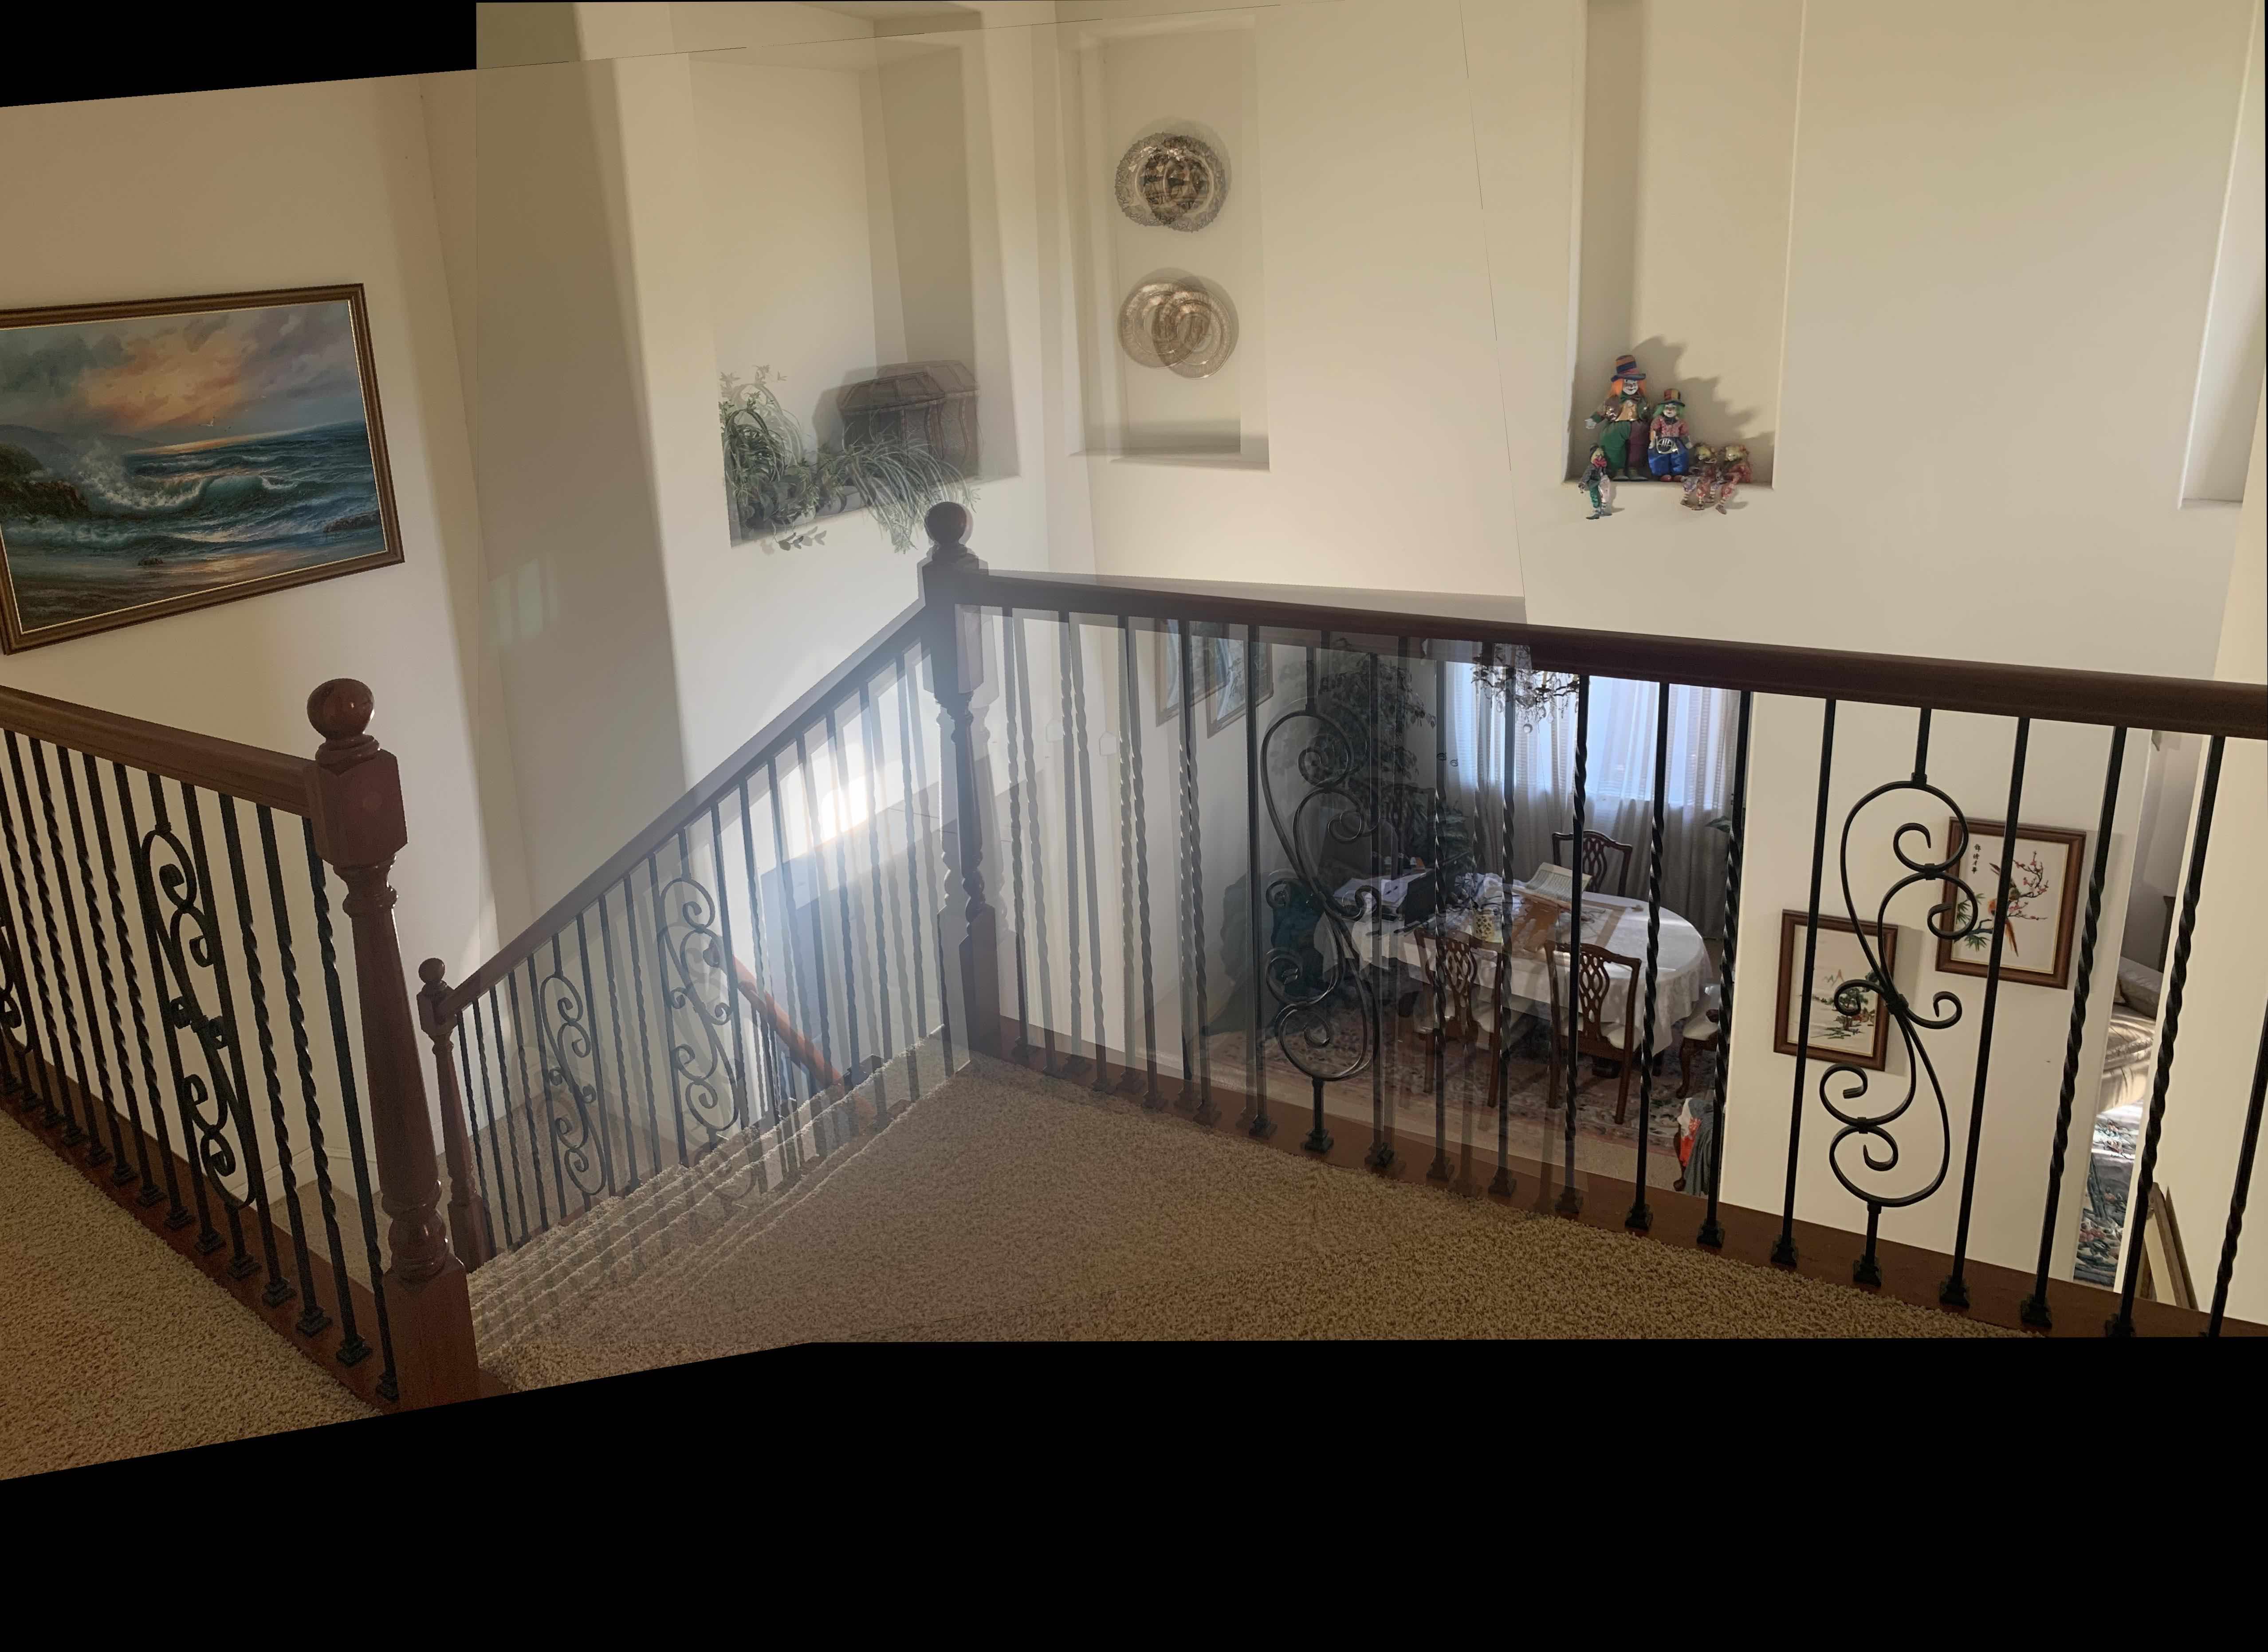
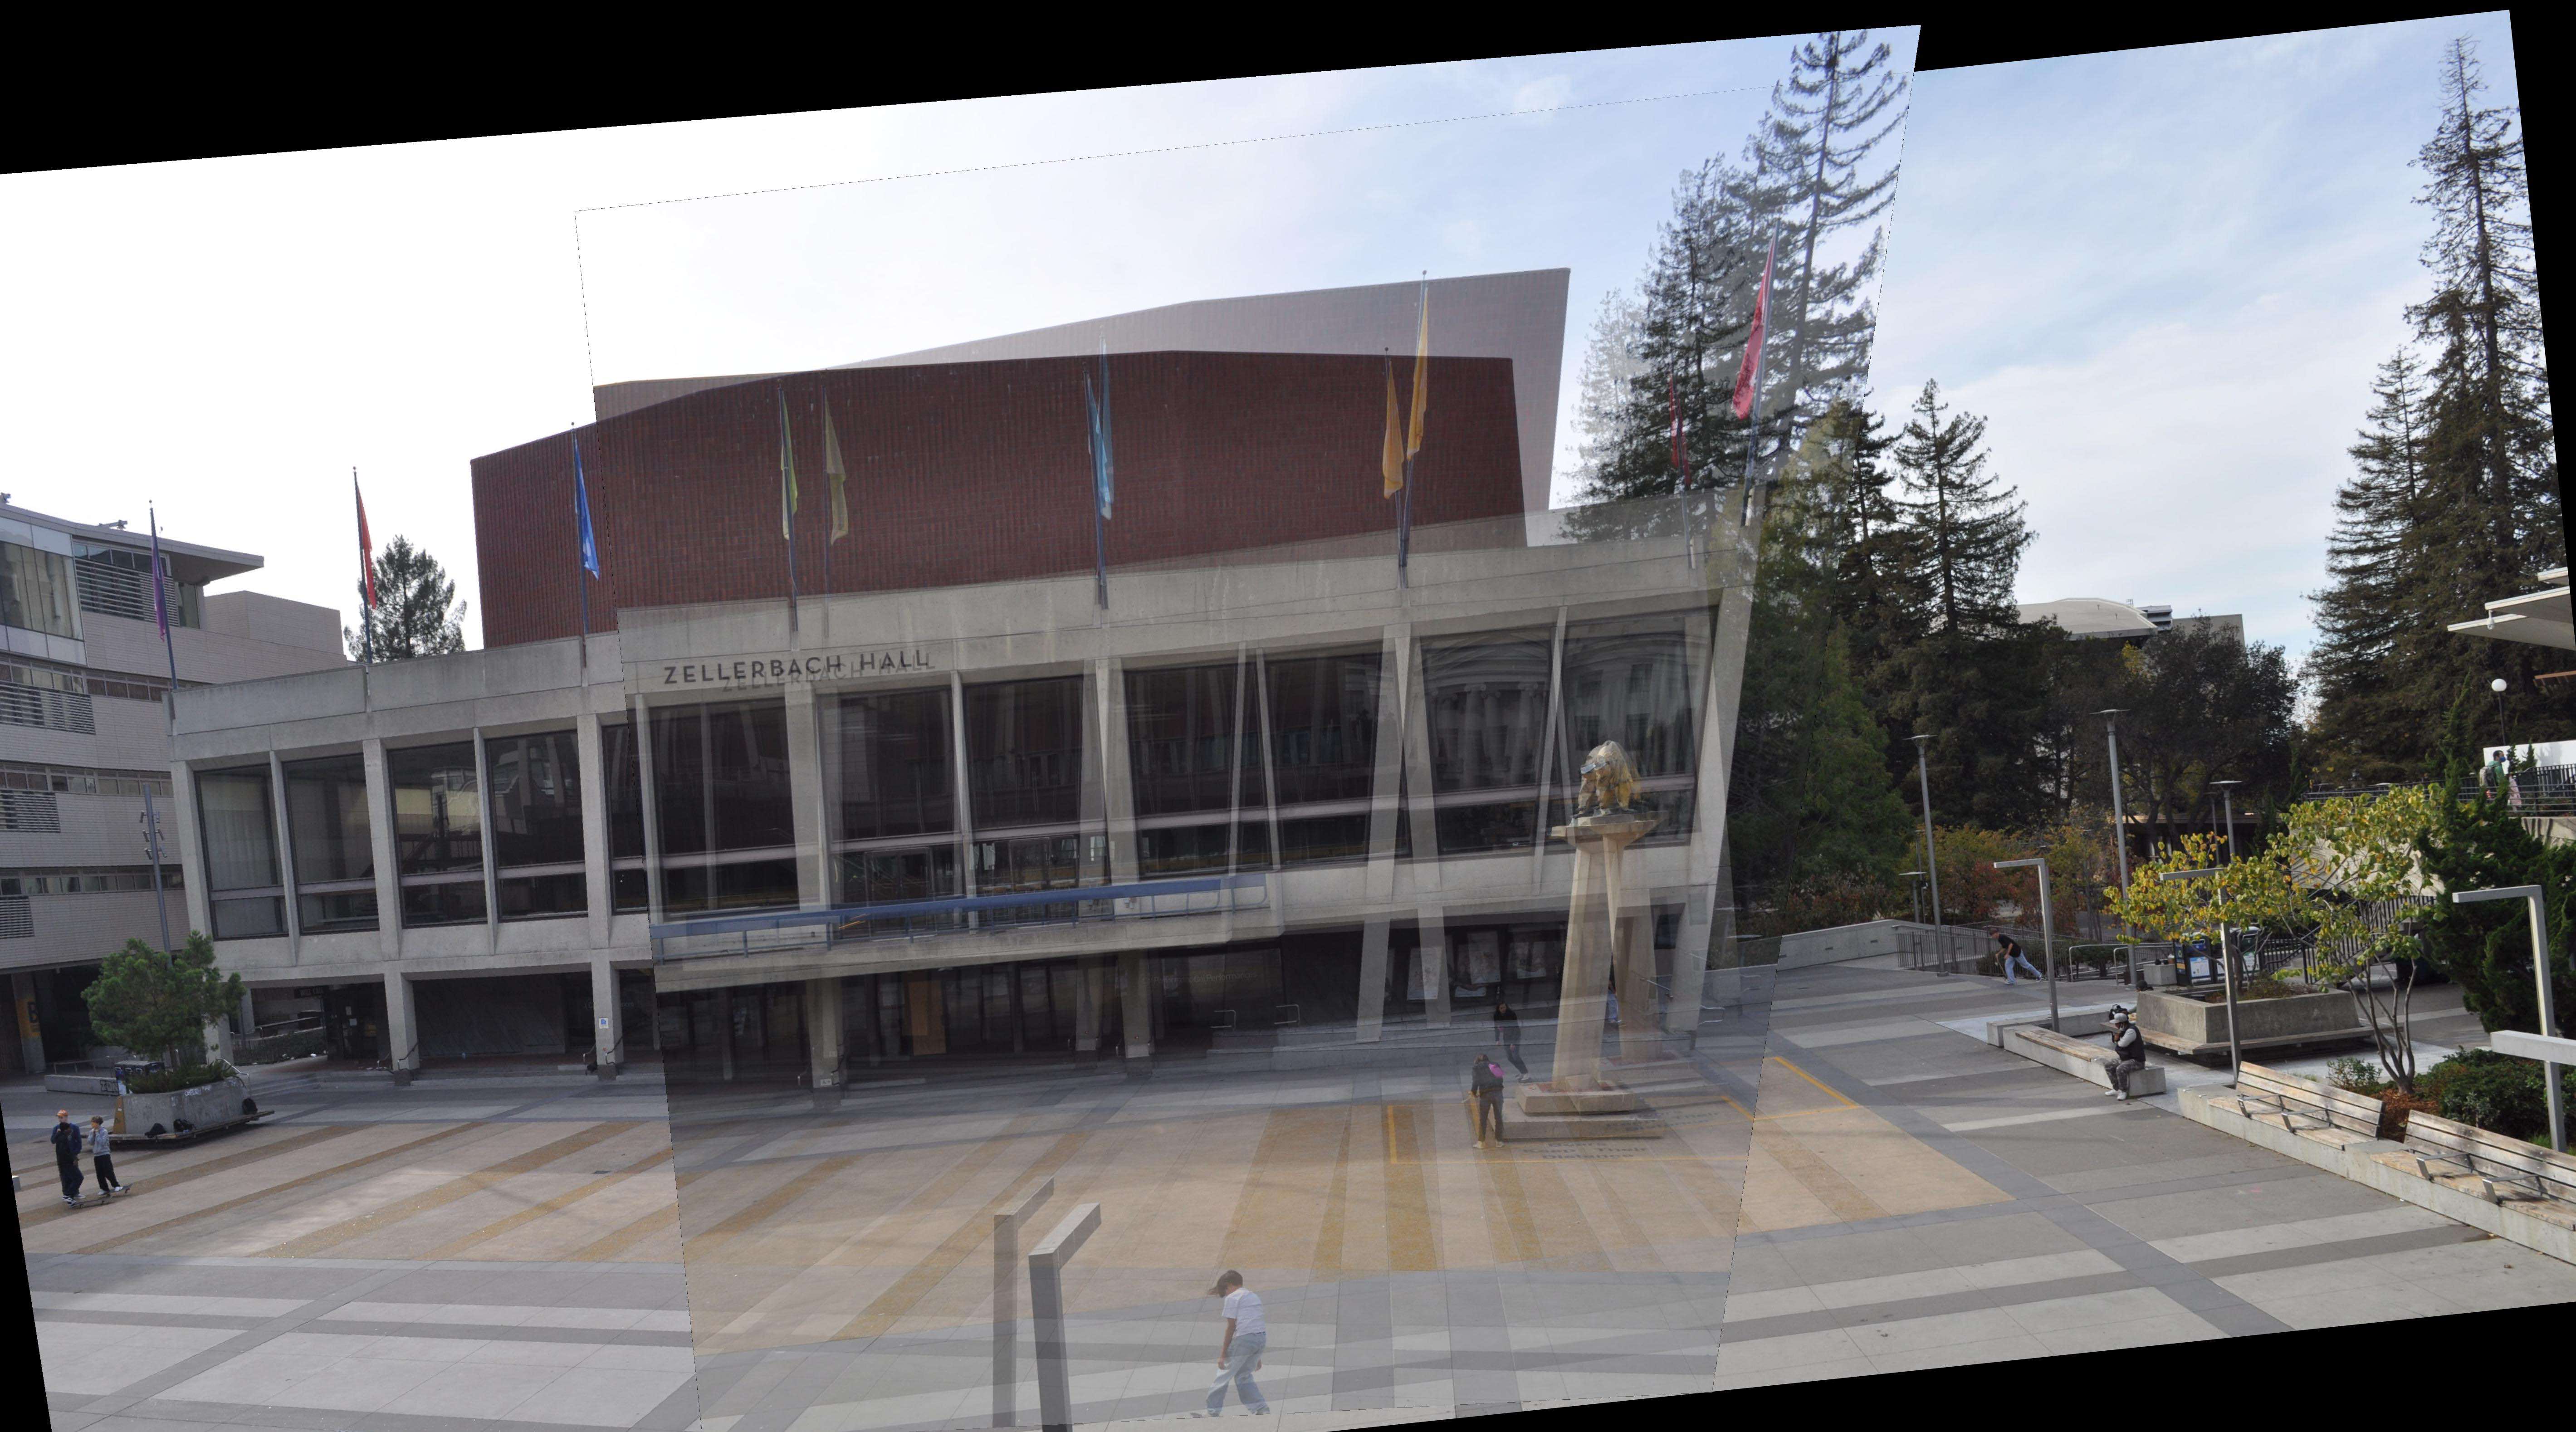
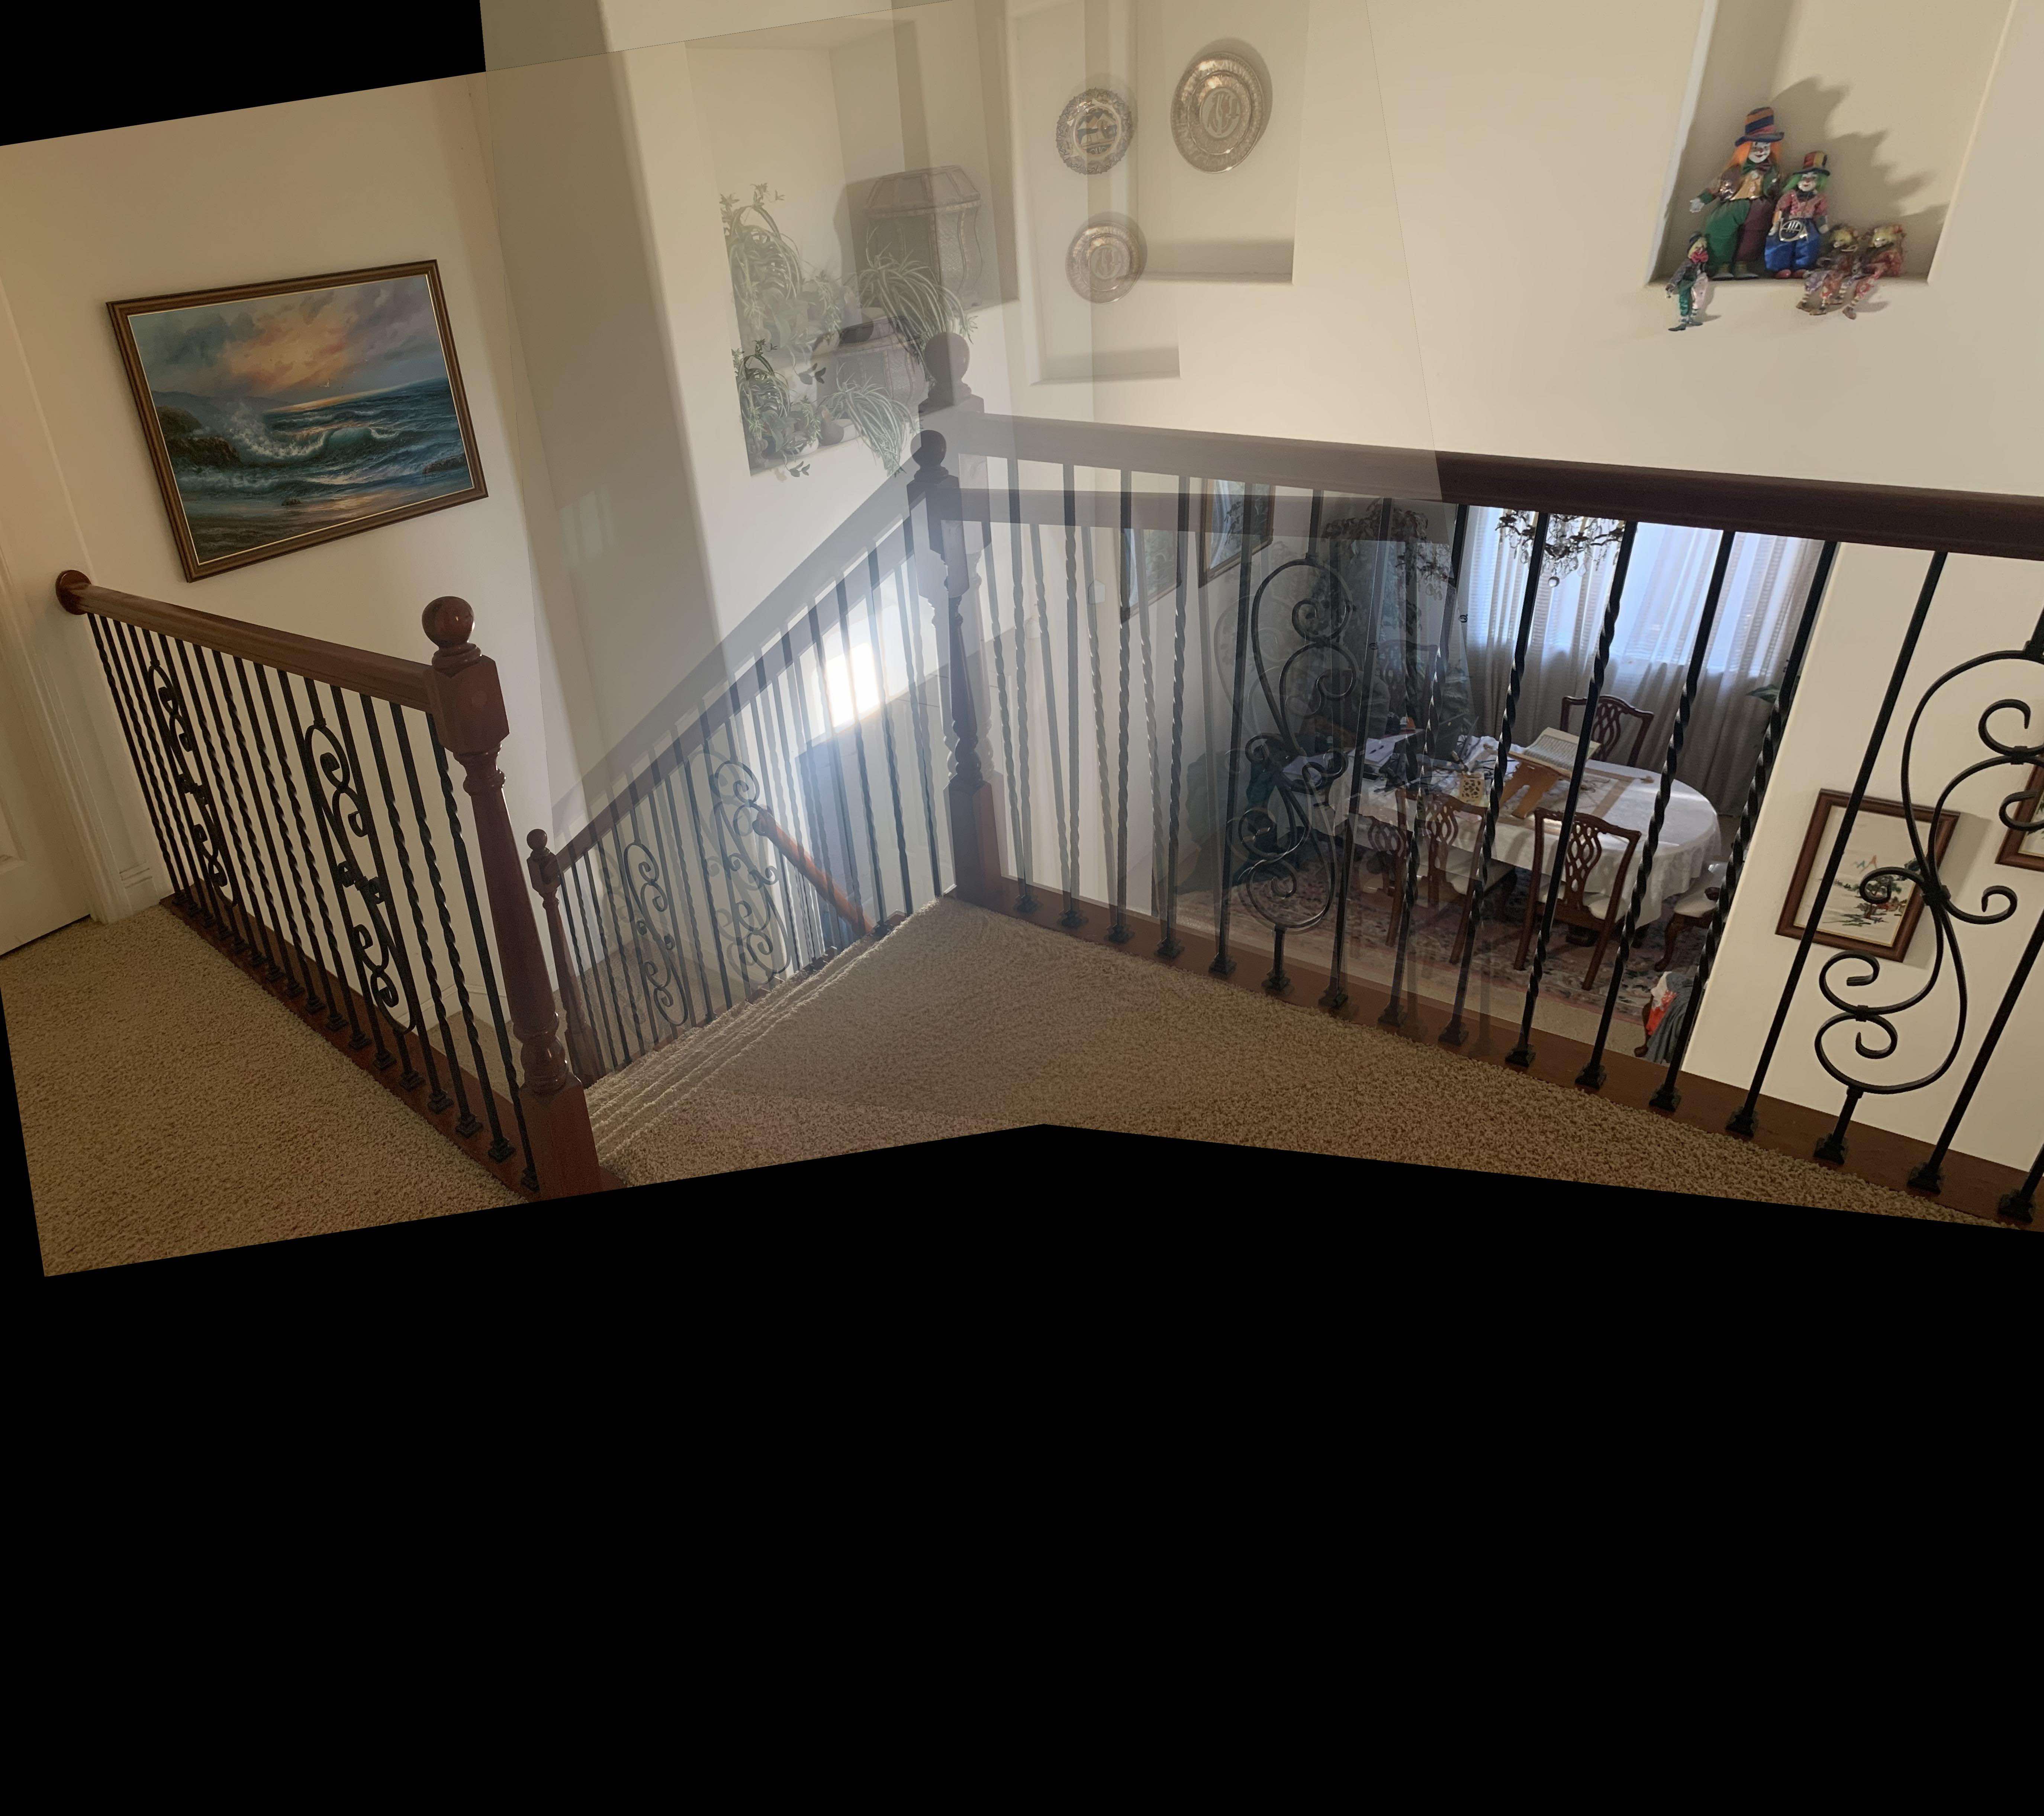
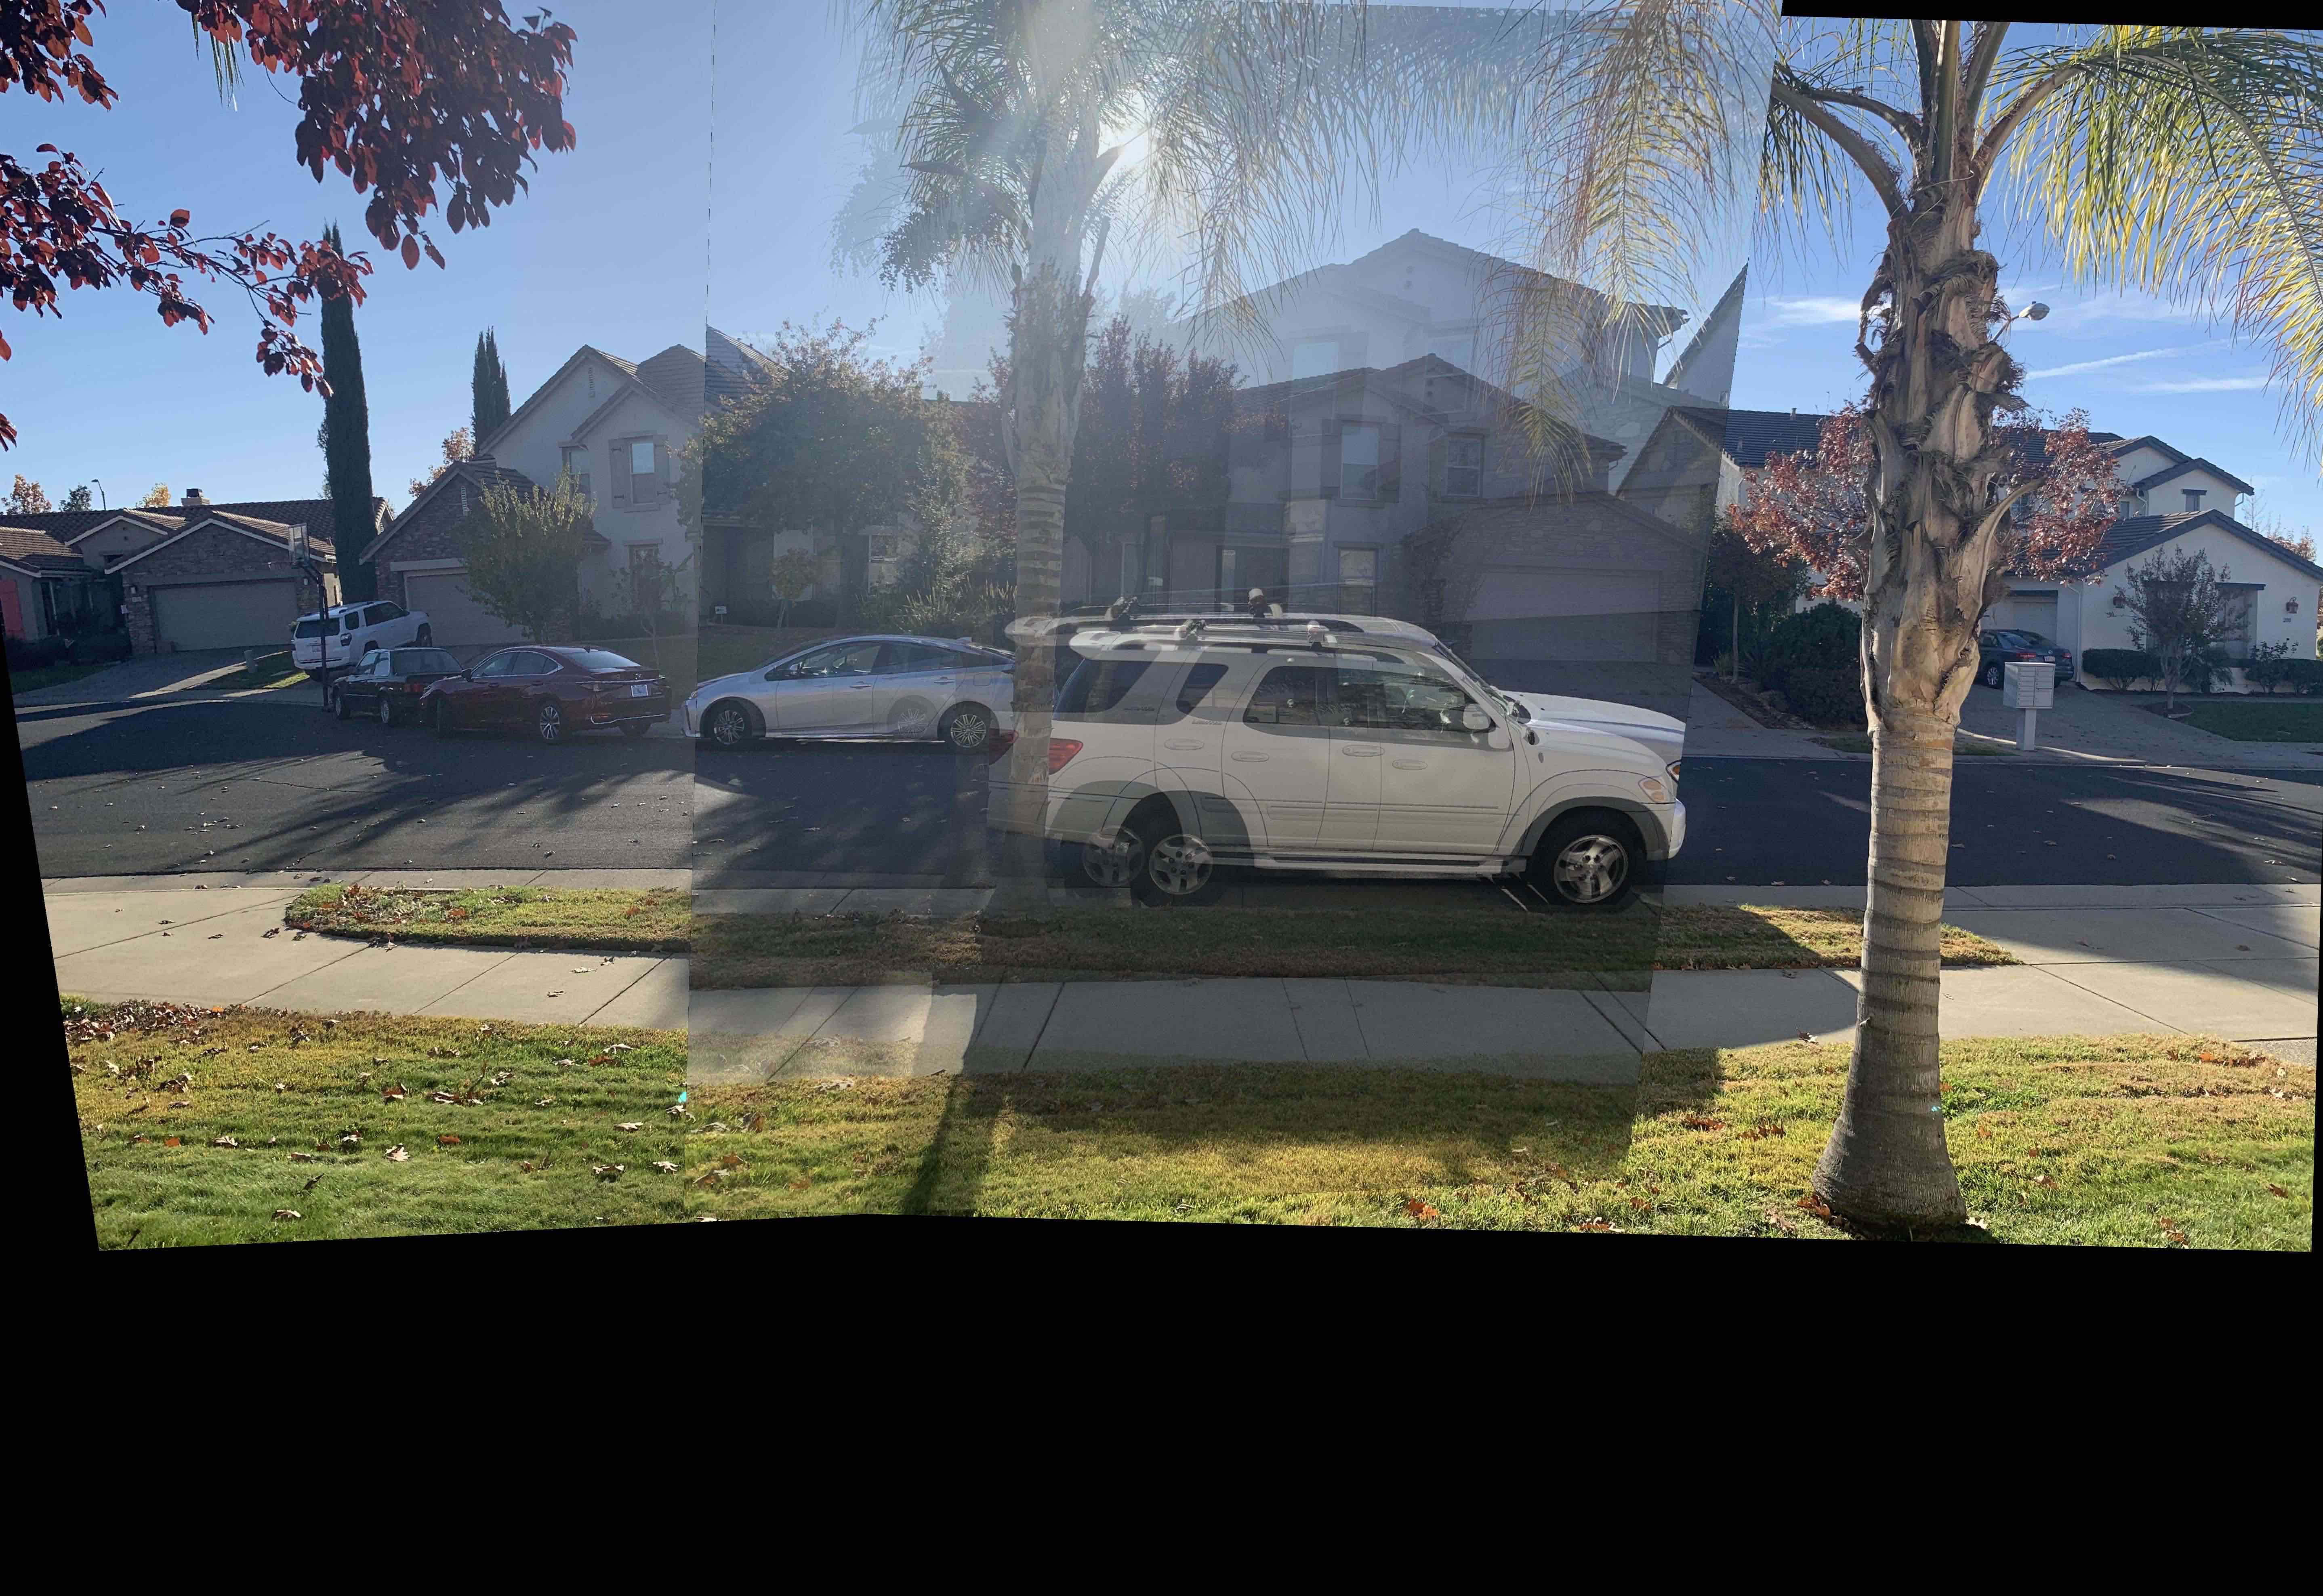
In this part, I computed a weighted average across all pixels of the images of the mosaics to produce a smooth and easy blended result.
Below we can see the images of the mosaic separately, and the blended result.
|
|
|
|
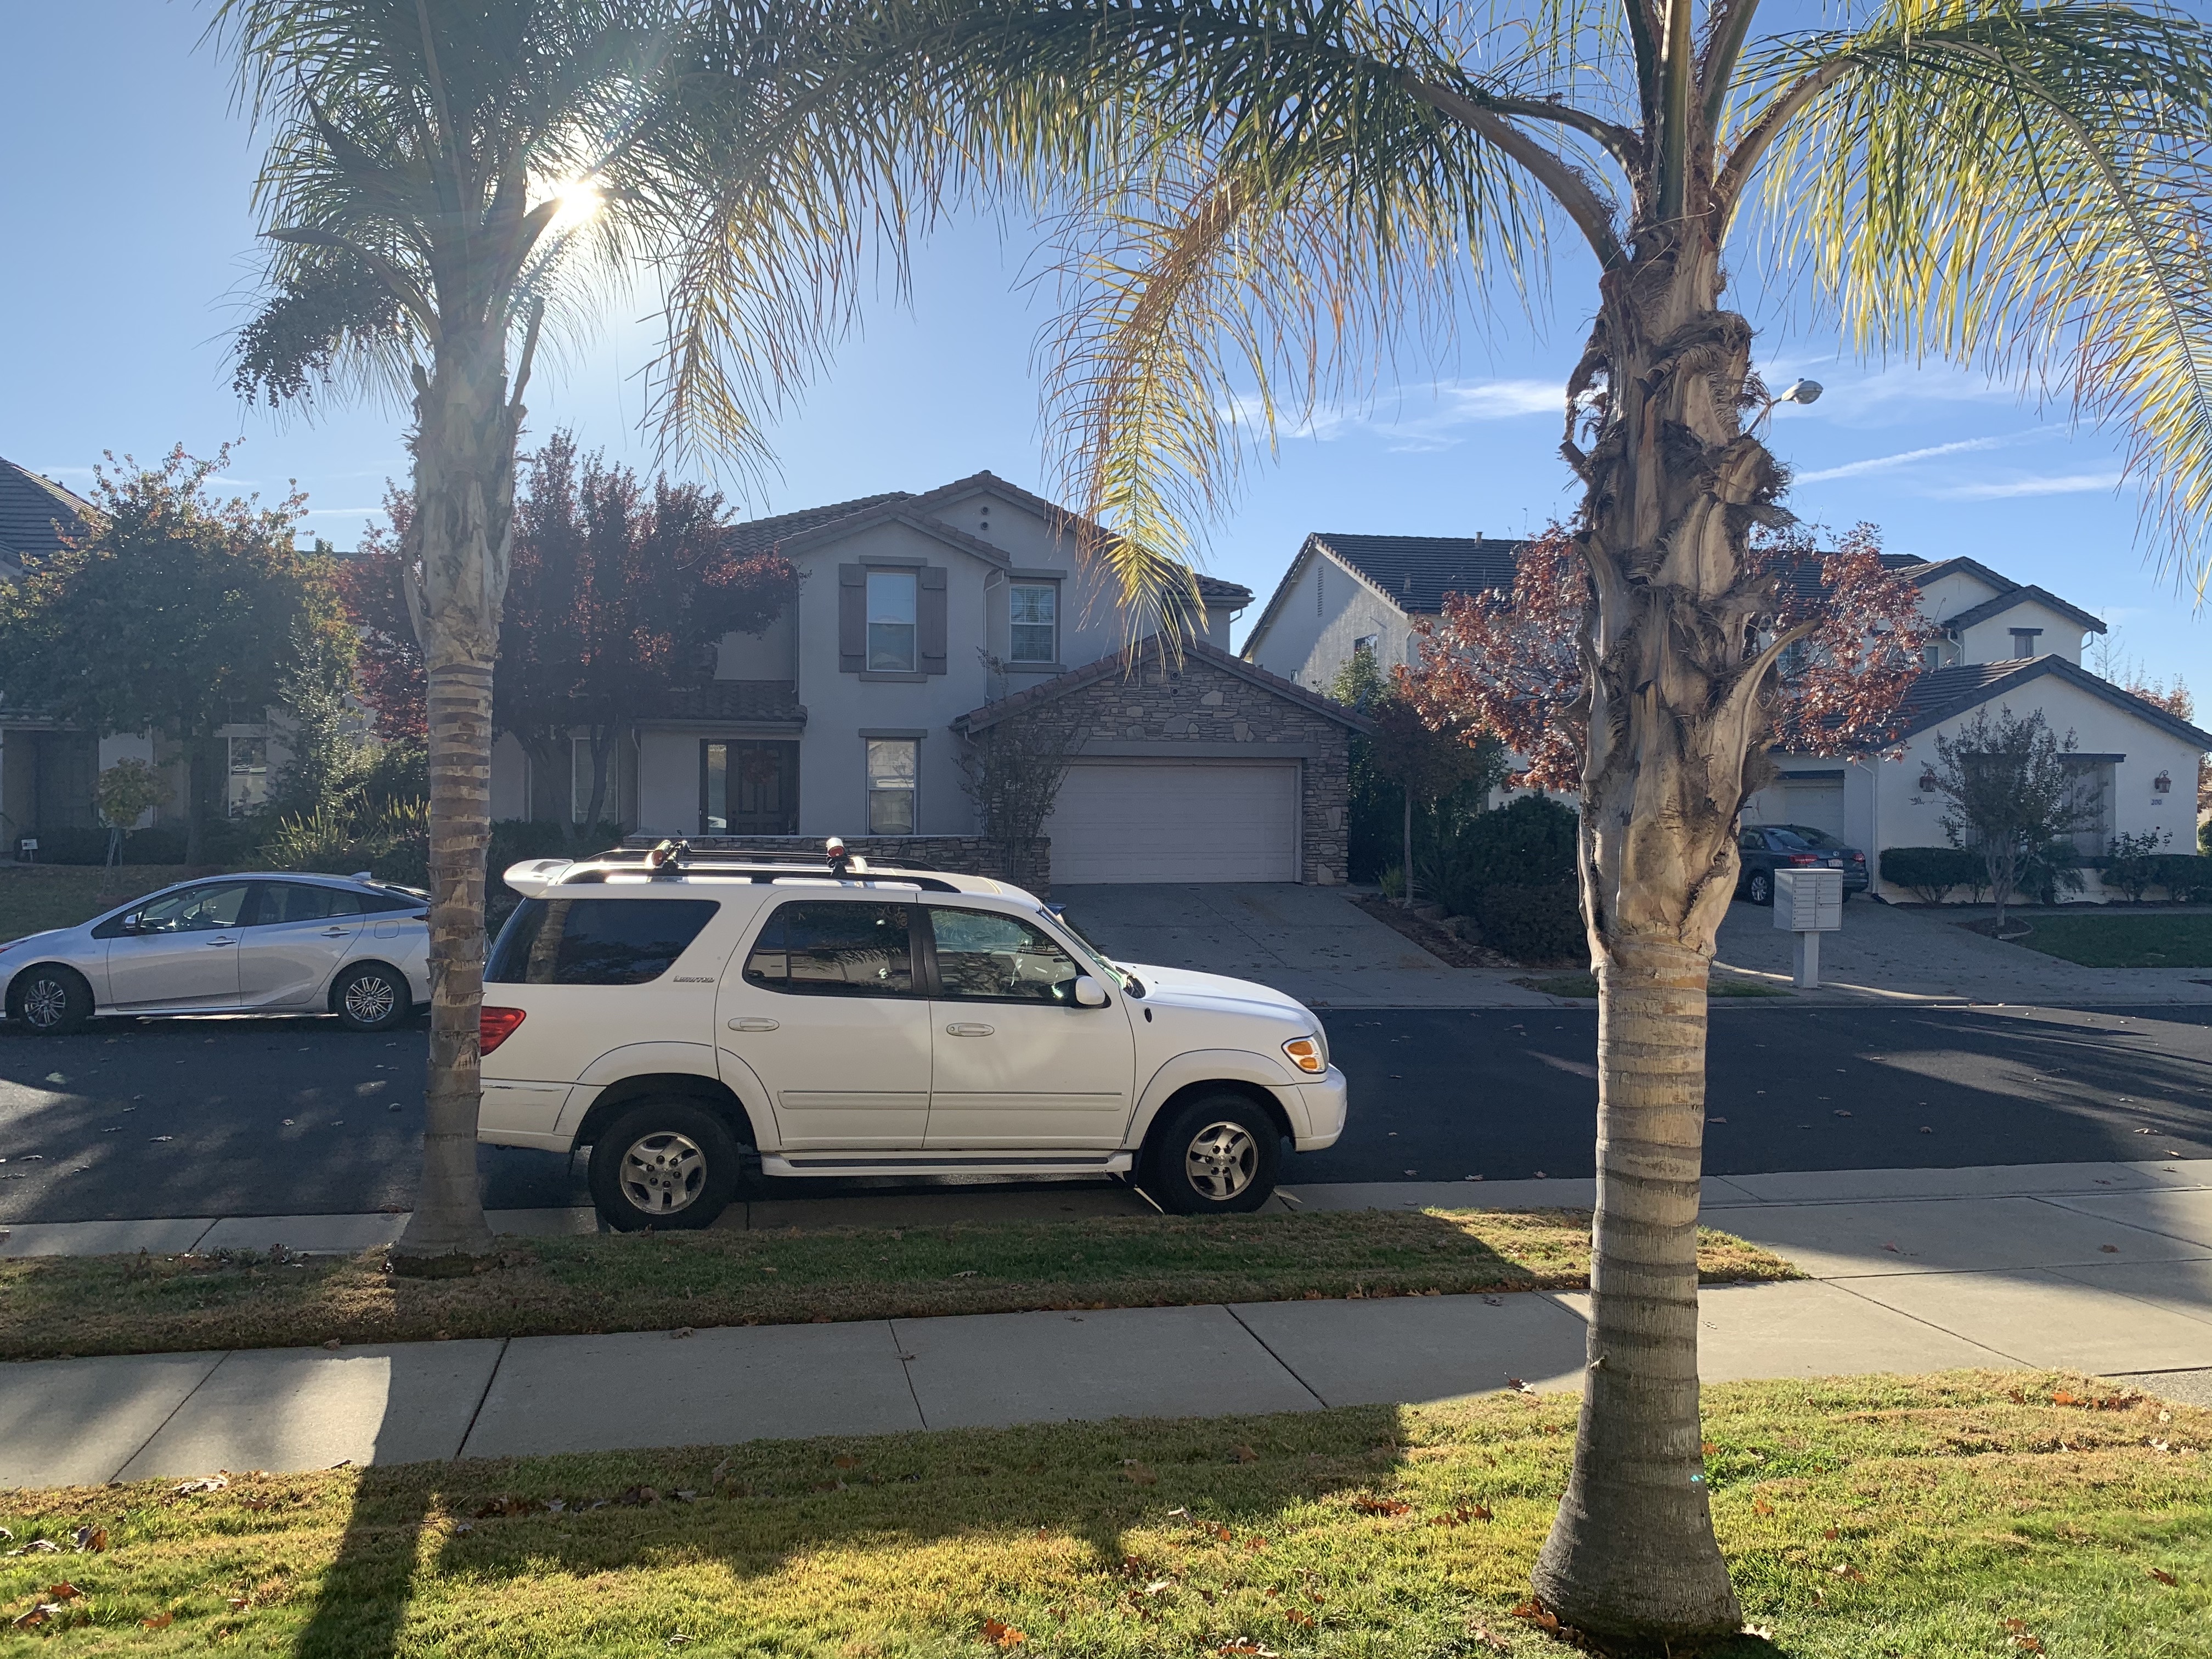
Here a few other images that I was able to create as well.
|
|
|

|
|
|
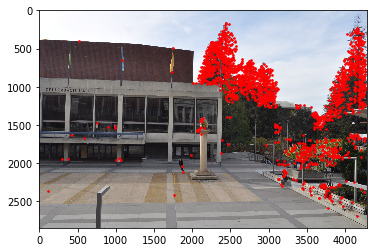
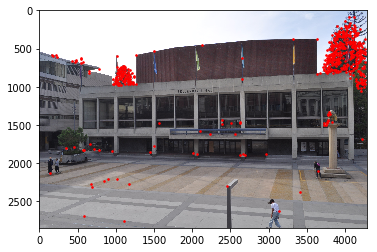
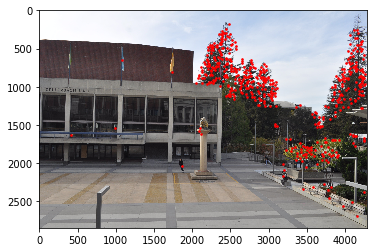
In this section, I constructed a very extensive set of potential corresponding features for the left and right images

|
|
In this section, we narrowed down the set of points that may best be used to create homographies between images in a mosaic. Due to some trouble with implementing the supression algorithm, I have chosen to select points randomly in this section.
|
|
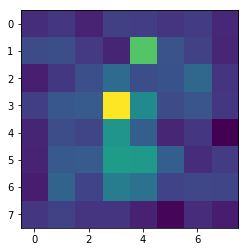
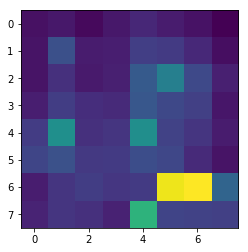
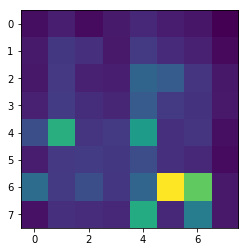
For this section, I took the set of chosen points, for each image, and constructed a set of 8x8 pathes for each point. For each points, I created a 40x40 box around the points, applied a 5x5 guassian filter, and downsampled the image to create an 8x8 patch. Finally, I normalized all the patches to have a mean of 0 and variance of 1. These patches would later be used to find matches in the corresponding images.

|
|
For this section, I used the patches constructed from the previous section to find matching patches between the images of the mosaic. The patches would be compared based upon the paper, where 2 points from different images would be considered a pair if the error (1-NN/2-NN) was smaller than a specified threshold. Below is an example of 2 patches from different images that have been considered a pair.
|
|
In this section, I implemented the RANSAC algorithm. For 100 iterations, I would get a random set of 4 pairs from the population of pairs found in the previous section. These 4 pairs would be used to construct a homography matrix from one image to the other. This homography matrix would be applied to all points selected in the first image in part 2, and compared to the points chosen in the second image in part 2. The distance between each of the transformed and target points is calculated, and the we count the number of comparisons where the difference is less than some other threshold. At the end of the 100 iterations, we use the largest set of points that were closest to the target points to construct the final homography matrix, and use this matrix for our image warping and alignment. Unfortunately, I seemed to have some errors in my code that I was unable to find, so my final mosaics are not quite the result that I hoped they would be. My assumption is that this is due to the fact that I was unable to select the proper points to compare in part 2.
Below is a side by side comparison of the mosaics from Part A, and the automated mosaics from Part B.
|
|
|
|
|
|
|
|
|
Generally, the automatic mosaics were on the right track, but seemed to have some minor errors that have compounded throughout the process of mosaicing.
Overall, I learned a lot from this project, and found it fascinating to construct these sort of panoramic images simply by using a homography matrix. Additionally, the process of comparing features between pictures became automated so easily as well!