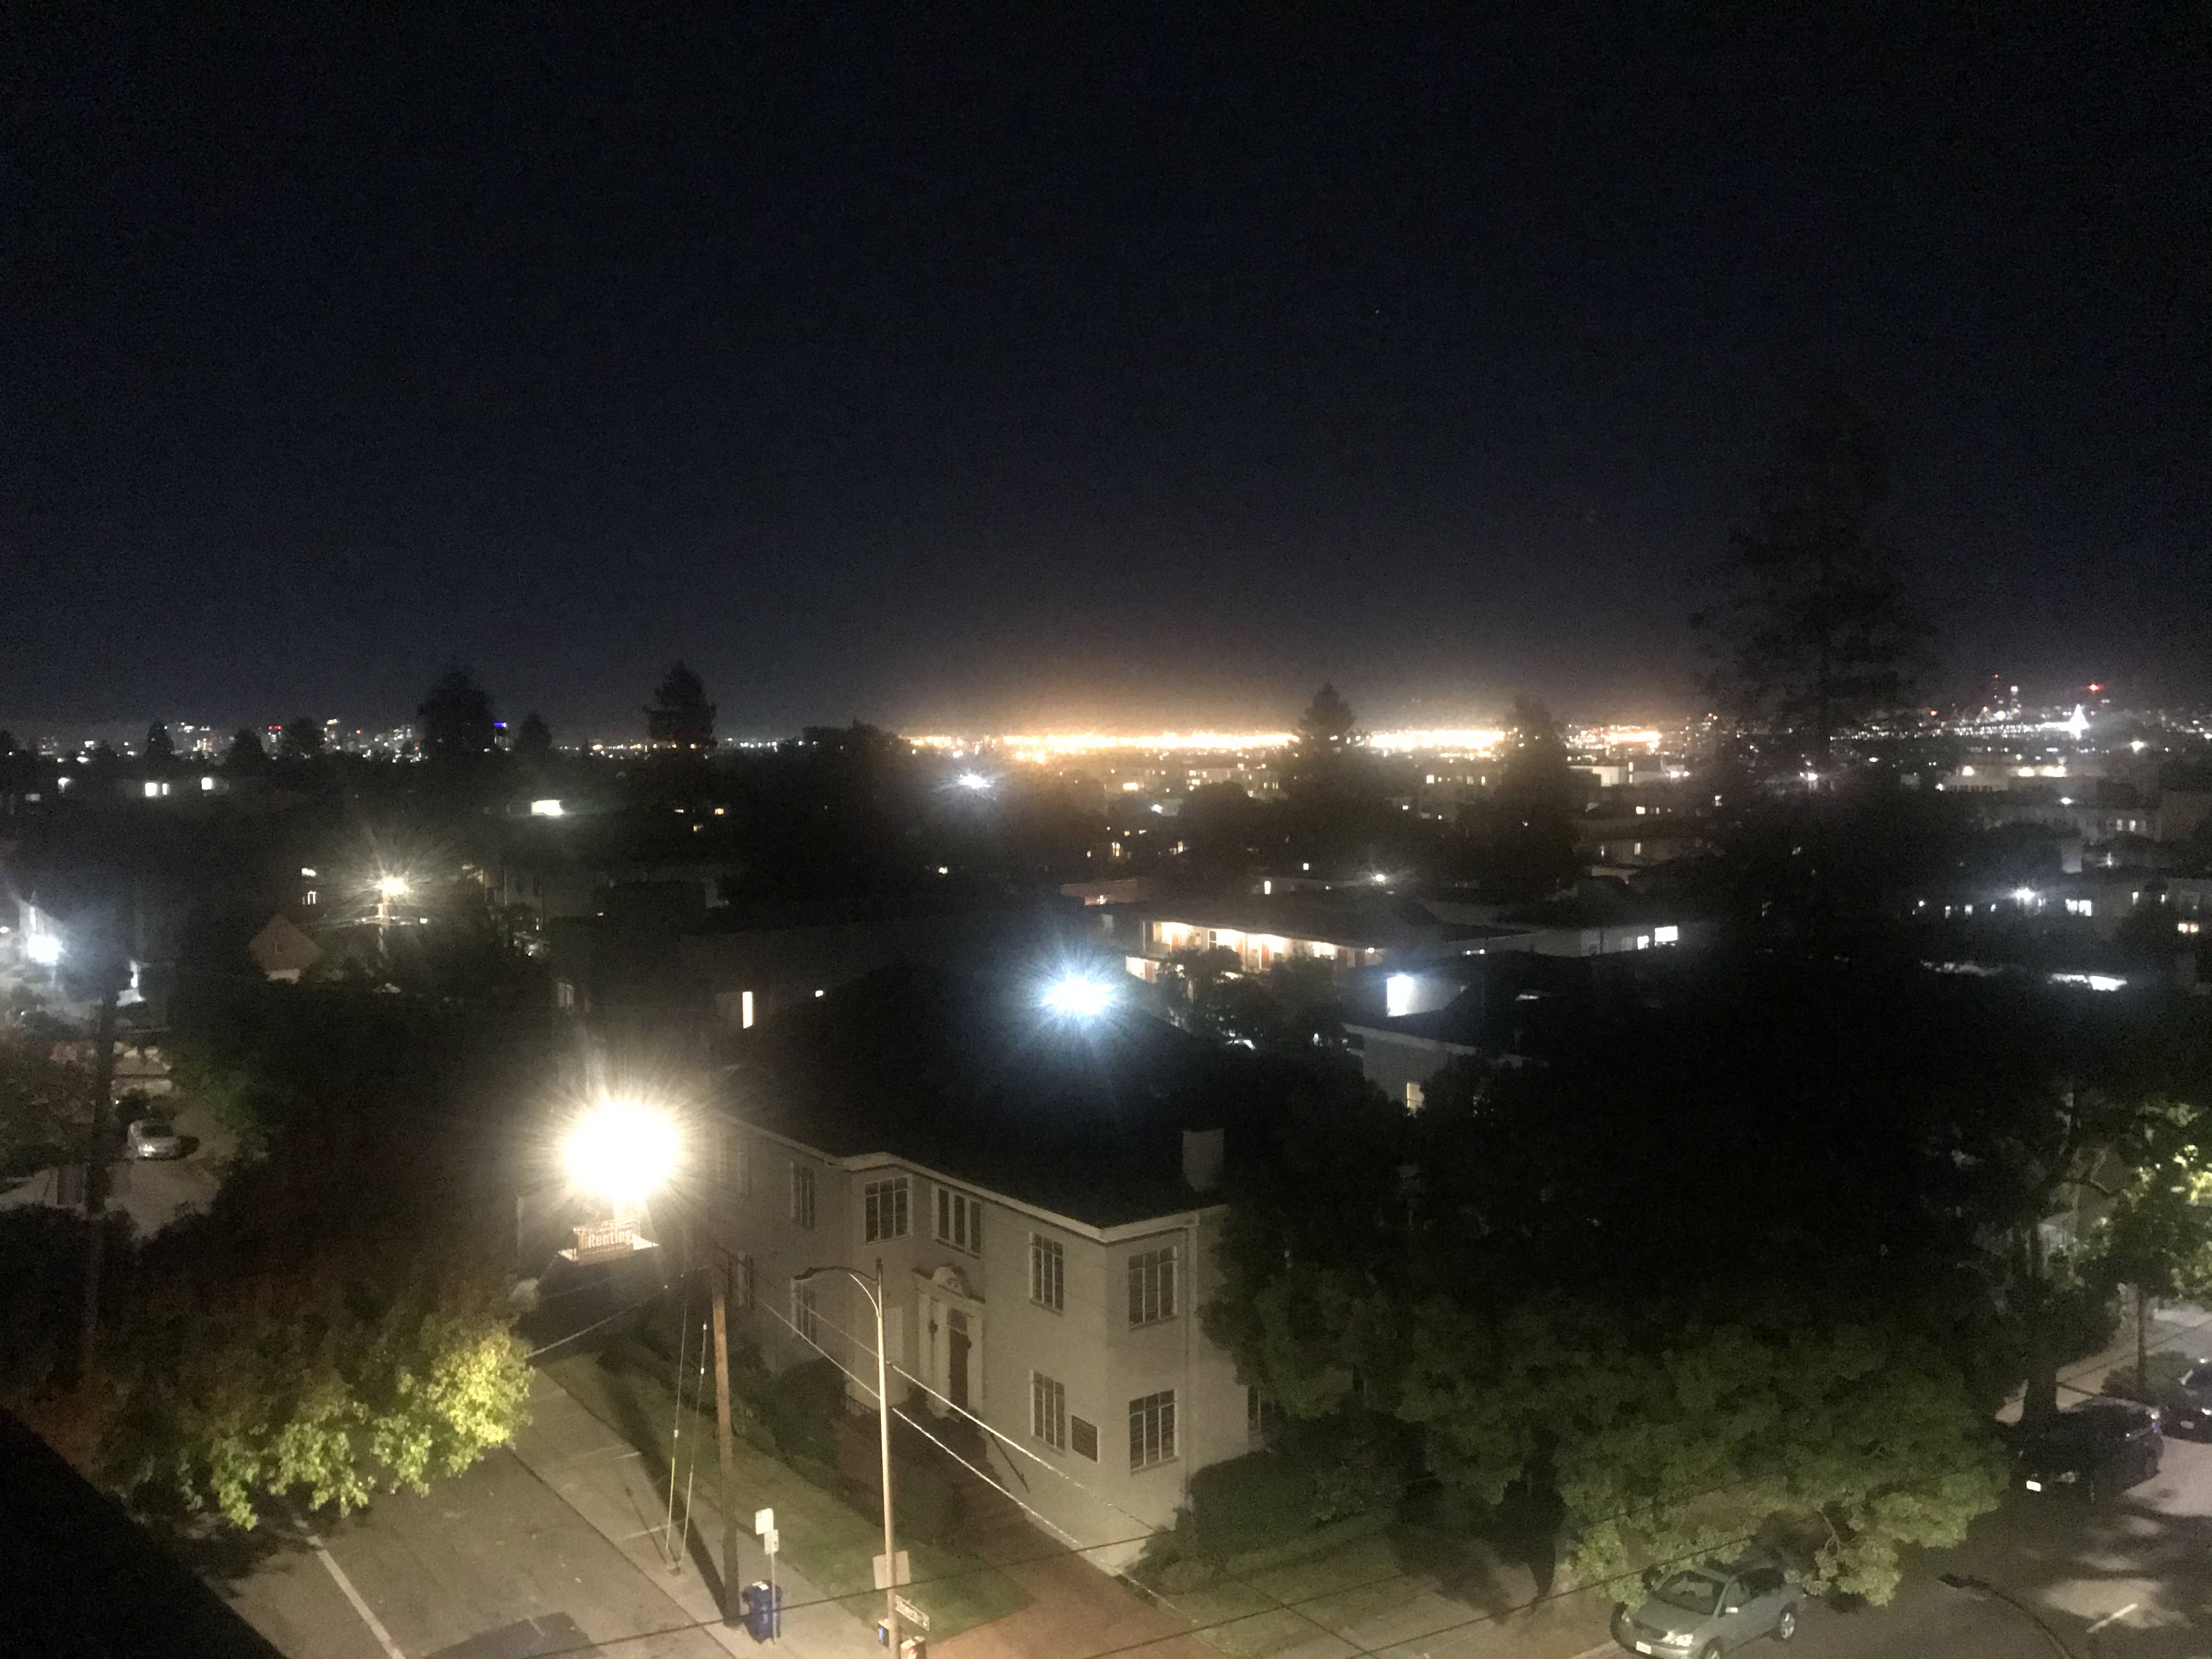
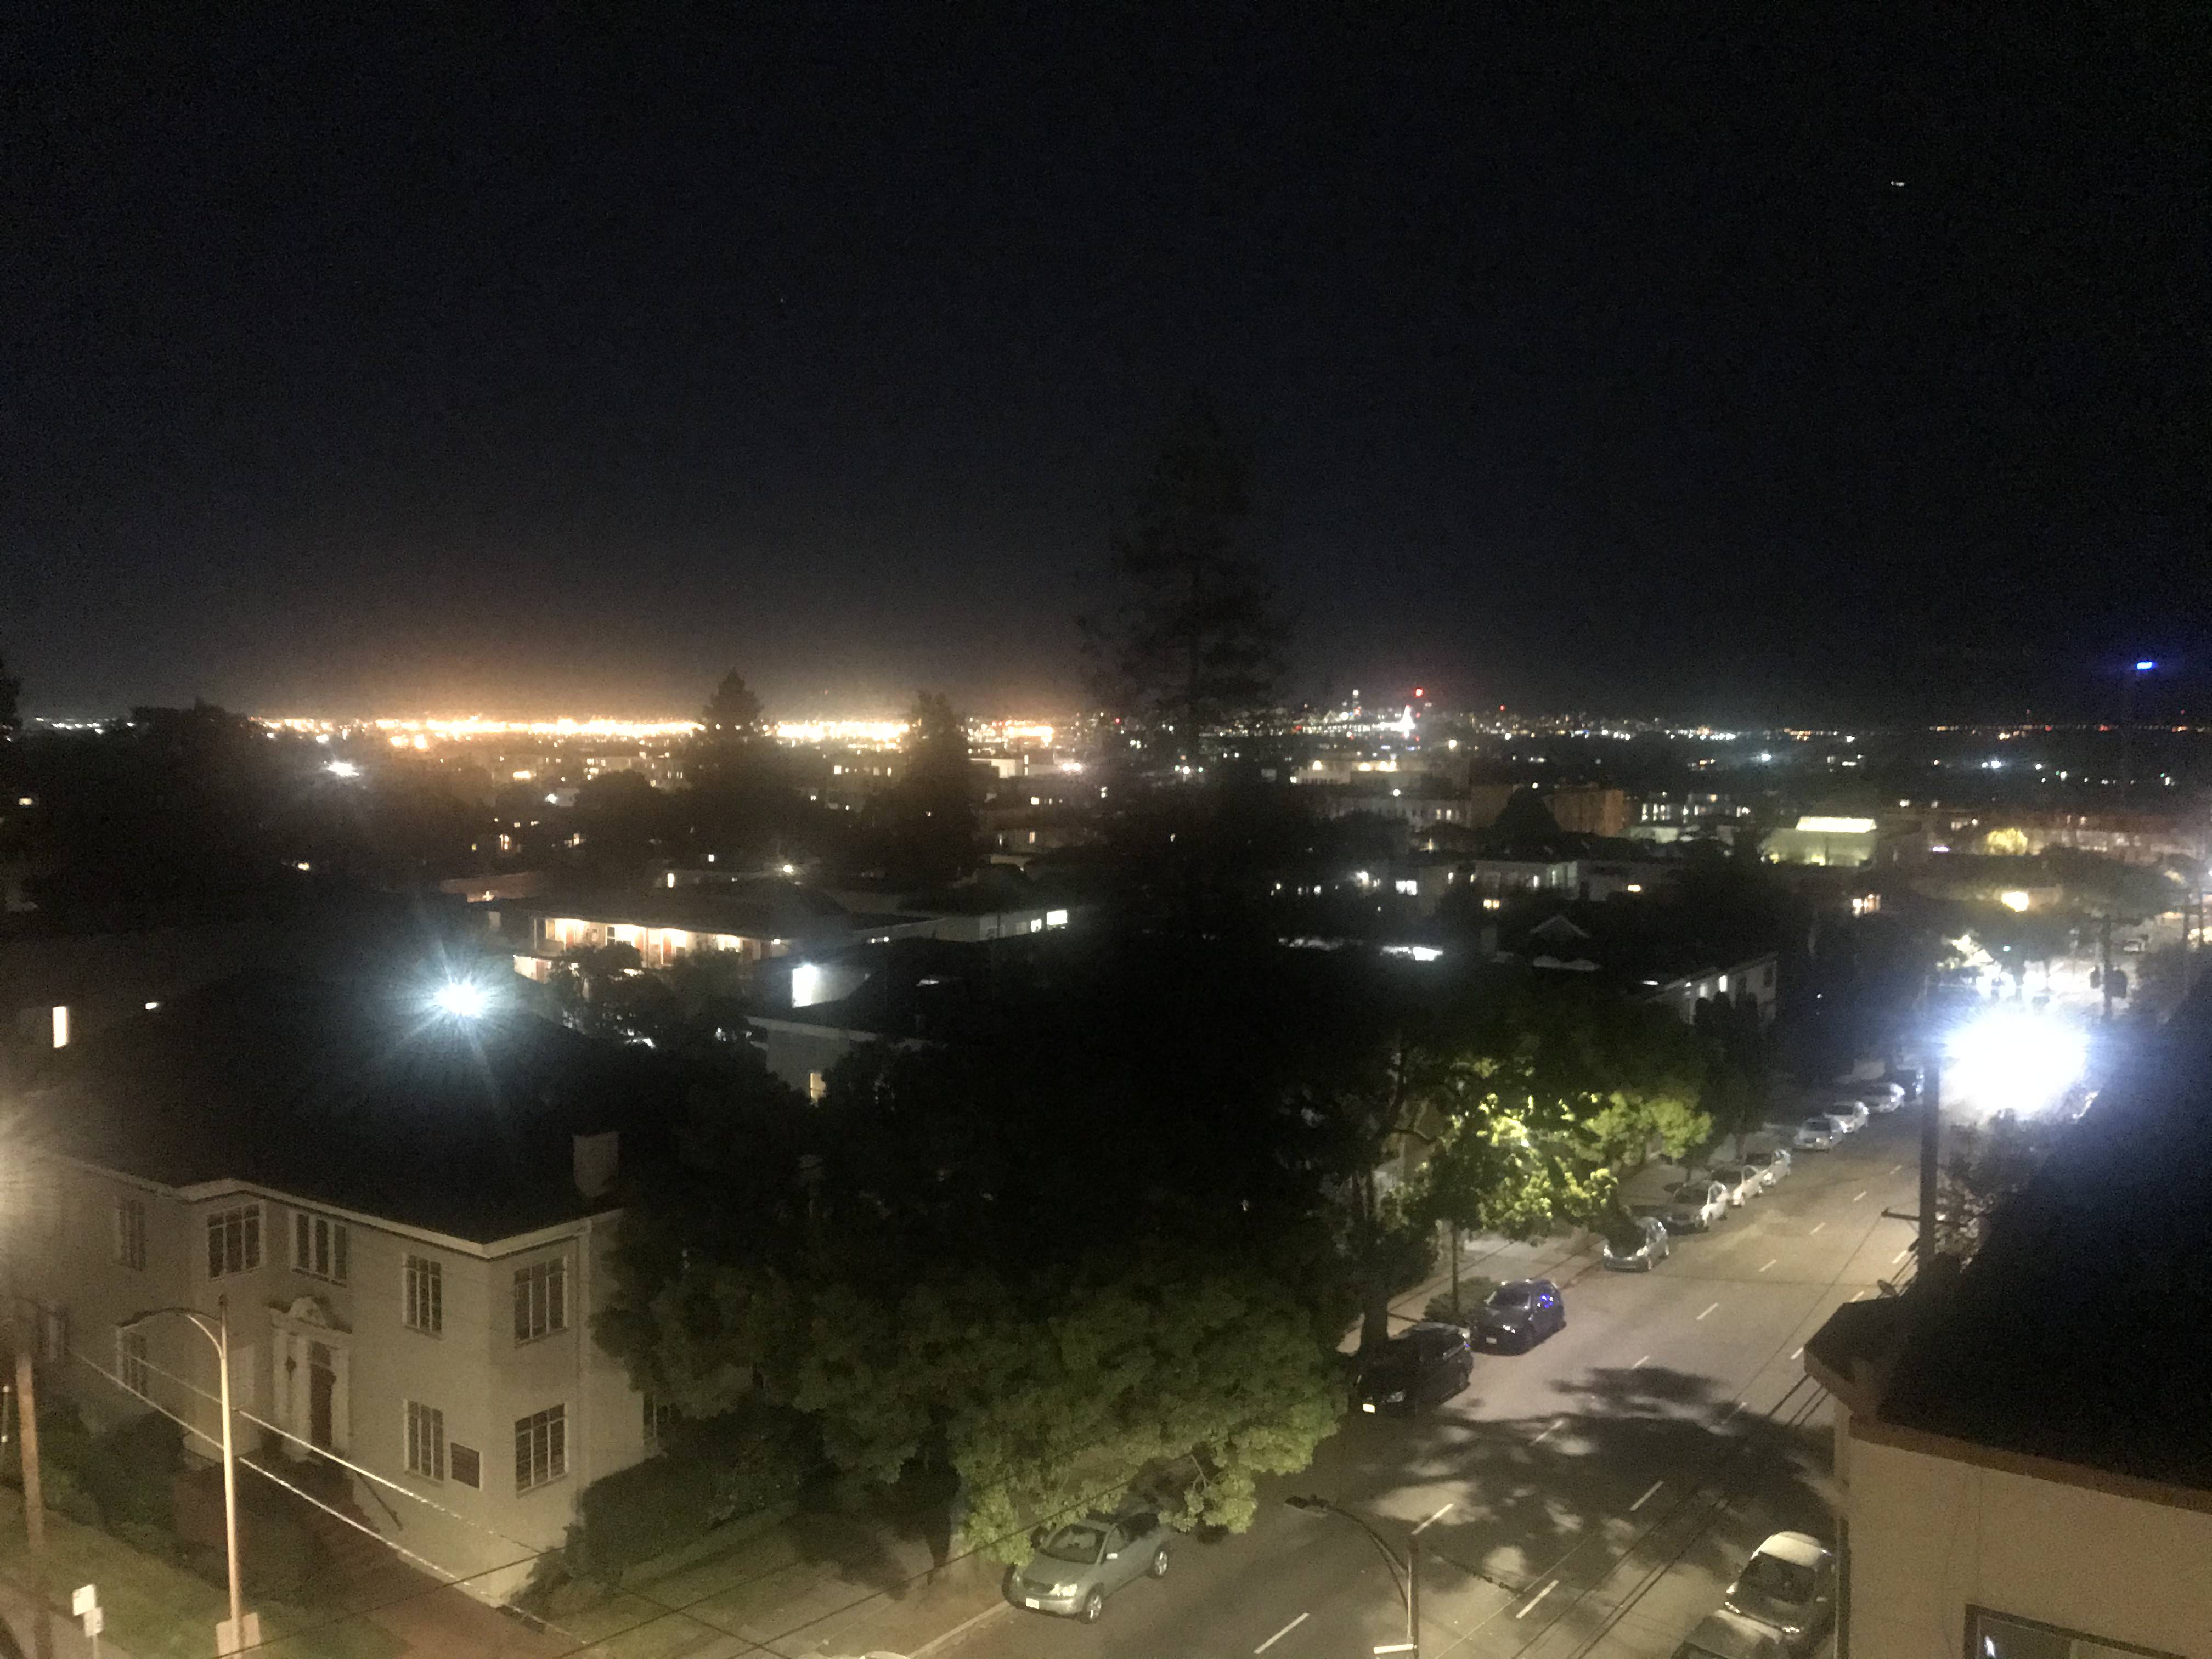
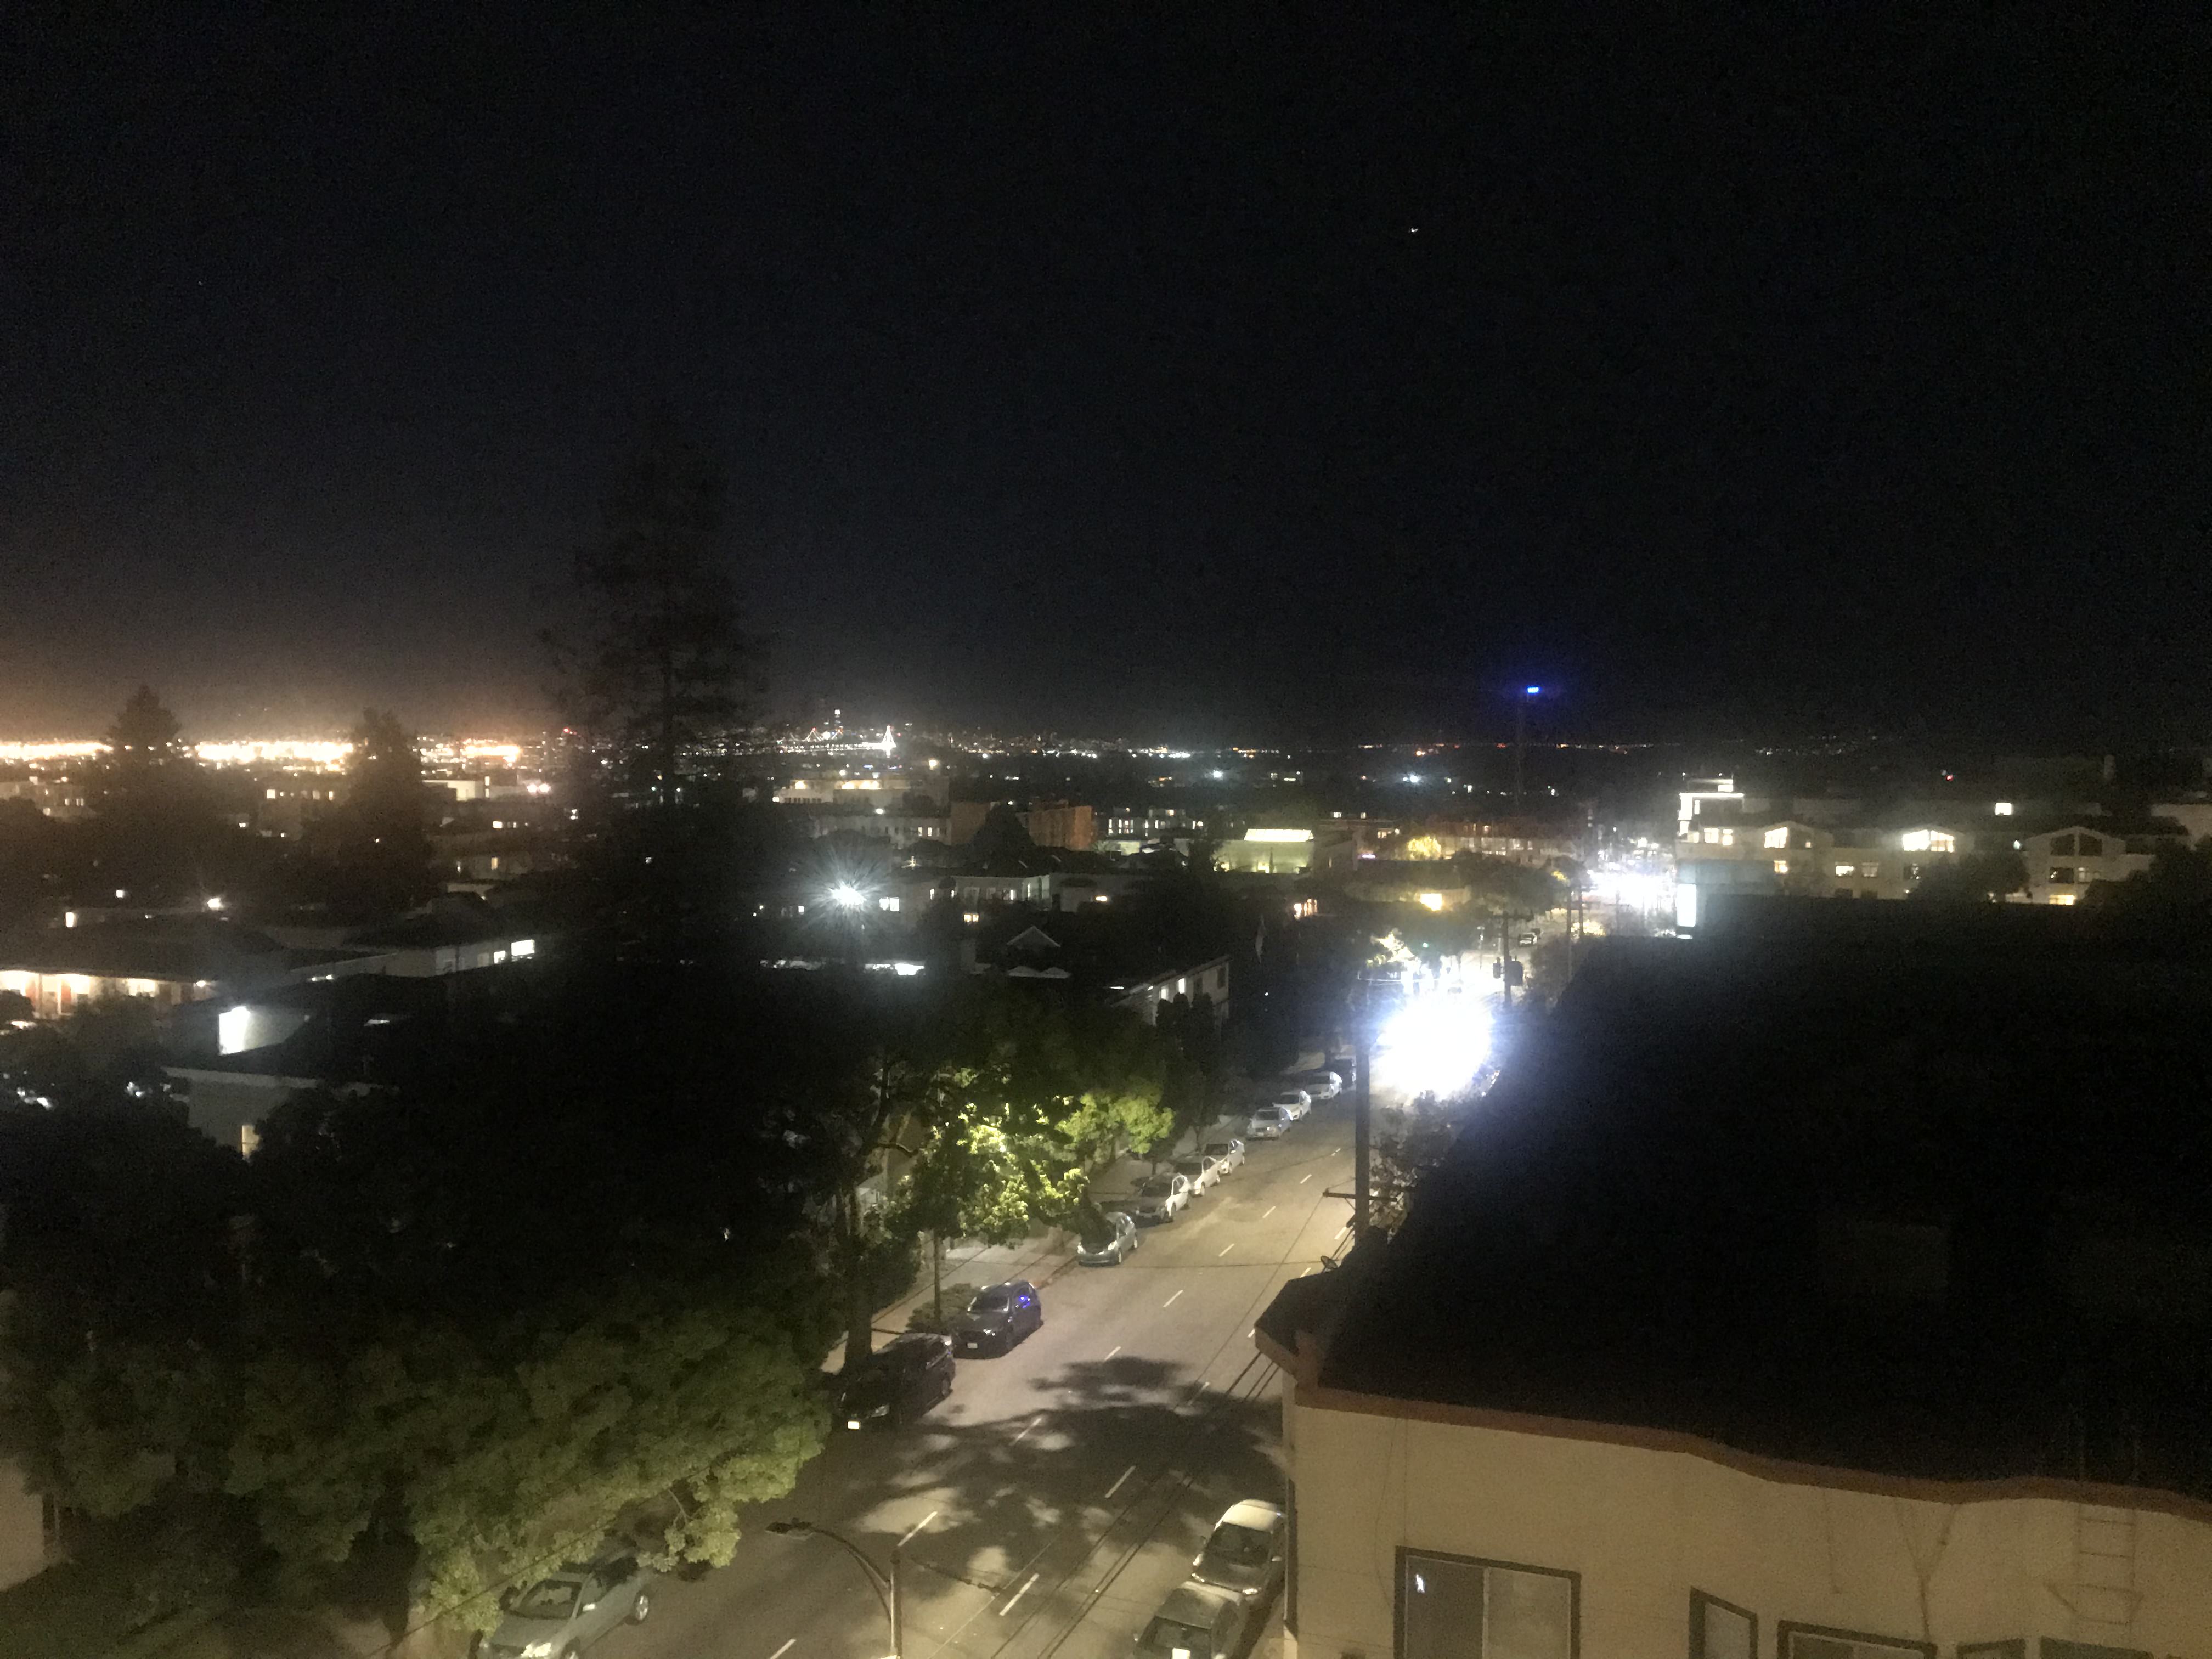
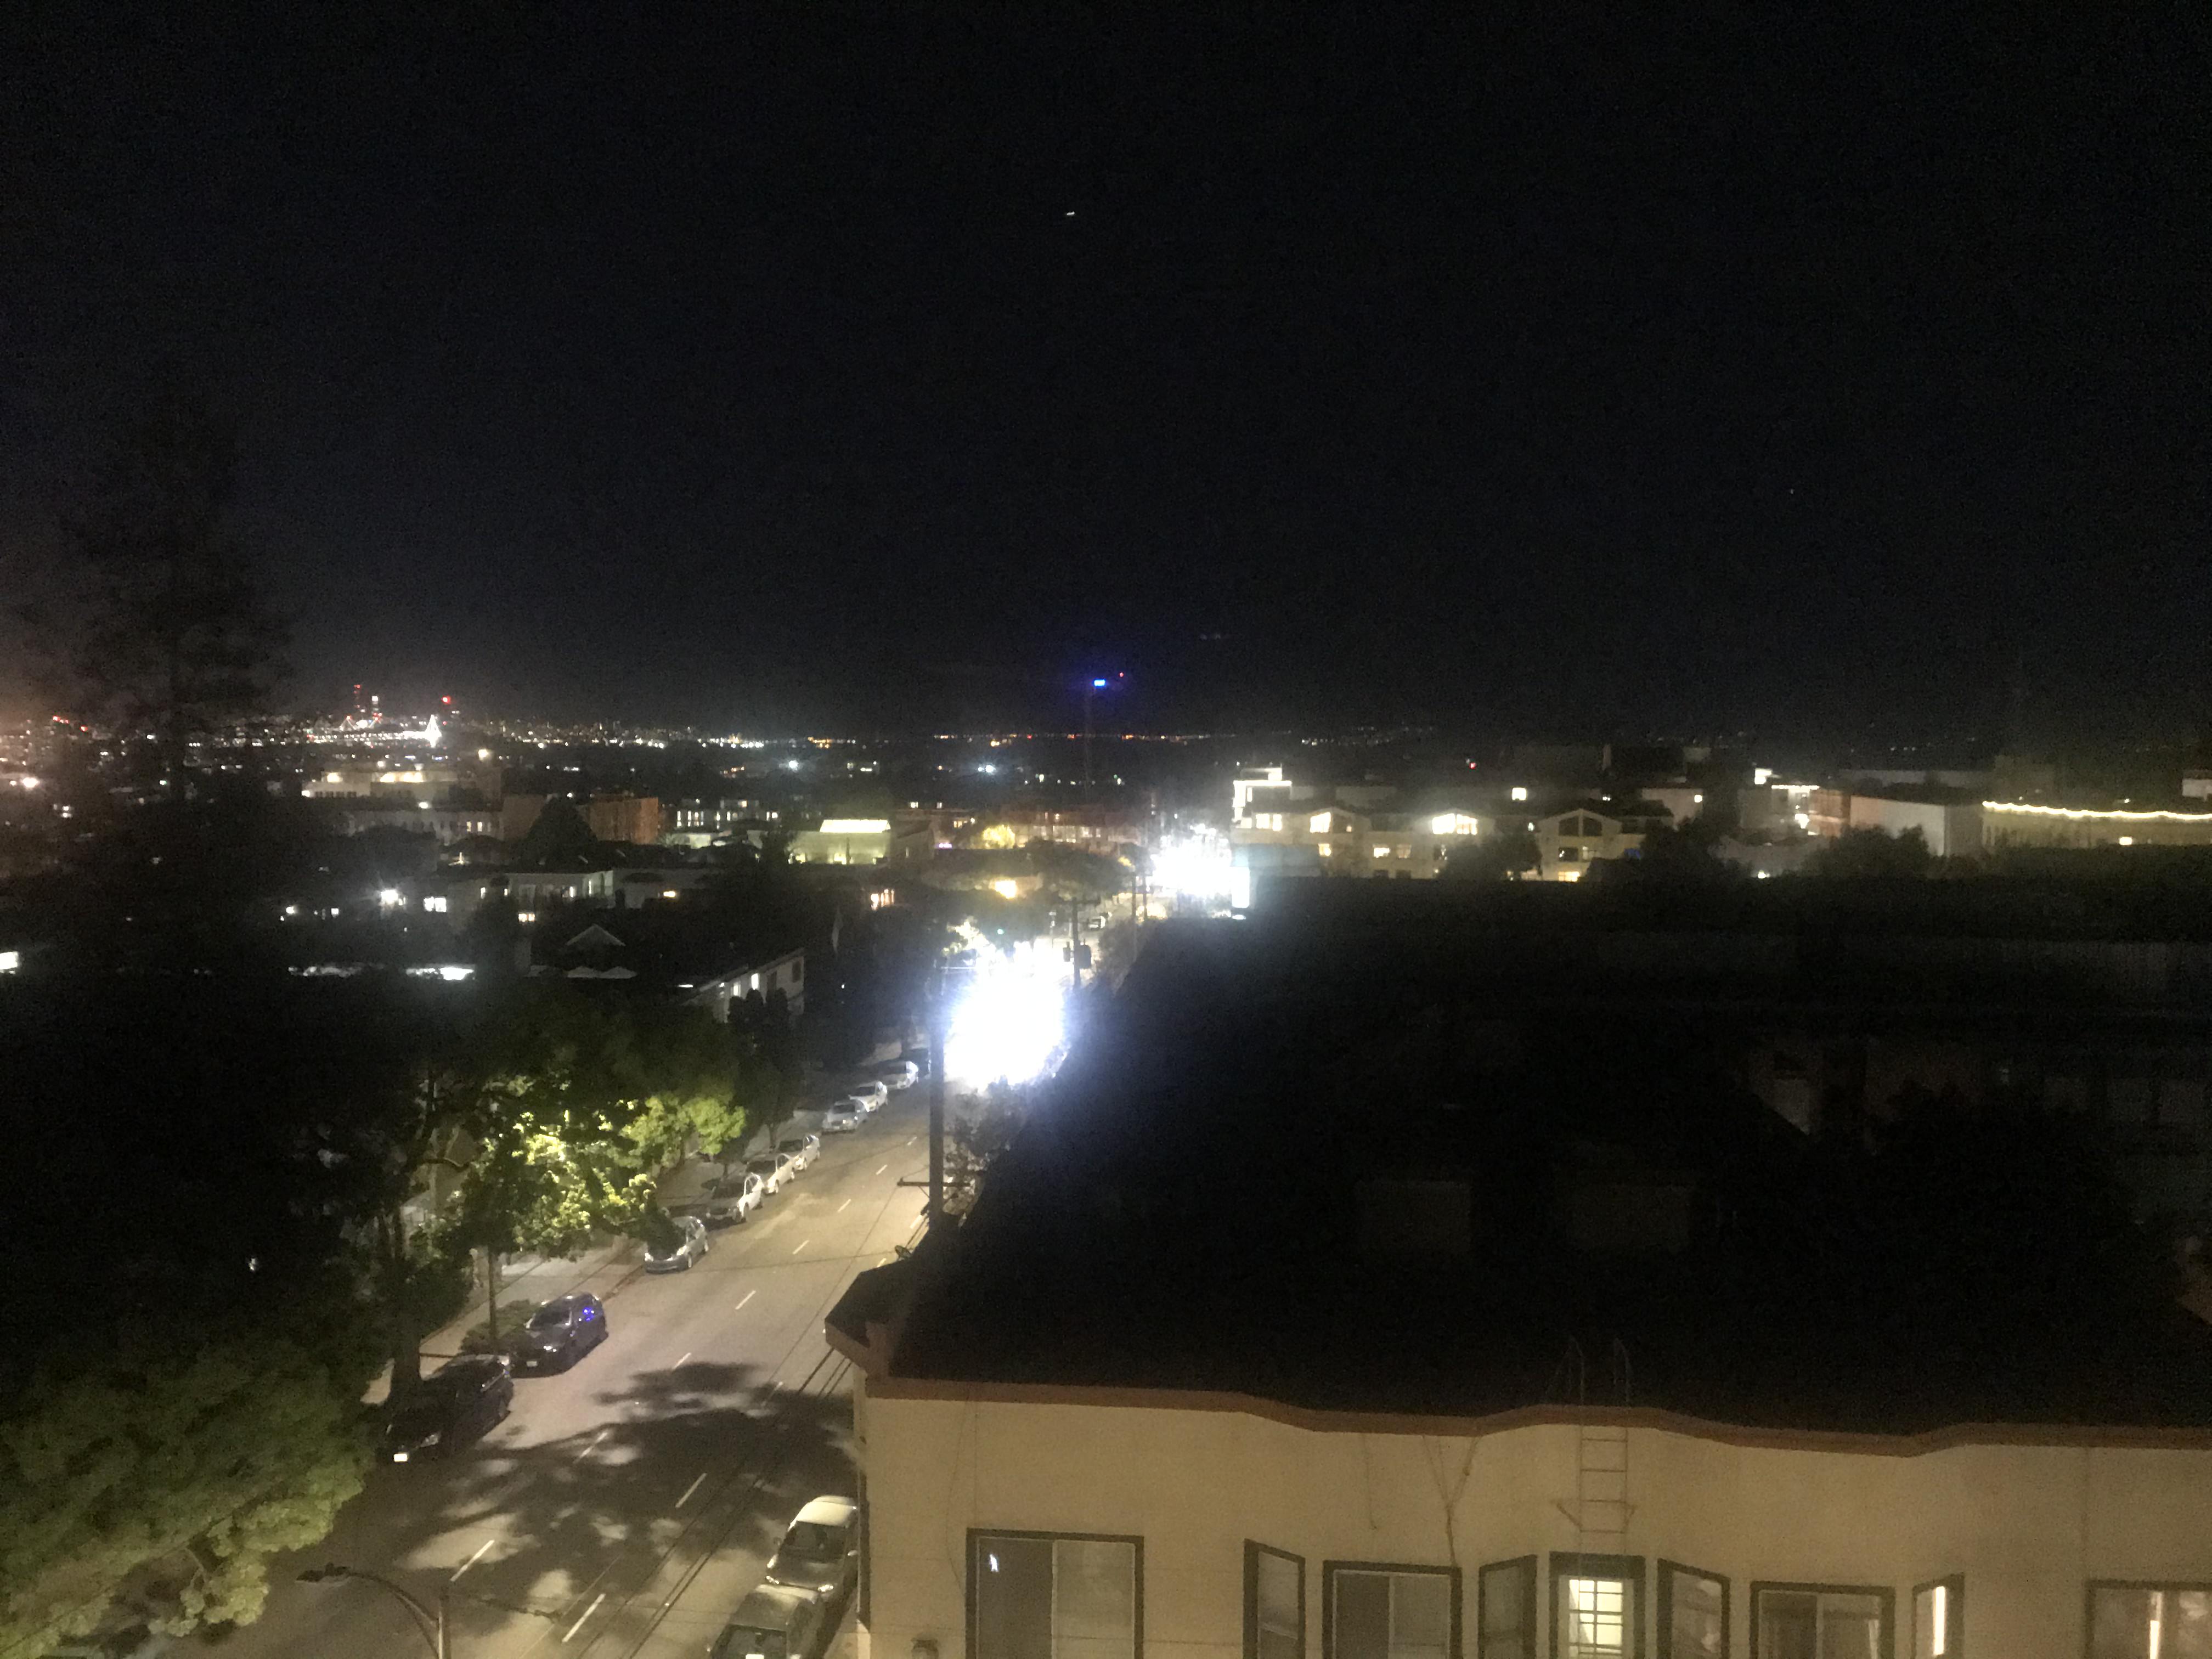
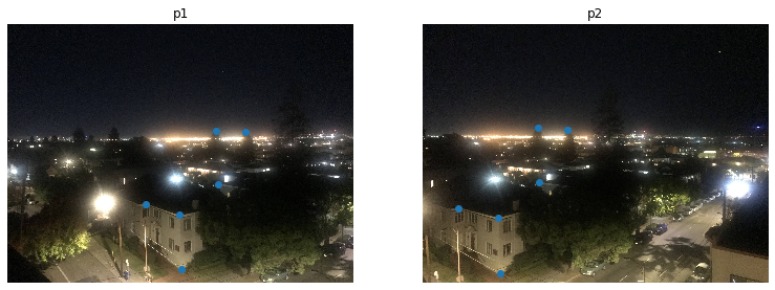
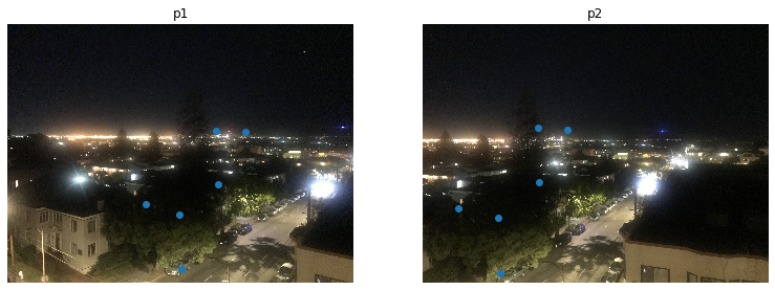
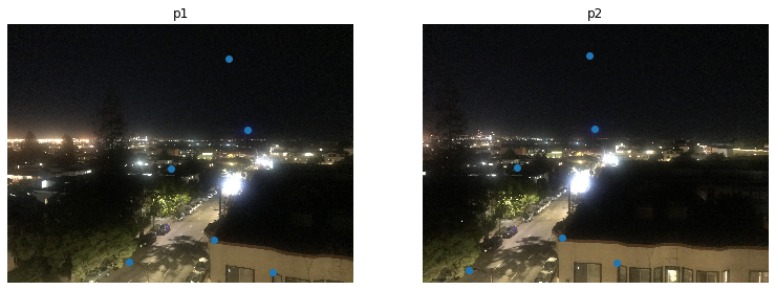
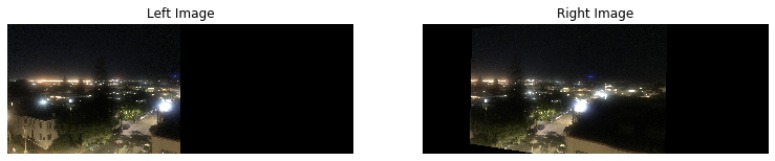
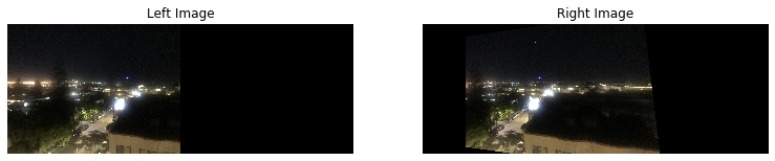
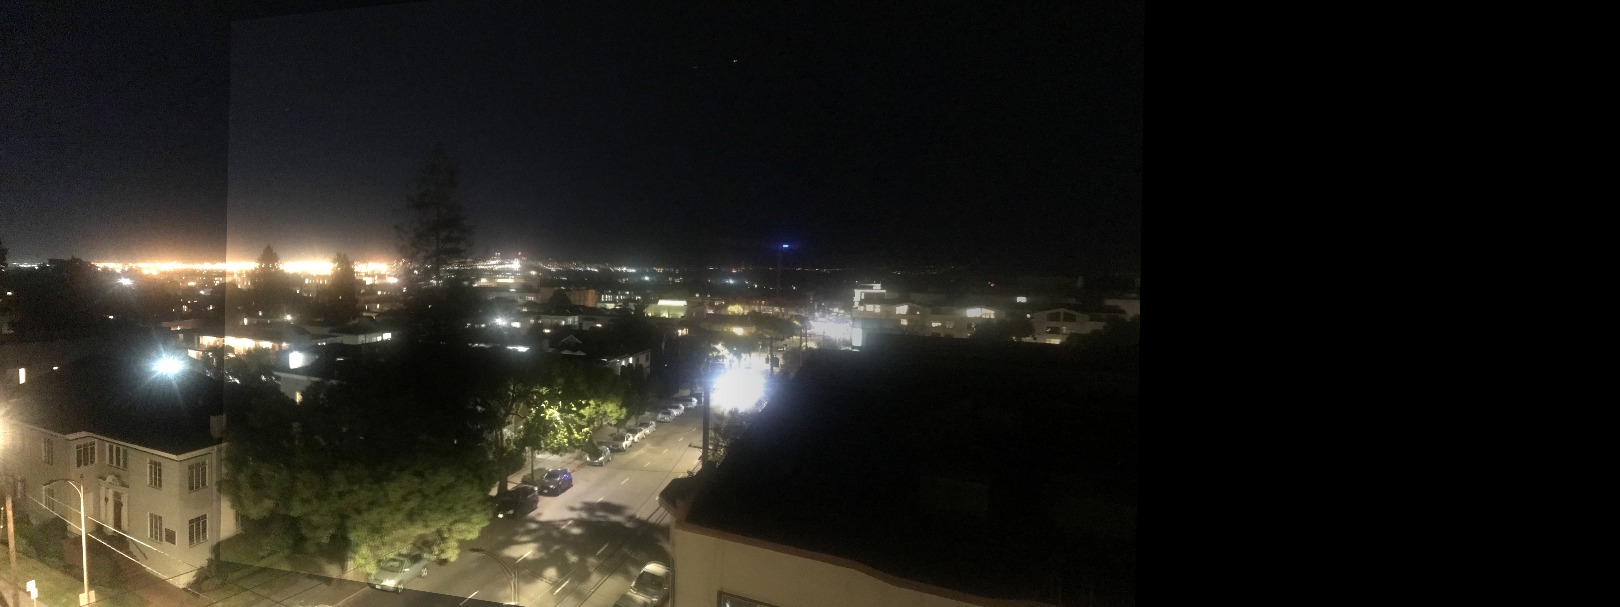
First, I shot a number of photos with my iphone camera on my rooftop. Since we are trying to do a photo maisaic, we need all pictures taken from the same center (on a tripod) First, we calculate the transformation matrix between the two images being stitched. I am using 6 corresponding points on the images to do the matching. The images I have taken are taken from a fixed point while rotating the camera from left to right. In part A, I am going to stitch these pairwise (image 1 with image 2, image 2 with image 3, and image 3 with image 4). In Part B, I will stitch all four of these images together
In this part, we will compute the transformation matrix between one image to the other. This matrix is called the homography. In order to find the homographies matrix, I labeled 6 pair of correspondance points on two images. Then based on these characteristic point, I am able to find the homographies matrix. Finally, I can warp the image using the homographies matrix to the desired final location. The way I did this is to by constructing an A matrix and b vector to solve a least-square problem with Ah = b for the unknows in the homography matrix.
A=[[x2, y2, 1, 0, 0, 0, -x1x2, -x1y2].
[0,0,0,x2,y2,1,-y1x2, -y1y2]]
b=[[x1],
[y1]]
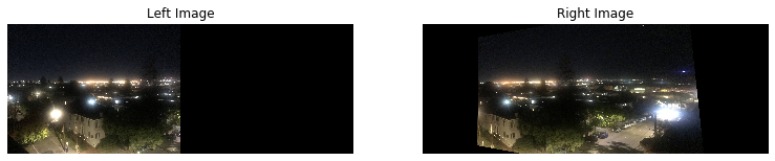
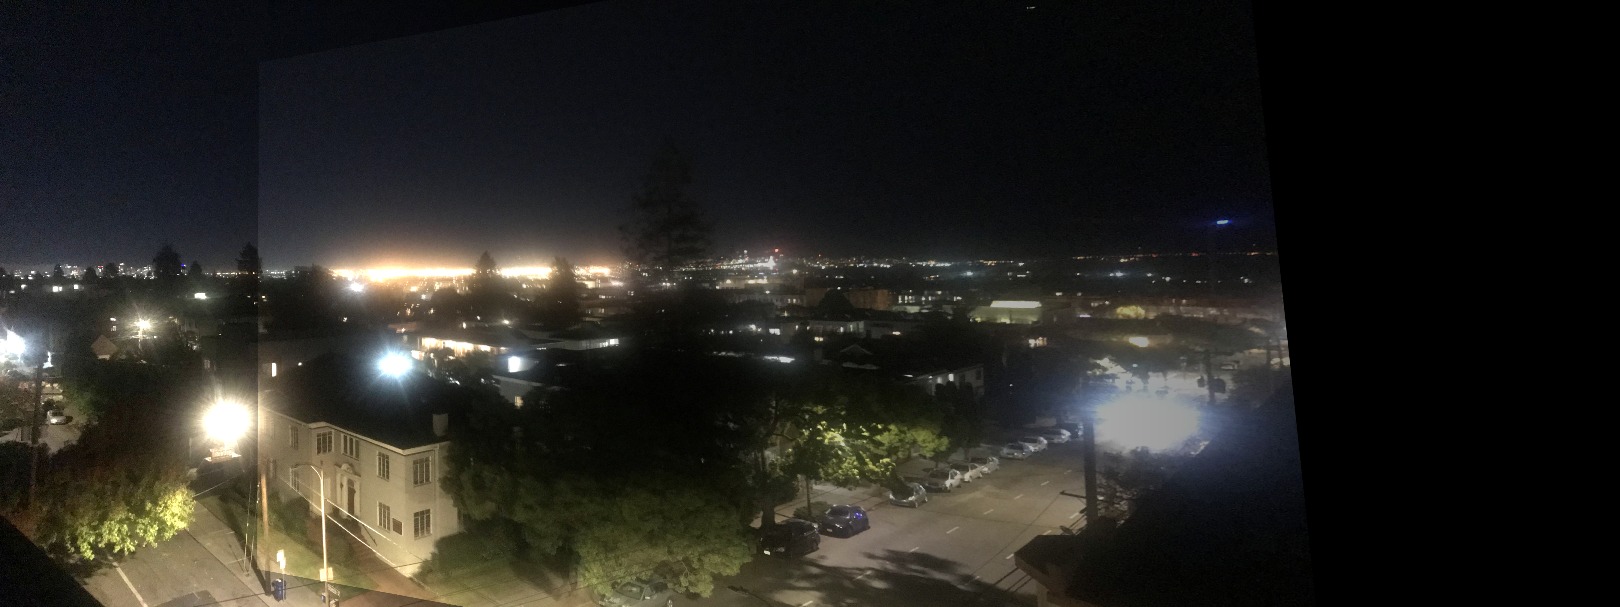
Blending is done with alpha blending from half the image. Since we want to gradually change the values from the first to the second image. Here are the three mosaic results from the 3 pairs of images which I showed above
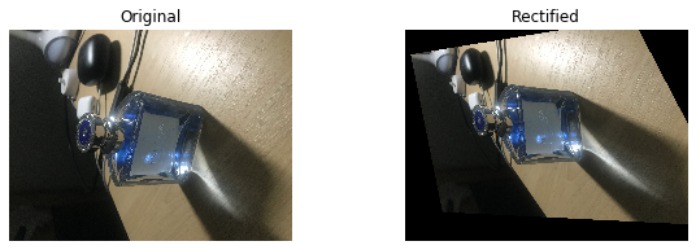
After calculating the homography matrix I am able to see an object in a different perspective. Here I showed the image rectification I did using homography matrix on my cologne and my book.

Blending is done with alpha blending from half the image. Since we want to gradually change the values from the first to the second image. Here are the three mosaic results from the 3 pairs of images which I showed above

For the second part of the project, I aim to create a system for automatically stitching images into a mosaic. This part of the project consist of the following subsections:
1. Detecting corner features in an image
2. Extracting a Feature Descriptor for each feature point
3. Matching these feature descriptors between two images
4. Use a robust method (RANSAC) to compute a homography
5. Creating the mosaic of the images
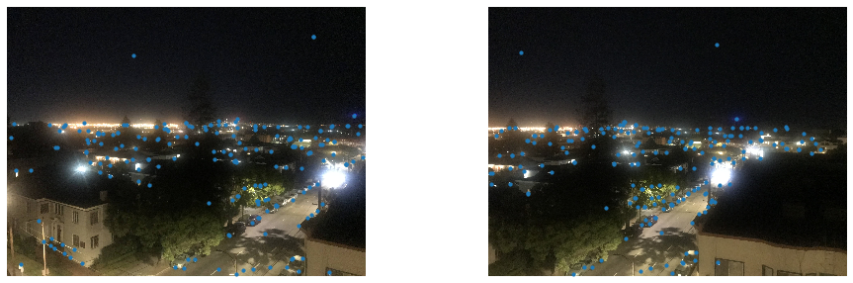
I use the harris interest point detector to detect the multi-scale harris corners:
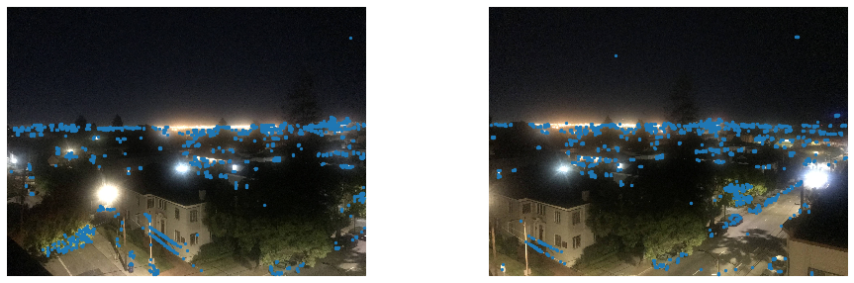
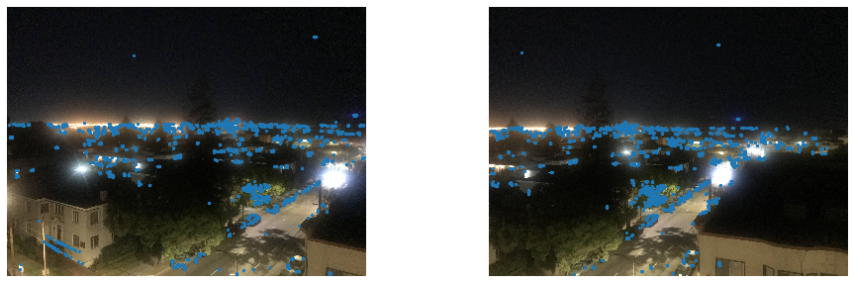
As we see from the harris interest point detector result, the number of points of interest is very large. To make computation more effective, we apply ANMS to restrict the number of points of interest.

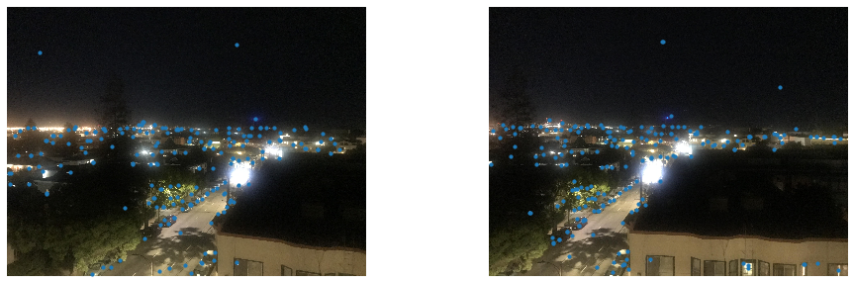
Once we have the points of interest, we need a descriptor of the images to create matchings of features between the images


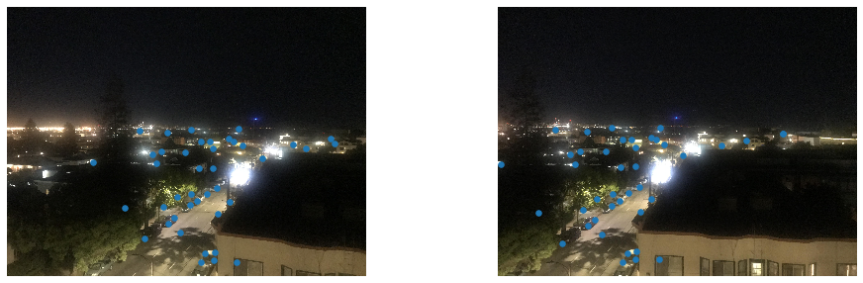
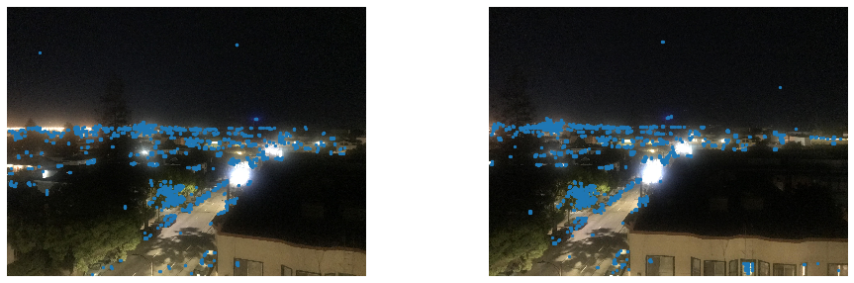
ransac is a method to remove outliers. In each iteration 4 pairs of feature points are sampled randomly and we calculate their homography matrix using the homography function defined in part A, then remove the points whose squared difference is larger than 0.5 from the original points.

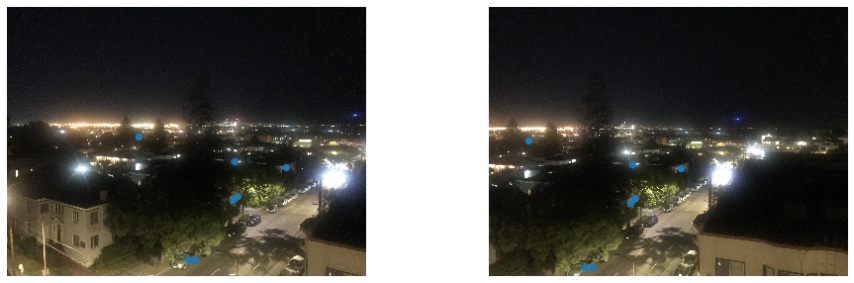

Applying the homography function from part A to calculate the warped images:


Given a sequence of images we produce the panoramic view by stitching them together:
I have learned how to calculate the homography, matching feature points, creating automatic stitching for a sequence of images into a panoramic view.