In this project, we use image warping to stitch 2 or more photographs together into an image mosaic by registering, projective warping, resampling, and compositing them. This is the first part of a larger project.
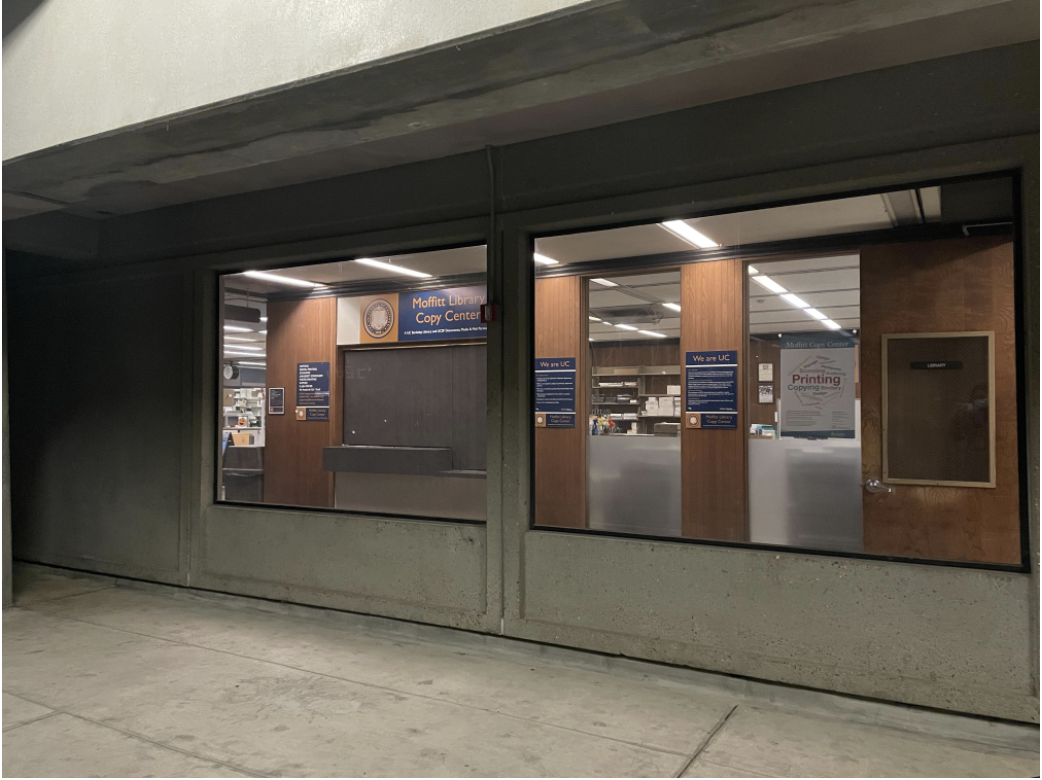
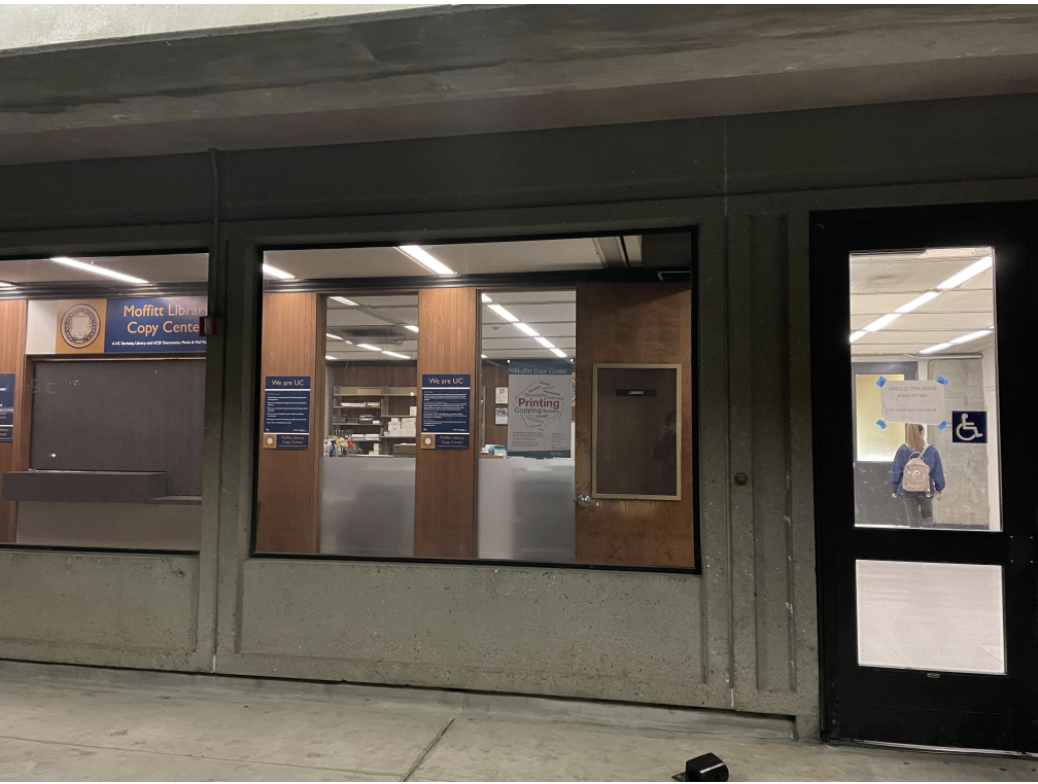
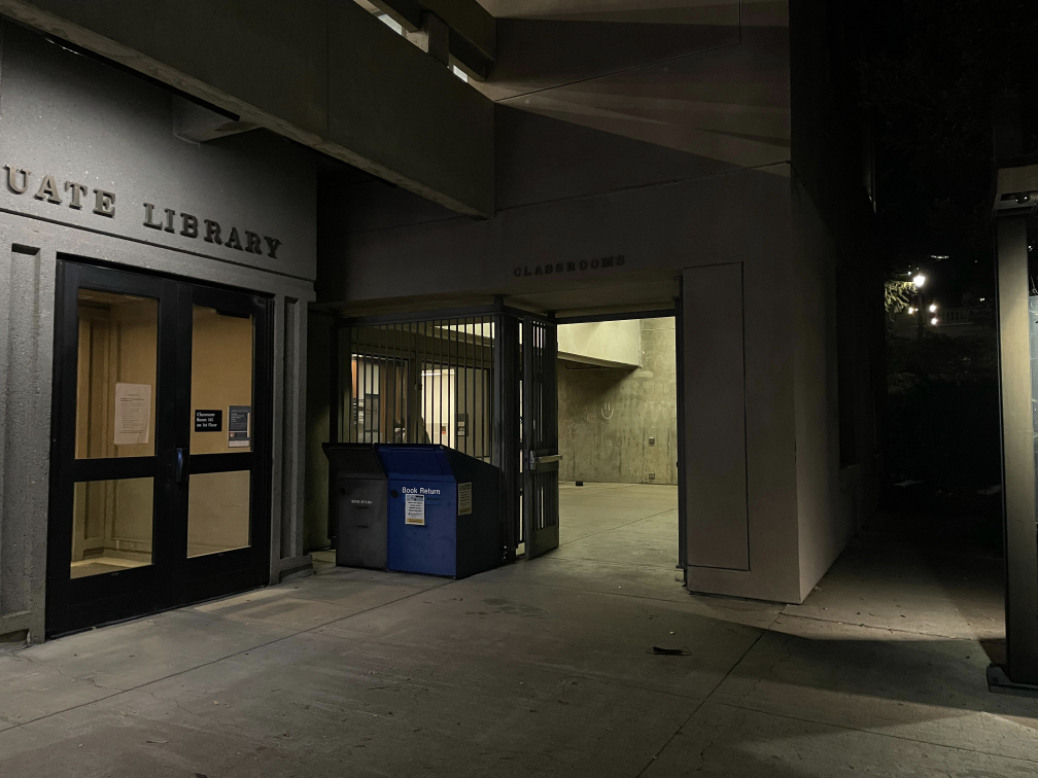
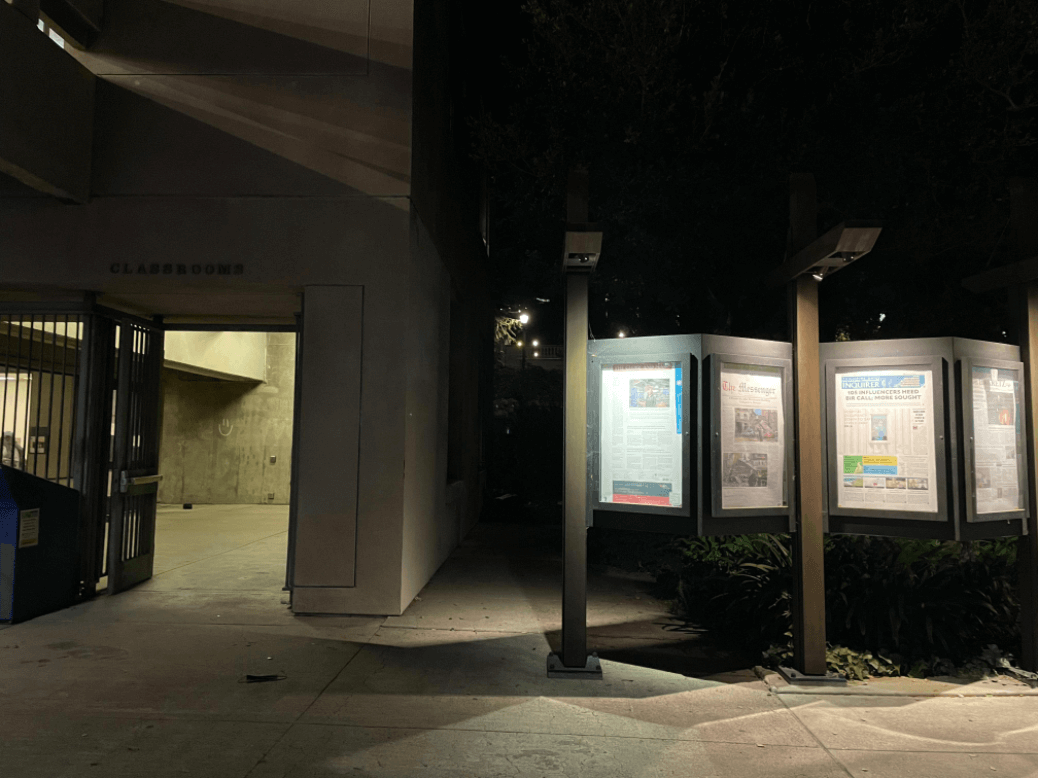
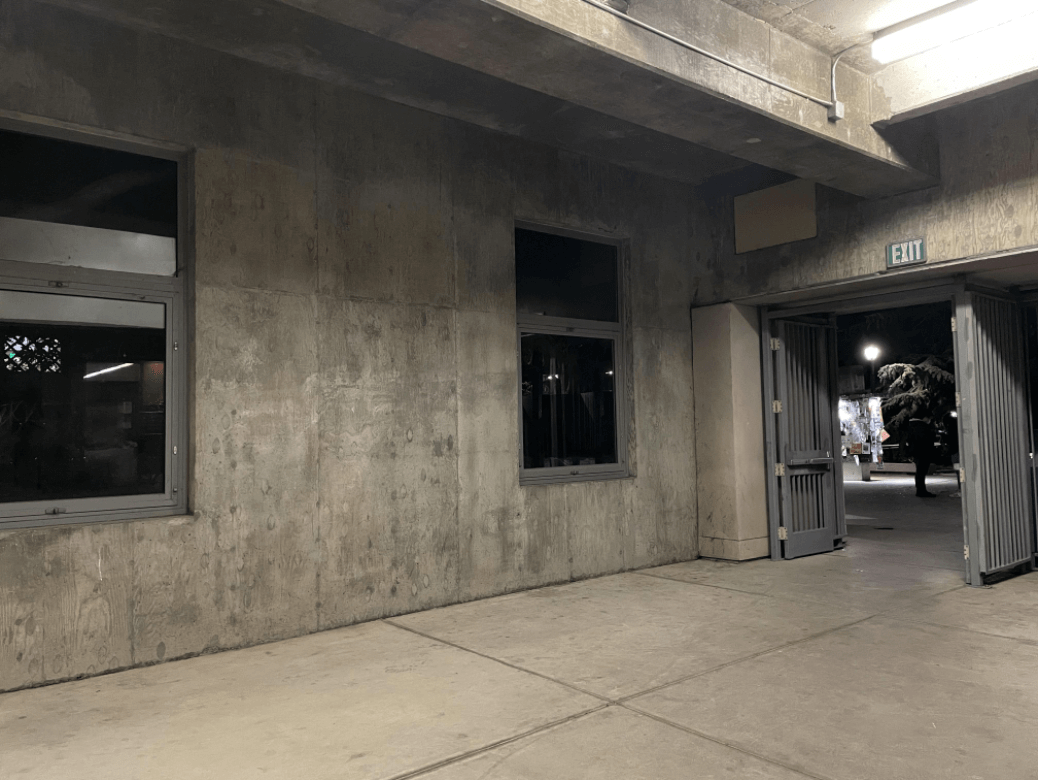
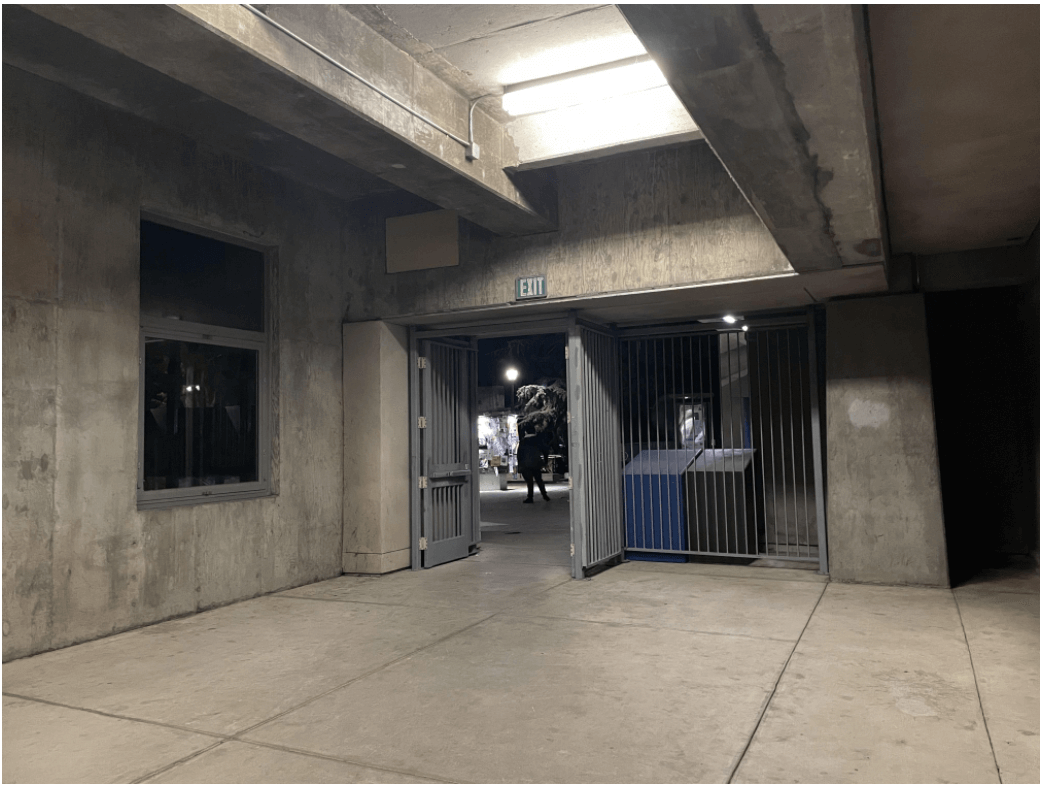
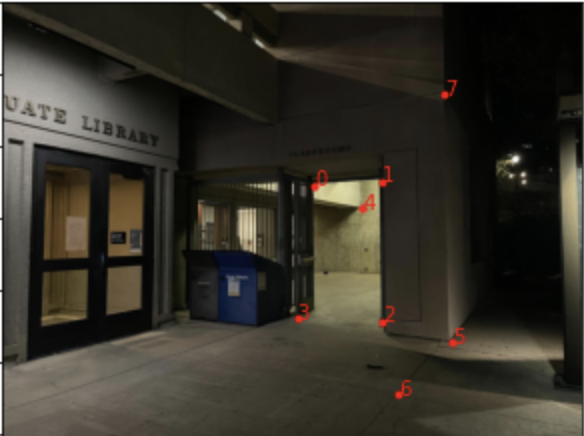
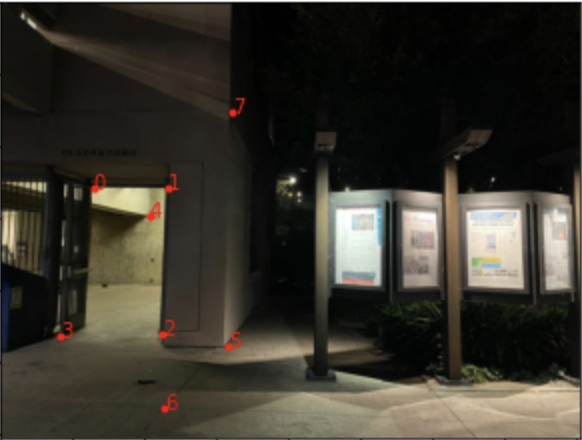
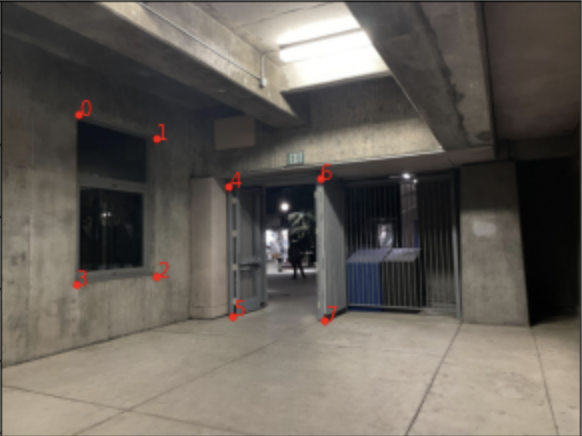
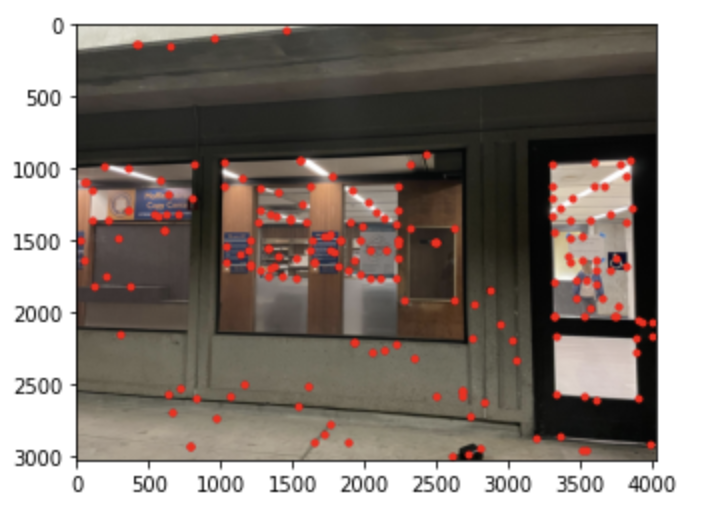
Here are the photos I took of Moffitt and Kresge using my iphone camera. They are shot from the same point of view but with different view directions (ie rotated).
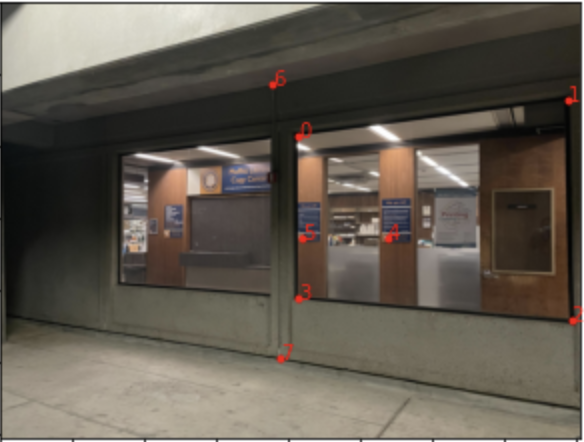
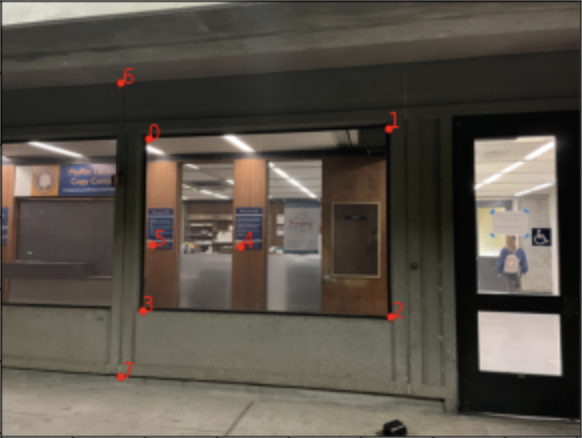
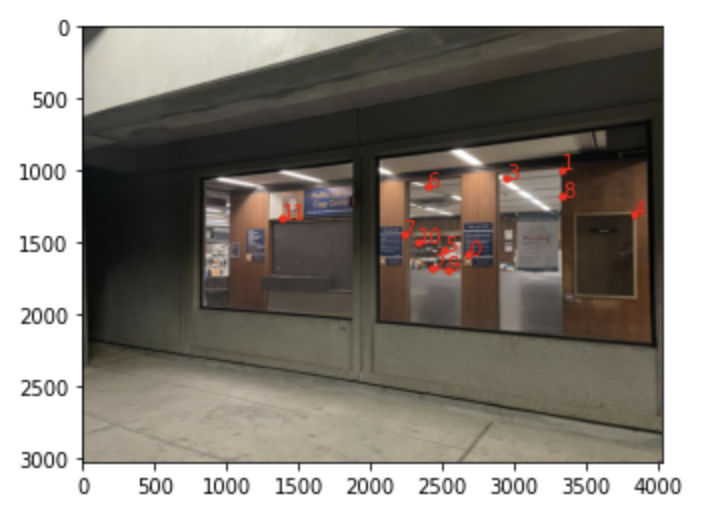
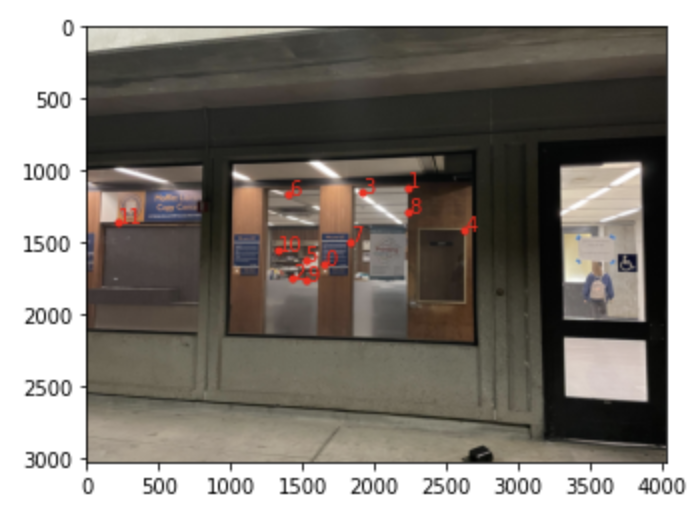
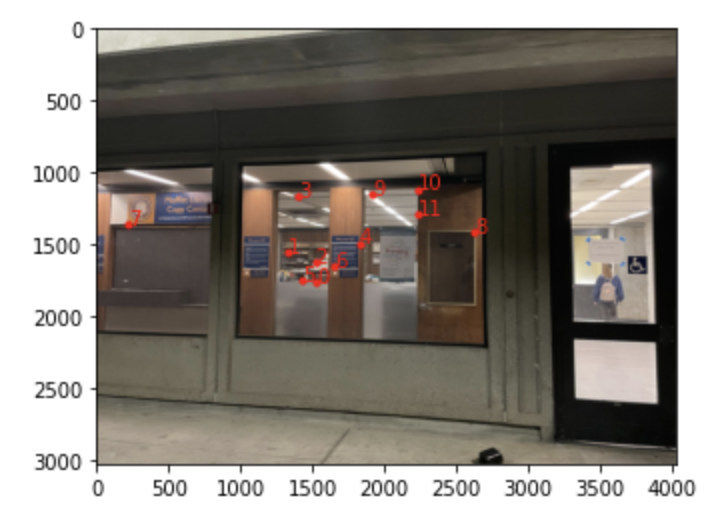
Before warping the images into alignment, I found the homogrpahy matrix H to recover the parameters of transformation for the images. This was computed by solving the 3x3 matrix using a linear system of n equations (n=8 point correspondences were found for each pair of images). Below are the point correspondences.

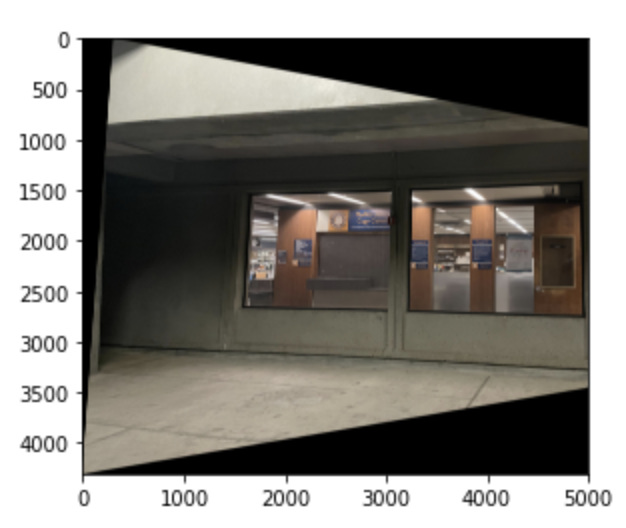
Now that the homography is determined, I warped images using the H matrix. I predicted the bounding box of the image by piping the corners of the image through H. Below is the warped image for the pair of windows images as an example. On the left, we have the left windows image warped to match the perspective of the right windows image. On the right, we have the right windows image warped to the match the perspective of the left image.
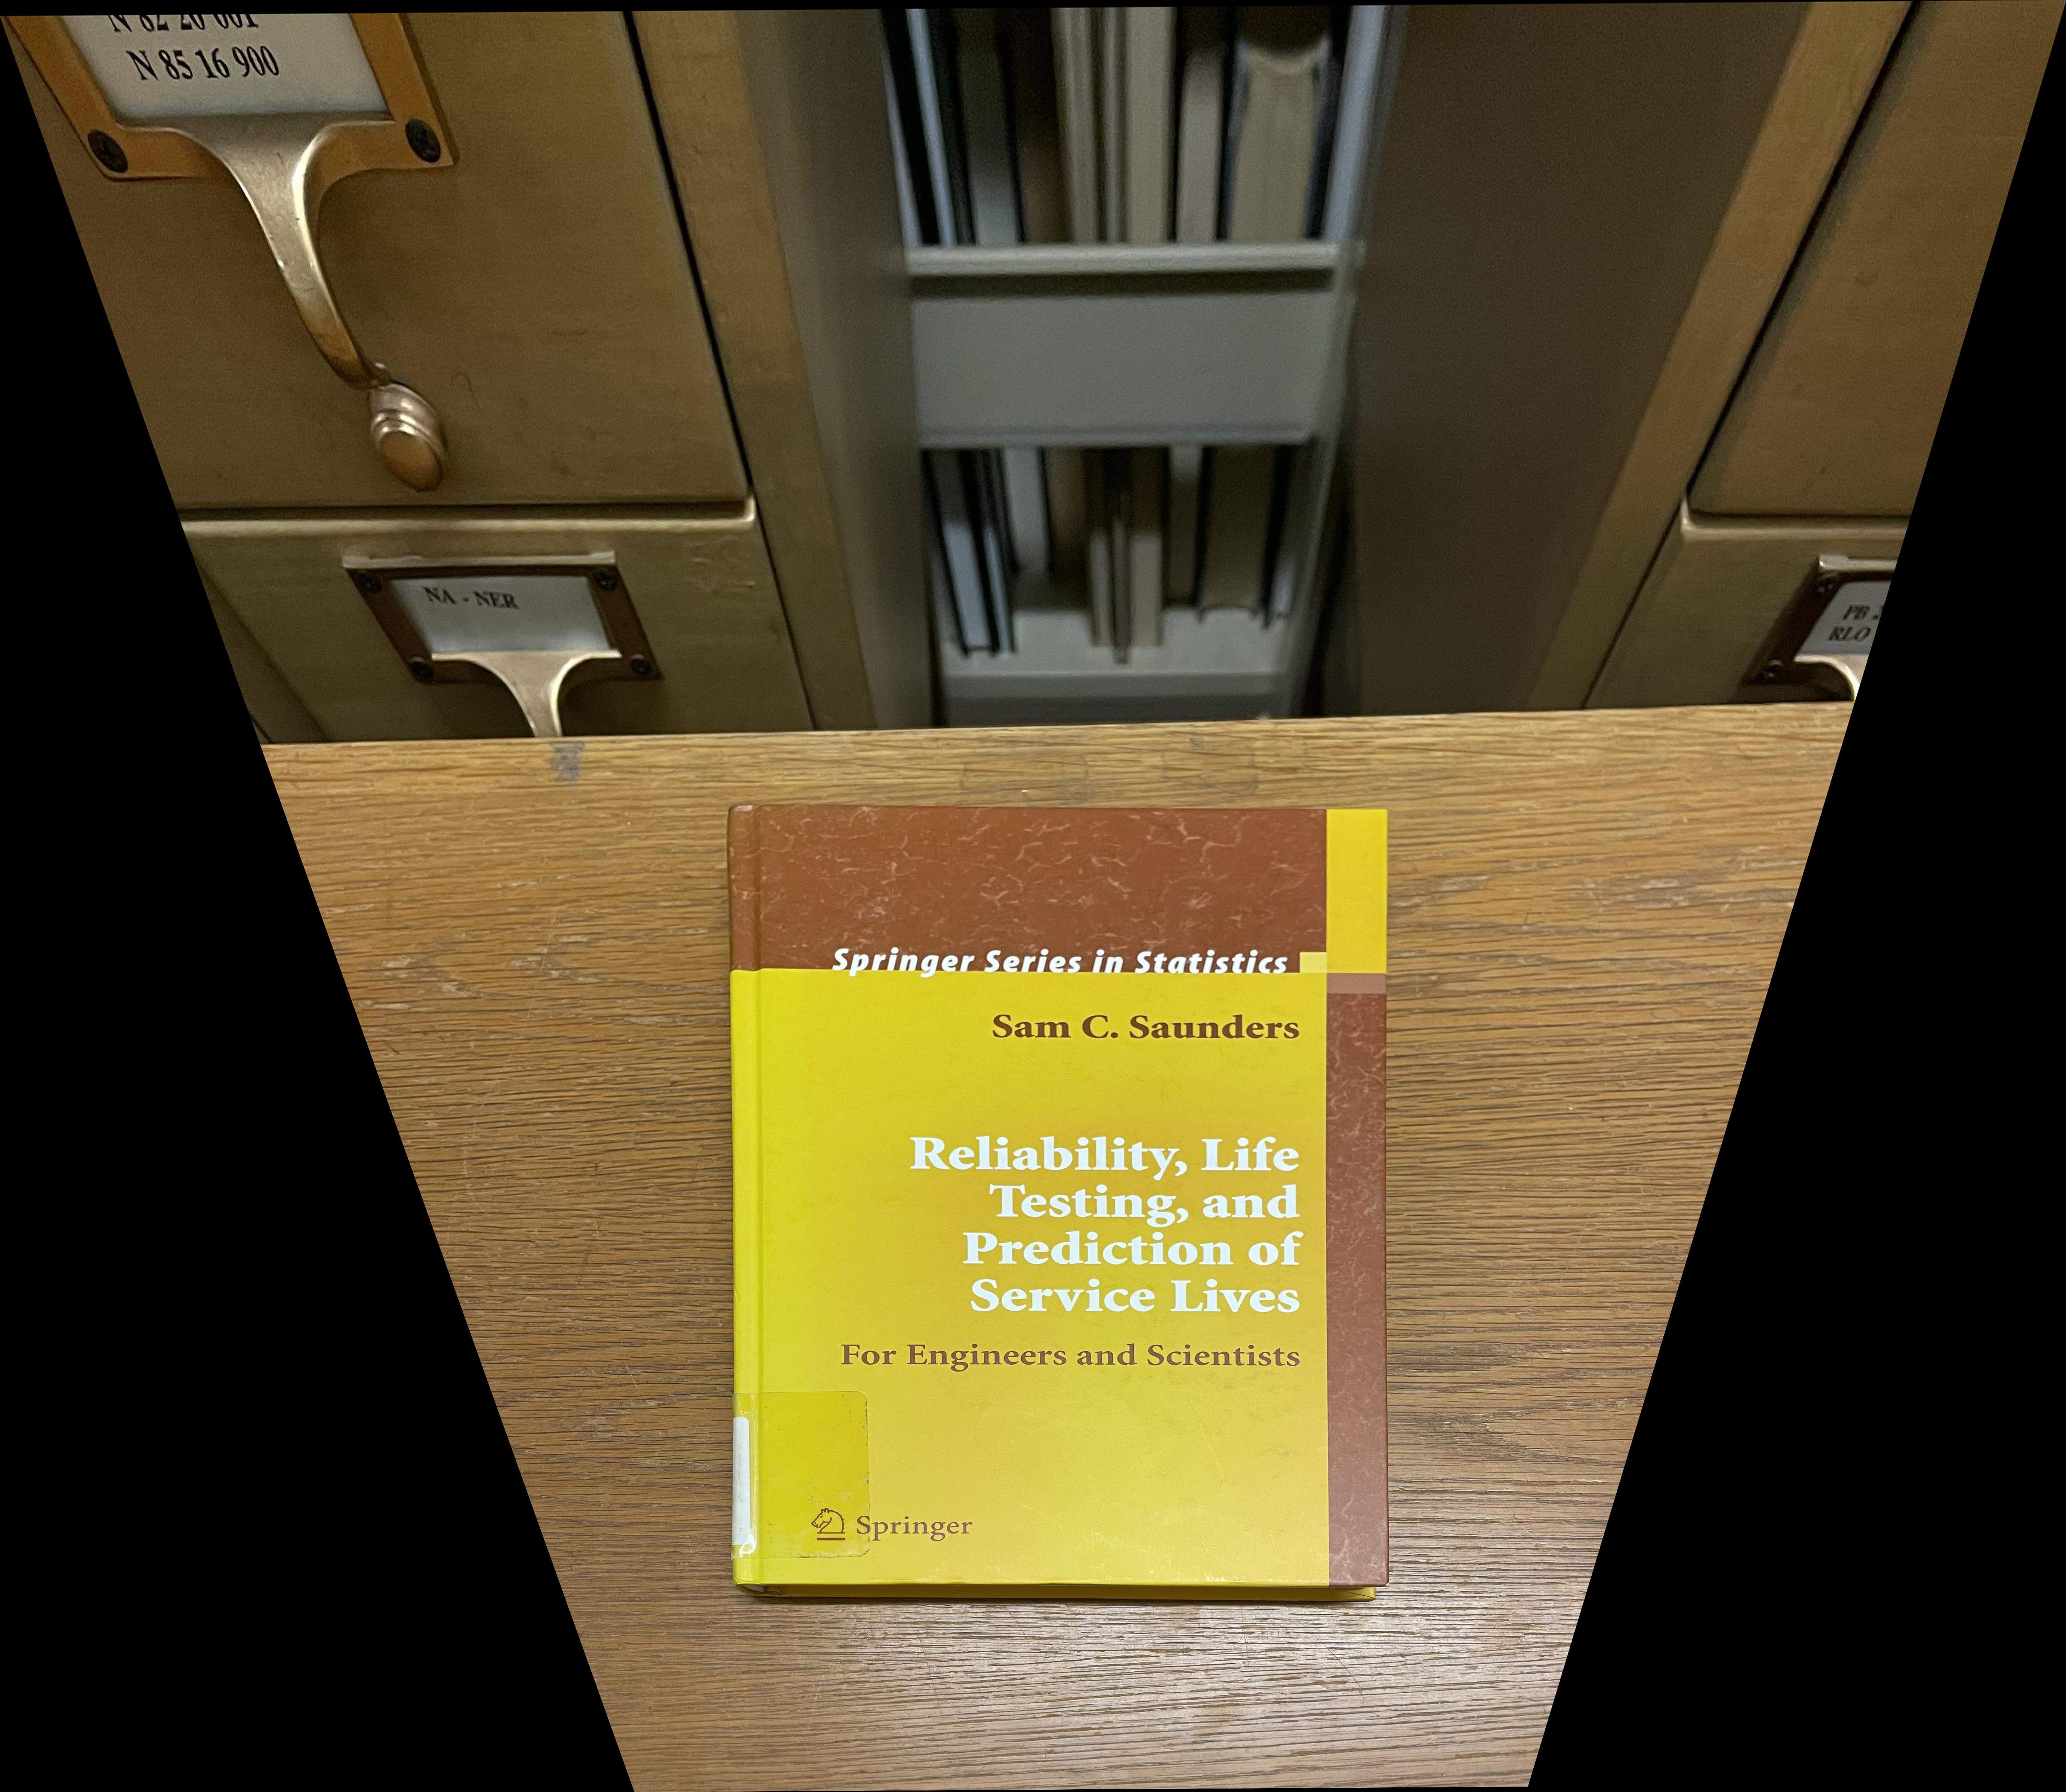
I "rectified" an image of a book so that the plane is frontal parallel.

Below, I defined point correspondences using the edges of the book and a rectangle of points I defined by hand.
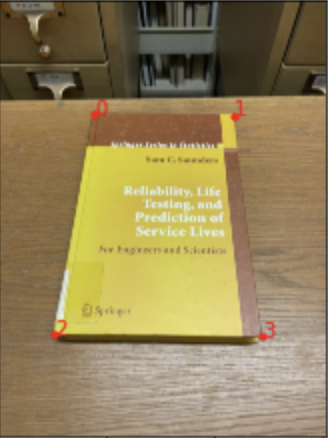

Here is the final warped book:
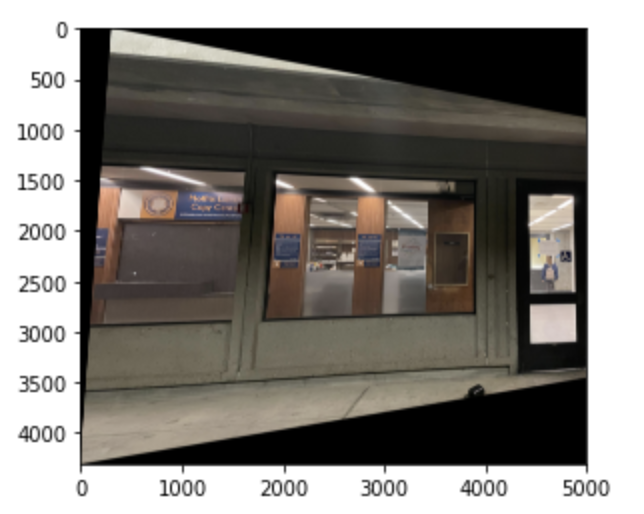
I warped the images to create an image mosaic. To blend, I used weighted averaging. Below are the mosaics I created:
Stitched windows scene:
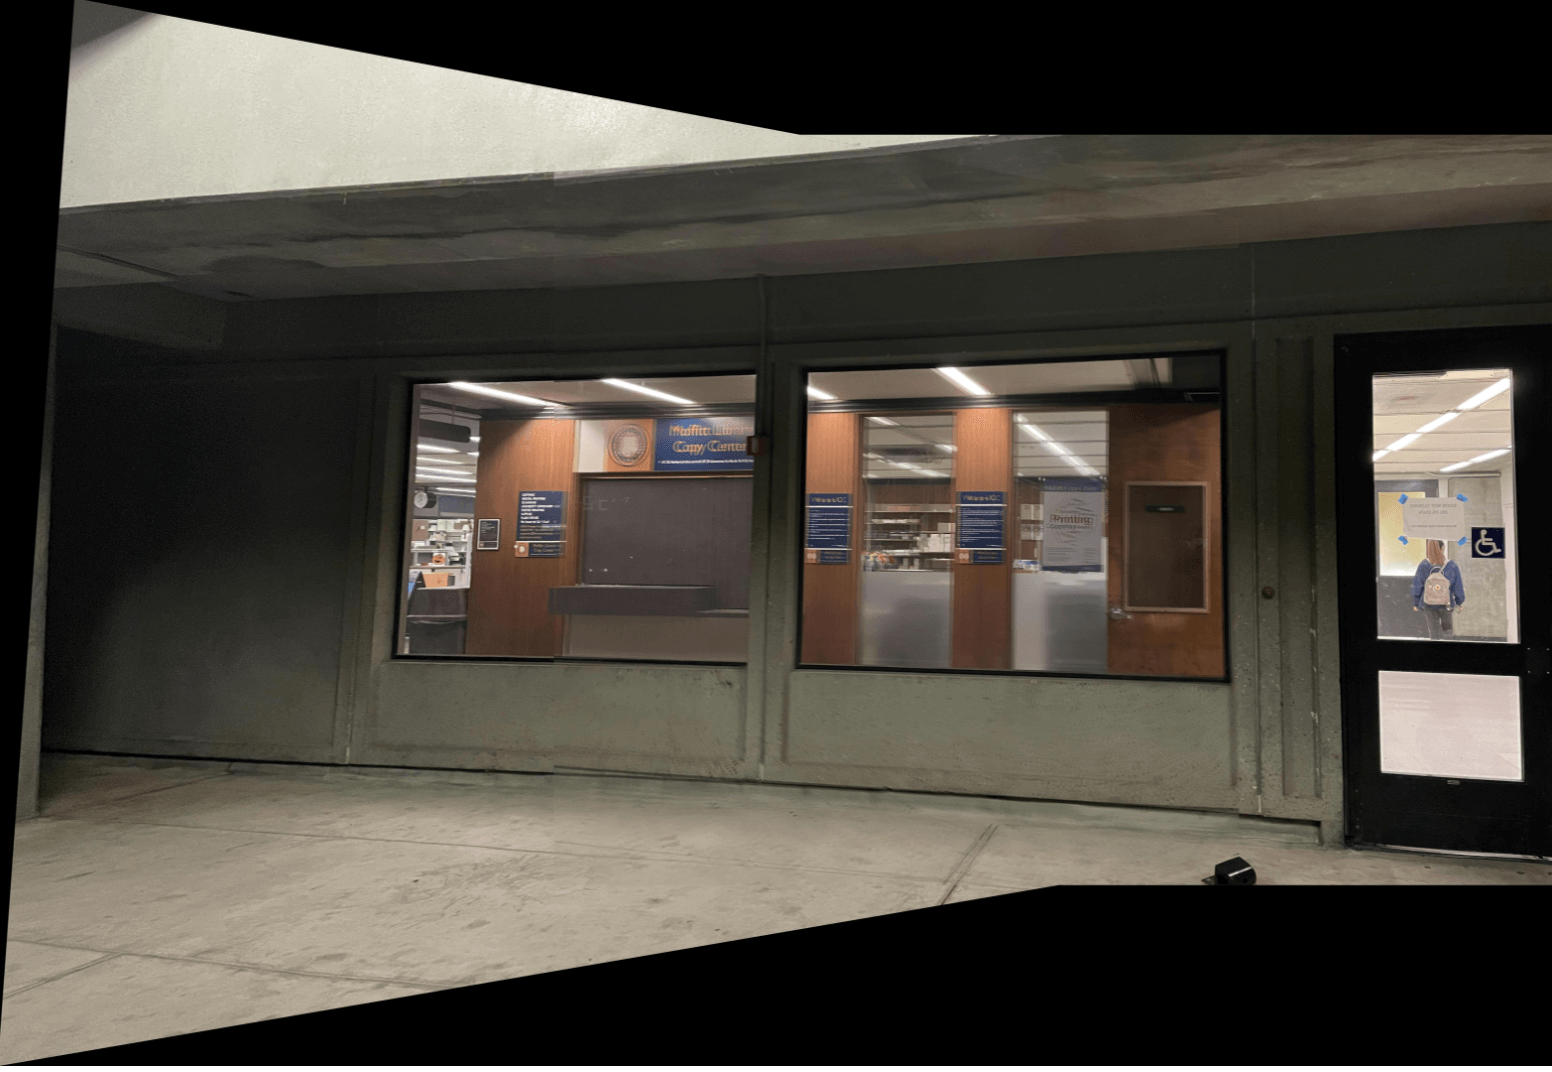
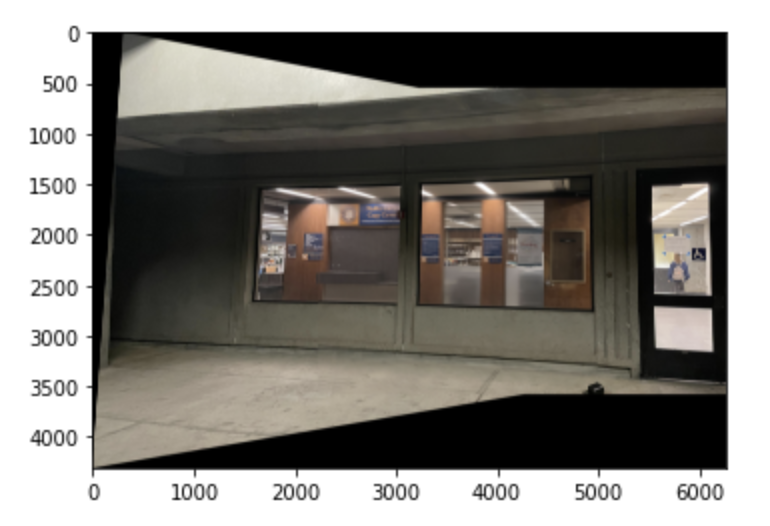
Stitched outside moffitt scene:

Stitched inside moffitt walkway scene:
I thought it was very cool how we were able to rectify an image by warping to the frontal parallel perspective. I didn't realize it was so easy to change the "perspective" of an image, just using one homography transformation. I also thought it was interesting how we were able to stitch the image together using averaging of the pixels to make the edges less severe.
First, I used the existing Harris point detector implementation to get the harris points for the left and right images.
I implemented adaptive non-maximal supression to get an even distribution of the points throughout the image. For each harris point, I compared it to all the other corners and calcuated the radius r according to the paper, with c_robust set to 0.9. I chose the top 200 points for each image.
I extracted 8x8 descriptors from each 40x40 descriptor around each anms point.
To match the features together, I used Lowe's trick and the 1NN/2NN ratio to determine what the best correspondences were (along with a threshold of 0.6). As you can see, most points correspond well, but there are 1 or 2 that don't have the right correspondence.
I implemented the RANSAC algorithm, which repeatedly samples 4 pairs of points and computes a homography. Here are the resulting points:

Using the newly and automated chosen points, I stitched the left and right images together again.
I thought it was interesting learning about the overall process of picking features, from a more rough measure of harris point detector and fine tuning the choices using algorithms like RANSAC. I also thought it was cool learning about how feature descriptors are used to determine how similar two features are.