image warping and mosaicing
Yash Agarwal
OVERVIEW
For this project, we explore building mosaics using several sophisticated image manipulation techiniques including caluculating homographies, image warping and rectification, multiresolution blending and auto-stitching. We also implement techniques like harris interest point detection, adaptive non-maximal suppression, and feature matching from the paper Multi-Image Matching using Multi-Scale Oriented Patches by Brown et al.
PART
1
SHOOTING PICTURES
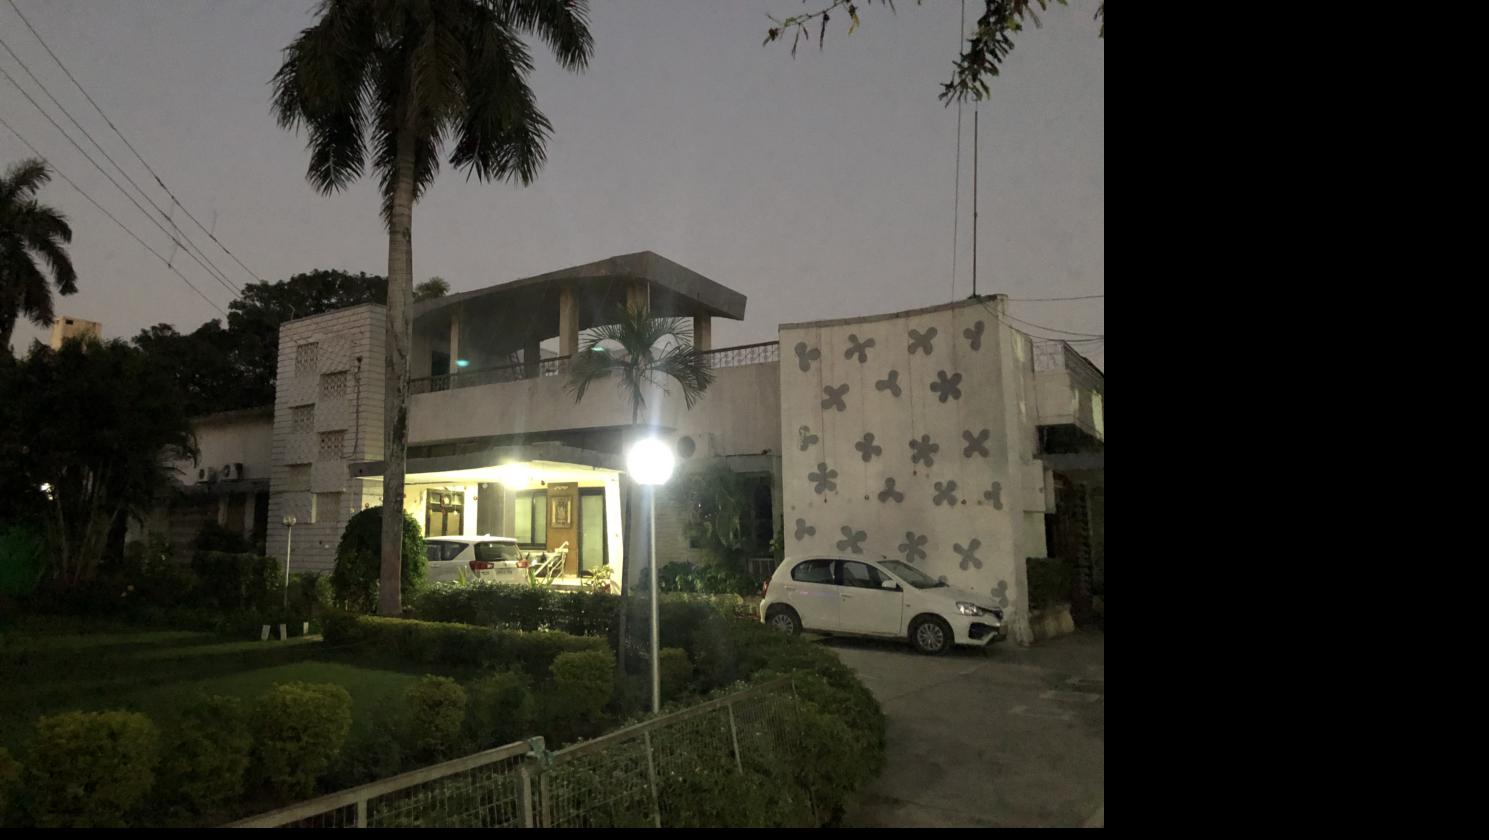
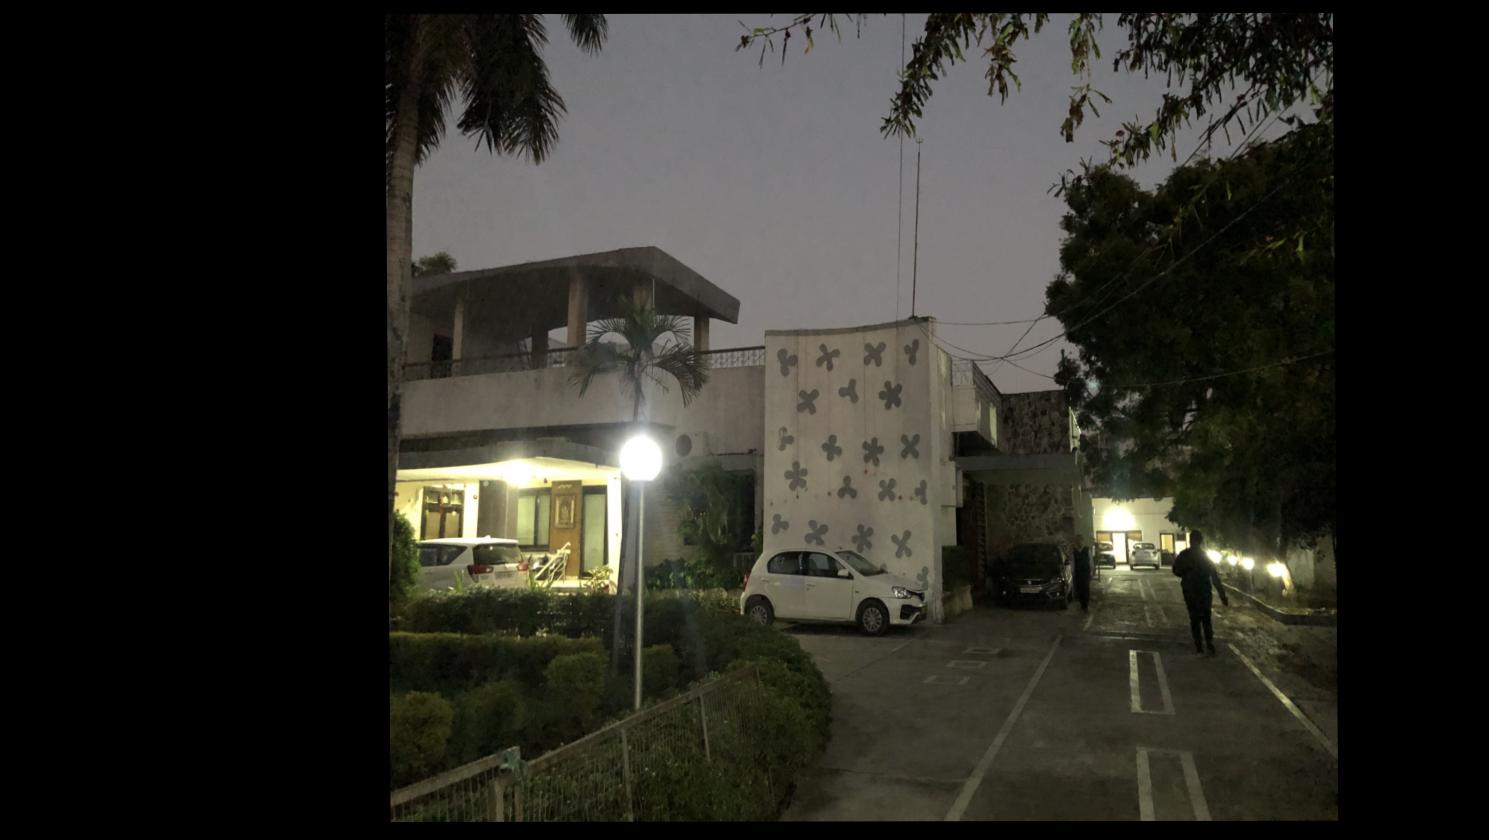
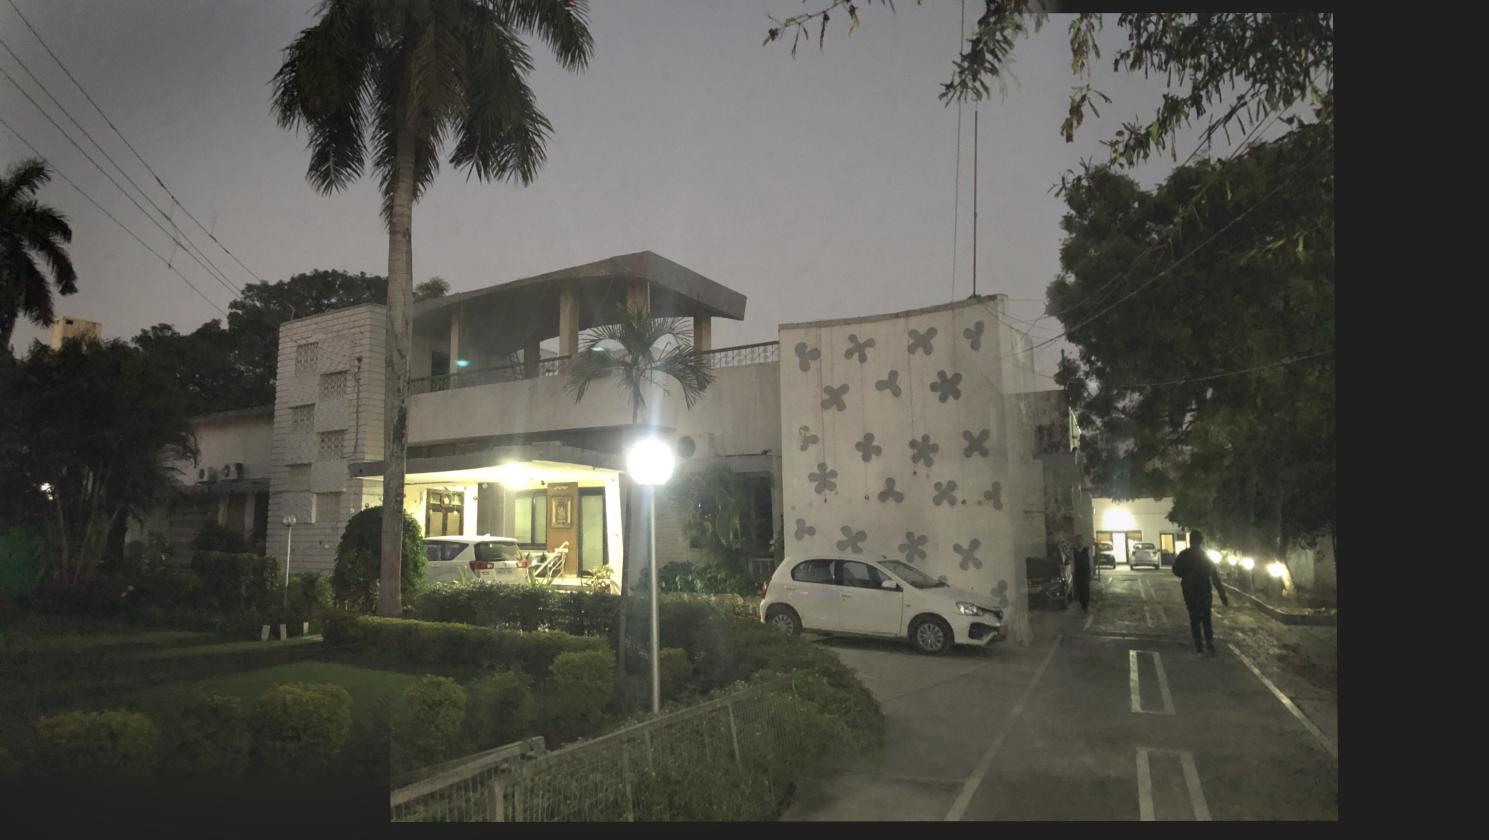
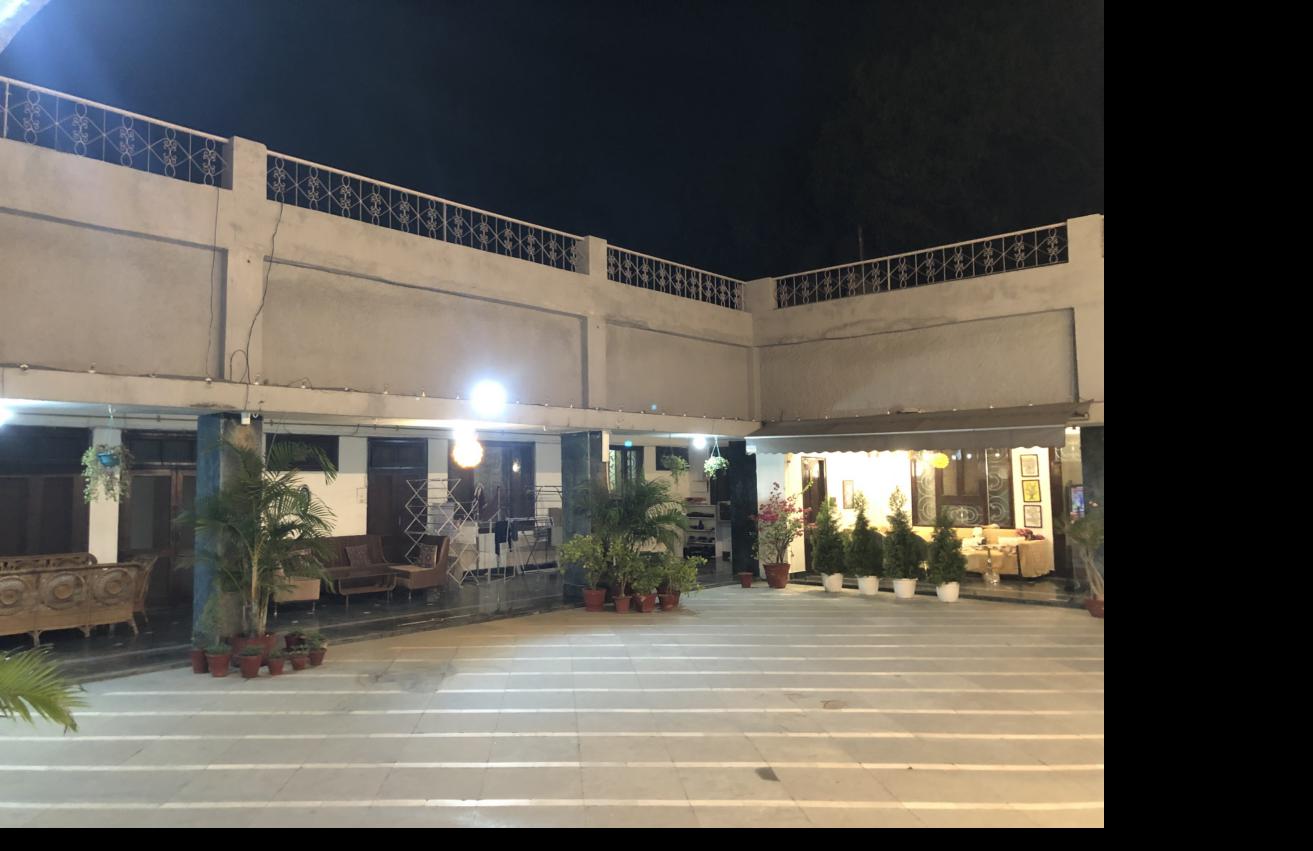
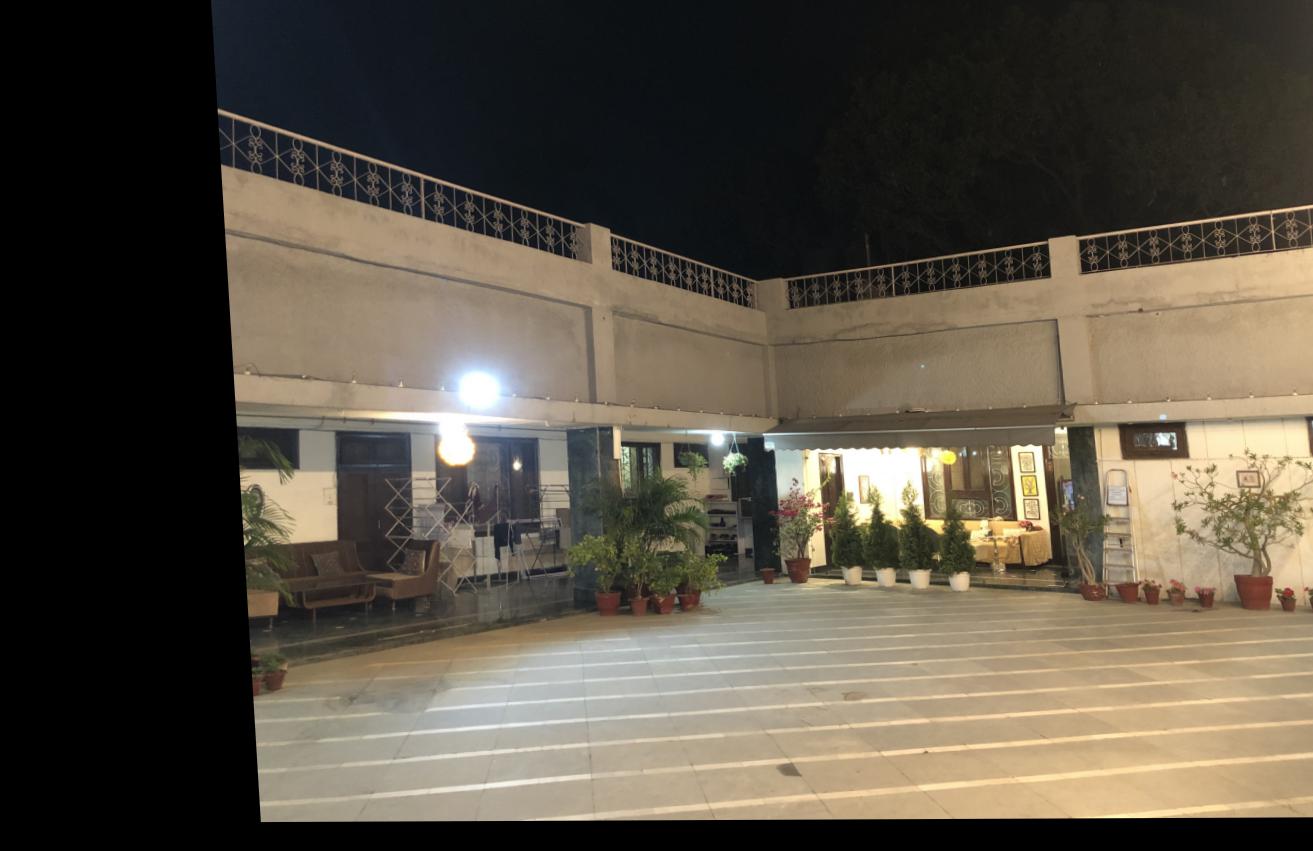
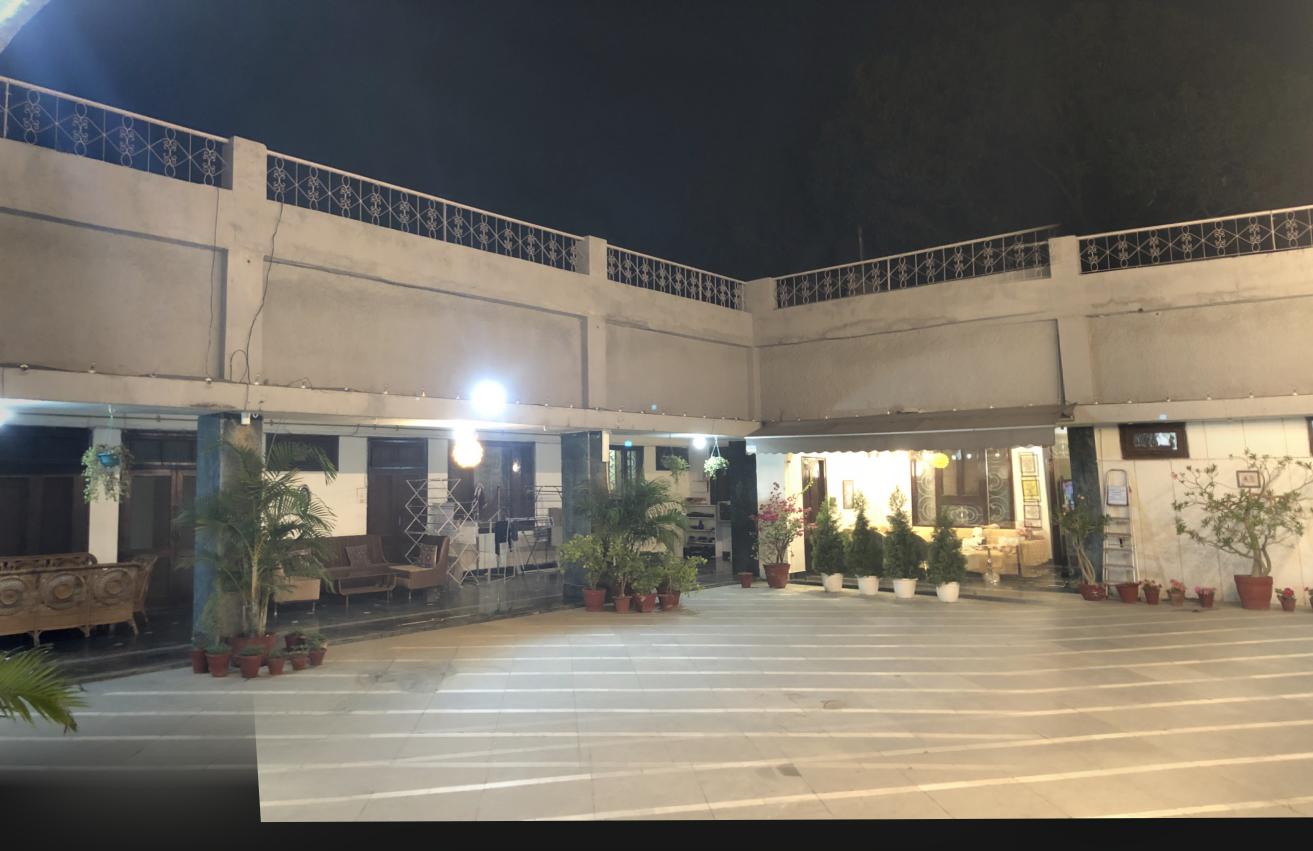
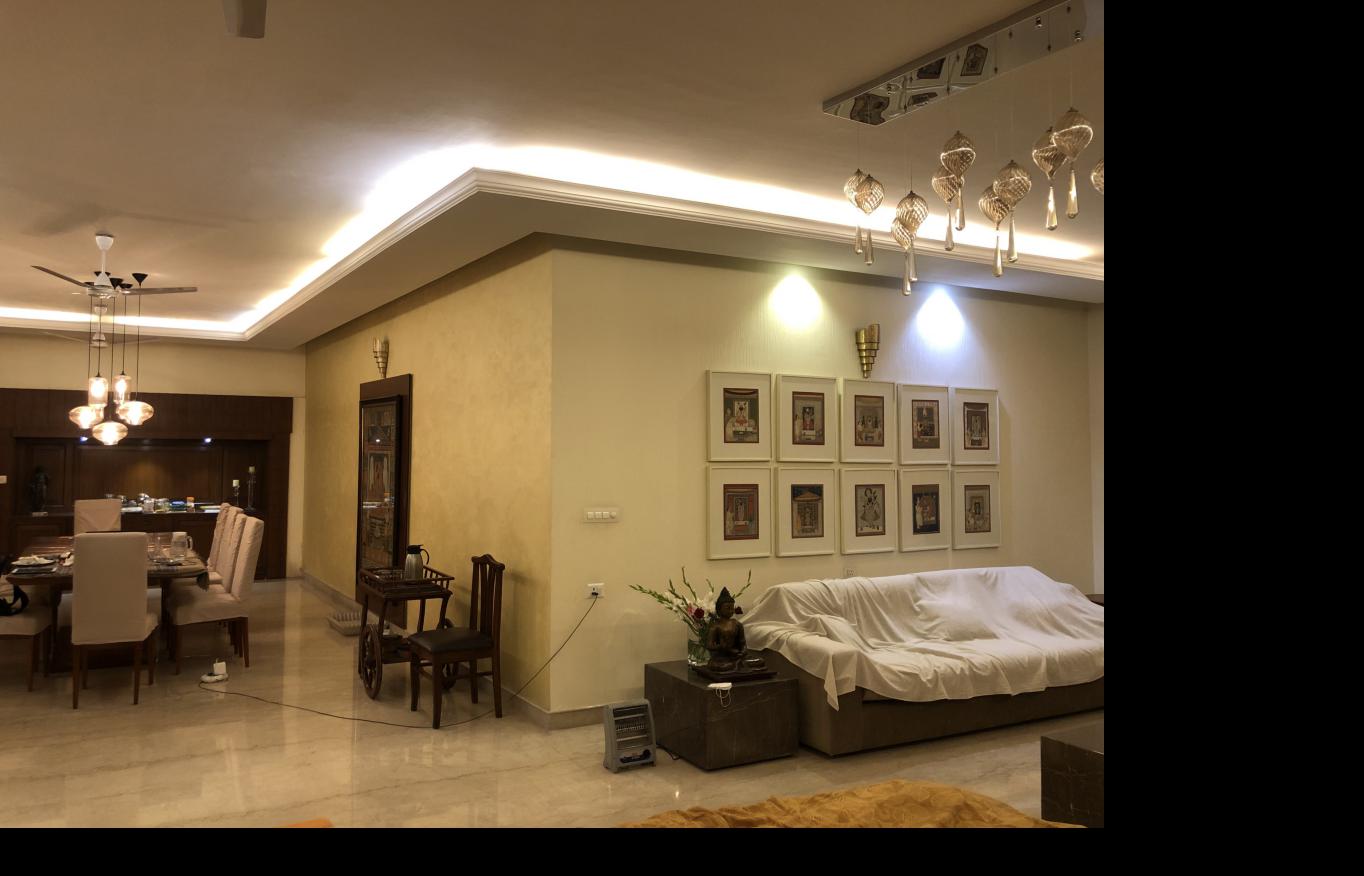
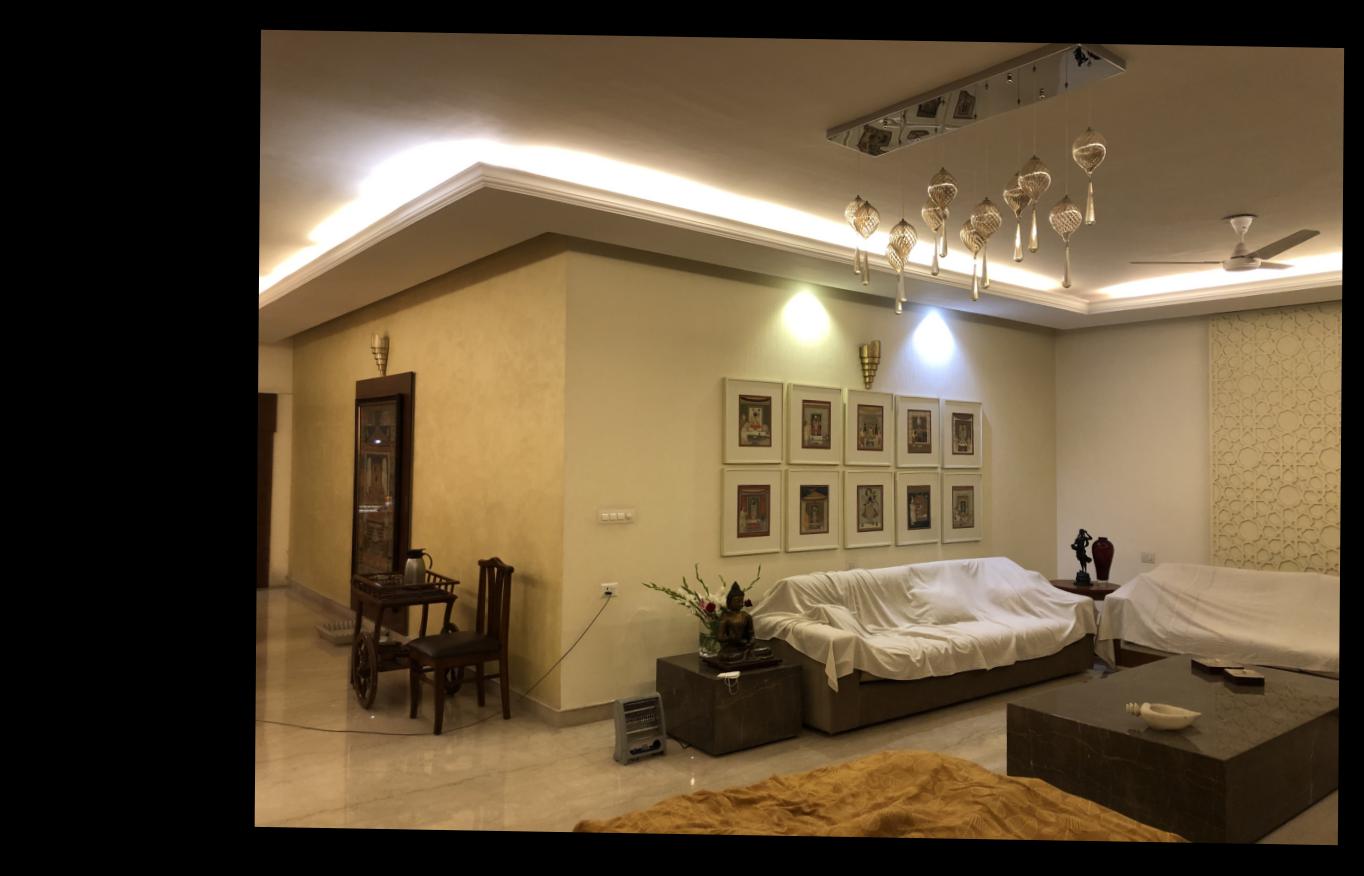
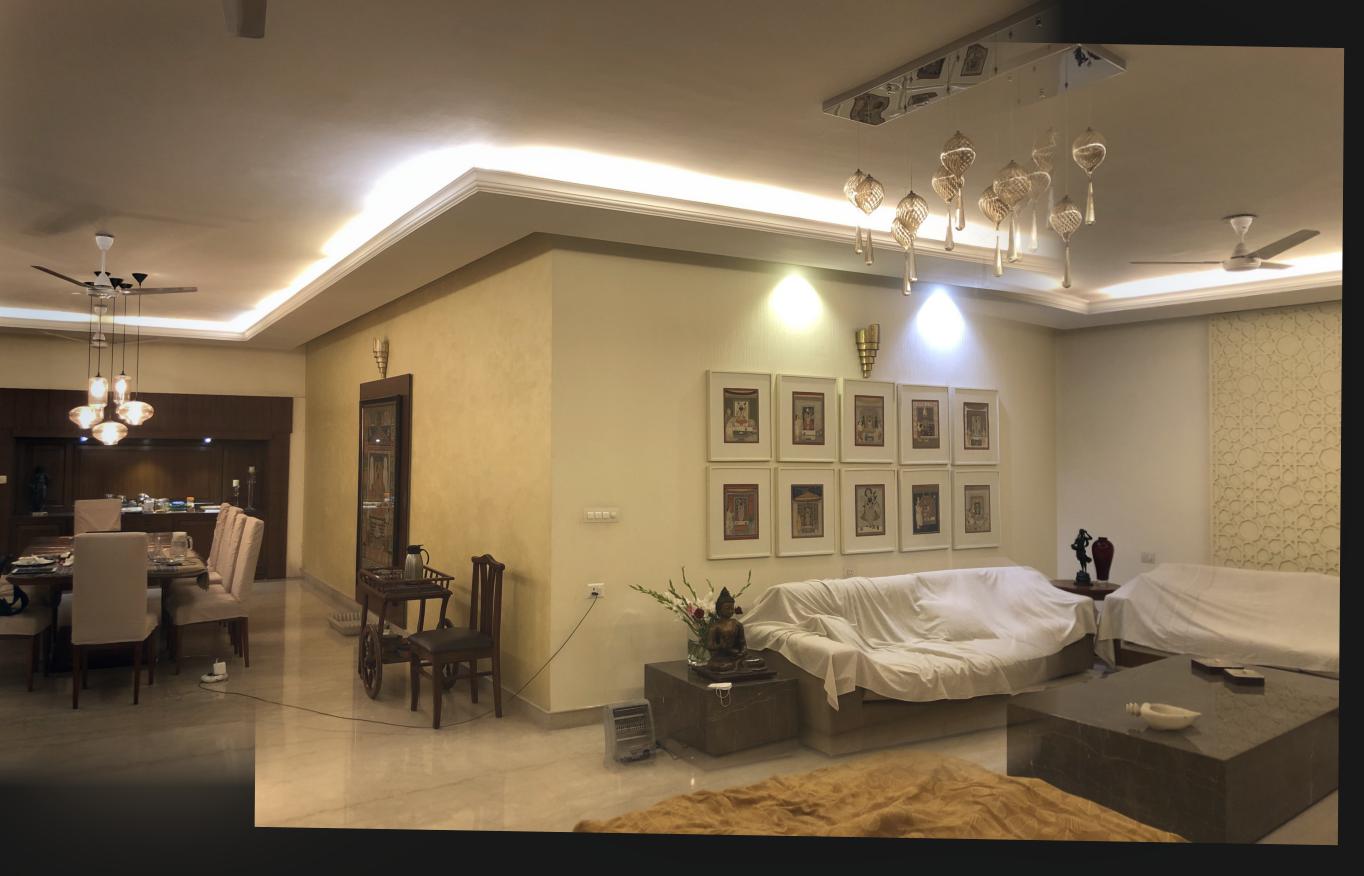
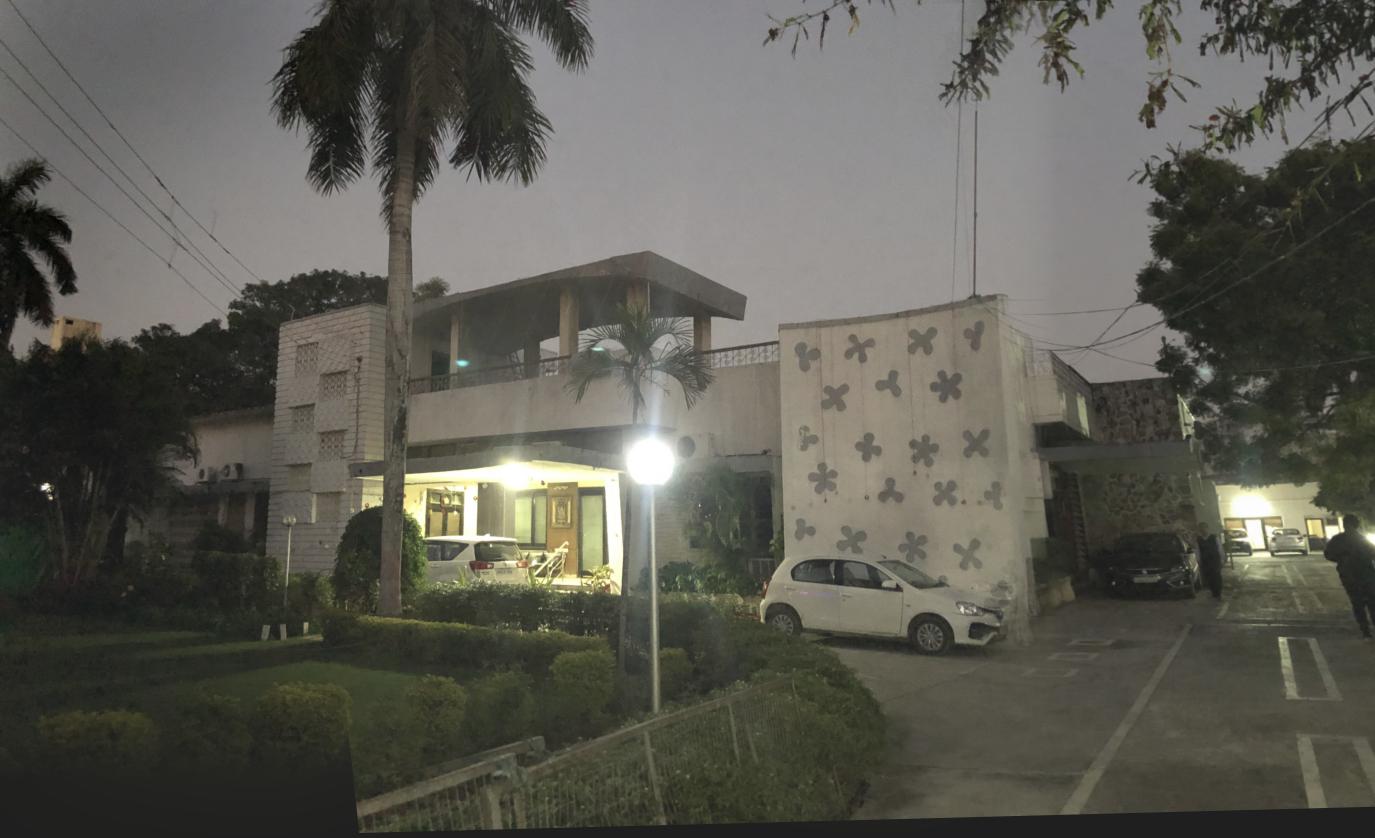
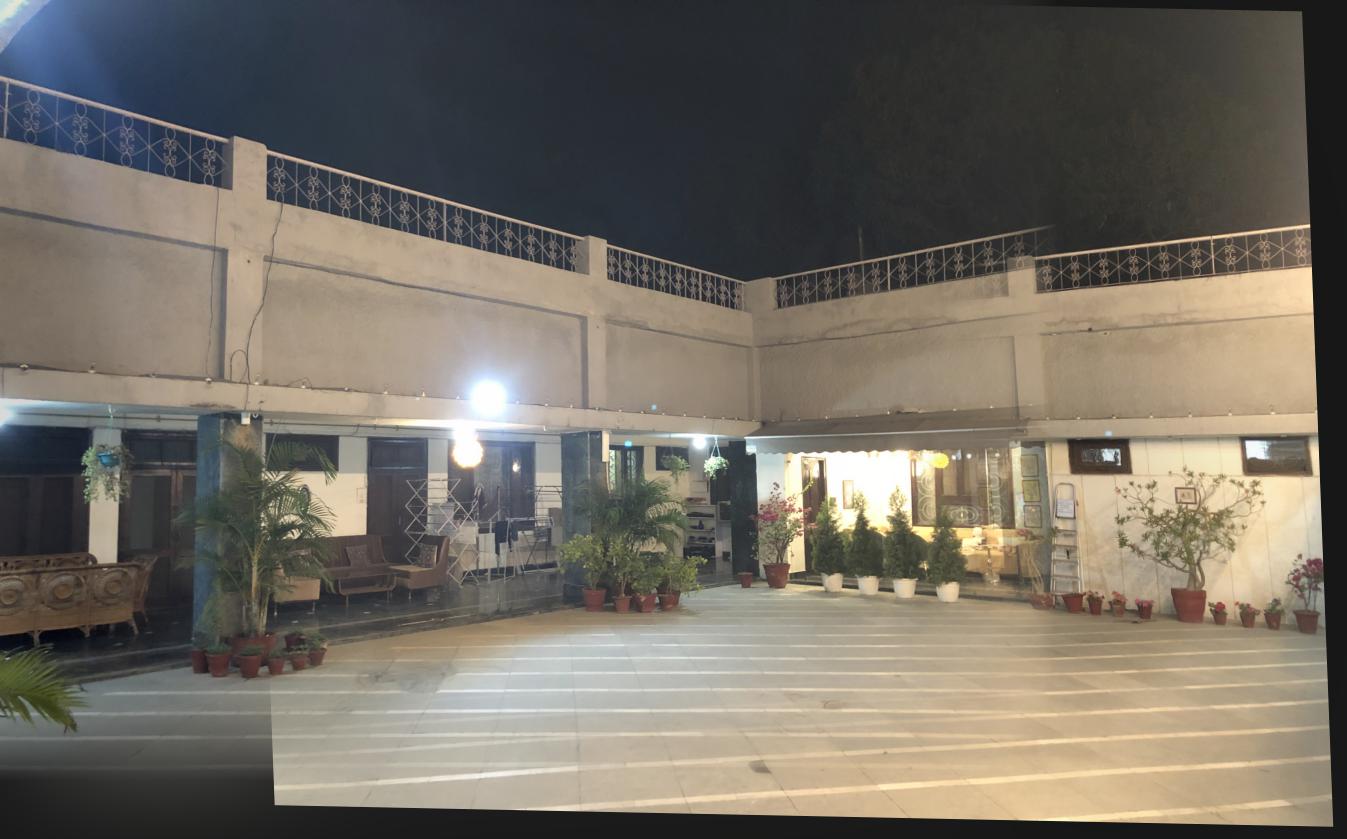
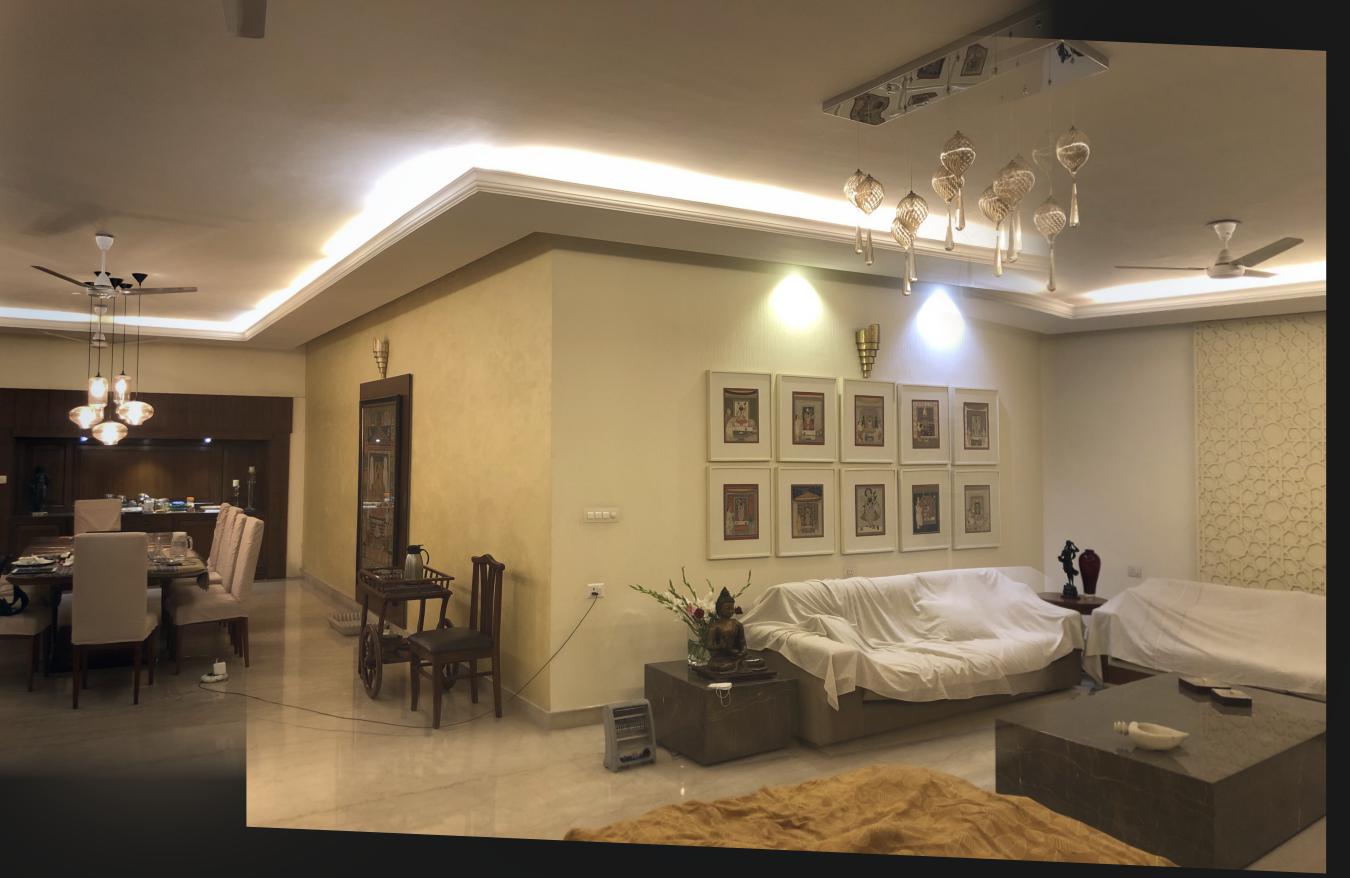
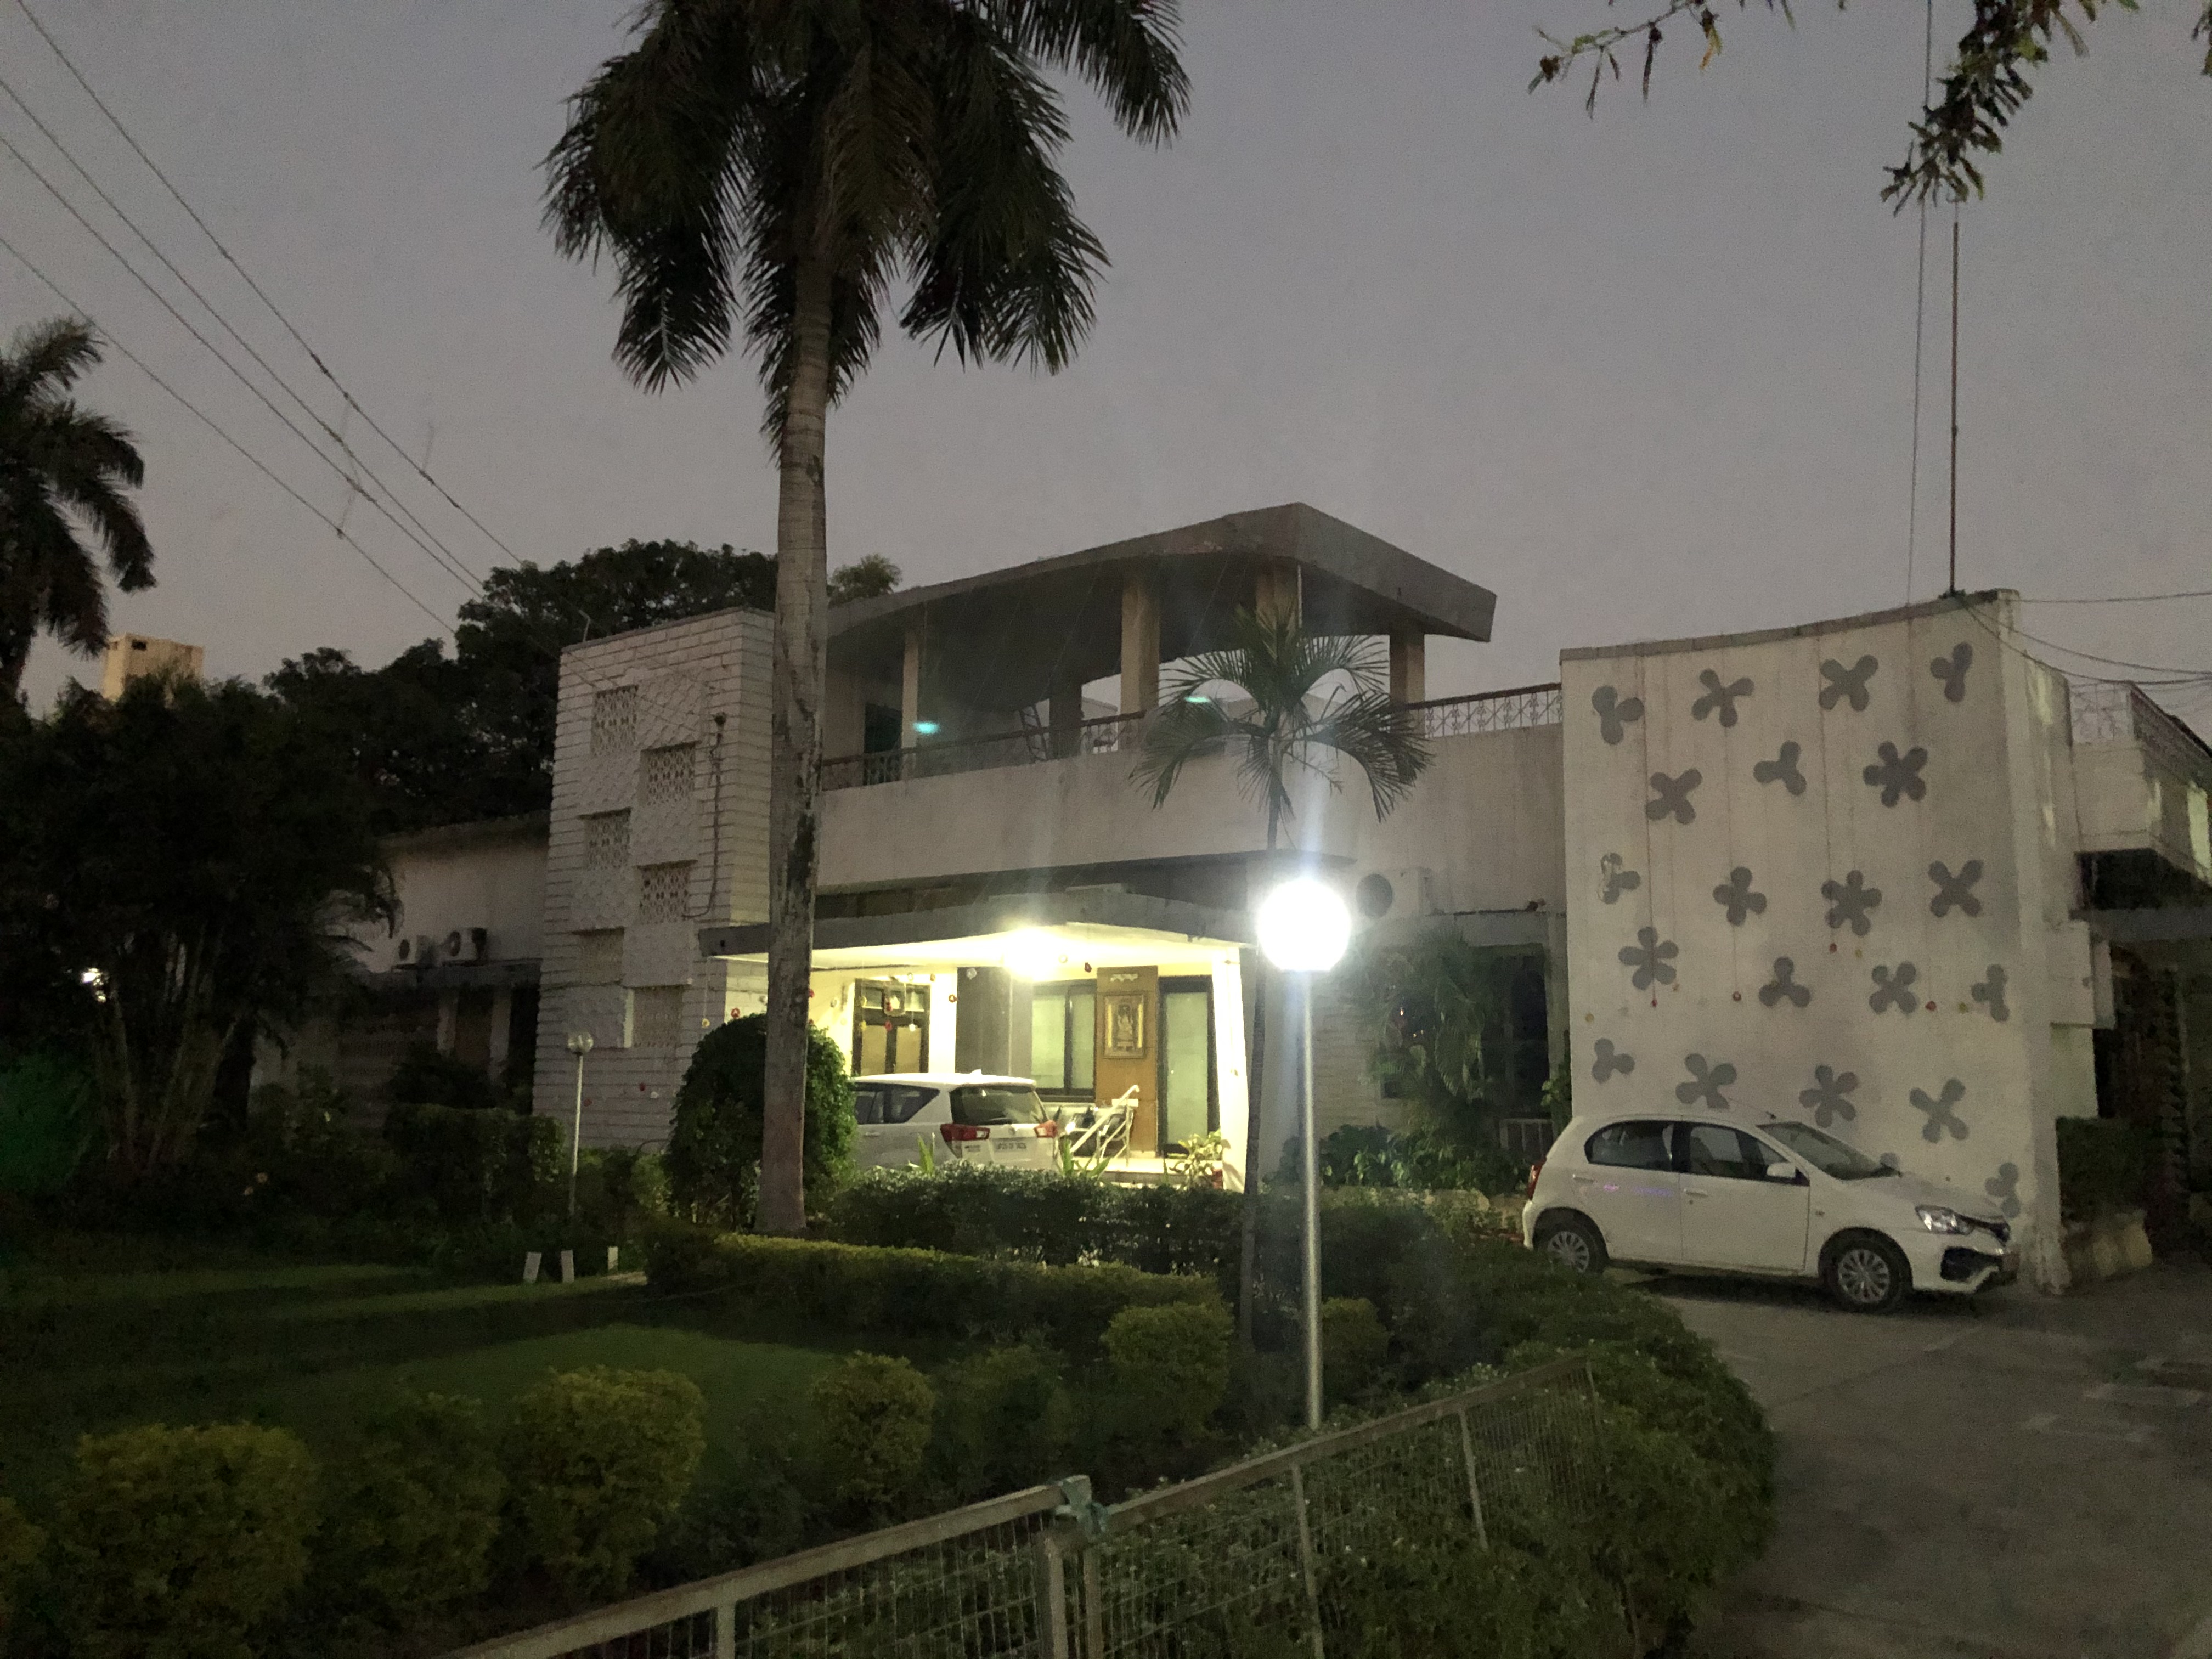
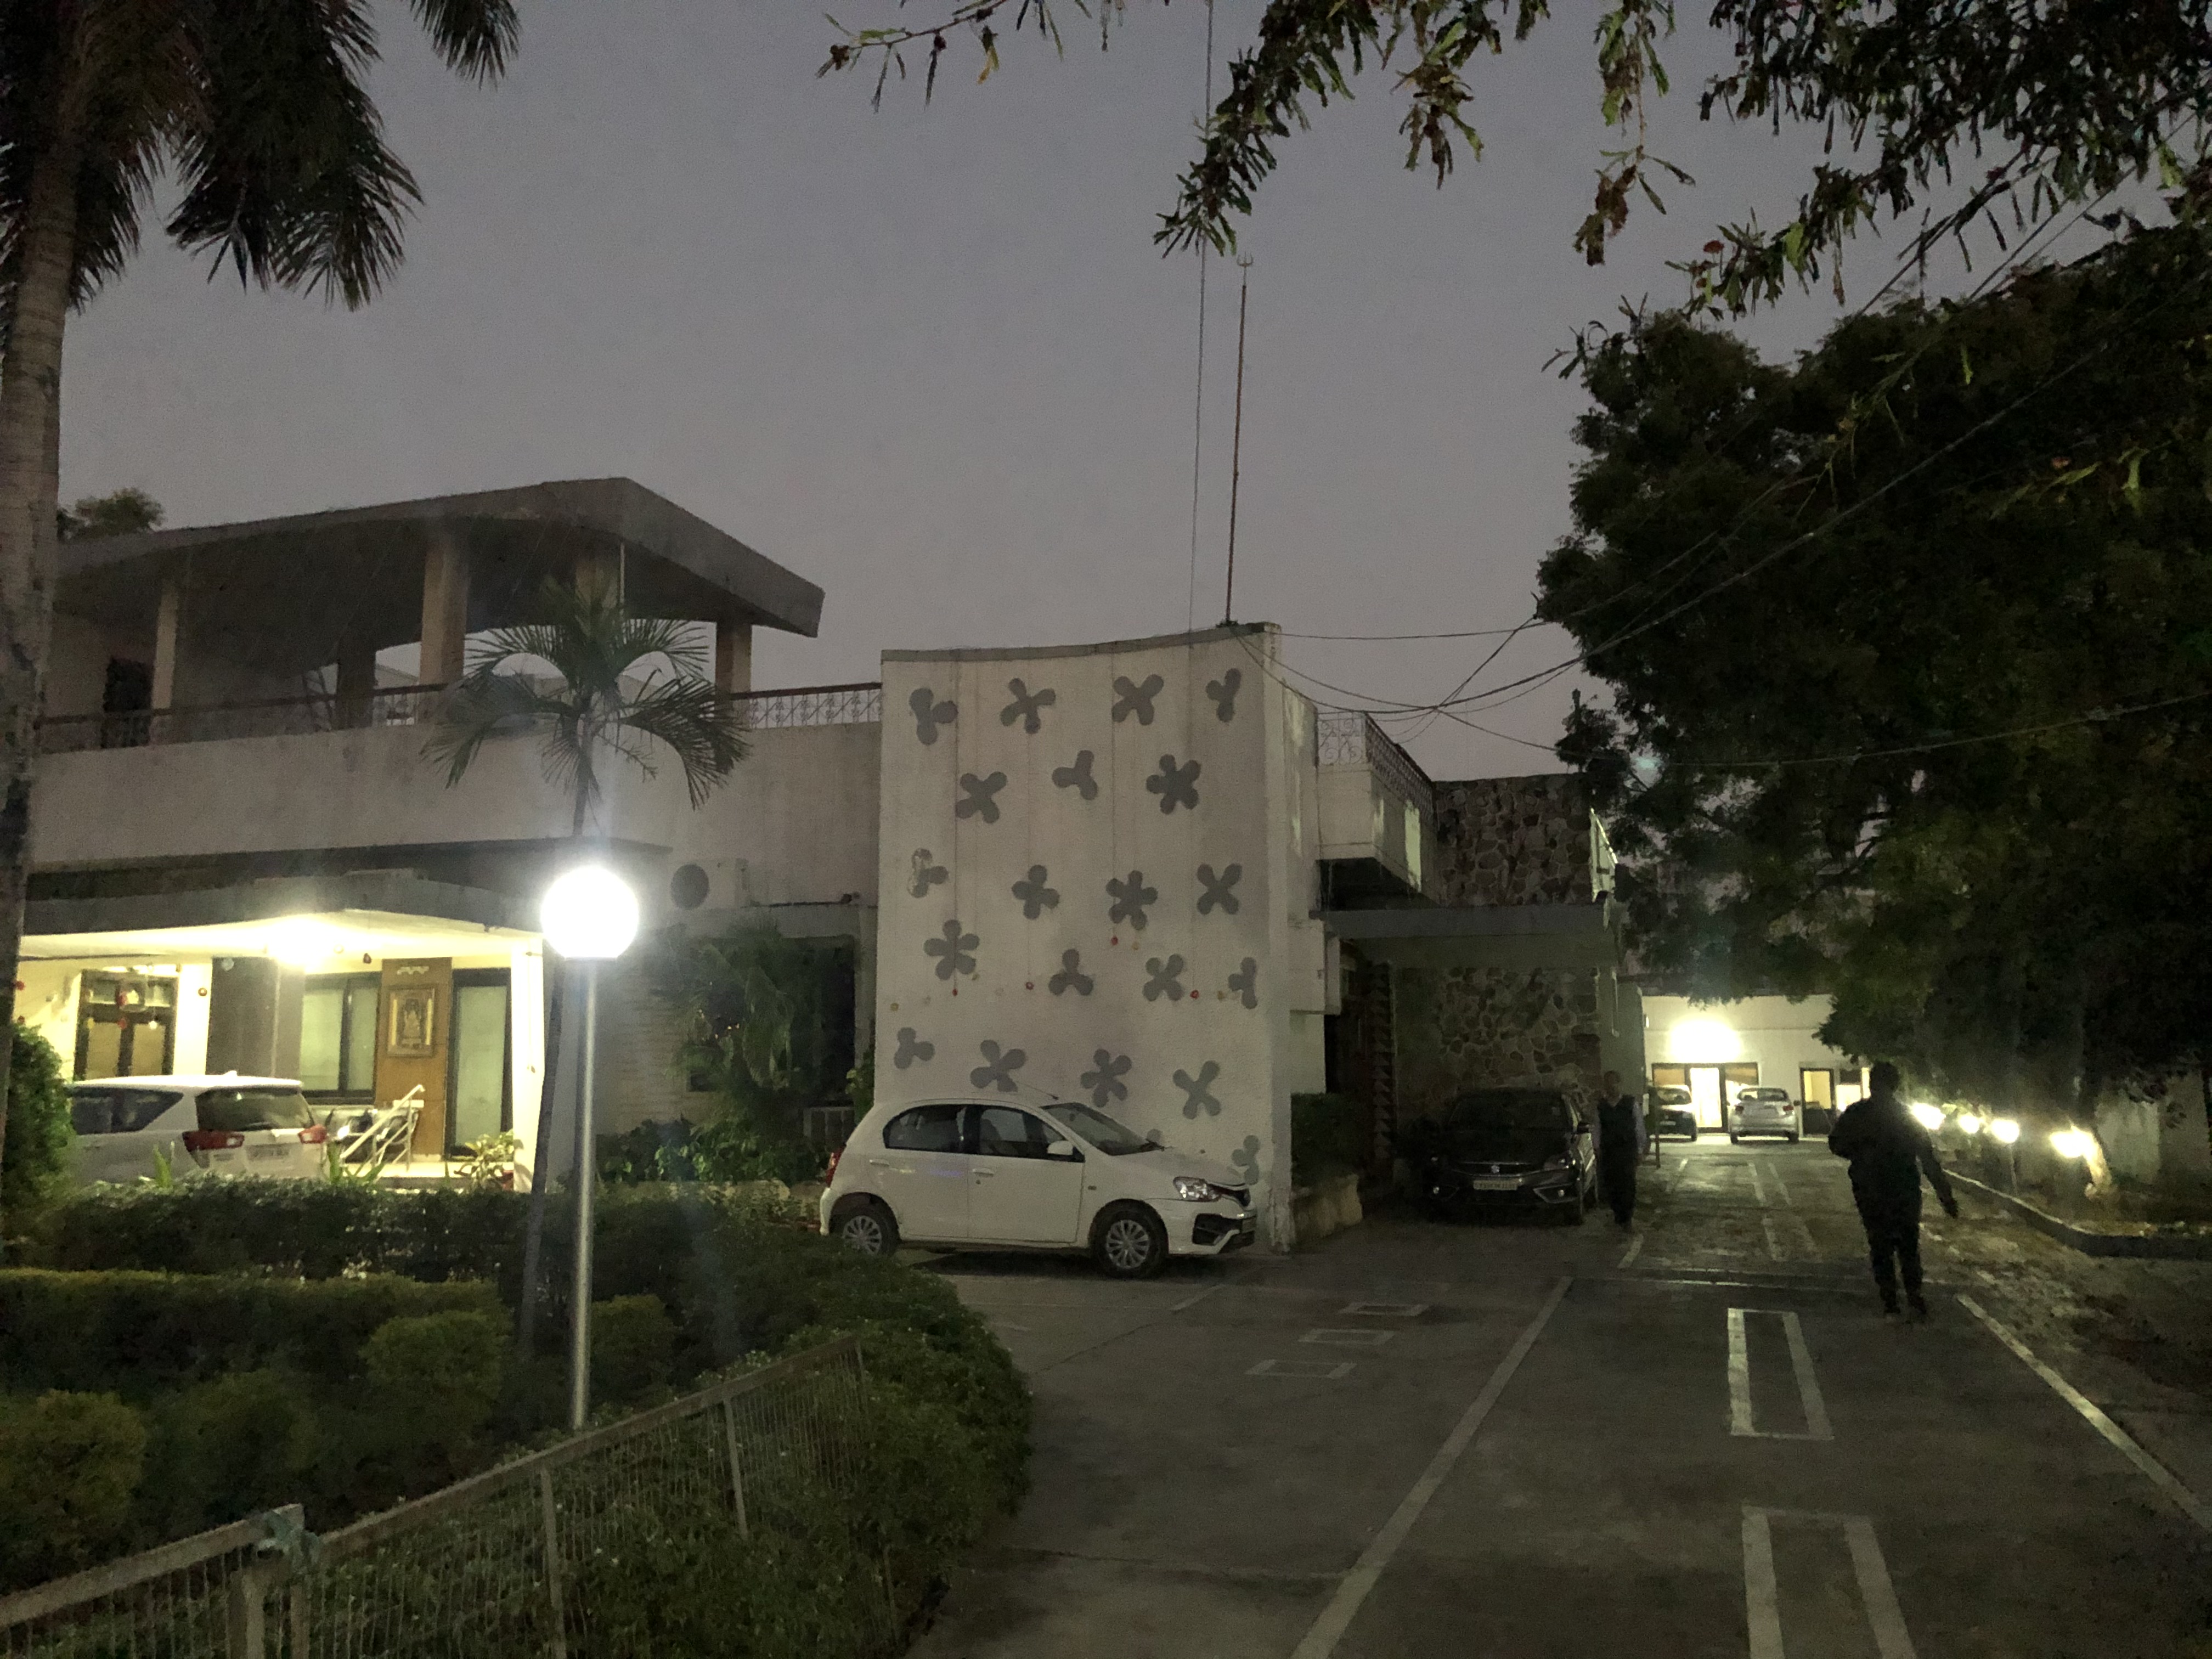
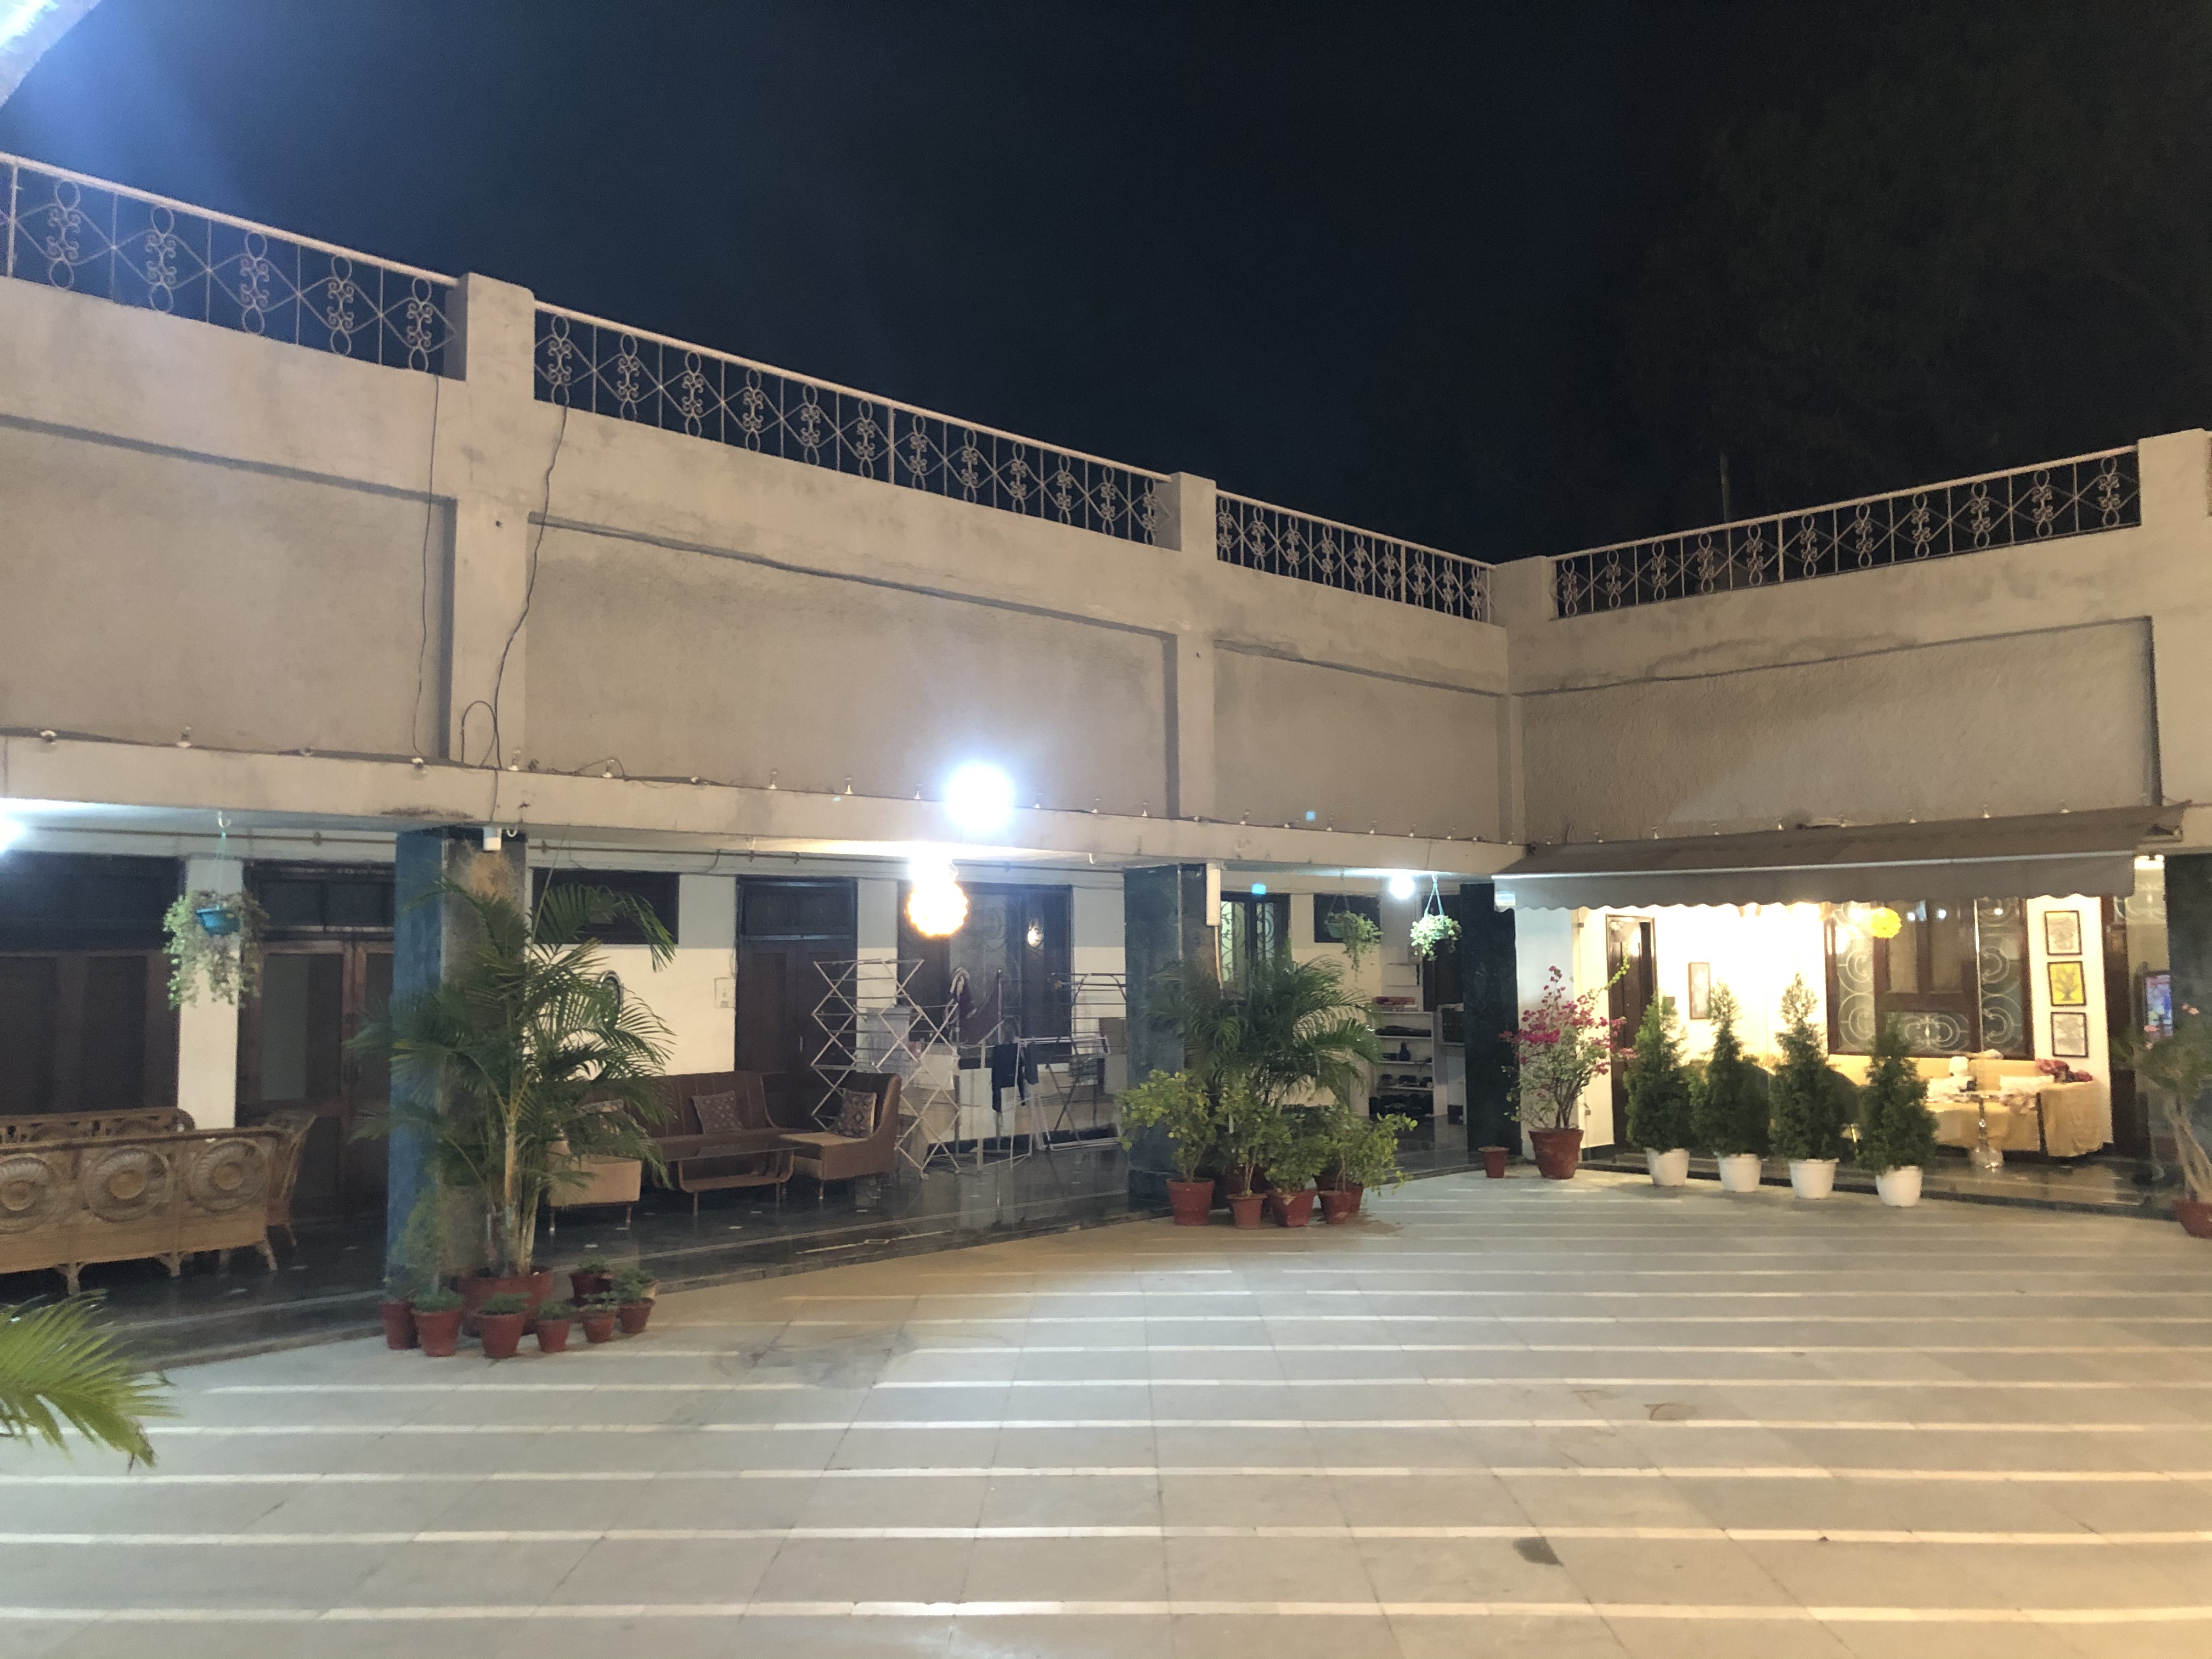
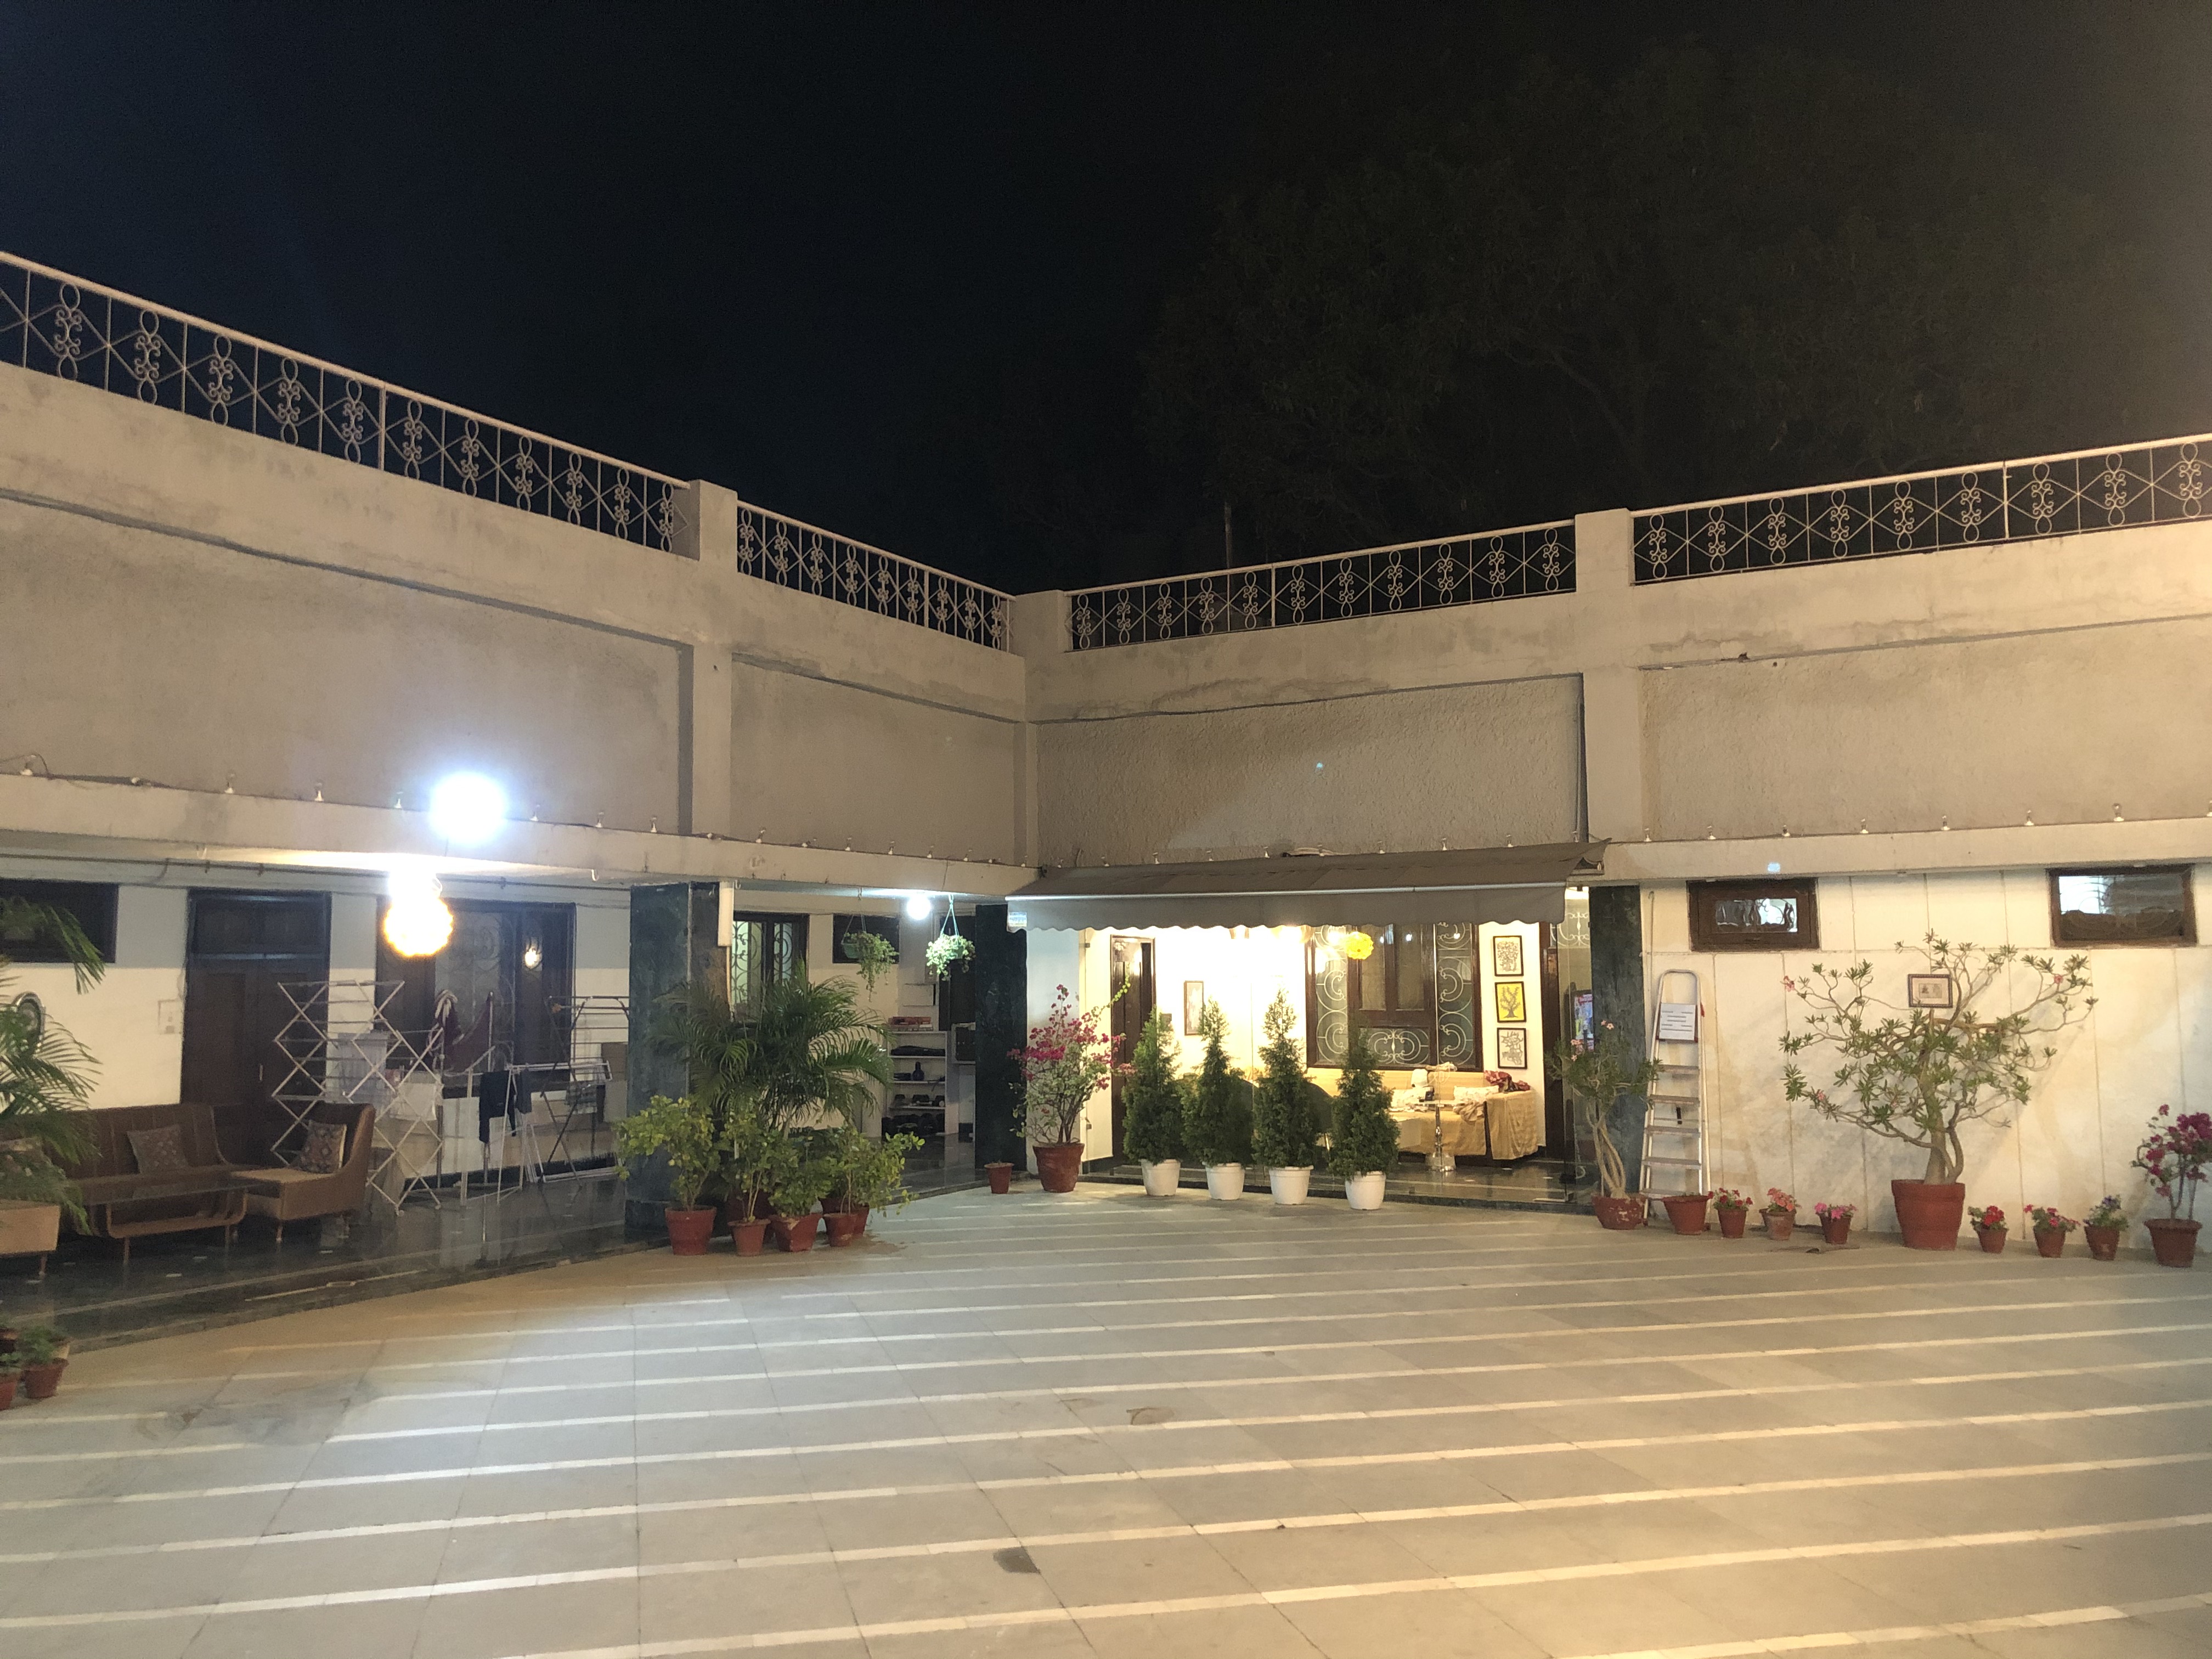
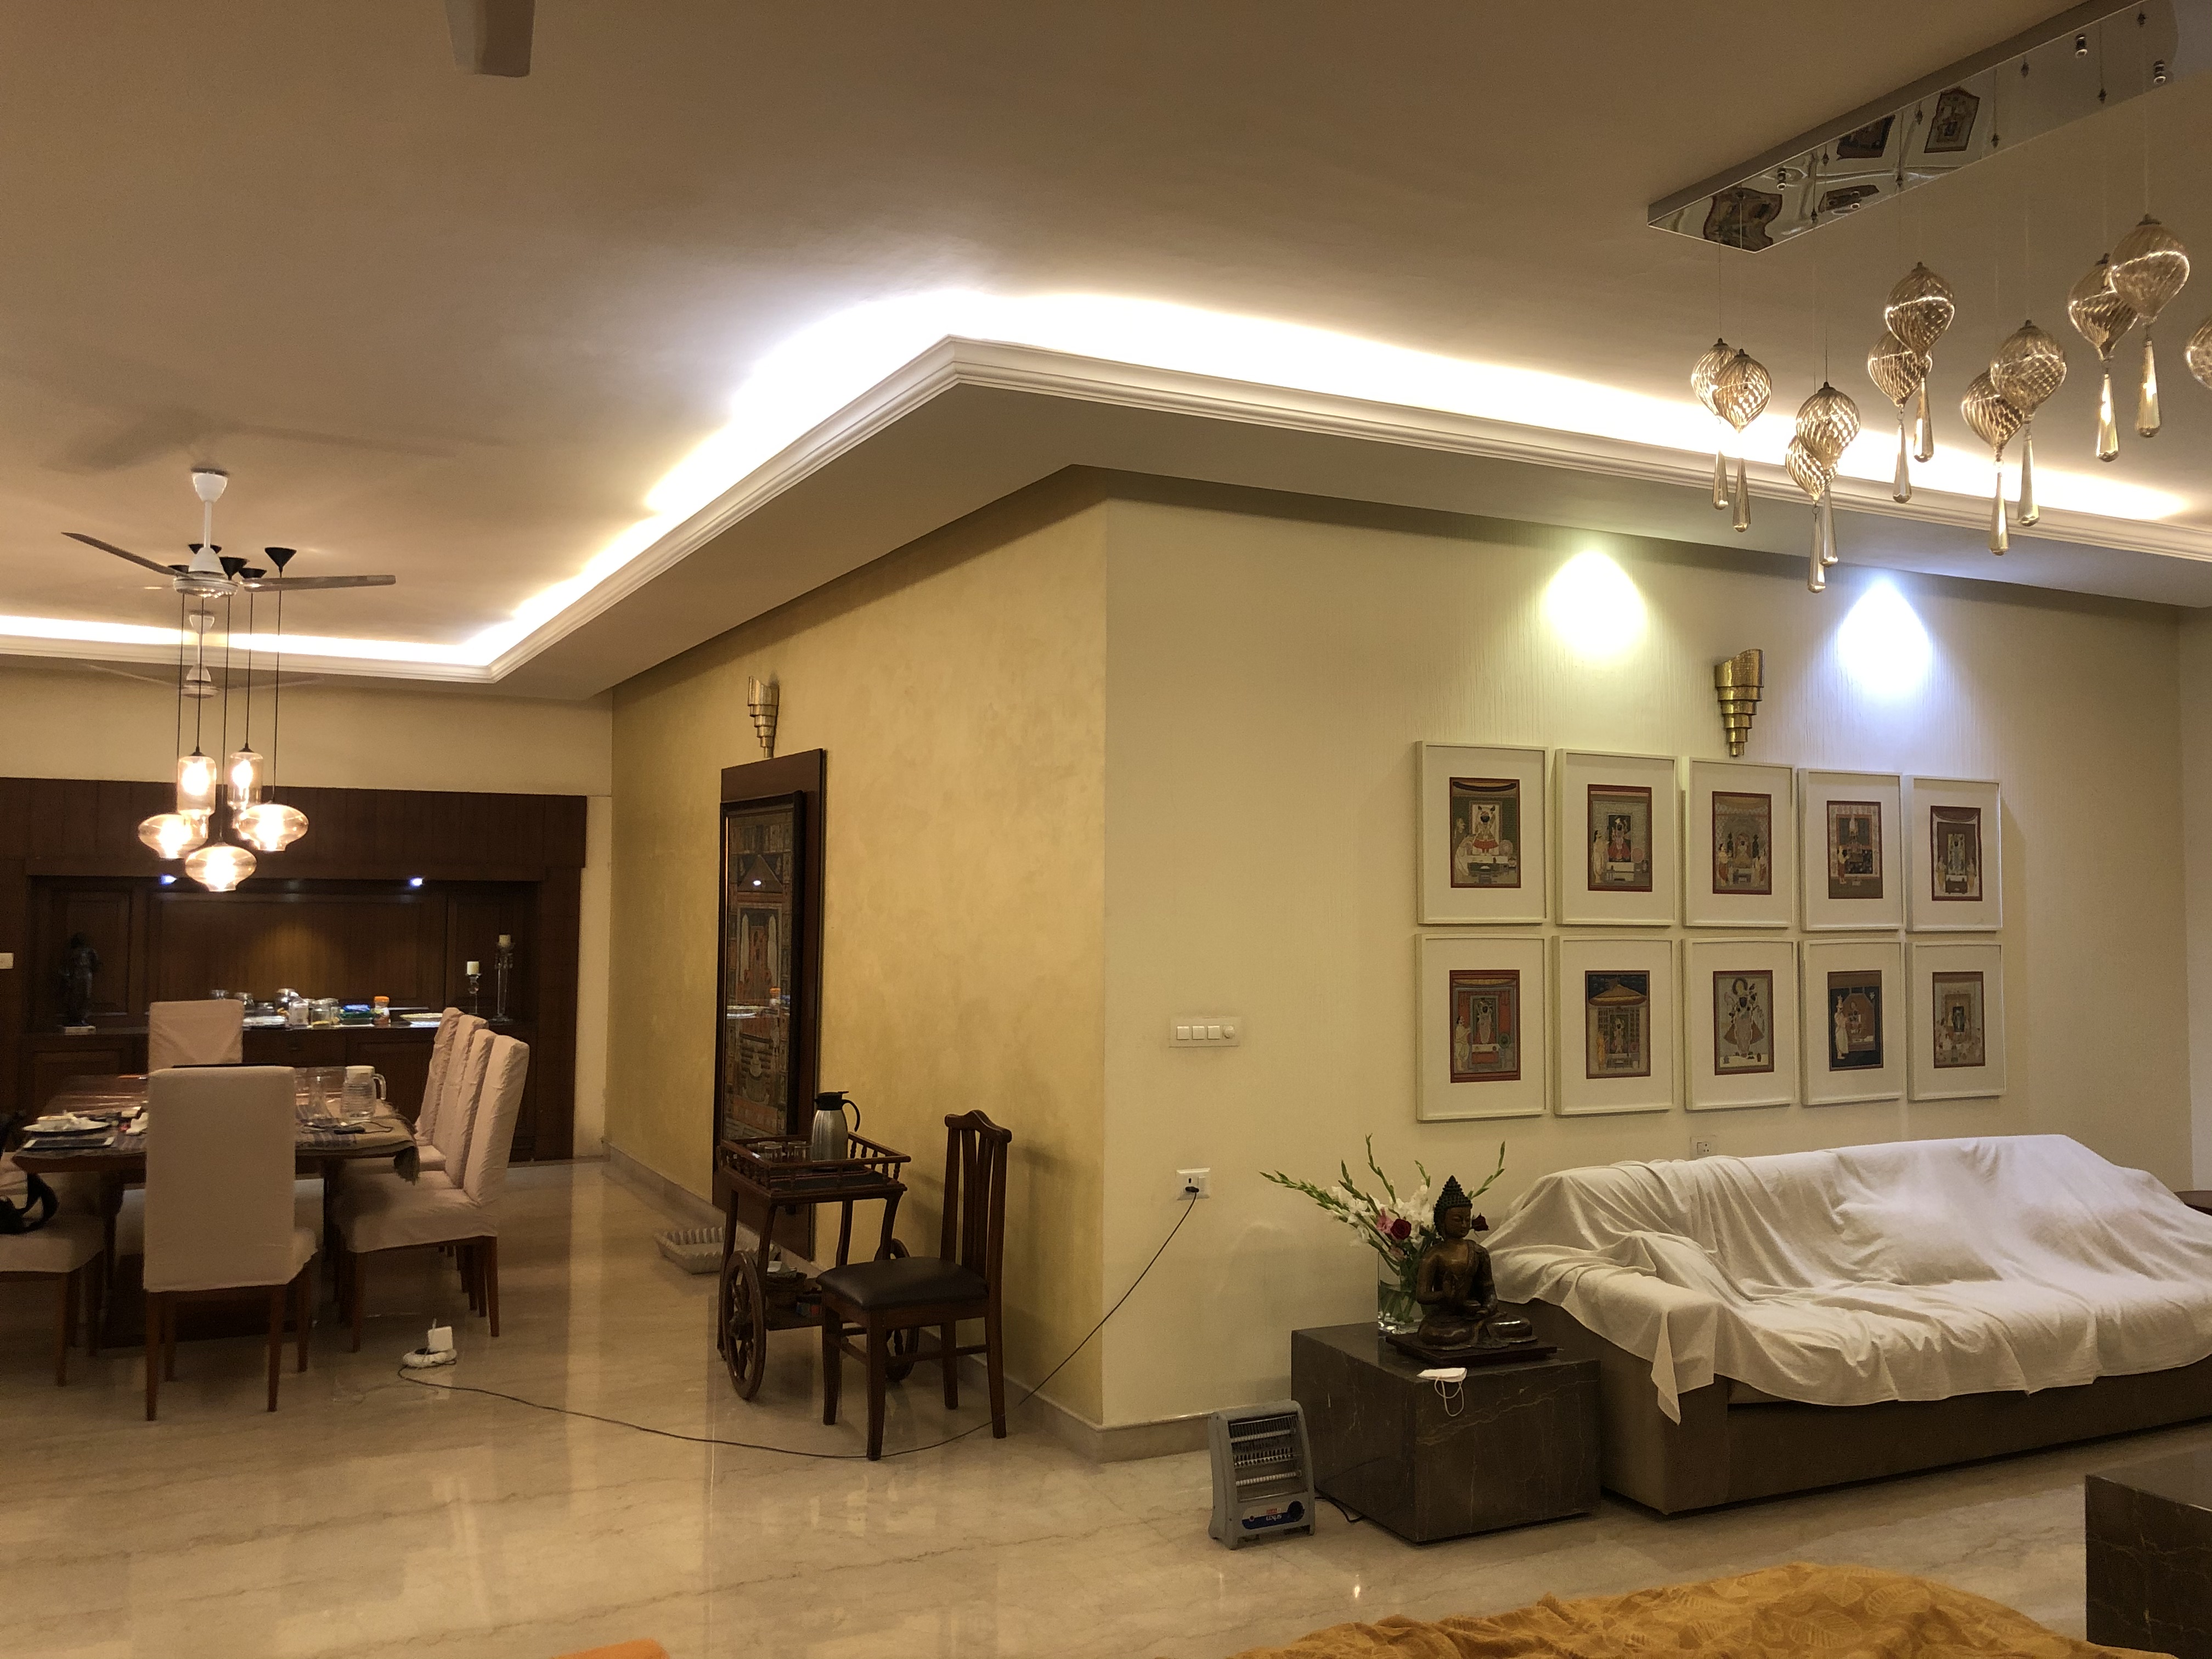
I clicked the following set of pictures using my iPhone camera.
|
Left image |
Right image |
|
|
|
|
|
|

RECOVERING HOMOGRAPHIES
The first step is finding the corresponding transformation between the two images. I did by formulating an overdetermined system of linear equations using the manually marked corresponding points in the two images. This involved manipulating the points and the p_dash = H*p equation to formualte a least squares problem.
IMAGE WARPING AND RECTIFICATION Here are the results of
rectification: original rectified
BLENDING INTO A MOSAIC Once we've warped the images, the next step is to blend the warped images into a single image. For this, I tried several blending techniques including averaging the images and linera blending. What worked the best for me was multiresolution laplacian building from Project 2. Here are some of the results. Warped left image Warped right image Combined Mosaic For part 1, I was really fascinated by the way be computed homographies and warped the images. The fact that we can click several images and build a panorama is pretty cool. PART
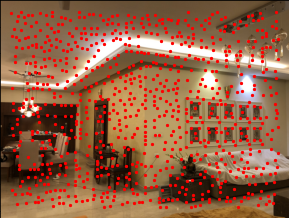
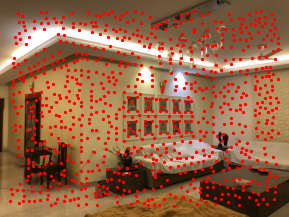
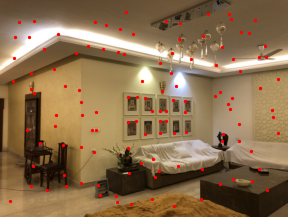
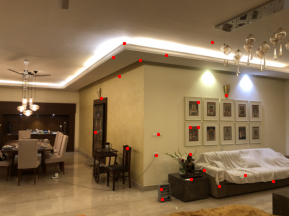
2: AUTO-STITCHING HARRIS INTEREST POINT DETECTION Using the code provided in the spec, I ran the Harrison interest point detection alogrithm on my images. We see that we get a lot of points. I got a lot more points initially but decreased them by tuning the mininum distance parameter of the algorithm. Below you can see some results. ADAPTIVE NON-MAXIMAL
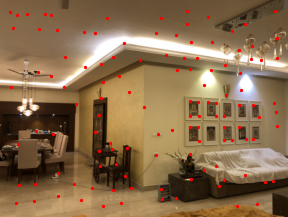
SUPPRESSION To reduce the number of corners, we need to select the strongest corners. These corners also need to be spread evenly across the image. I used a KD - Tree to implement the alogrithm. The algorithm runs on each of the corners, queries the 20 nearest neighbours, checks which of them have a higher Harisson corner score and assigns each points a maxmimum suprression radius equal to the distance of nearest neighbour with a higher harrison corner score. Below you can see the results for the top 100 corner points in each of the image. FEATURE MATCHING For feature matching, the first step is build feature descriptors. For this, I sampled a region of 40x40 pixels around the corner point, and resized it to an 8x8 image. I build another KD Tree of all the features for the second image. Then, for each of the features in the first image, I query the nearest two neighbours from the KD Tree and check if it is a match. Below, you can see some results after feature matching. RANSAC Now that we had a good set of features, we need to calculate the honography matrix. For this, we use the RANSAC alogrithm. This algorithm essentially samples 4 points from the matched features, solves the system of linear equations and calculates the homography matrix. Once, we've calculated this matrix we now transform all of the points in the feature set of the first image and compare it to the feature set of the second image. Choosing a value of episilon, we get a certain number of matches. Across several iterations of choosing random samples, we record the highest number of matches that we see. We then use this set of matched points to formulate an over-determined system of equations and finally use least squares to calculate the homography matrix. AUTO-MOSAICING Finally, using all of the above techniques, we calculate the homography matrices, warp the images and blend them together. Manually Chosen Points Auto - Stitched For the first image, we actually get a mosaic that I think is better than the manaully created one. For the next two, the results seem to be as good as the manual one if not better. LEARNINGS I really enjoyed the systematic approach of part B to compute the homography matrix. Implementing ANMS and Feature Matching were the coolest parts of the project for me. Website Credit: Nadia Hyder