We want to compute the homography matrix that satisfies the equation p' = Hp. We can reformat this problem into solving for h in Ah = b with least-squares given multiple corresponding points in the two images instead of only 4. h contains the 8 unknowns of H, b corresponds to the transformed points p' and A corresponds to the original image points p. One pair of corresponding points corresponds to two rows in A and b. b = [x', y']^T, the first row of A is [x, y, 1, 0, 0, 0, -x'x, -x'y], and the second row is [0, 0, 0, x, y, 1, -y'x, -y'y].
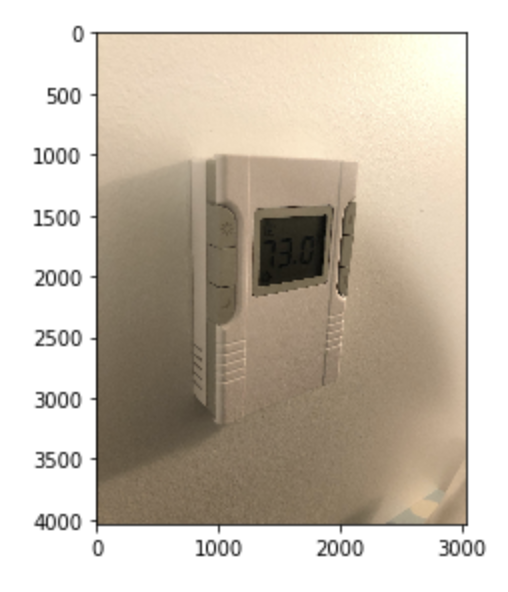
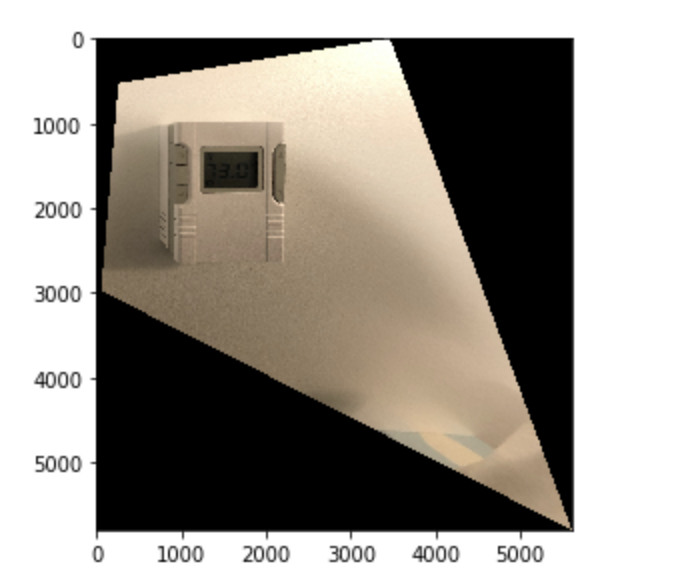
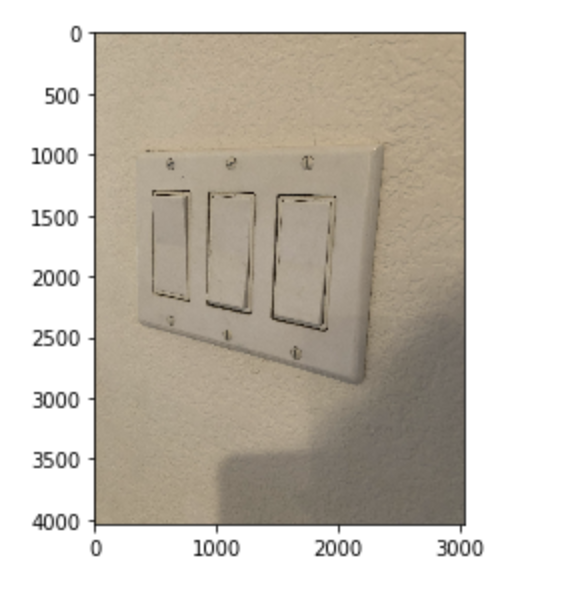
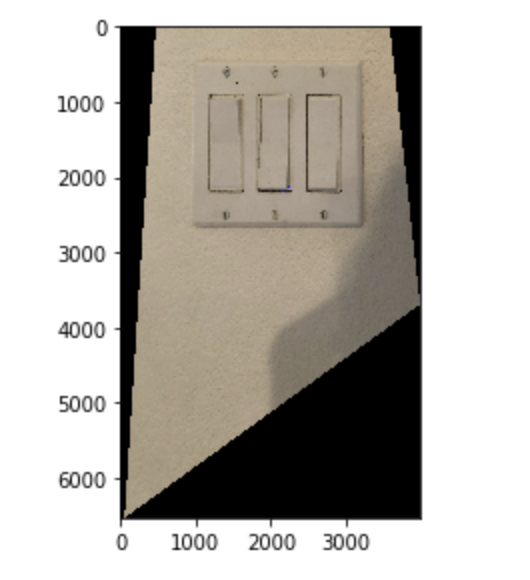
Using the homography matrix we found, we can now warp from one image to another so that we can stitch them together for the mosaic. First we check that our warping is correct by warping some planar surfaces so that the plane is frontal-parallel. Below are some examples:
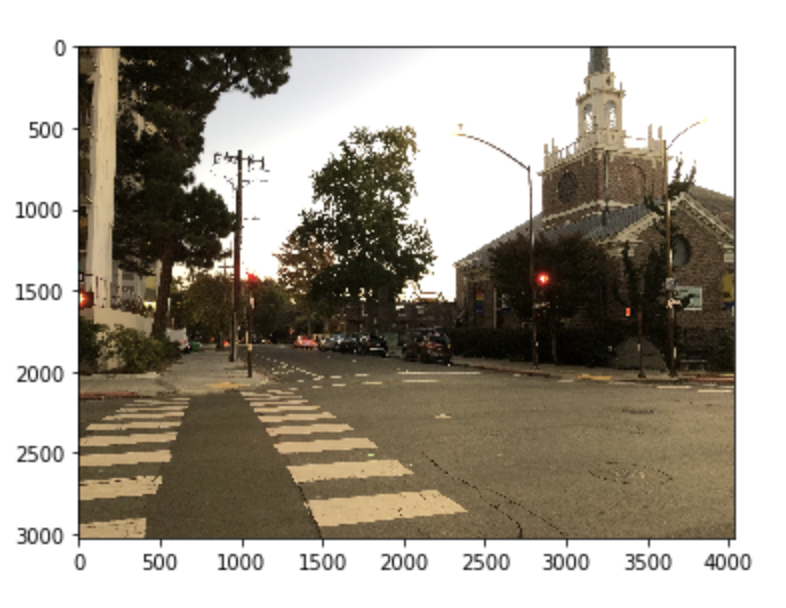
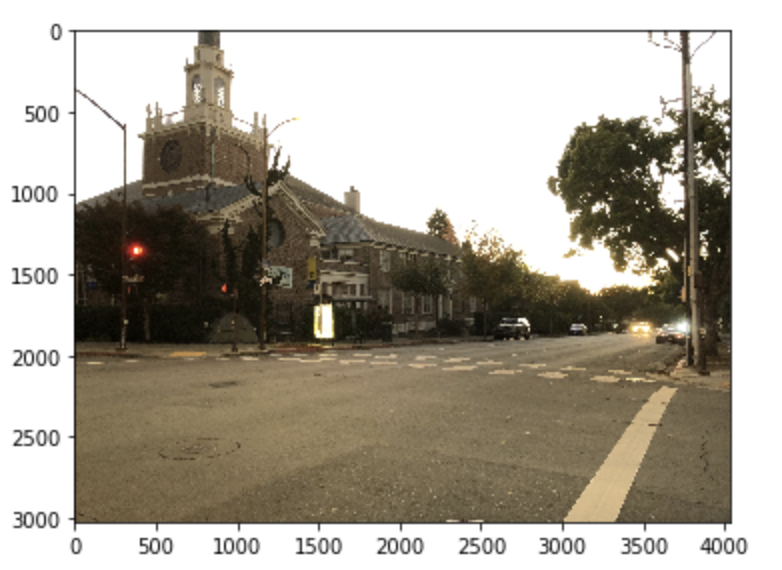
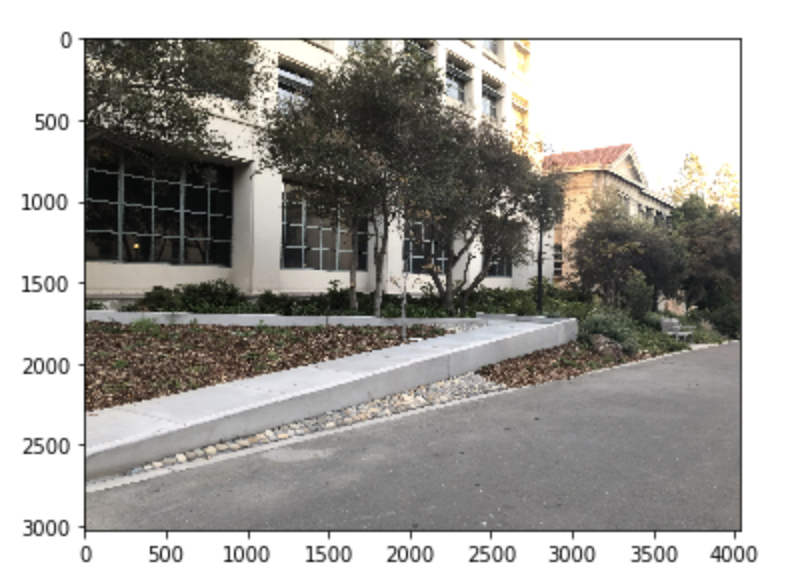
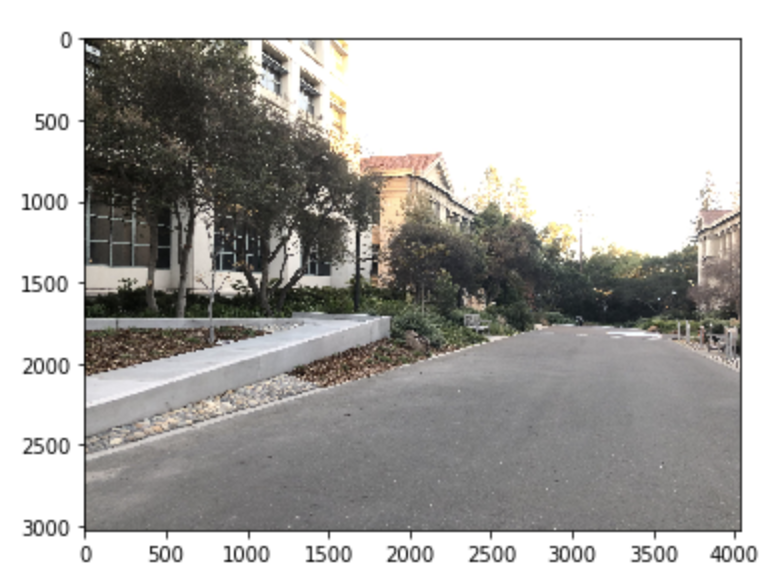
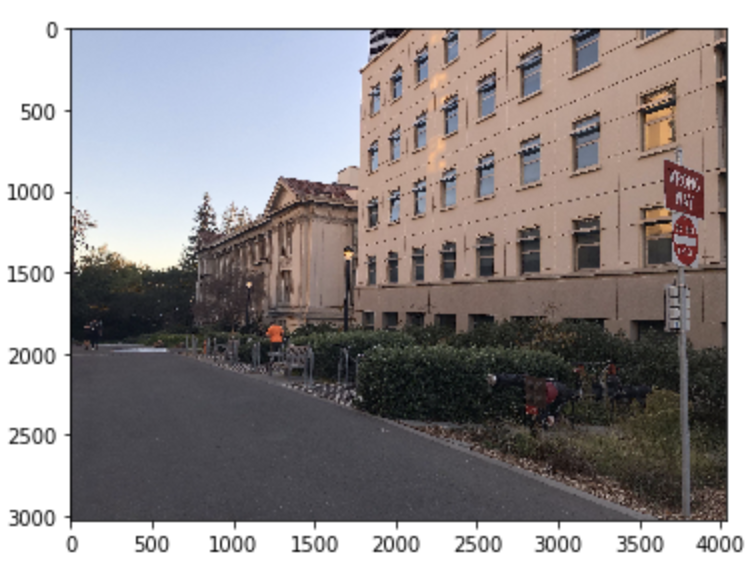
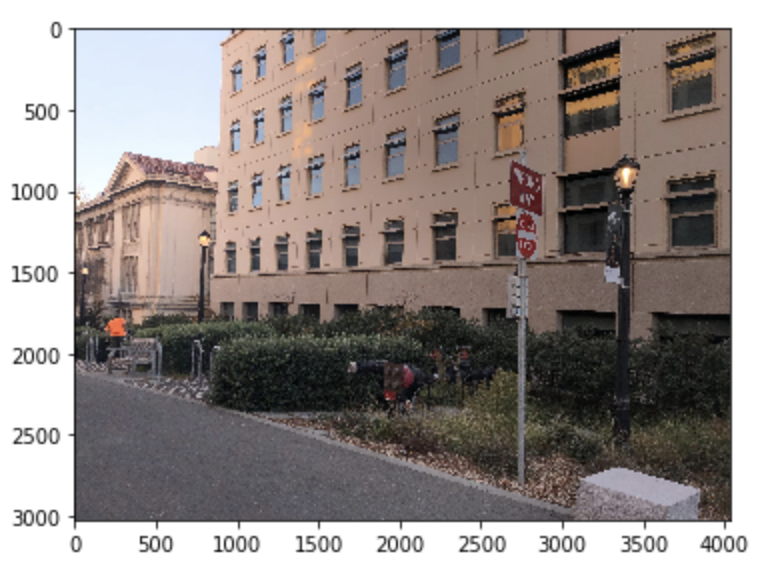
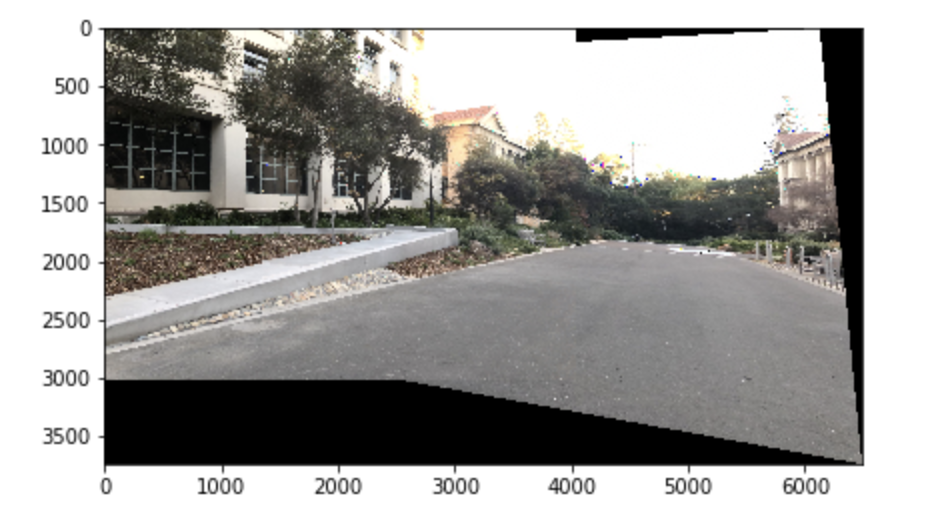
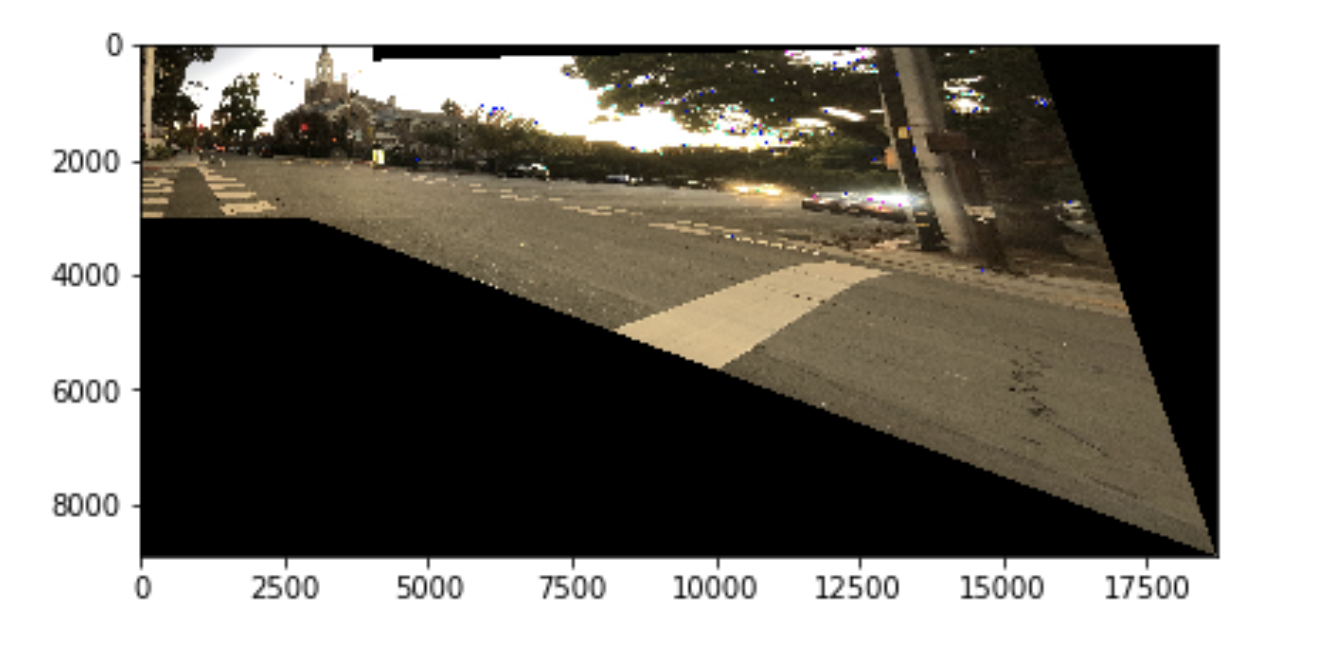
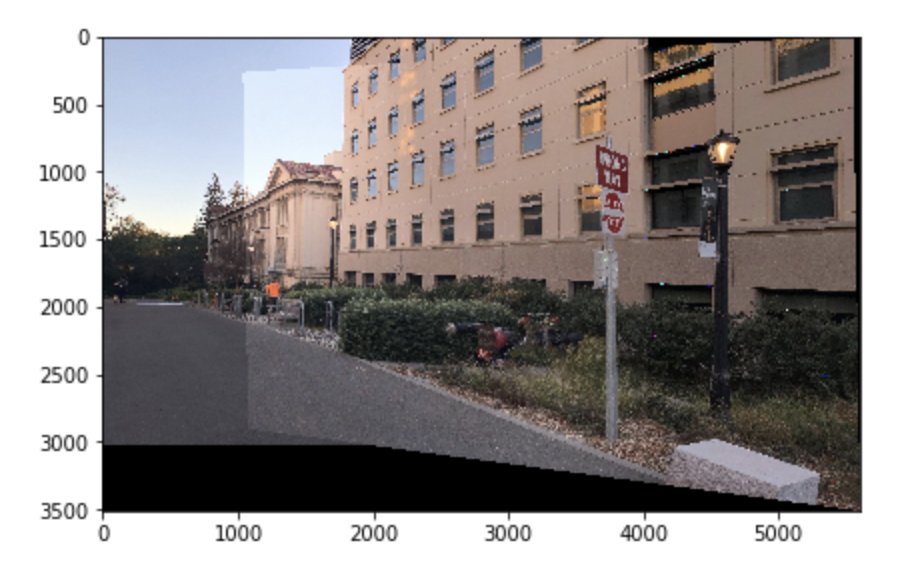
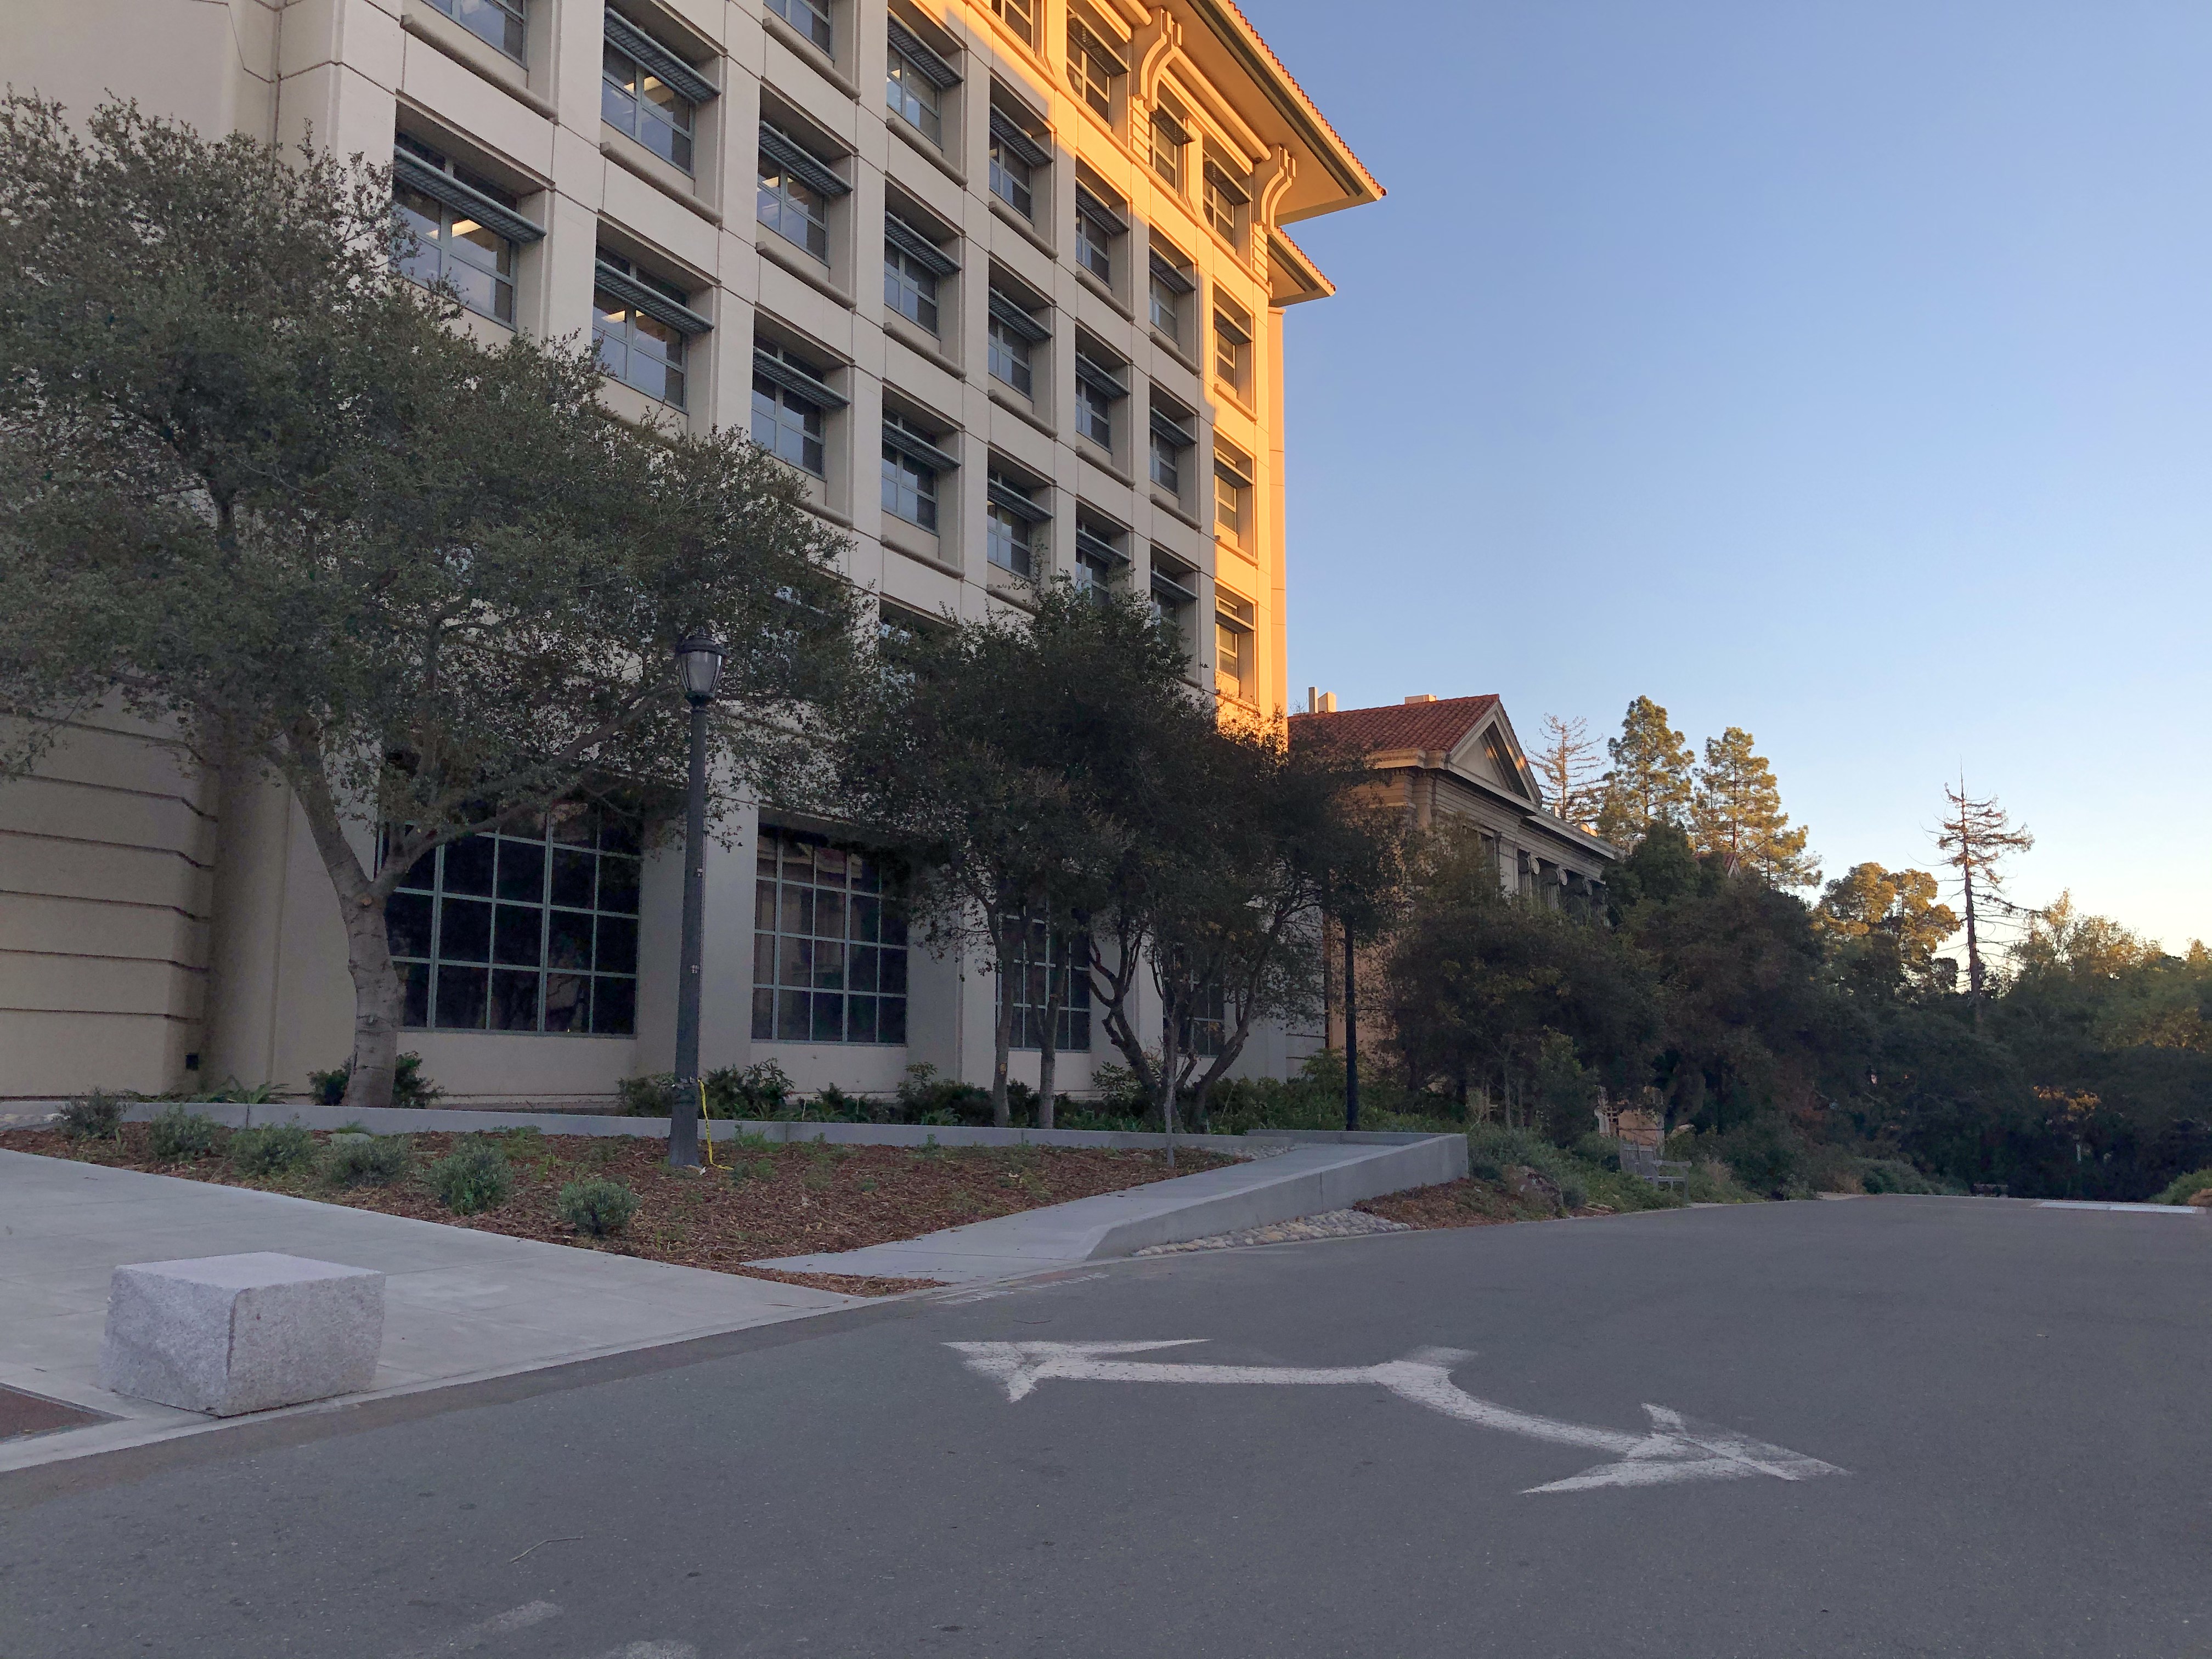
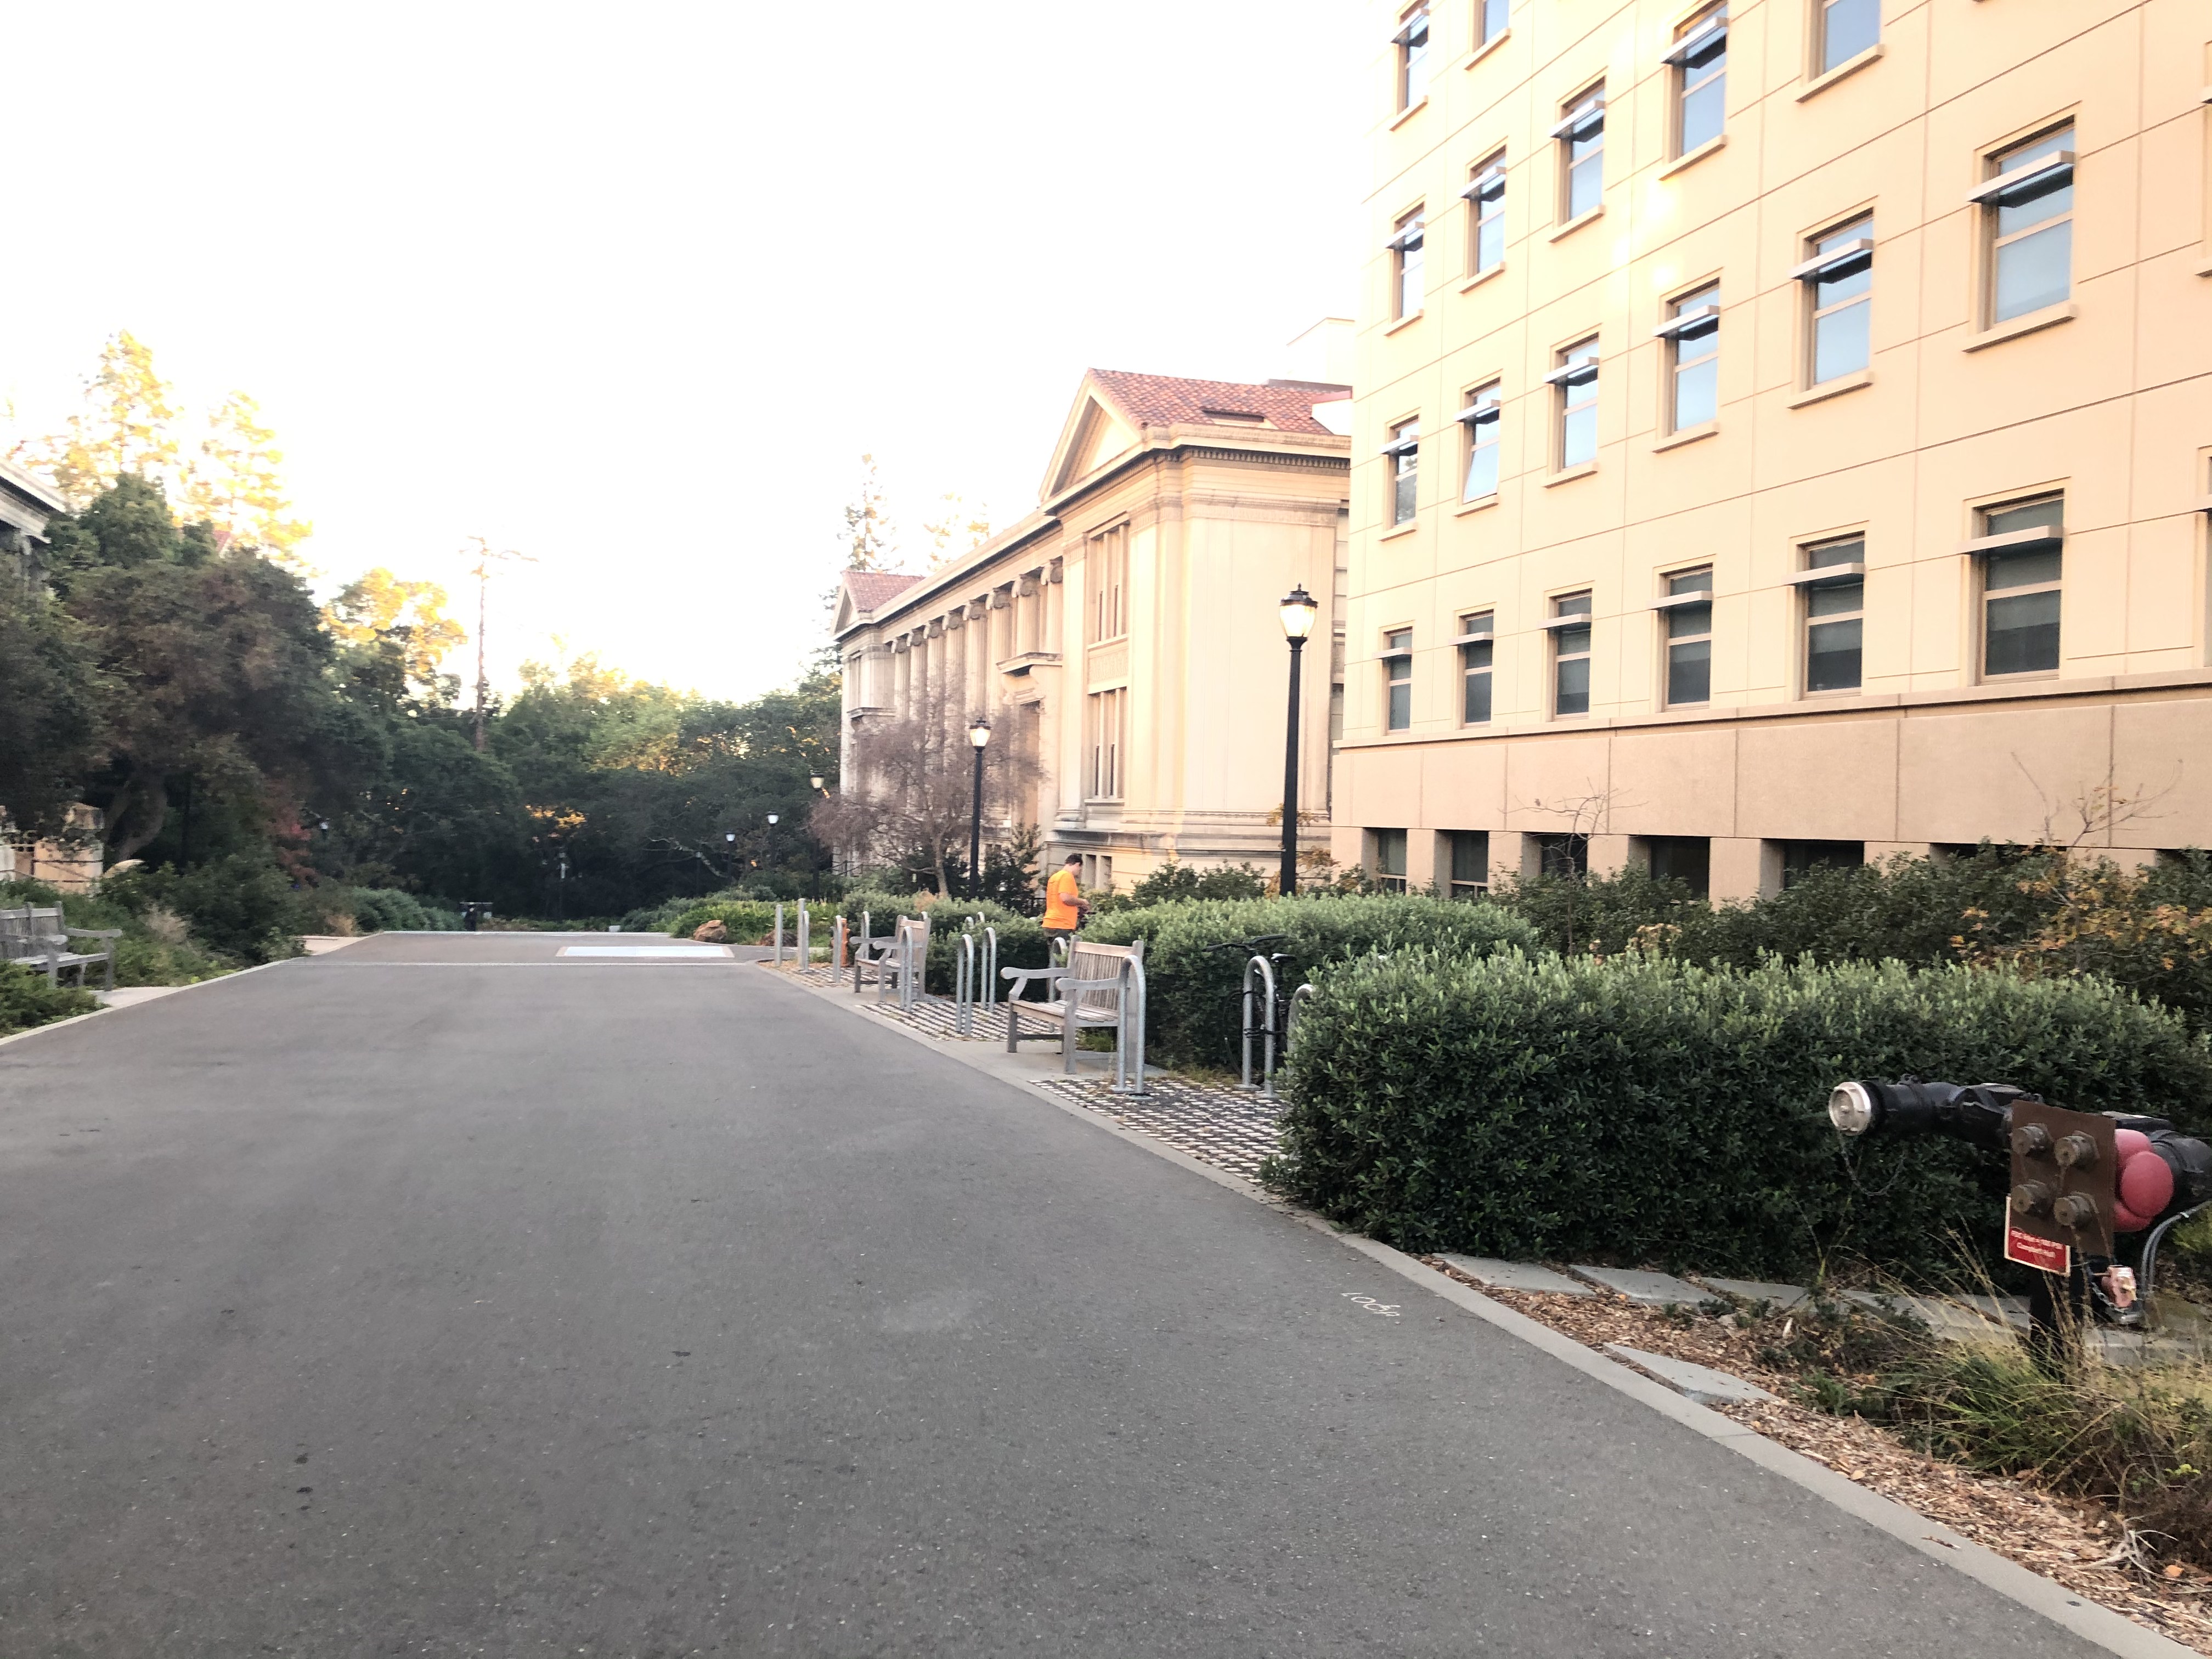
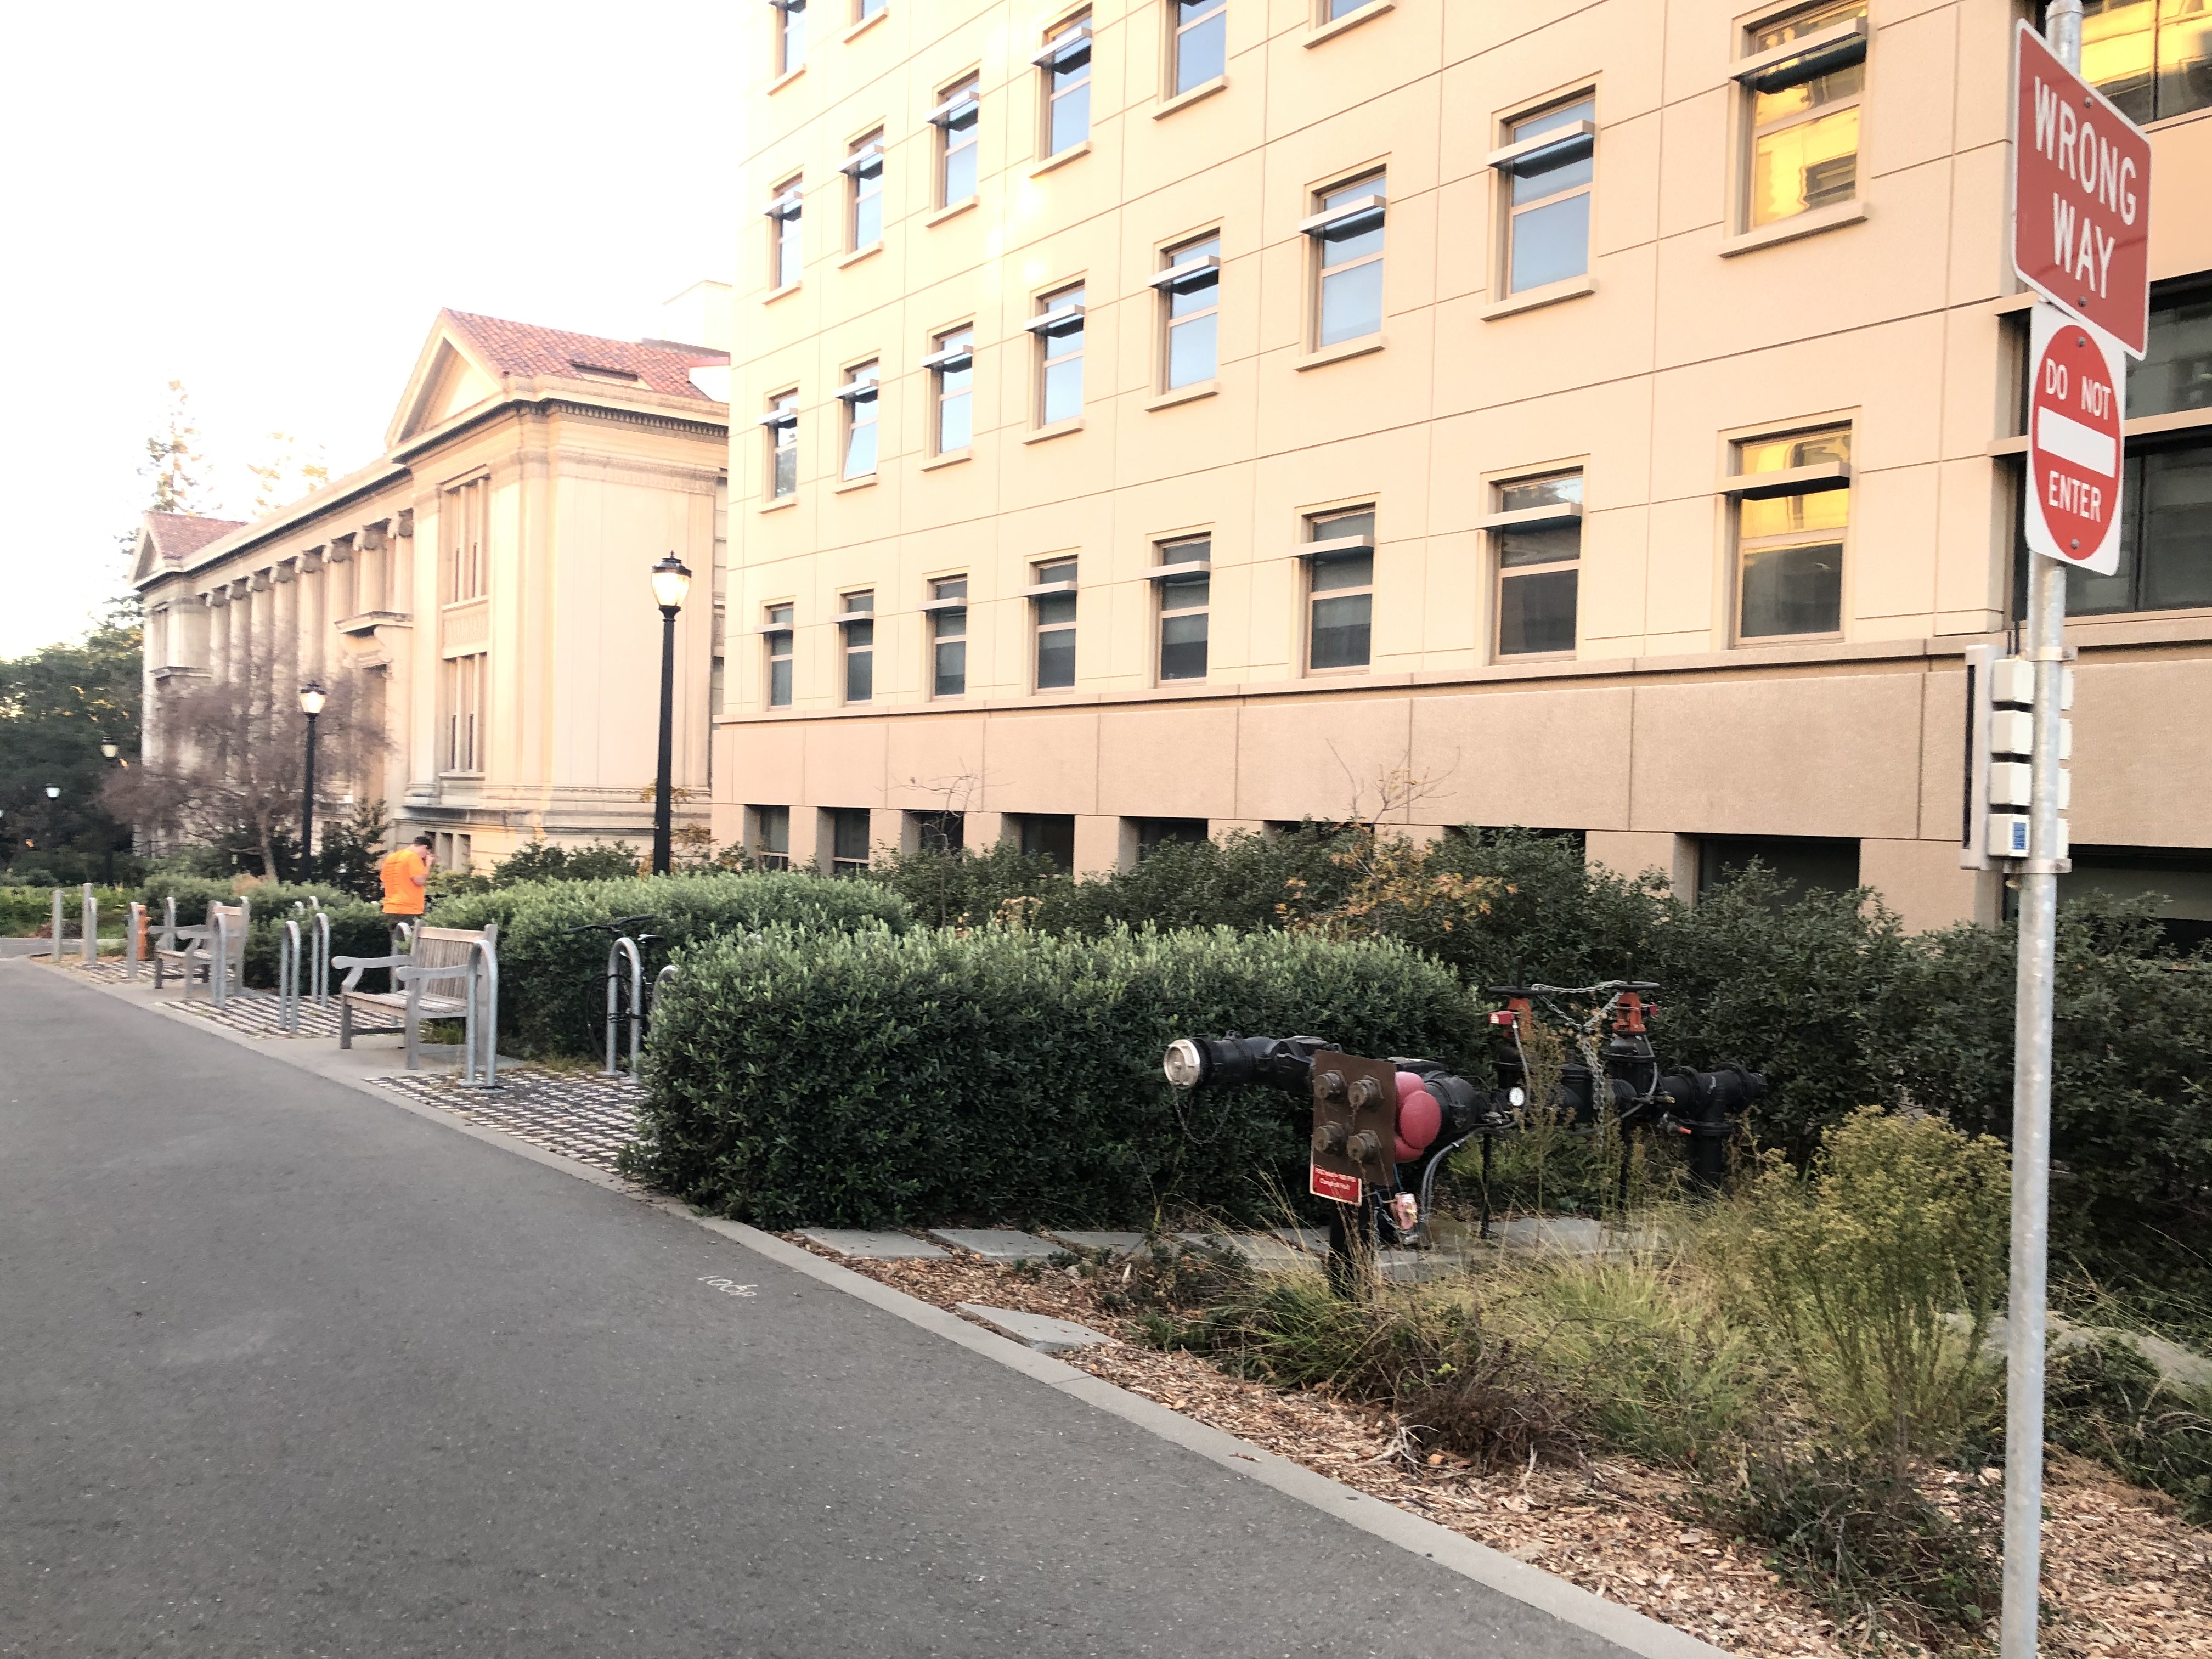
Now we can stitch together images after warping one image to the other one. I cropped negative corners to be 0 or positive and took the maximum value between the two images for each pixel. This works decently well for images with consistent lighting, as seen below.
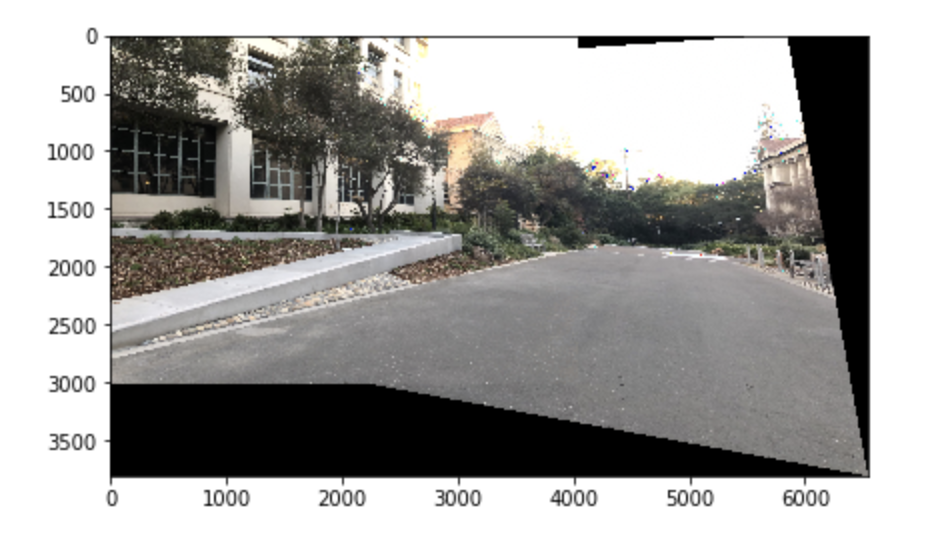
Here's an example where the mosaic did not have enough overlap so the warp makes the image very stretched.
Here's an example where the lighting is not consistent enough and the edge between the photos is very visible since I didn't do blending.
More mosaics can be seen in the autostiching section.
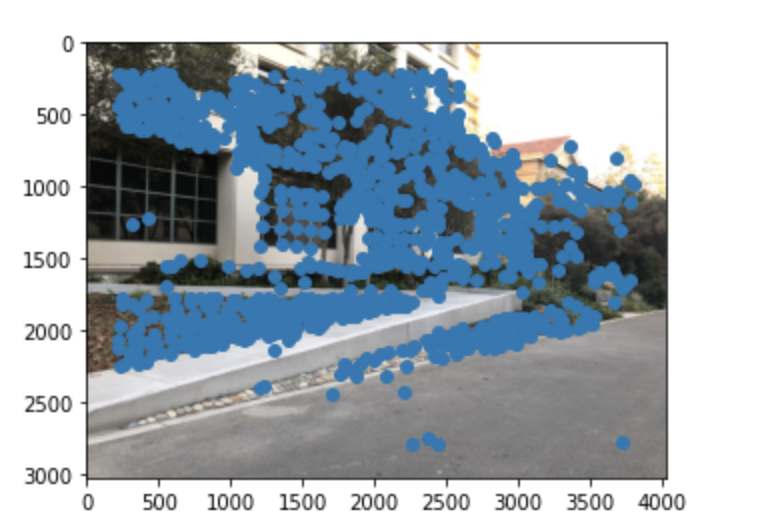
Autostitching allows us to create mosaics without having to manually pick the points first by ourselves. The first step is automatic keypoint detection using the given harris corner detection code. Here's an example output with border = 200.
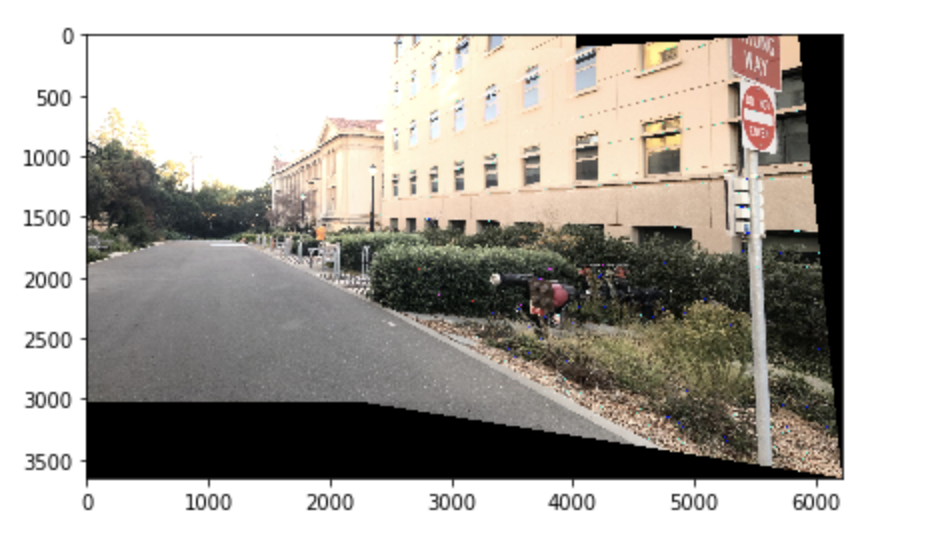
Then we do feature descriptor extraction and then feature matching based on those points according to the paper provided that matches feature pairs between features found on both images of the mosaic. Then we apply RANSAC to determine the best set of points to compute the final H matrix on and do the mosaic stitching as normal from the previous part. Below are results from the autostitching. The first mosaic is one used in part A and if you scroll up to compare they look very similar. The other two autostitched mosaics also look decent in terms of finding a good warp automatically.
I think the most interesting part of this project was learning how the auto-stitching works and implementing it; it was very satisfying to be able to input any two images and produce the mosaic without having to hand-pick the points first.