CS 194-26 Project 5: (Auto)Stitching Photo Mosaics
Shreyas Patankar
Part A: Image Warping and Mosaicing
Shoot the Pictures
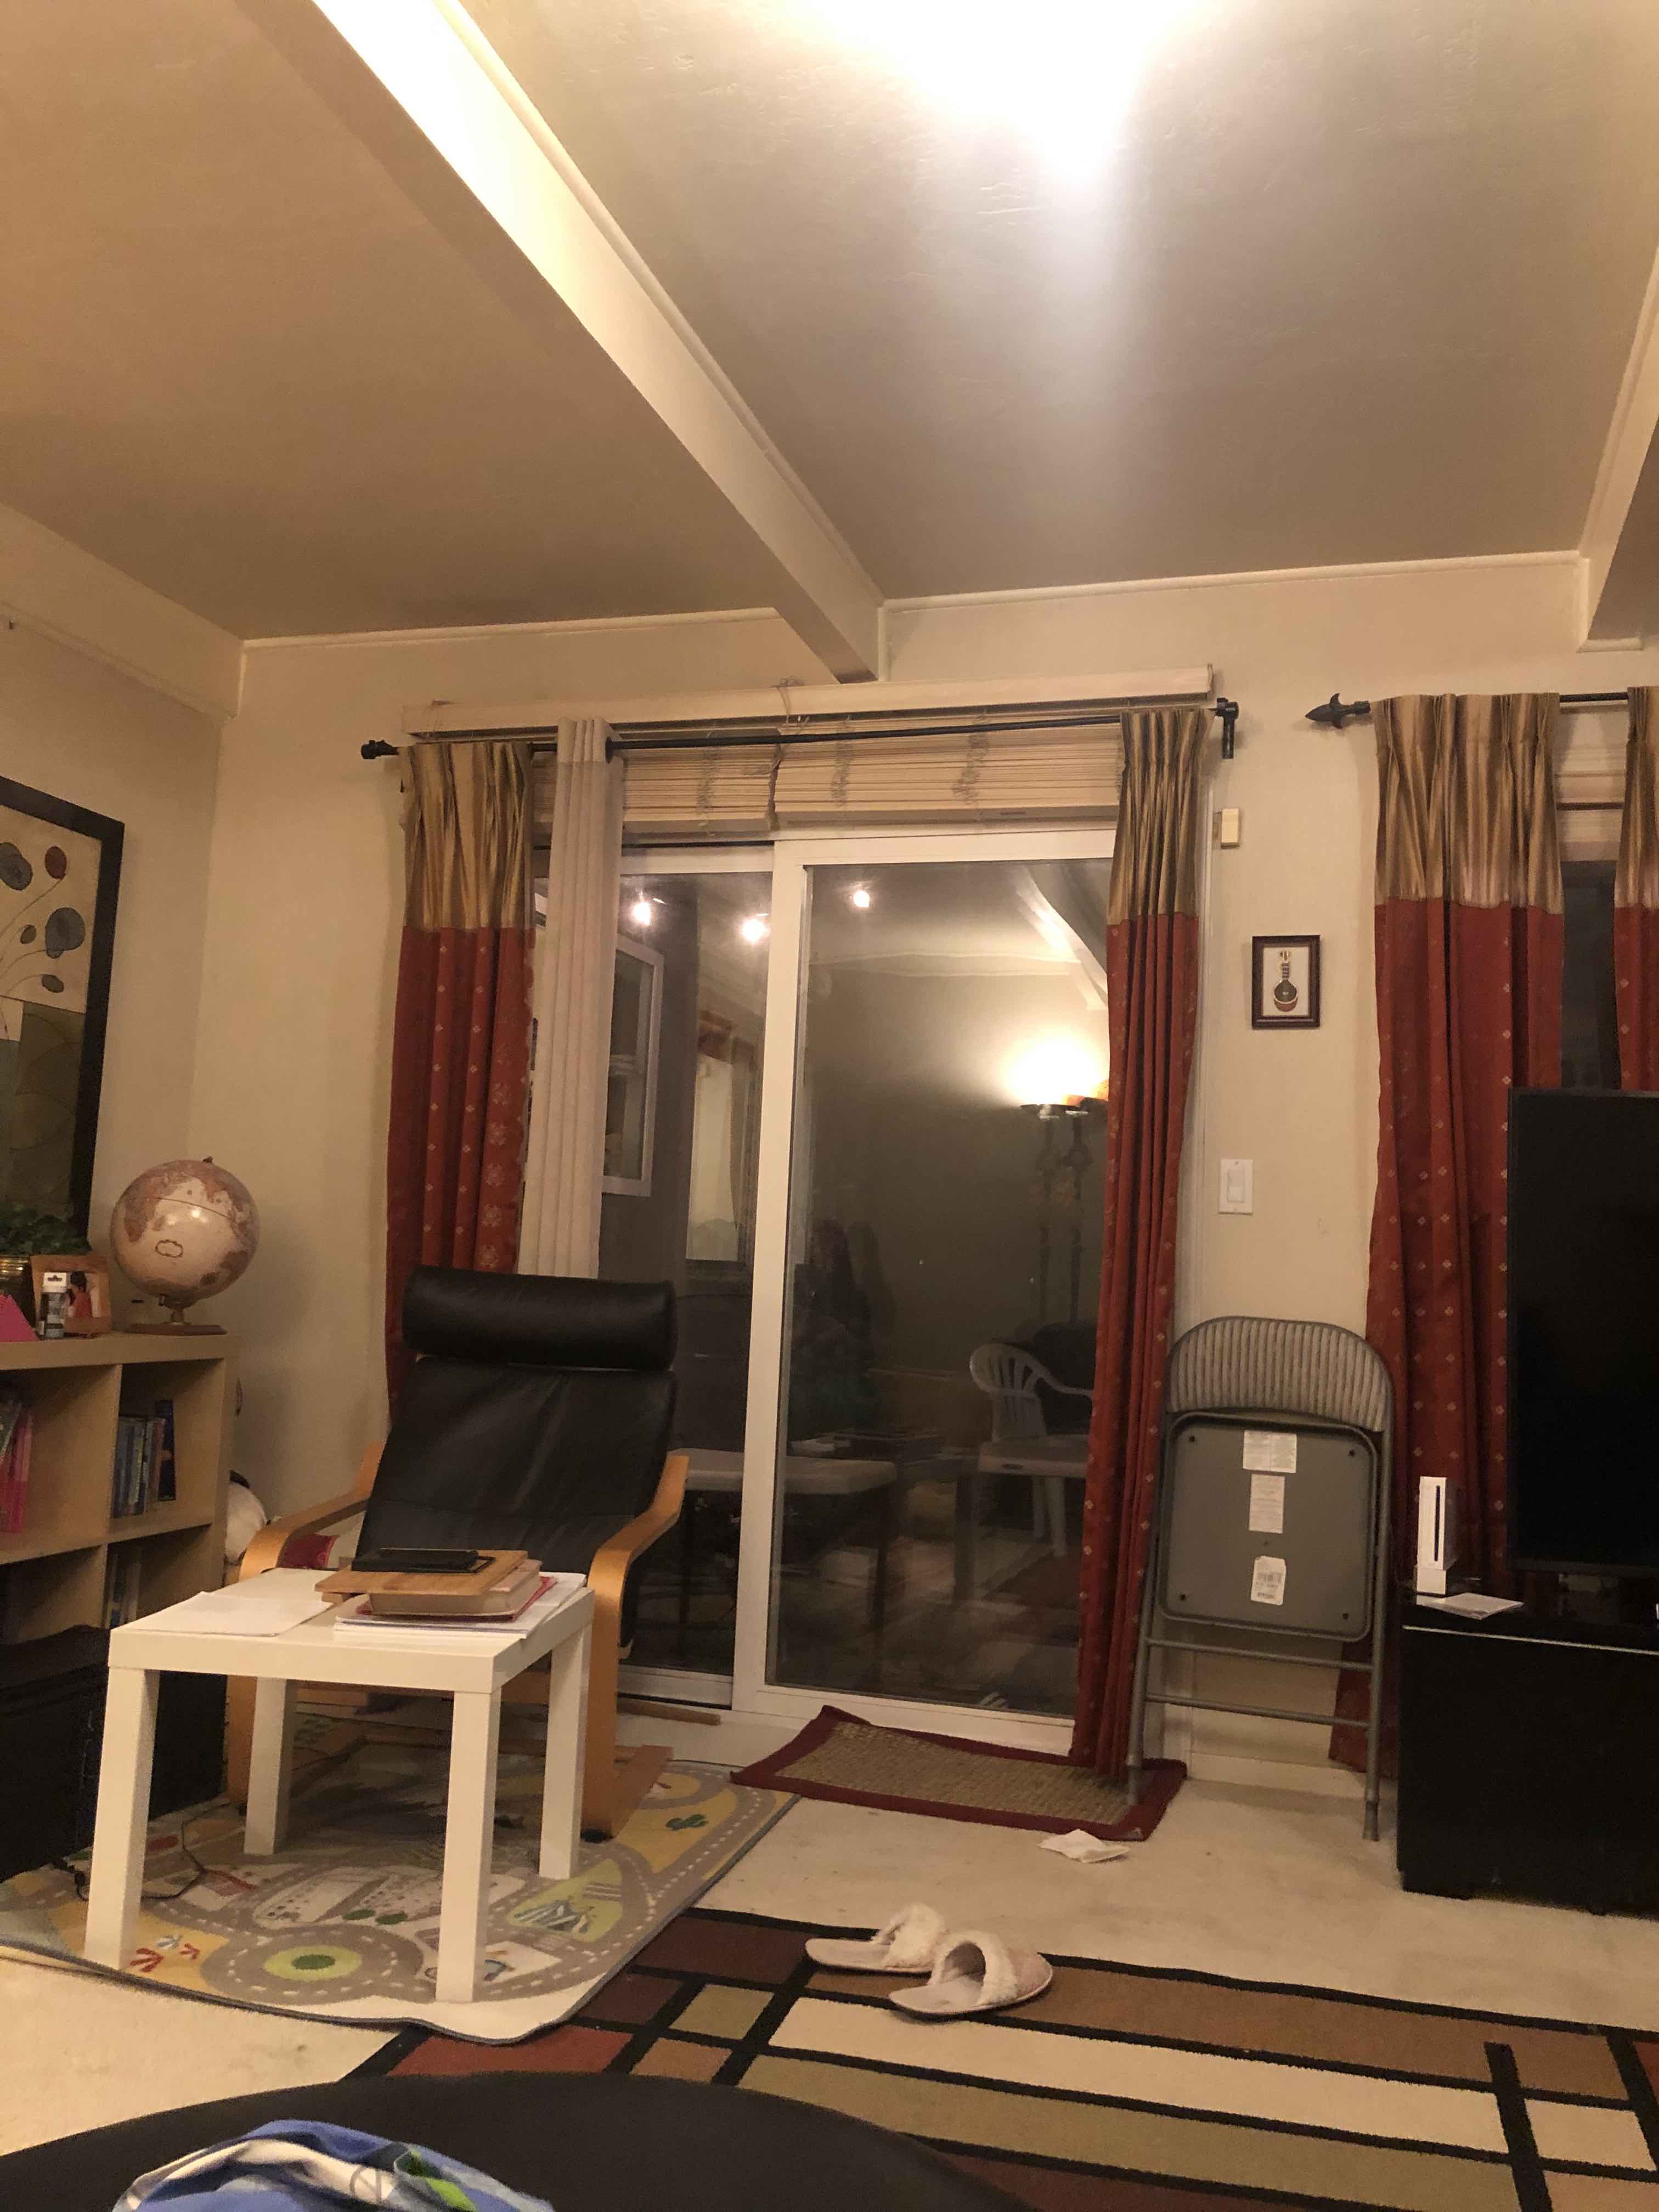
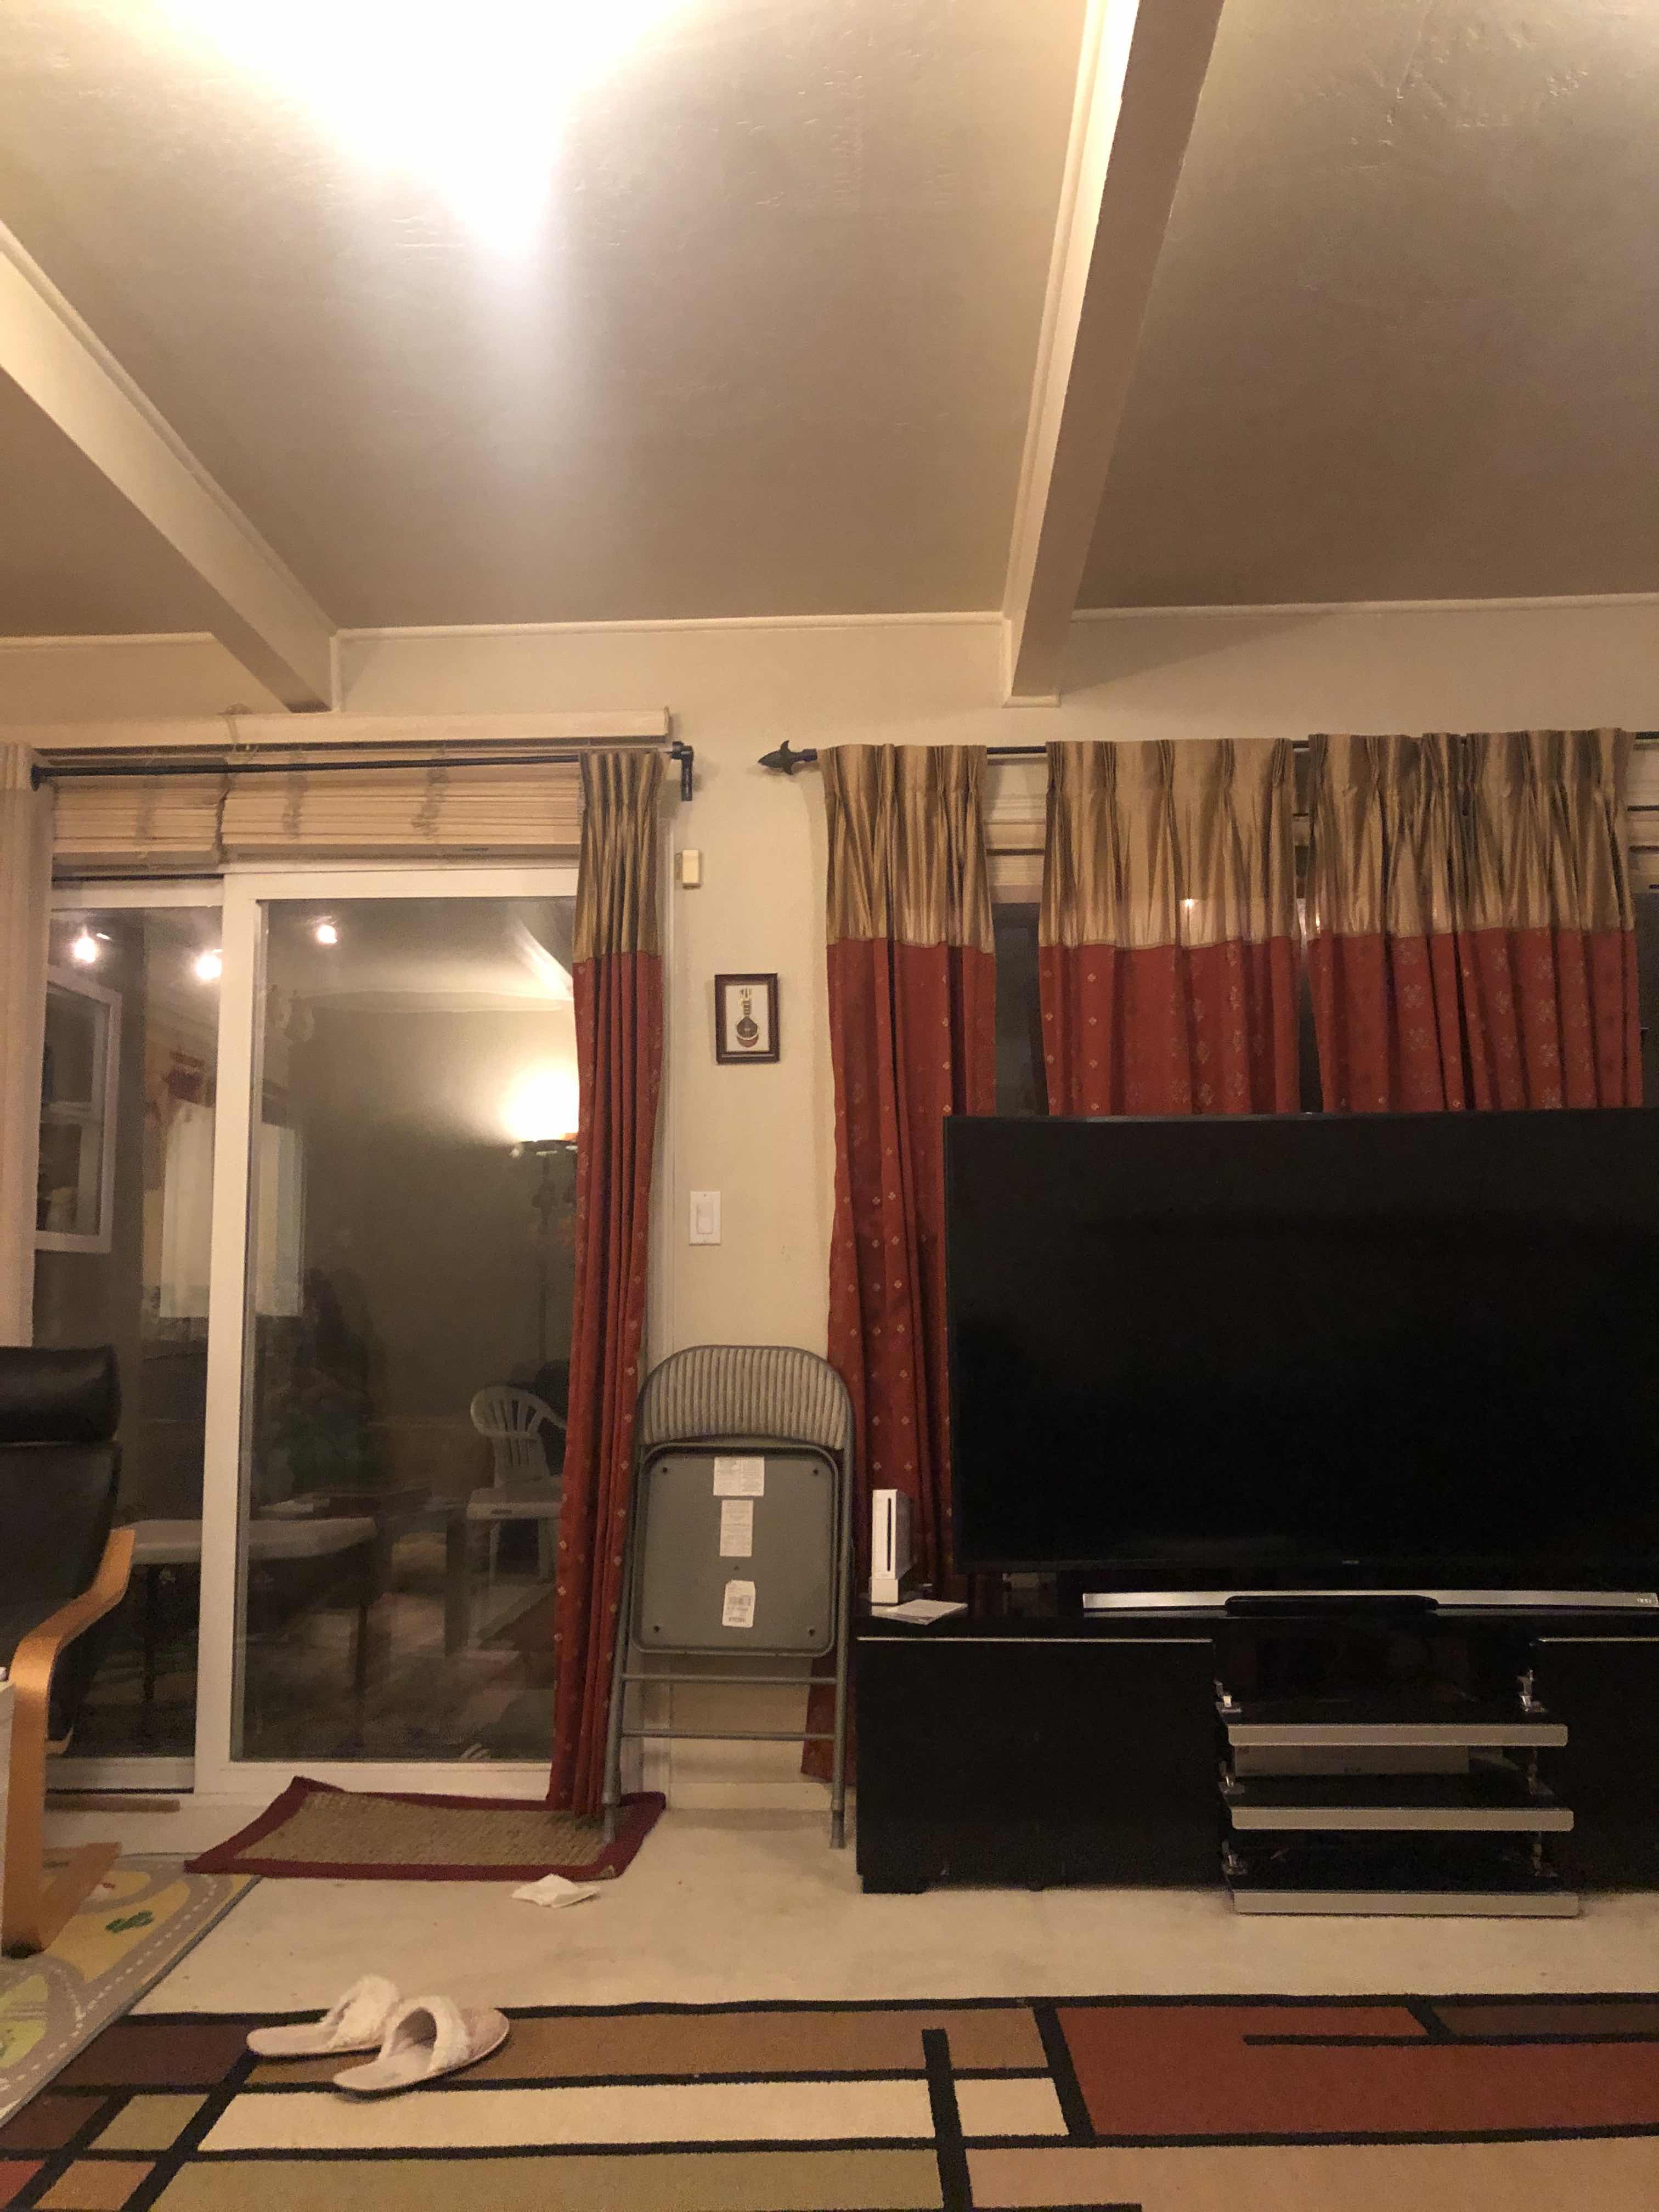
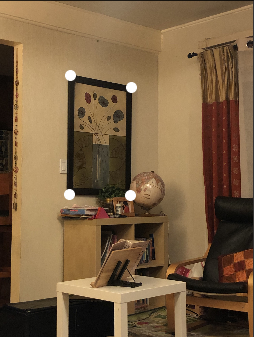
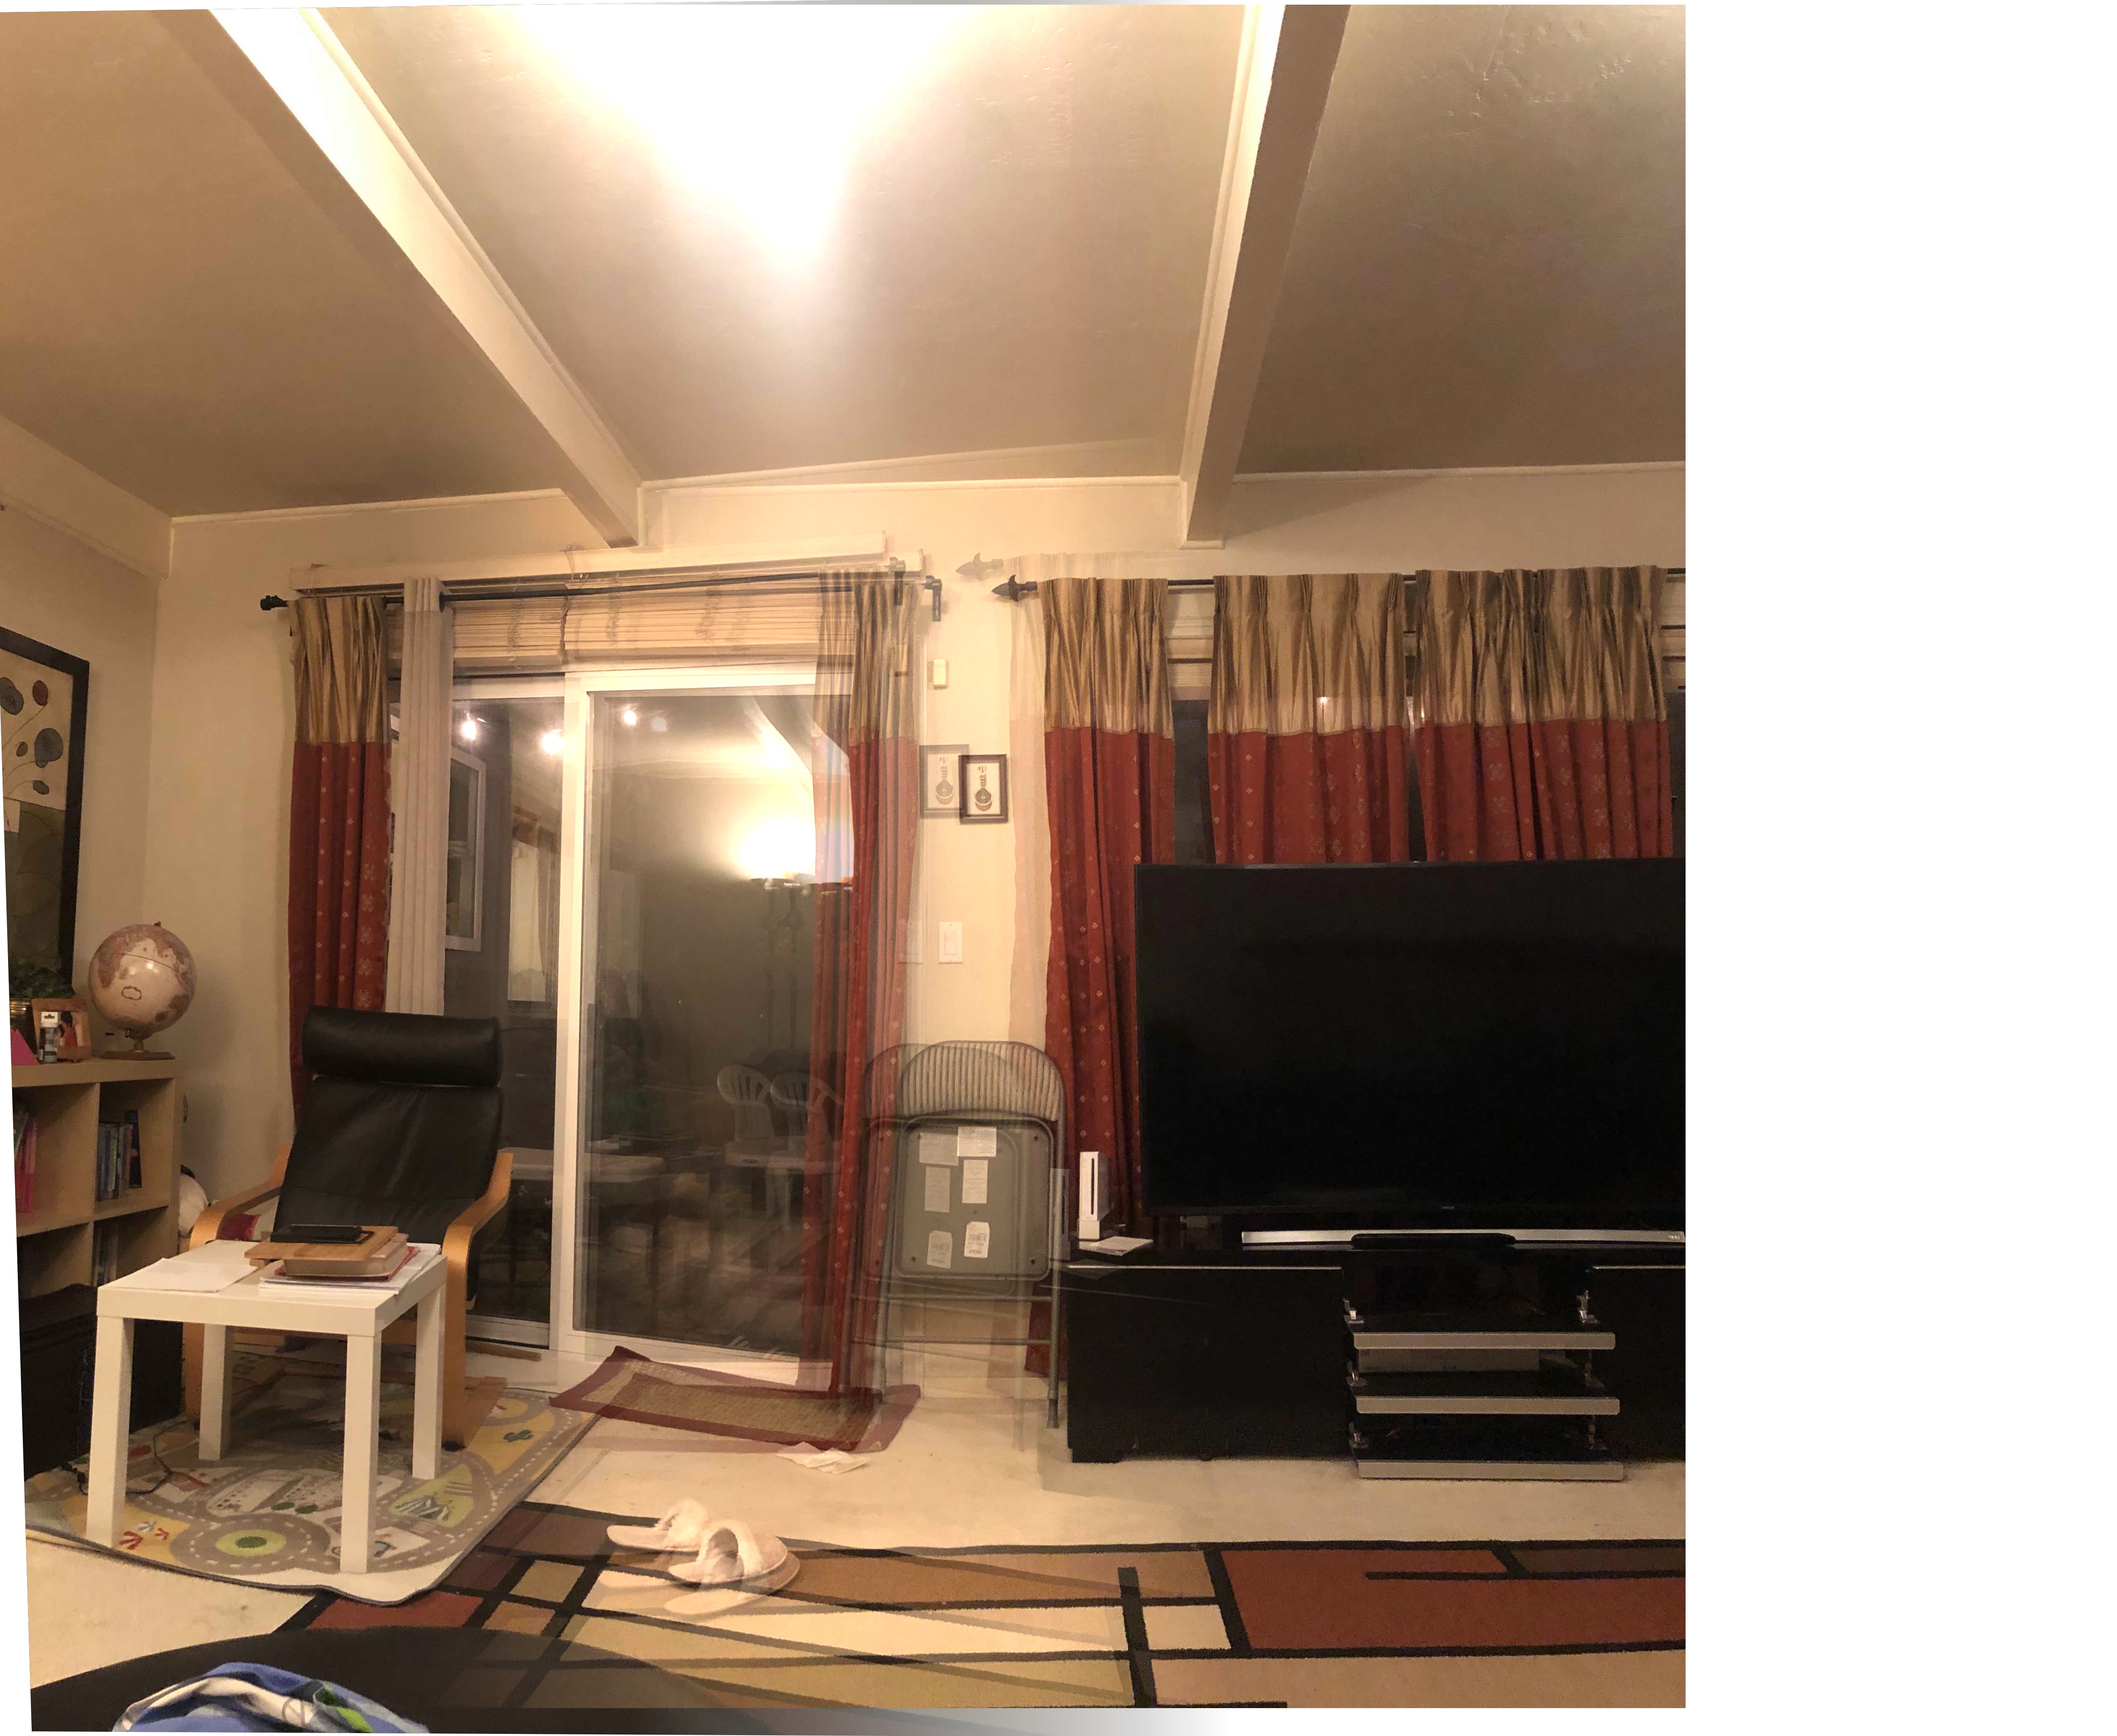
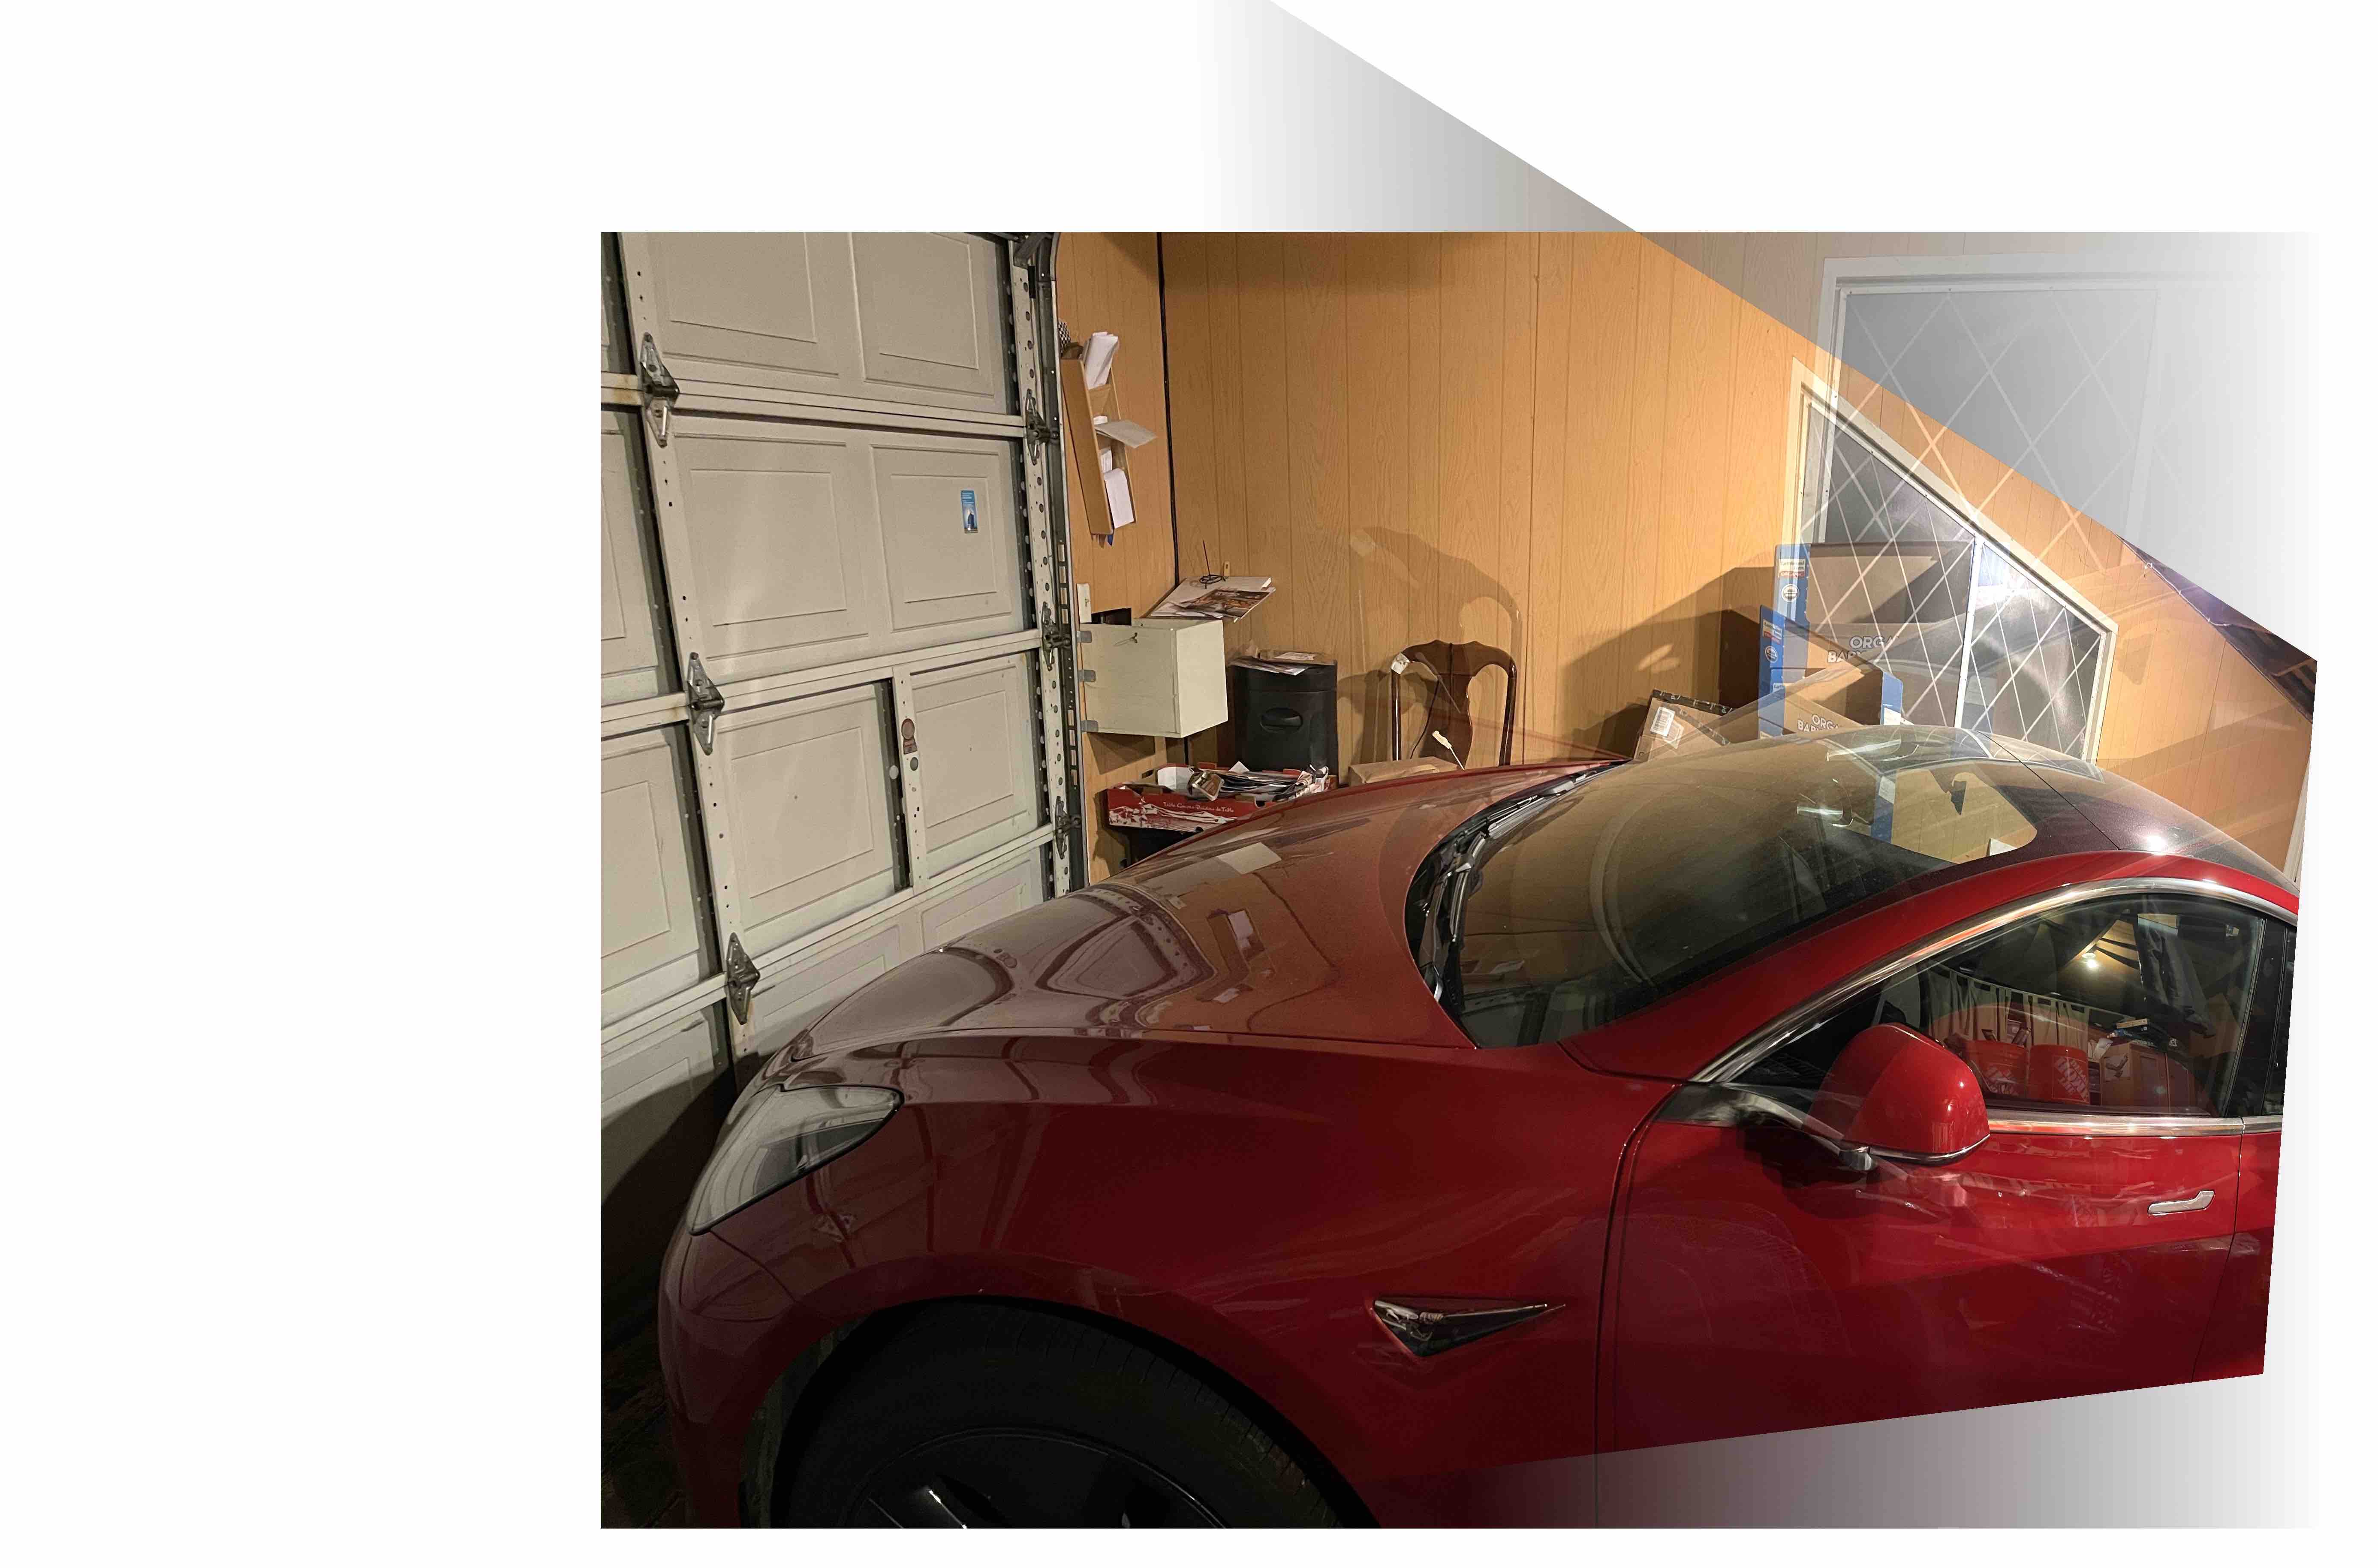
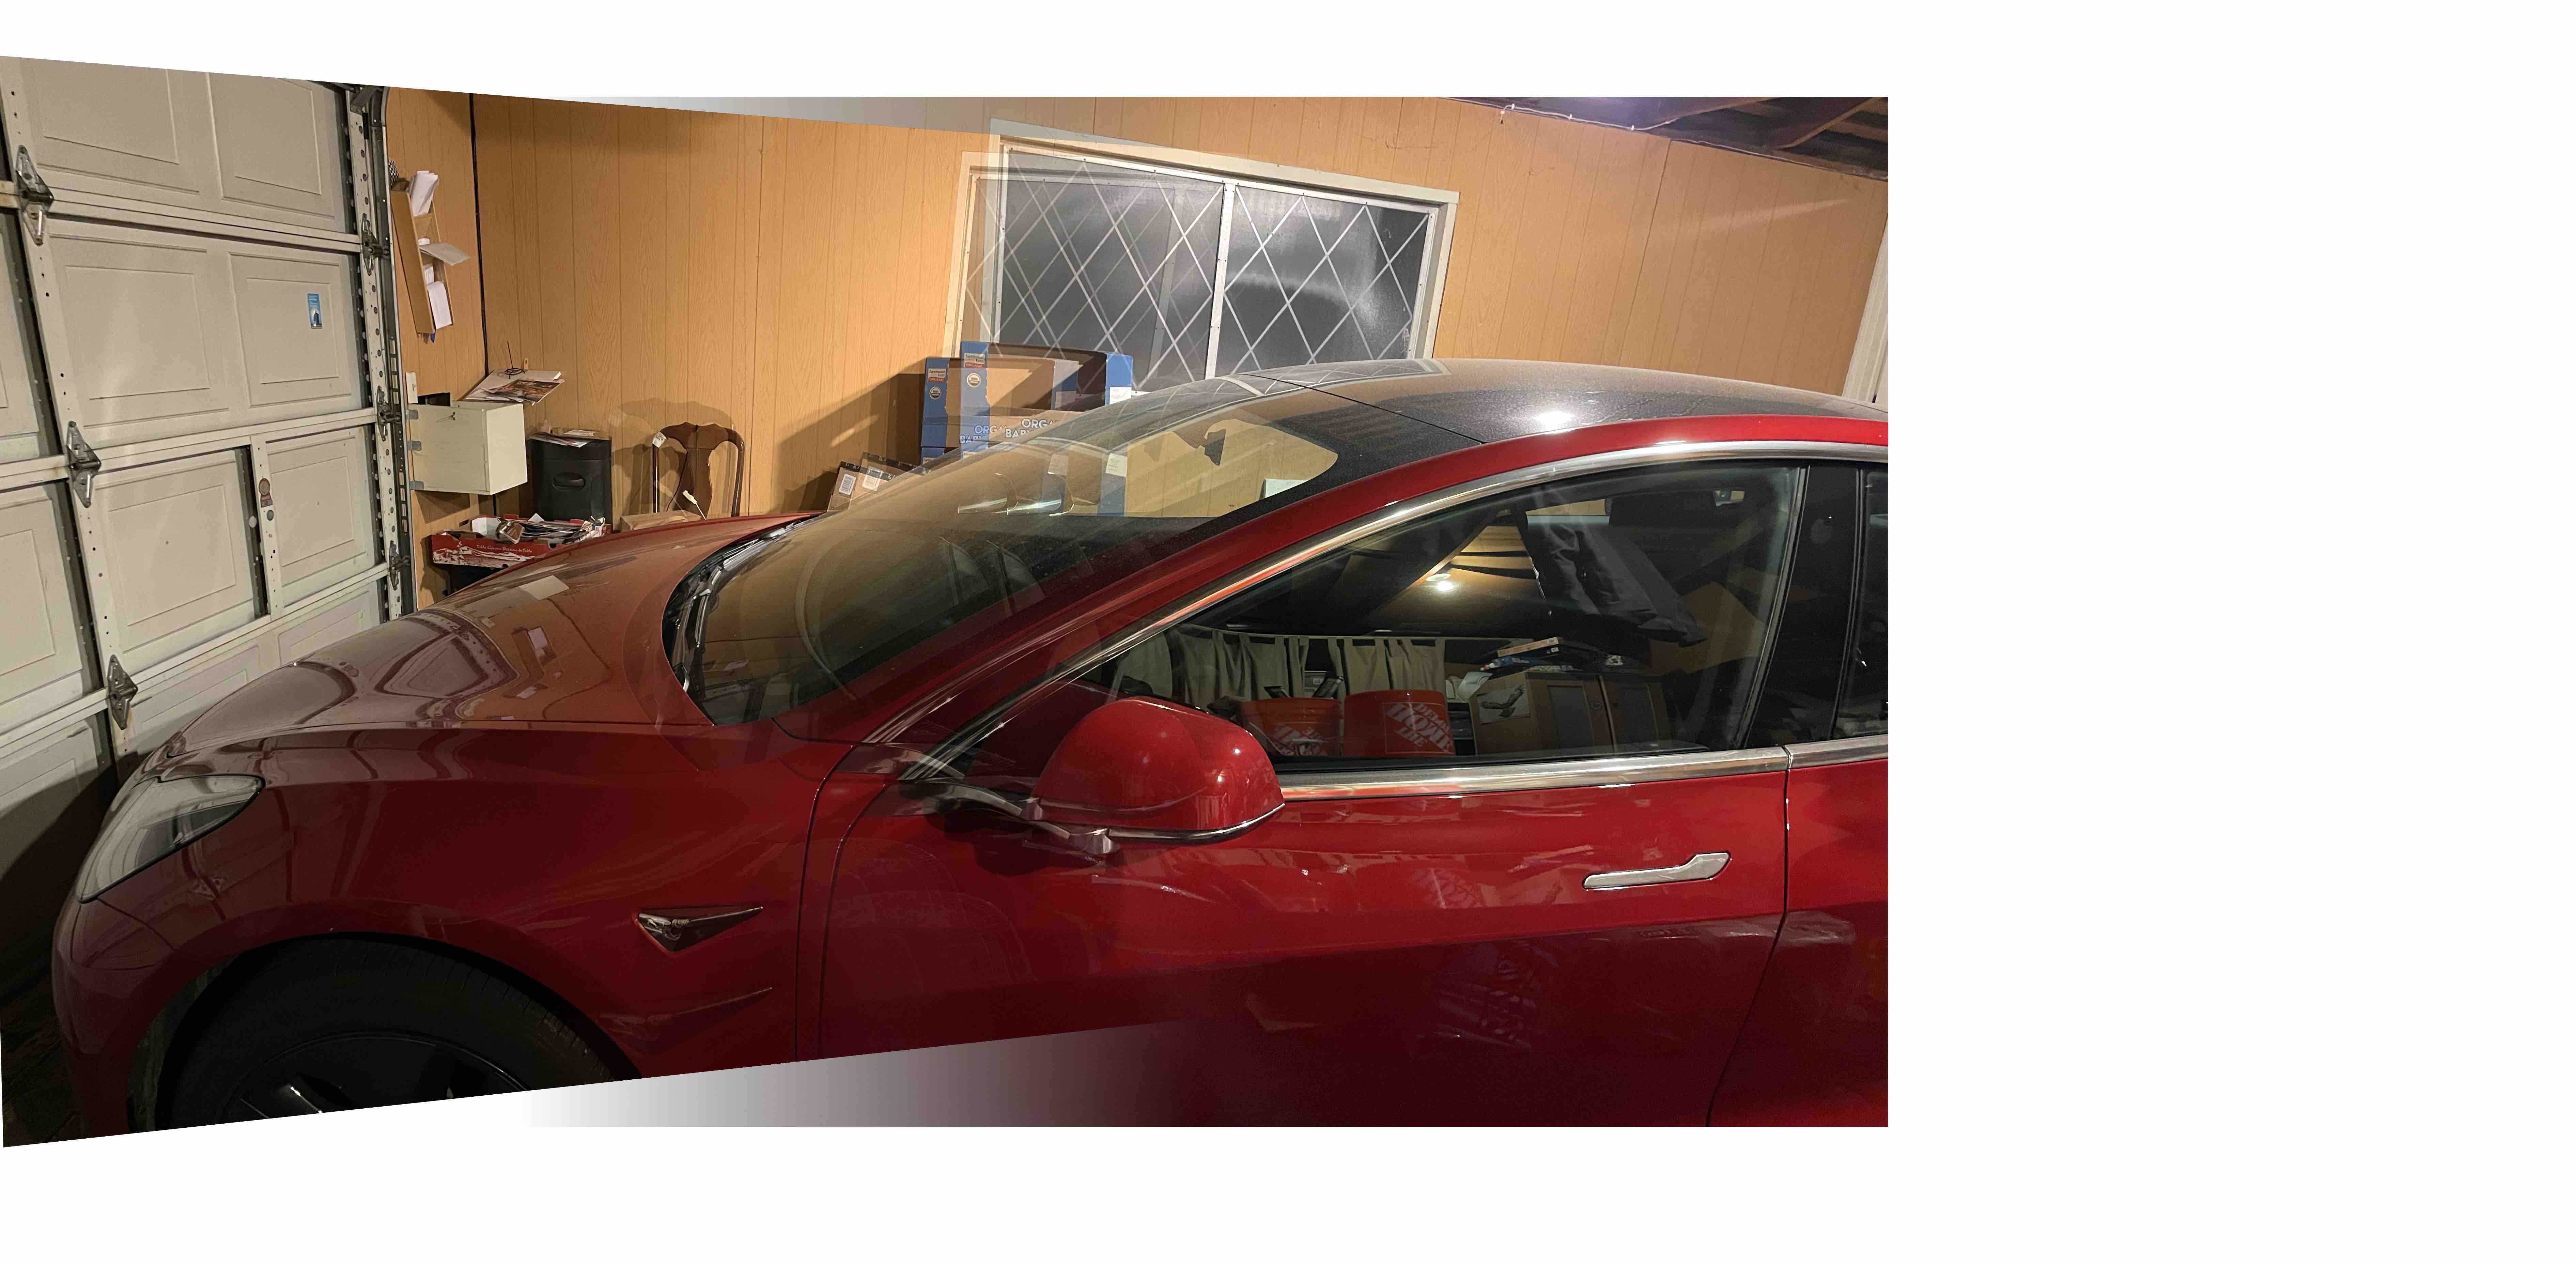
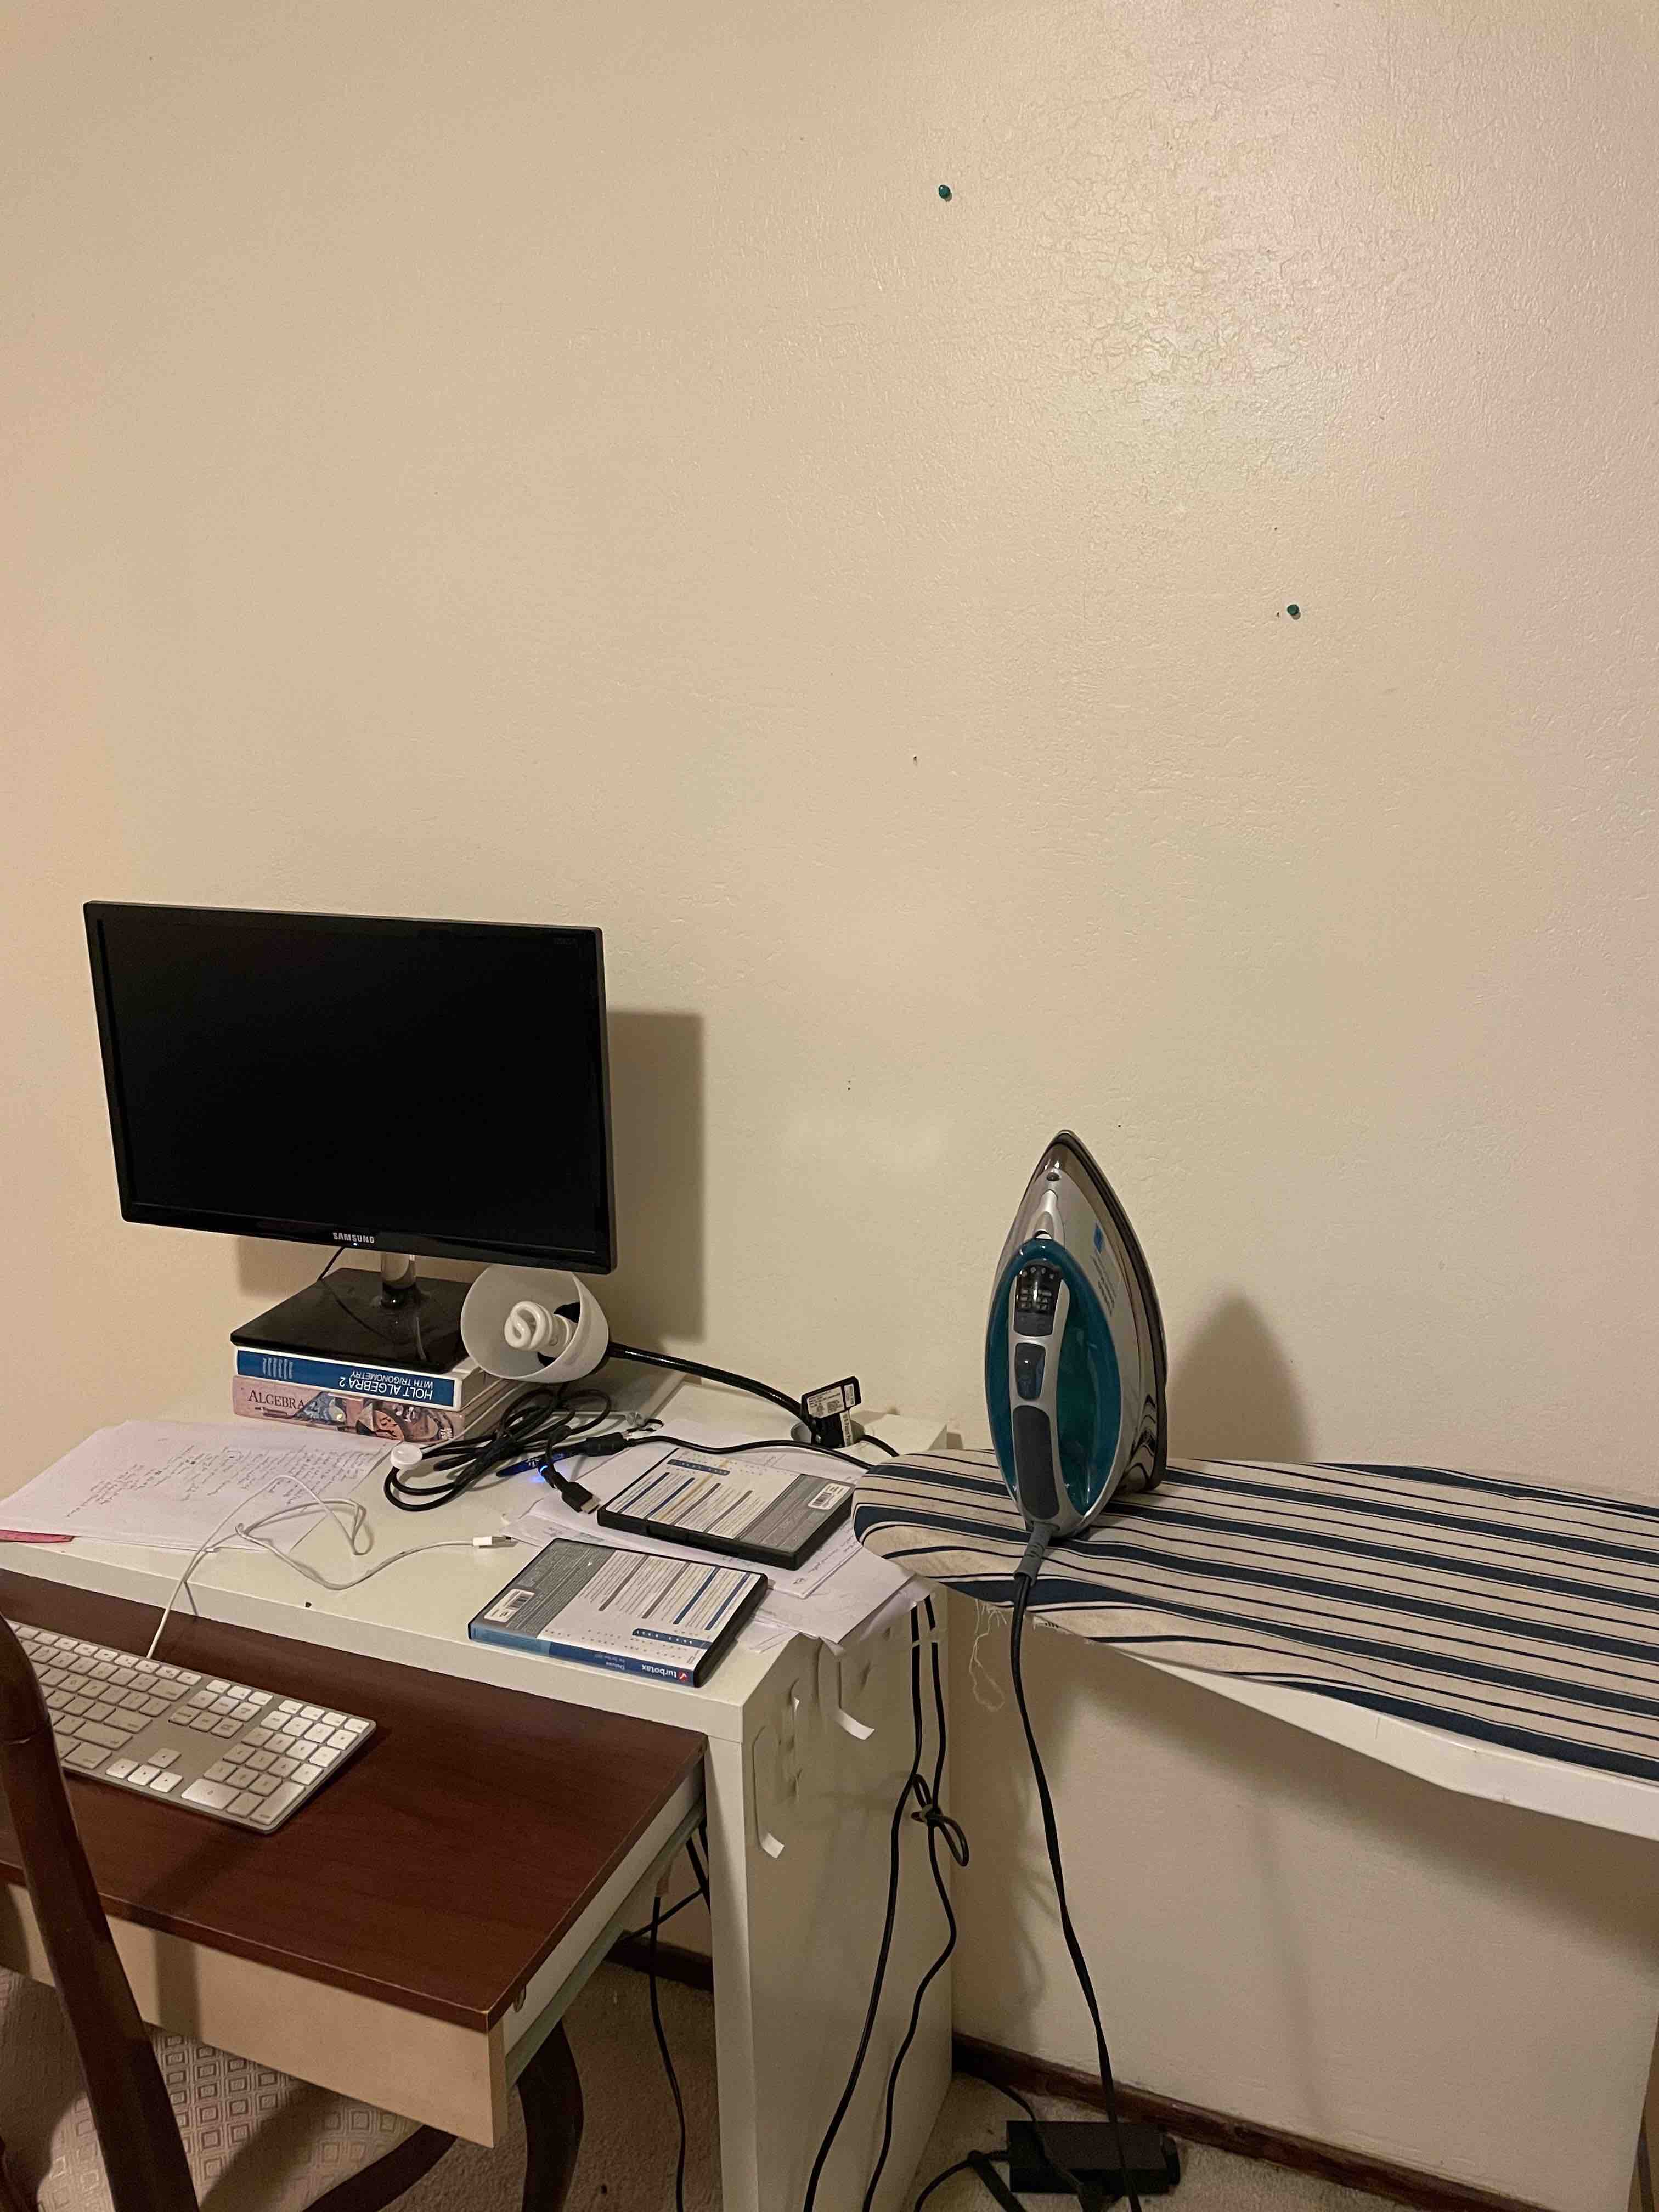
For the purposes of Part A, I have shot the following photos of my living room to ultimately stitch together:
|
|
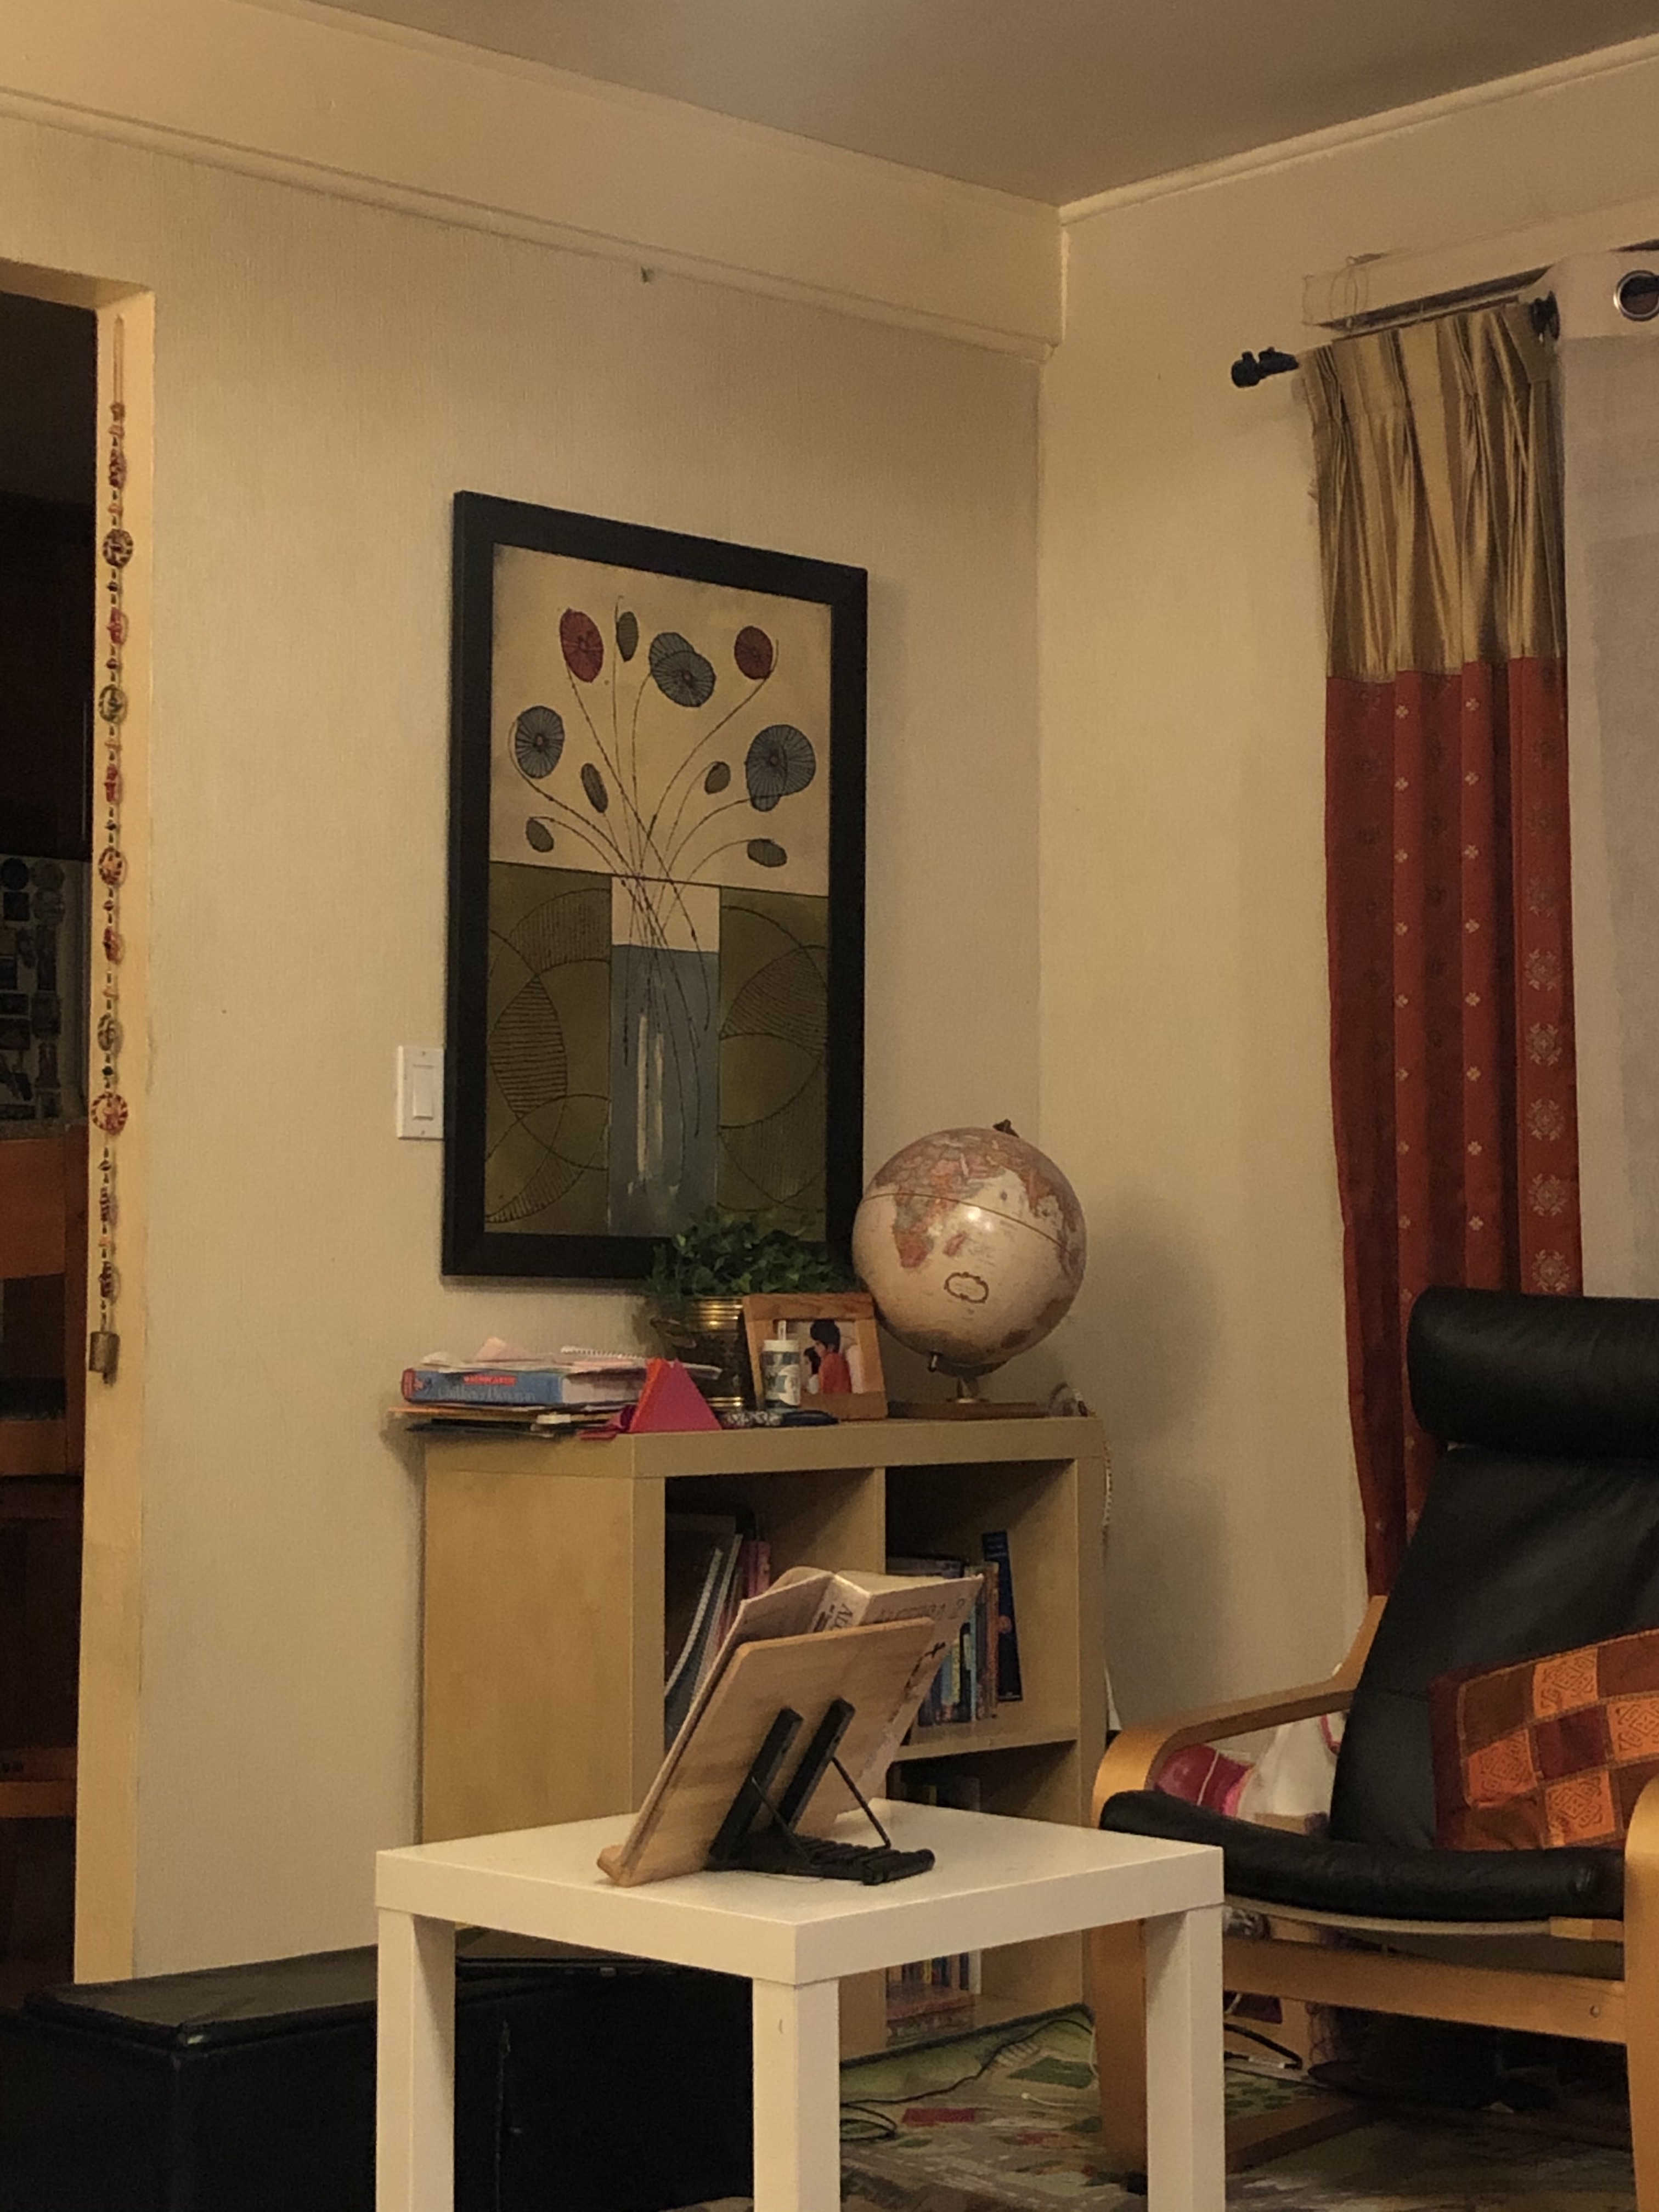
I have also shot the following photo to test image rectification--I'll do a front perspective of the painting on the left.
|
Then the homography matrix was computed using least squares to solve for H in the equation p' = Hp, where p represent the points in the original image, and p' represents the transformed points. See section below.
Recovering Homographies
The next part in the project was to compute the Homography matrix to create the "perspective change." I first began by selecting 5 keypoints in each image. I selected the keypoints as follows:
|
|
Then the homography matrix was computed using least squares to solve for H in the equation p' = Hp, where p represent the points in the original image, and p' represents the transformed points. I ended up only using 4 out of the 5 points in the homography computation.
Image Rectification
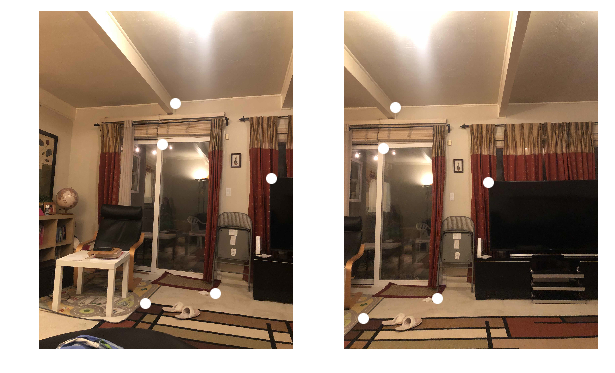
The homography matrix H was then used to "perspective change" the photos. In my case, I chose to change all images to match the perspective of the middle image. Below, I have shown 1 example of my homography translation for the room change as well as straightening of the painting.
|
|
|
Blending the images into a Mosaic
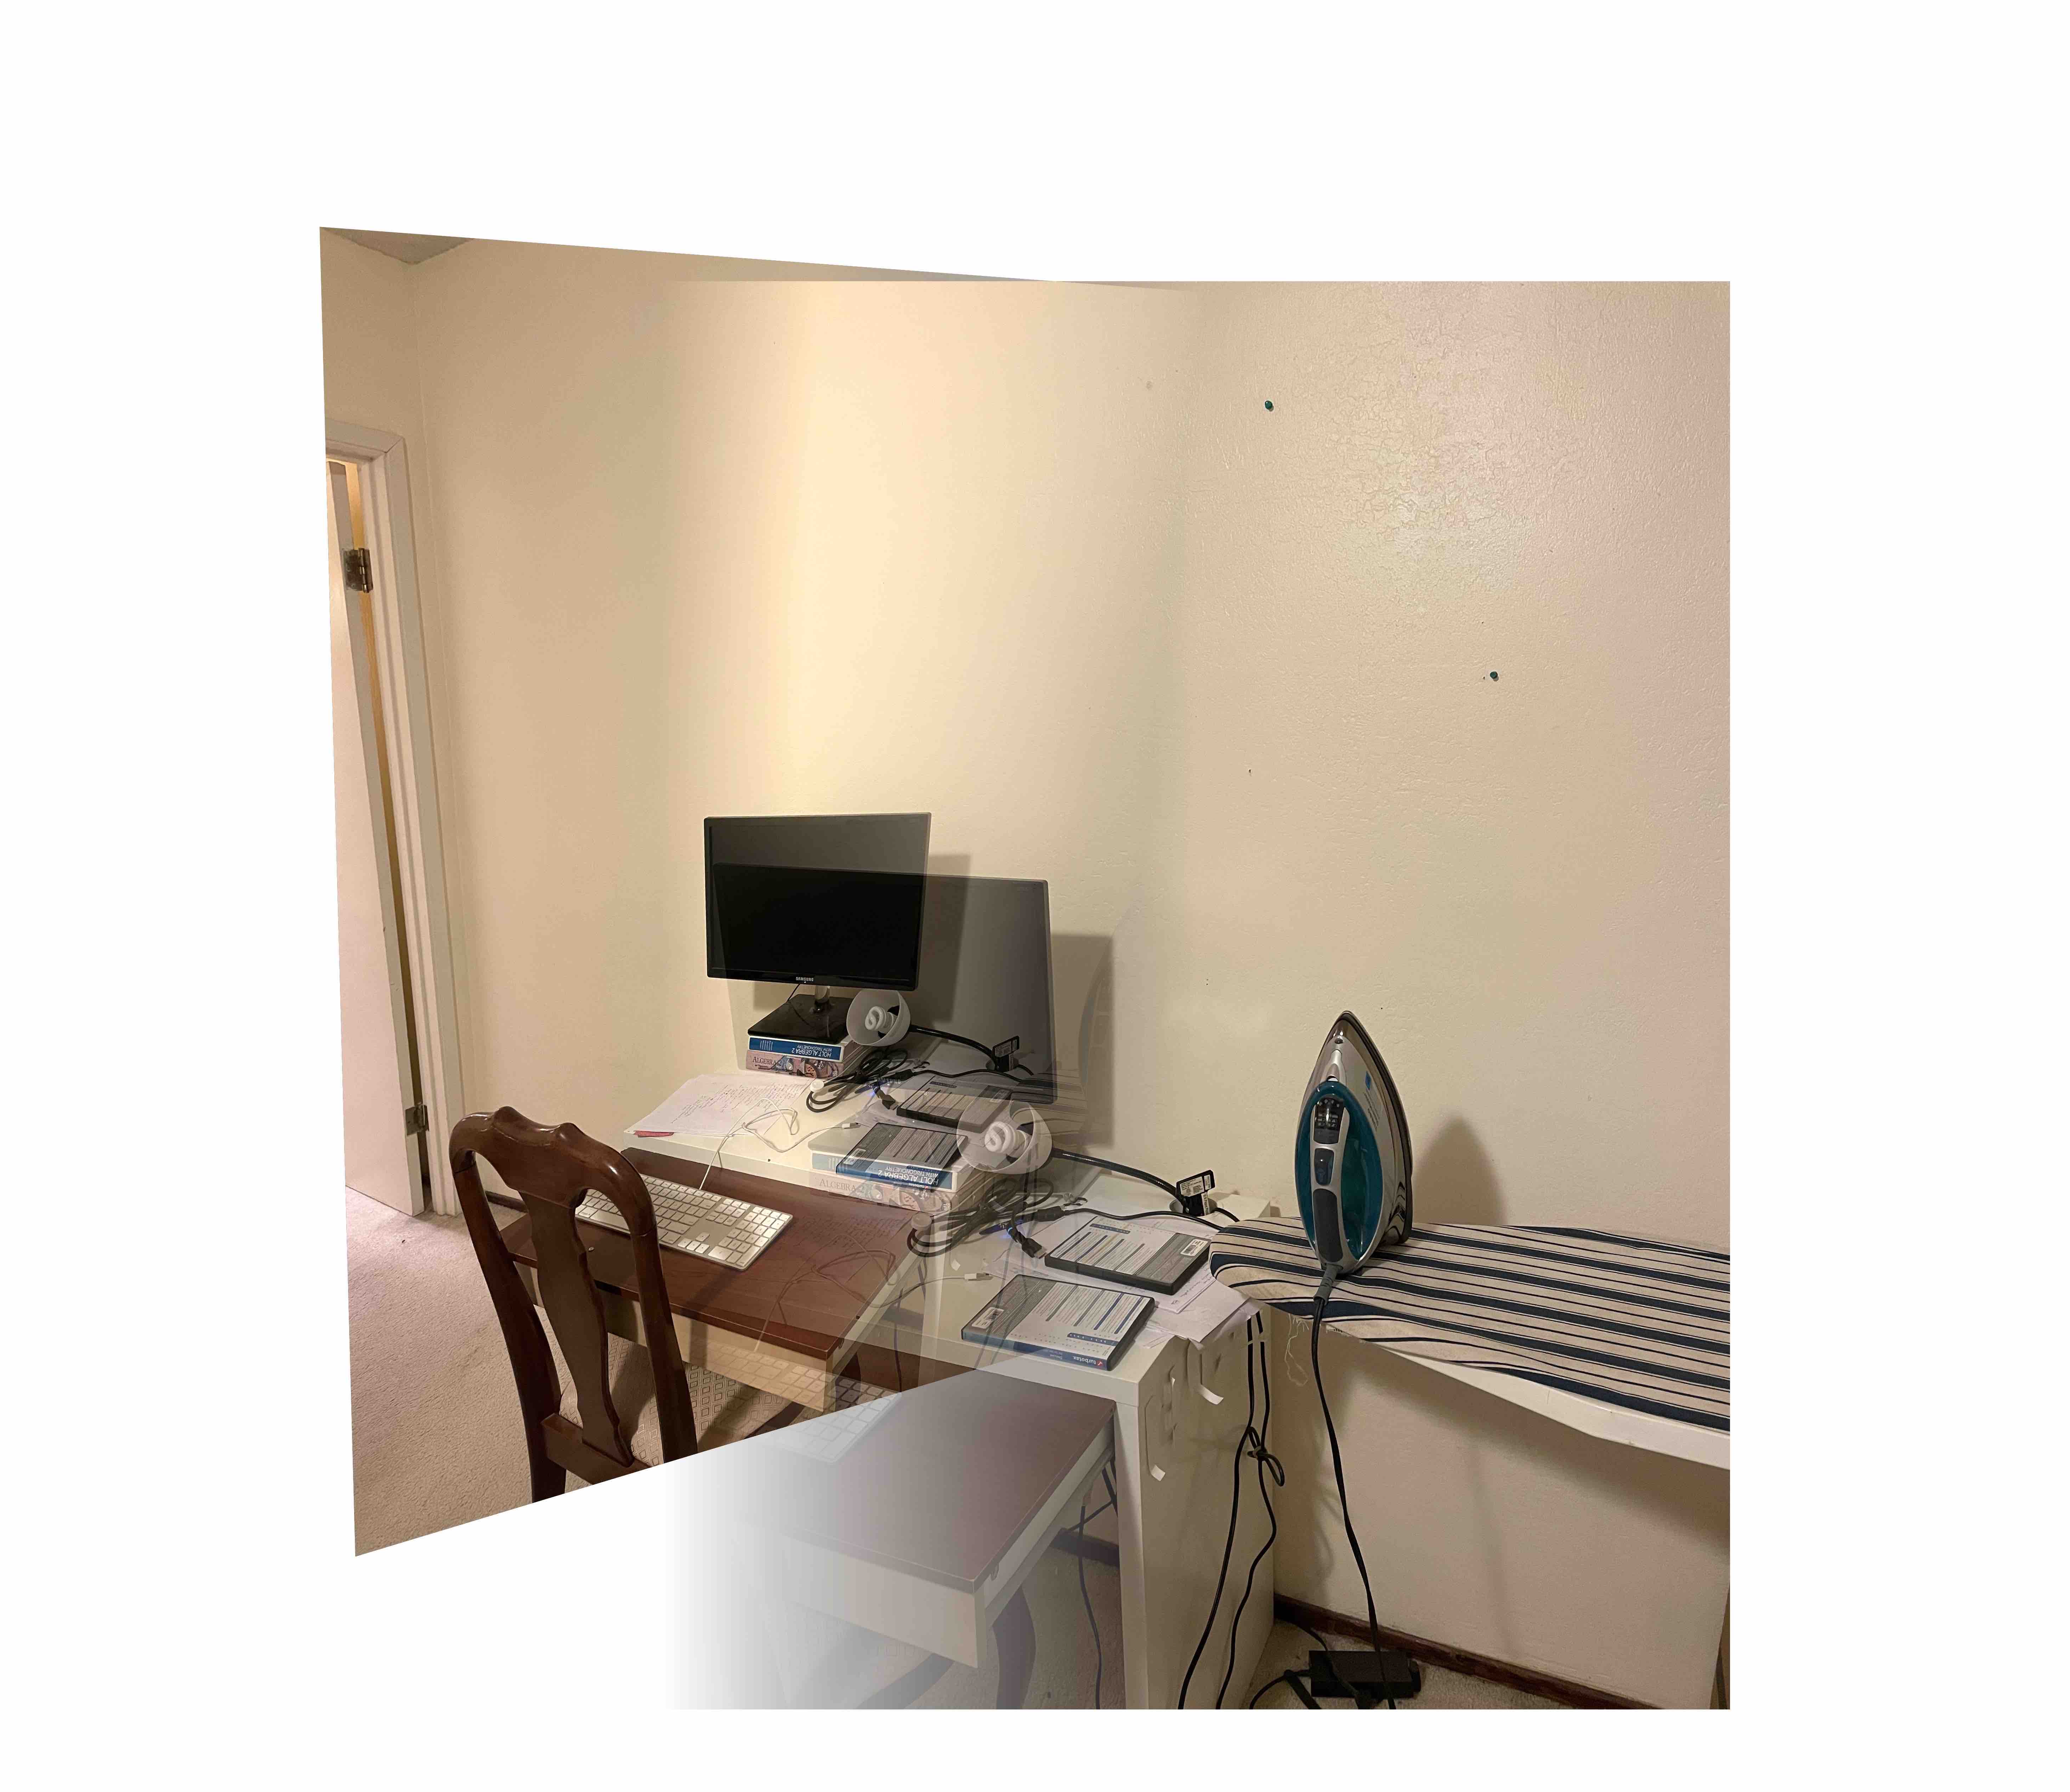
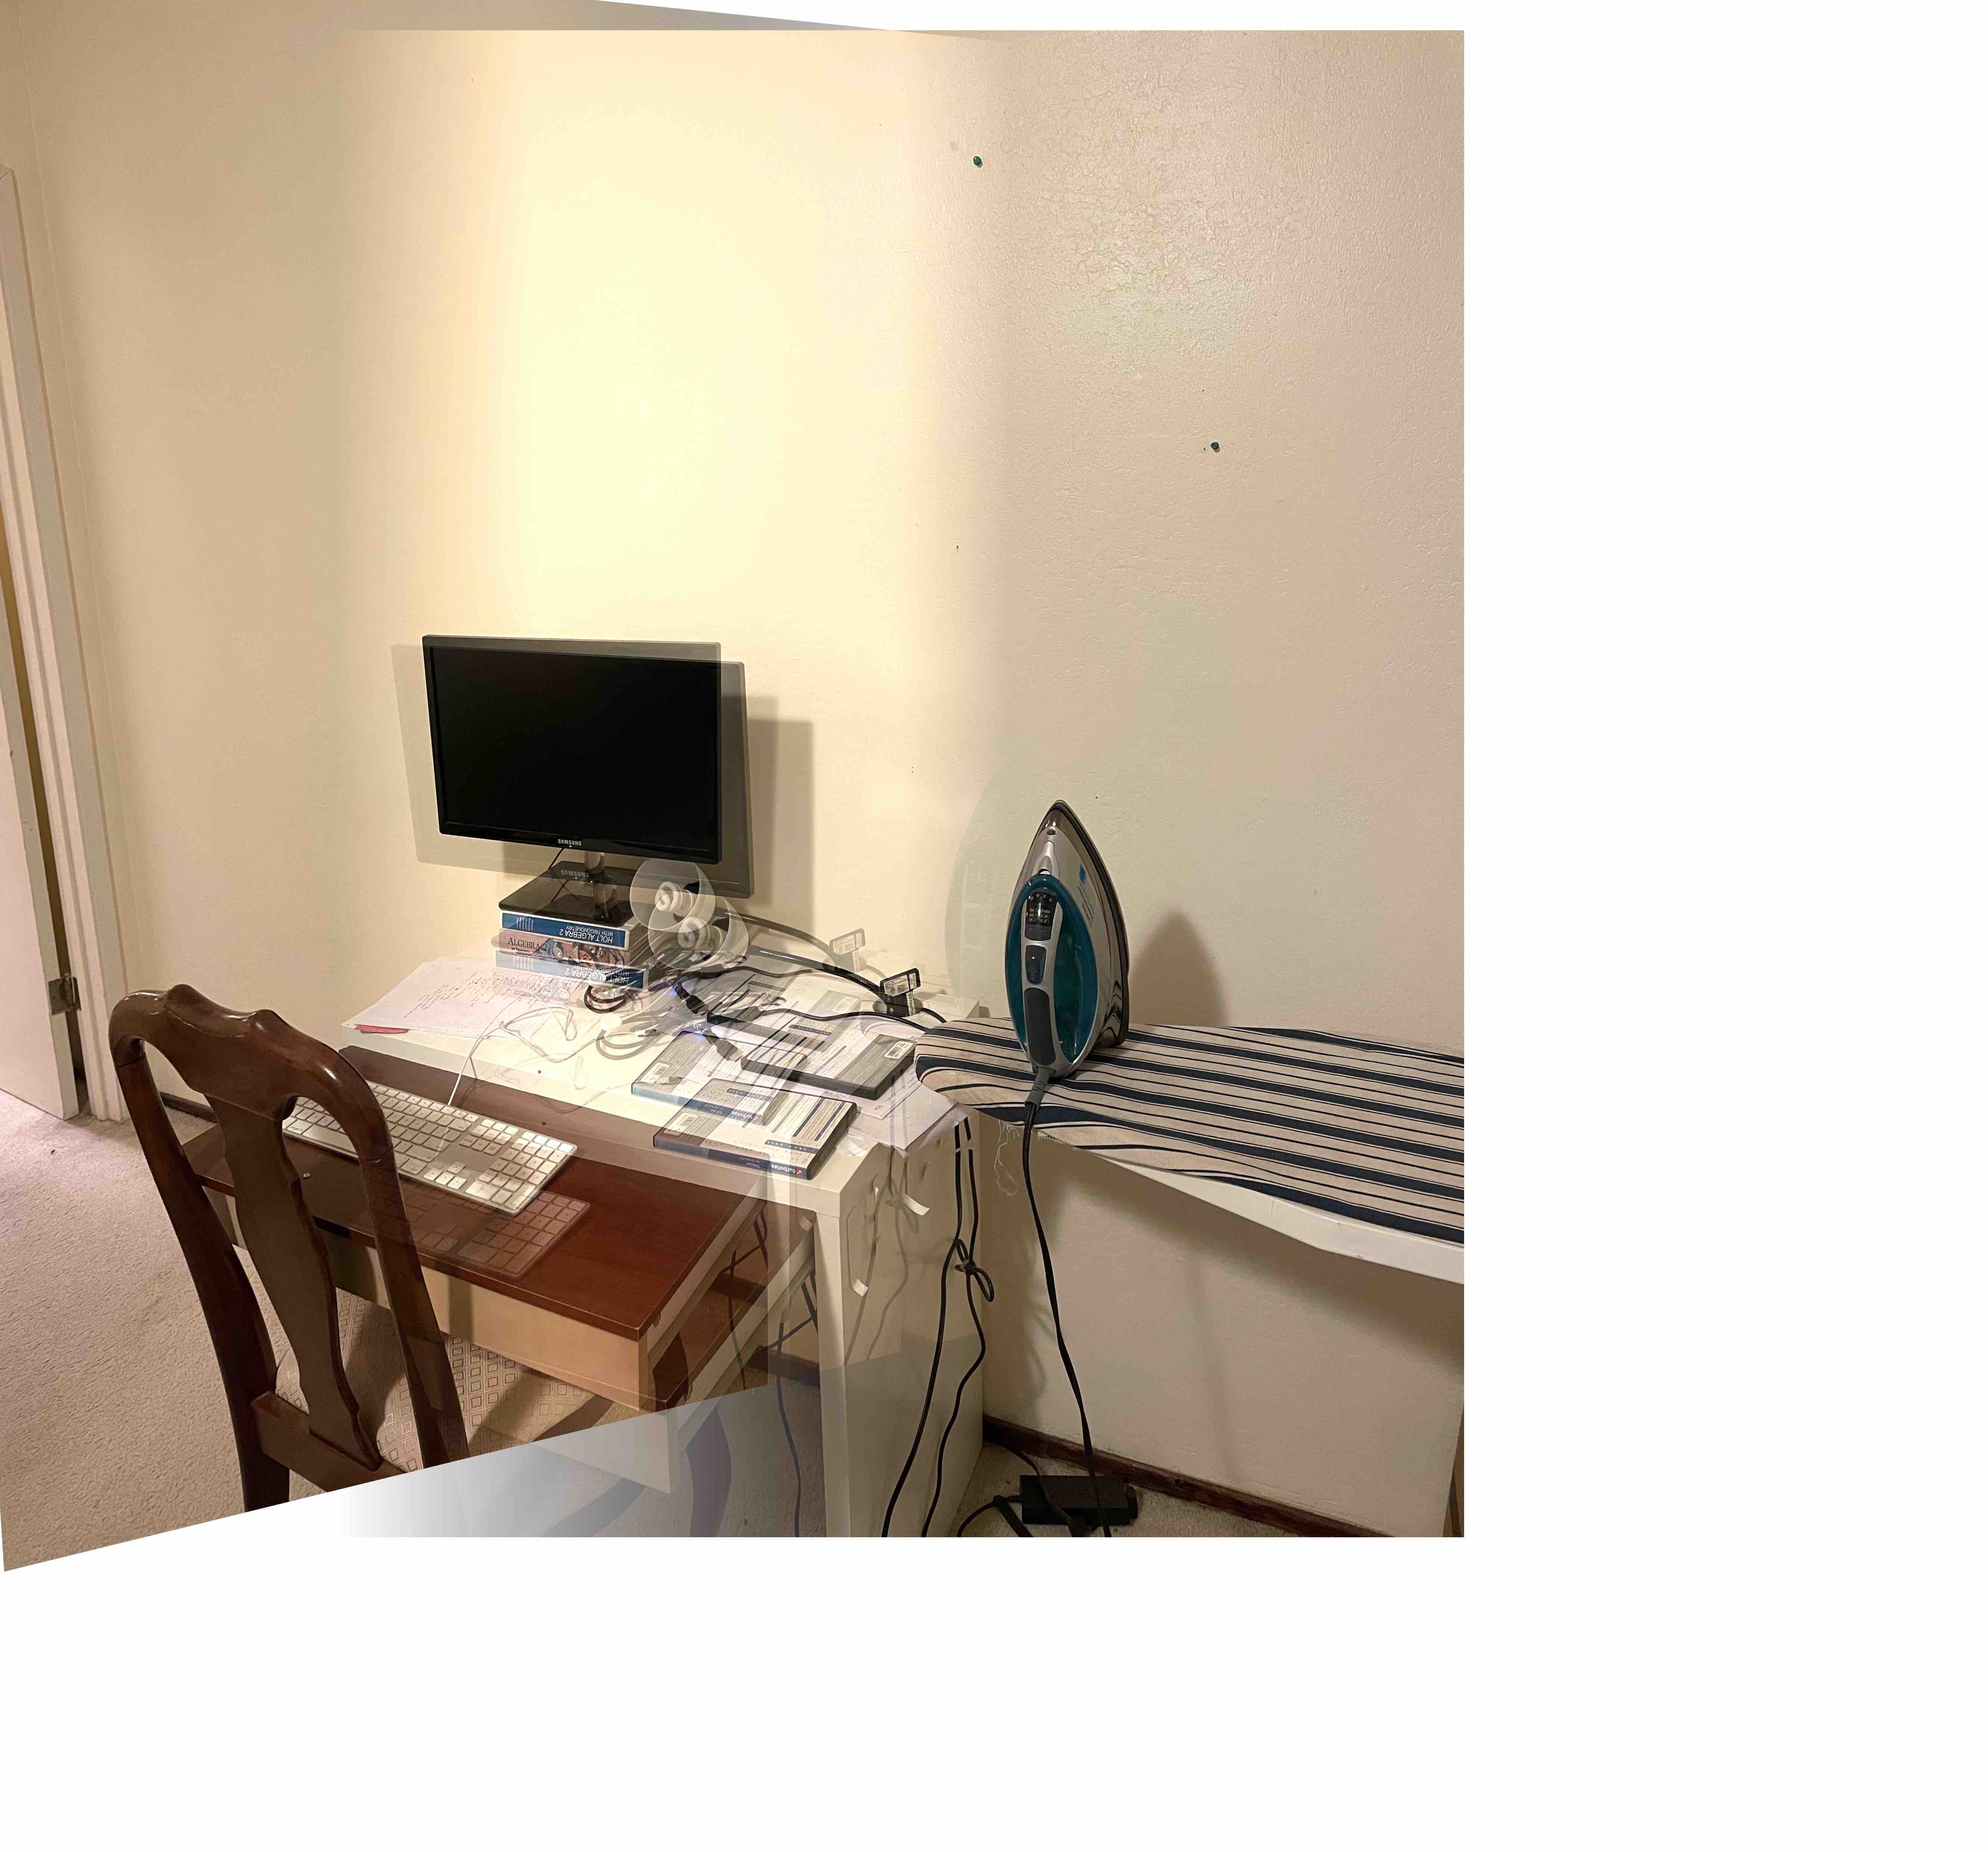
I then was able to take the room after homography & blend that with the second picture of the room. The result is shown below:
|
The result is not perfect--I presume this is because I slightly shifted my hands while taking the photos; in a small space, the differences can lead to a homography that isn't exactly possible to match. This is why homographies work particularly well in panoramic photos, since slight shifts in hand position affect the resulting photo minimally.
Part A Final Thoughts
After completing this part of the project, I am quite impressed by the amount of precision with simply selecting the keypoints that I did. Although I did not 100% get the mosaicing part, I was excited to see that my images fit together nicely even while manually completing the mosaic! I am excited to move to the auto-stitching portion of the project where I can continue to learn about these concepts.
Part B: Feature Matching for Autostitching
Detecting corner features in an image
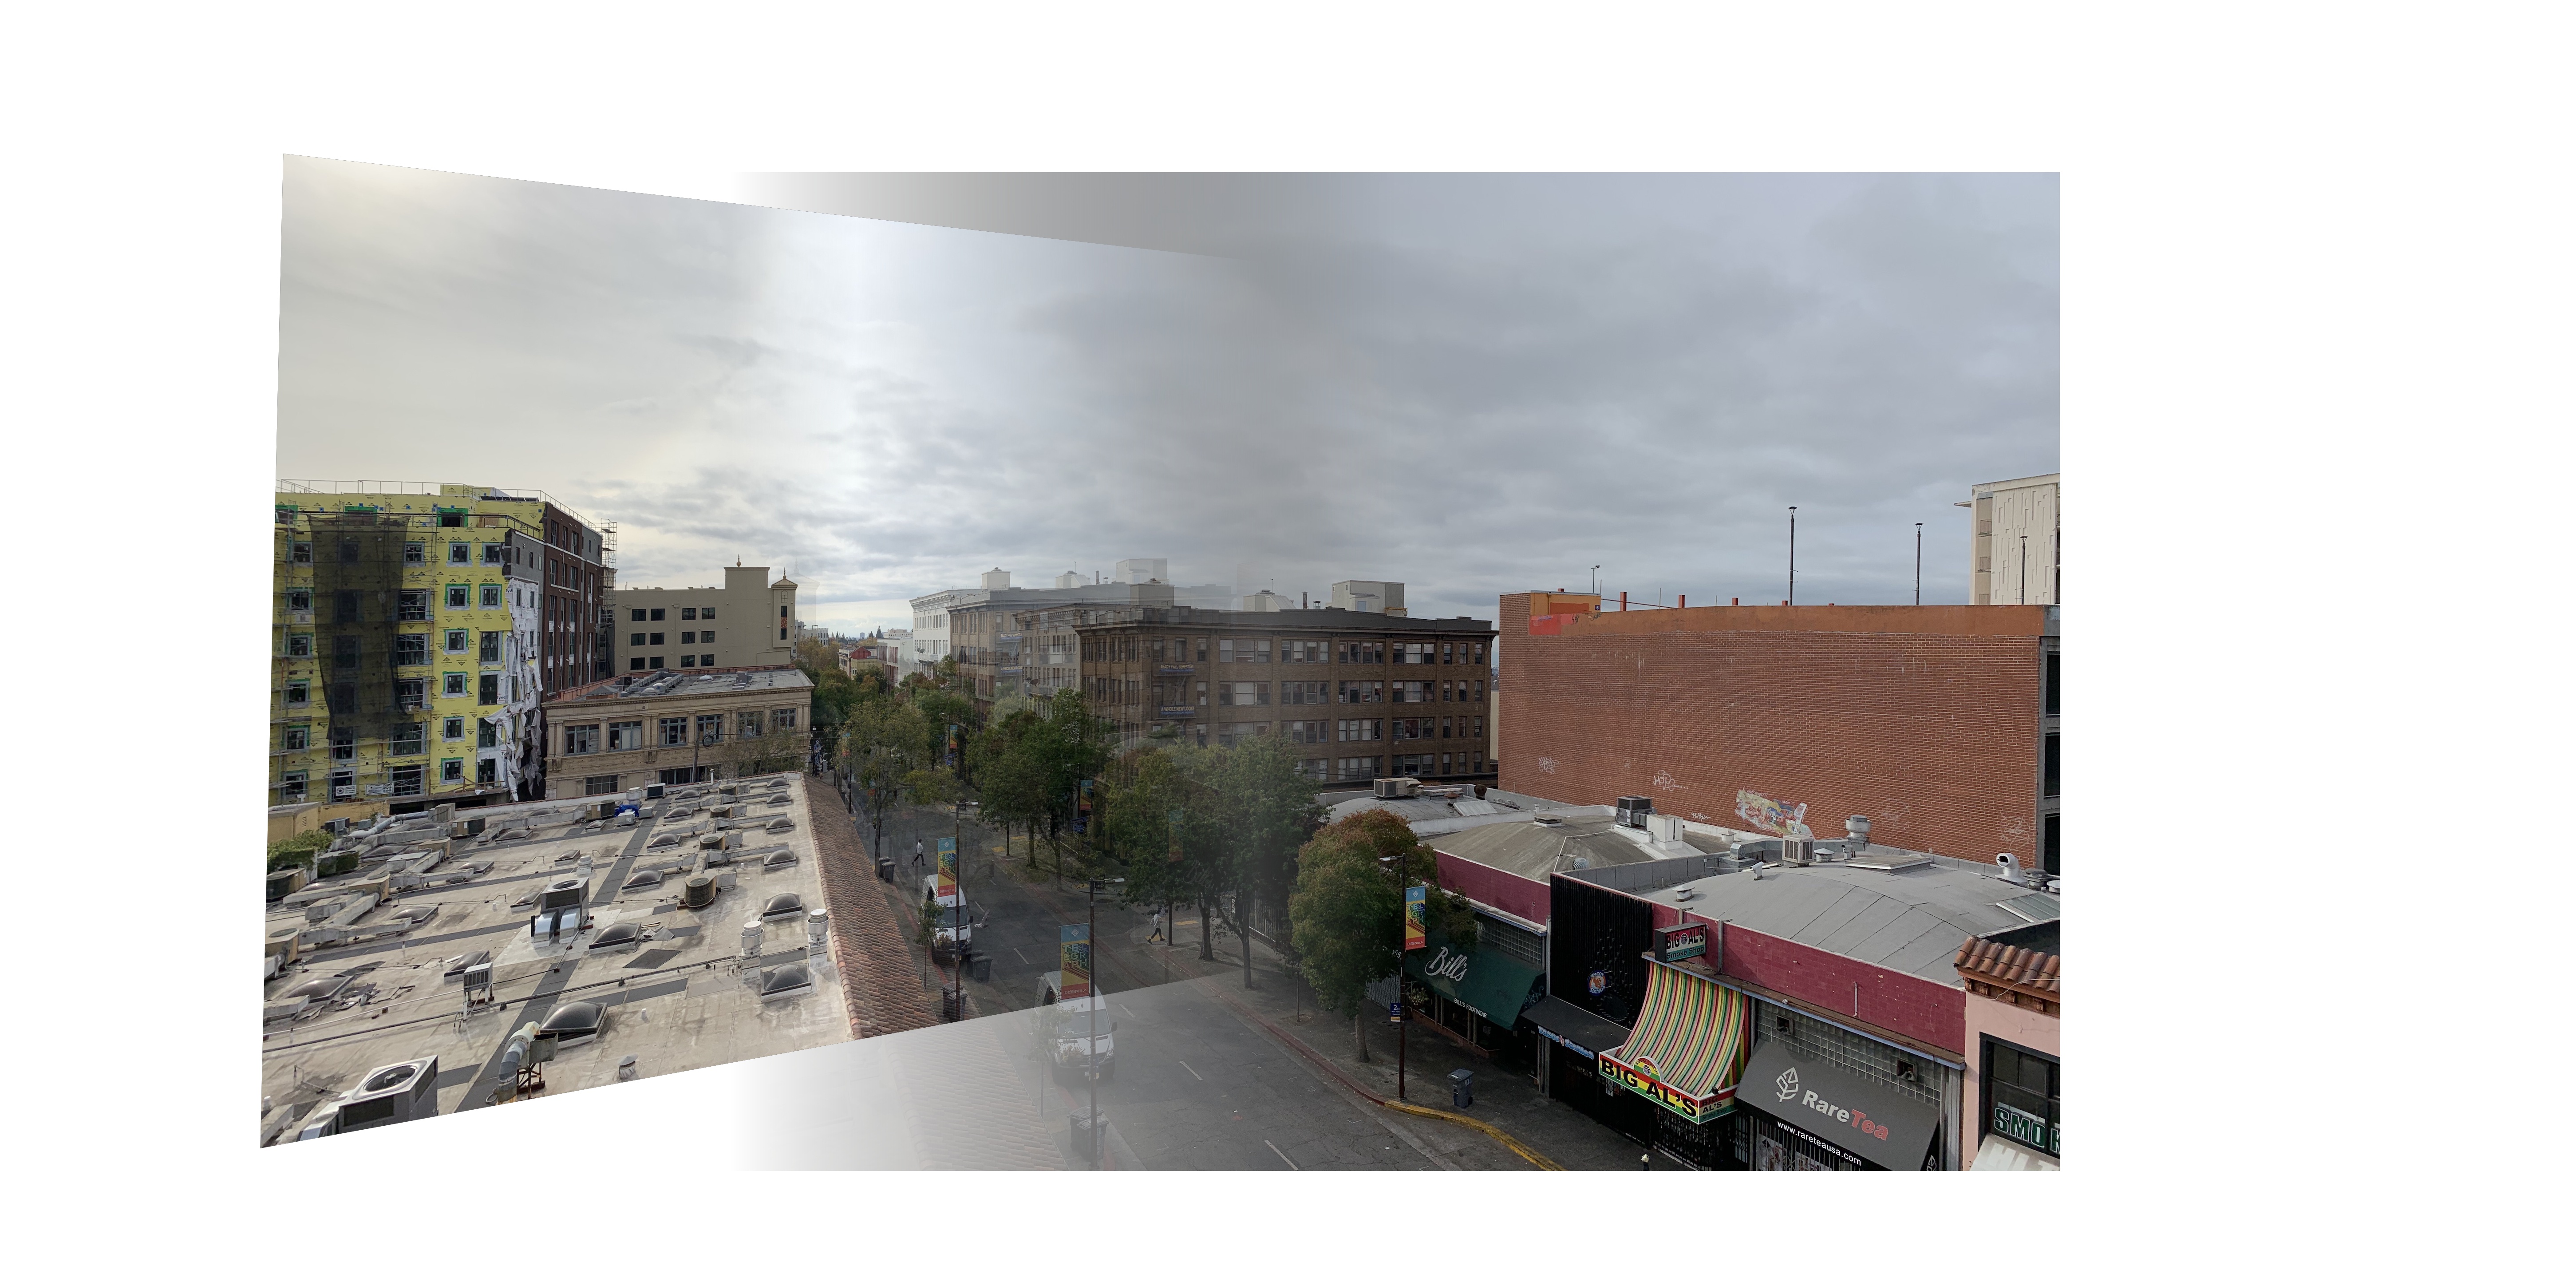
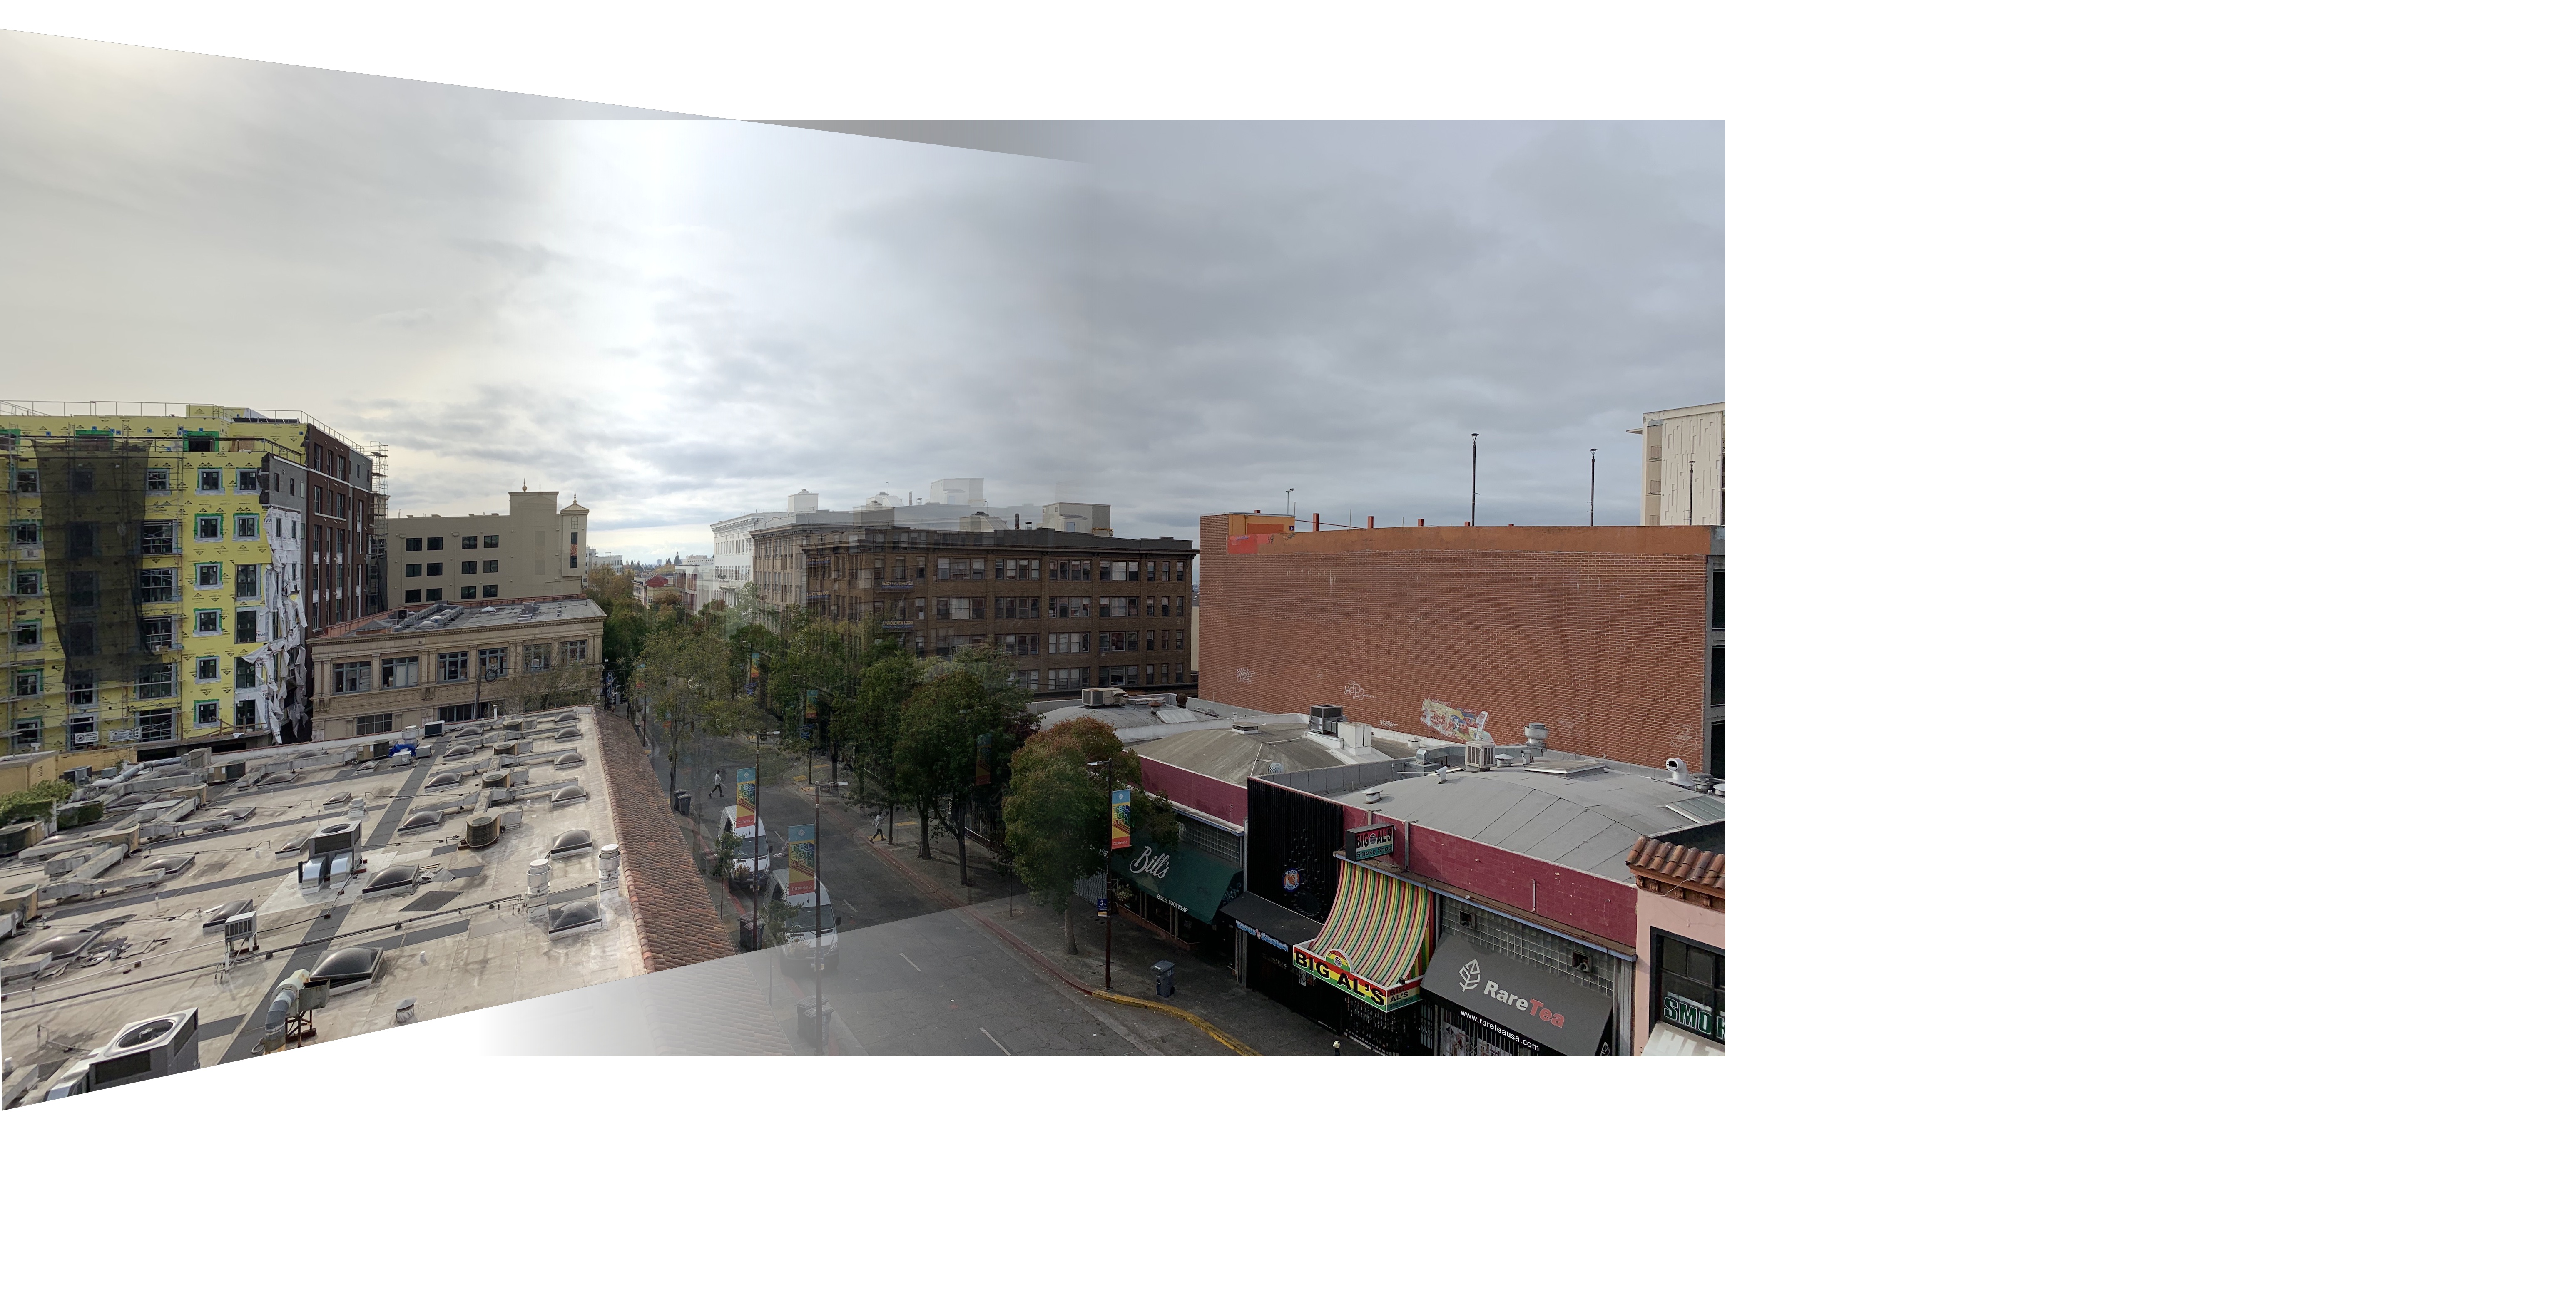
For the purposes of showing the different parts of part B, I will be using images of Telegraph Ave which I found on a previous semester's 194 project here: https://inst.eecs.berkeley.edu/~cs194-26/fa20/upload/files/proj5B/cs194-26-acg/ . I found that the images on my room did not perform very well with the Harris corner detector & couldn't figure out exactly why; other images performed well. The original images are shown below:
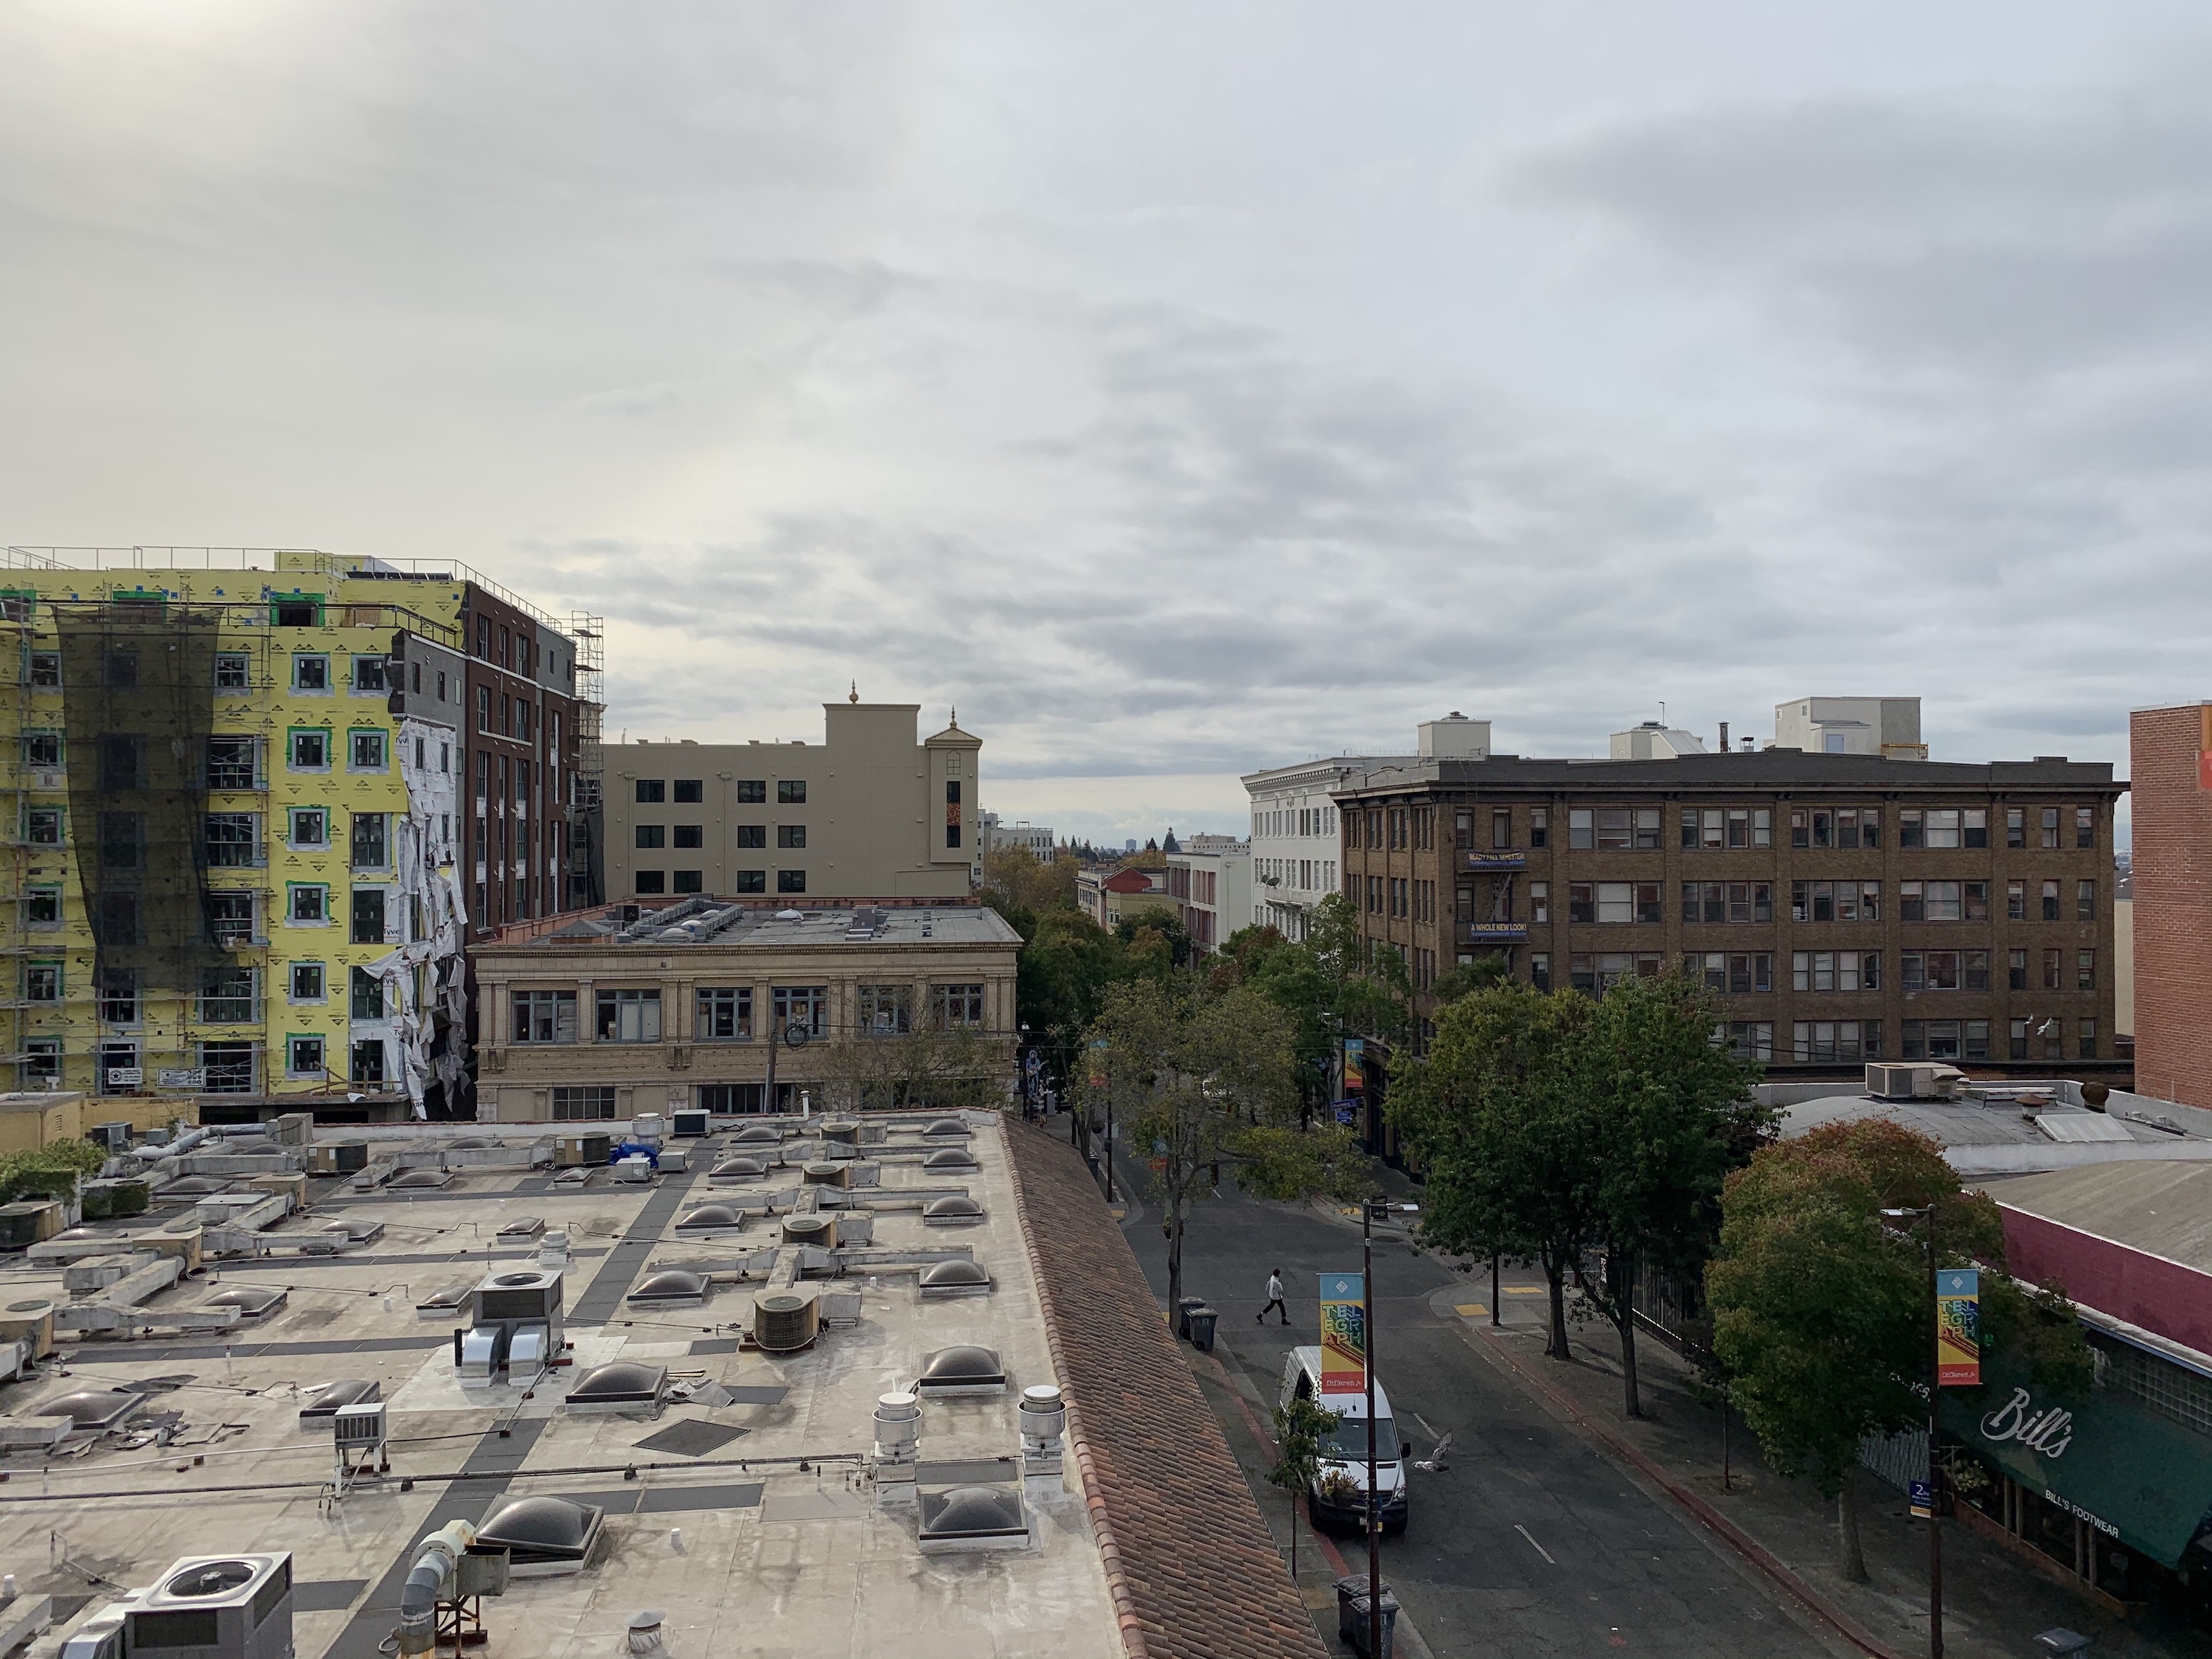
|
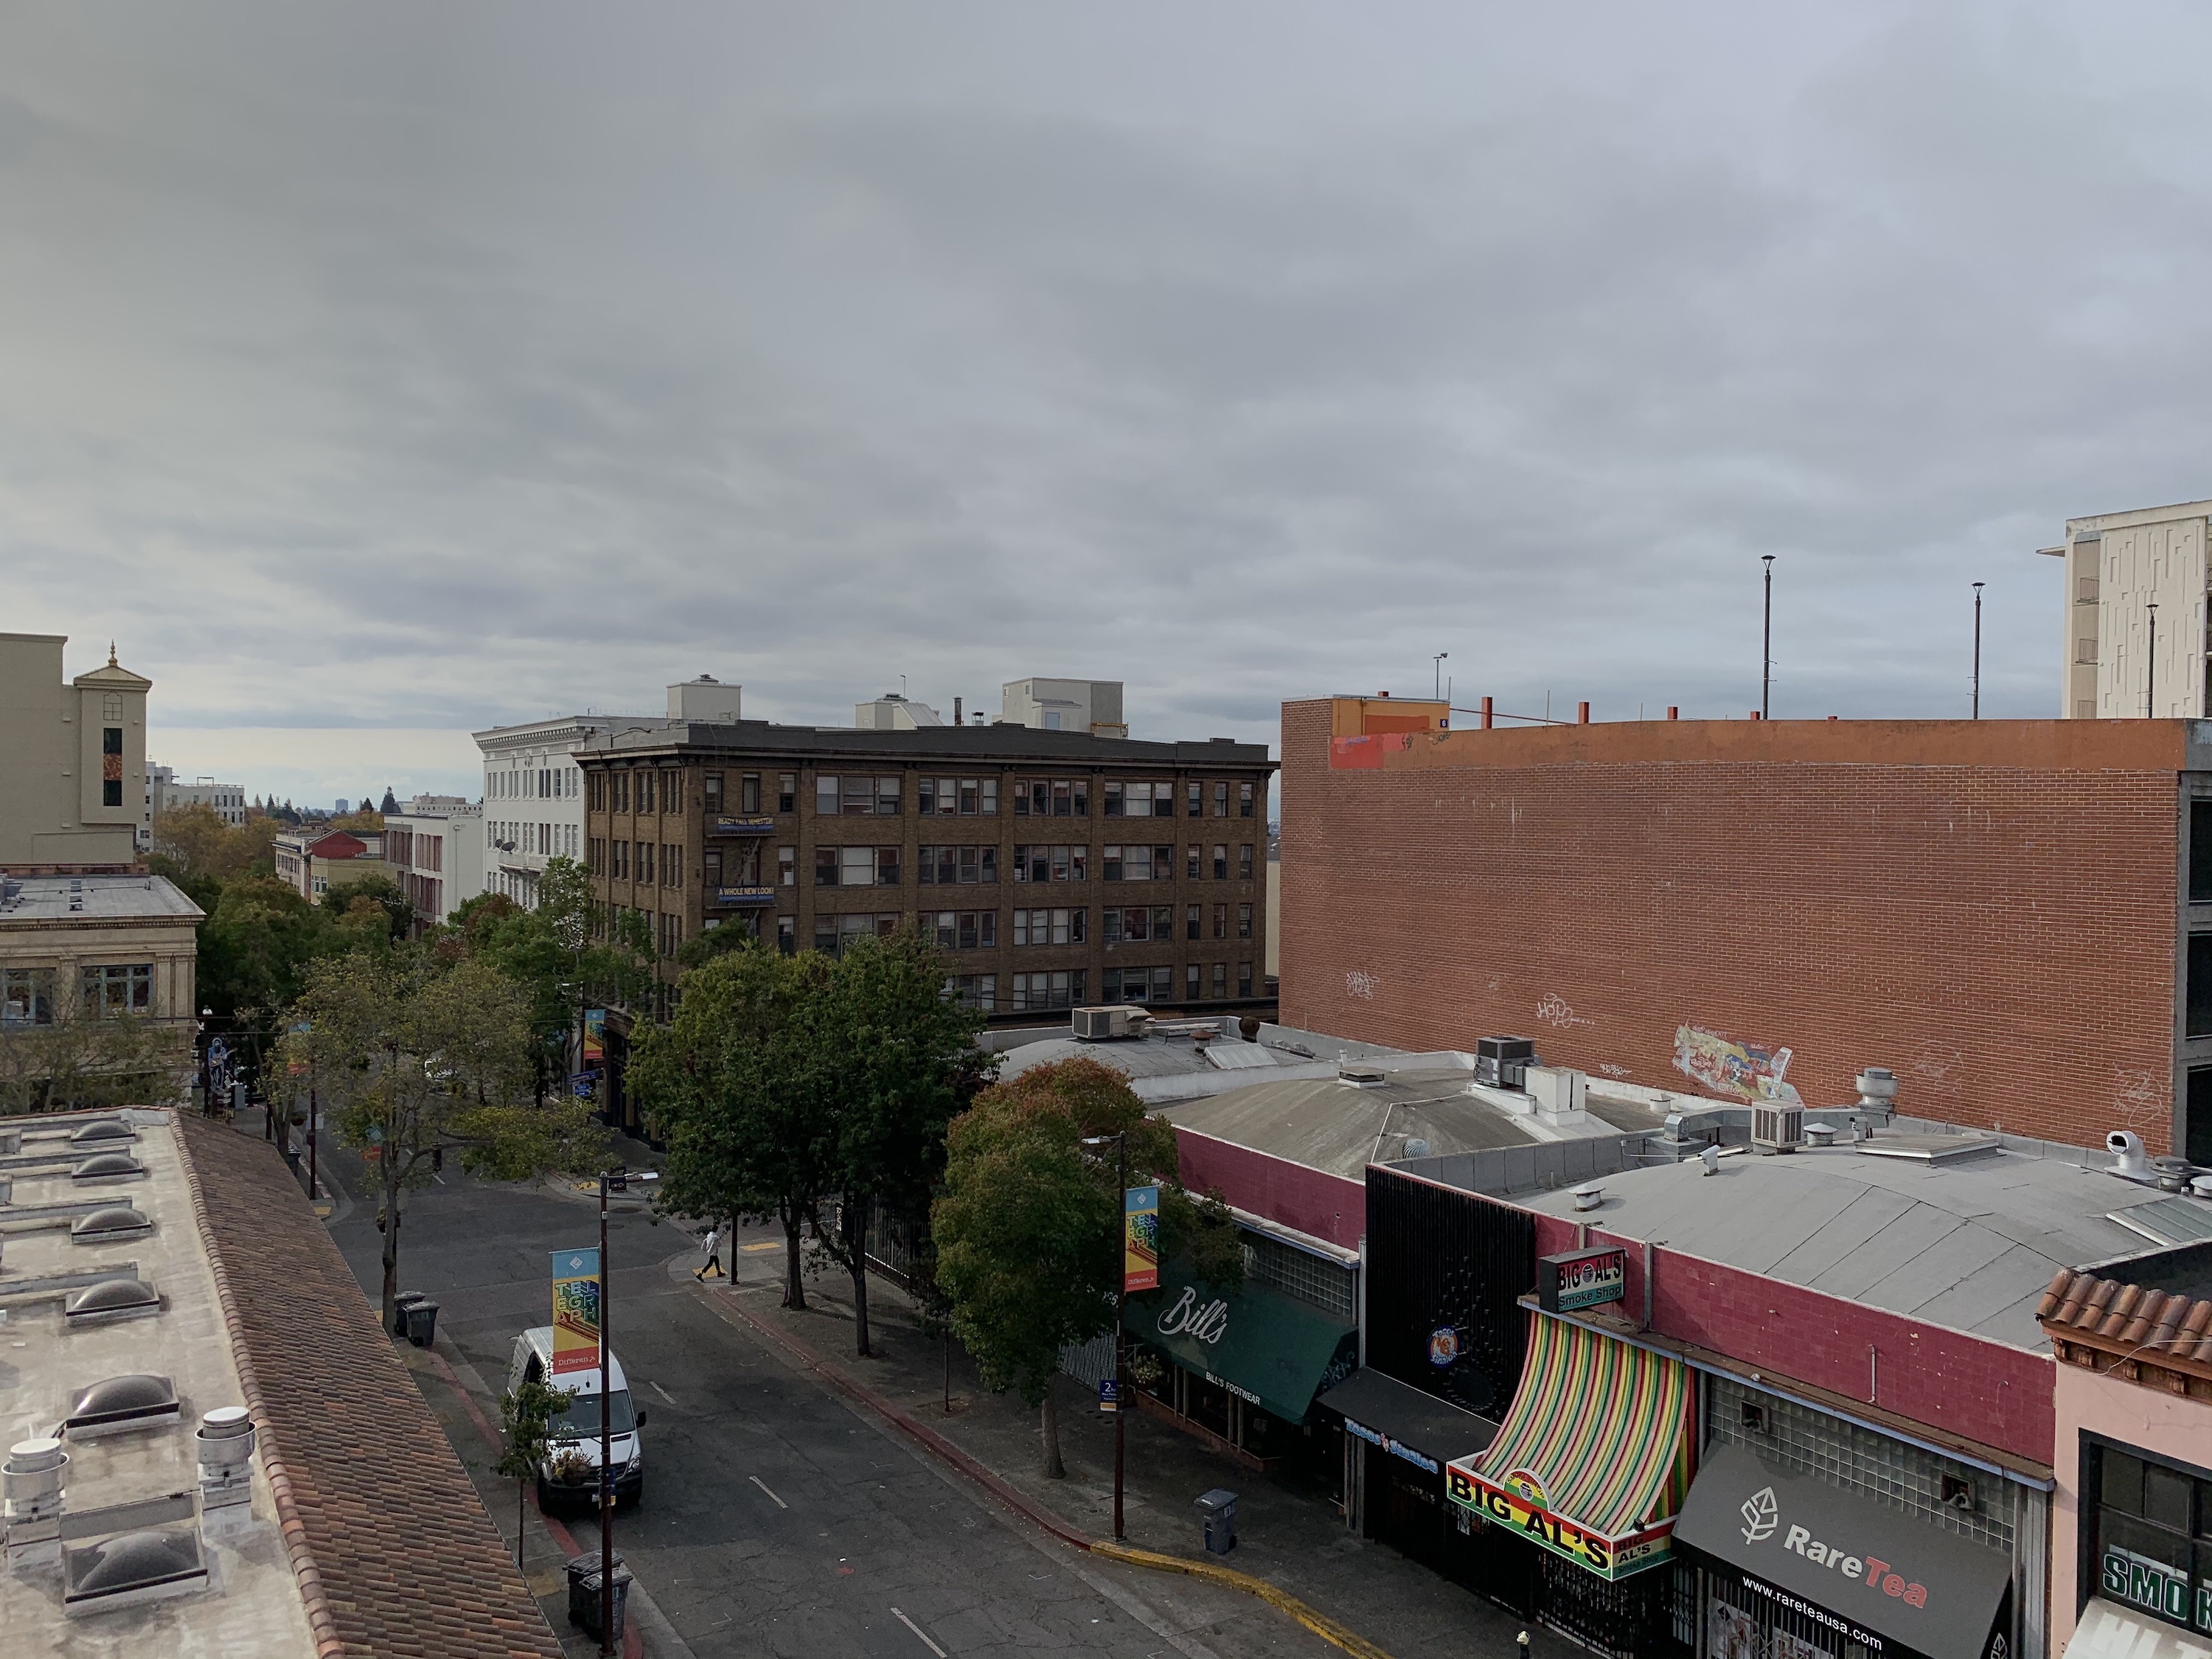
|
I then used the provided Harris Corner Detector code to identify the corners in the image. I replaced the original peak_local_max with corner_peaks, which performed much better for my purposes. The results of corner detection are shown below:

|
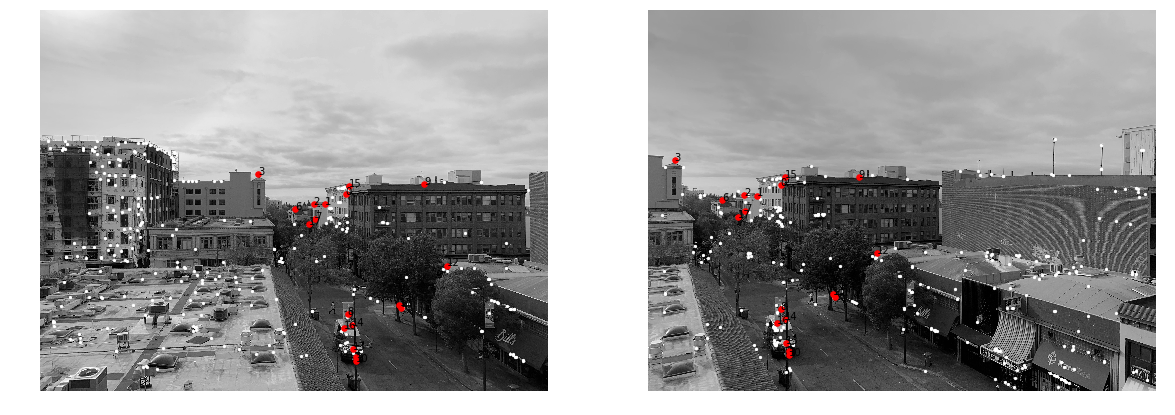
Then, in order to uniformly distribute keypoints and prepare the next part with the generally "stronger" corners, I implemented the adaptive non-maximal suppression (ANMS) algorithm to detect points that fit these characteristics. I then chose the top 300 points as generated by ANMS:

|
Feature Descriptor Extraction & Matching
Next, my goal was to find points that matched best between these two images. In order to do this, I iterated through all pairs of points generated by ANMS, extracted an axis-aligned 40x40 patch centered at the keypoint, scaled it down to 8x8 and compared using a simple SSD comparison. I found that I was able to get more success on matches by applying a 5x5 Gaussian filter before running the matching algorithm. The results of matching are shown below:
|
RANSAC Homography
While the matches wer quite good in general, there are bound to be outliers sometimes. I used RANSAC to a) remove such outliers, and b) choose only the best 4 matches to compute the homography. This will help the homography be as realistic and well matched as possible. My RANSAC algorithm came out with the following results:
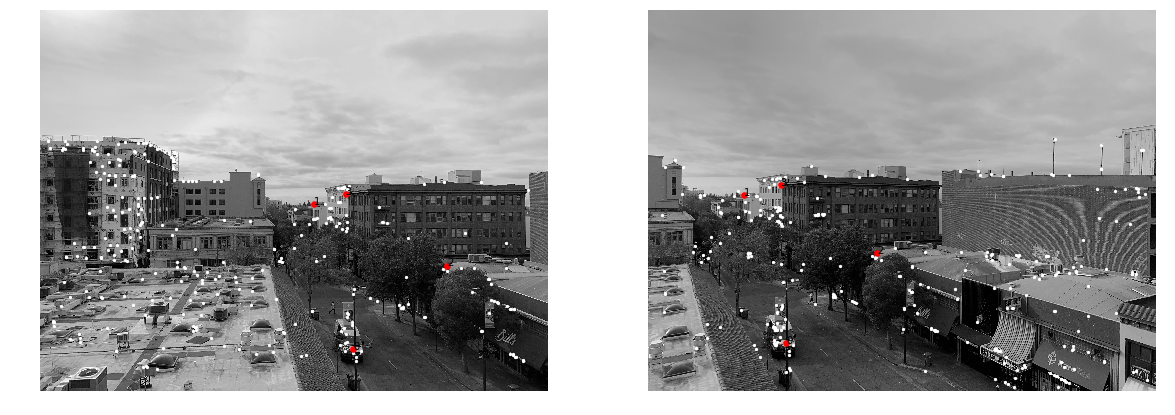
|
Final Mosaicing + Other Examples
Once these points were determined, we could use the mosaicing method developed in part A of the project. My final results for Telegraph, as well as other results, are shown below. My results aren't 100% perfect, but I am proud of my work!
|
|
|
|
|
|
|
|
|

|
|
|
|
Part B Final Thoughts
I thought the coolest thing was when RANSAC was perfectly able to detect matching points!