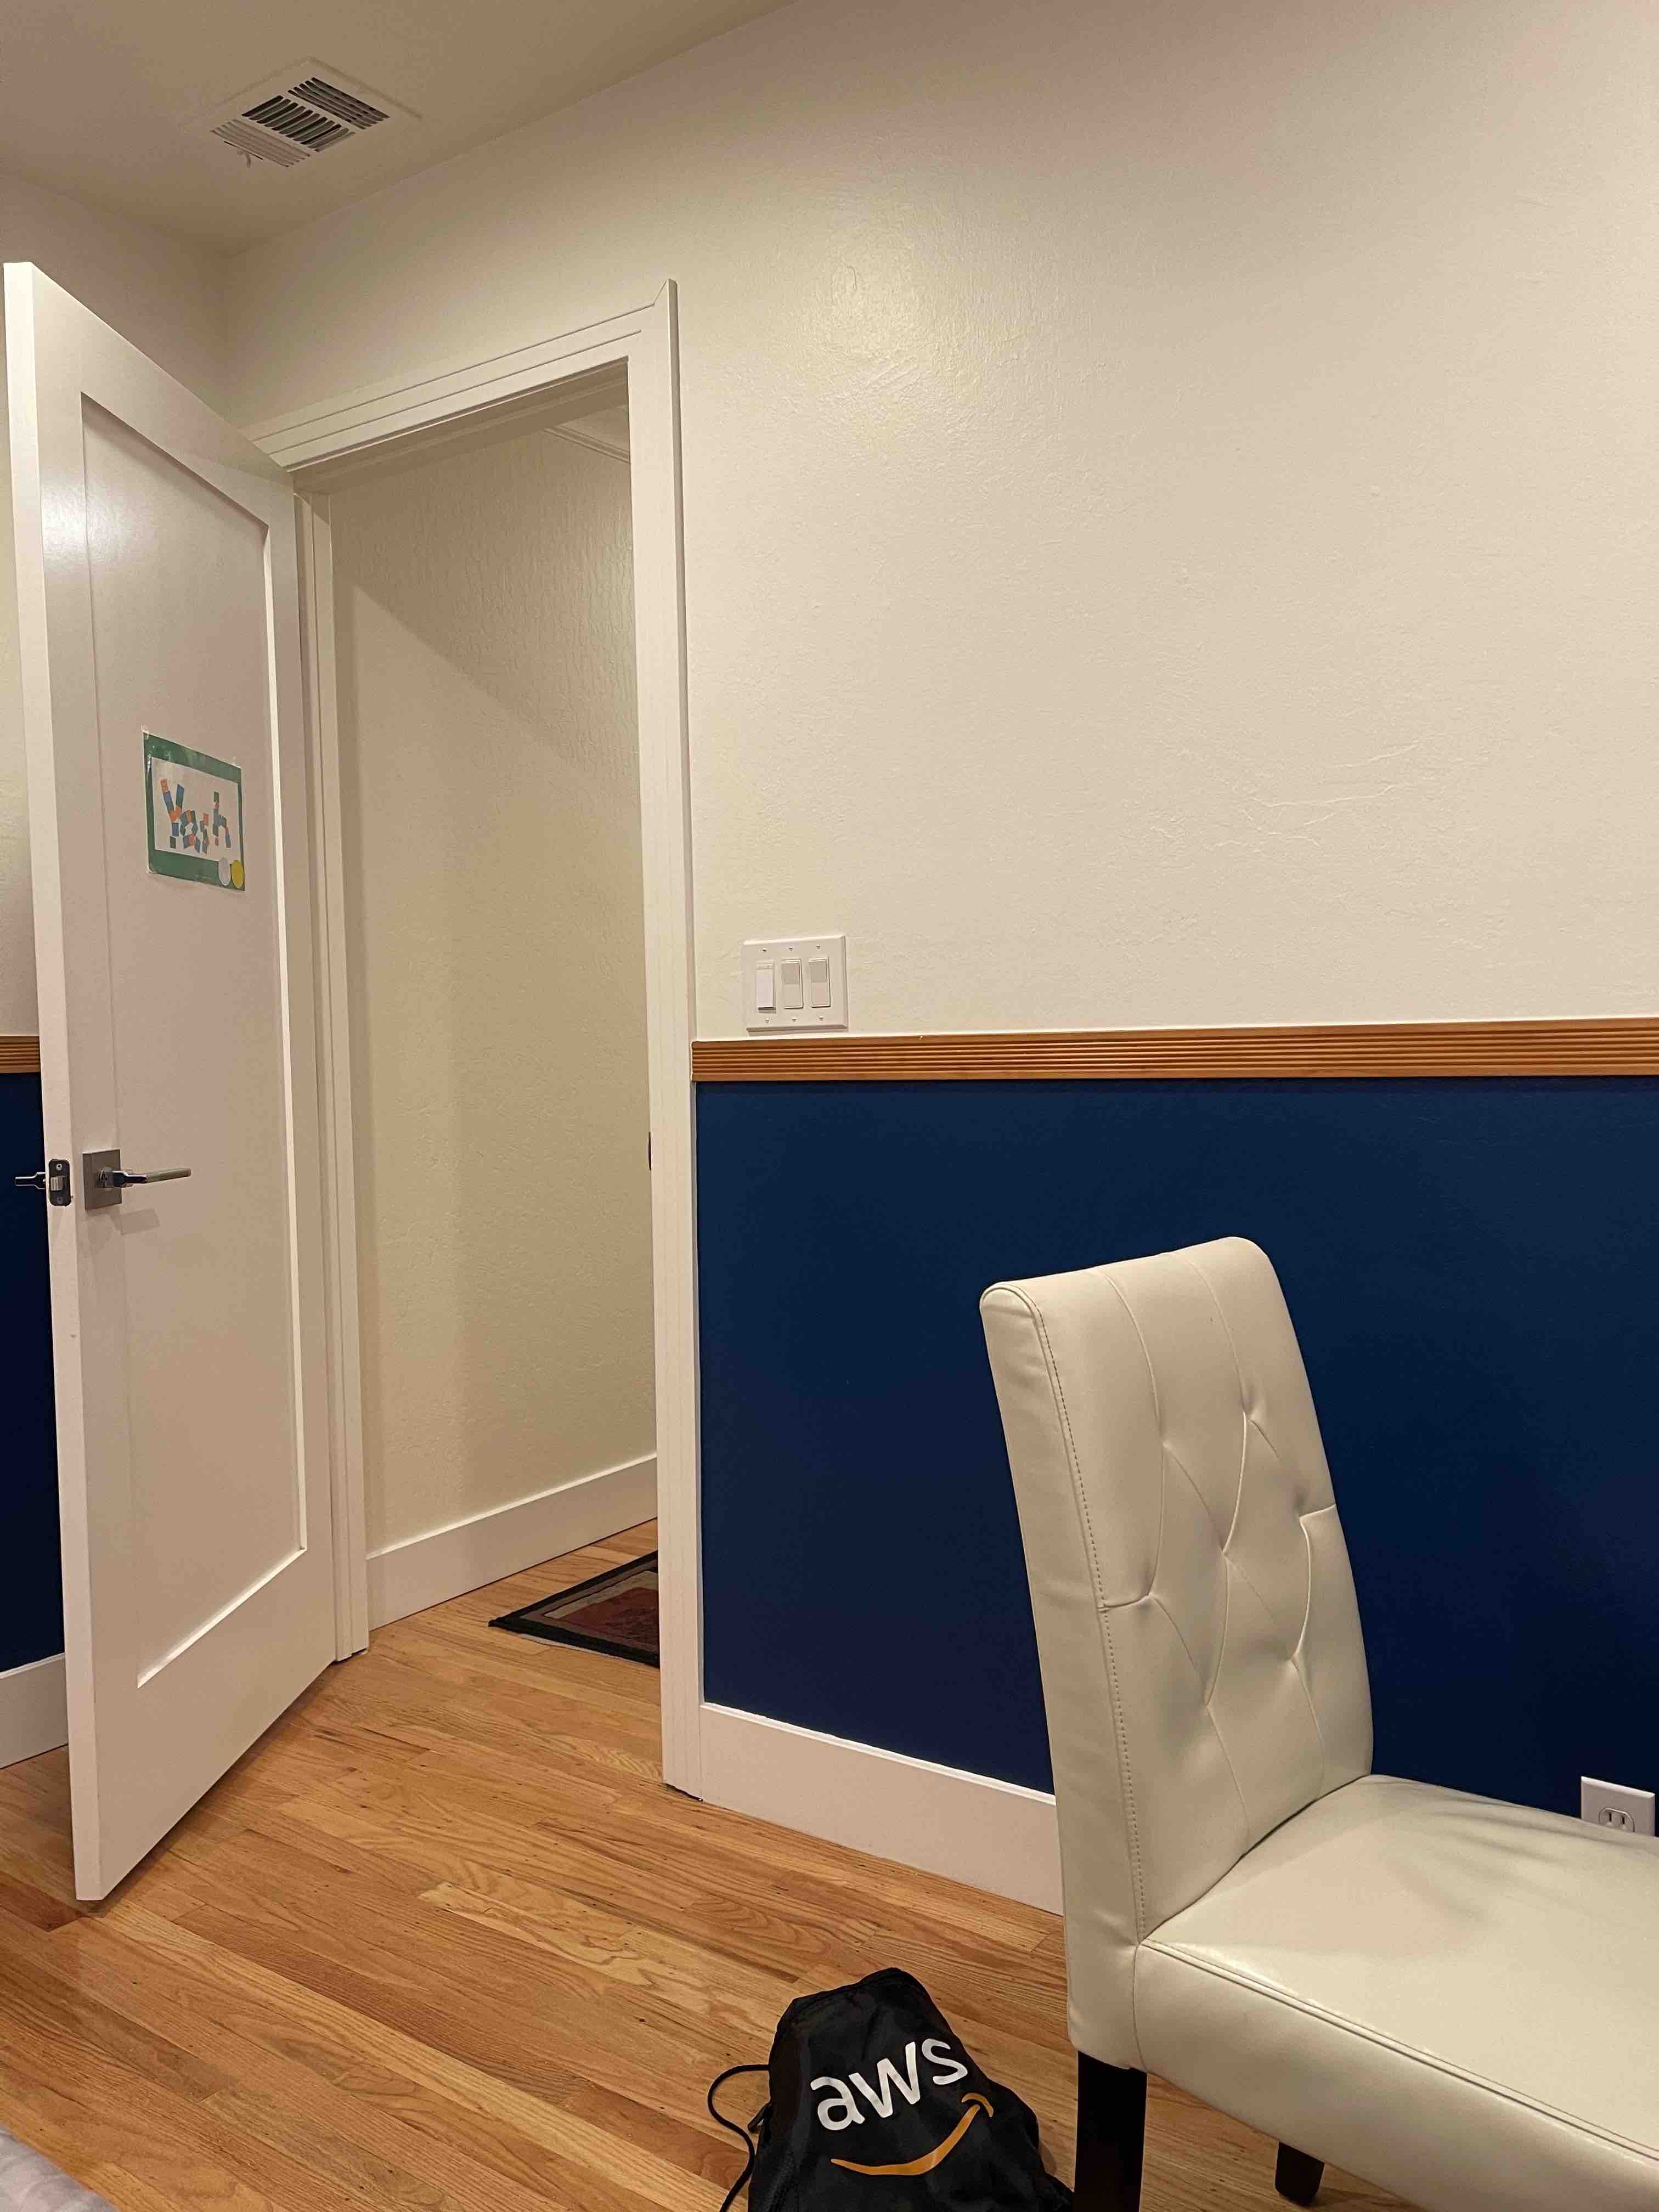
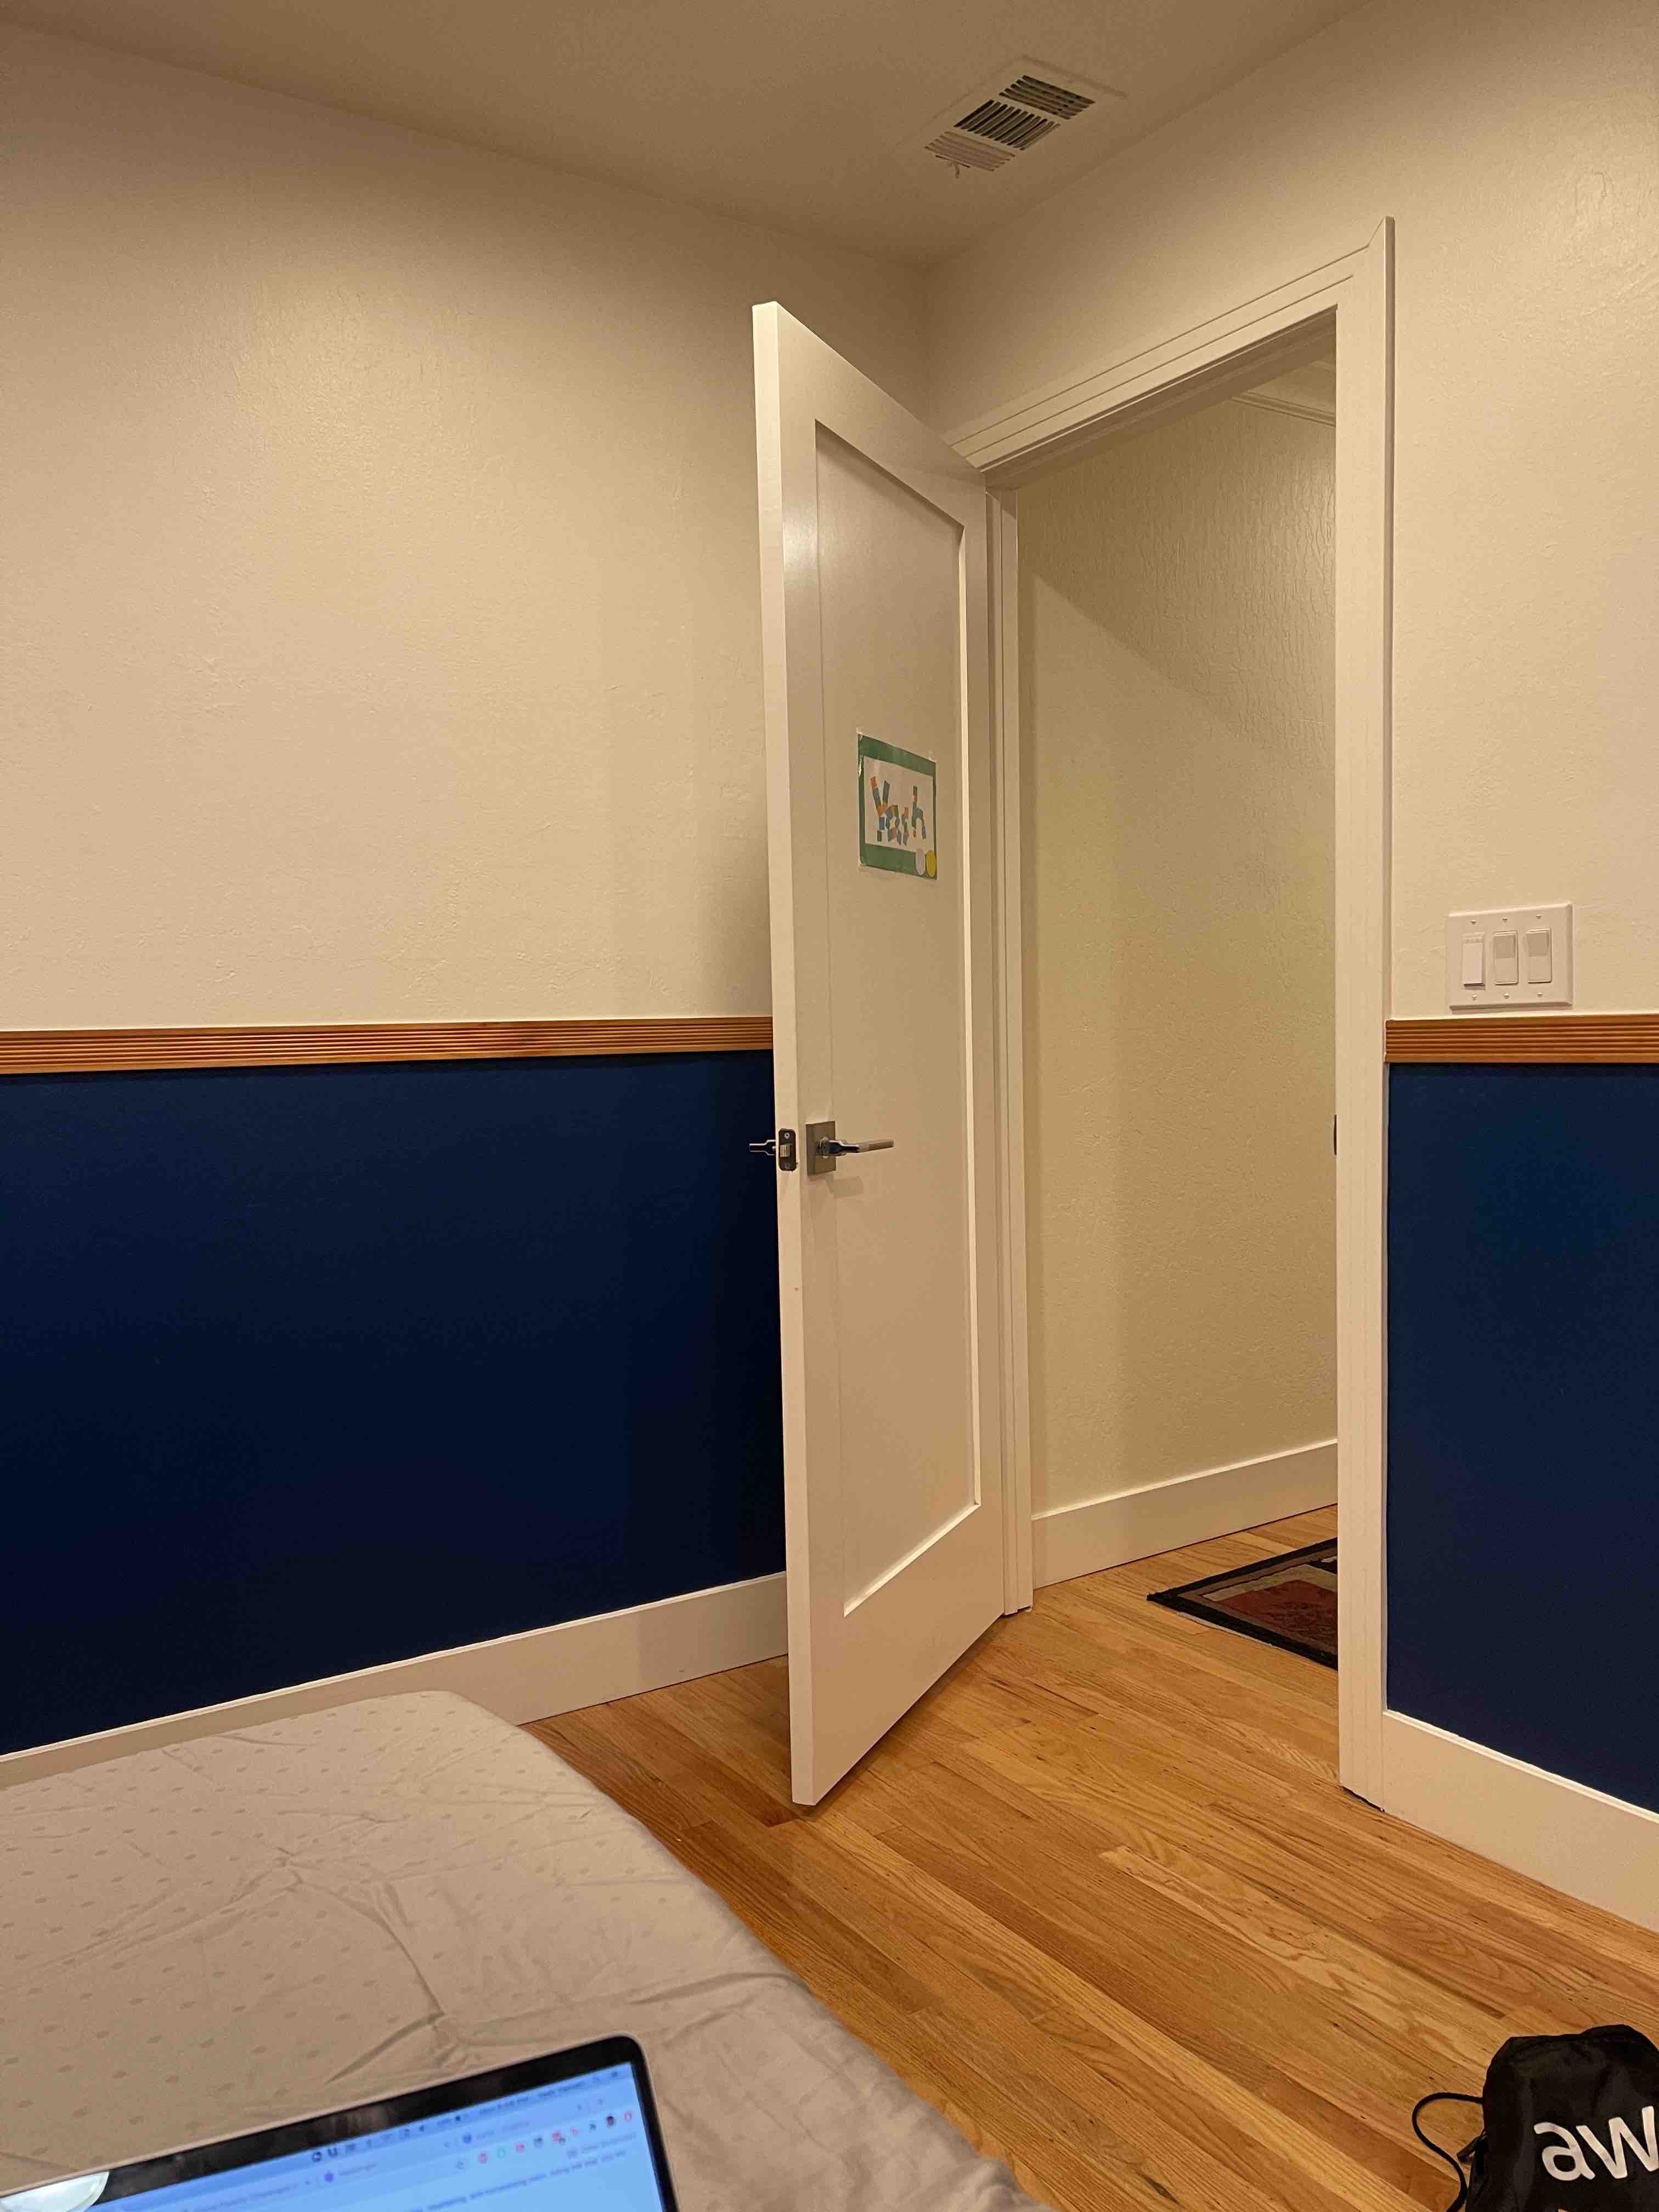
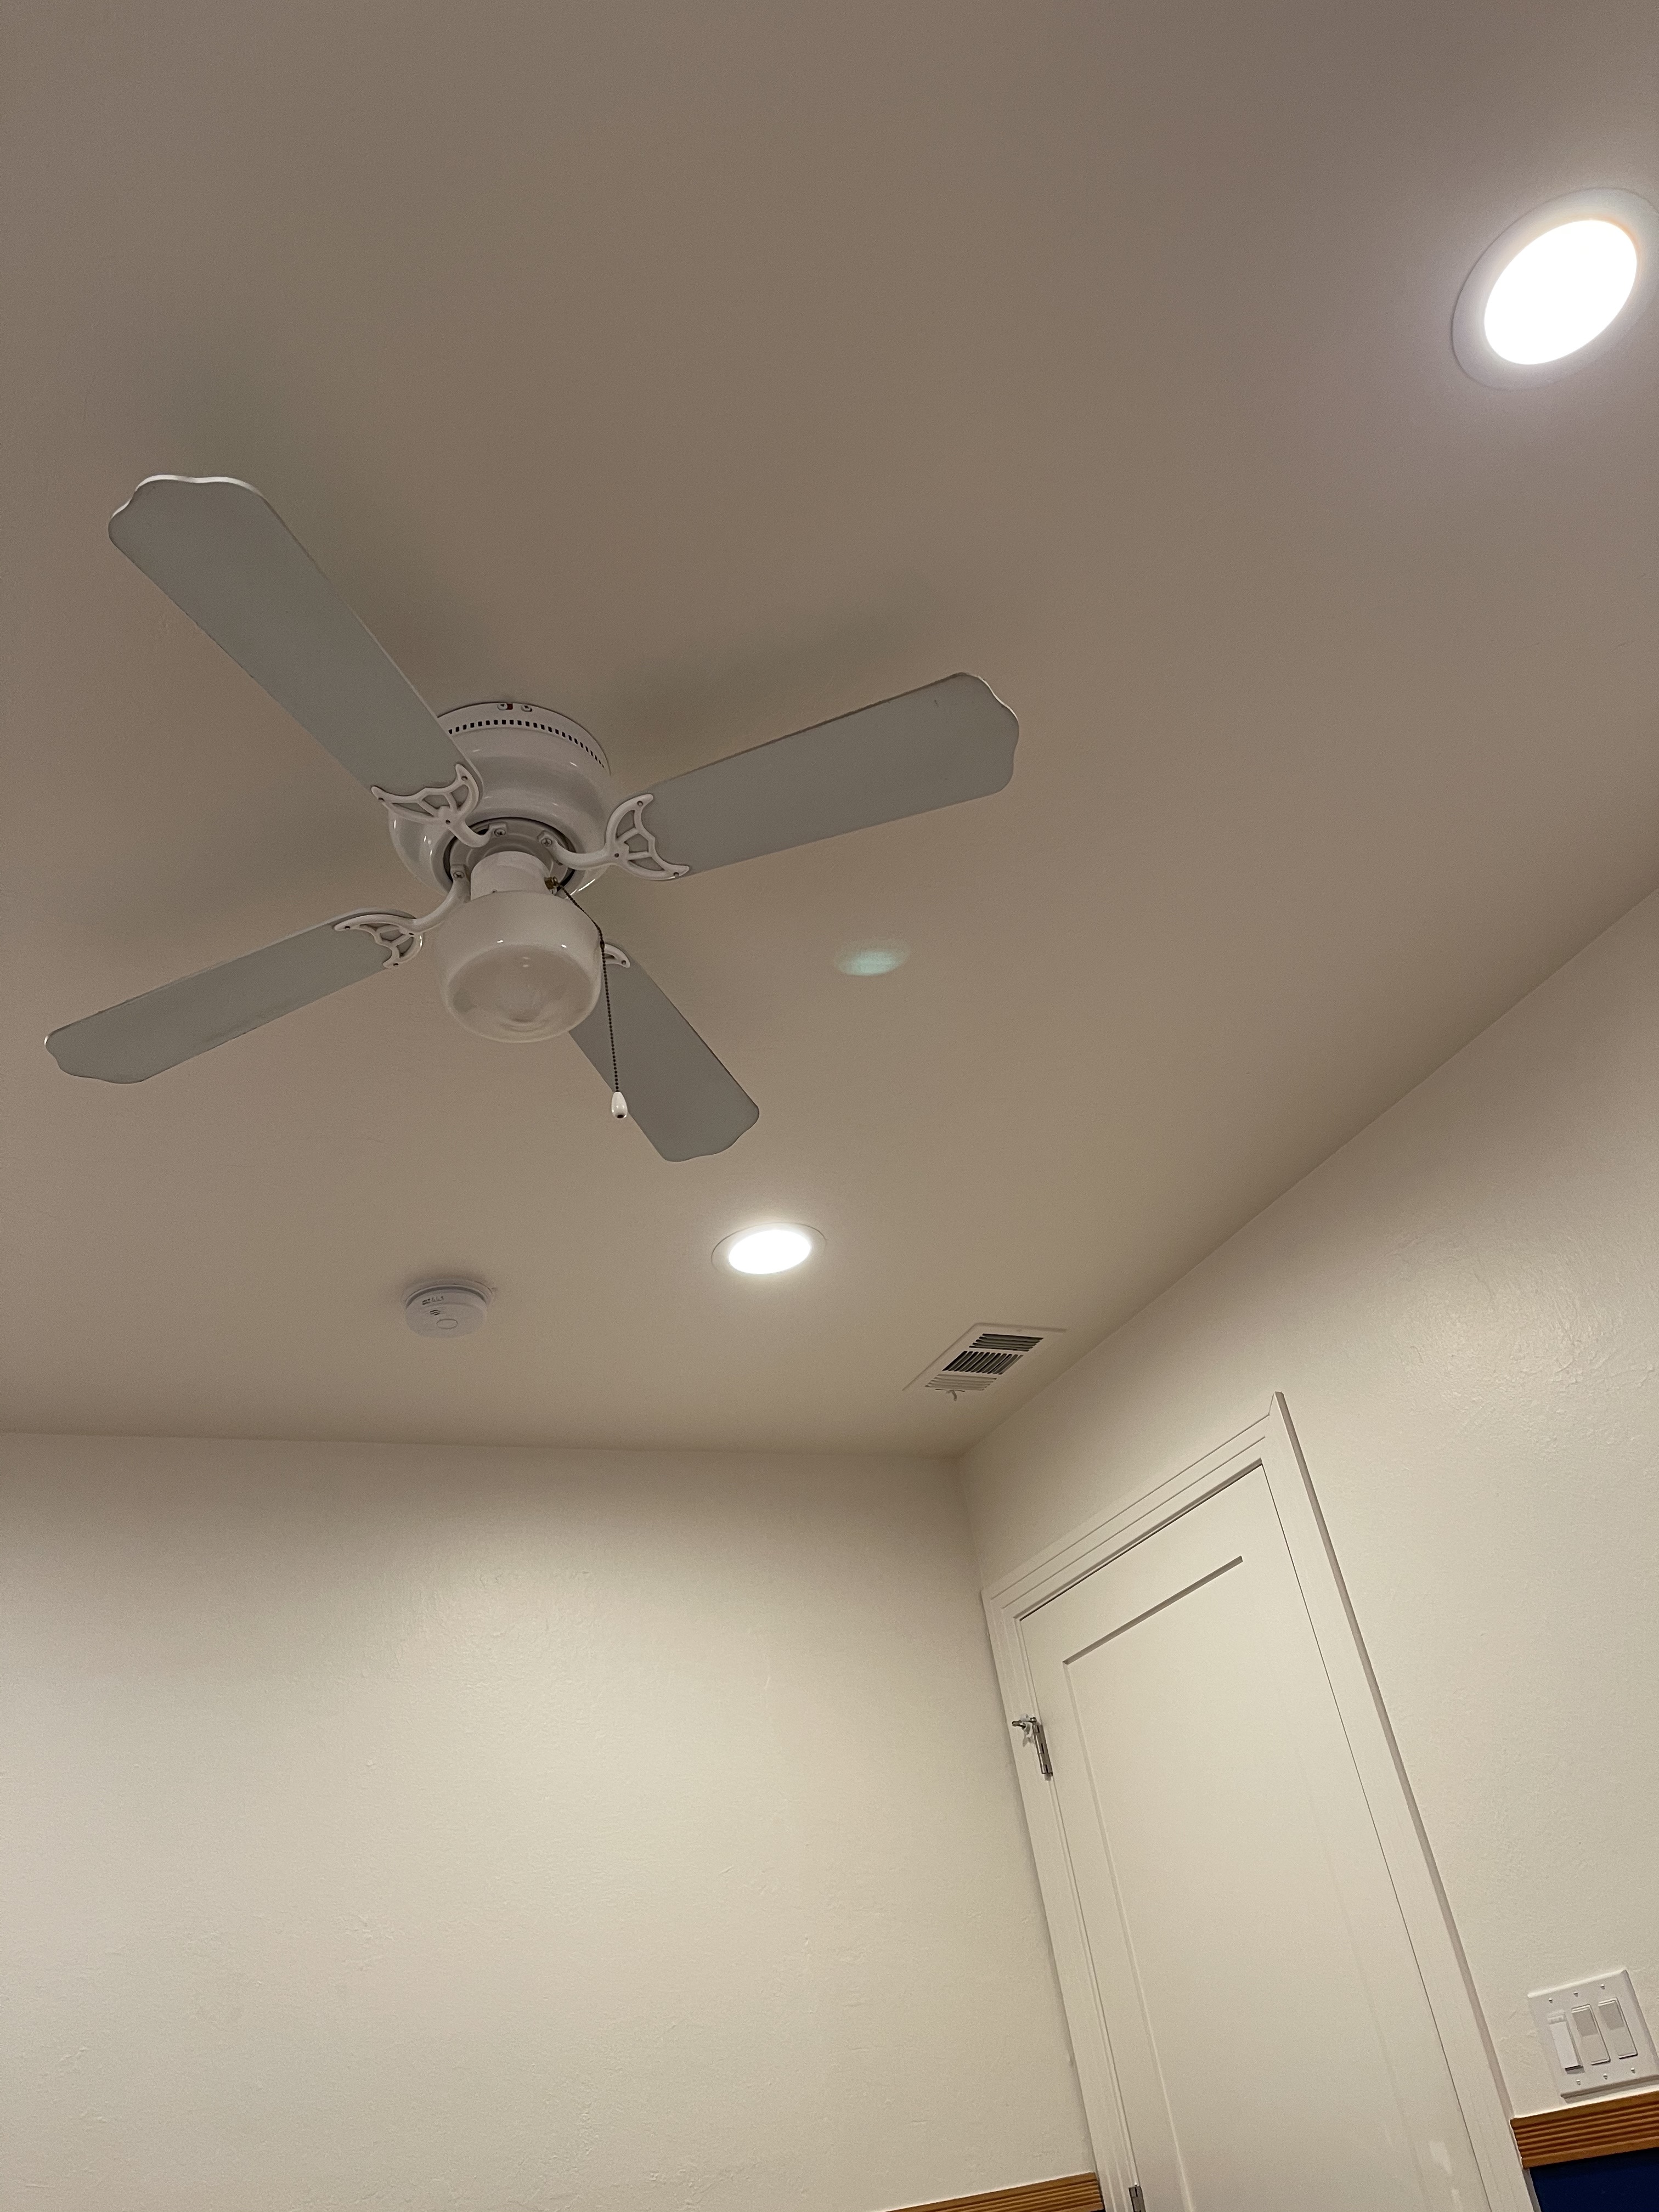
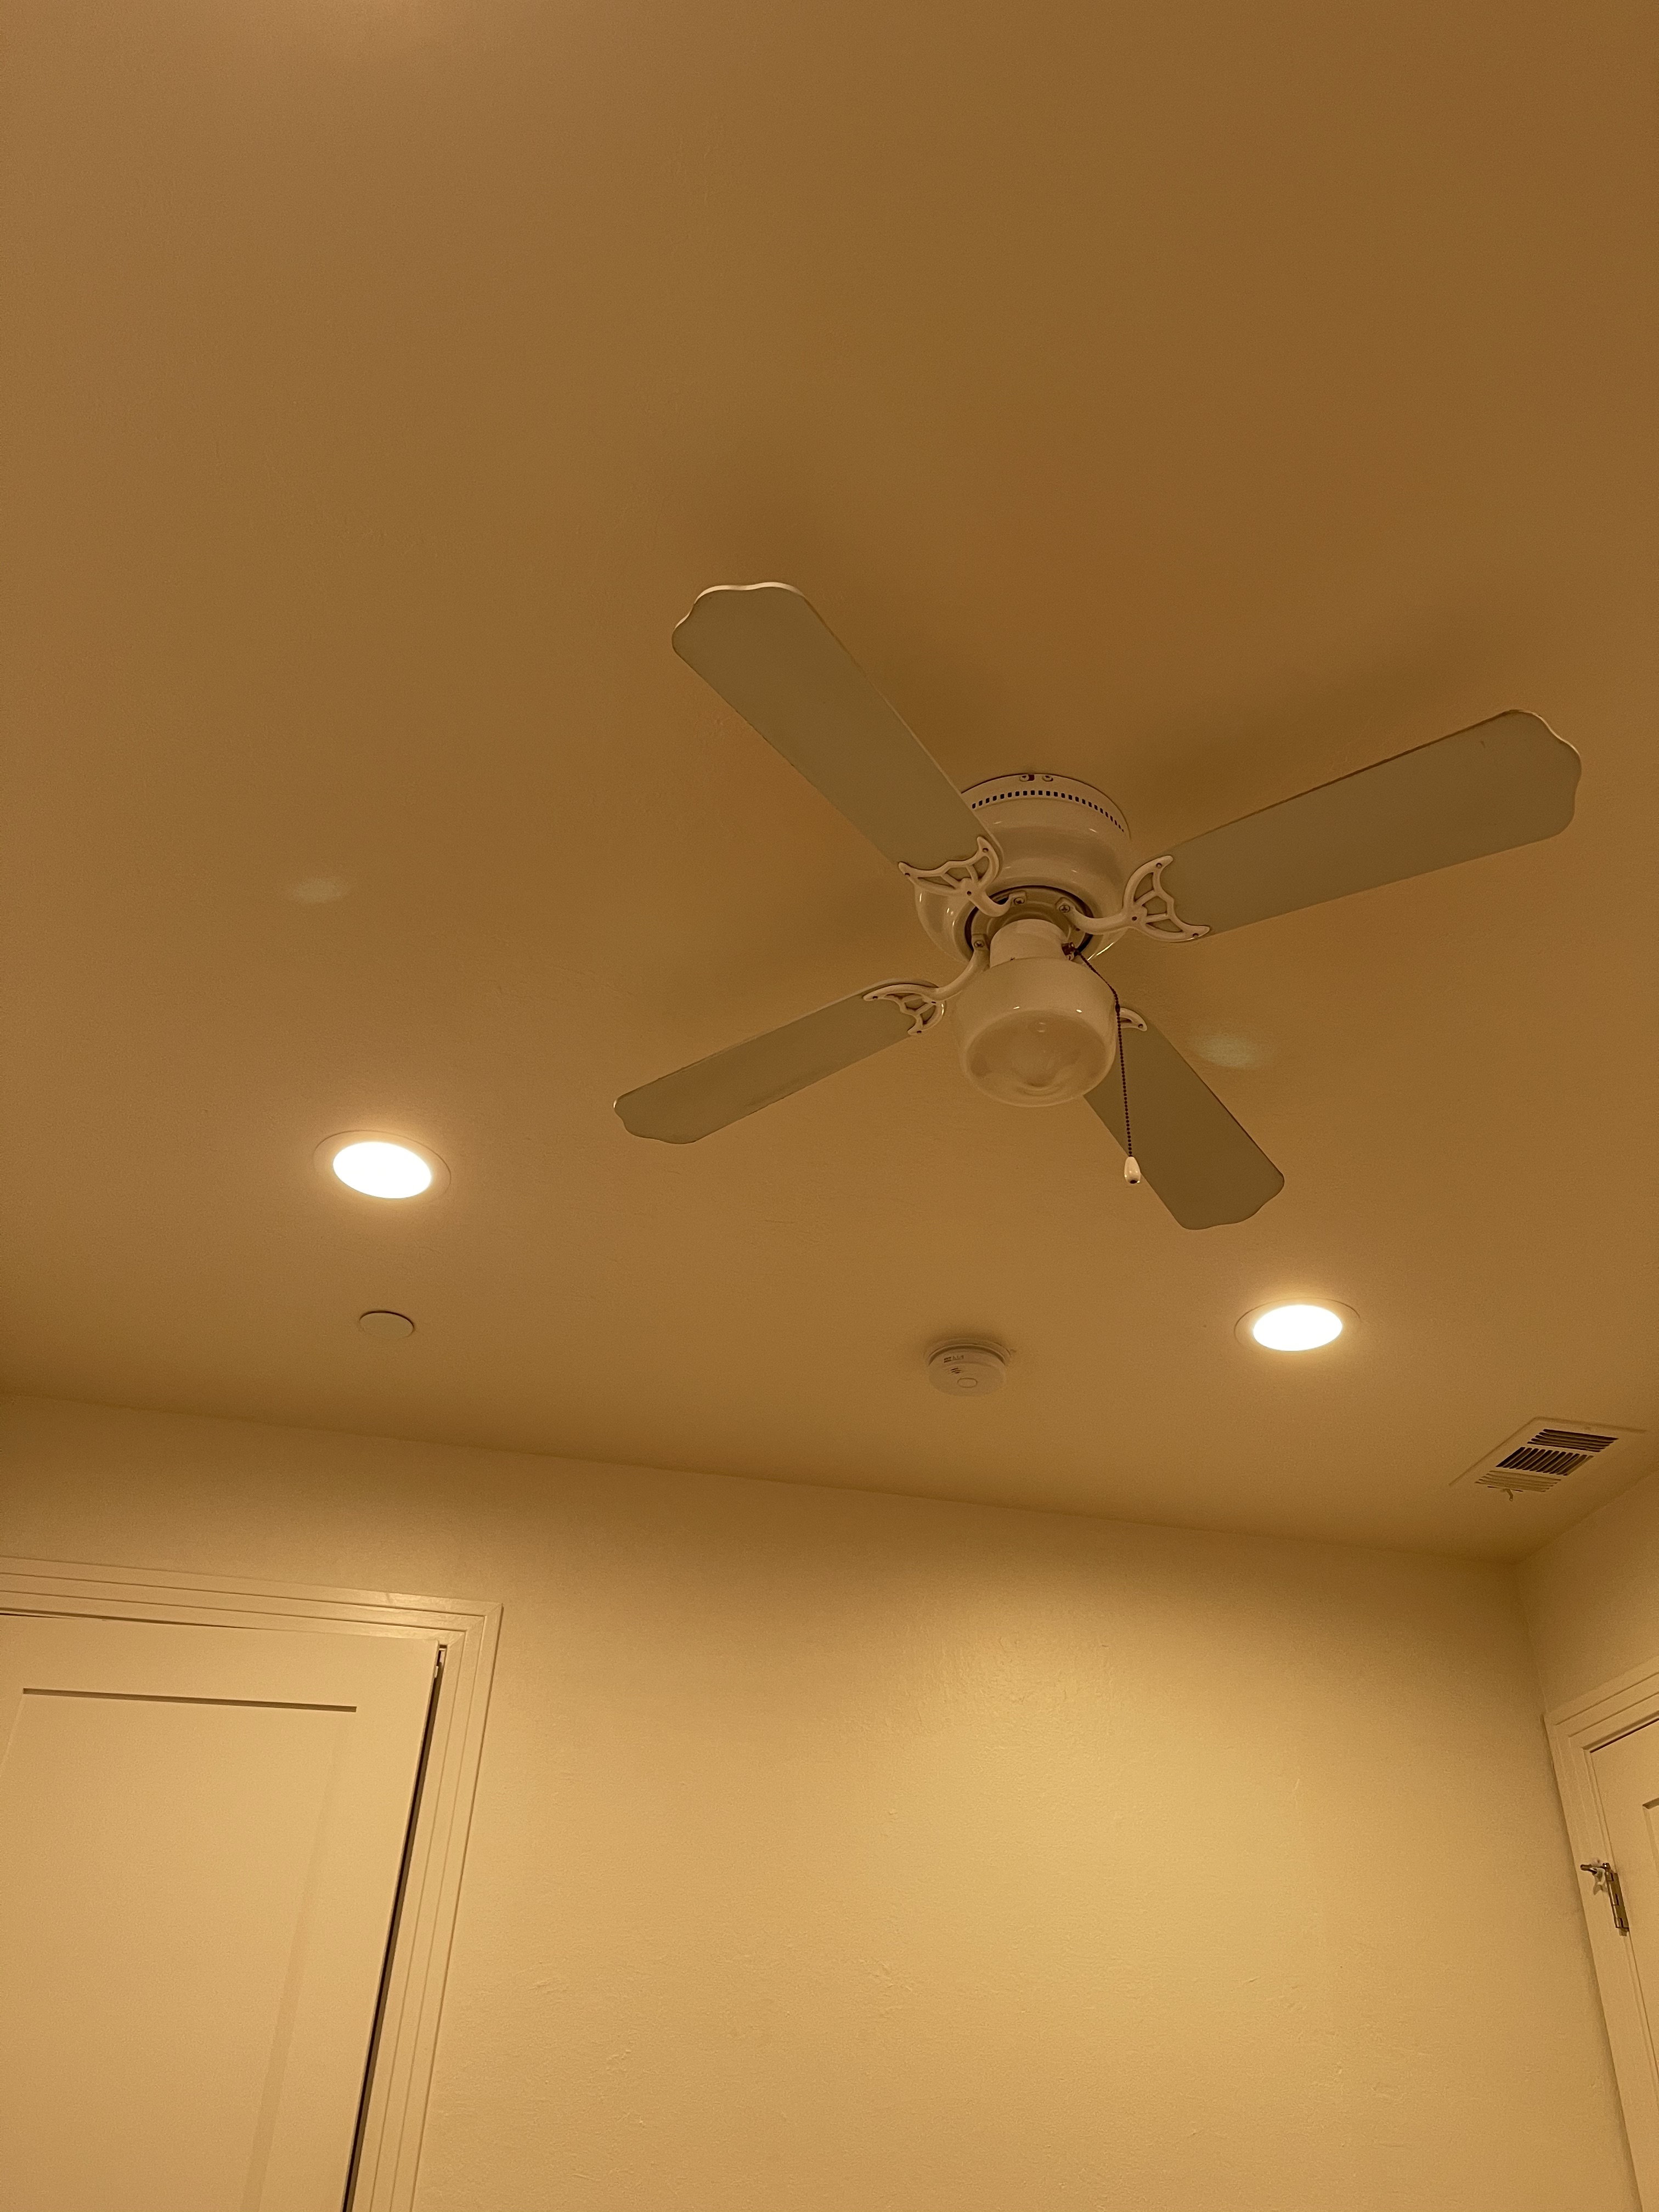
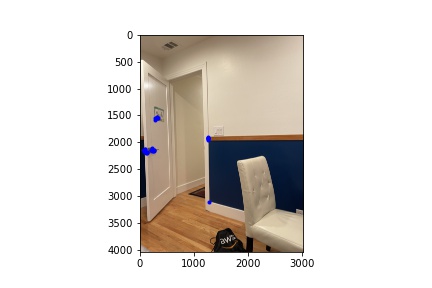
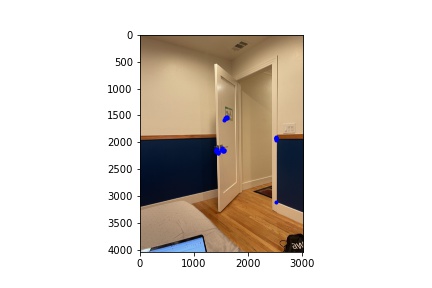
As a starting point I took some pictures to do some initial tests of picking points and finding homographies and such. Below are two of the pictures I took, for my first initial moastic.
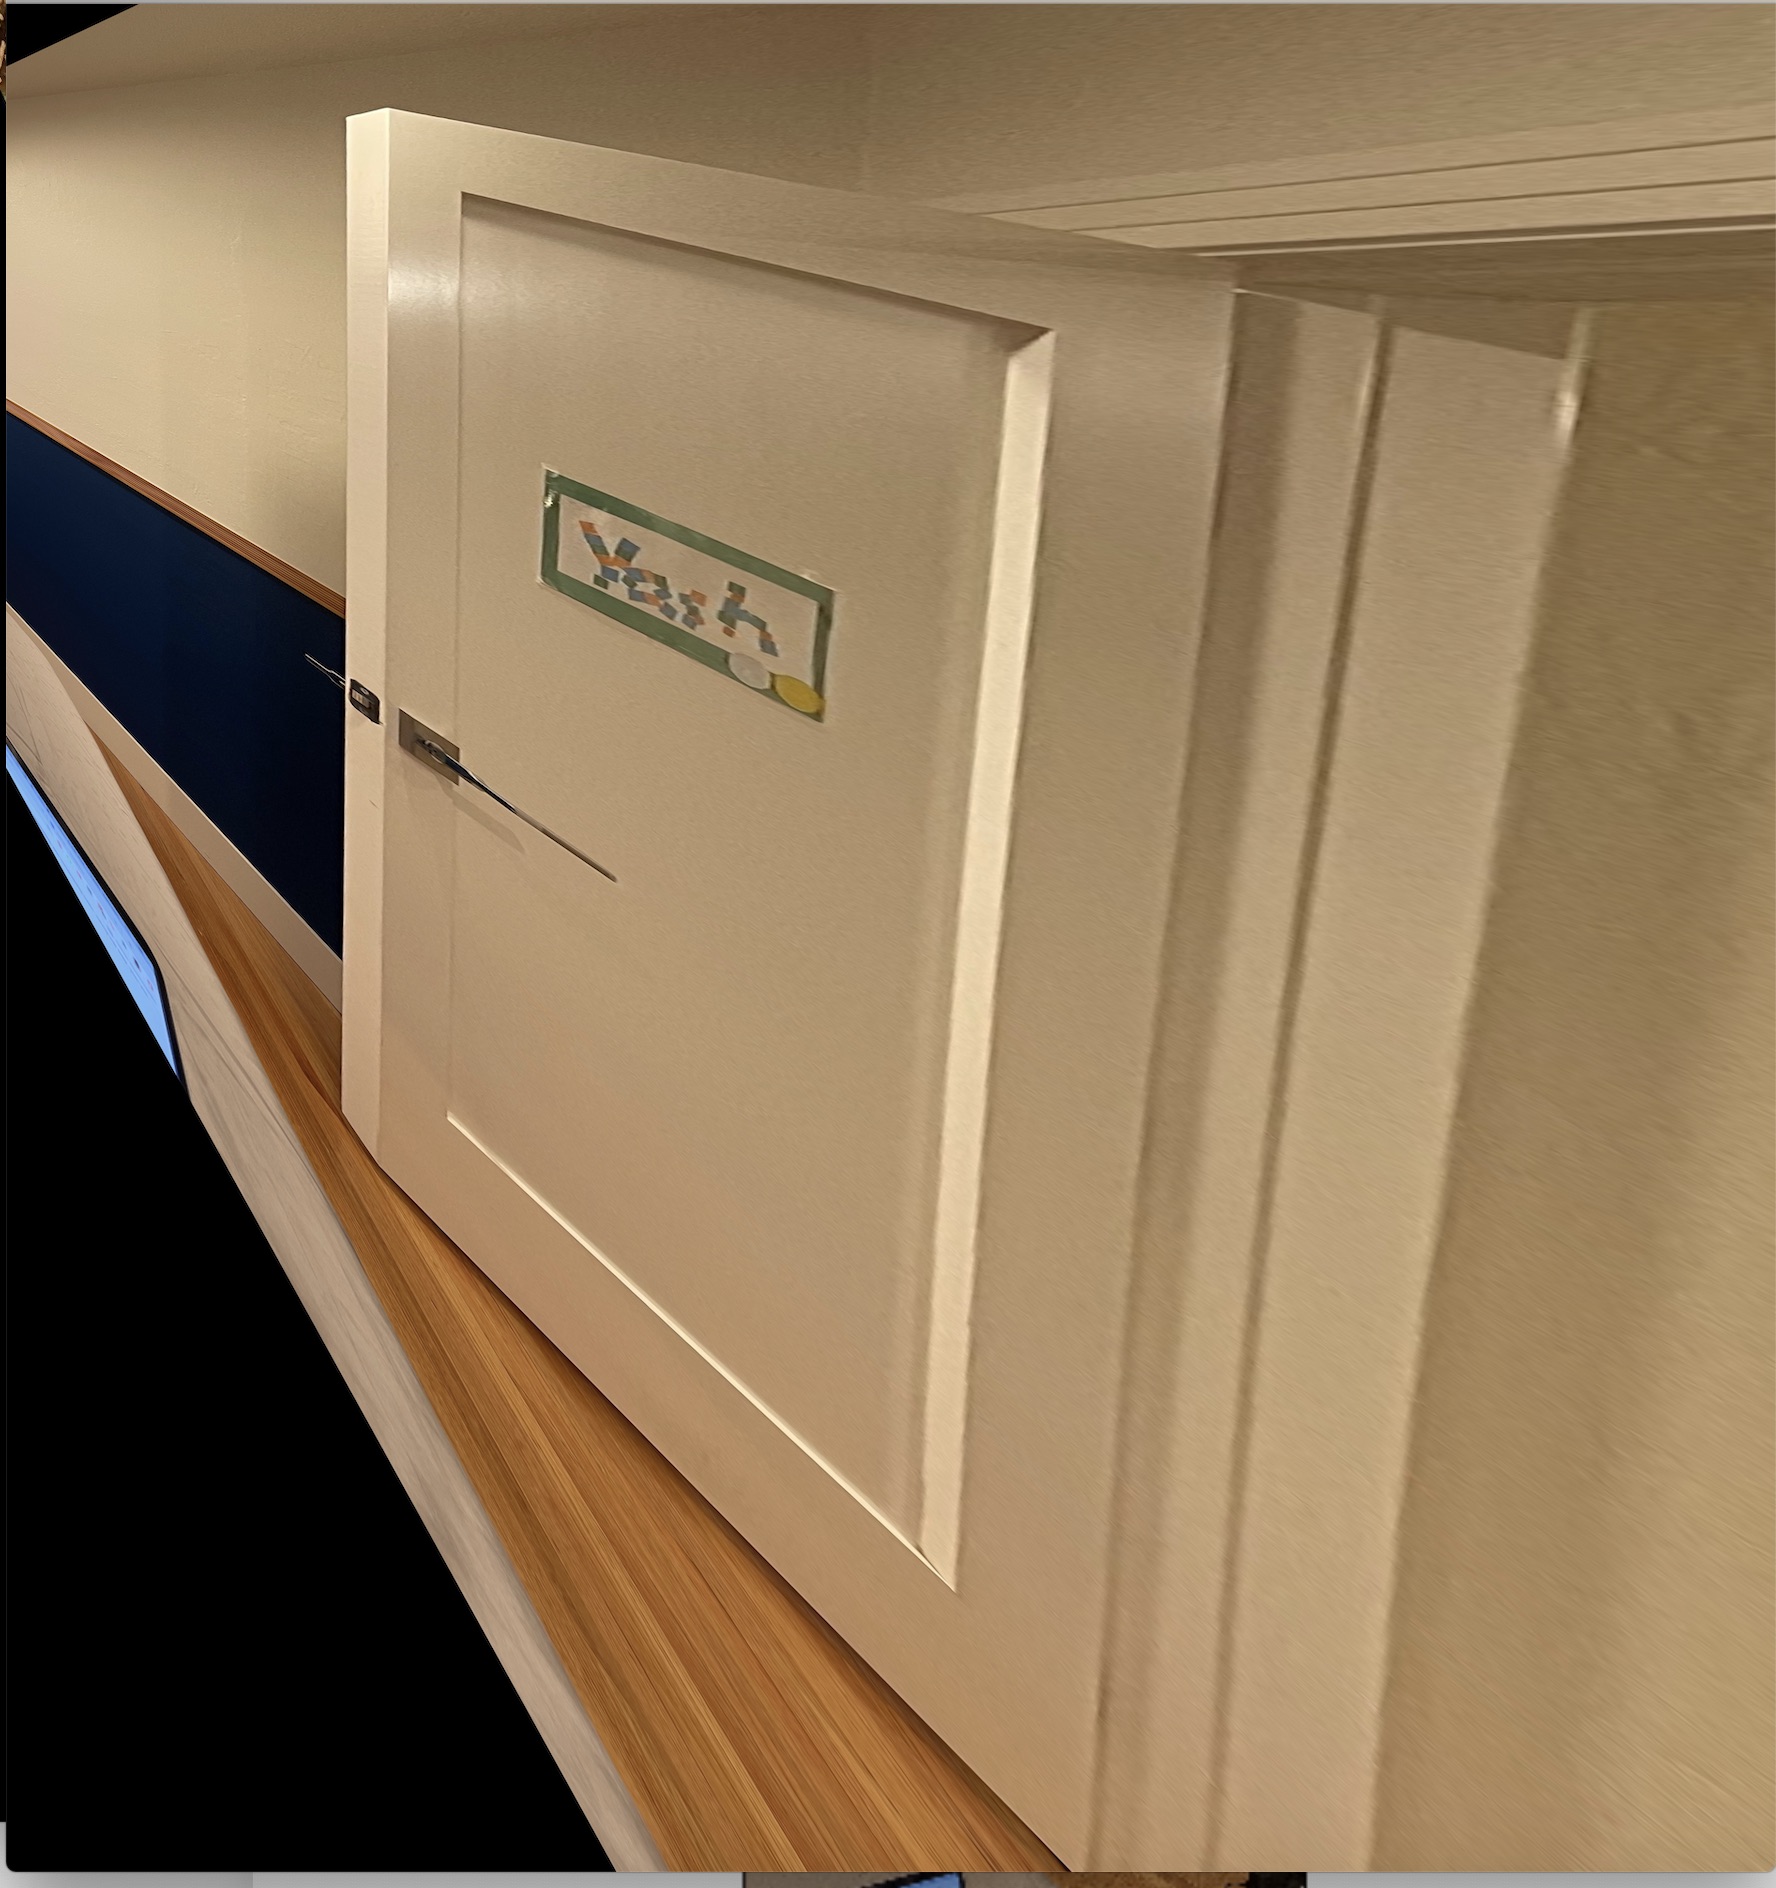
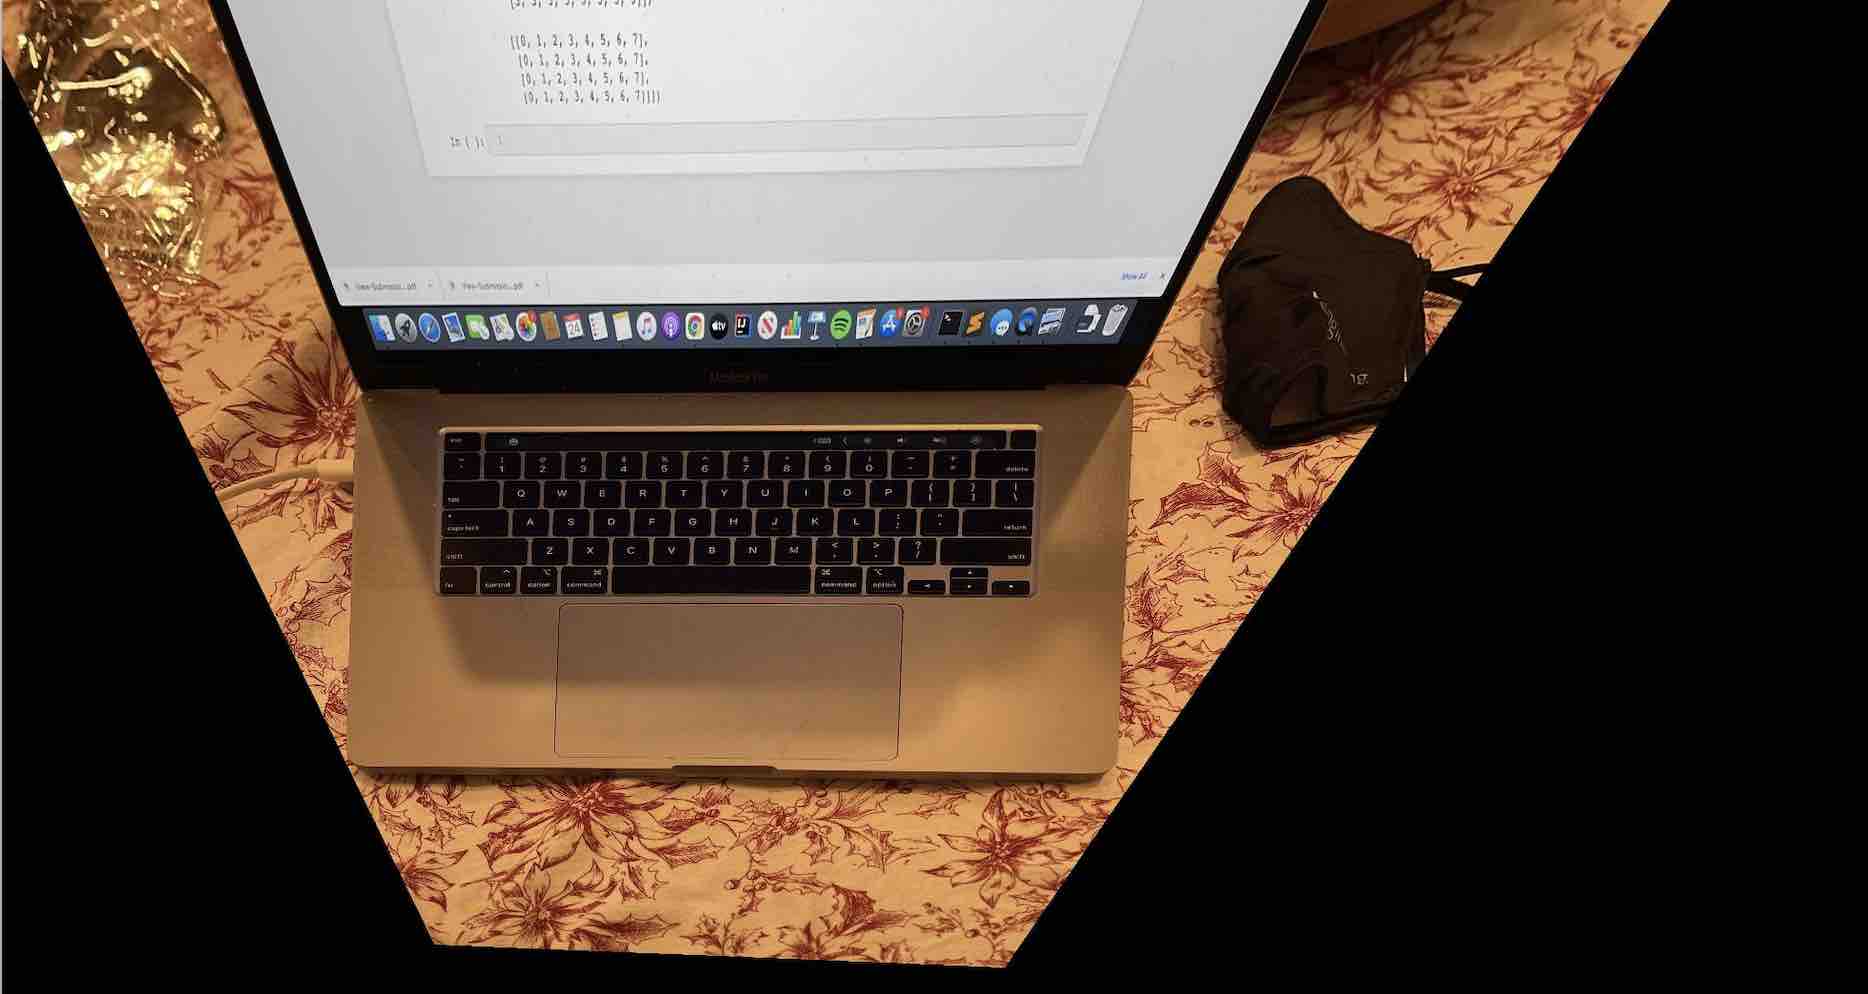
After shooting the initial points I took a bit of time to compute the homography and used that to create an initial warp. I did this using least squares. After getting warping accomplished I was able to compute some rectified Images. Below are two examplies of images I rectified.
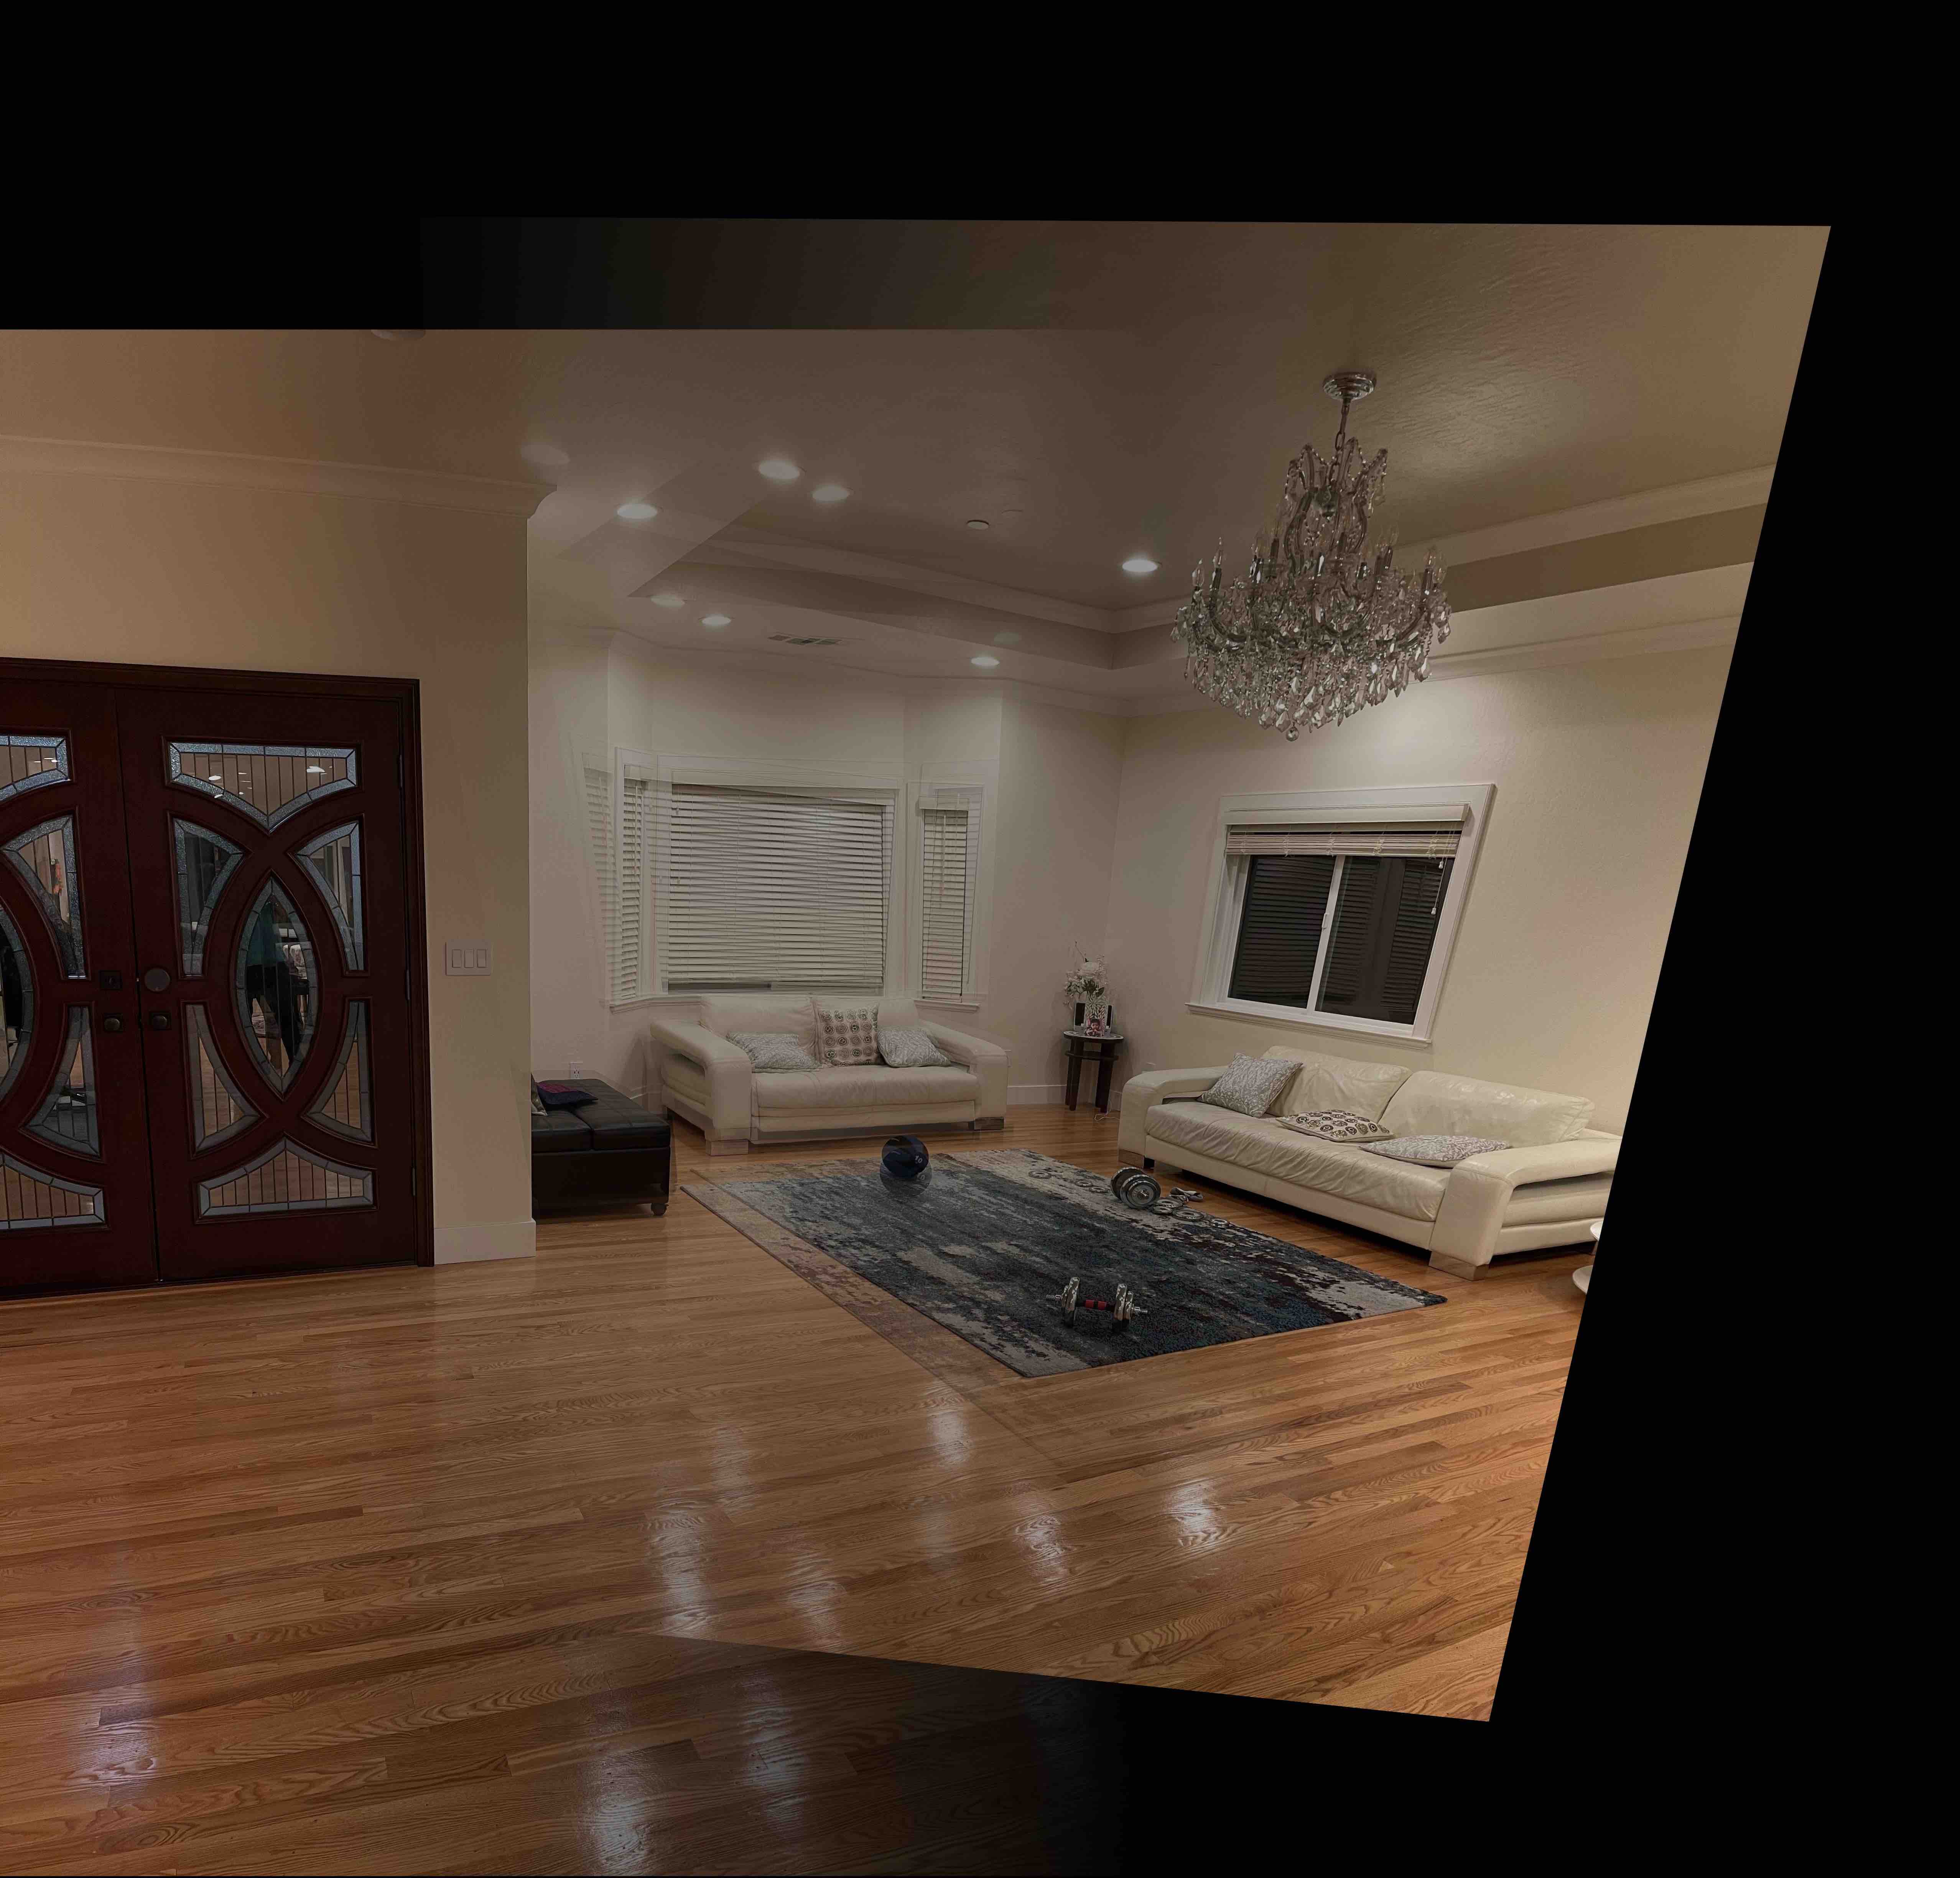
First Example is of a bedroom for which I wanted to get the point of view of looking at the door directily within the bedroom.
Next example is of my mac which I wanted to rectify so that I was looking down on the keyboard directly

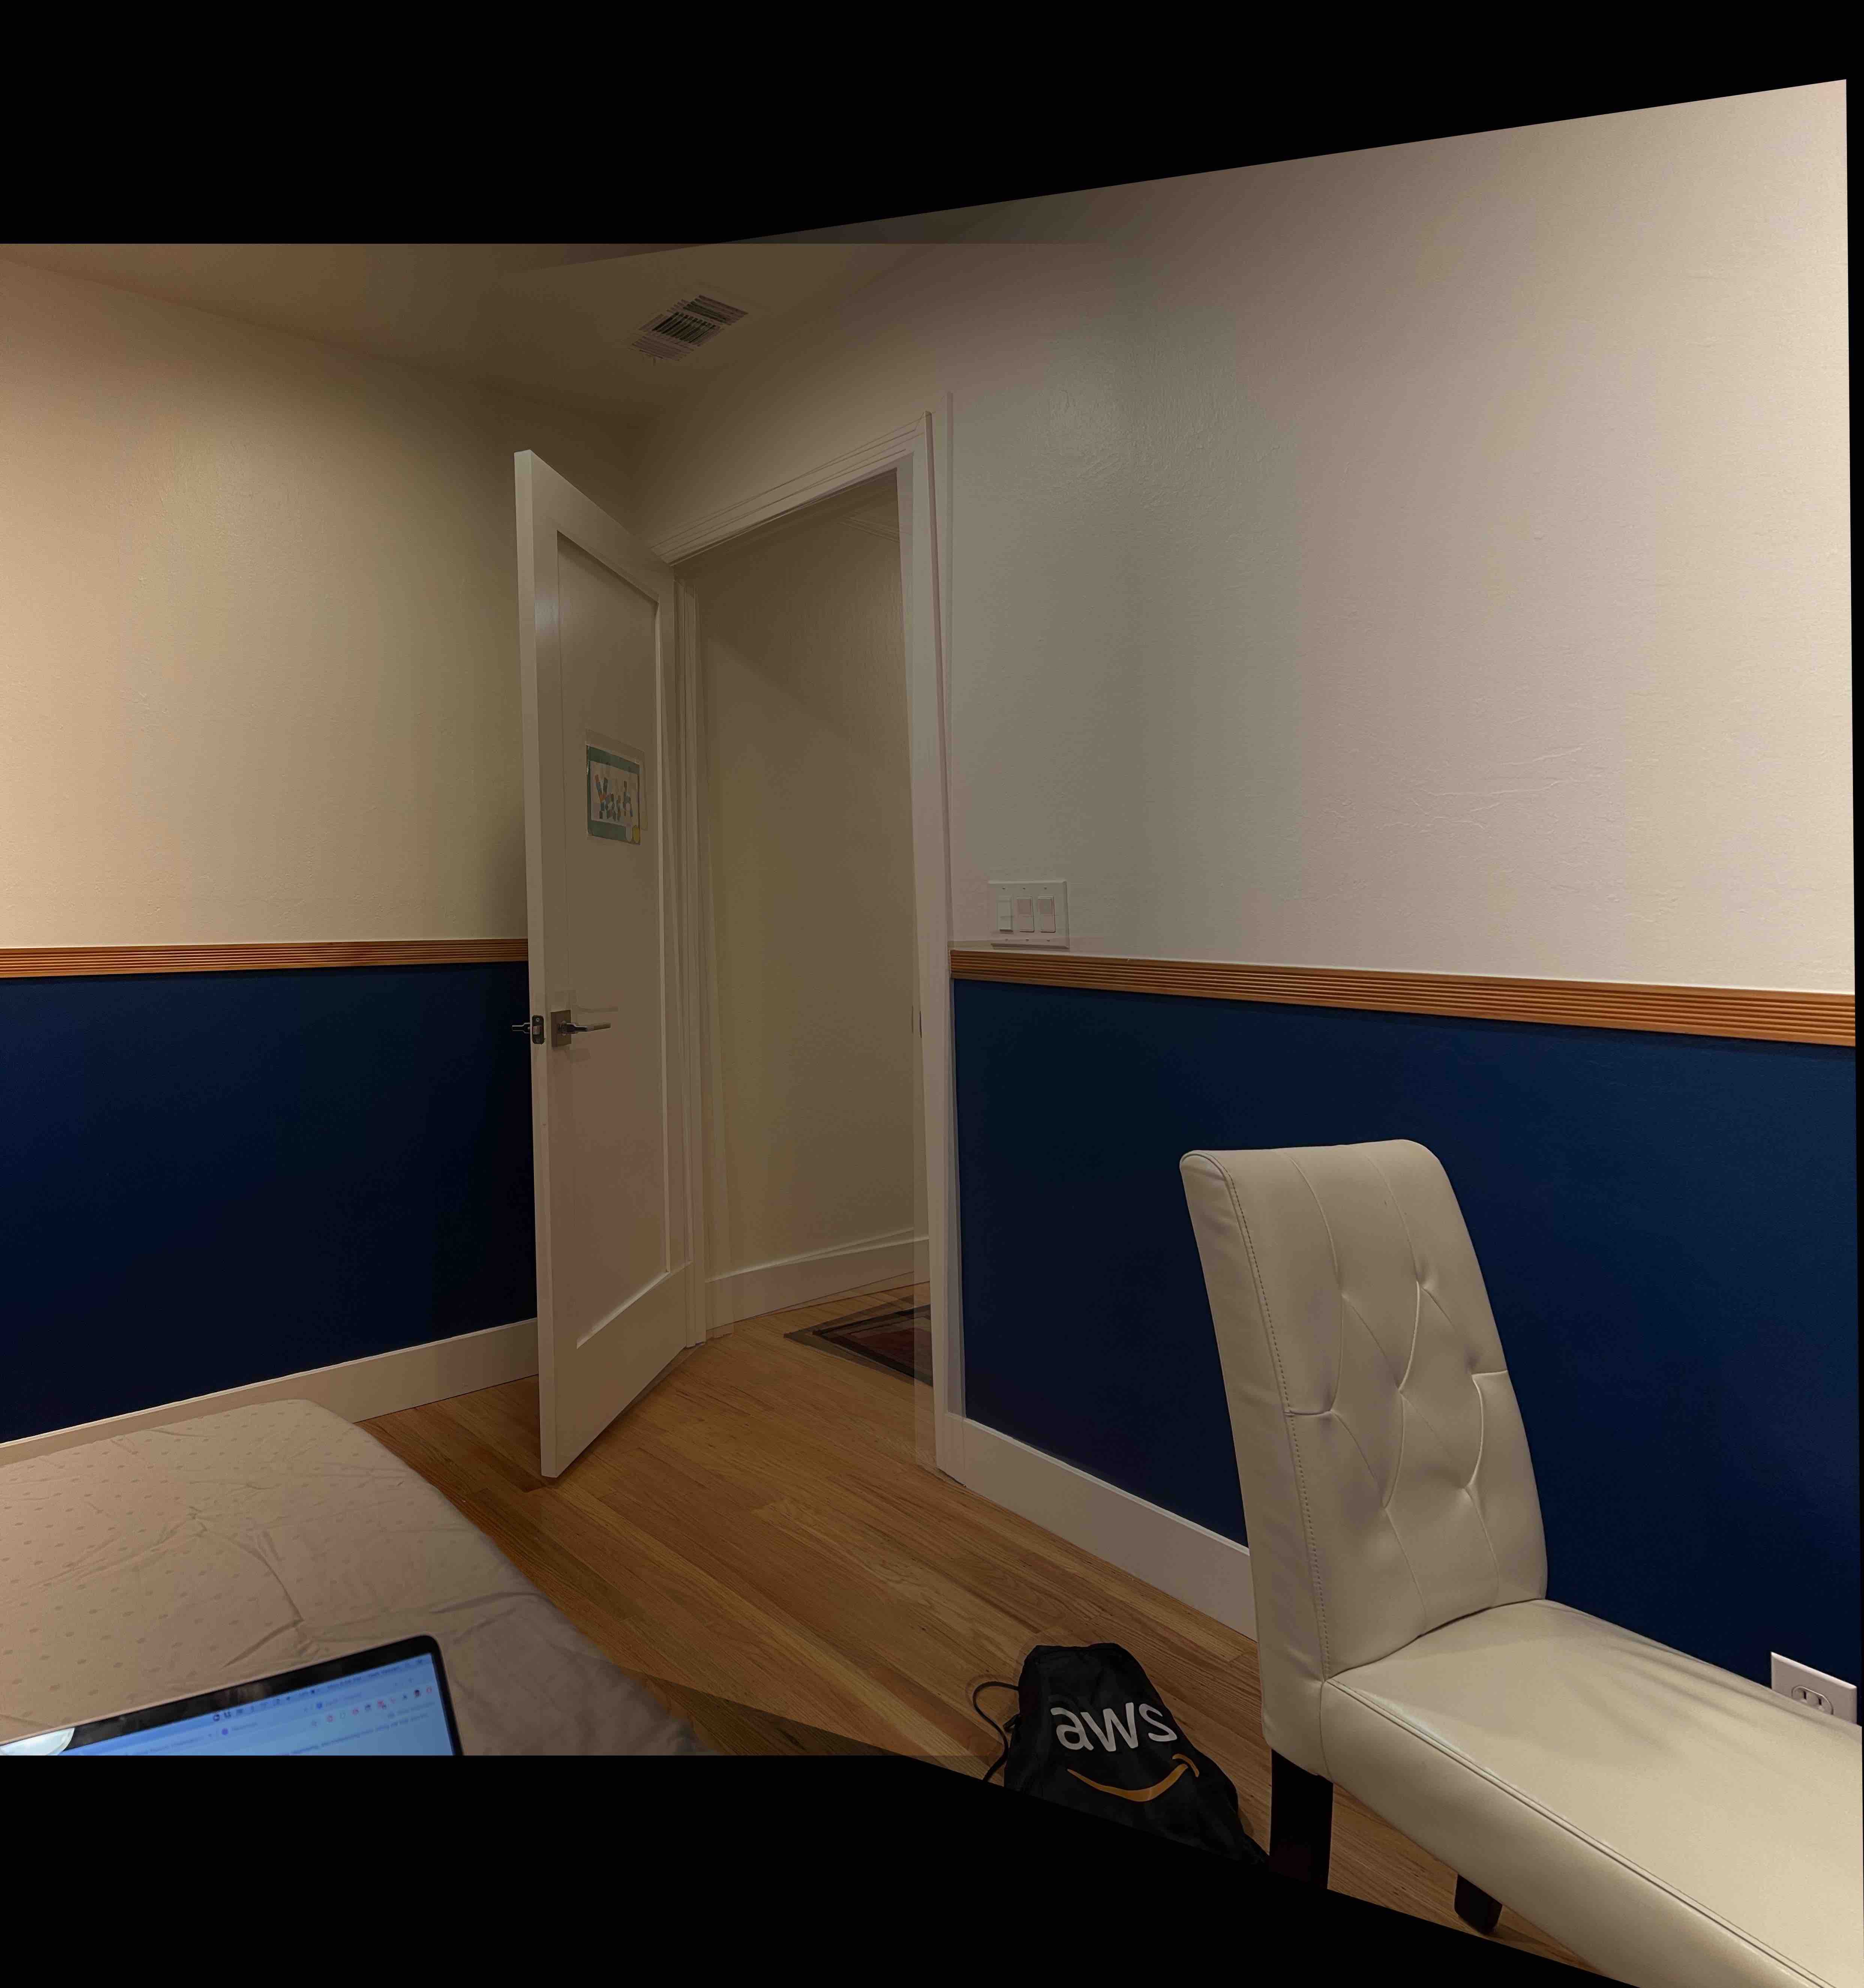
In this section I was able to start computing image moasics by stitching together two images by computing the homography, warping one inmage to another. After that, computing a bounding box for the new larger image and then from there using a weighting system to combine both imnages together. Had a little bit of trouble with the edges but it still came out relatively clean.
The first example is based on the two initial bedroom images that I took
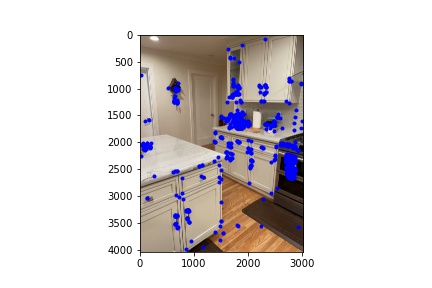
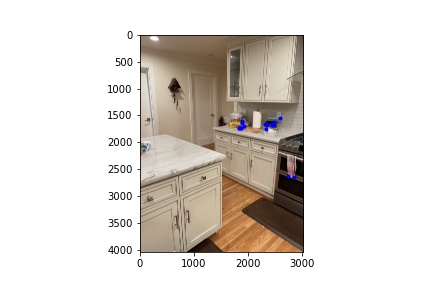
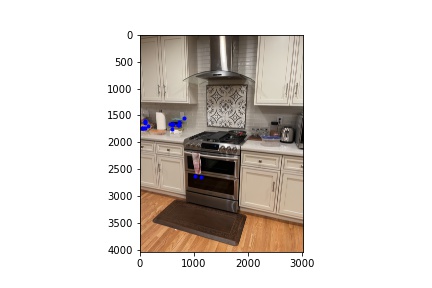
The second example is of a kitchen
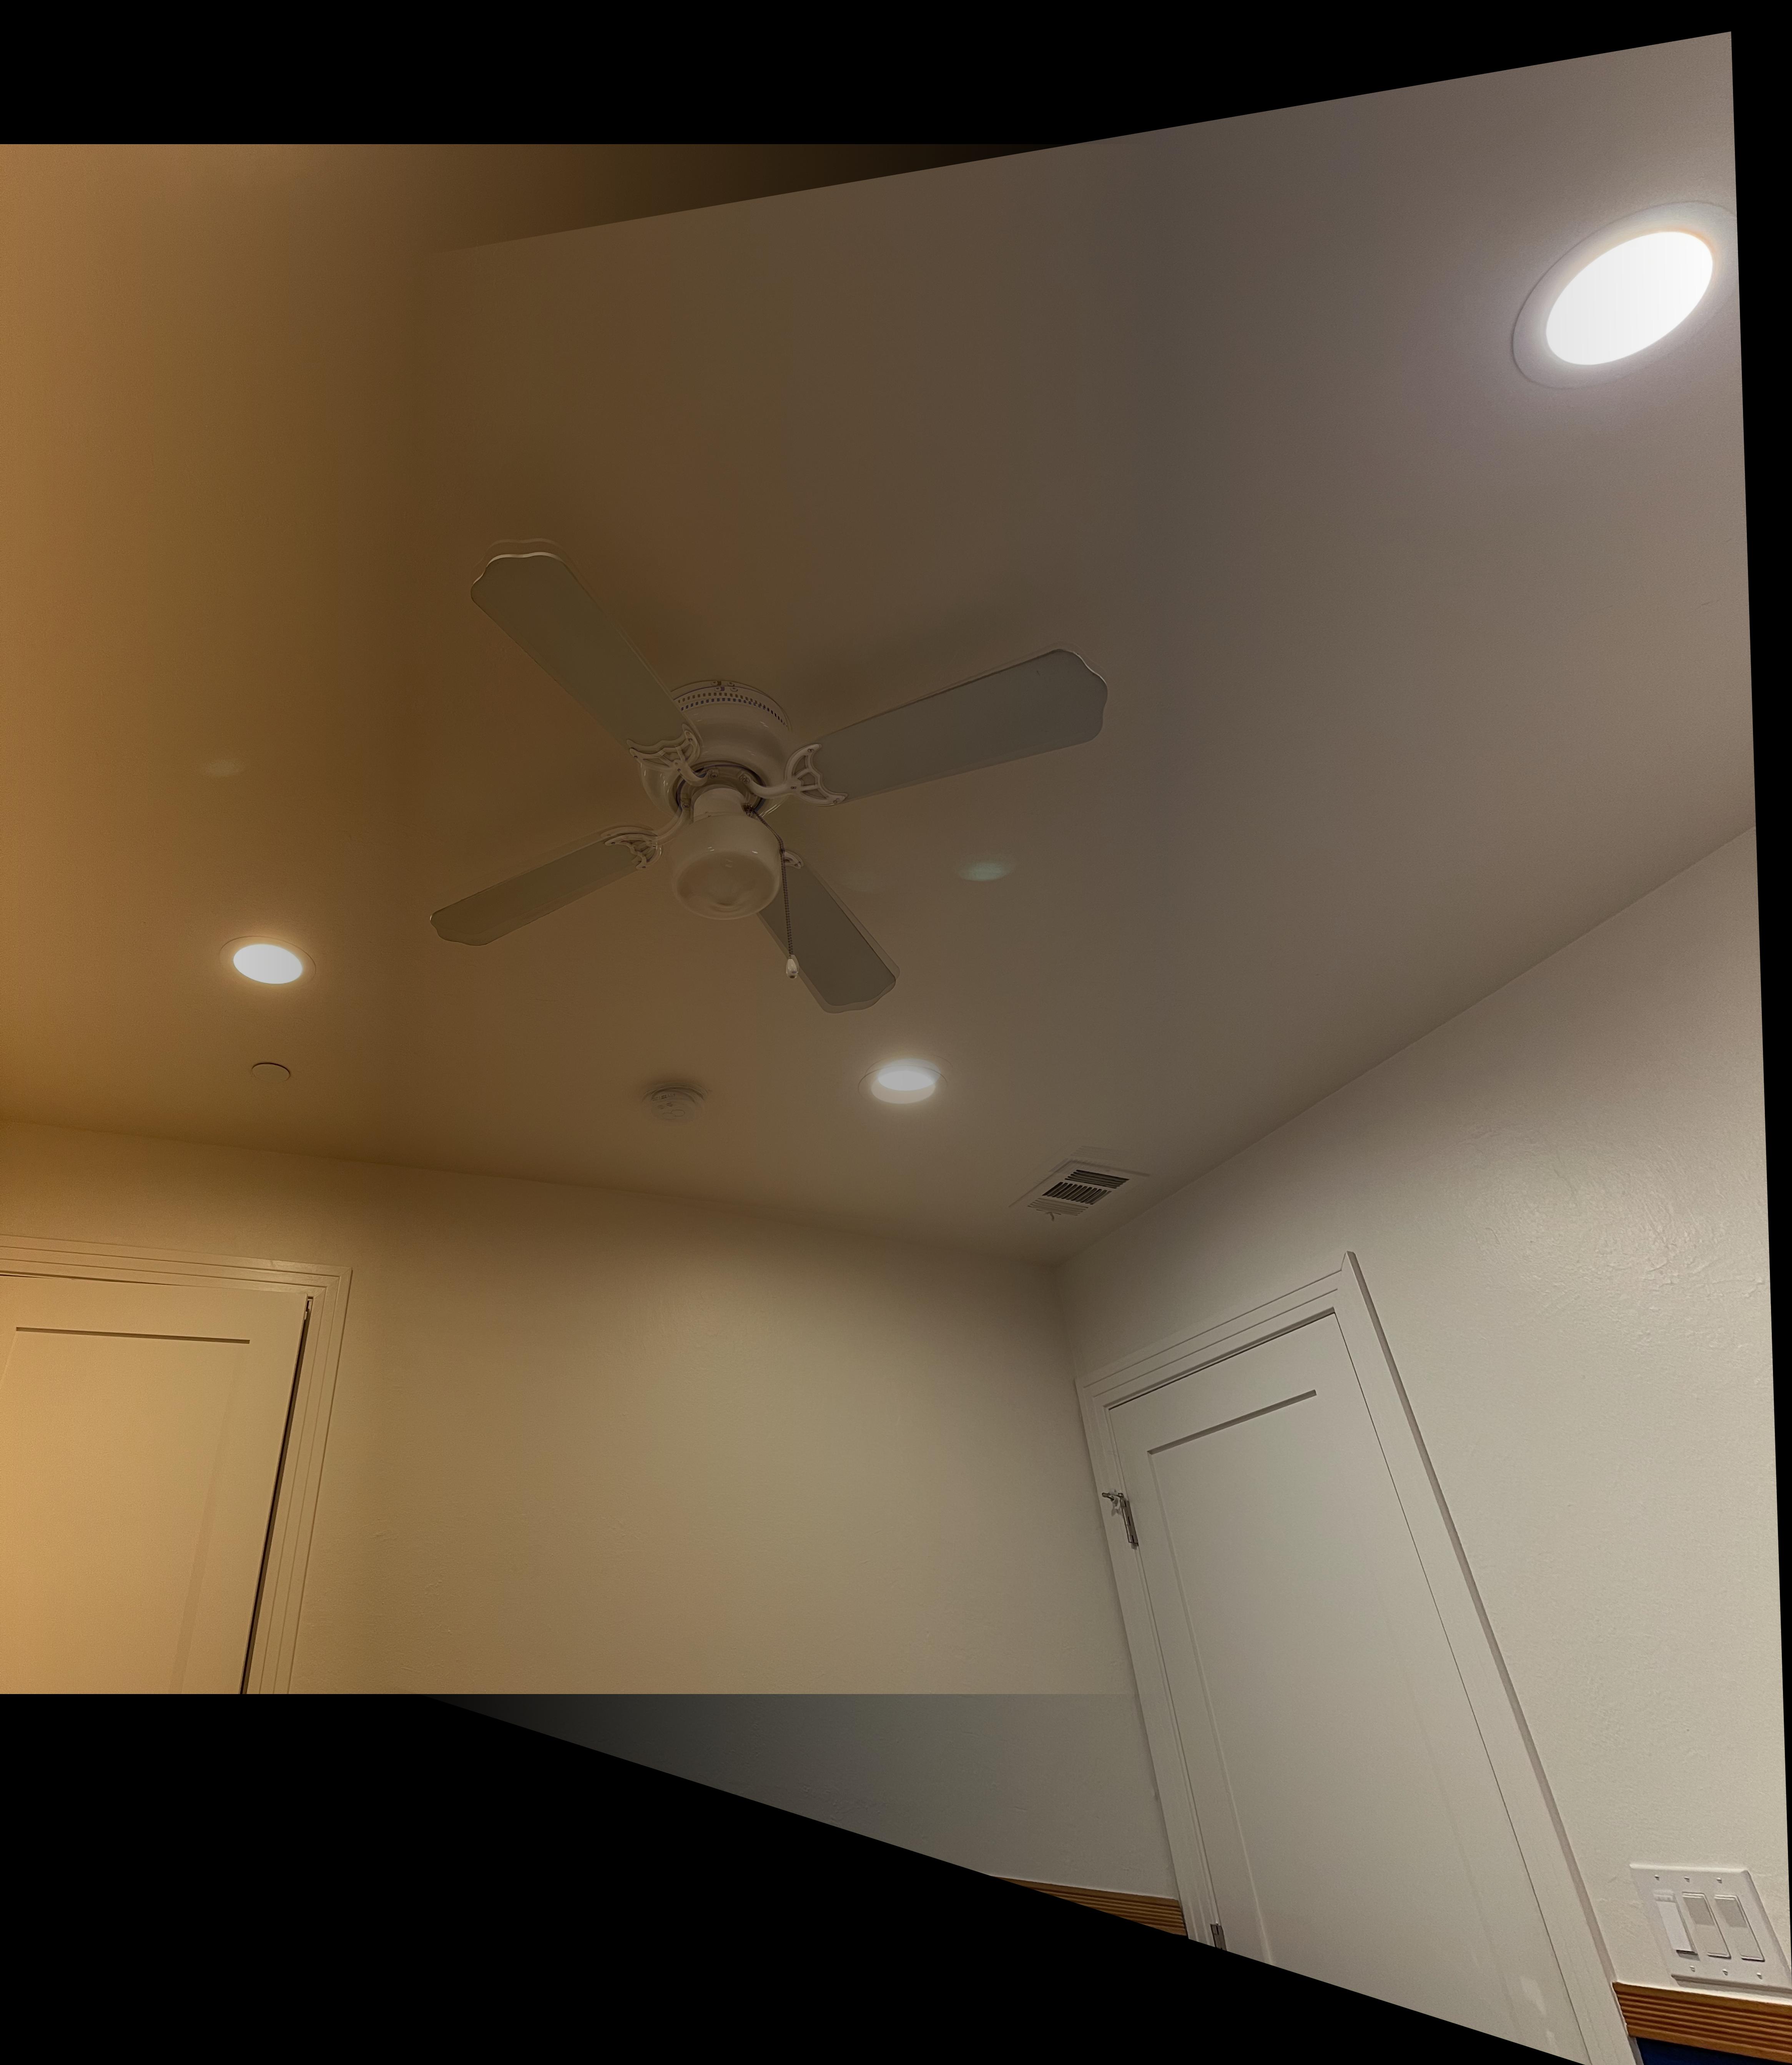
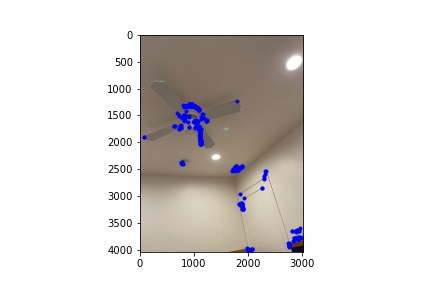
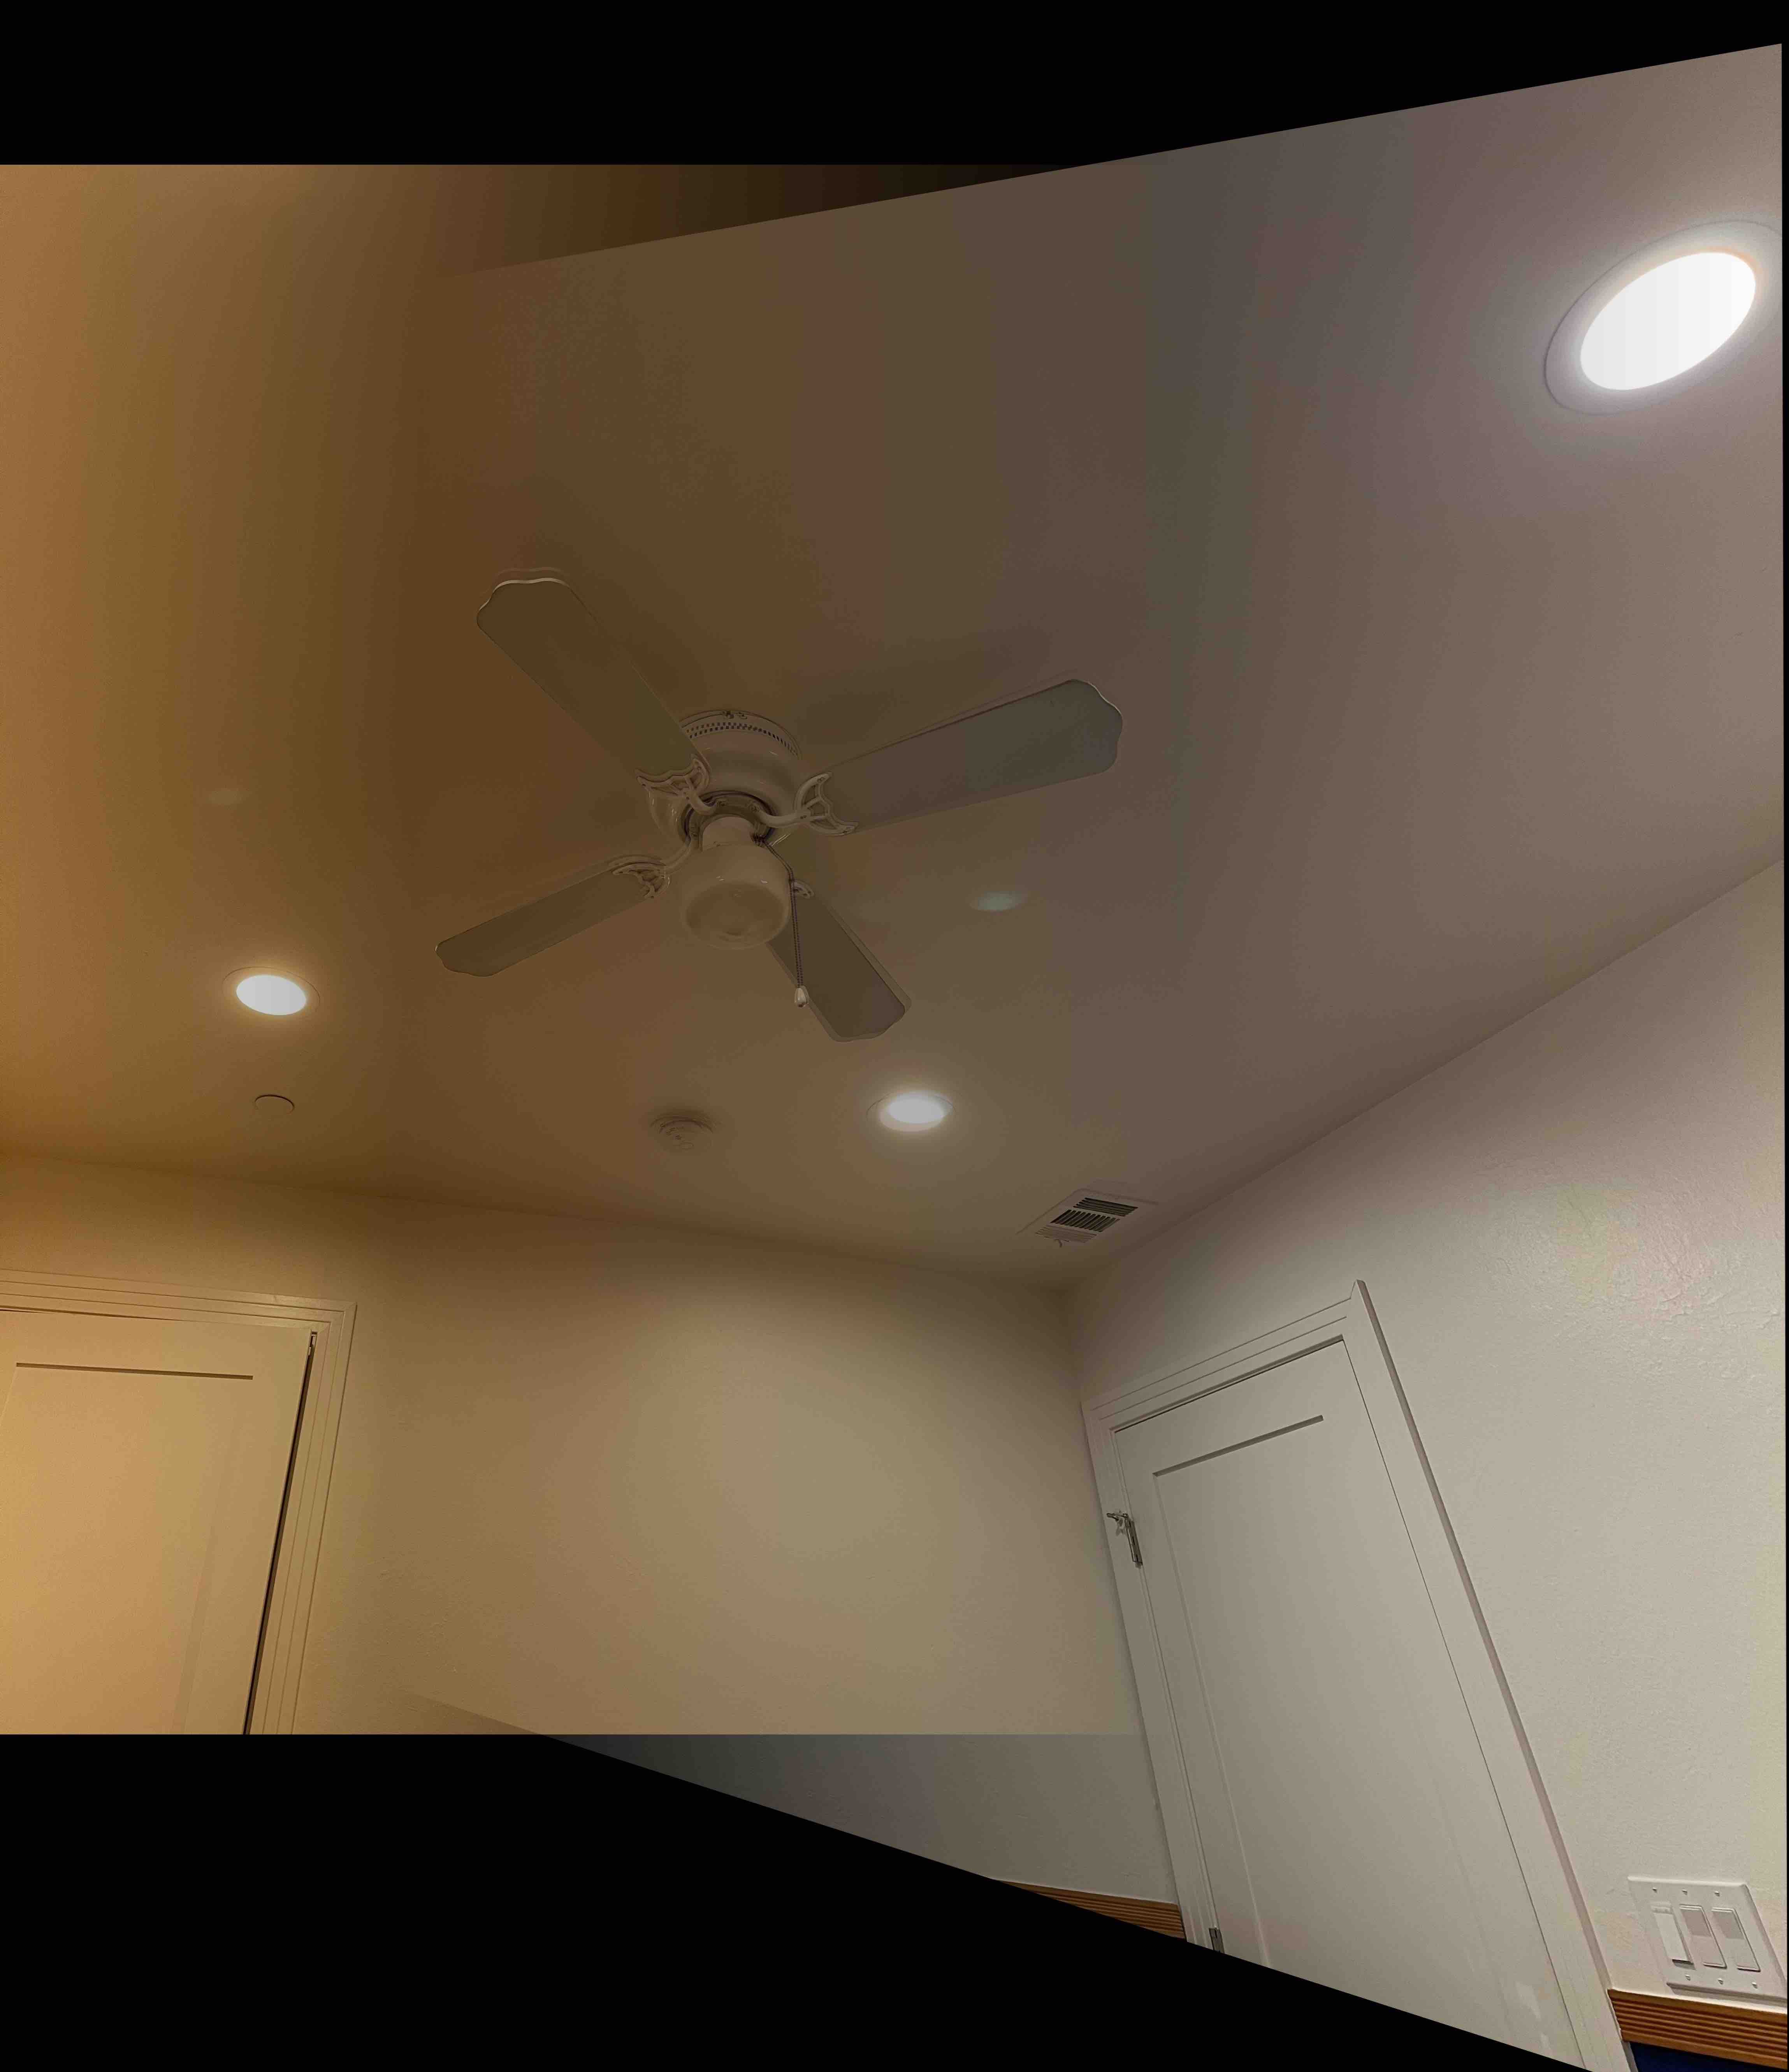
The final Moasic is of a fan, I thought it would be somehwat cool to see what the moasic would look like if the color in the two images was slightly different, so in one I used AWB, and in the other I didn't. It produced an interesting result.
I learned a lot of interesting things from this part, most notably that making panaromas through hoomographies/projective transformations is a possibility. The second interesting thing was that selecting points is probably one of the most important parts of this project. I had a couple of failed attempts when I was iniitially selecting points, resulting in some really funky combined images. There were also some images where my selected poitns were consistently off so it resulted, in images that weren't that great, hopefully in the automatic point selection portion I am able to produce proper panormas for those image.
In this part I got a good understanding of the automatic process involved in selecting points resulting in automatically creating moasics without selecting the points.
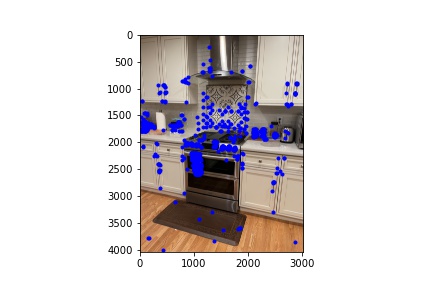
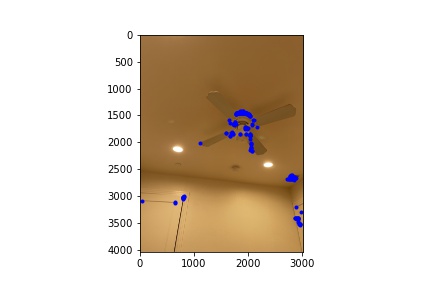
First I did the point selection porcess, this resulted in the following points.

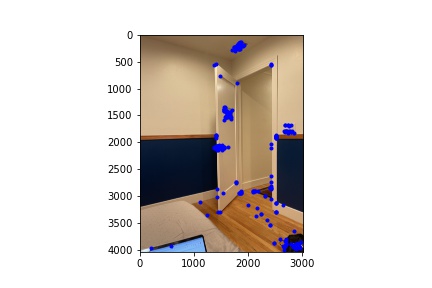
After that using feature matching and ransac, I got a group of paired points that corresponded to each other.
Finally, after getting the points, similar to Part A I combined the pictures together into a moasic. Below is a compare and contrast between the manual and automatic version.
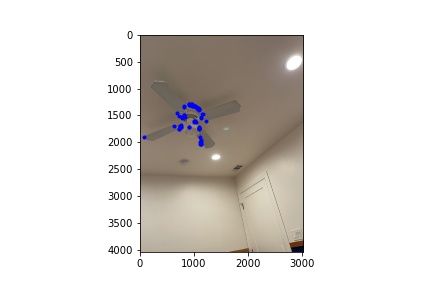
First I did the point selection porcess, this resulted in the following points.
After that using feature matching and ransac, I got a group of paired points that corresponded to each other.
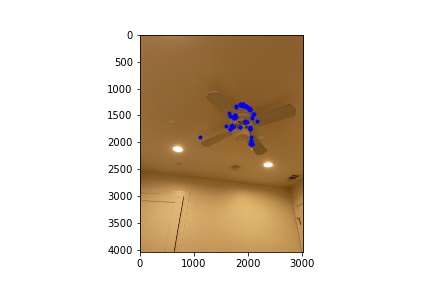
Finally, after getting the points, similar to Part A I combined the pictures together into a moasic. Below is a compare and contrast between the manual and automatic version.
It's interesting to see that in some images the automatic point selection had almost no difference, but in others it made the overall moasic better. In the kitchen example this was most apparent. Below is also an image that for somre reason with manual point selection I was not able to produce into a panorama.
I learned some interesting things in this part. Most notably, I think the cooleest thing I learned was that the way to compare patches within two pictures that are projective transformations of each other is actually kind of simple and intersesting. It jsut involves the use of the mean and standard deviation of a guassian blurred image. Overall, had a fun time with this project!