In order to ensure the correctness of the homography, and test image warping, I used the following images taken from my iPhone camera.

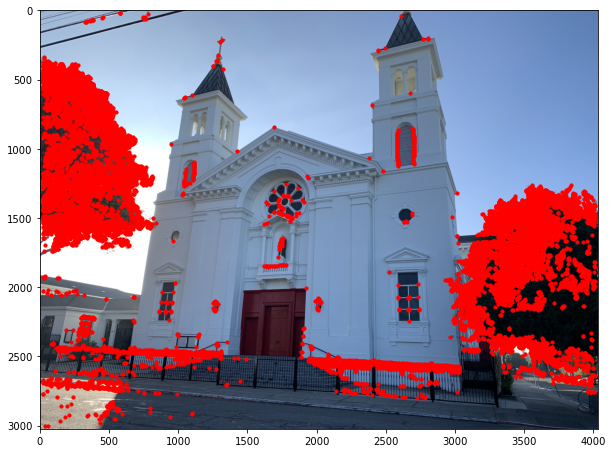
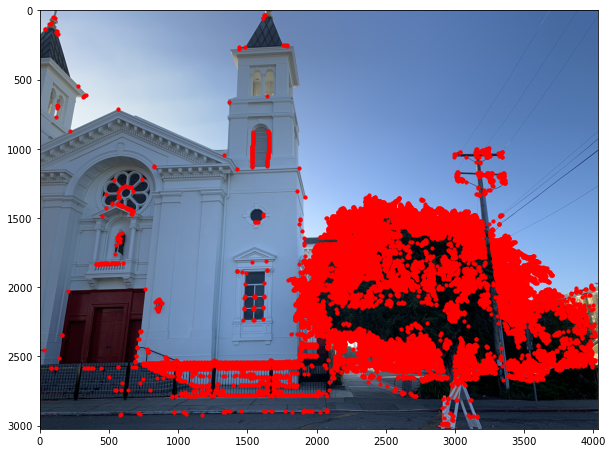
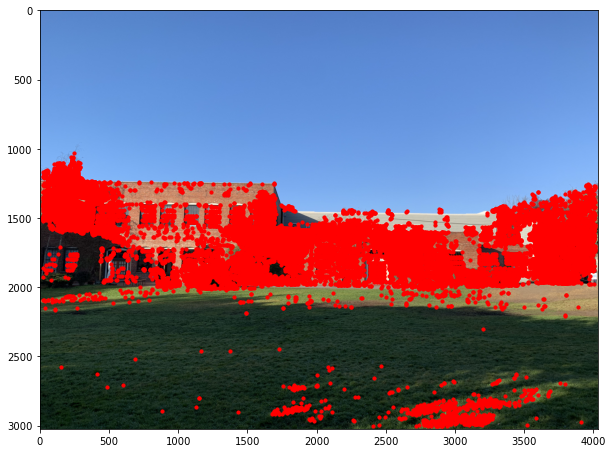
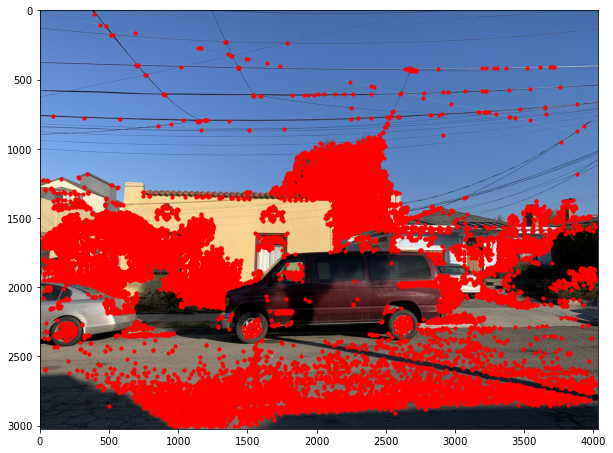
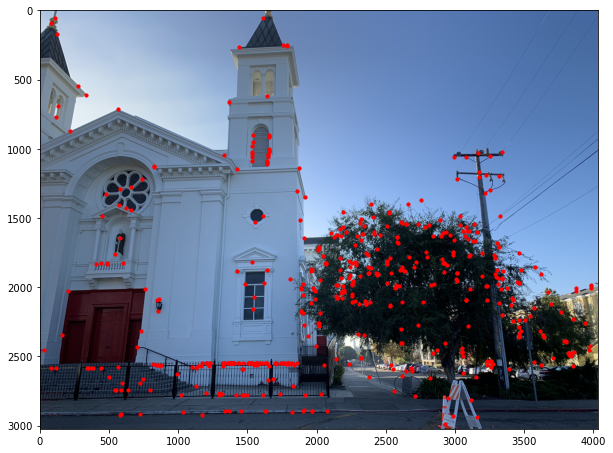
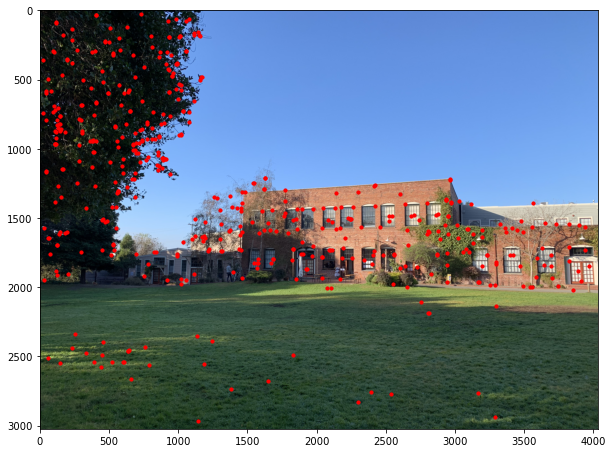
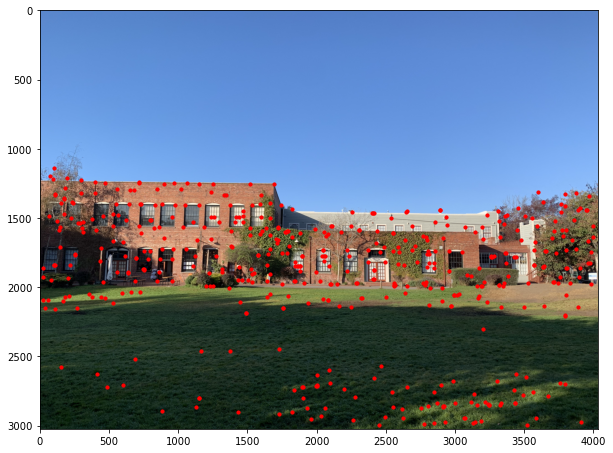
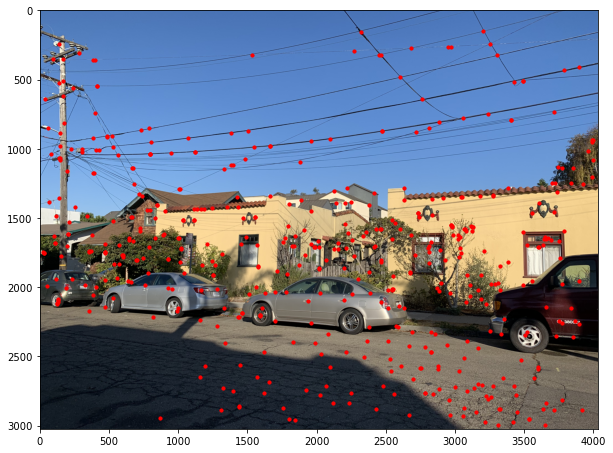
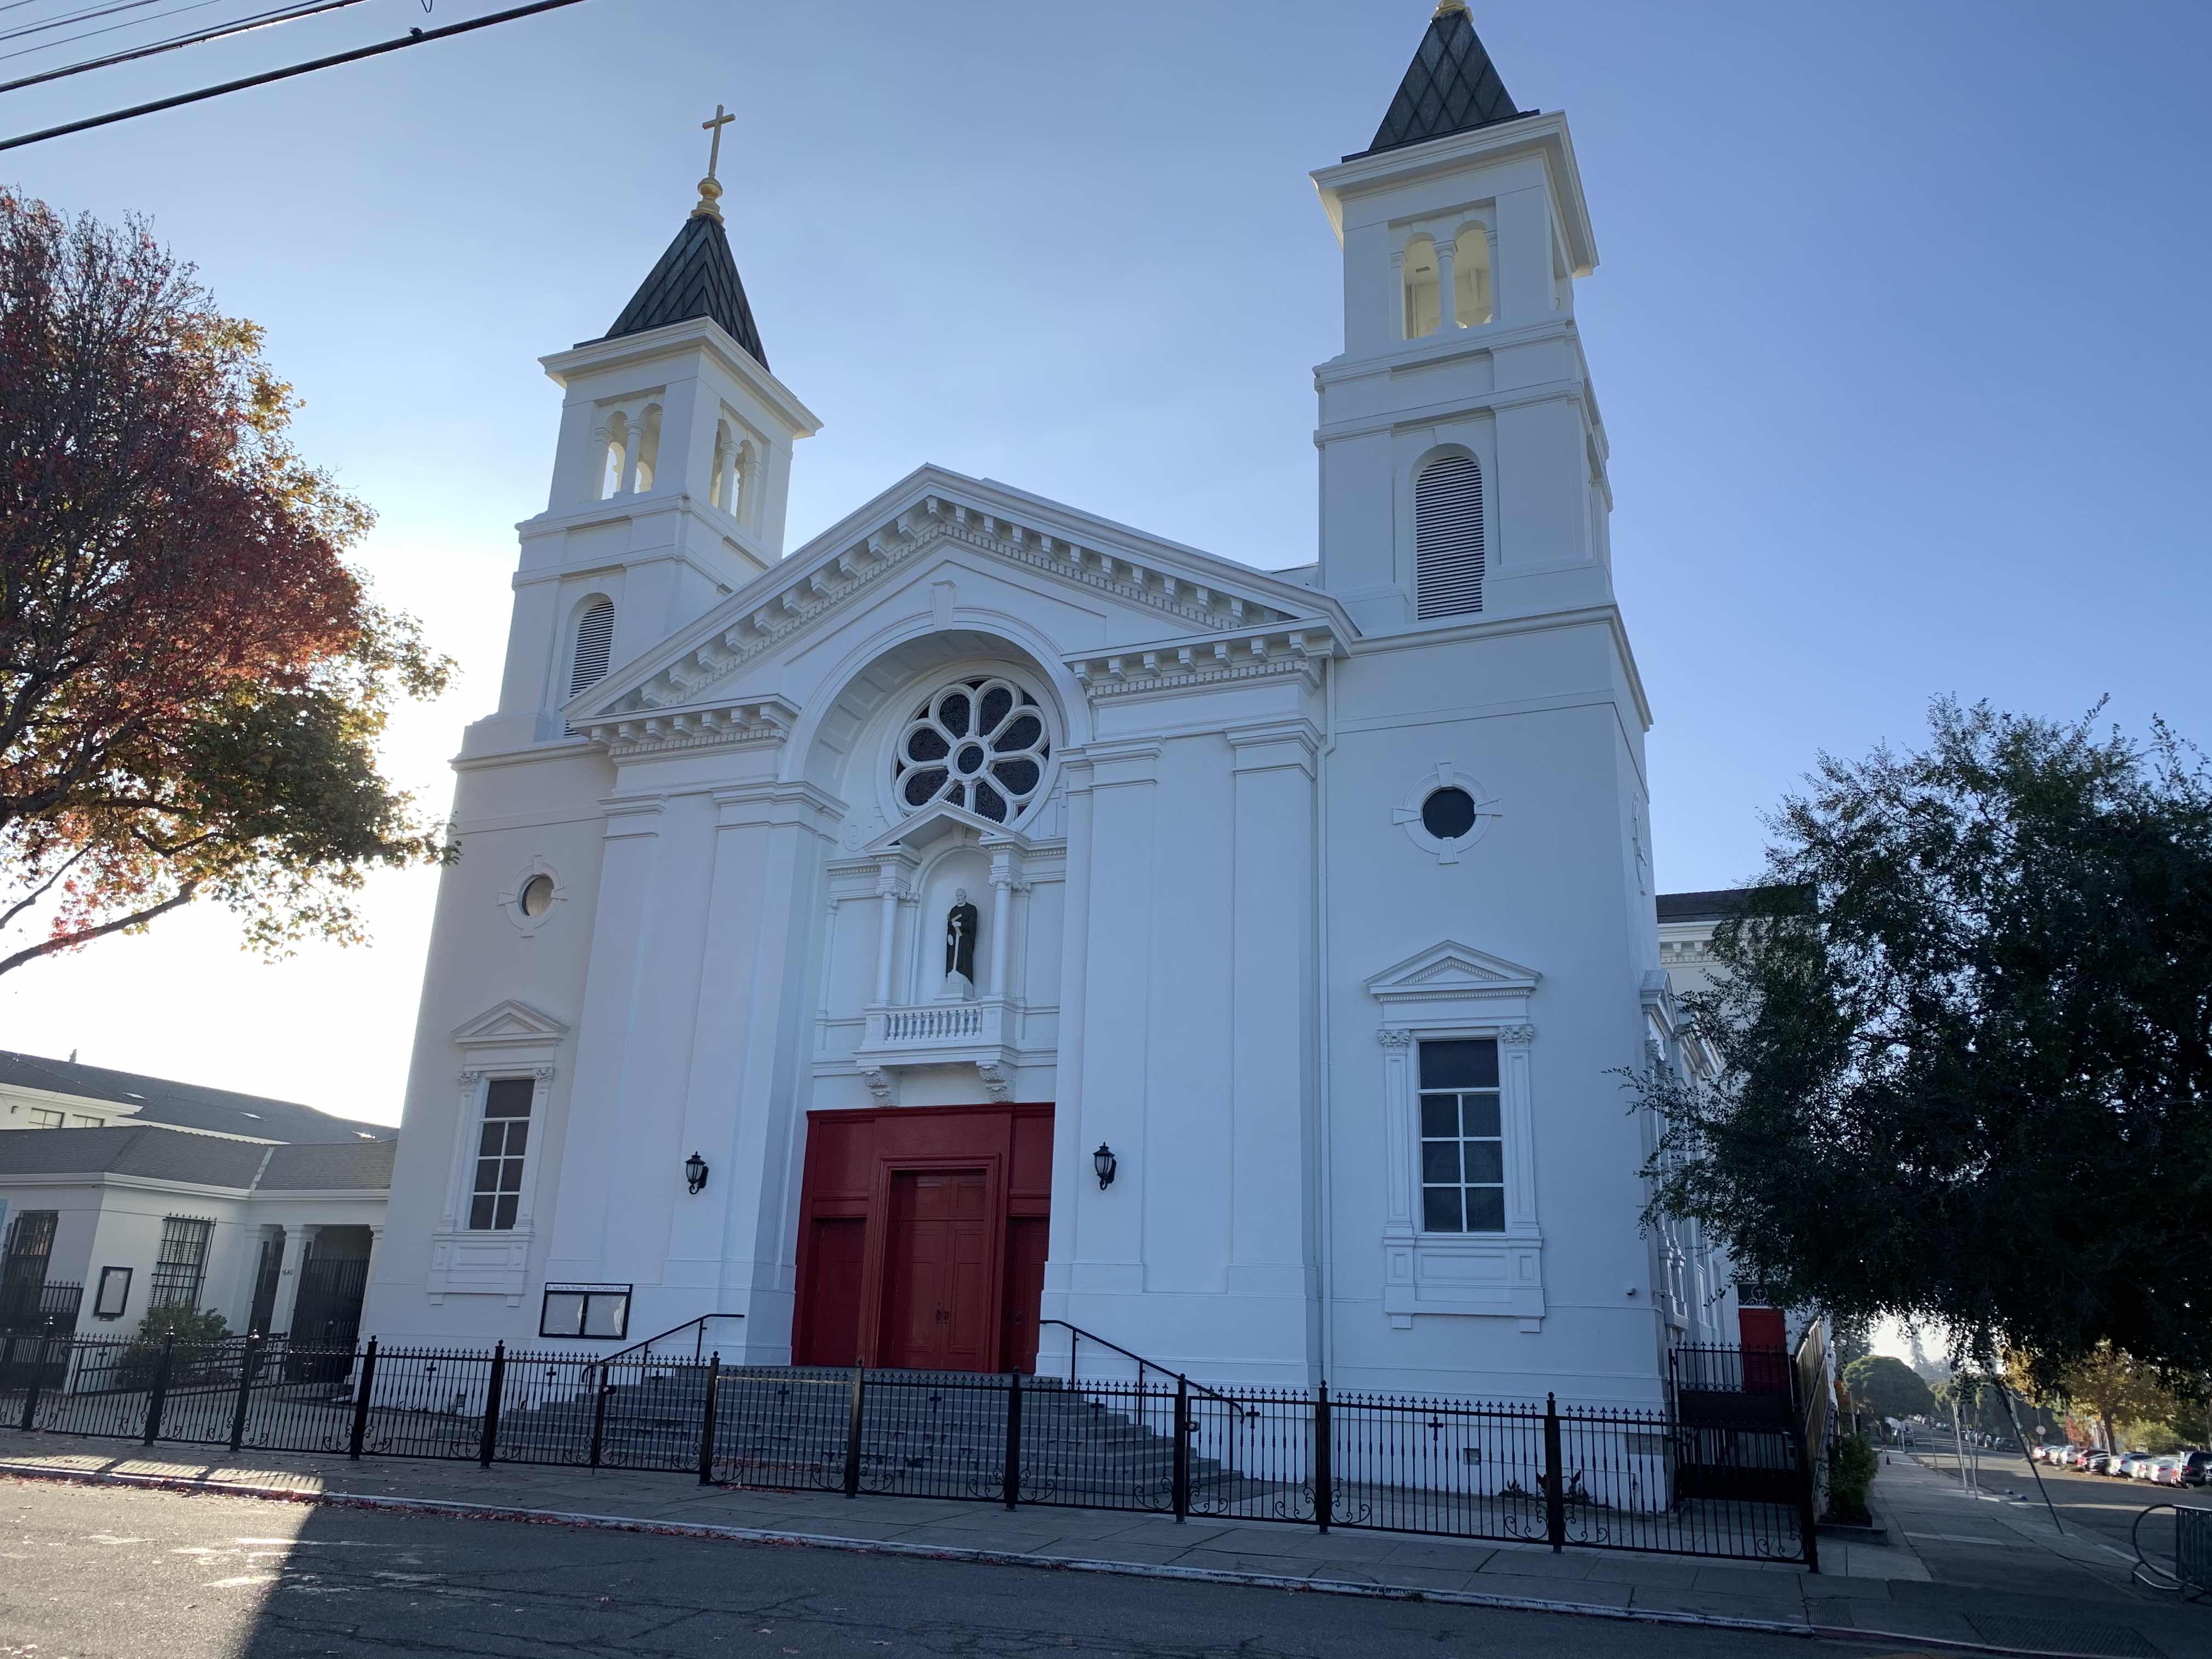
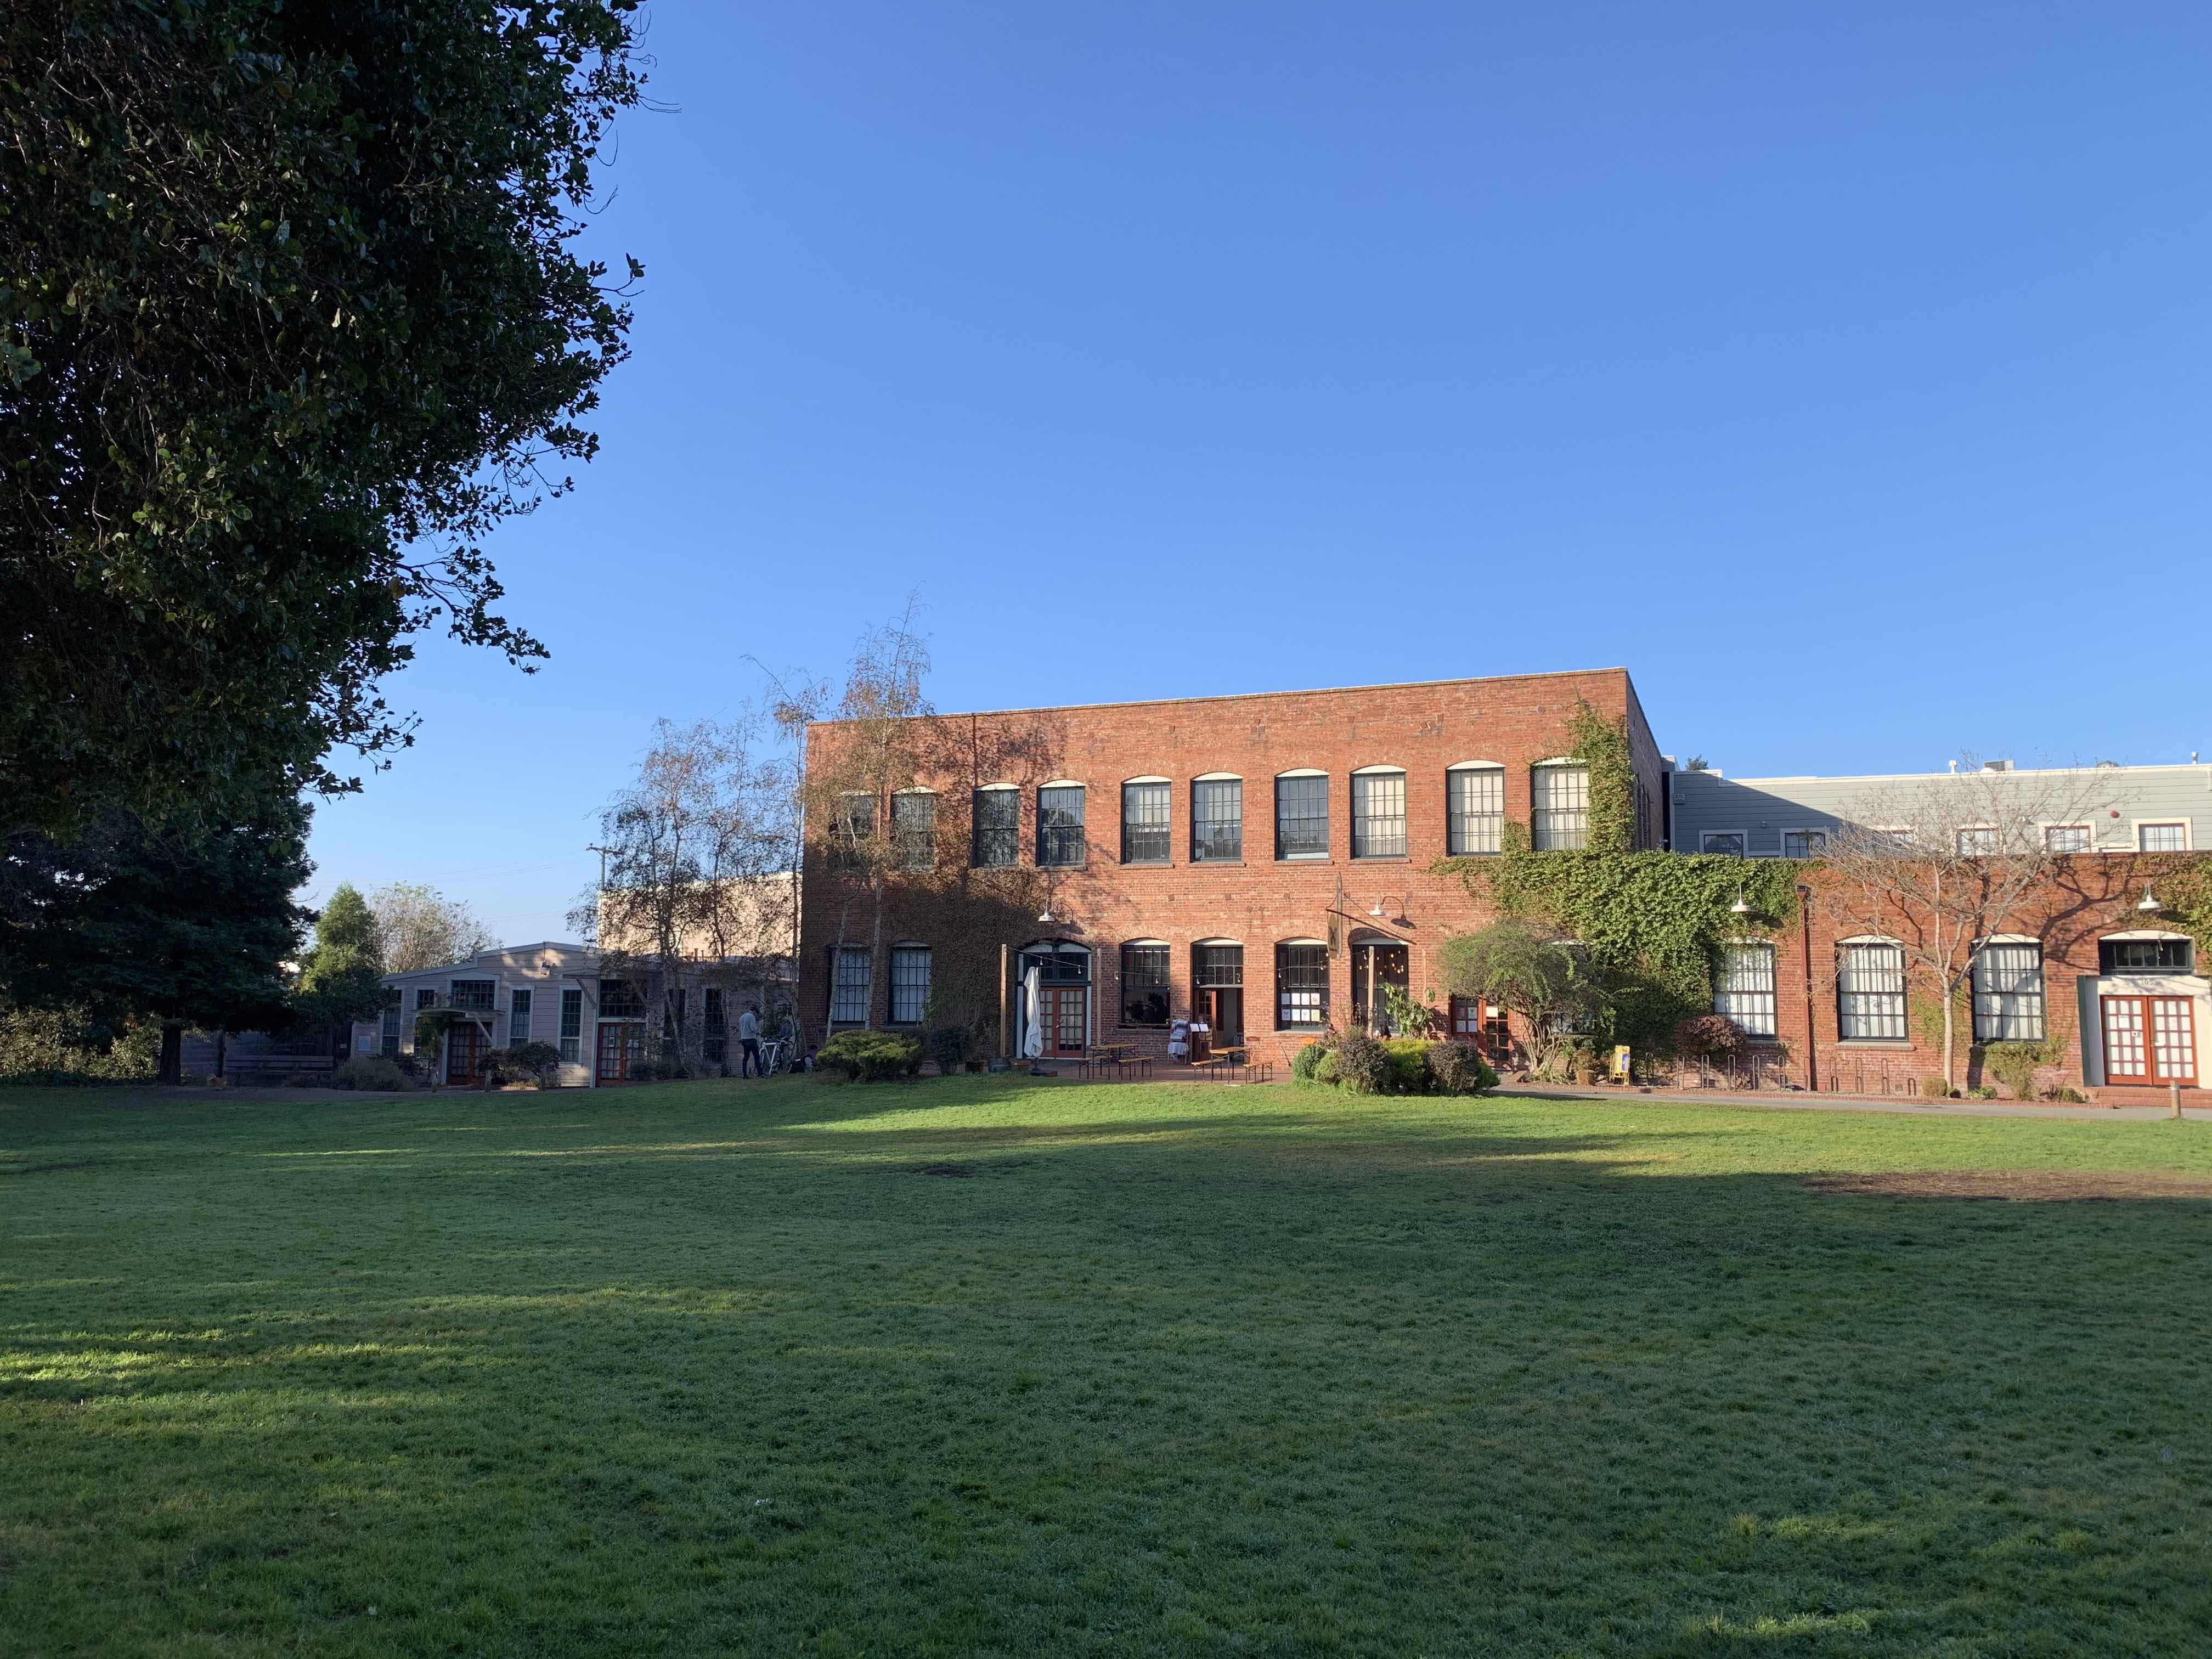
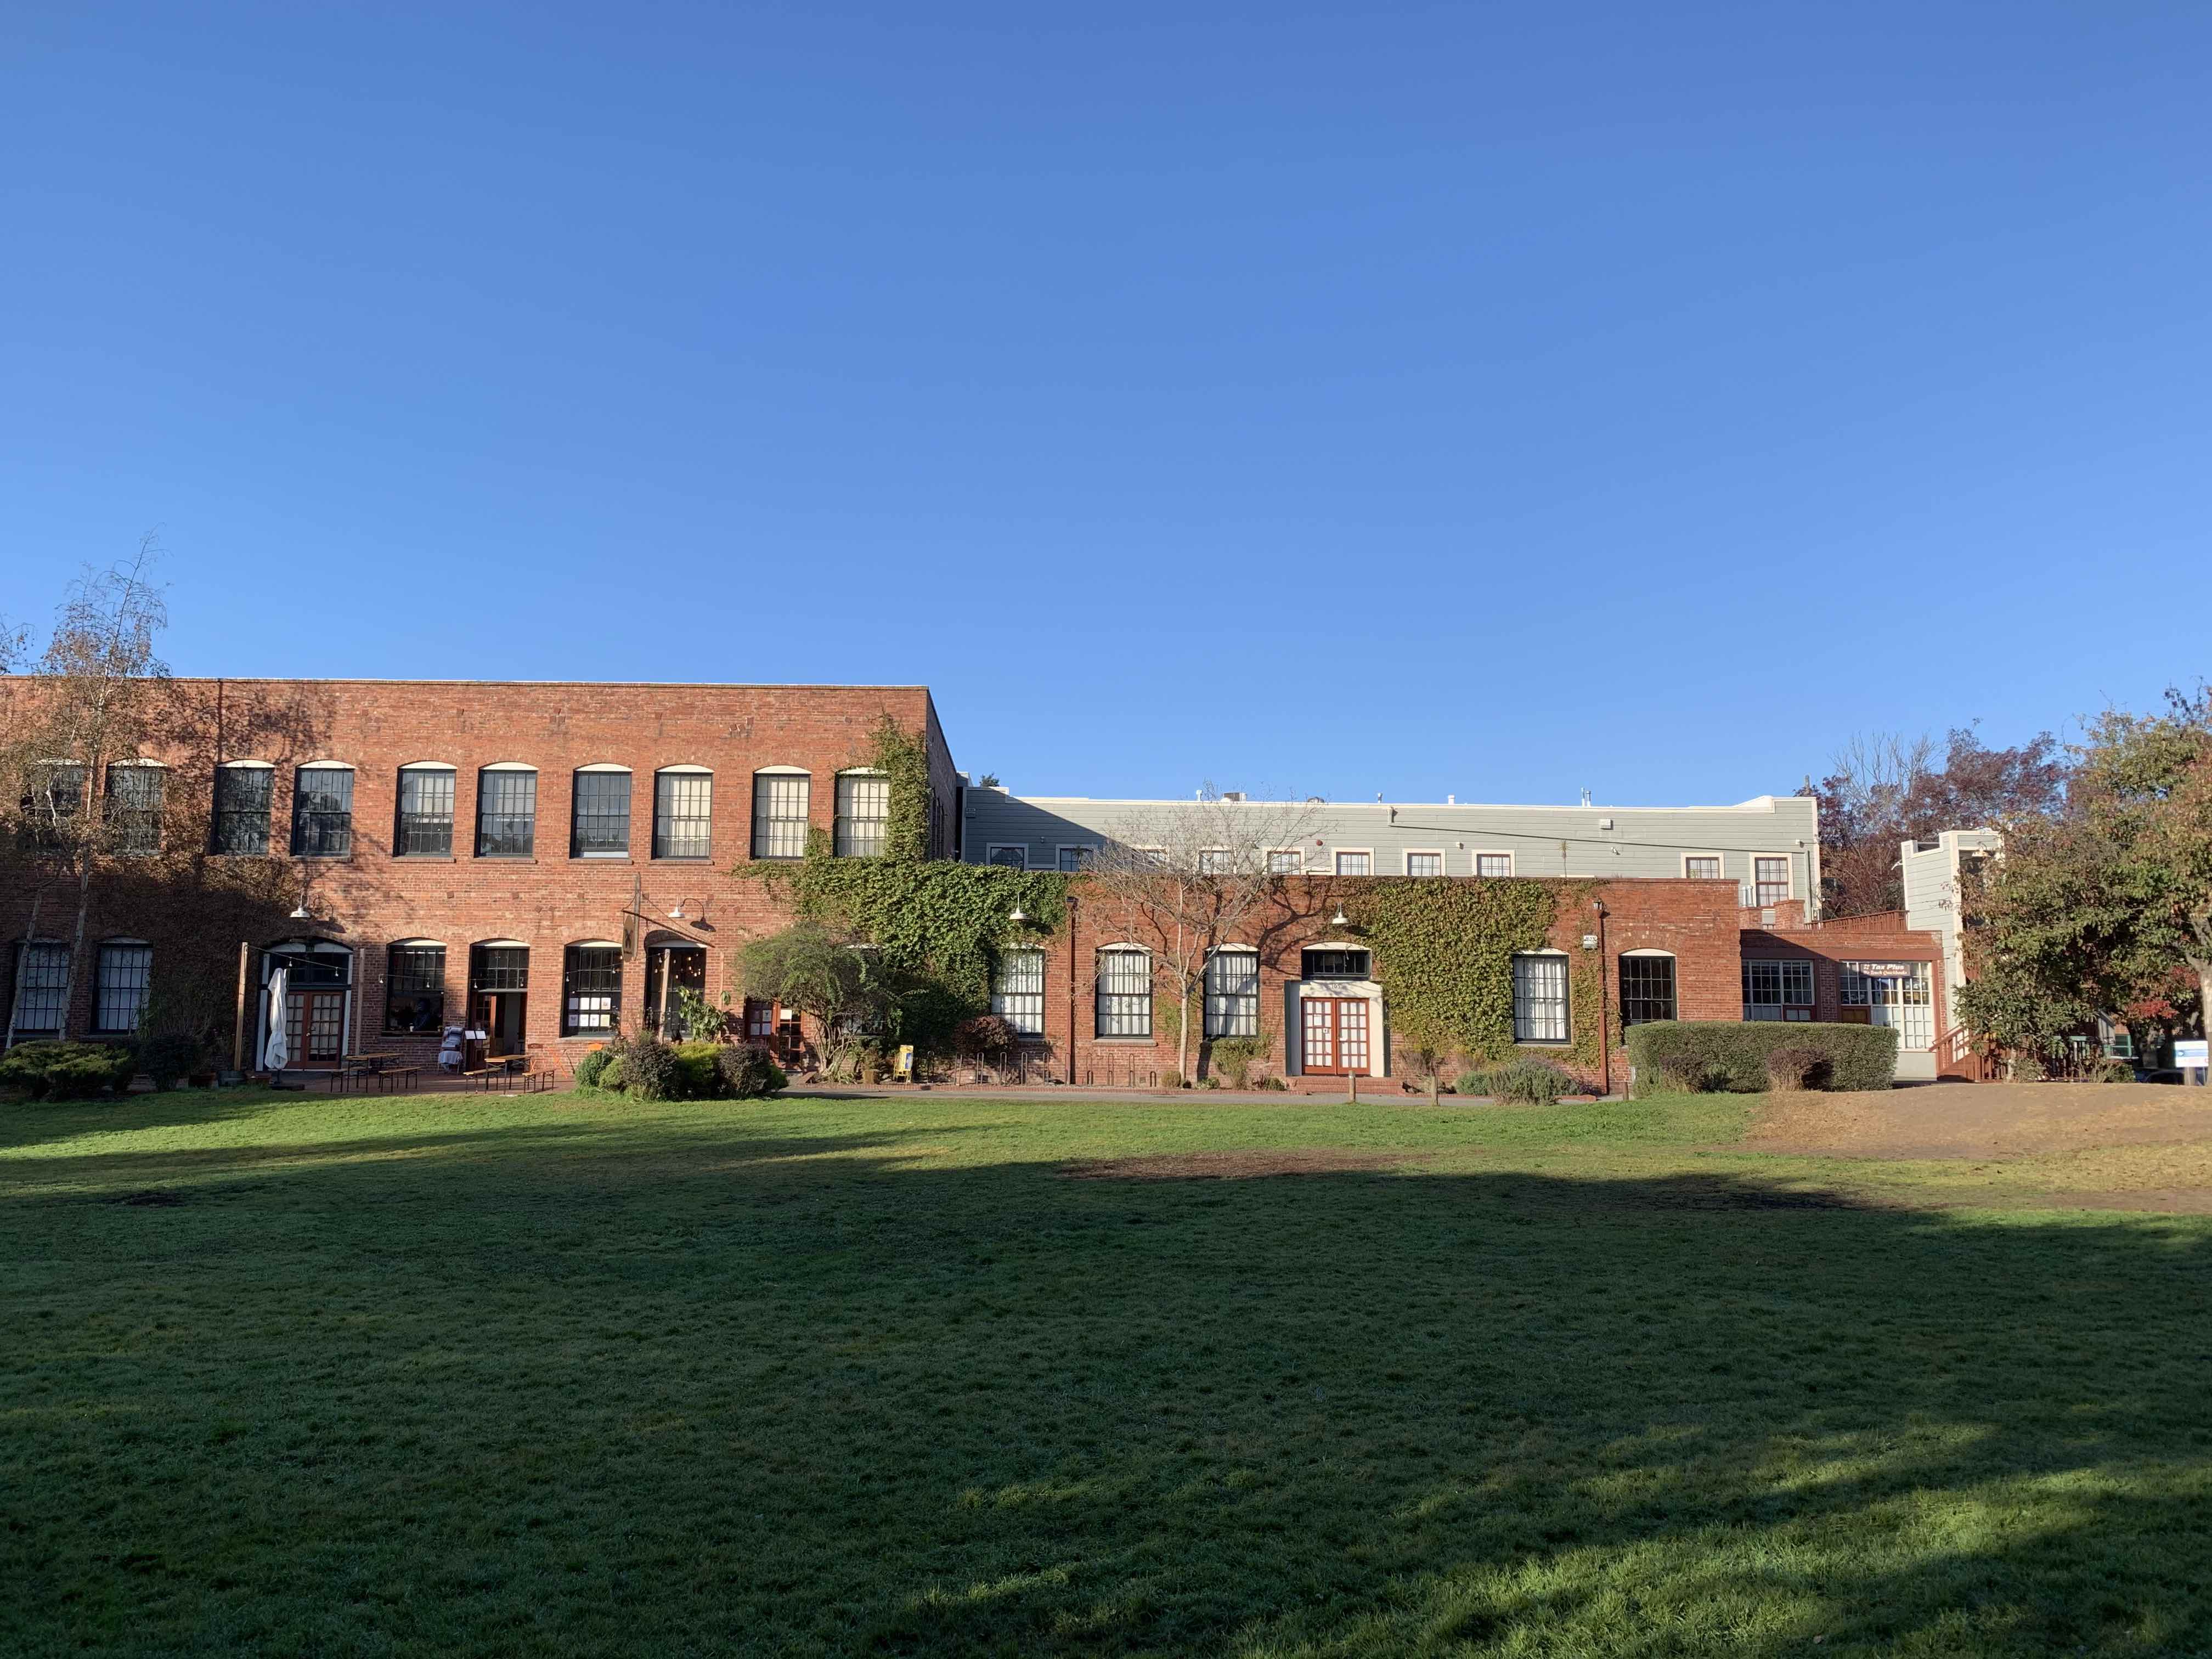
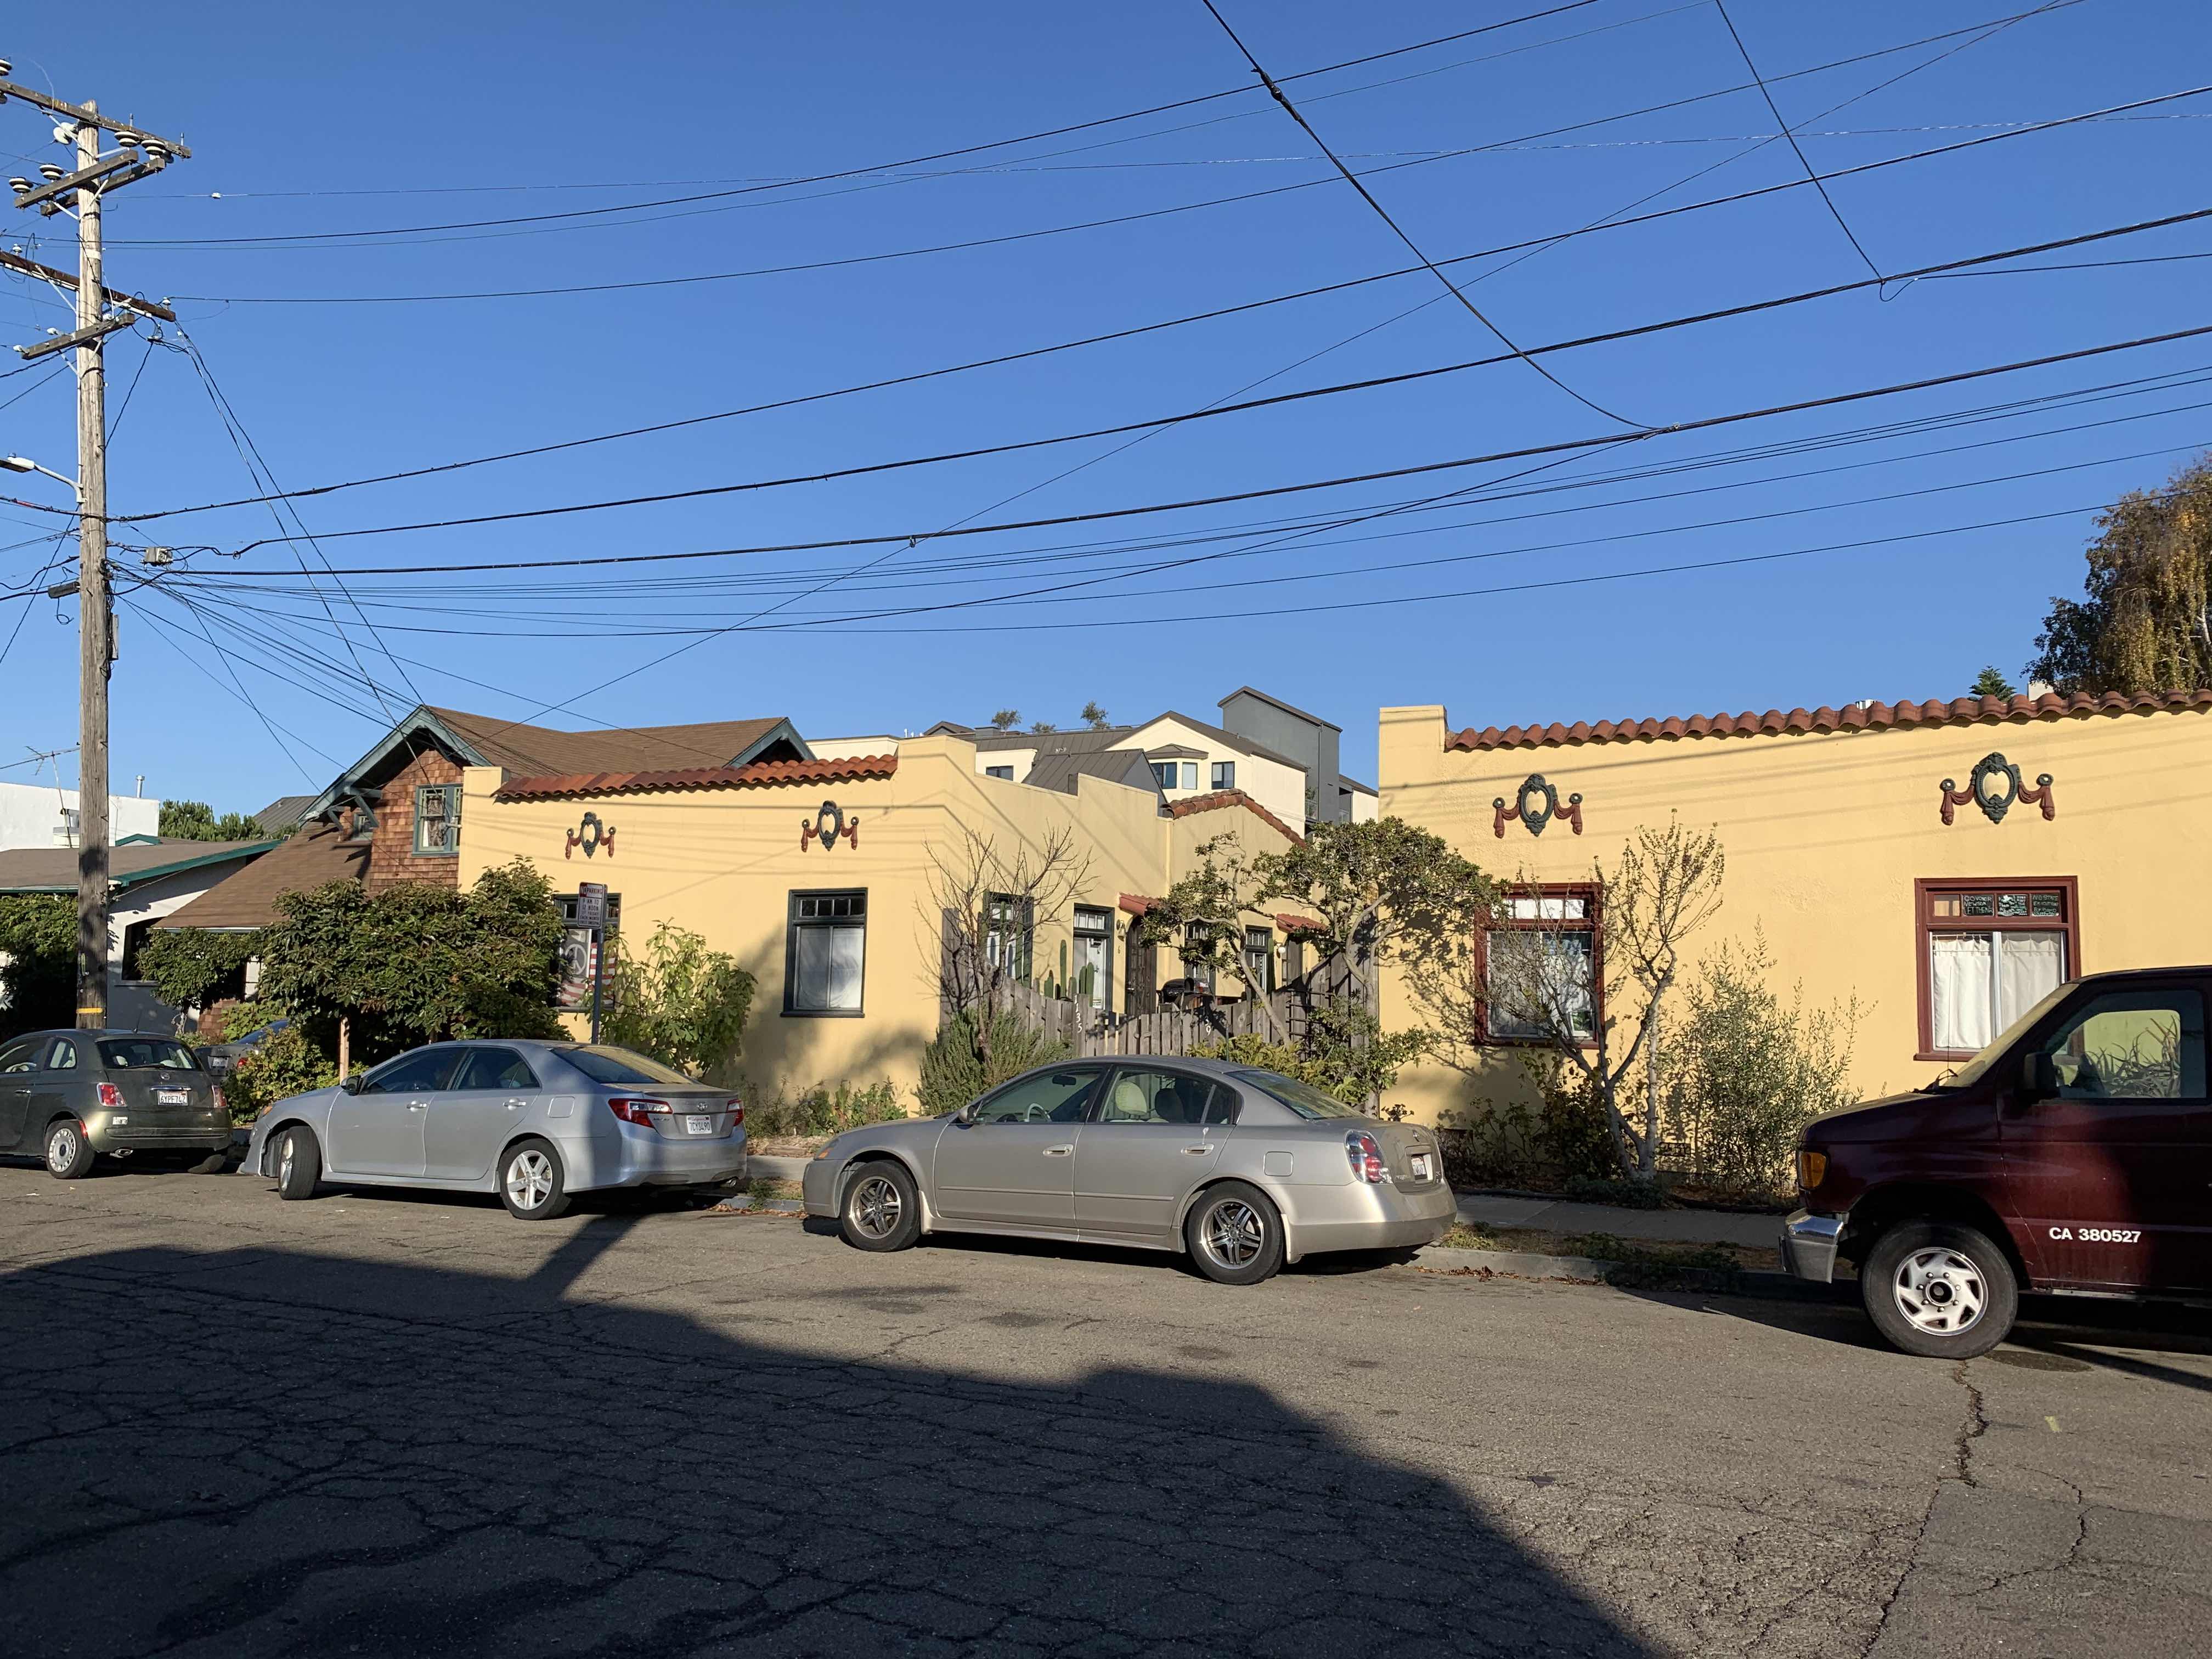
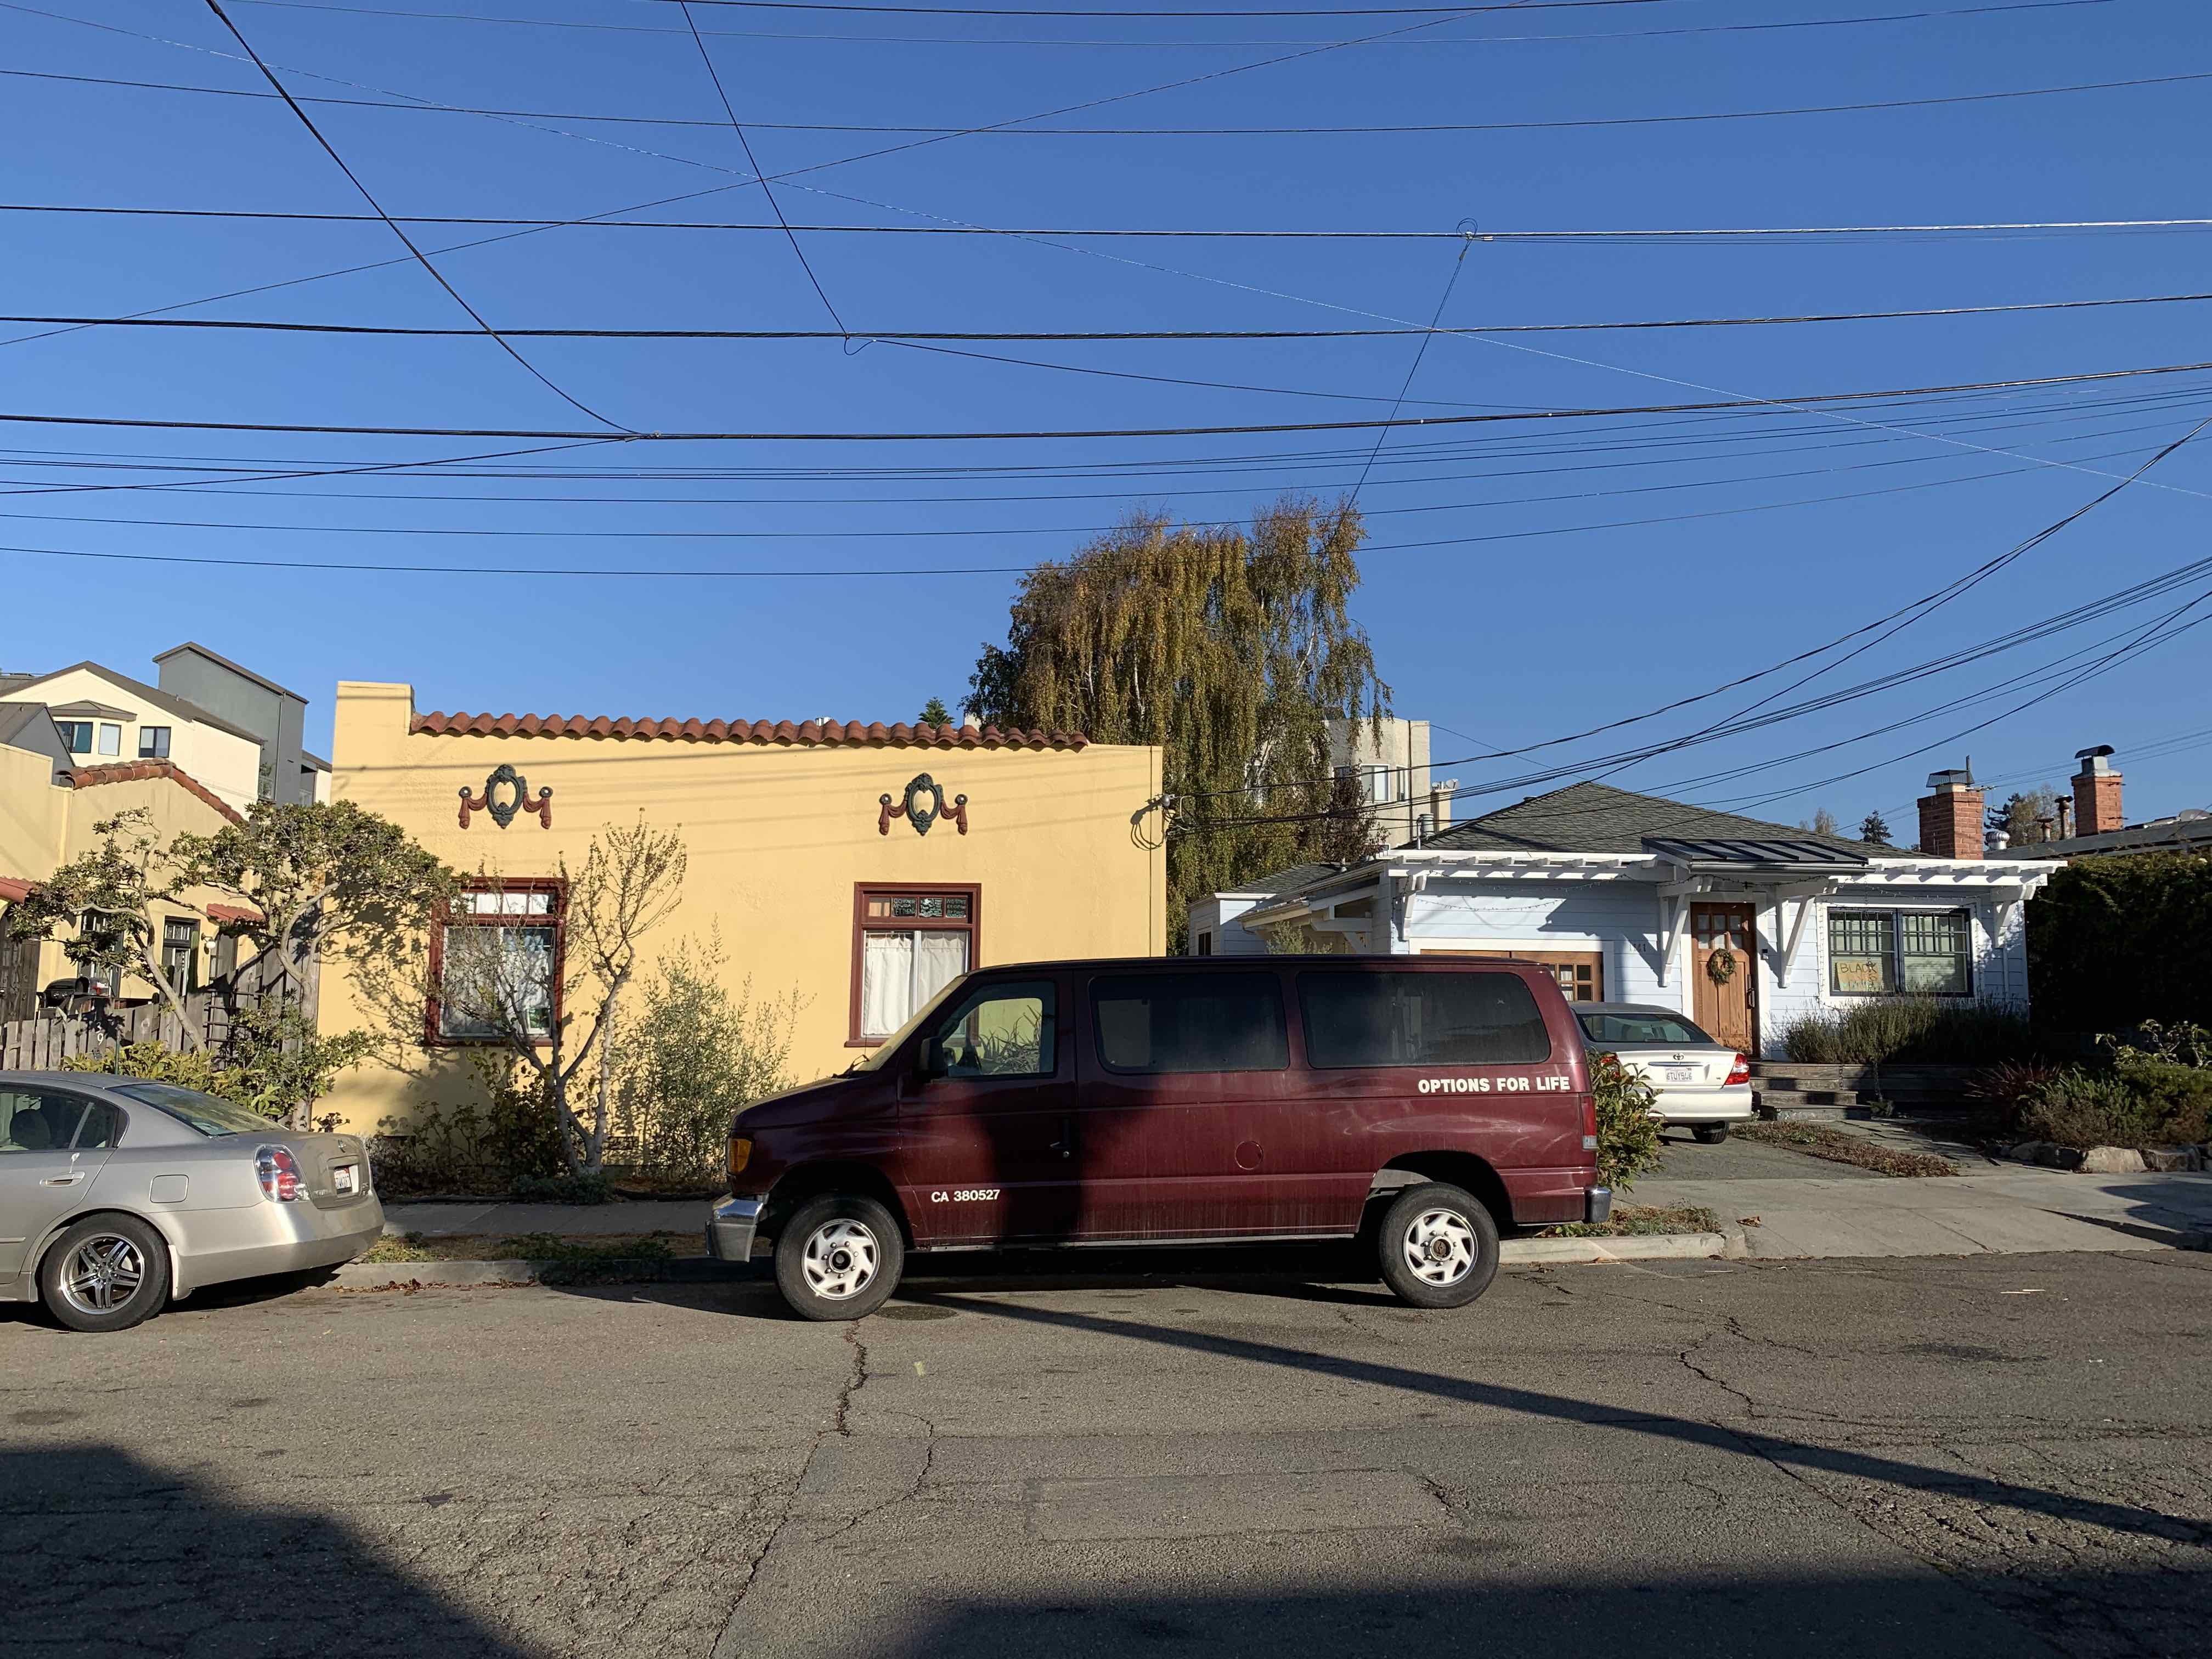
For the image mosaicing, I collected the following three sets of images from around Berkeley.

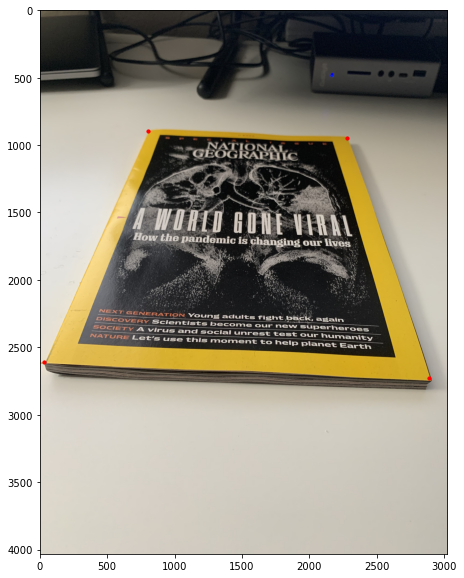

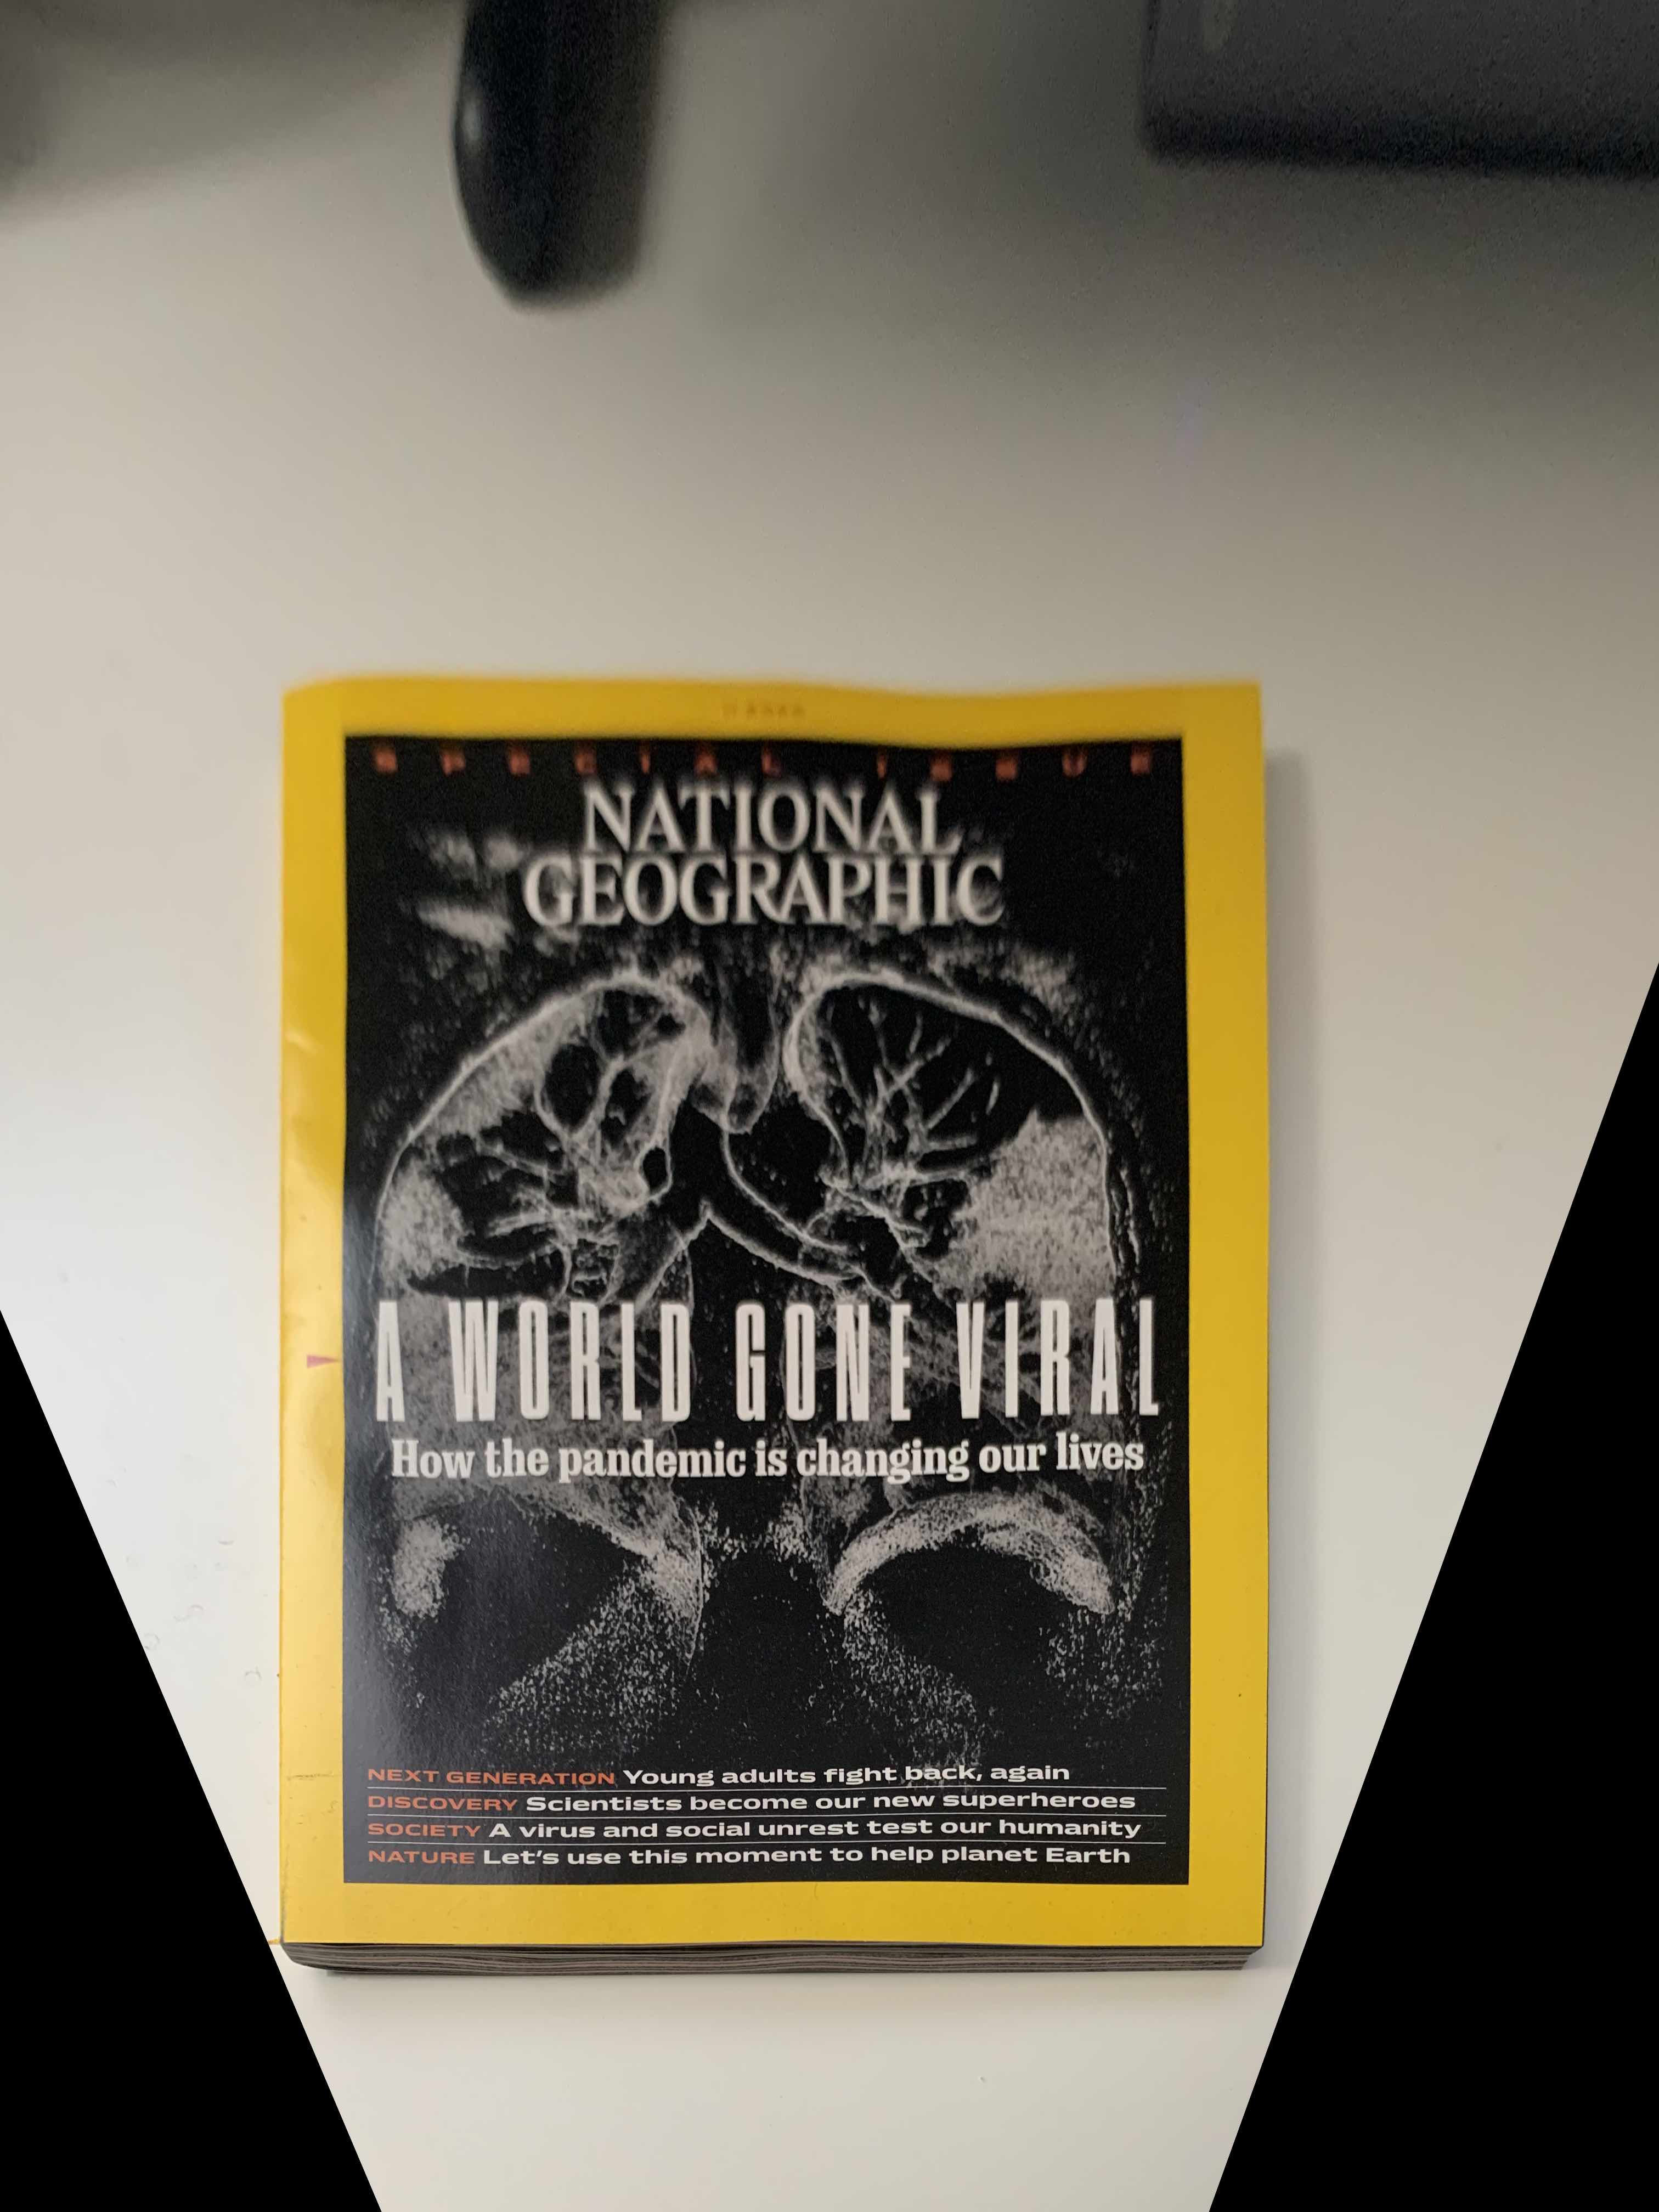
Using the image warp function, and by defining four corresponding points, the above two images were rectified to:
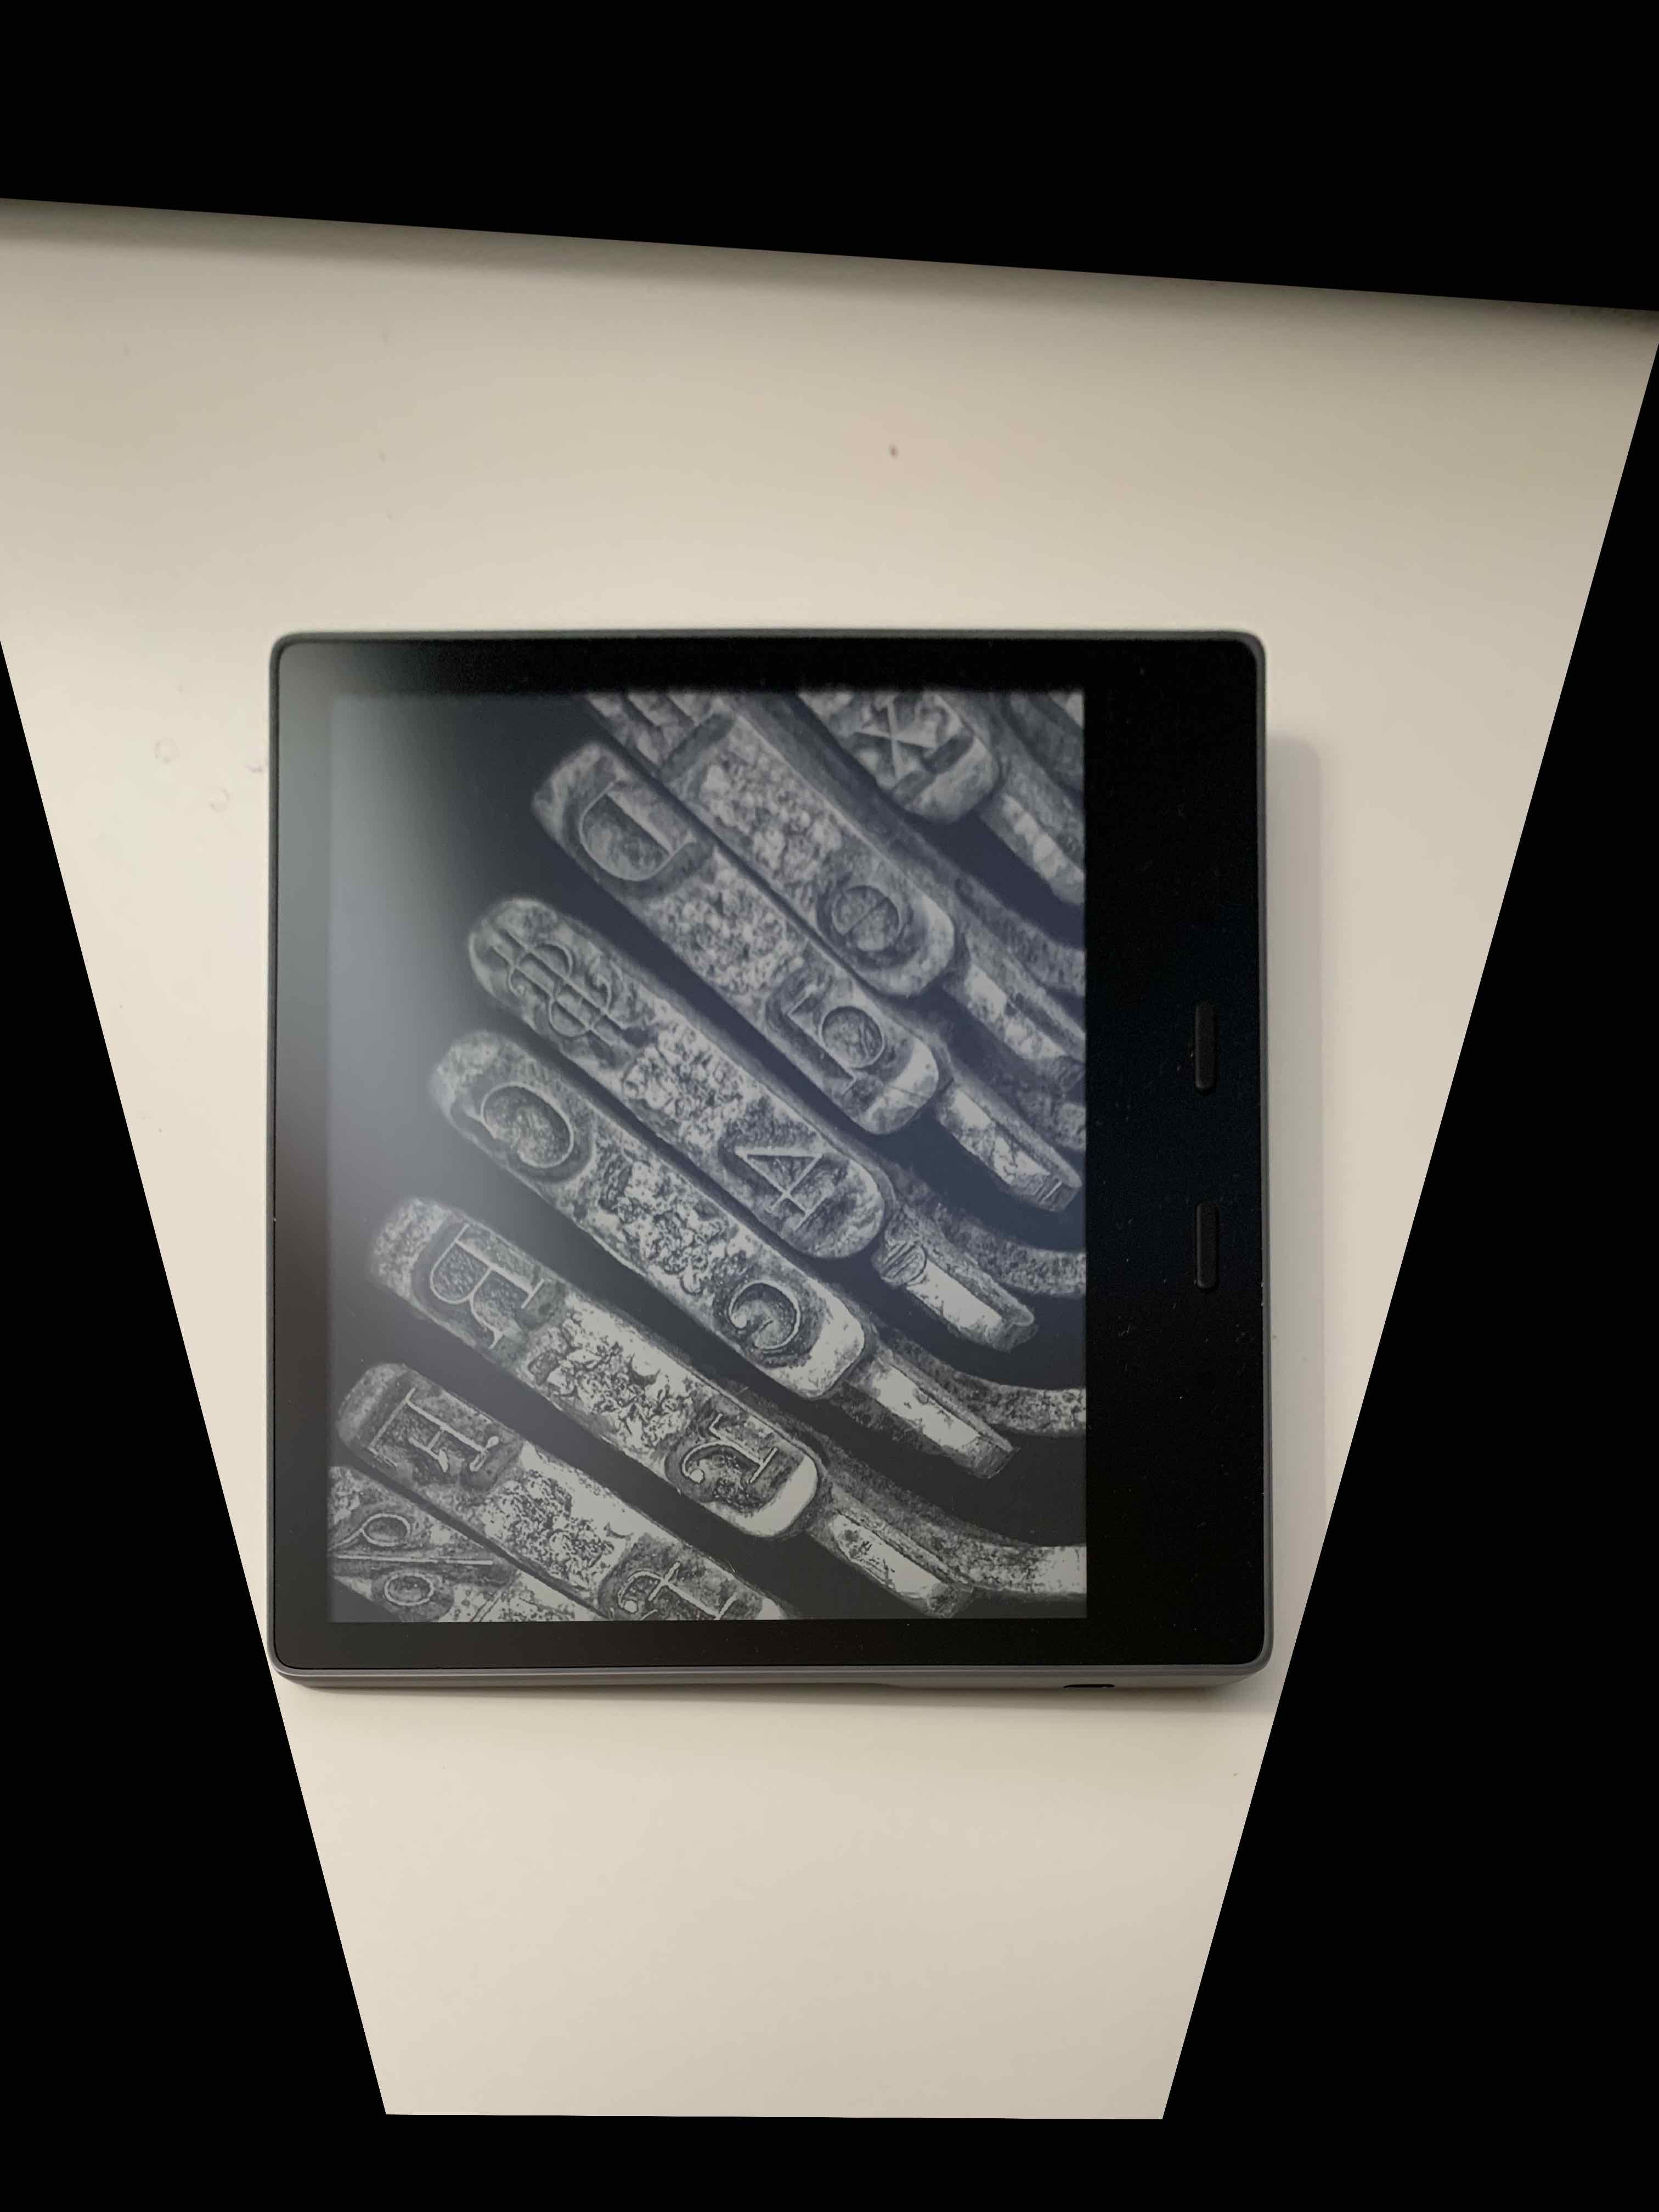
Note that two different sets of points had to be used (found out by trial/error), because of the difference in the shapes of the two objects.
The images above were transformed using weighted averages, and this produced the following mosaics:


Images that have thin lines that stand out and need to line up (e.g. the third image above) requires very precise specification of the corresponding points in the two images for the wires to line up.
Complicated techniques need to be used for merging the warped images, otherwise the join points of the two images are visible in well-lit regions.