The goal of this project is to create panoramas between two images. In part A, I manually selected the points, computed homography matrix that is used to warp one image into the other and then create the mosaic of the two images. In part B, I explored algorithms to automatically detect key points that define the key features, which enables us to automatically stitch the images into a mosaic.
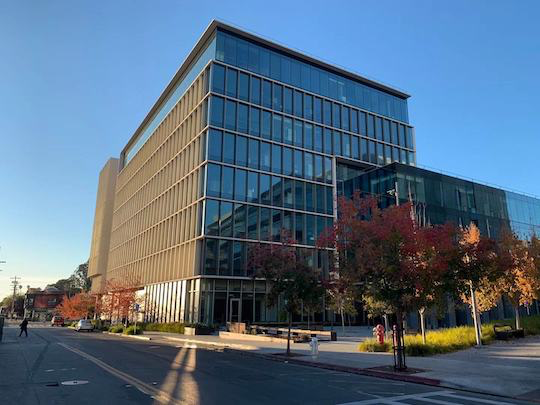
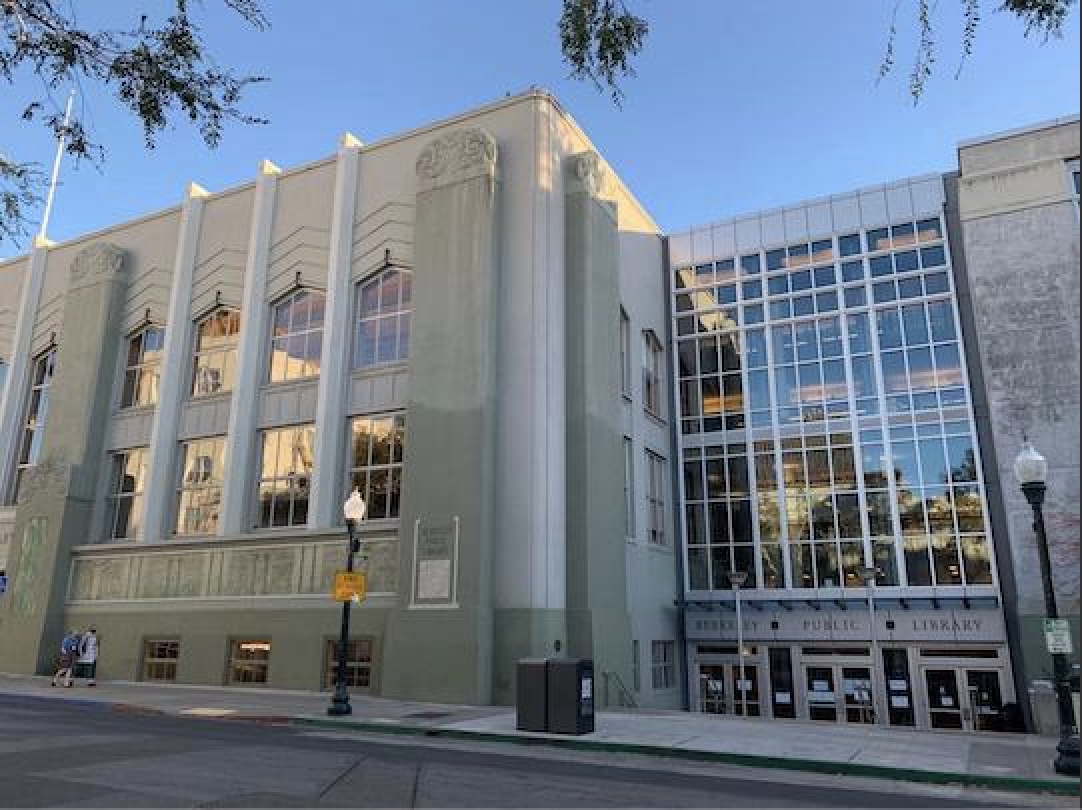
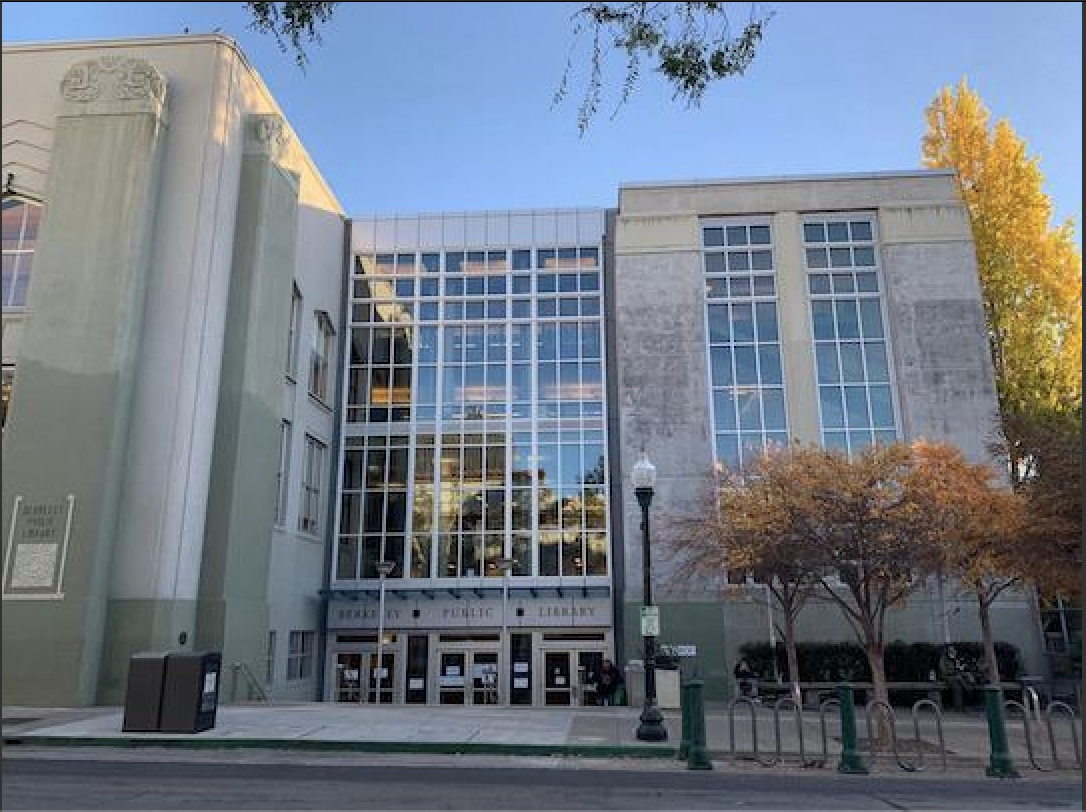
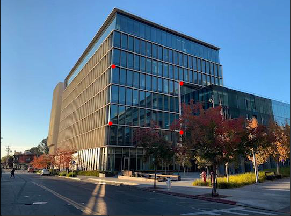
After not leaving my apartment for several days, I took a random walk into the Berkeley downtown to shoot photos for this project. The weather was really nice and really made my day.
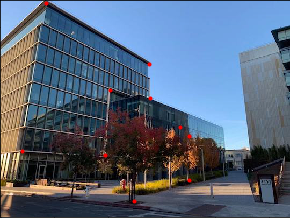
I made sure the two consecutive images overlap by around 50%, so that mosaics can be successful.
|

|
|
|
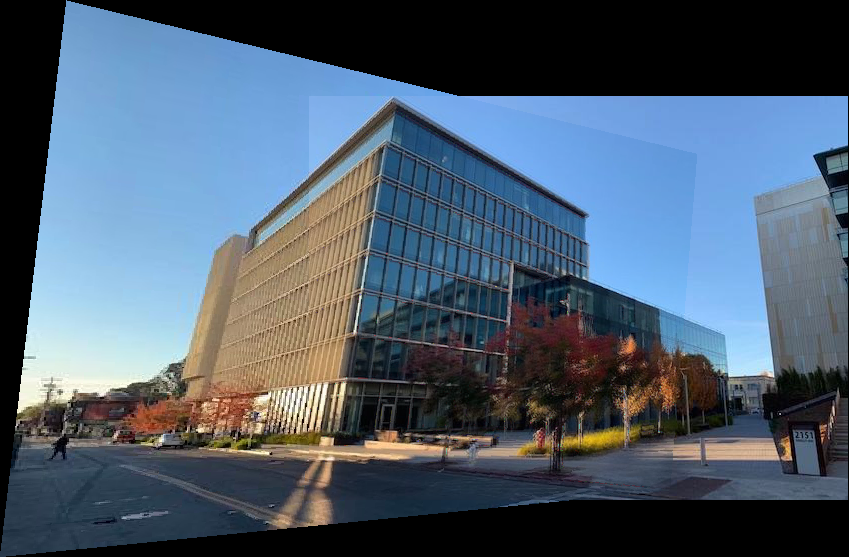
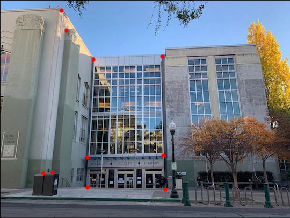
We want to project one image to the perspective of the other. To achieve this, I calculated a homography matrix by the following system of linear equations. Given a degree of freedom of 8, we only need 4 points, which I manually selected for this section.
|
|
|
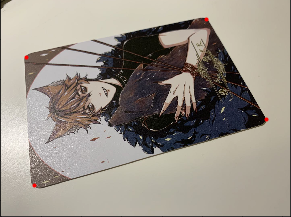
To rectify the images, I first chose 4 fixed points that construct a perfect rectangle and compute the homography matrix to convert the original 4 points on the image to the fixed points. Then, given the matrix, for each pixel, I computed inverse H and applied inverse warping to find the corresponding original pixel value for each pixel in my target shape.
|
|
|
|
|
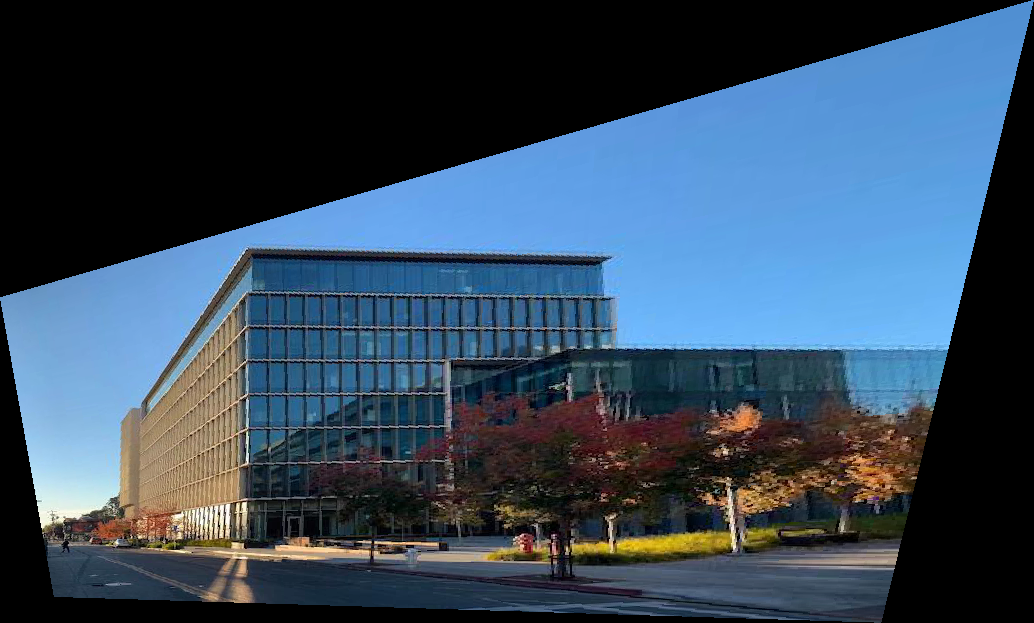
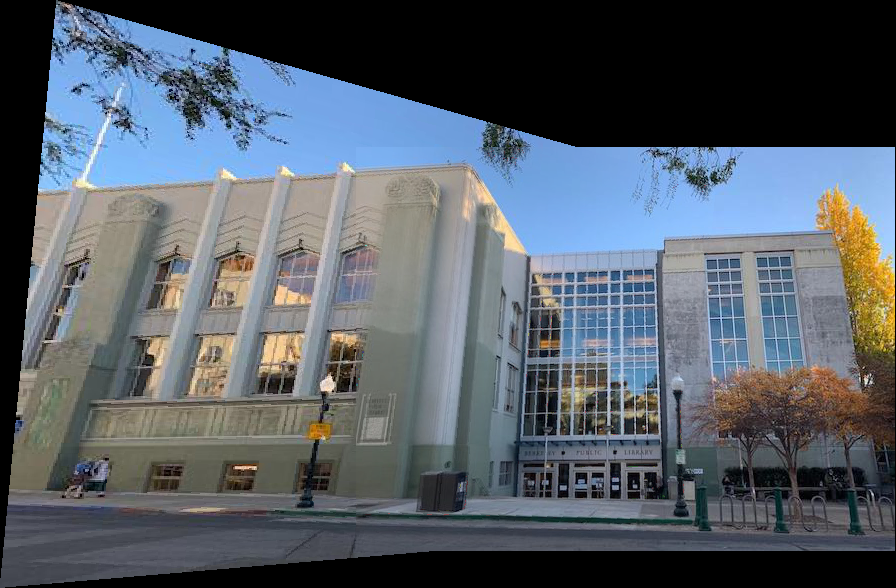
Finally, I can blend the two images together. I used simple linear blending and created a mask that averages the overlapping parts. Then, just concatenate the non-overlapping parts.
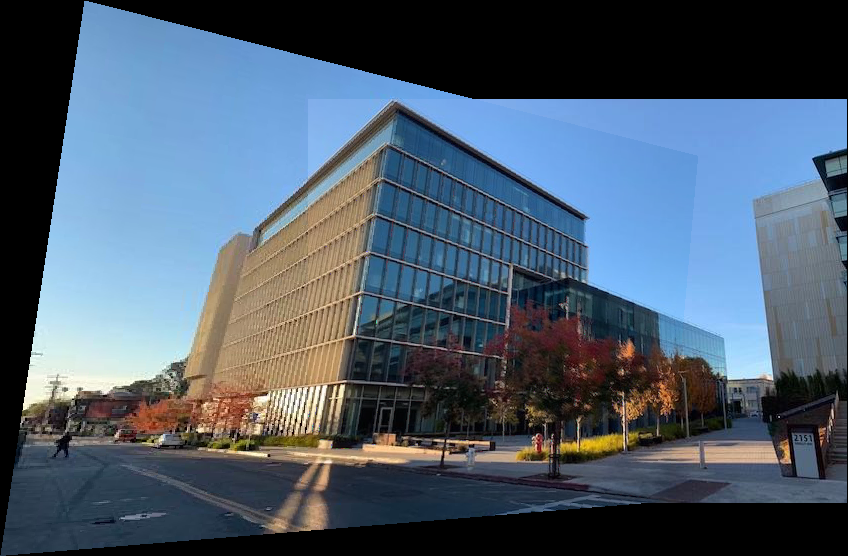
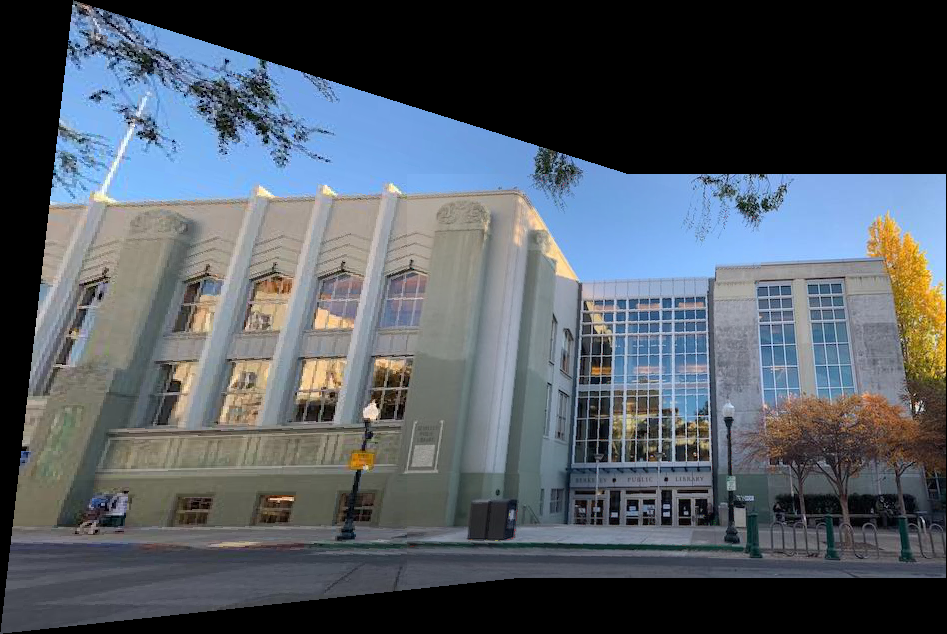
Here are the results:

|
|
|

|
|
|
I genuinely enjoyed the photo shoot. It's very interesting to think about what points would help the most in blending.
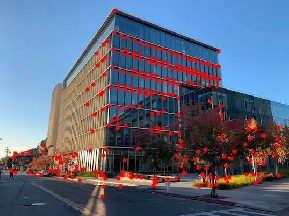
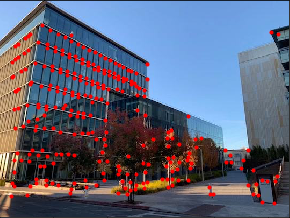
In part B, we explore automatic stitching. As the first step, we want automatic feature detection. I used techniques from the paper "Multi-Image Matching using Multi-Scale Oriented Patches" by Brown et al and started with Harris Corner Detection using the implementation provided by Prof. Efros.
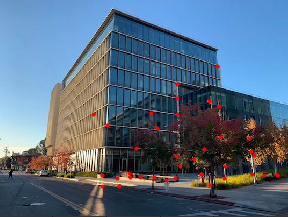
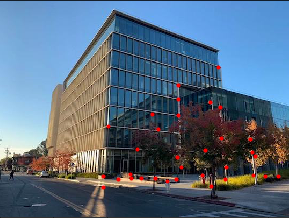
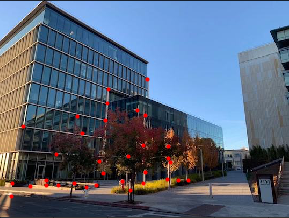
The result annotated points are as below:
|
|
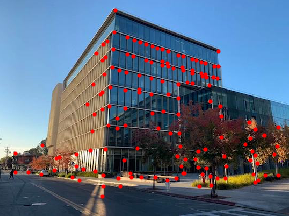
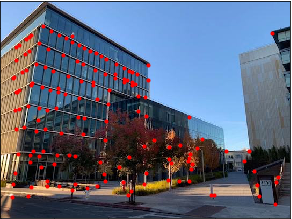
Harris Corner Detection gives us too many points and can be slow to process. Instead, we just want points that spread through the image in a sufficient way, so we filter the annotated points using the Adaptive Non-maximal Suppression algorithm. After calculating the minimum suppression radius for each point, we choose the number points we want to be left. Here, I chose 150 points.
The result filtered points are as below:
|
|
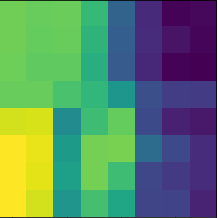
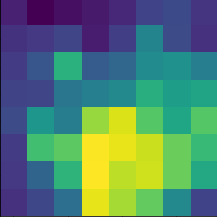
How do we decide which points correspond between the two images? We match the points by choosing the closest features around each point. We extract 8x8 square features from 40x40 pixels around each point.
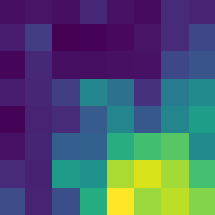
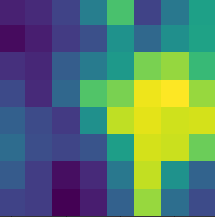
Here are some examples of the feature descriptors:
|
|
|
|
Then, to match the features to find the two most similar features, for each feature in one image, we calculate distance between it and all other features of the second image, and find the nearest neighbor (1-NN) feature. We also don't want a lot of features that are not super close, so we filter the features by only choosing features whose fraction between 1-NN distance and 2-NN distance is smaller than our pre-defined threshold. Here, I chose a threshold of 0.4.
Here are some examples of feature selection (after matching):
|

|
To further eliminate outliers, we use the RANSAC method. We run the following procedure for some pre-defined number of iterations. First, we randomly select 4 pairs of points. Then, we compute the homography matrix. Last, we compute inliers where the SSD of original points and projected points are smaller than our pre-set parameter epsilon. After all iterations, we keep the largest set of inliers as our selected set of points. Here, I chose number of iterations to be 10000, and epsilon to be 2.
Here are some examples after RANSAC selection:
|
|
Finally, we incorporate all the above steps to automatically detect the best points. Then, we repeat the process in part A, calculate the homography matrix, warp one image to the perspective of the other and creating a mosaic of the two. I compared the automatic feature detection results with the manual selection results, and it's apparent that the automatic detection results are less blurred and better merged.
Here are the results:
|
|
|
|
This project is very useful and the feature detection algorithm is very intriguing.