Image Warping and Mosaicing Part A
Allan Yu
Overview
Throughout this project, I stitch images together. In the first half of the website, I do manual stitching, where I manually choose the points used to stitch images together. In the next half, I get Harris corners and use RANSAC to automatically stitch images together.
Images - Manual
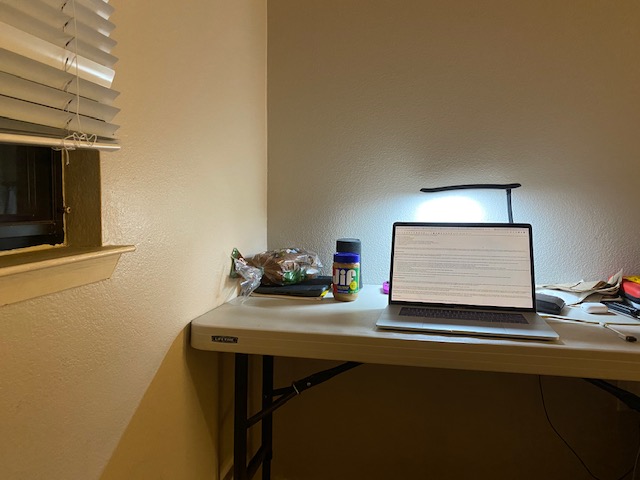
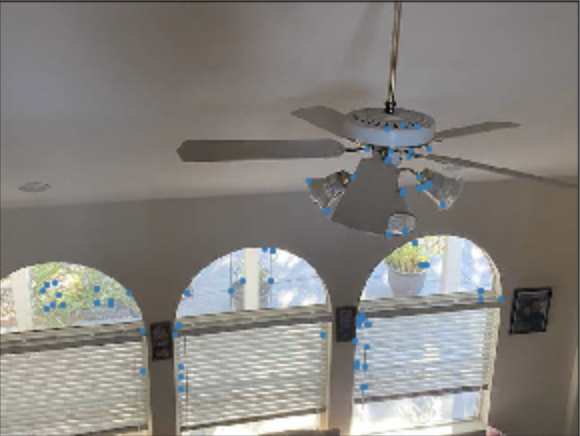
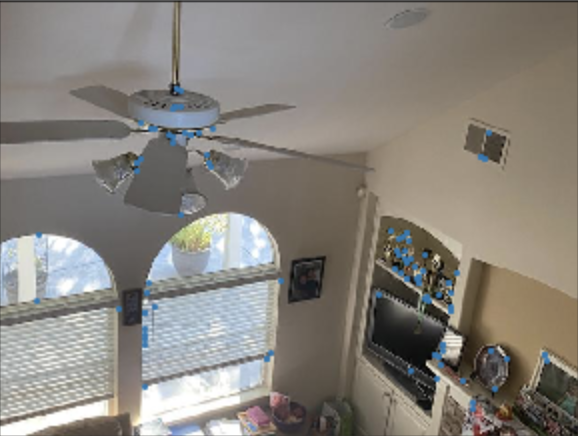
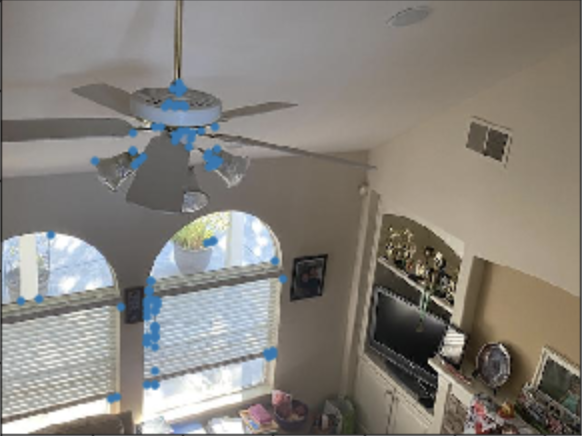
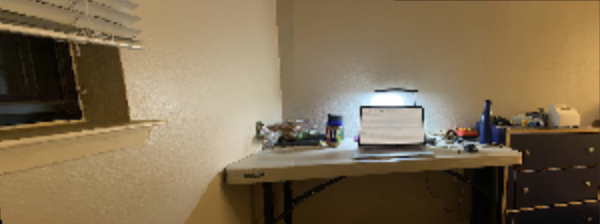
Here are two images I plan to stitch.

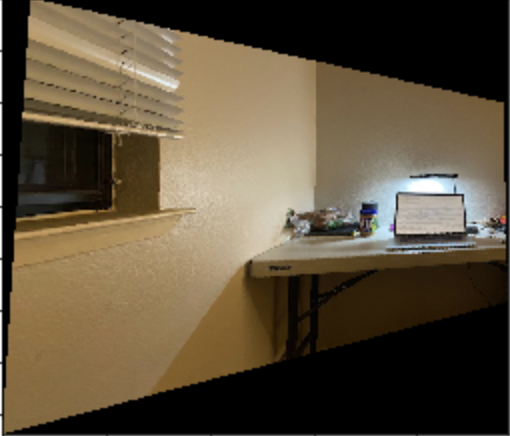
Rectified
Here is rectified image one, used for stitching. (I computed H, then warped.)
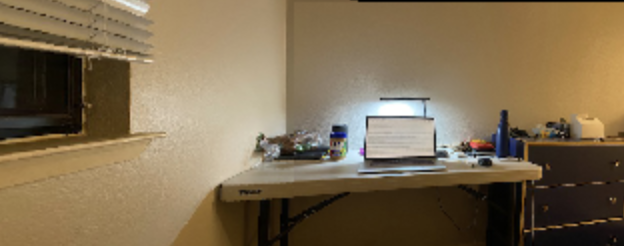
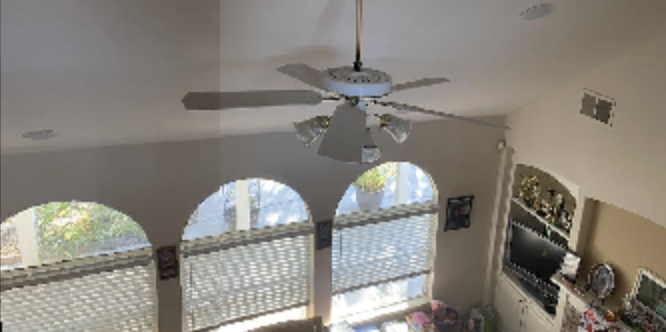
Blended
Finally, here is the blended image!
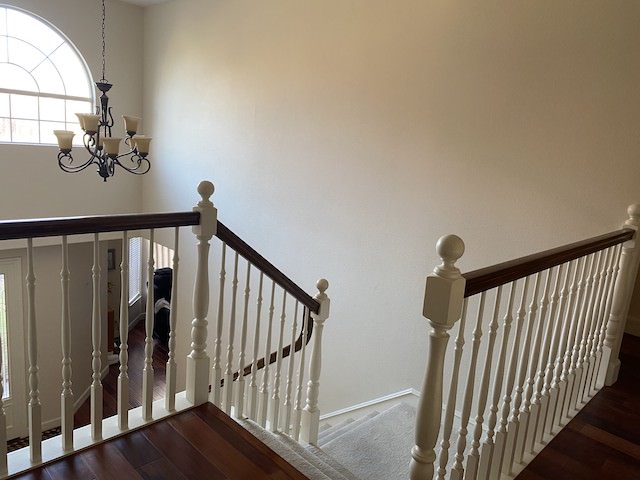
More
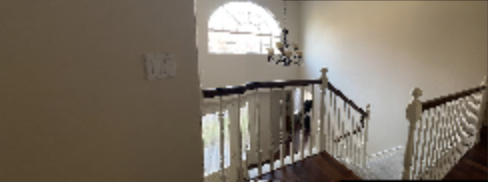
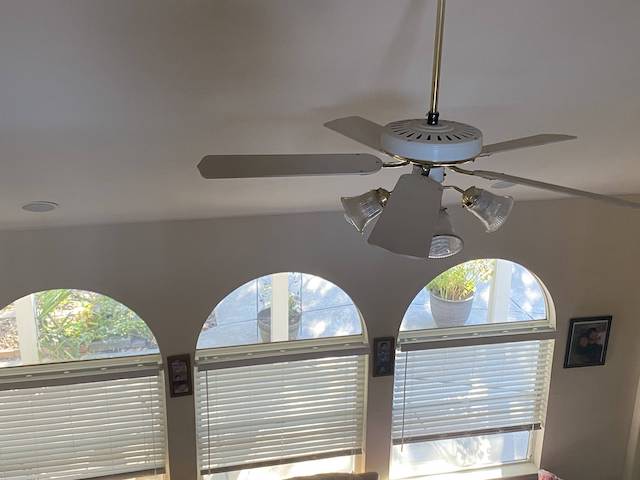
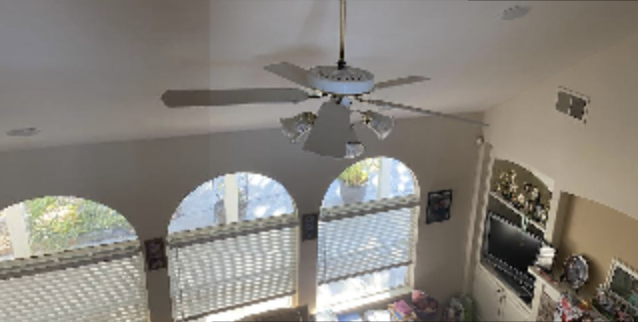
Here are two more examples, each with 2 original images, followed by one blended image.
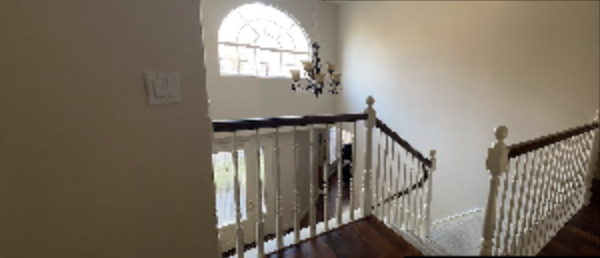
Stairs

Window

What I Learned
Learning the process for rectification was the most interesting, in my opinion. Being able to stitch two images together was really cool, so I really appreciated this part of the project.
Images - Automatic
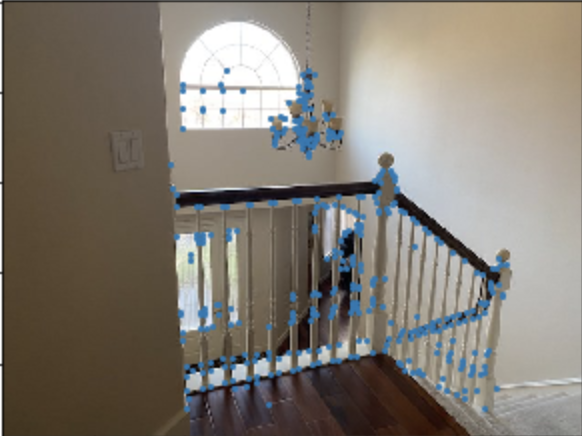
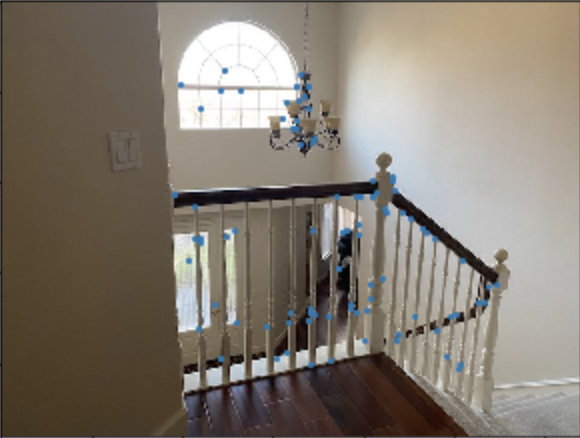
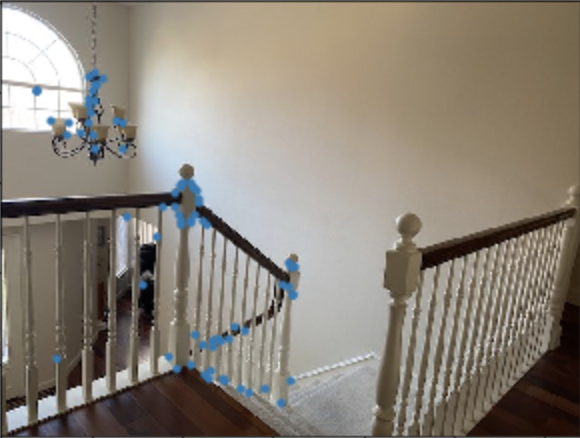
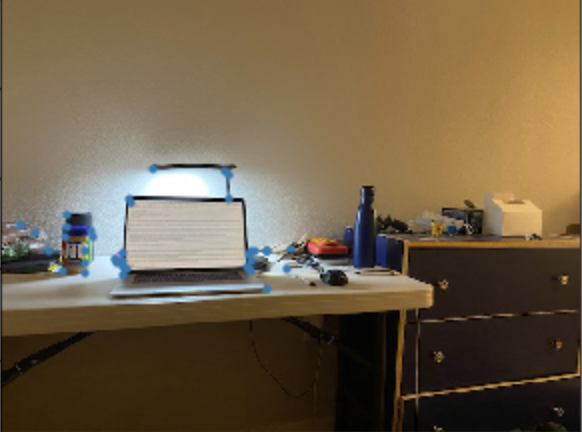
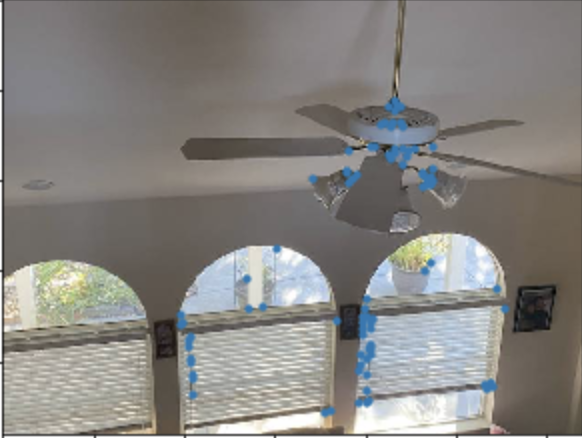
Here are Harris points for my images. I used corner_peaks instead of peak_local_max, since it proved more effective.
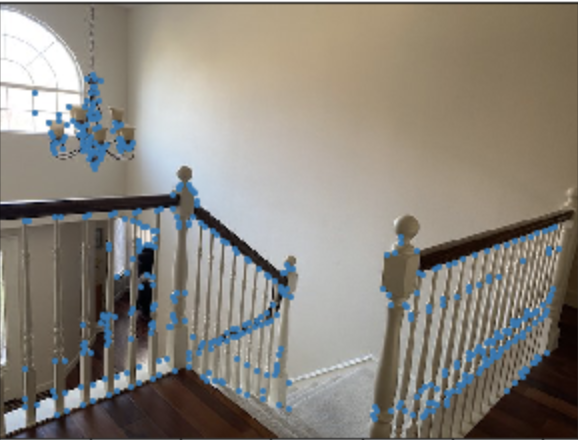
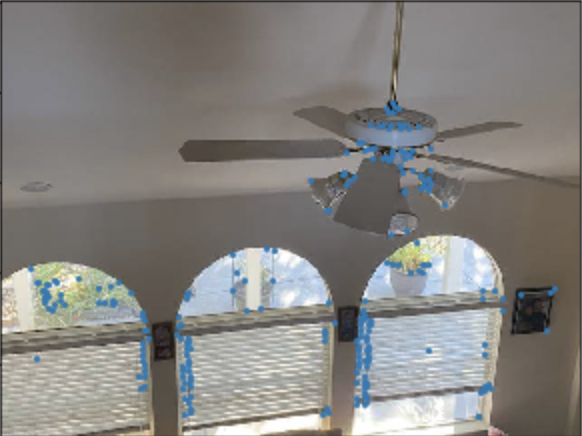
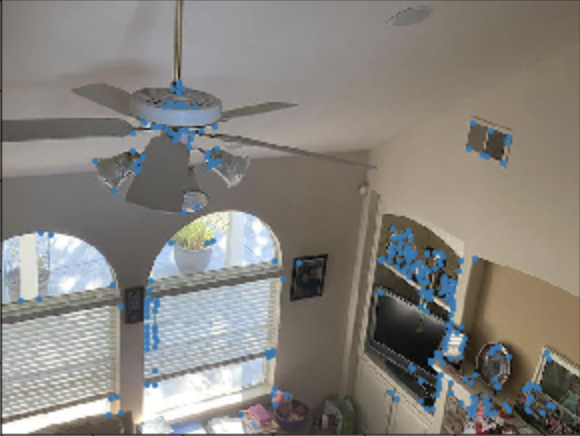
ANMS
I use ANMS to narrow down to the 100 best points. I set crobust to 0.9.

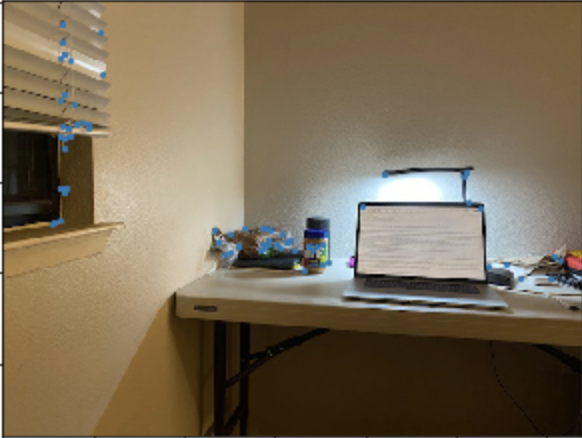
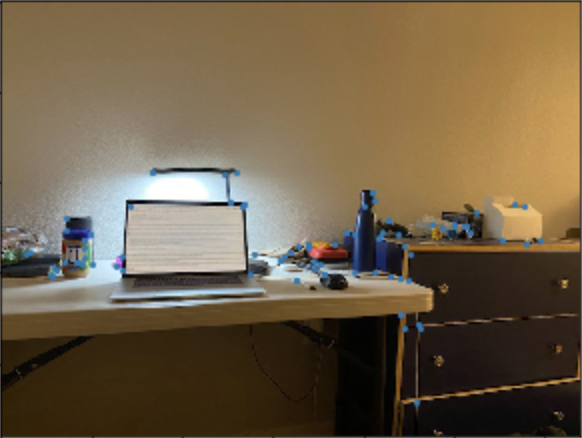
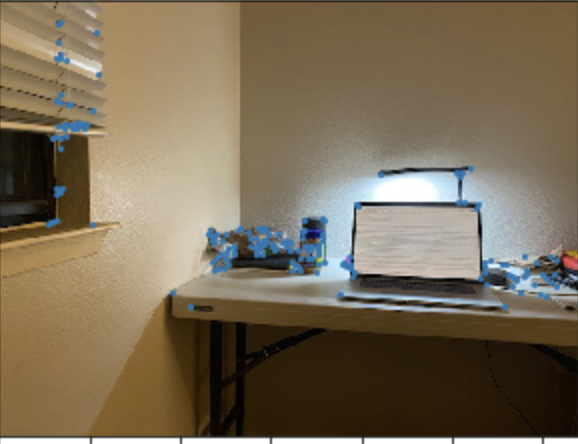
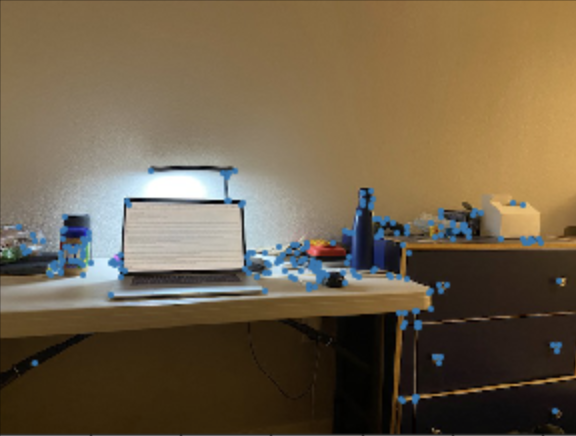
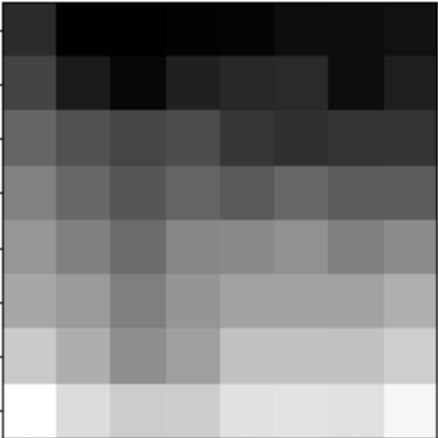
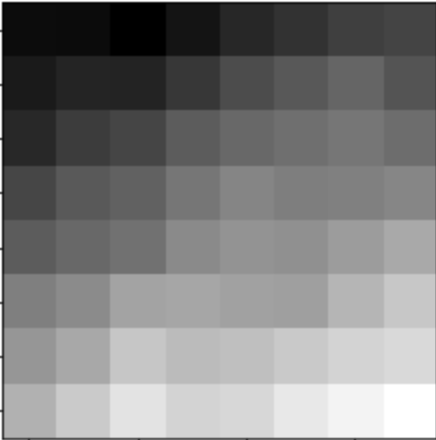
Feature Matching
Now, I match points. To do this, I took features by taking a 40x40 pixel box around a point, blurring it, then downsizing to 8x8. We then use these features to compare similarity, choosing matching points below a threshold (I used 0.4). Here are examples of features followed by the final points, fully matched.


RANSAC
I use RANSAC with 800 iterations and epsilon=2 to merge the images together. Here are the final results. Each pair of images is the manual stitching (from above, for comparison), followed by the automatic stitching. The second pair particularly stands out: the automatic stitching is noticeably better than the manual stitching.
What I Learned
Learning anms was pretty cool, since it gave a way to narrow down the best points for matching.