In this project, We use techniques described by Efros and Freeman in a SIGGRAPH 2001 paper to perform image quilting and texture transfer.
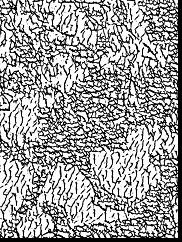
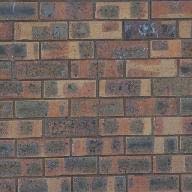
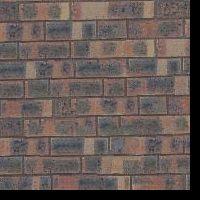
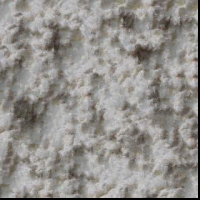
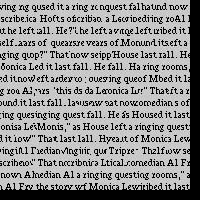
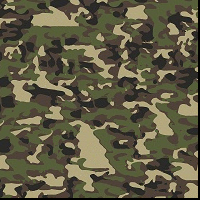
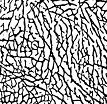
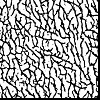
Our input consists mostly of the following samples provided here

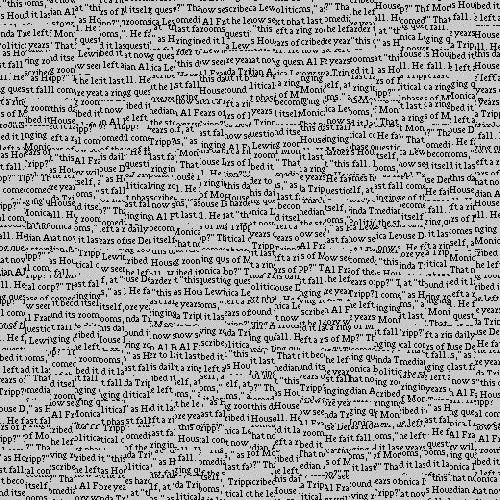
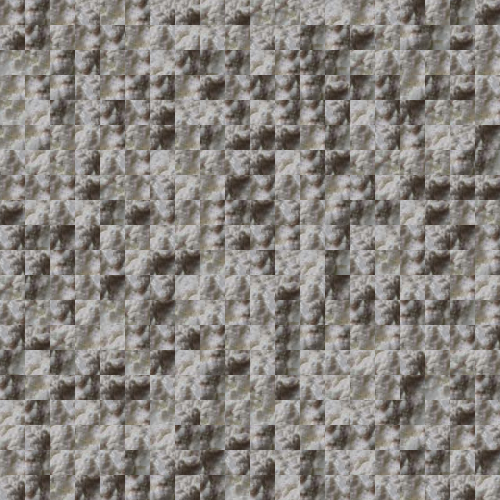
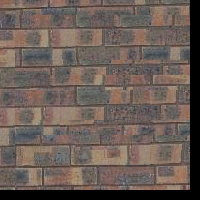
To start with, we simply make a quilt from our textures by randomly sampling patches from the input texture.
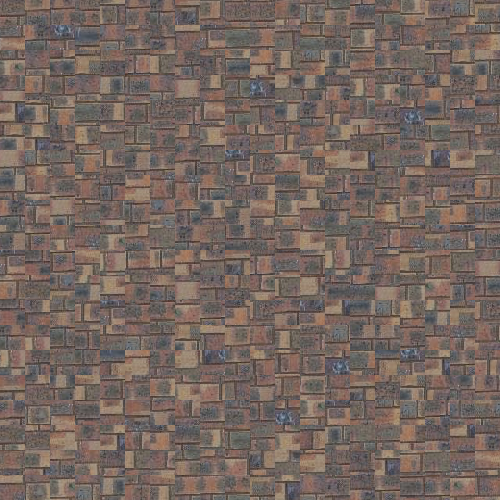
This gave us the following texture quilts:
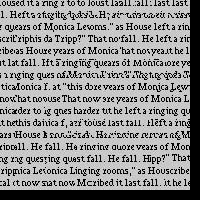
In this part, we attempt to create quilts by laying out patches on the output image in raster scan order. Starting with a randomly selected patch in the top left corner, we randomly sample the next patch from a pool of 'best candidate' patches. To find 'best candidate' patches, we scan through every possible block in the texture and calculate the error (SSD) of the overlapping portion. Patches with error under some threshold (min_err * tolerance) qualify as best candidates.
This gave us the following samples:

Our algorithm above works well for finding matching blocks, but edge artifacts are still slightly prominent given that we simply overlap square patches onto each other. To solve this, we perform seam finding for each patch, where instead of simply placing the new patch on top of an old patch, we find the best seam within the overlap, cut the new patch along the seam, then place the new patch like a jigsaw. Instead of using the cut.m function provided, I wrote my own dynamic programming based seam finding method in python.


Starting from these 2 images, we get the overlapping portions, from the left and right respectively.


From these overlapping patterns, we find the seam along these overlaps that allow us to best 'blend' them together.


From these methods, we are able to create better looking quilts that look like these (original and synthesized)
Bricks
White
Words
Camo

Elephant
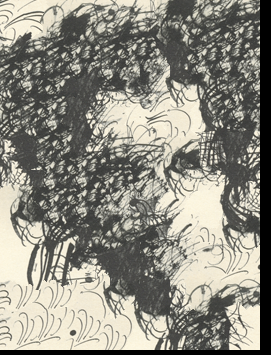
In this part, we use our quilting algorithm to perform texture transfer. This is largely similar to what we did in part 2. To perform texture transfer, we simply augment our overlapping patch finding algorithm. Instead of only taking in a texture, we now also take in a reference image that will be 'texturized'. Instead of having the error simply as the SSD of our overlapping portion, our error is now (alpha*overlap_error) + (1-error)*patch_error, where patch_error is the SSD of the candidate patch and the corresponding patch in the reference image. Using this algorithm and playing around with the features, we managed to closely replicate the texturized feynmann in the paper. Here are some of our results:
With texture block size of 50 and alpha of 0.5
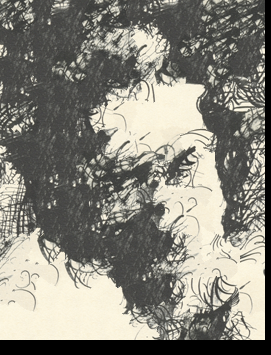
With texture block size of 40 and alpha of 0.3
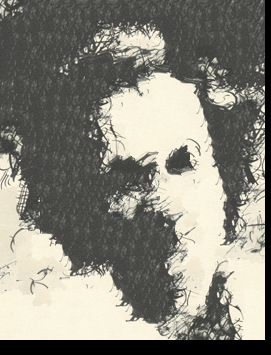
With texture block size of 25 and alpha of 0.5. As expected, the smaller our block size, the more closely our output resembles the image.
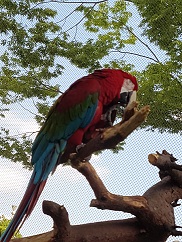
We also tried the same method using our elephant print texture and this image of a parrot: