Final Project - Selected 1: Image Quilting
By Samuel Sunghun Lee [CS194-26 - Fall 2020]
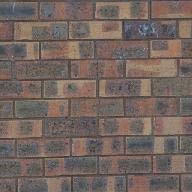
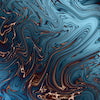
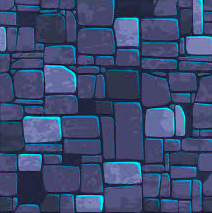
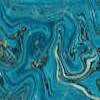
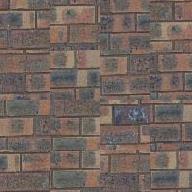
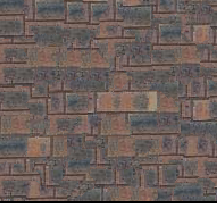
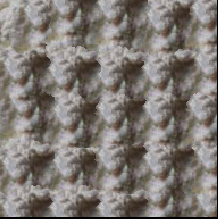
Source Starter Images
Here are a few source images that I will using throughout this project for

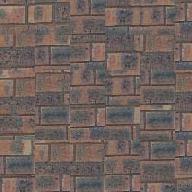
Randomly Sampled Texture (10 pts)
For this section, we will create a randomly sampled textured image by taking
some patch of size (patchsize, patchsize) and then lay it side by side until
we fill the entire outsize image. This doesnt produce the best output
because there are hard lines that are clearly noticable by the human eye. I
played around with various patchsize to see what kind of results produce
visually pleasing images.

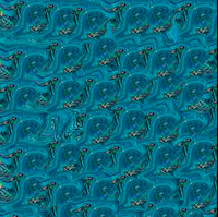
Overlapping Patches (30 pts)
In the previous section, we saw that randomly cutting and pasting blocks
into the outsize image has rough edges along the side by side random
patches. For this section, we will lay an overlap patch side by side by some
constant overlap. We will iterate through all possible patches of the source
image, and gather all the SSD values of putting the patch on the next square
by computing the SSD value through the new patch to put on and the overlap
that exists. Then, we will gather all patchs that are within a factor of 1.1
of the smallest SSD patch, and randomly select a patch out of those. The
image looks more smooth and natural than the naive random patches image from
the previous section. We can see that the darker patches tend to have darker
neighbors and the lighter patches tend to have lighter neighbors. Still
though, the images have large

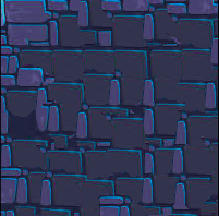
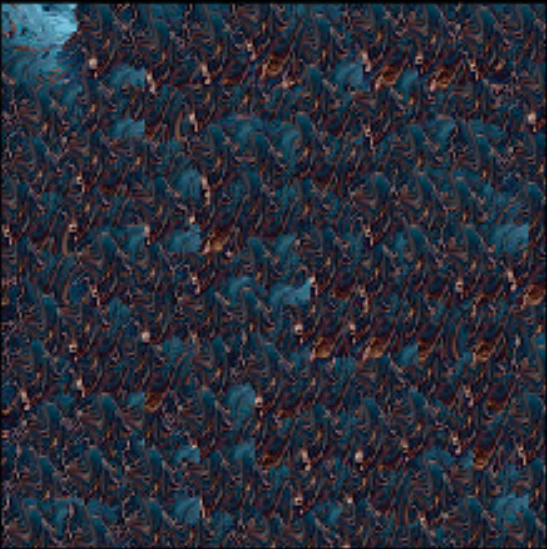
Seam Finding (20 pts)
Even still with the overlapping patches, the previous section produces
images with hard cut lines that are visible. In this section, we will add on
the functionality of cutting a seam using Dynamic Programming to find the
least value path of cutting left and cutting top. I used both left cut and
top cut on images that have overlaps on both left and top. The images
produced from this section have smoother transitions between each patch due
to the carving that we do from calculating the minimum batch from either
left to right or top to bottom depending on whether we are cutting left or
right. The images from this section are significantly better than the
previous sections. By better, I mean they are more pleasing to the eye and
the transitions from each patch arent as noticable.
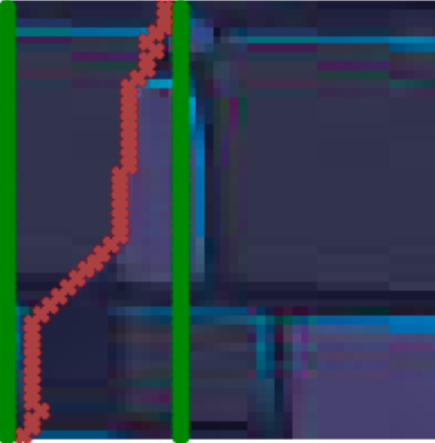
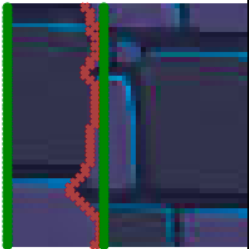
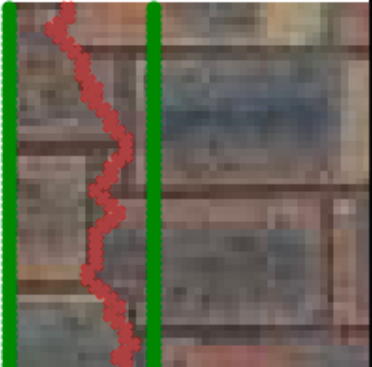
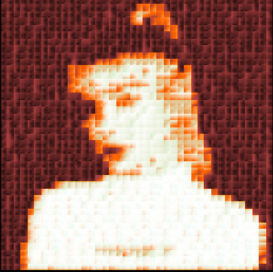
Seems in detail
Here are some sample seems that were cut on some overlapping patches. You
can see that the cuts are visibly at locations where light colors clustered
or dark colors are clustered. The lines show where the cut has been made and
patch has been merged with the overlap. The GREEN lines represent the
rectangle of overlap, and the red X's represent the path for the Minimum
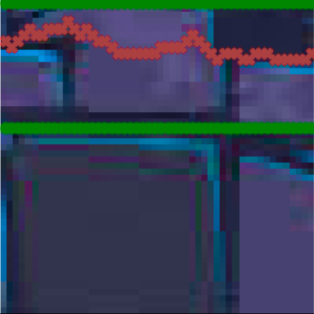
Seam Cut that was calculated using Dynamic Programming.
cutting left
cutting top

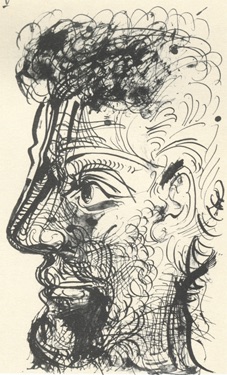
Texture Transfer (30 pts)


Bells and Whistles (10 pts)- Creating my own version of cut.m
Instead of taking the best of top and left seam cuts using Dynamic
Programming as said in the paper, I tried doing a top overlap cut AFTER
doing a left overlap cut. This made it so that we have two cuts, from the
overlap to create a great transition not only to the left image but also to
the top overlapping image. You can see the min paths of both top and left
sequentially after another.
cutting top AND left
Final Project - Selected 2: Lightfield Camera
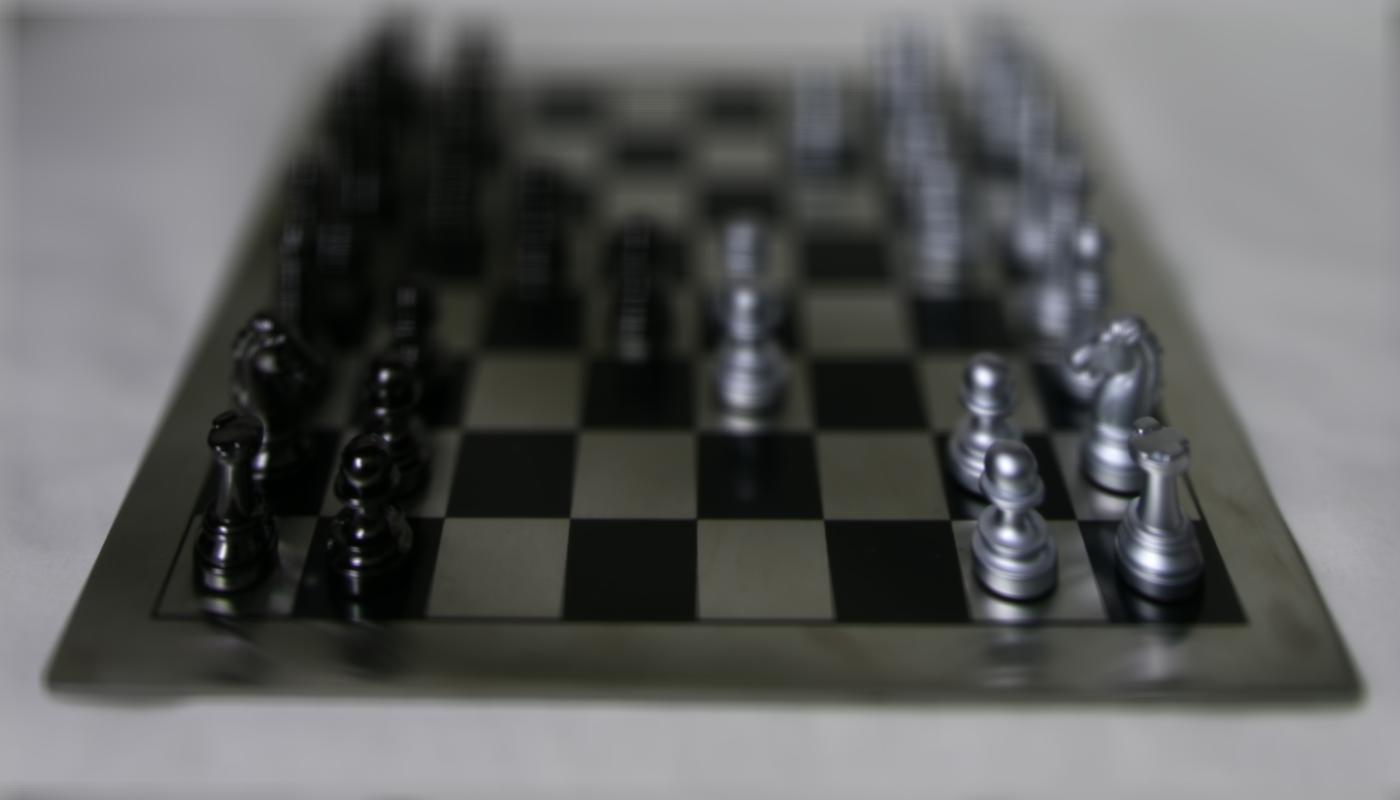
Part 1 - Depth Refocusing (30 pts):
In this part we want to play around with refocusing the picture at different
depths. To do this, we will take all the images of the chess pieces, and
align them in a way such that we can refocus the picture at a desired depth.
We do this by first calculating the centers of all the image coordinates
(Xc, Yc), and then using this to shift all the images by some Alpha with the
following equations:
offset_x = (Xi - Xc) * Alpha
offset_y = (Yi - Yc) * Alpha
We can then use these to shift each image by these offsets and then average
all the shifted images.
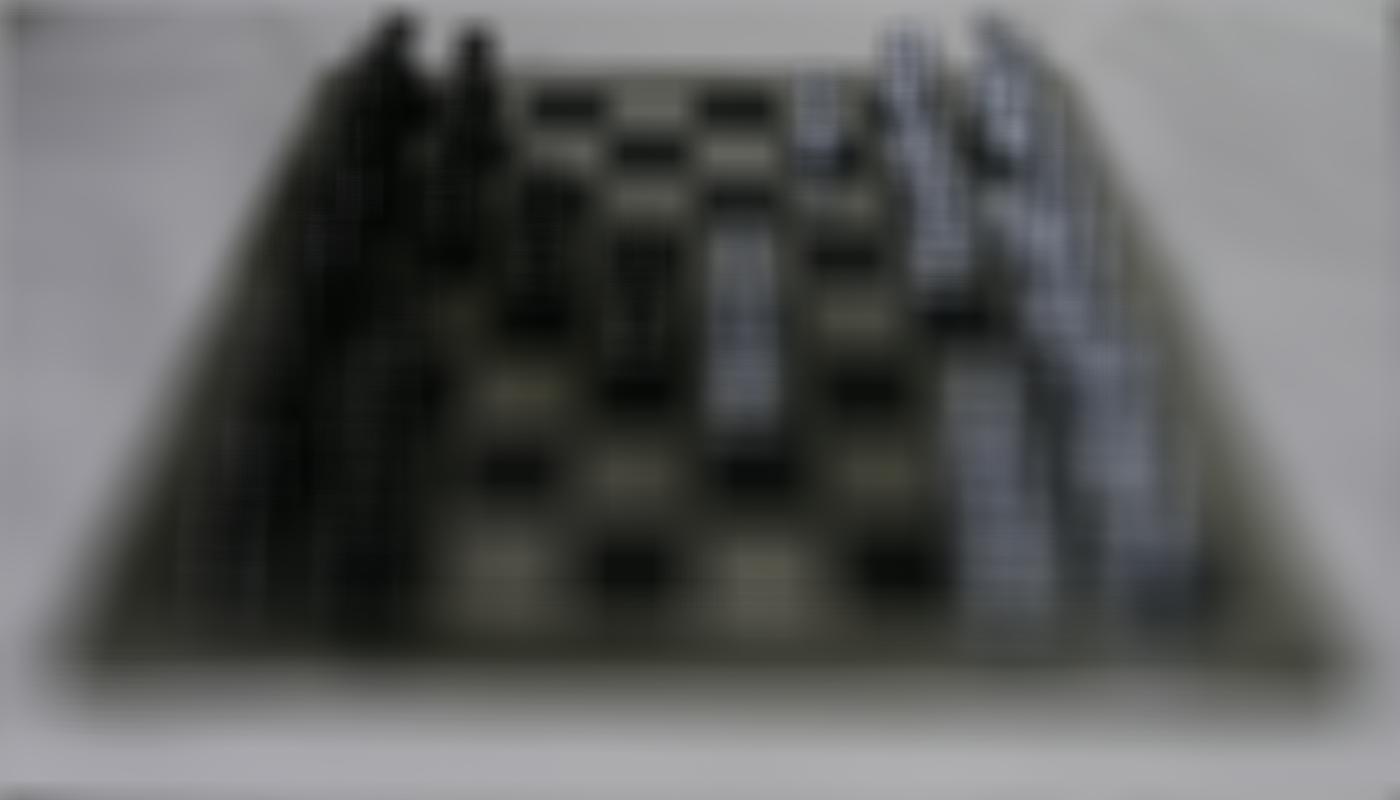
Here are some images at various Alpha constants:
alpha = -0.5:
alpha = -0.25:

alpha = 0:

alpha = 0.1:

alpha = 0.5:
Part 2 - Aperture Adjustment (20 pts):
In this part, we want to play around with Aperture Adjustment which will
vary the size of the focused area of the image. We will do this by simplying
reducing the amount of images we will consider for averaging by using some
constant Radius that will serve as the threshold in which will determine if
images are going to be used or not. All images that have a Xc - Xi <= Radius
and Yc - Yi <= Radius will be incorporated in our averaging.
Here are the images that are produced with varying radius
radius = 0

radius = 1

radius = 5

radius = 10

radius = 15

radius = 20
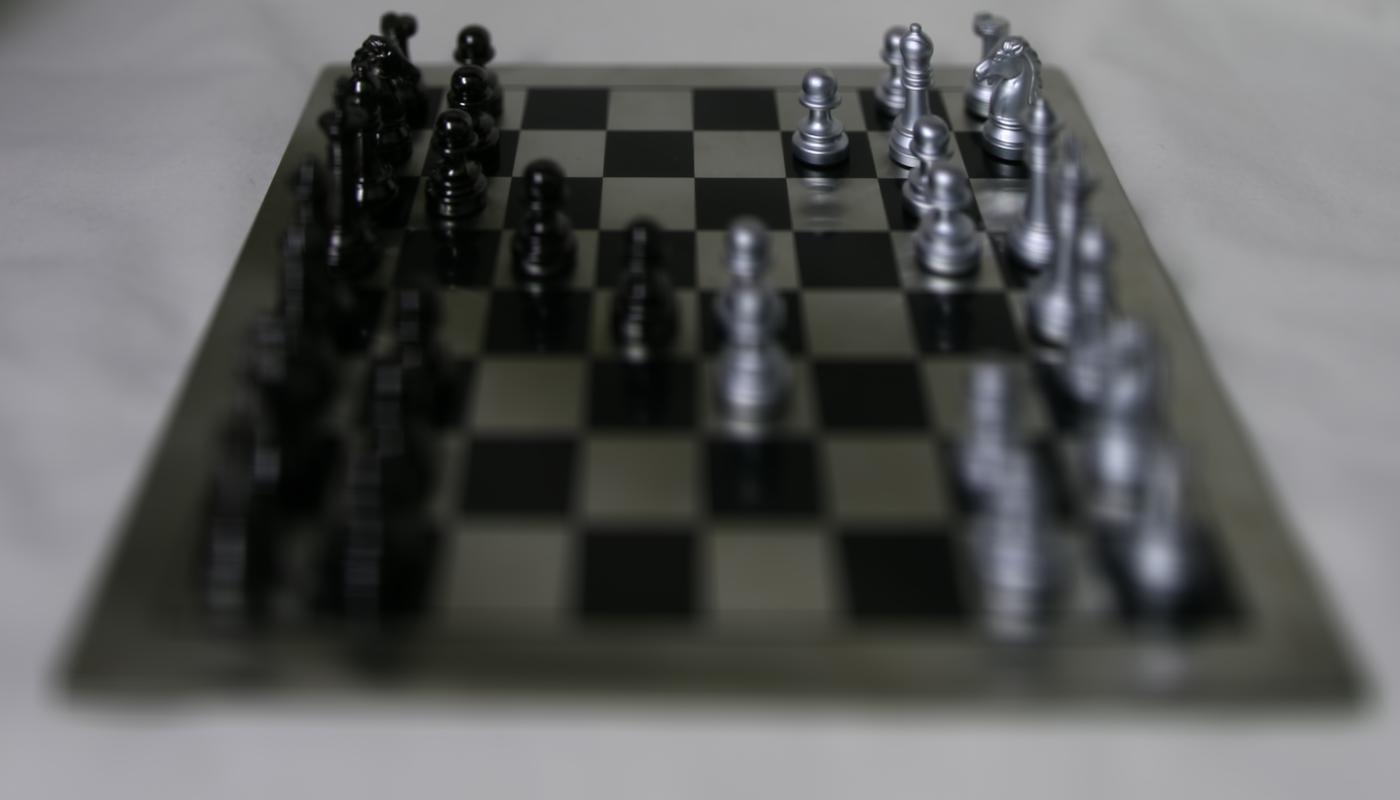
radius = 25

radius = 50
