 |
 |
| |
|
 |
 |
| |
|
CS 194-26 Fall 2020
Youqi Chen
The two pre-canned final projects that I implemented are Lightfield Camera, and A Neaural Algorithm of Artistic Style.
This project uses real lightfield data from the Stanford Light Field Archive to reproduce some complex effects through simple operations such as shifting and averaging. Each dataset in the archive contains 289 images over a plane orthogonal to the optial axis, taken over a 17x17 regularly spaced grid. After implementing depth refocusing and aperture adjustment algorithms, I took grids of images on my own and input those images to the program to see the effects (Bells & Whistles).
| |
|
| |
|
| |
|
| |
|
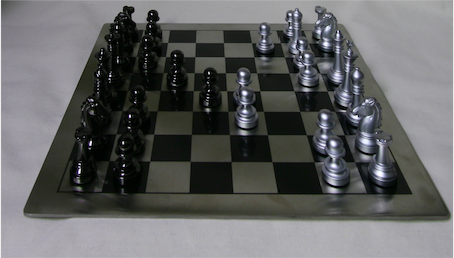
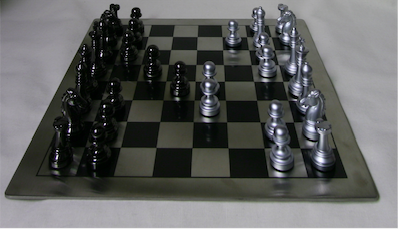
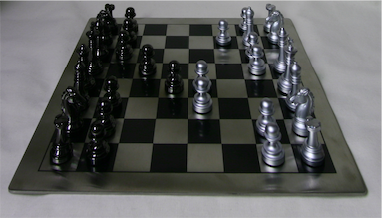
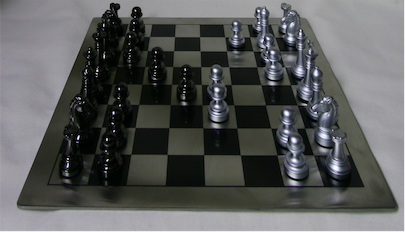
In this part of the project, I used all 289 grid images in a dataset to generated multiple images with focuses at different depths. The idea behind depth refocusing is to average images taken over a grid after shifting. For a series of images taken at the same optical axis direction but over a spaced grid, the positions of objects far away from the camera will vary little compare to the positions of those close to the camera. Averaging such a series of images will make the nearby edges blurry and far away edges appear in focus. If we shift the images before averaging, different parts of the averaged image could appear to be in focus, and shifting by different amount could produce a series of images at different depth.
The center image for a 17*17 grid is at (8, 8). I shift the images taken at each positions (x, y) around the center by (x-8, 8-y)*f for different f to create averages at different depths, and experimented to get good f ranges.
 |
 |
| |
|
 |
 |
| |
|
Results:
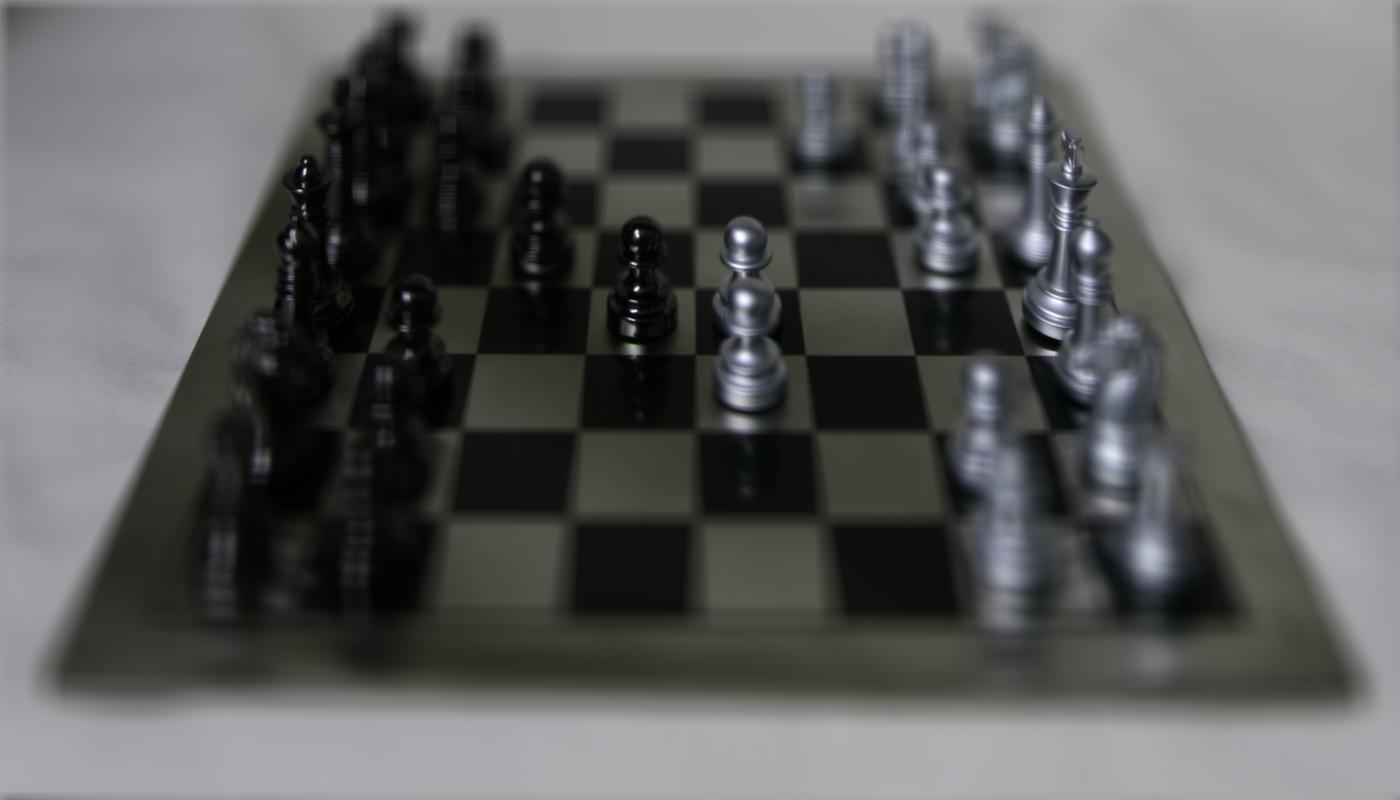
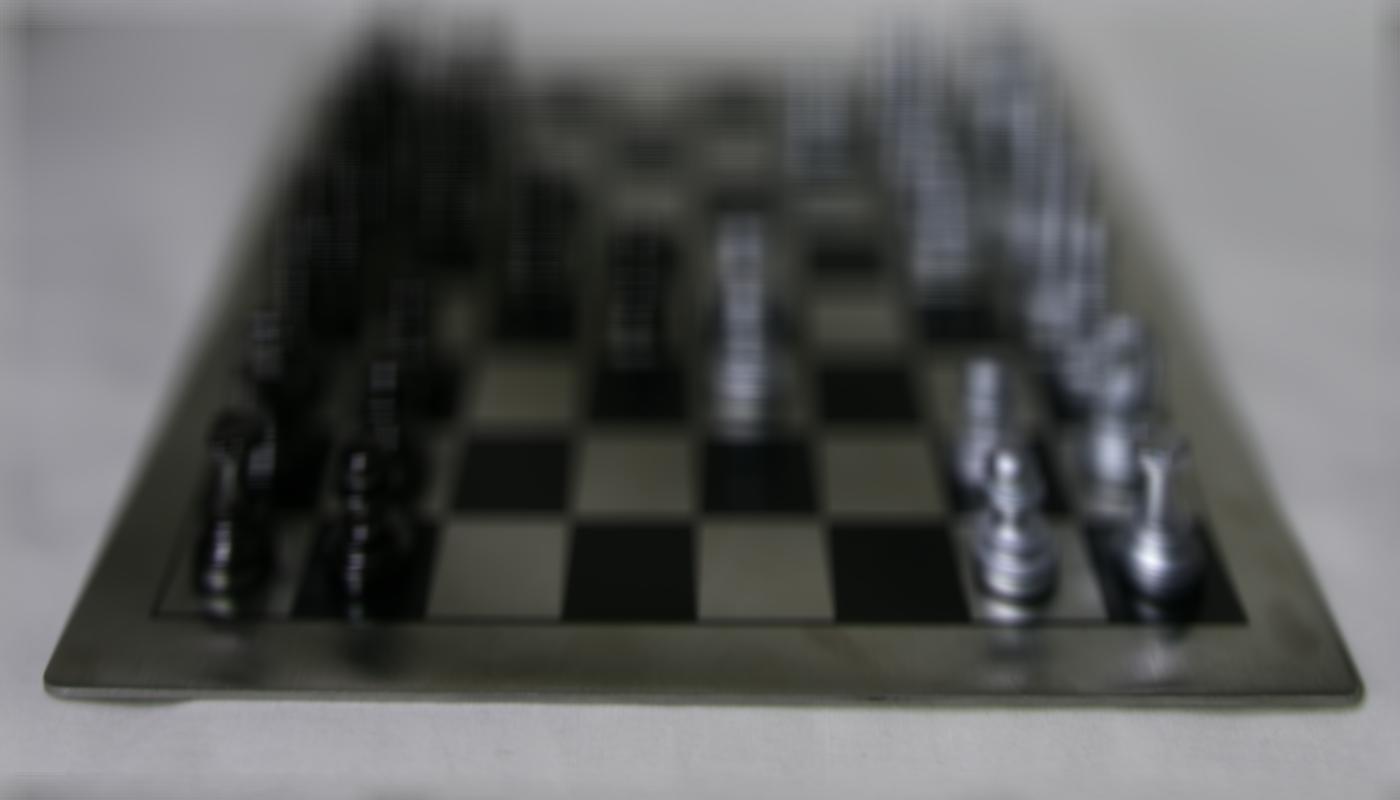
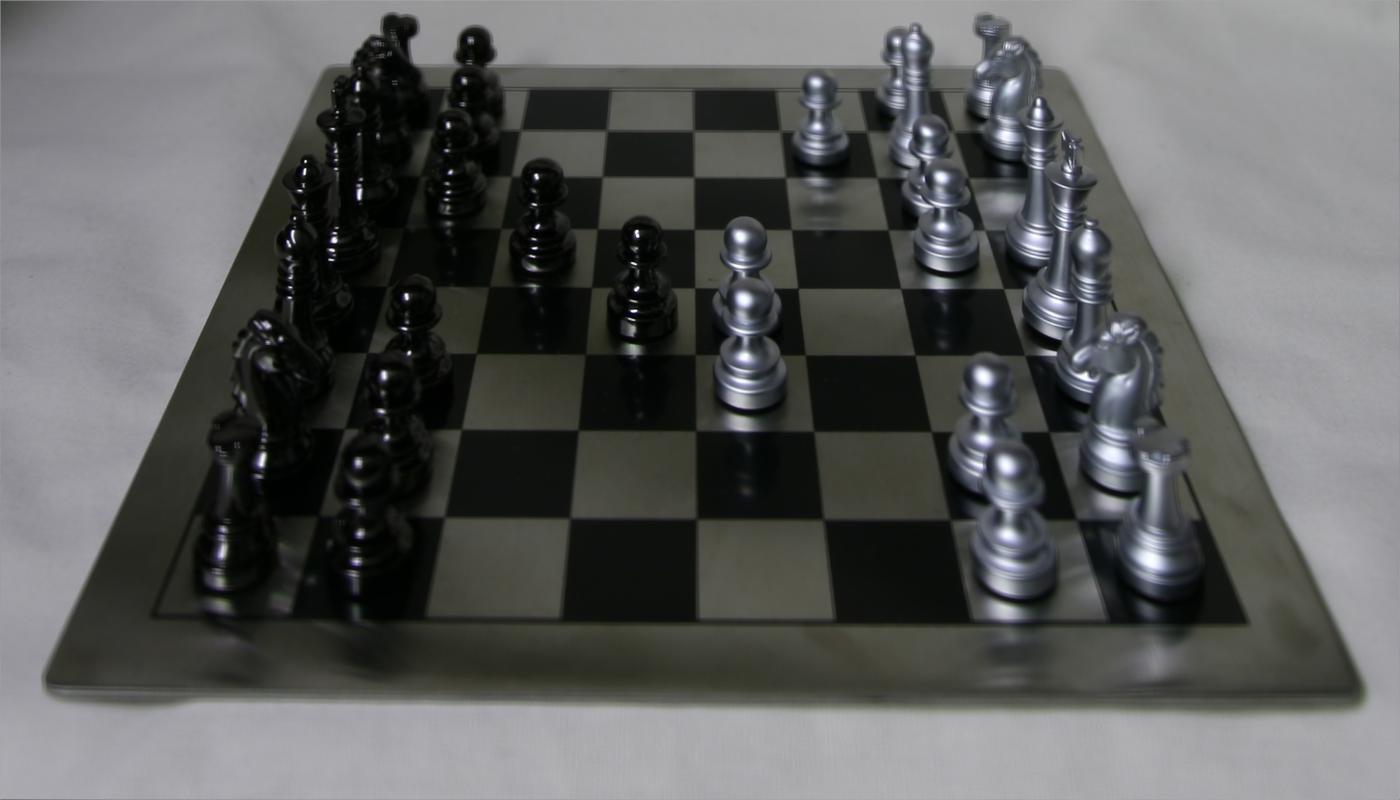
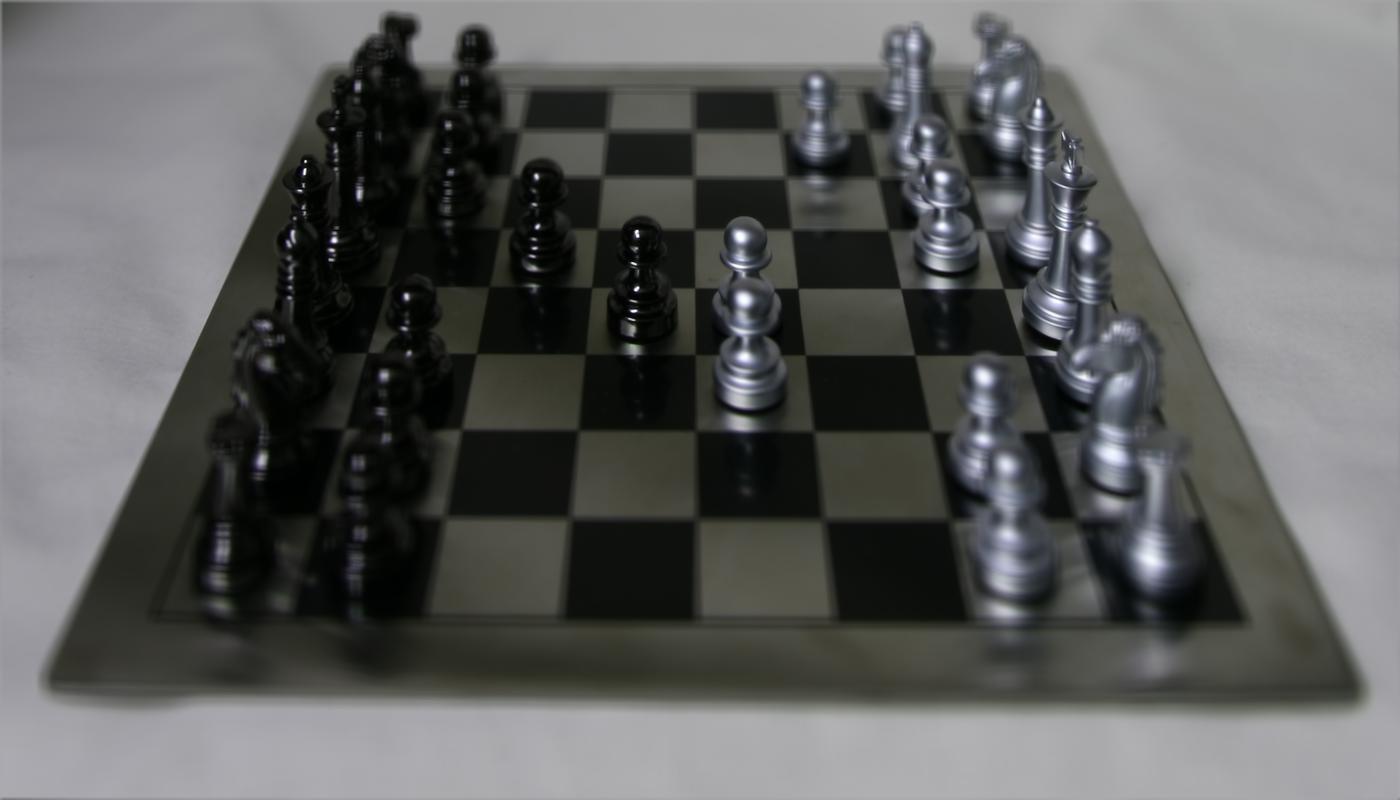
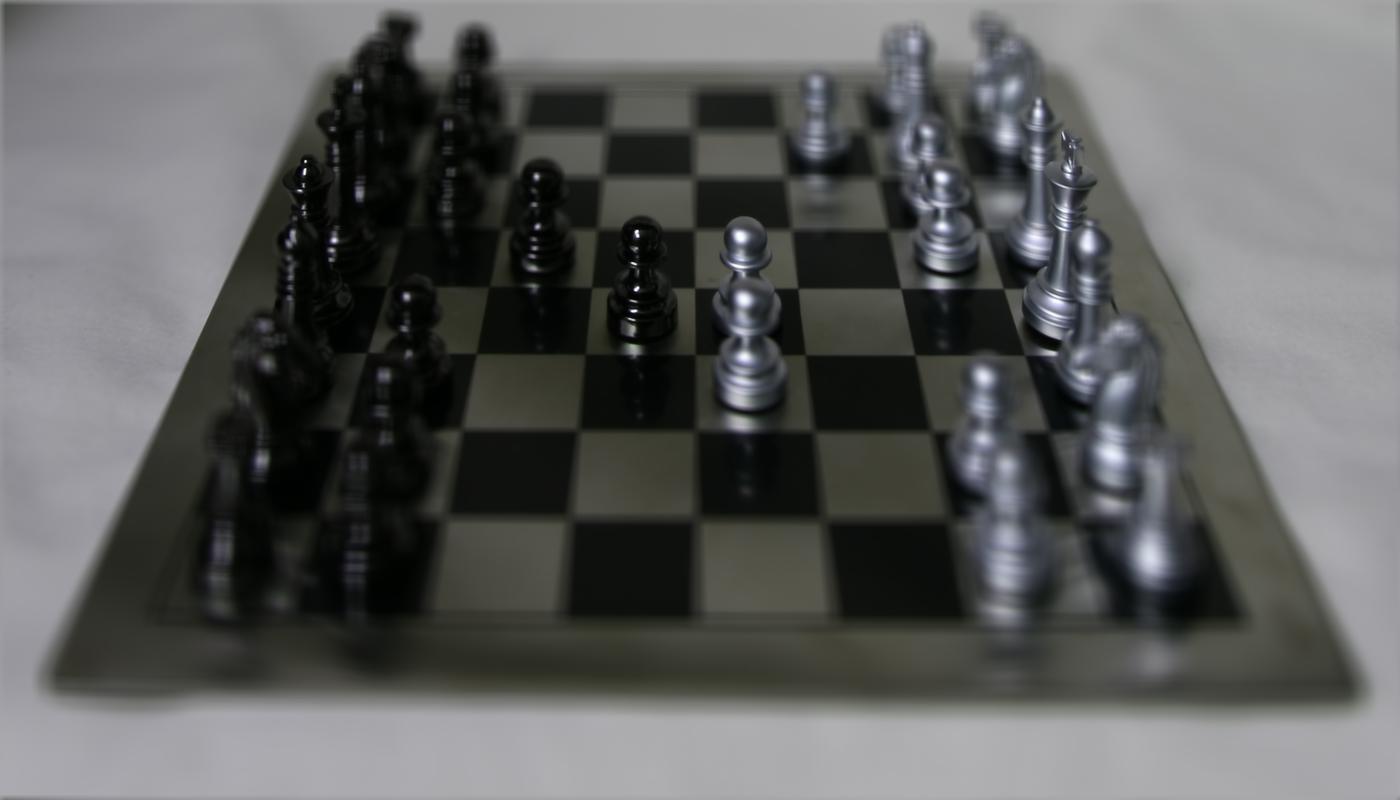
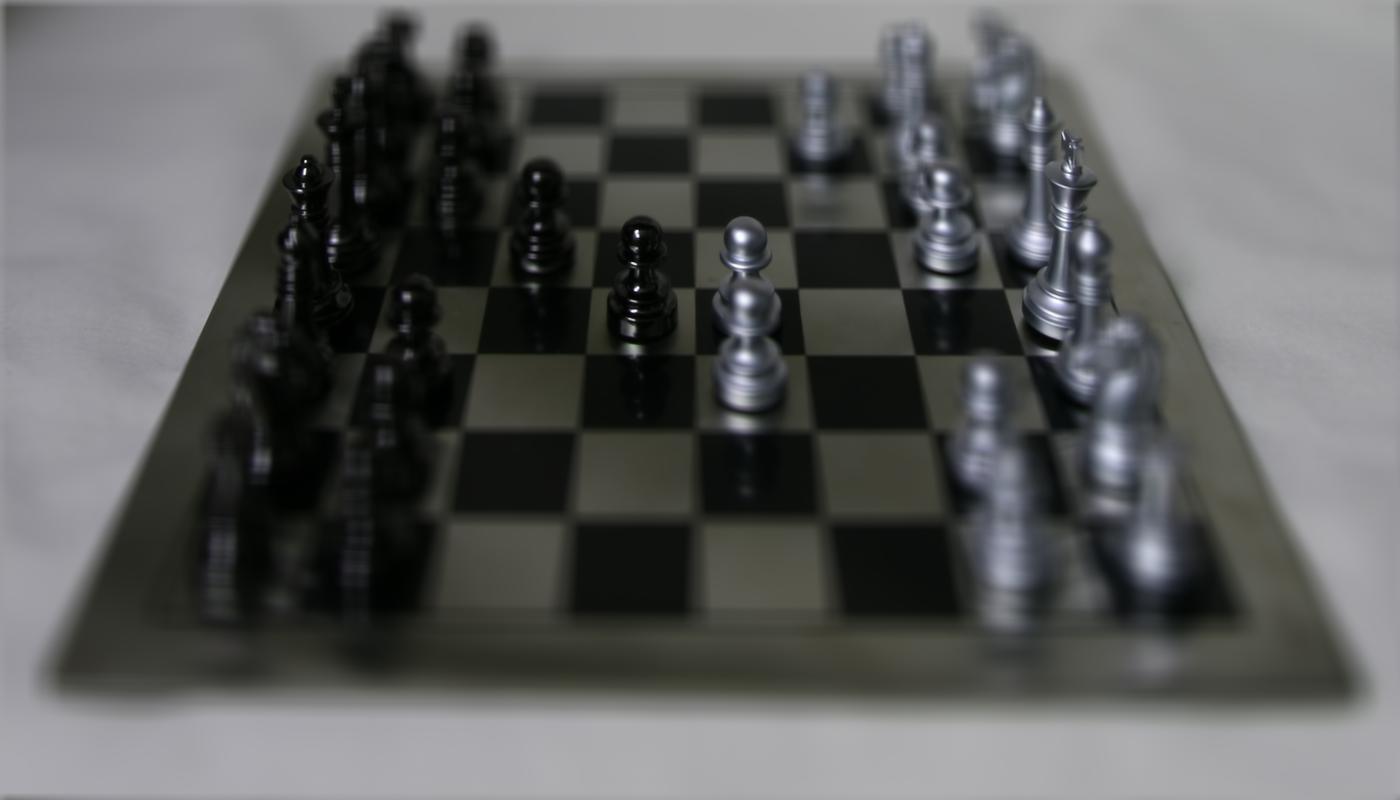
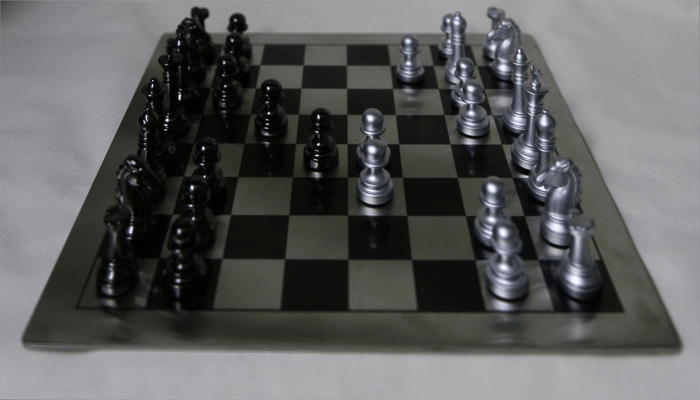
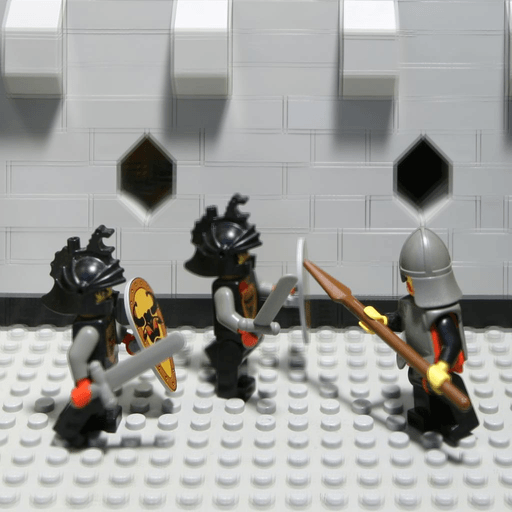
Chess dataset f = -2 to f = 5.2

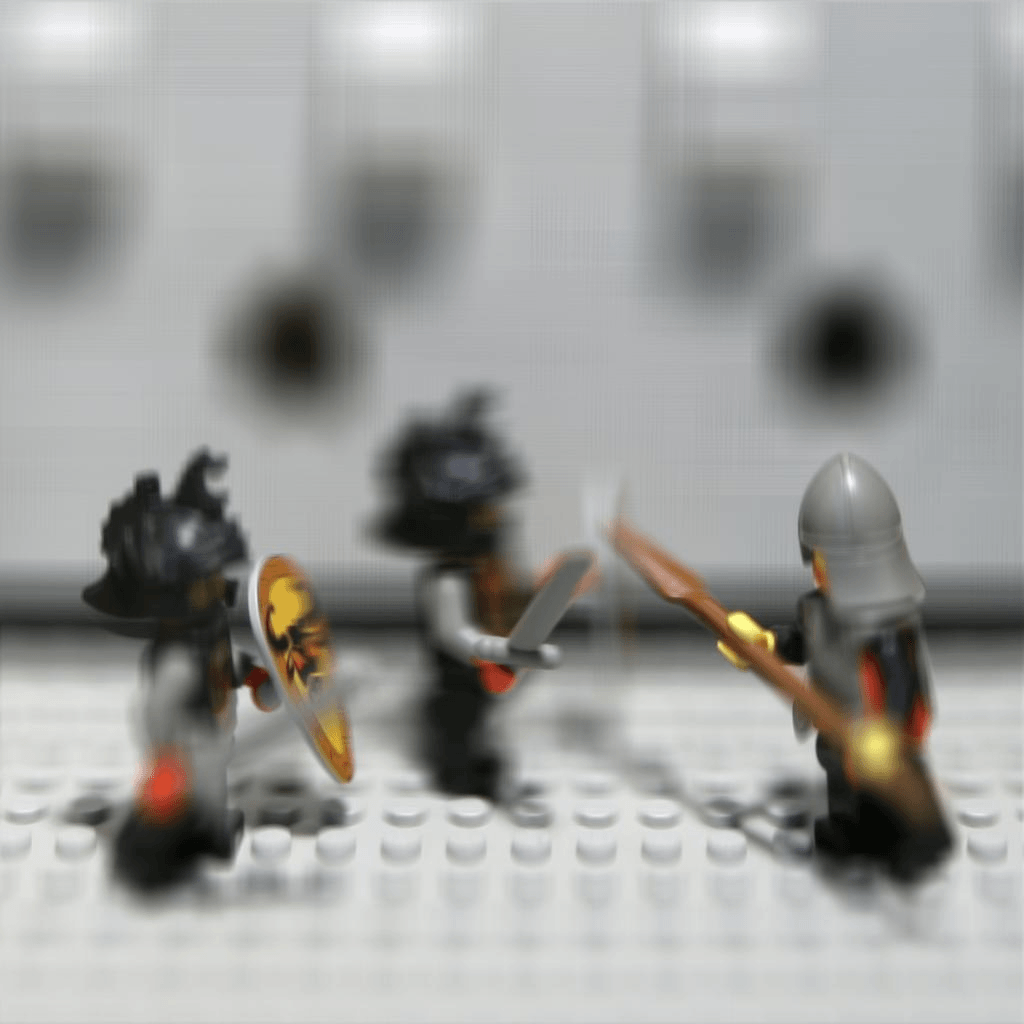
Lego dataset f = -0.4 to f = 1.4
This part of the project is designed to emulate the different aperture sizes of a light field camera. The idea of aperture adjustment is that if we average a large number of images over the grid perpendicular to the optical axis, more lights and more image positions are captured. To achieve the effect of different aperture size, I average a larger number of images to mimic large apertures, while averaging a smaller number of images to mimic smaller apertures. The depth, in this scenario, is kept constant.
The center image for a 17*17 grid is at (8, 8). I chose f = 1 as the fixed depth, and it is the depth where the middle chess is in focus. I set r to different values to sample images around the center in the grid - only images with positions to center that are no larger than r will be used for averaging.
 |
 |
| |
|
 |
 |
| |
|
Results:
Chess dataset r = 1 to r = 8, f = 1
Lego dataset r = 1 to r = 8, f = 0.2
Prompt: Using Real Data : Collect your own data by clicking multiple images with a normal camera and implement refocusing / aperture adjustment. If it does not work, why do you think that is the case ?
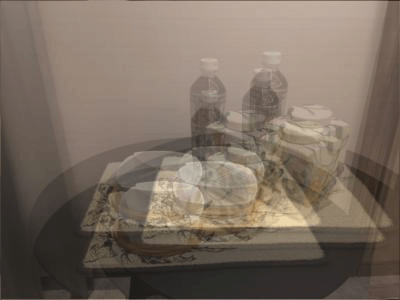
My approach to generate the grid is put my cellphone camera on top of a stack of notebooks, and track positions based on the stack and the marks on the notebook. I took two series of 5x5 = 25 images in different positions.
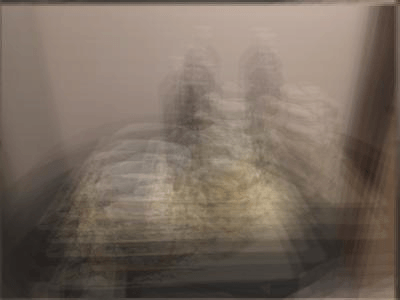
My outputs turn out to be unsuccessful for both of the series that I produced. The reasons could be that I do not have the supporting devices that keep the positions exactly aligned to create grids that are good enough for producing the effects. The positions are not very precise, and the position changes could be large and shaky because it is hard to hand-control small changes. Besides, I only took 25 images, which is very small compare to the 289 images in the archive.
 |
 |
| |
|
Results:
| |
|
 |
 |
 |
 |
I get a better understanding of how some usual yet complex effect works in a camera, and how to realize them programmatically. I learned that data quality is really important - it is pretty hard for me to shoot pictures that are as successful as the given dataset because I do not have the devices and techniques; but it is still intersesting to see the program works very well with property generated datasets.
This project reimplemented the idea introduced in "A Neural Algorithm of Artistic Style" by Leon A. Gatys, Alexander S. Ecker and Matthias Bethge. It tries to separate images into style and content, and then combine the two element to tranfer the style of one image onto the content of the other image through a CNN-based architecture.
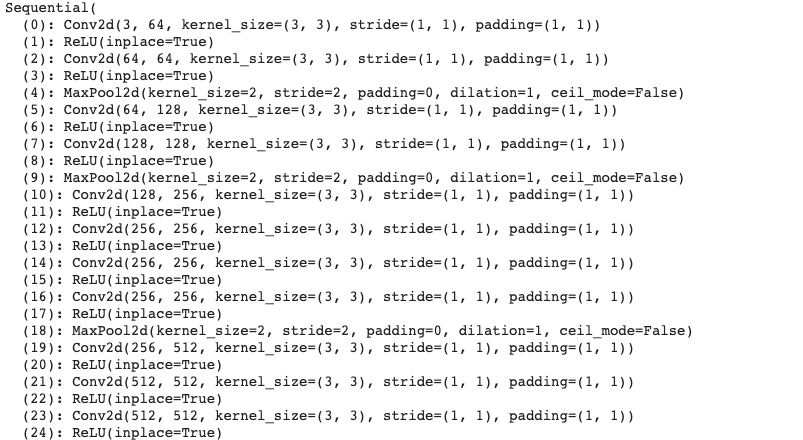
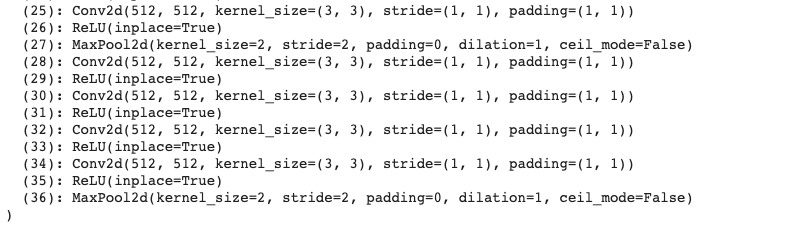
Model Architecture
 |
 |
Hyper-Parameters & Comparison with the Paper Model
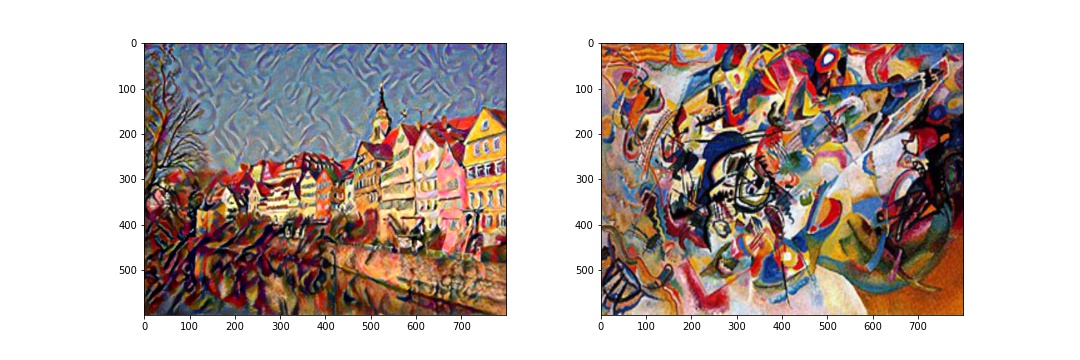
Following the paper, I imported the pretrained VGG-19 model with 16 convolution layers and 5 max-pool layers. I added the content and loss layers immediately after the corresponding convolution layers. My content layers are 'conv4_2'; my style layers are 'conv1_1','conv2_1', 'conv2_2', 'conv3_1', 'conv4_1', 'conv4_2', 'conv5_1'. Since maxpooling works fine for me, my final model is not switched to the average pooling suggested by the paper. The images are resized to the same dimension and each channel of the tensor is normalized by mean=[0.485, 0.456, 0.406] and std=[0.229, 0.224, 0.225].
The loss for the network is the weighted sum of content loss and style loss. For content loss, I used the MSE loss between the input and output images; for style loss, I computed the gram matrices (normalized - style features tend to be in the deeper layers of the network) because we want measure compare styles. When using a content/style weight ratio of 1/1000, as suggested by the paper, to combine the content and style losses, the result is not very satisfactory comparing to the paper results. Instead, I used a ratio of 1/1000000. I used the LBFGS optimizer and num_steps = 1000.
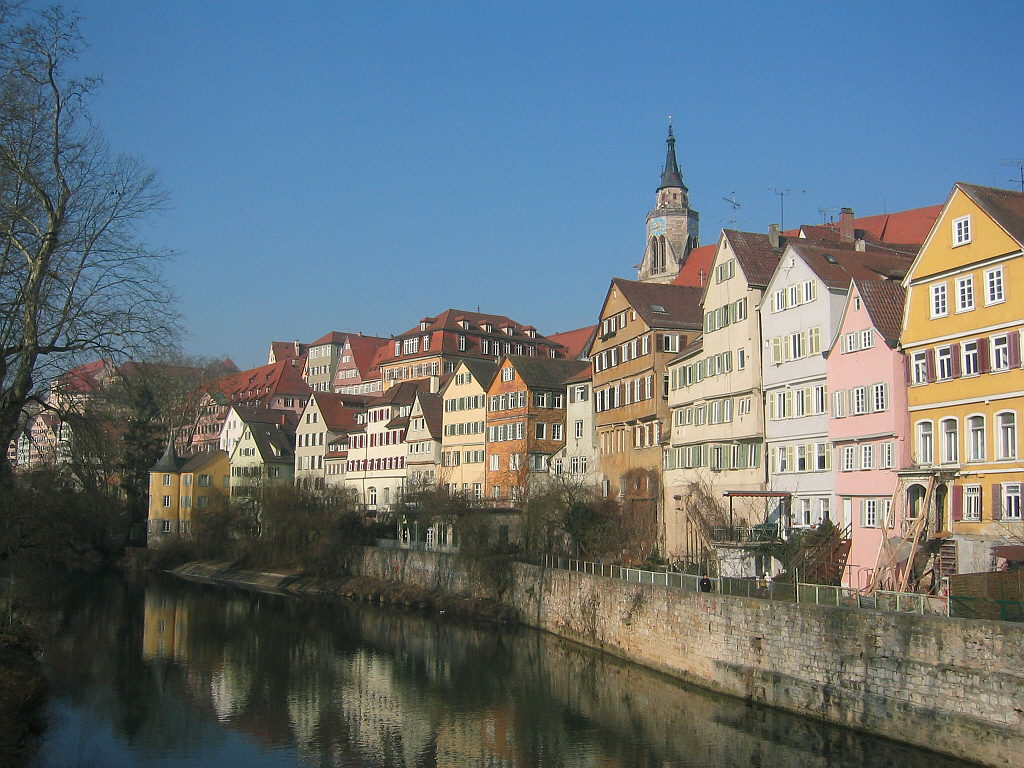
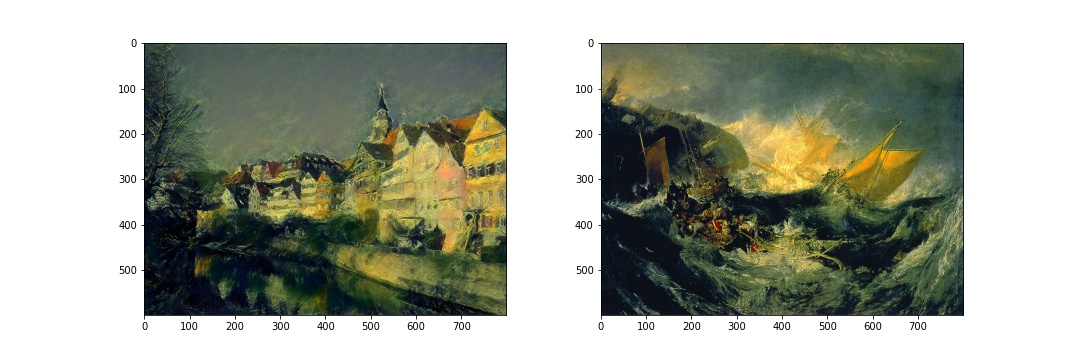
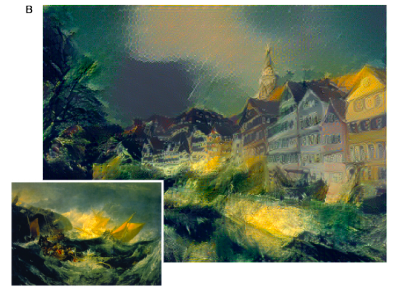
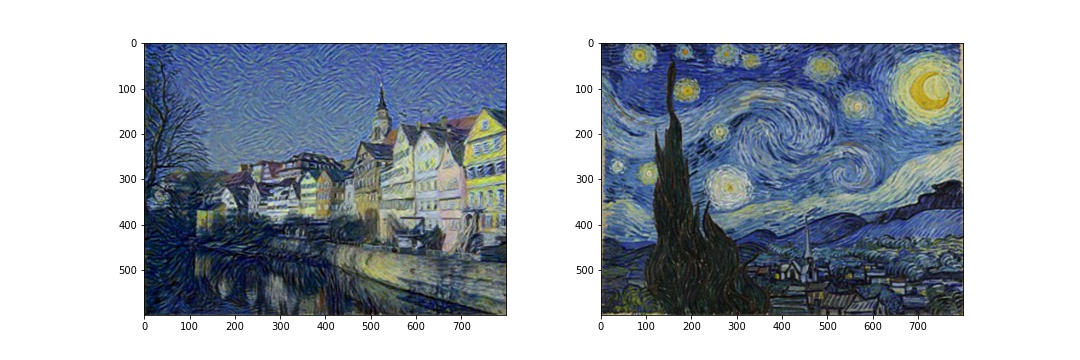
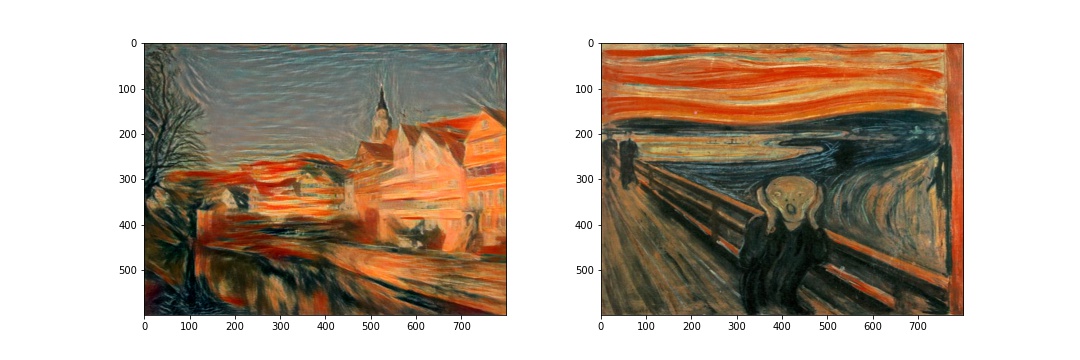
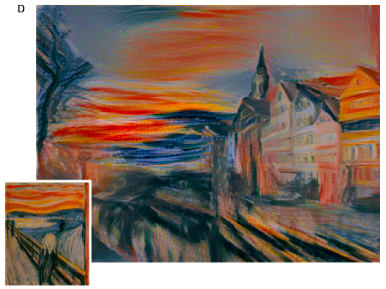
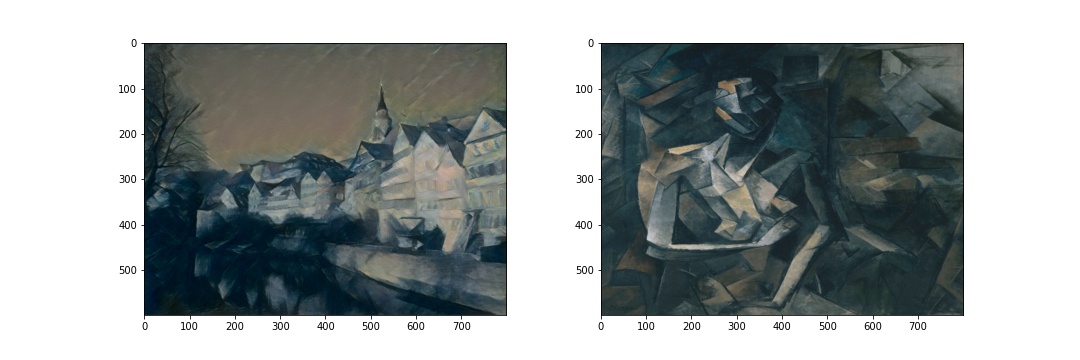
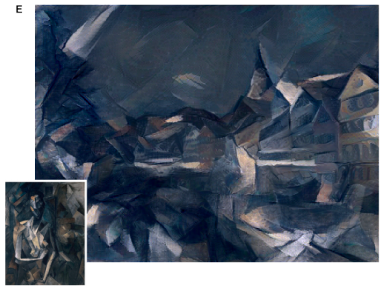
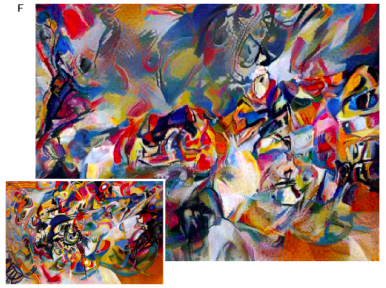
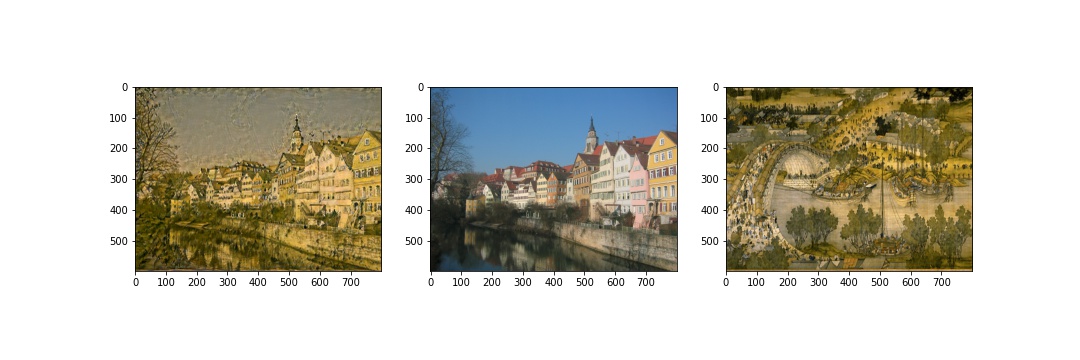
Here, my model uses Neckarfront in Tubingen, Germany by Andreas Praefcke as the content image, and transferred images into the styles from The Shipwreck of the Minotaur by J.M.W. Turner, 1805; The Starry Night by Vincent van Gogh, 1889; Der Schrei by Edvard Munch, 1893; Femme nue assise by Pablo Picasso, 1910; Composition VII by Wassily Kandinsky, 1913. For each transfer, I resized the two images to the same dimension (perserves the ratio of the content image) before running style transfer.
Comparing to my results, the results from the paper stylized more heavily so that the resulting images are more abstract (the style images are more abstract compare to photos). I could change my num_steps or learning rate or alpha/beta to make the results closer to the output of the paper. However, I decided to keep this version of the outputs since it preserves the contents well and is already able to indicate that the style is successfully tranferred.
 |
 |
 |
 |
 |
 |
 |
 |
 |
 |
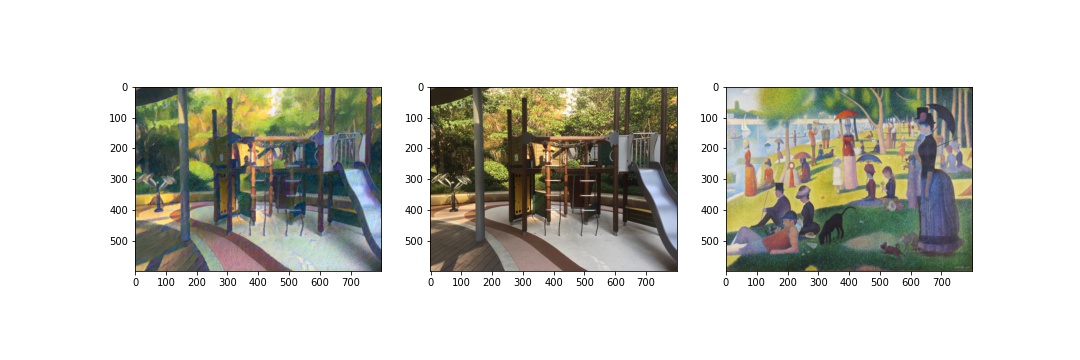
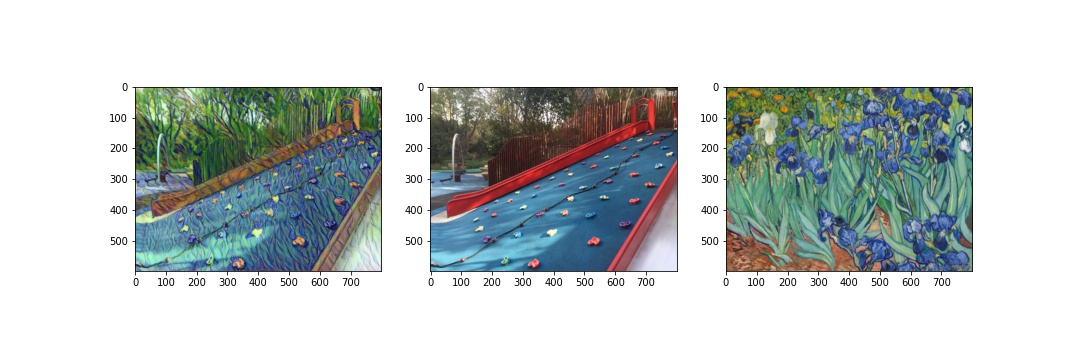
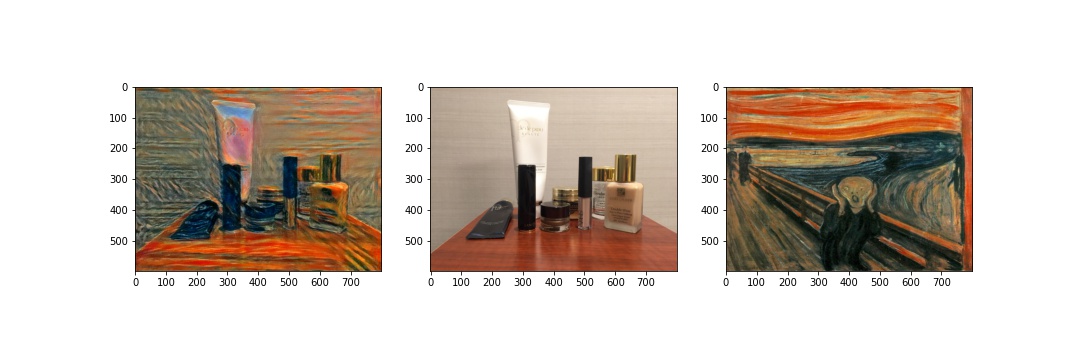
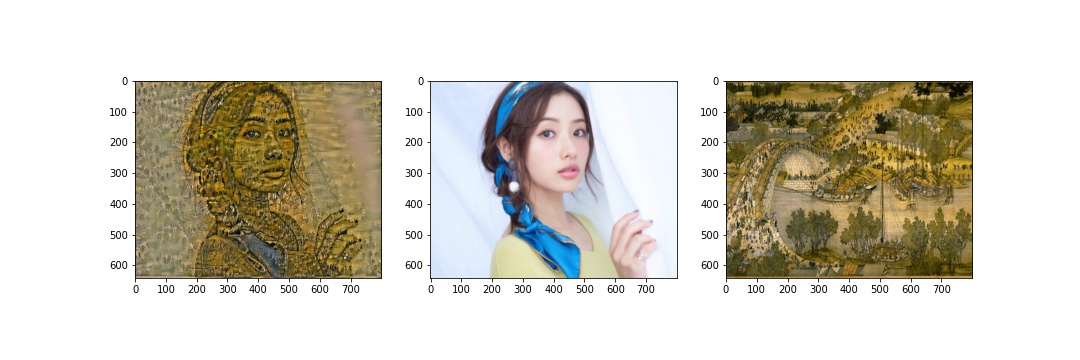
Here are several transformations applied to images from my own collection. In the success cases, the styles are transferred well onto the objects in the content images; the failed cases still transforms the 'coloring' and 'texture', but they are not very visually appealing. For the first failed case, I used a photo instead of an artwork and the style might not be very striking since changing hyperparameters did not gave me an improved result. In the second failed case, I applied the style of a landscape image to a portrait photo. The content on the photo is preserved, but there are a lot of noises on the person's face.
Successes
 |
 |
 |
 |
Failures
 |
 |
This project is really interesting and creative. It took me a while to tune the parameters, but the overall process is really fun and rewarding, and I developed a much better understanding about this artistic style algorithm after I implemented what I read in the paper.