In this project, we learned about how light fields work. Our dataset is from the Stanford light archive, and in that dataset, it is a rectified set of some images, and this set is unique because it is take over a regularaly spaced grid path. Because it is taken over a regularly spaced grid that has light perpendicular to our viewpoint (optical axis), we can adjust the light coming in to move in and out of focus at multiple points.
Depth Refocusing
In depth refocusing, we refocus the depth by shifting the images. We refocus through the following algorithm.
For every sub aperature image, we compute the shifting coordinates based on its position relative to the center. Then, we shift the image by those coordinates scaled by some scaling factor. We then average the final results to achieve Depth refocusing.
Below are some examples of what happens when we shift them.
-1 Scaling Factor
0 Scaling Factor (Straight Average)
1 Scaling Factor
2 Scaling Factor
Below is a GIF of all the scaling factors from -2 to 4. When we get to -2 and 4, the light field starts to focus on the outer edges, so most of the image starts to look blurry.
-2 to 4 Scaling Factor
Aperature Adjustment
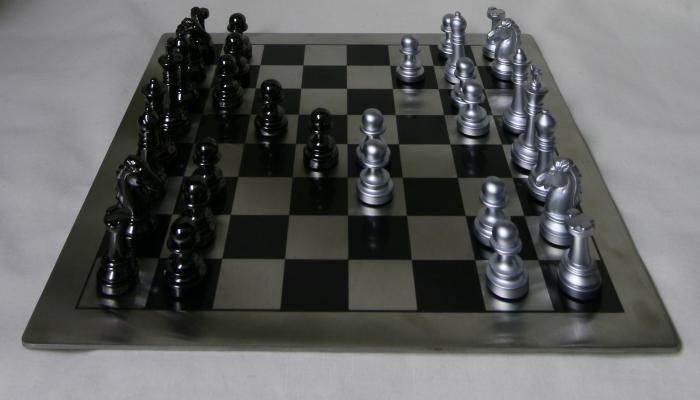
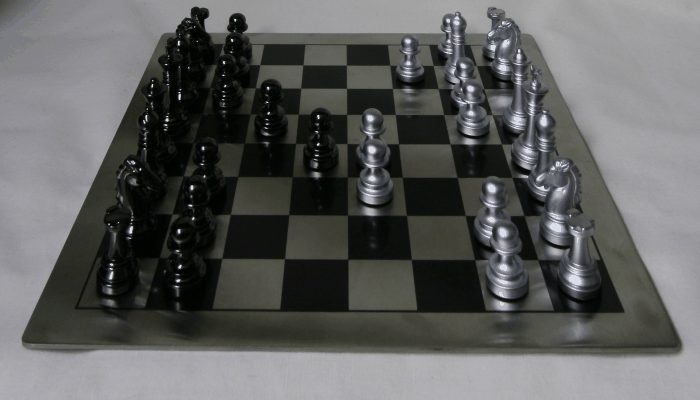
Now, we want to adjust the aperature, which essentially is the size of the whole in the camera. This affects how much light comes in. So, when we increase the aperature, we have more light, so it focuses towards a single point, making that singular part more in focuss. This is kind of like portrait mode on the iPhone. When we have a smaller aperature, the whole image is more in focus. We model the separate aperature shifts by keeping the depth focus (scale) from above constant, and adding the number of photos in to average. The more photos we add, it mimics a bigger aperature, leading to more focus towards the center and more blurriness outside. We add this by increasing the radius from the center. For example if we have a radius 1, we add 1 photo in each direction from the center, so we are averaging between images in the 3 x 3 block around the center. We expand this all the way to our 17 x 17 block that encompasses all the image. For the below images, we set the scale to be 1 to focus on the center of the image.
Single Image from Center
5 x 5 Block Average
11 x 11 Block Average
17 x 17 Block (All Images) Average
Below is a GIF of all blocks from 1 to 17 with step size 2.
Aperature GIF
Coolest Thing About Project
The coolest thing about this project was that I understand how focus and blurring works and can actually implement this effect myself.
Image Quilting
In this project, we try to quilt an image, i.e we take an image and extract blocks from it such that we can create a larger quilted version of that block.
Random Patching
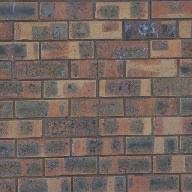
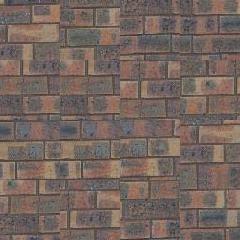
Our first attempt is to quilt an image by taking random parts of texture as a block and then random tiling our quilt of block size until we fill up a specific size that we want to. This is the naive result and produces very mediocre results. We use the sample of a brick as our first example.
Single bricks texture example
Randomly patched bricks
Overlapping Patches
Our next attempt to quilt an image is by overlapping blocks on top of each other. We do this by selecting a random block, and then we look through the source texture image to find another block that overlaps with the previous ones. For example, if we are at an edge block, then we must make sure that this block overlaps with the bottom of the block above it or with the side of the block to the left of it. If we are at a middle block, we must make sure that our block overlaps with the block above it and to the left of it. To select the overlap block, we use sum of squared differences (SSD) to select all the blocks whose SSD falls under some hyperparameter, and we choose a random one from that selection to quilt our image. We see that this method performs a lot better than the random quilt one, but there is still some work to do.
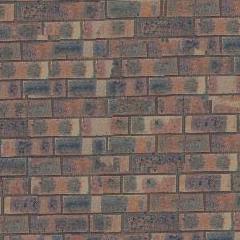
Single bricks texture example
Randomly patched bricks
Overlapped bricks
Seam Finding
We see that with overlapping patches, all we do is stack overlaps on top of each other, so sometimes there is an obvious square that shows each block, as the seams are rough. This time around, we try to find the best seams. To do this, we find the overlapping part in the original image and find the best seam to transition from the overlapping part from the previous parts into the newer parts. We do this by using Dymnamic programming to find the min squared error seam that has the best transition to continue the quilt. This method effectively removes all seams and we then have a clean image. Below is an example of Seam Finding with a left block and a right block.
Left block
Right overlap block
Seam -> Mask for least error
Overall Overalapping image
Below are examples to compare how well each method does.
Single bricks texture example
Randomly patched bricks
Overlapped bricks
Overlapped with seam correction bricks
Single text texture example
Randomly patched text
Overlapped text
Overlapped with seam correction text
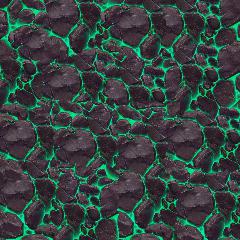
Single rocks texture example
Randomly patched rocks
Overlapped rocks
Overlapped with seam correction rocks
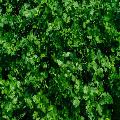
Single plant texture example
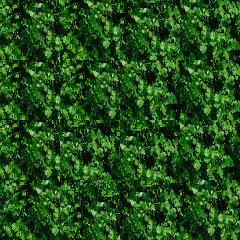
Randomly patched plant
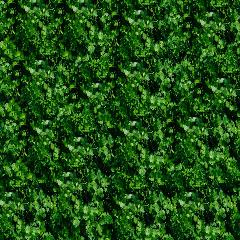
Overlapped plant
Overlapped with seam correction plant
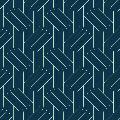
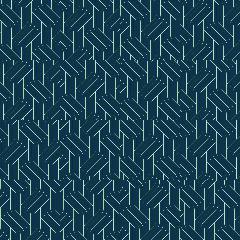
Single line texture example
Randomly patched line
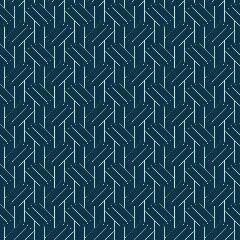
Overlapped line
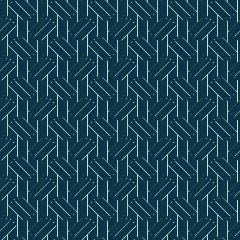
Overlapped with seam correction line
Texture Transfer
Now that we can overlap patches together, we can do texture transfer. We do this by taking one image as the reference point, and then patch up that image with patches of the texture. In the patches of the texture, we modify the cost of SSD function ot take in an alpha to weight how much we care about the SSD of the overlapping patch compared with the SSD of the patch with the previous image. I also sometimes blur the target image to get more of the texture. We mainly modify our previous functions to take care of the texture transfer functionality. Below are some examples of this into effect.
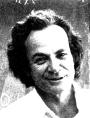
Richard Feynman Image
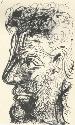
Sketch Texture
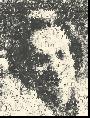
Feynman with Sketch Texture
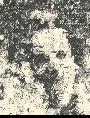
Feynman Blurred with Sketch Texture
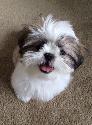
Image of Shih Tzu
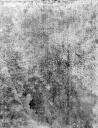
Grunge Texture
Shih Tzu with Grunge Texture
Bells and Whistles
I did the whole project on a python notebook, so I had to create my own cut.m function. I called it min_seam. I feel like Python has great packages to use and great functionality, so I decided that this project could be done well in python.