For this project I used keypoint tracking and a projective transformation from 3D to 2D to create a poor man's augmented reality.
I took a bulk box for Magic: The Gathering cards I had lying around, and marked 35 points on it, each spaced an inch apart. I ended up using only 30 of the points since the back edge of the box was difficult to see.
I marked all the keypoints manually and saved them, since I wasn't sure that I would choose them consistently. I chose the bottom-left point as the origin (0,0,0), with the x-axis along the length of the box, the y-axis along the height, and the x-axis across its width.
For propagating the points, I tried the MedianFlow tracker as suggested, but wound up with bounding boxes that drastically increased their size as the video went on or moved over from one point to another. I tried the other trackers, and MOSSE and KCF worked fine for the first few frames but would suddenly stop tracking entirely. The CSRT tracker took longer to run than any of the others but tracked the keypoints perfectly, so I ended up using that.
For calibrating, I matched up the 4D homogenous real-world (read: box) coordinates to the 3D homogenous image coordinates and calculated a transformation matrix (projection) using least squares, where Ax=b (A is the matrix, x is real-world, b is image).
To project the cube into my video, I first chose the defining points in real-world coordinates, then transformed it with my projection matrix, and drew it with the function from the camera calibration link. The cube with coordinates [[1,2,1], [1,2,2], [2,2,2], [2,2,1], [1,3,1], [1,3,2], [2,3,2], [2,3,1]] appears like so:
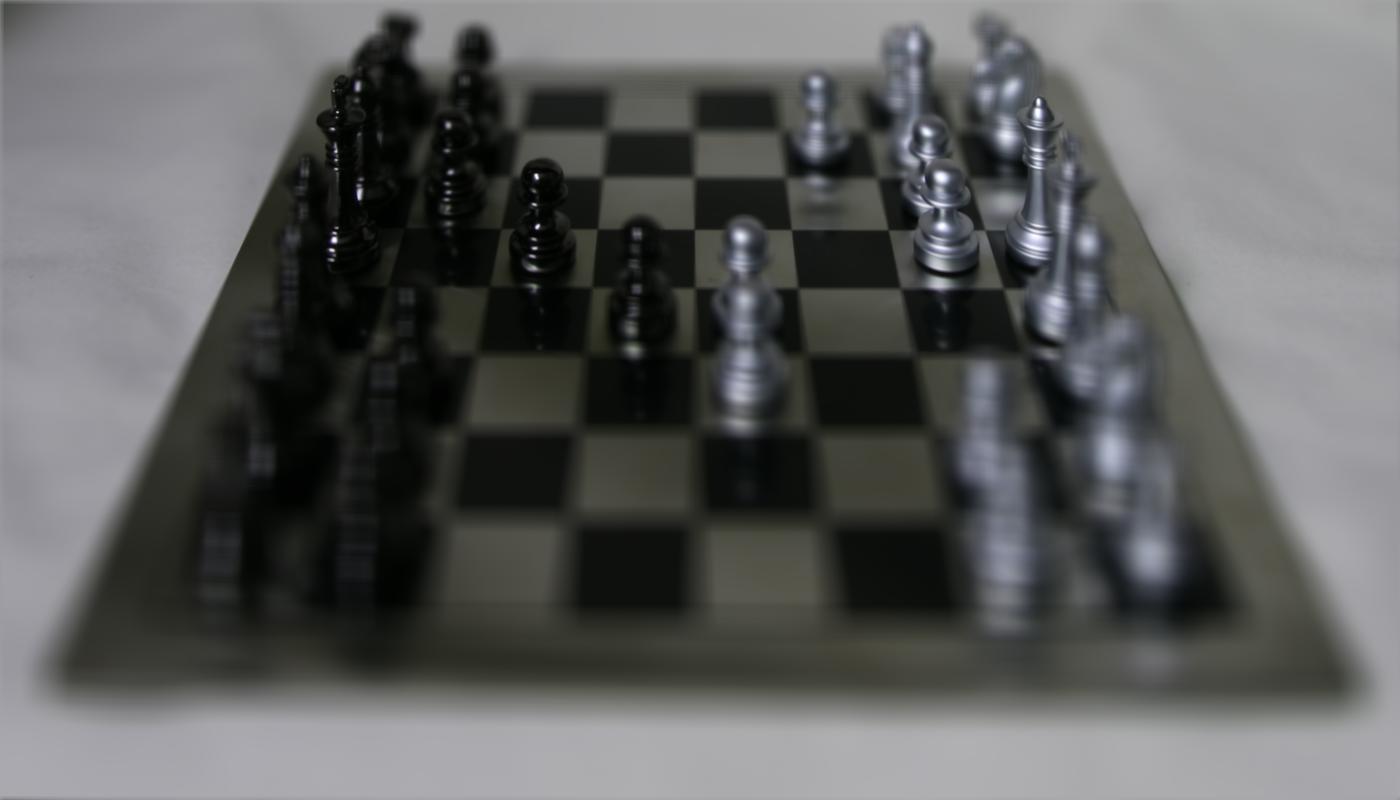
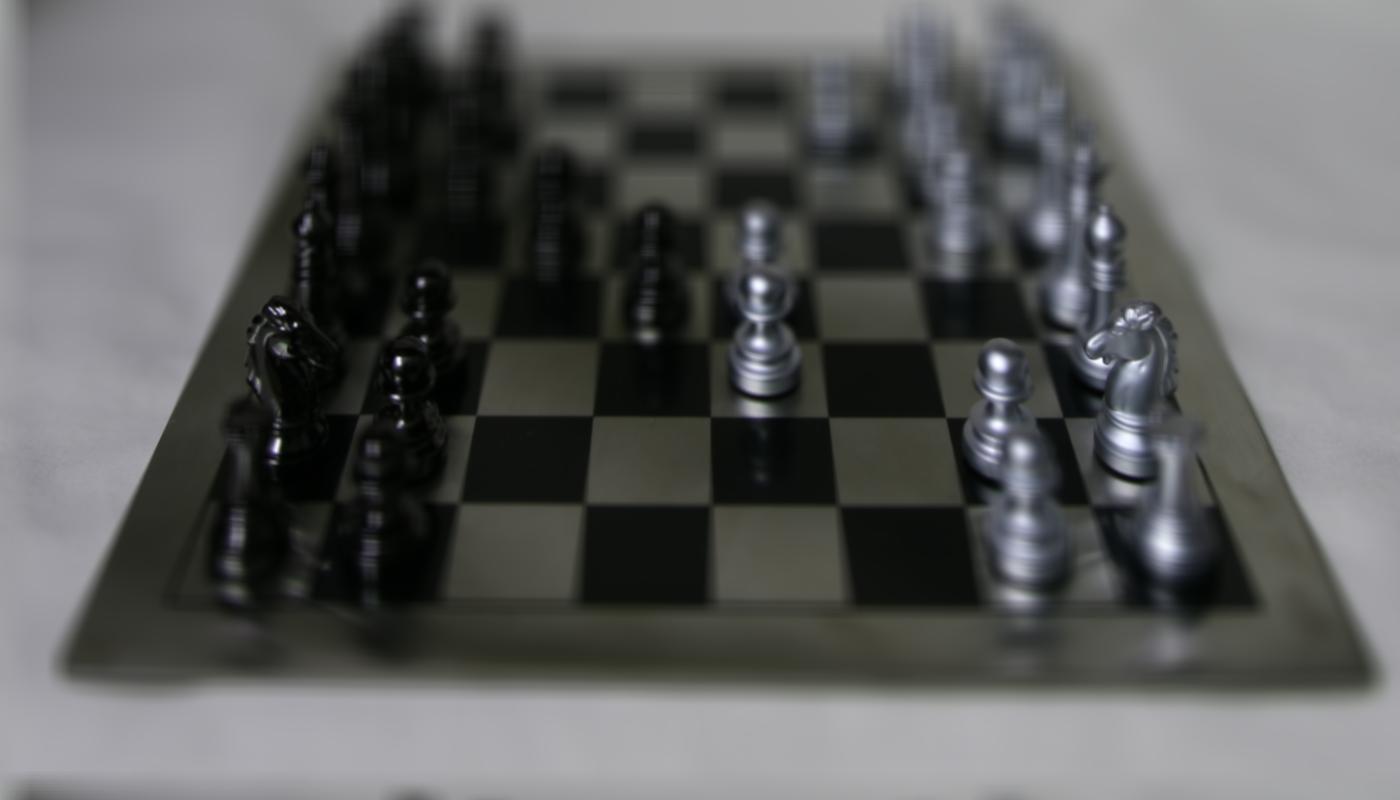
For this project I emulate focusing on different parts of an image given a grid of images slightly shifted from each other.
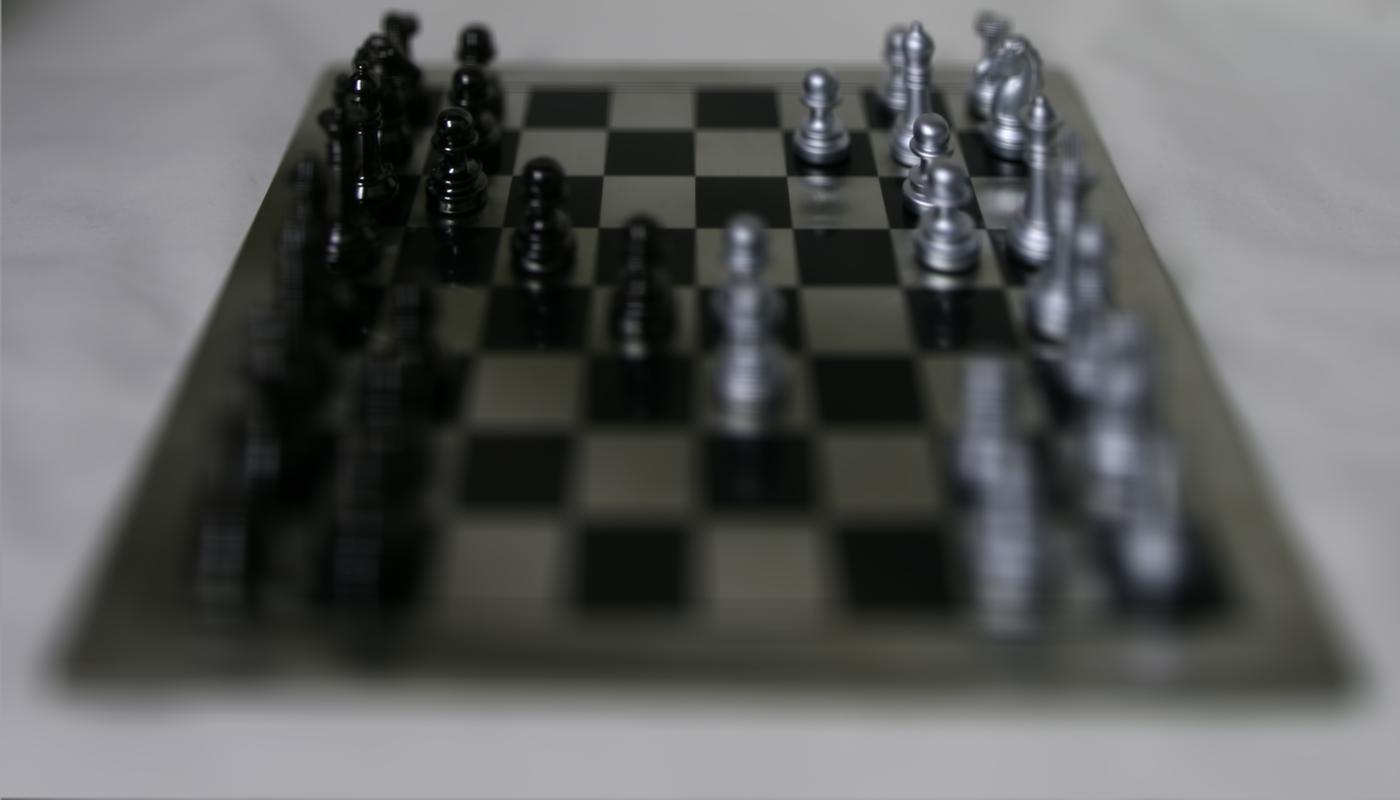
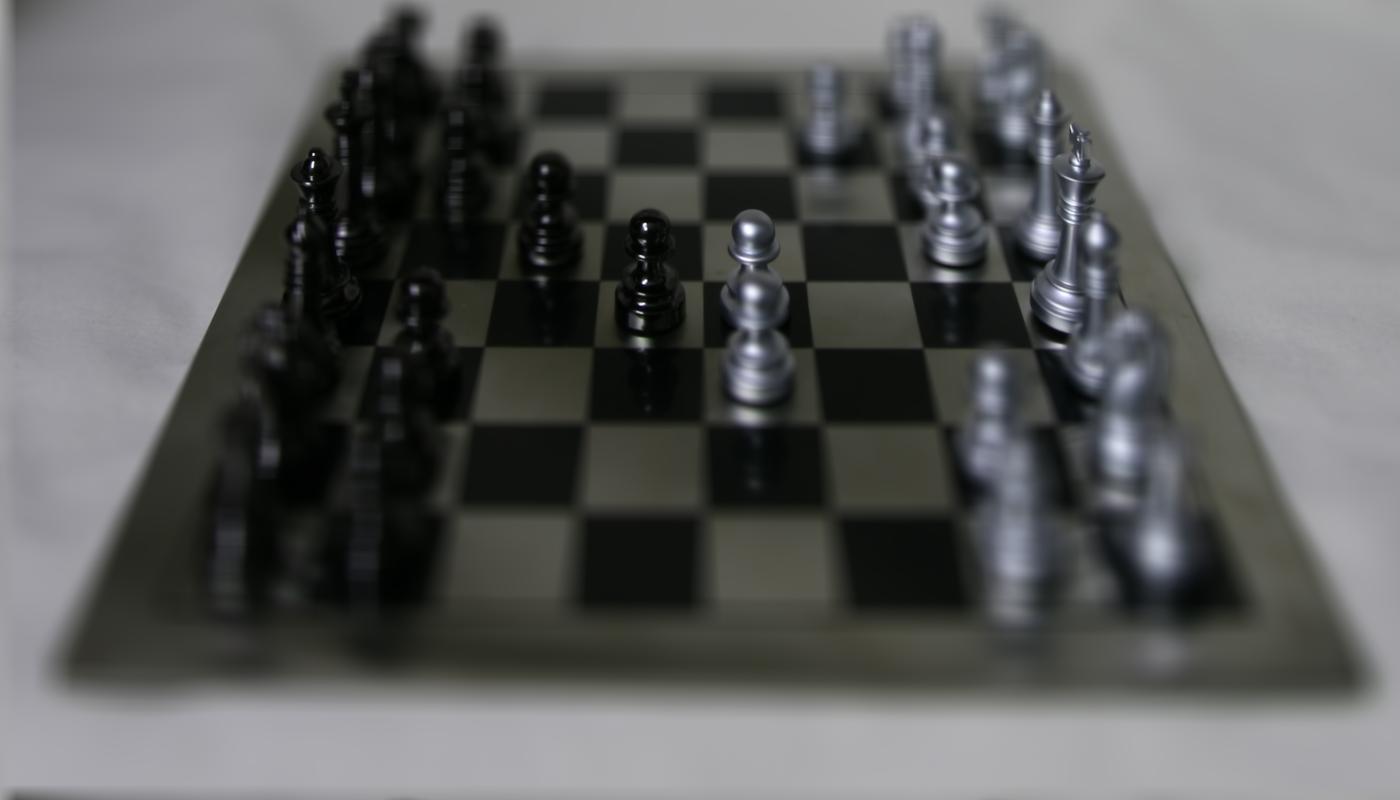
For depth refocusing, I calculate the shift of each image according to the software tab on the Stanford site, then scale the shifts by a fraction based on the input depth. This fraction is depth/gridHeight, and different fractions result in different parts of the image in focus.
|

|

|

|
|
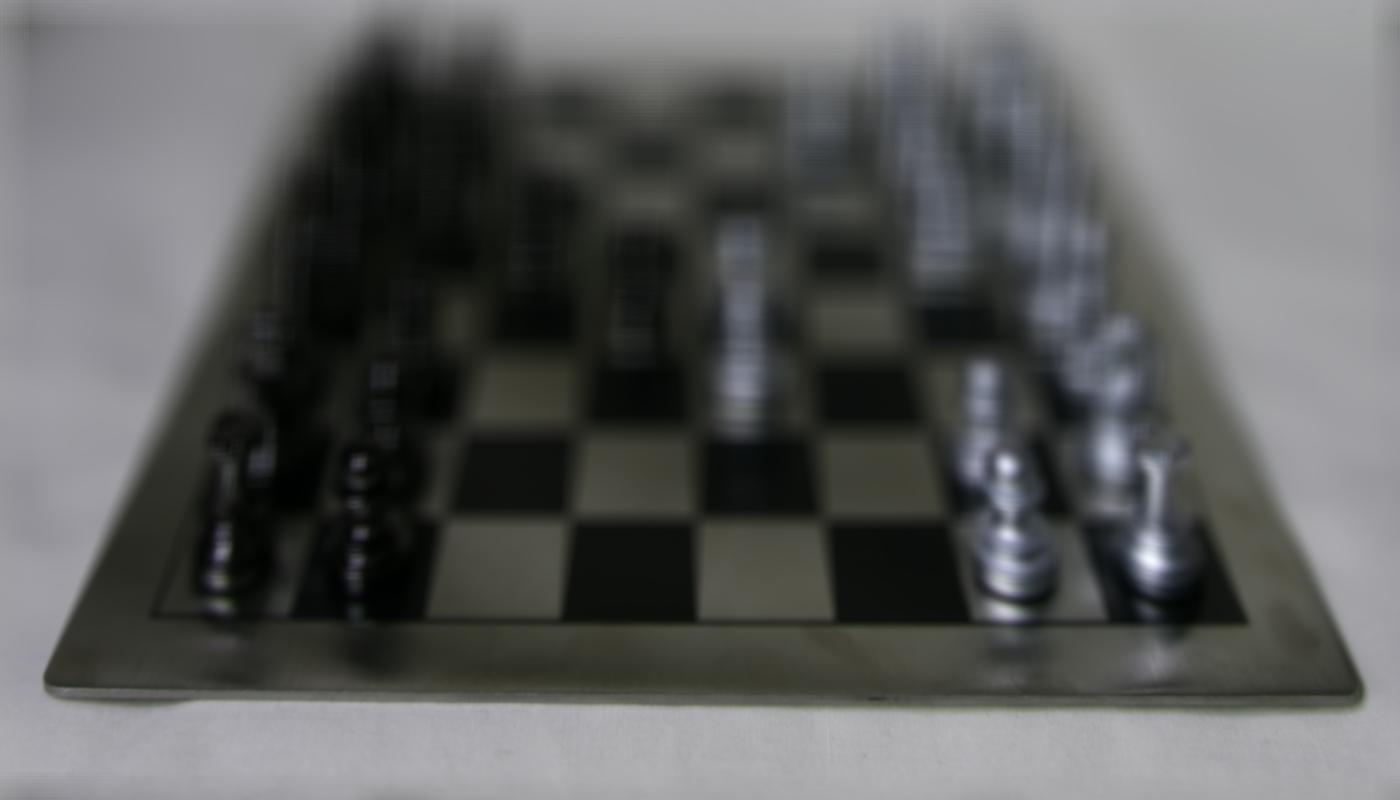
Aperture adjustment uses a very similar process to depth refocusing. The difference is that the scaling factor for the shifts is fixed at 0.5, the "depth" is fixed at 8 (center of the grid), and only some of the images in the grid are used, based on the valus of the aperture radius. As aperture size increases, the blurrier the resulting image.
|

|

|

|
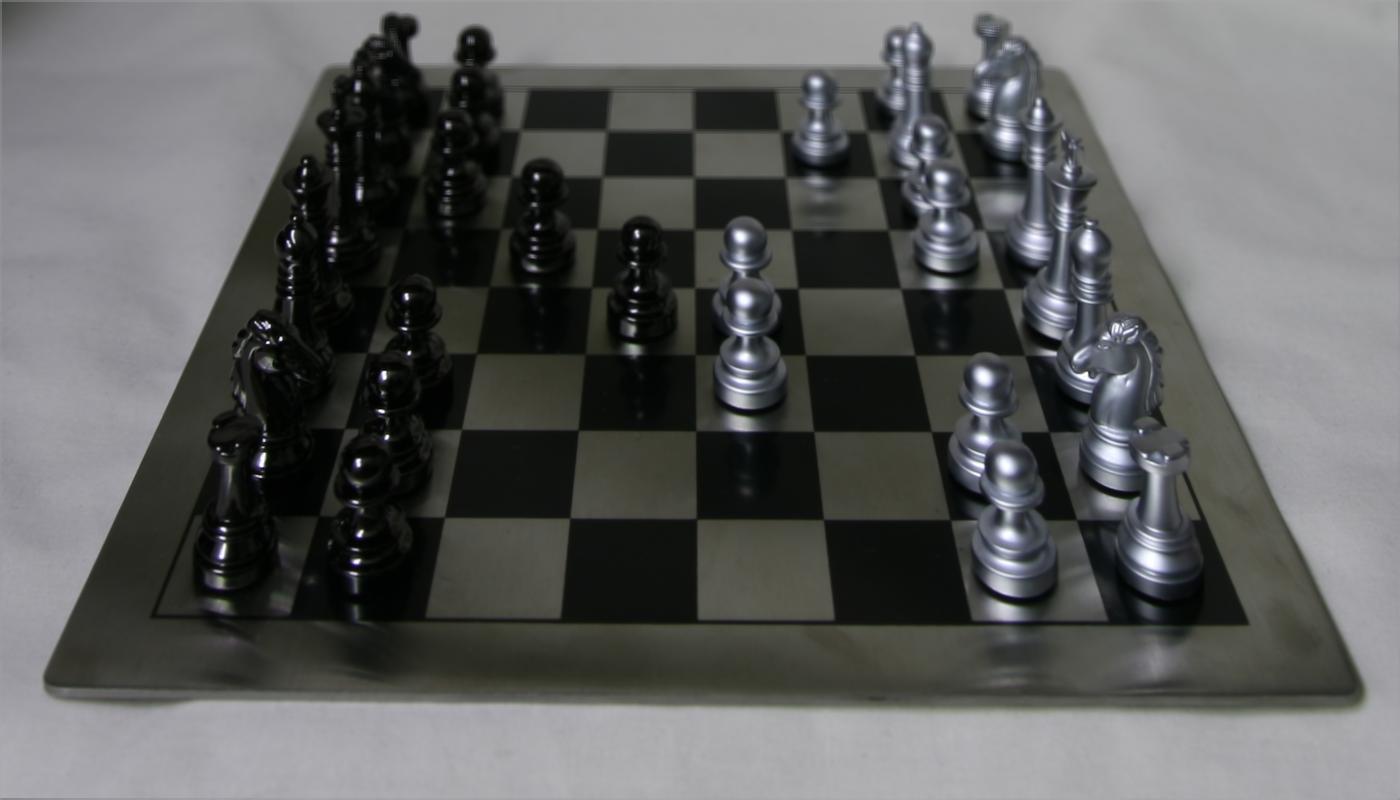
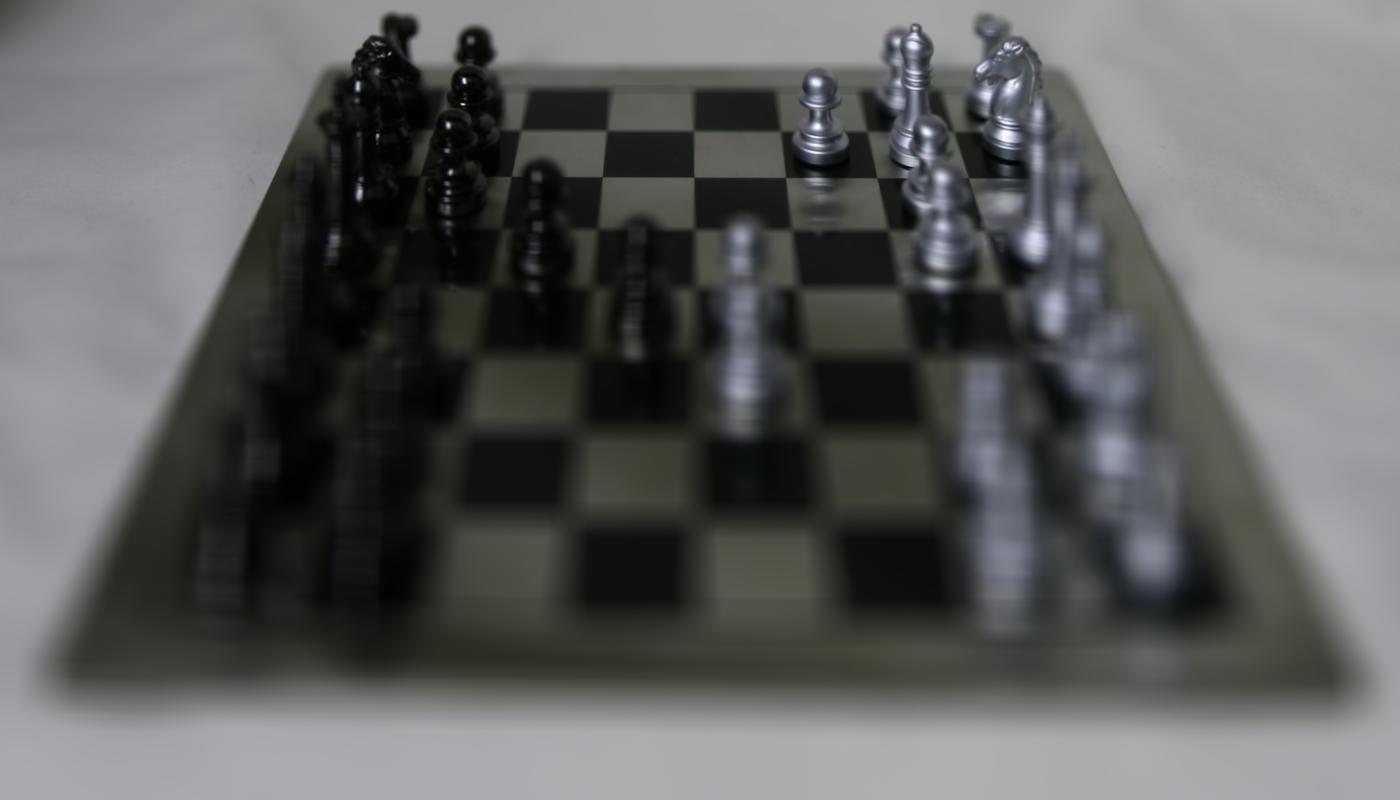
This part was harder than the other two, since I couldn't simply use the existing shifts to focus the images. I figured that I could calculate the largest shift possible between images, which would be the images at (0, 0) and (17, 17) for the chess dataset, and the shifts for all the other images would simply be some scale factor in between them, x/17 and y/17 for each grid position. To calculate the initial shift I first tried repurposing the pyramid aligning code from my project 1, but that resulted in blurry images with no clear focal point. Hence, I redid my pyramid alignment with skimage.transform.pyramid_gaussian and used the SSD minimizing method to calculate the inital shift. This resulted in significantly better images where you could actually distinguish between focused and blurry areas, although it doesn't work as well near the corners. It also does not blur as well along the x-axis.
Images are 1400x800 (WxH), coordinate origin is at the top left.
|
|
|
|

|

|
The final projects, as well as the other projects and this course as a whole, were challenging but also very intriguing and educational. The poor man's AR didn't take too long to finish, and it was fun seeing it in action. The lightfield camera was more difficult, and the main blocker was figuring out how to calculate the appropriate shifts, especially for the interactive focusing. I spent a lot of time trying to figure out it it was my alignment calculations or my shifting that was buggy.