In this project I worked with real light field data (multiple images over a plane orthogonal to the optical axis) to achieve depth refocusing and aperture adjustment. This project draws from this paper.
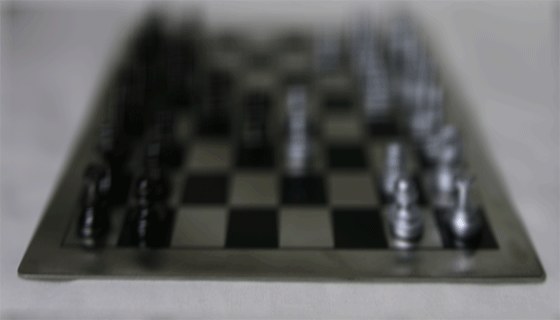
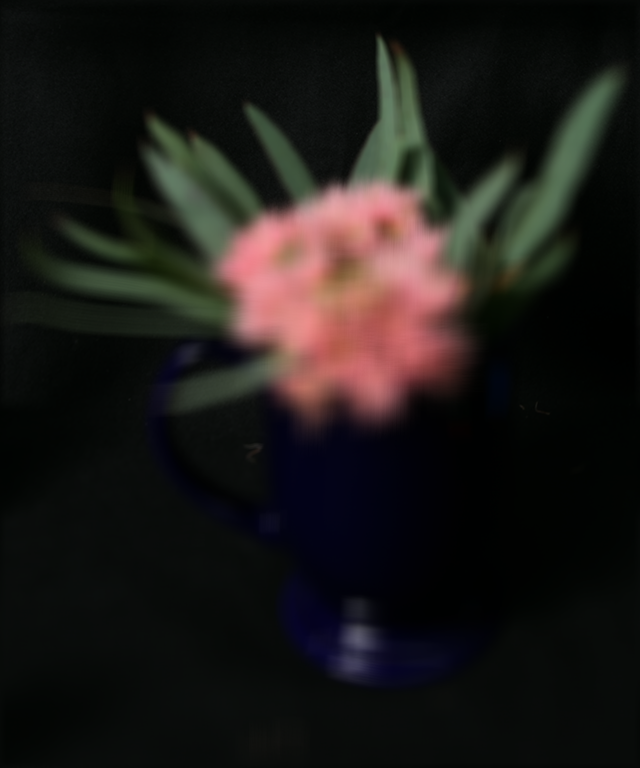
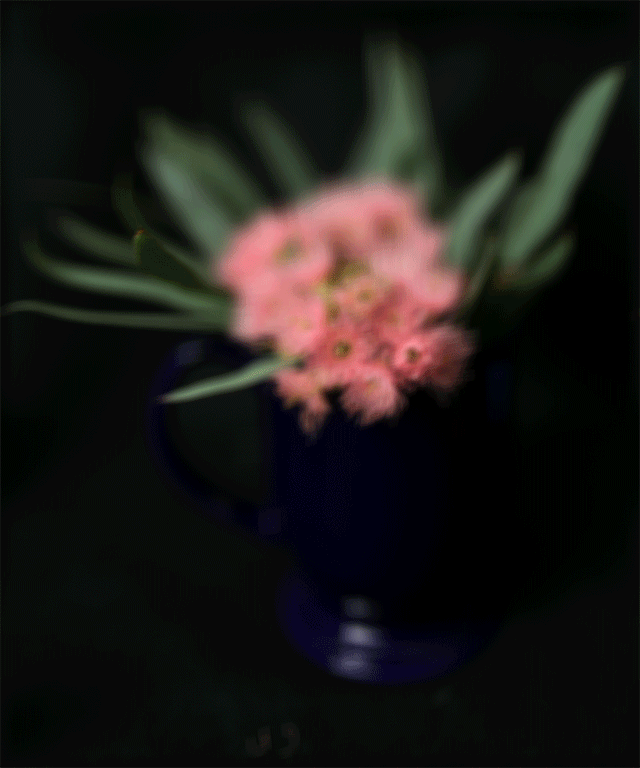
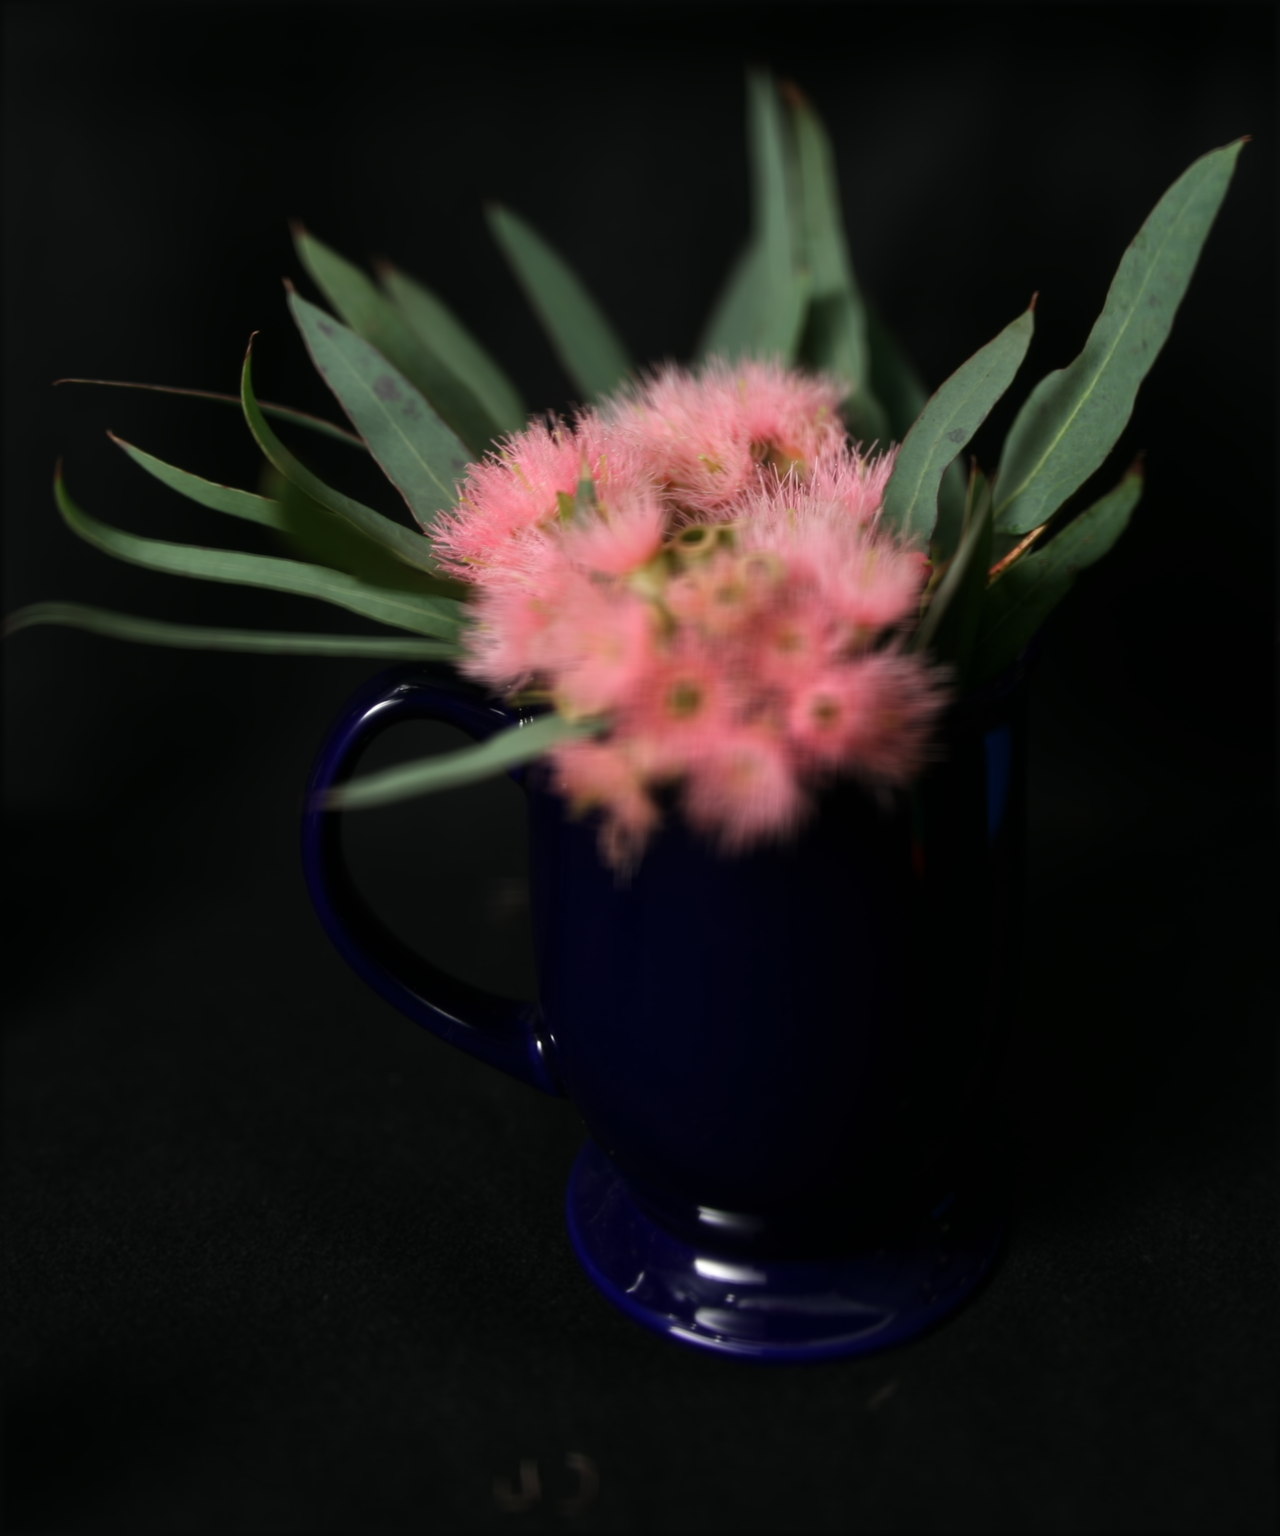
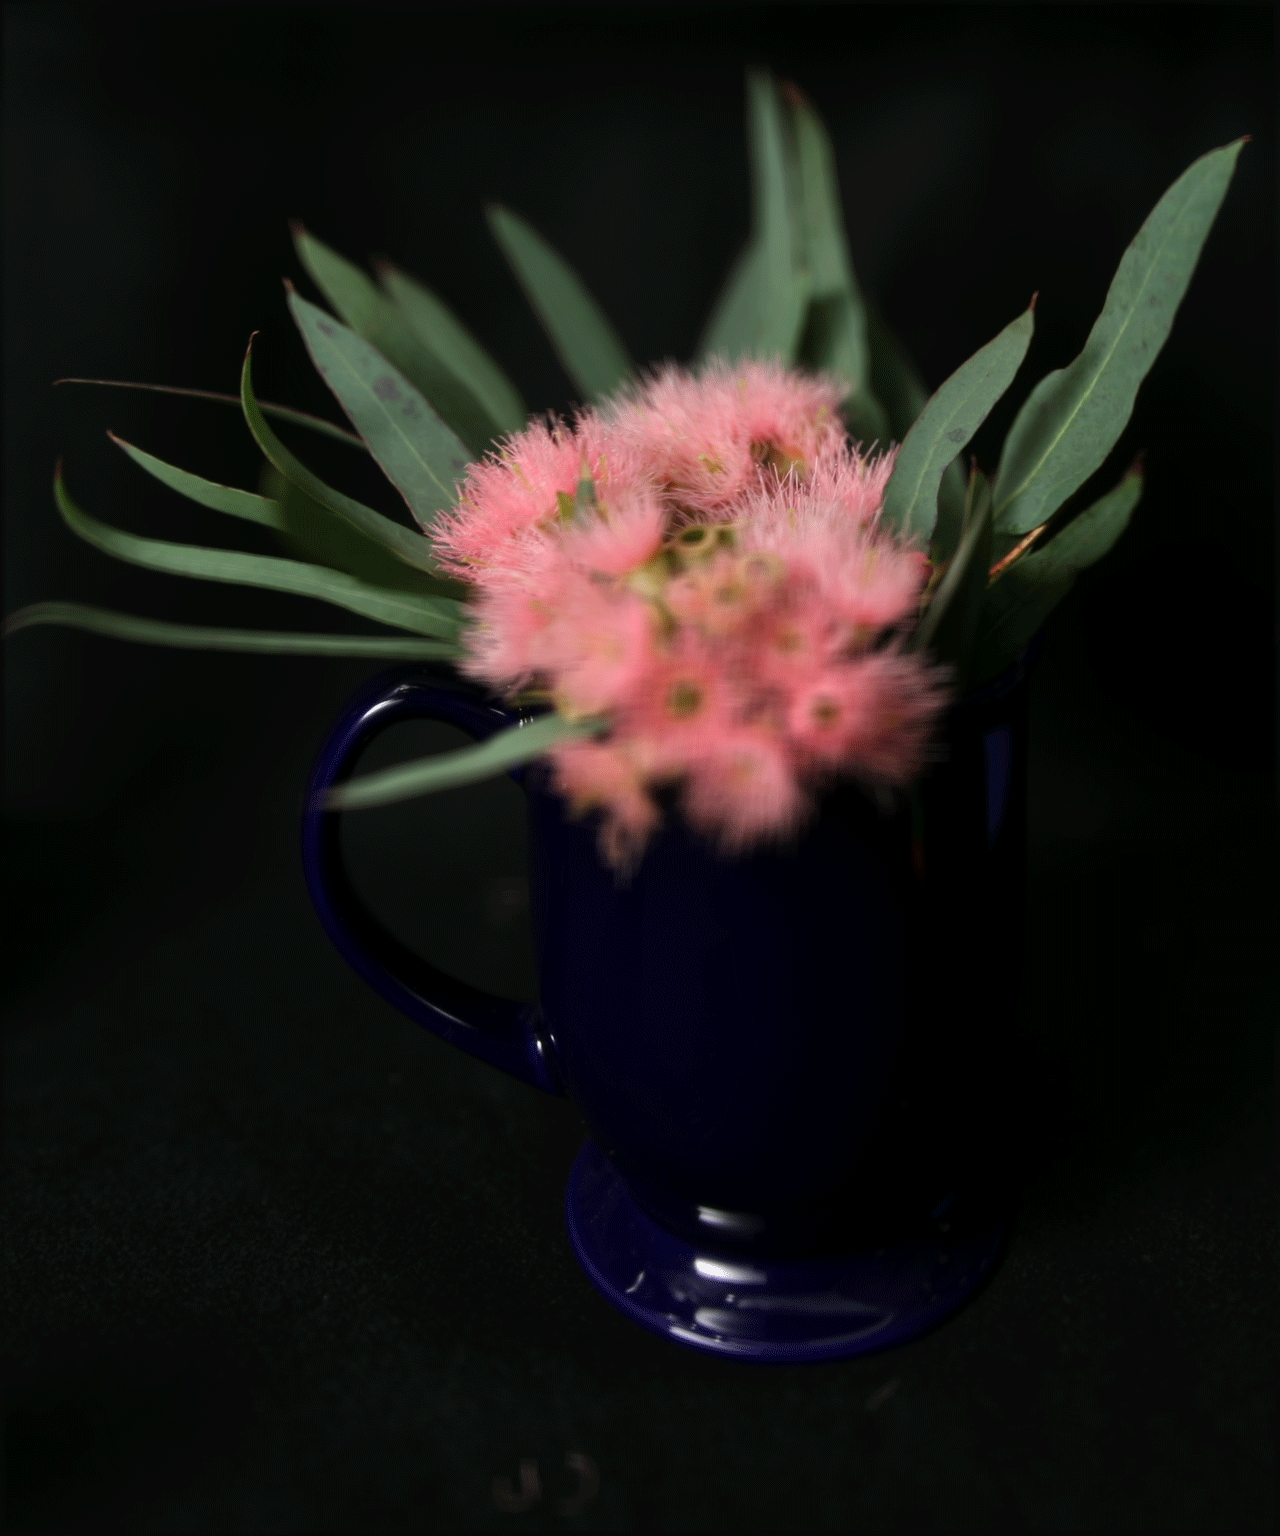
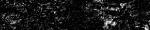
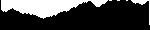
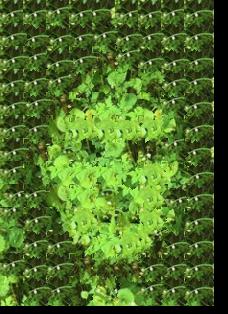
If we averaged all the images with no shift, the nearby objects would be blurry, while the distant objects would be sharp. To achieve depth refocusing, we have to shift the images by an alpha (varies based on whether you want to move the focal point forward or backward). In the images below, I varied alpha over the interval -2 to 3.5.
|
|
|

|
|
|
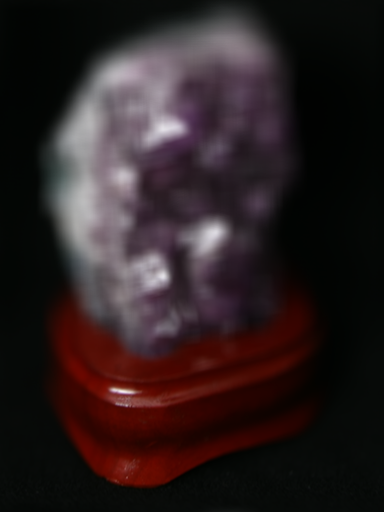
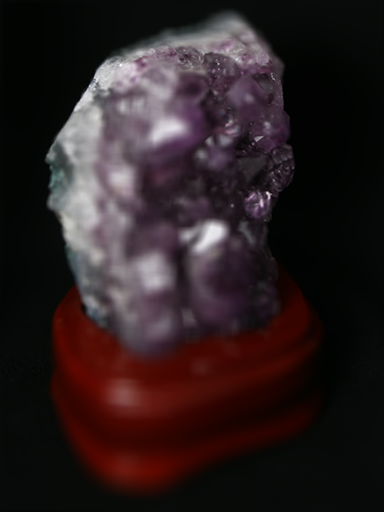
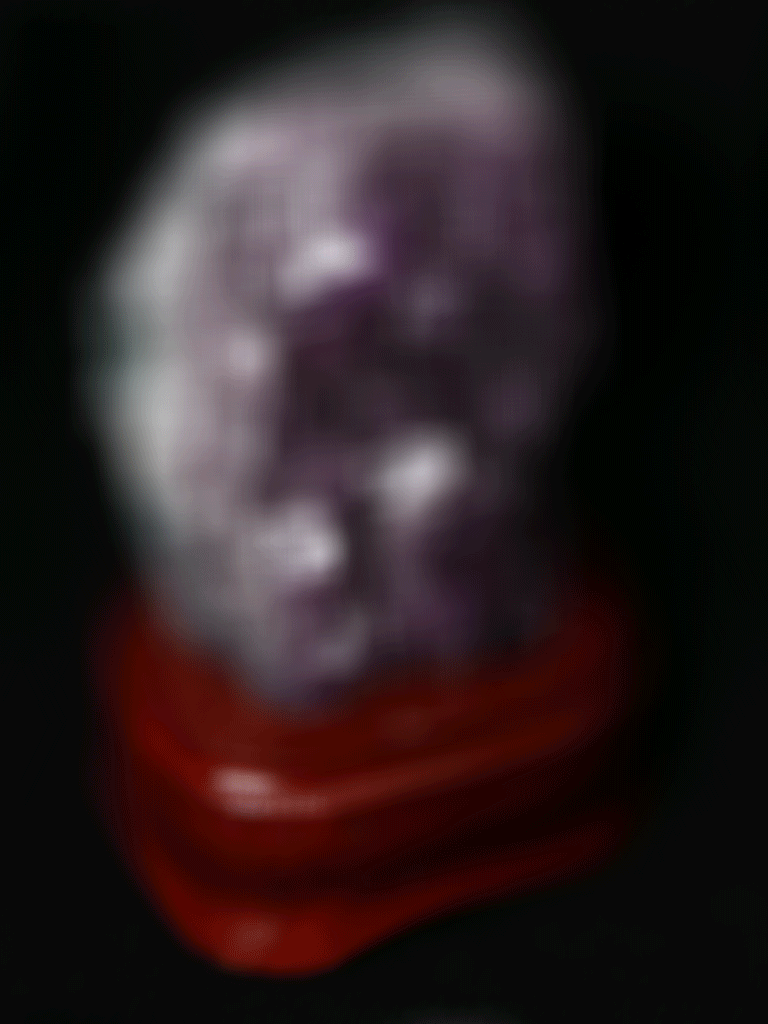
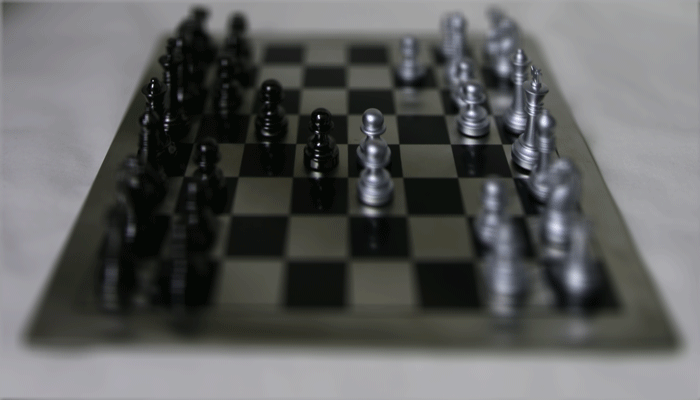
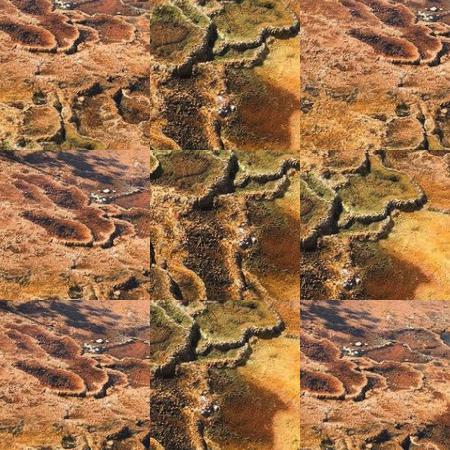
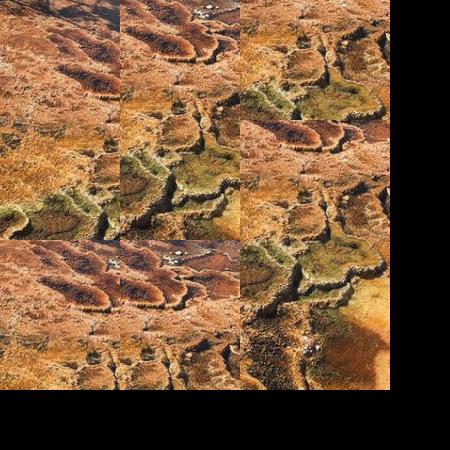
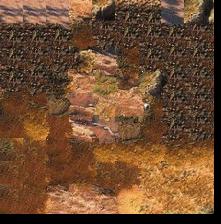
To achieve aperture adjustment, we can vary the amount of photos from the image grid we incorporate. In the following examples we use "radius" to determine what photos we include. A smaller aperture corresponds to a larger depth of field, and vice versa. Hence, to simulate a smaller aperture, we use fewer photos (a smaller radius), and vice versa.
Focus of all these images is on the center

|

|

|
|
|
|
I really enjoyed the Light Field Camera project -- learning how to manipulate the focus and camera parameters after the photo has already been taken was really interesting.
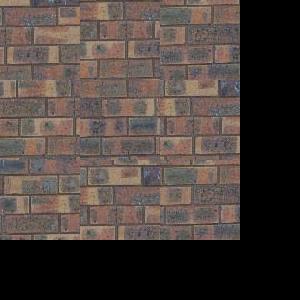
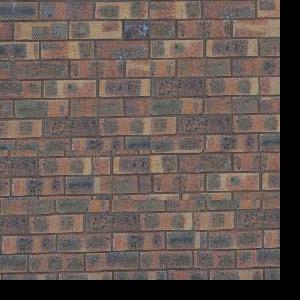
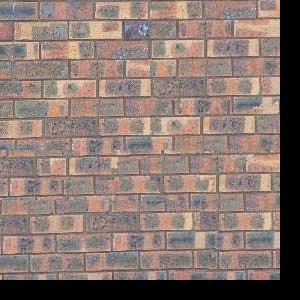
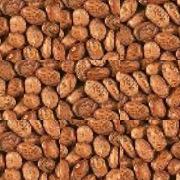
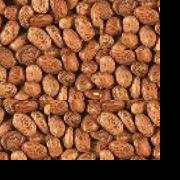
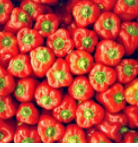
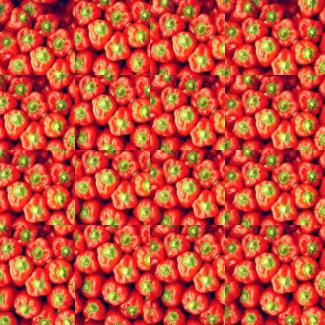
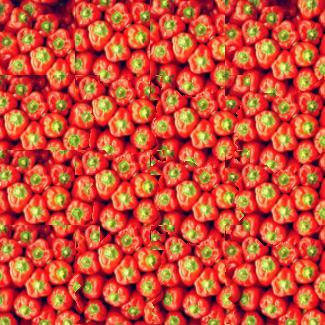
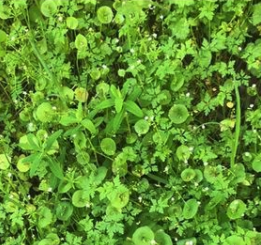
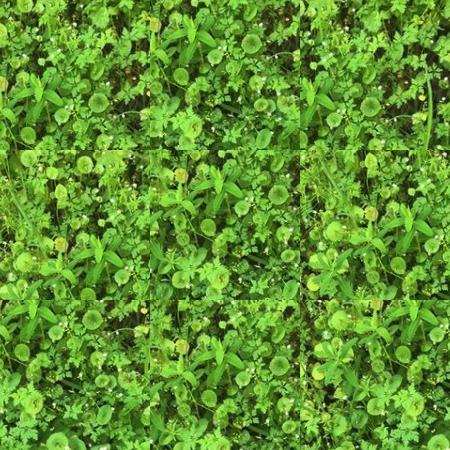
In this project, I worked on implementing image quilting and texture synthesis, by following this paper. I had a chance to compare random sampling techniques to more sophisticated techniques that involved SSD and seam finding.
To create a standard of comparison, we started off by outputting a larger texture solely by randomly sampling patches from our original texture.
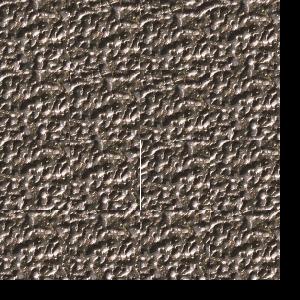
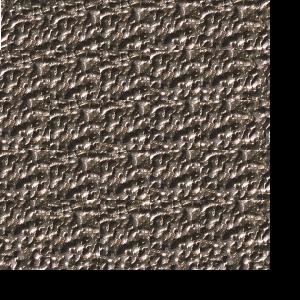
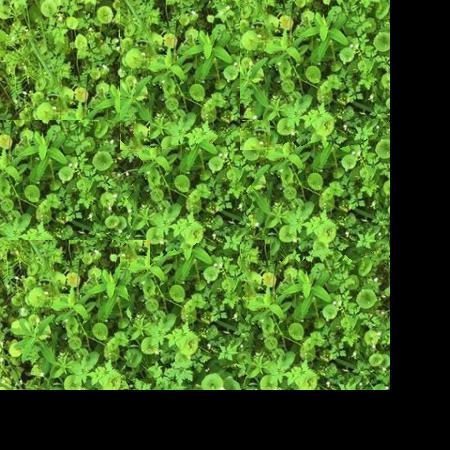
In the second part, we allow the patches we sample to overlap. Because of this, we compare the SSD of the old overlap with newly sampled patches. We select and incorporate a new patch that has a fairly low SSD based on the existing output.
In the third part, instead of just overlapping directly, we find the minimum cut path in the overlap. To do so, we use the following equation, which considers the nearby pixels' error metrics, and helps us discover the best path to cut along for our newly sampled patch.

|
|
|
|
|
|
|
|
|
|
|
|

|

|
|
|
|
|

|
|
|
|
|

|
|
|
|
|

|
In this fourth part, we can translate a texture onto an image. We are essentially adding on an extra an SSD metric for how similar the sampled texture patch is to the target image. This allows us to achieve a relatively smooth image while retaining the target image's general look.

|
|
|
|
|

|
|
|
|

|
|
I learned a lot from both of these projects! This image quilting project was really interesting to think about conceptually. Getting to implement it was fun as well -- though it did take a good chunk of time to debug some issues. There was also a lot of fine-tuning with the parameters (such as input texture size, sampled patch size, and overlap width).