CS194 Final Projects
by Pauline Hidalgo
Reimplementing Neural Style Transfer
In this project, I closely follow methods from Gatys, Ecker and Bethge's paper
A Neural Algorithm of Artistic Style to create a neural net in PyTorch that transfers the artistic style of one image to the content of another image.
Implementation Details
I use the pretrained VGG19 model architecture from PyTorch. The paper describes how the the style representation is taken from the conv1_1, conv2_1, conv3_1, conv4_1, and conv5_1 layers of VGG19, and the content representation from conv4_2. The model takes in a content image, style image, and output image (which I initialize to be a copy of the content image rather than white noise like the paper). As a preprocessing step, the content, style, and output images are resized and cropped to 256x256, then normalized to mean = [0.485, 0.456, 0.406] and std = [0.229, 0.224, 0.225] (what the PyTorch pretrained models expect). As a result, my output images are squares rather than the full size of the image like the paper.
In each epoch, I iterate through the layers of the model (excluding the fully connected layers at the end), apply the layer, and compute the appropriate loss depending on if it is a style layer or a content layer. The content loss is the MSE between the feature representations of the content image and the output image. Similarly, the style loss is the MSE between the Gram matrices of the feature representations of the style image and the output image. The Gram matrix is computed as the dot product of a matrix with its transpose, then normalized by the number of elements. The total loss is then α*content_loss + β*style_loss, where my ratio of α/β was 10^-6 or 10^-7, unlike the paper which had a ratio of 10^-3 or 10^-4.
For the optimizer, I used Adam with a learning rate of 10^-2 instead of LBFGS as used in the paper. I also tried using SGD but Adam performed better. Like the paper, I also changed all of the MaxPool layers in the network to AvgPool, which greatly improved the results, particularly with color. To generate the images, I ran the model for 5000 epochs on Colab GPU.
average pooling

max pooling
white noise initialization
SGD optimizer

Results
Below are some styles from the paper (
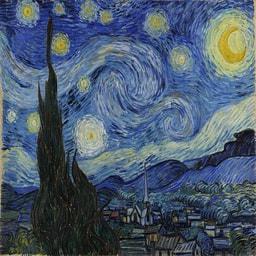
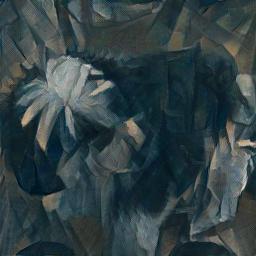
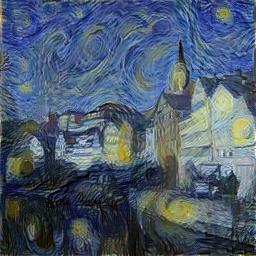
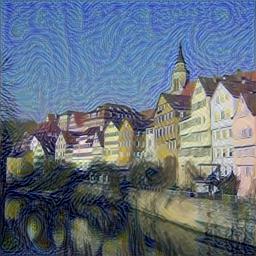
The Starry Night by Vincent van Gogh,
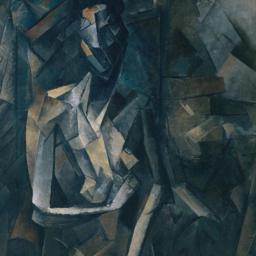
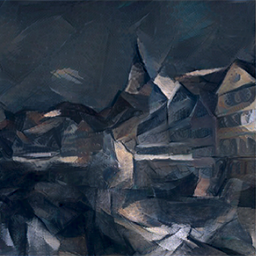
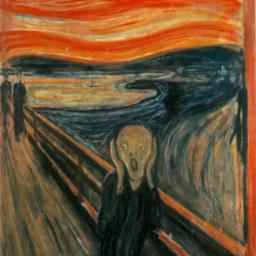
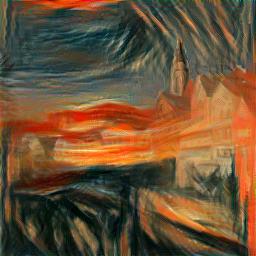
Femme nue assise by Pablo Picasso, and
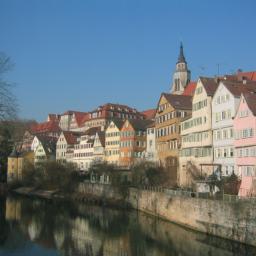
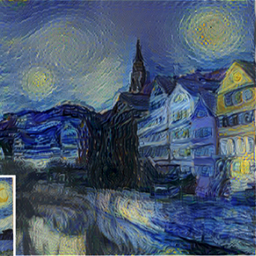
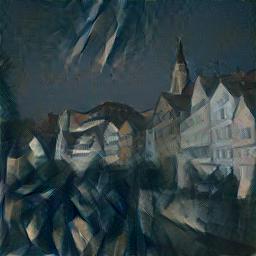
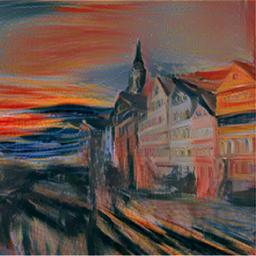
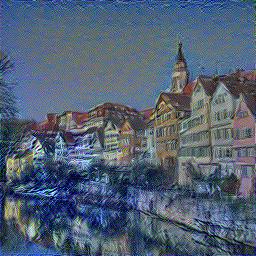
Der Schrei by Edvard Munch) applied to Neckarfront as the content image. For reference, the rightmost image in each row are screenshots of the results in the paper.
My images are different from the paper aside from being square crops of the original images. For example, my model's starry night generally has smaller swirls and patches of yellow and the houses are much lighter than the paper's. I think this may be caused by the difference in optimizers combined with different hyperparameters/number of epochs/preprocessing steps. Initializing with the content image instead of white noise takes less epochs to get a decent result, but it also probably affects the way the style is transferred.
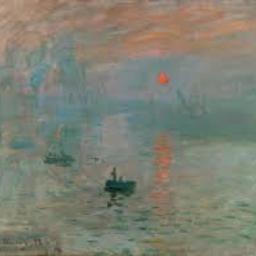
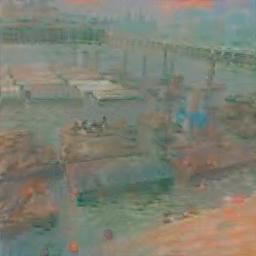
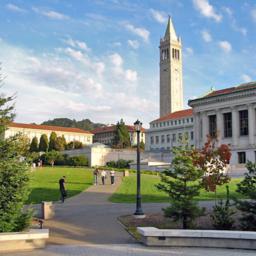
Finally, let's try some other content and styles. I used
Impressions, Sunrise by Claude Monet,
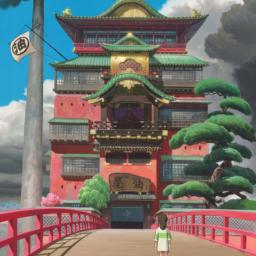
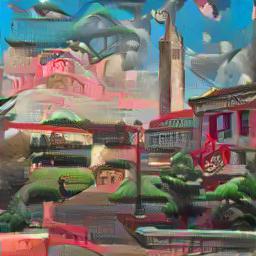
Femme nue assise by Pablo Picasso, and the bath house from
Spirited Away for styles. The last case with campus and the bath house is kind of a failure from all of the artifacts in the sky, though the buildings and the grass look decent. It looks like the model is turning the clouds in the sky into something resembling the bath house, and would probably have performed better if the sky was clearer and/or the style image was more aligned to the content image. Overall, it is really cool to see what you can do using a pre-trained model, and the results are really satisfying.
Light Field Camera
This project uses photos from the
Stanford Light Field Archive and shows how shifting and averaging can mimic aperture adjustment and depth refocusing given a grid of images.
Depth Refocusing
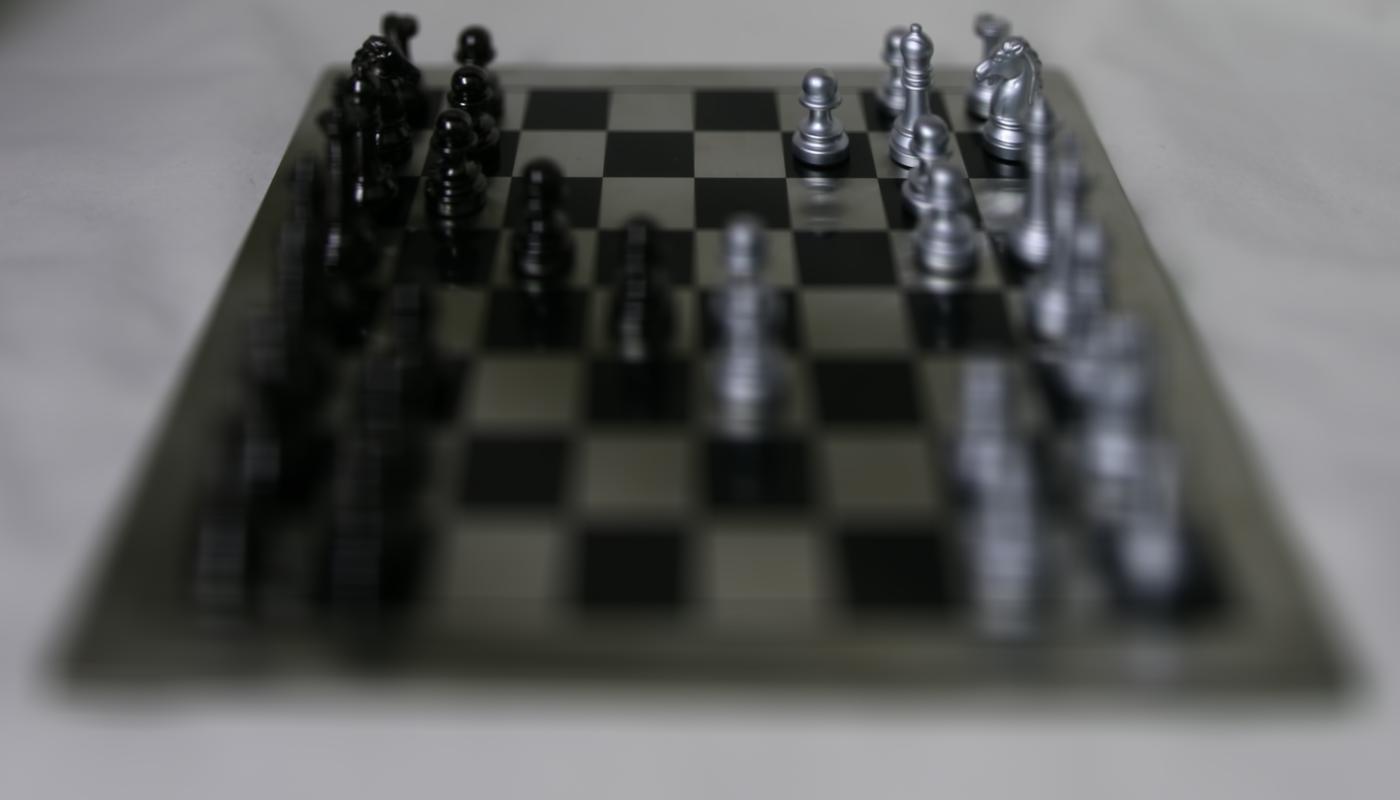
I initially averaged all images in the grid without any shifting to produce an image that is sharp for far away objects and blurry for closer ones.
As described in the Ng et al. paper, refocusing is the average of shifted versions of the images. The shift I used for each image is the difference between that image's camera coordinates and the average camera coordinates (i.e. those of the center image). For a 17x17 image grid, the (8, 8)th image is the center image. The shift is then multiplied by some constant
C to determine the depth of focus, applied to the image, then all of the shifted images are averaged to get the final result. Below is a gif of refocusing with C ranging from -.2 to .9 with .1 steps. The video to gif converter I used changed the color of the images a bit, hence why the gif coloring looks different from the still shots.
Aperture Adjustment
We can mimic aperture adjustment by subsetting the number of images used for averaging in the previous part. A large number of images mimics a large aperture because the averaging reduces what is in focus, like a small depth of field. A smaller number of images mimics a small aperture as more things are in focus, like a large depth of field.
To implement this, the images in the grid that were <= some distance
a from the center image in x and y grid coordinates were included in the averaging. Below is a gif with a ranging from 0 to 8 and focused using C = .3 (near the center).
Bells & Whistles
I shot a 5x5 grid of photos using my phone and tried to use depth refocusing and aperture adjustment. To be as precise as possible and create a grid structure, I placed tape on my desk and phone about .5 cm apart to mark where the photo should be taken. This is roughly the same distance as those taken in the Stanford archive, though those had sub-millimeter accuracy. I also held my phone against a flat surface to try to keep it perpendicular to the scene.

top left image in grid
bottom right image in grid
depth refocusing from C=-2 to 8

aperture adjustment from a=0 to 3
Refocusing doesn't seem to work on these photos despite my tape markings, most likely due to my lack of precision when moving the camera around by hand. The size of my image grid is much smaller as well (5x5 vs. 17x17). Aperture adjustment somewhat works though, as reducing the number of photos in the average still reduces the amount of blurriness.
Learnings
I learned from this project that with images taken from a certain and precise setup, the actual math/process to simulate the effects of a light field camera is surprisingly straightforward and really cool! I learned a ton from this class and I'm glad I got to take it before graduating.