CS 194 Final Project
By Ruochen(Chloe) Liu
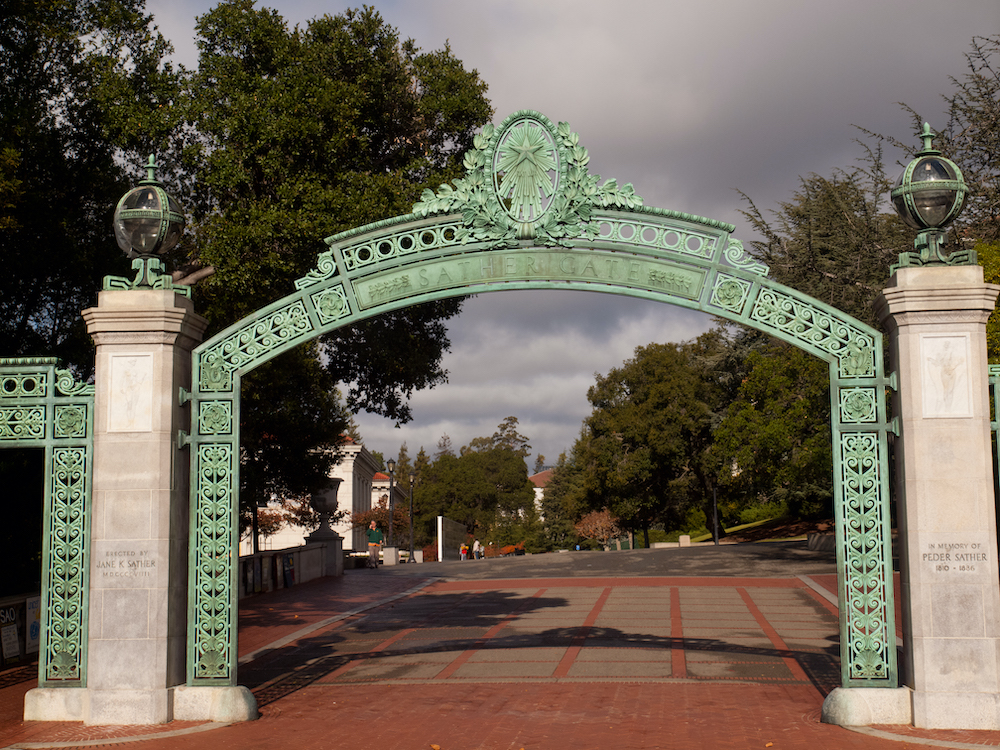
Project1: Lightfield Camera: Depth Refocusing and Aperture Adjustment with Light Field Data
Overview
In this project I used real lightfield data to simulate depth refocusing and aperture adjustment on a scene through very simple operations like shifting and averaging.
Depth Refocusing
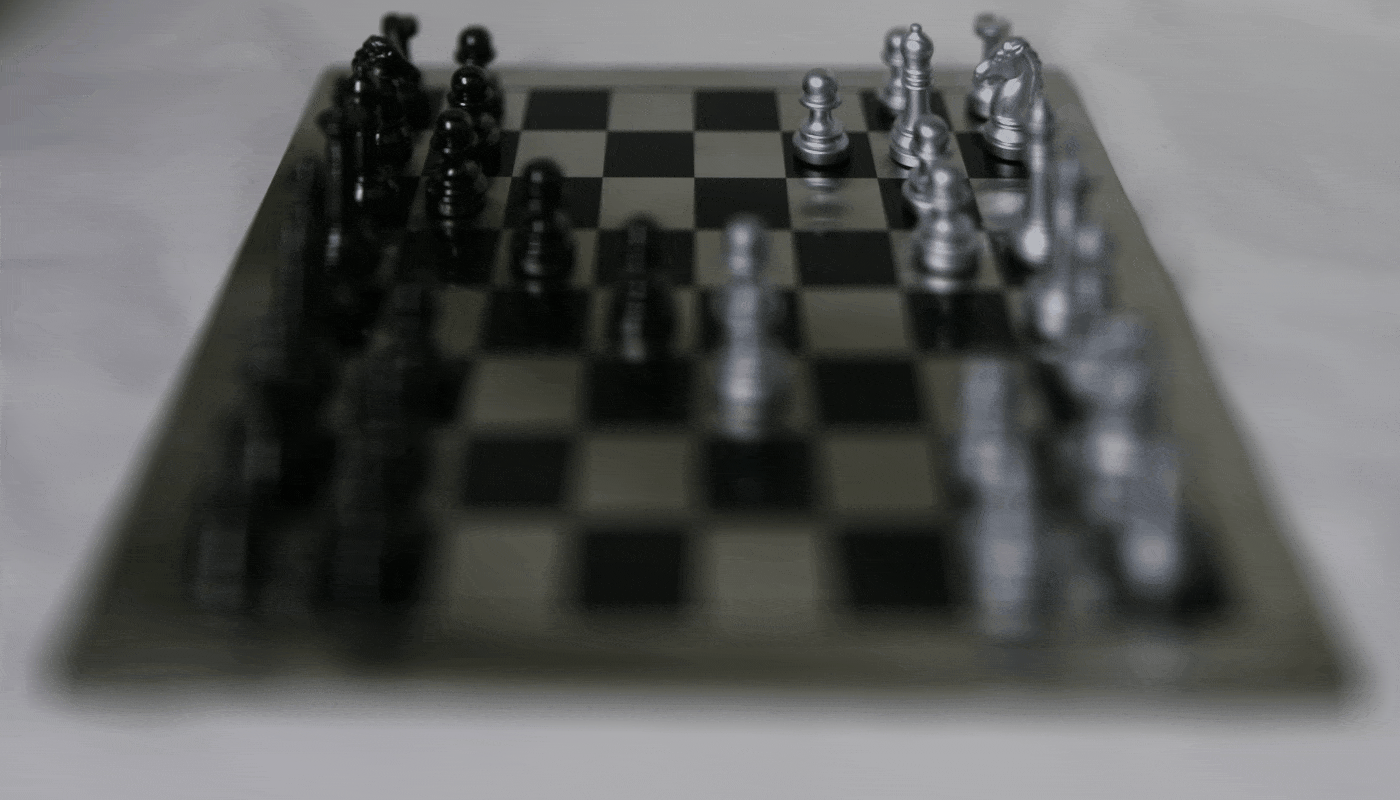
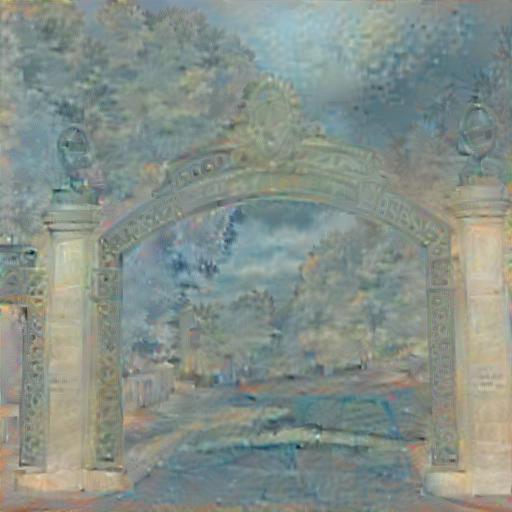
In this part, I simulate the depth refocusing. The idea behind this part is that, the objects which are far away from the camera do not vary their position significantly when the camera moves around, while the nearby objects vary their position significantly across images. Thus, simply averaging all the images would produce an image which is sharp around the far-away objects but blurry around the nearby ones. And if for the (x, y)th image, I shift it by (x - x_center, y - y_center)*C where C is some constant, I get the image with focuses at different depths.
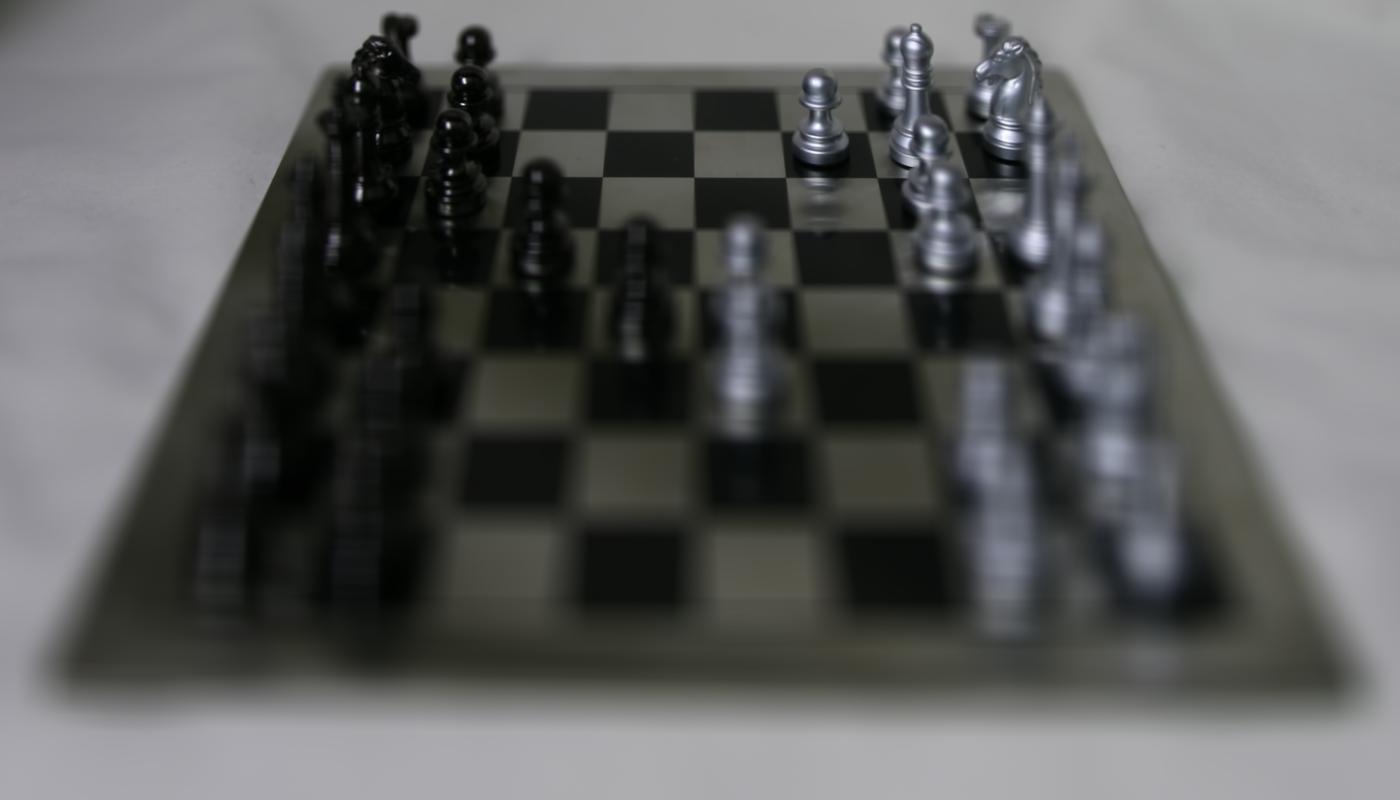
C = 0
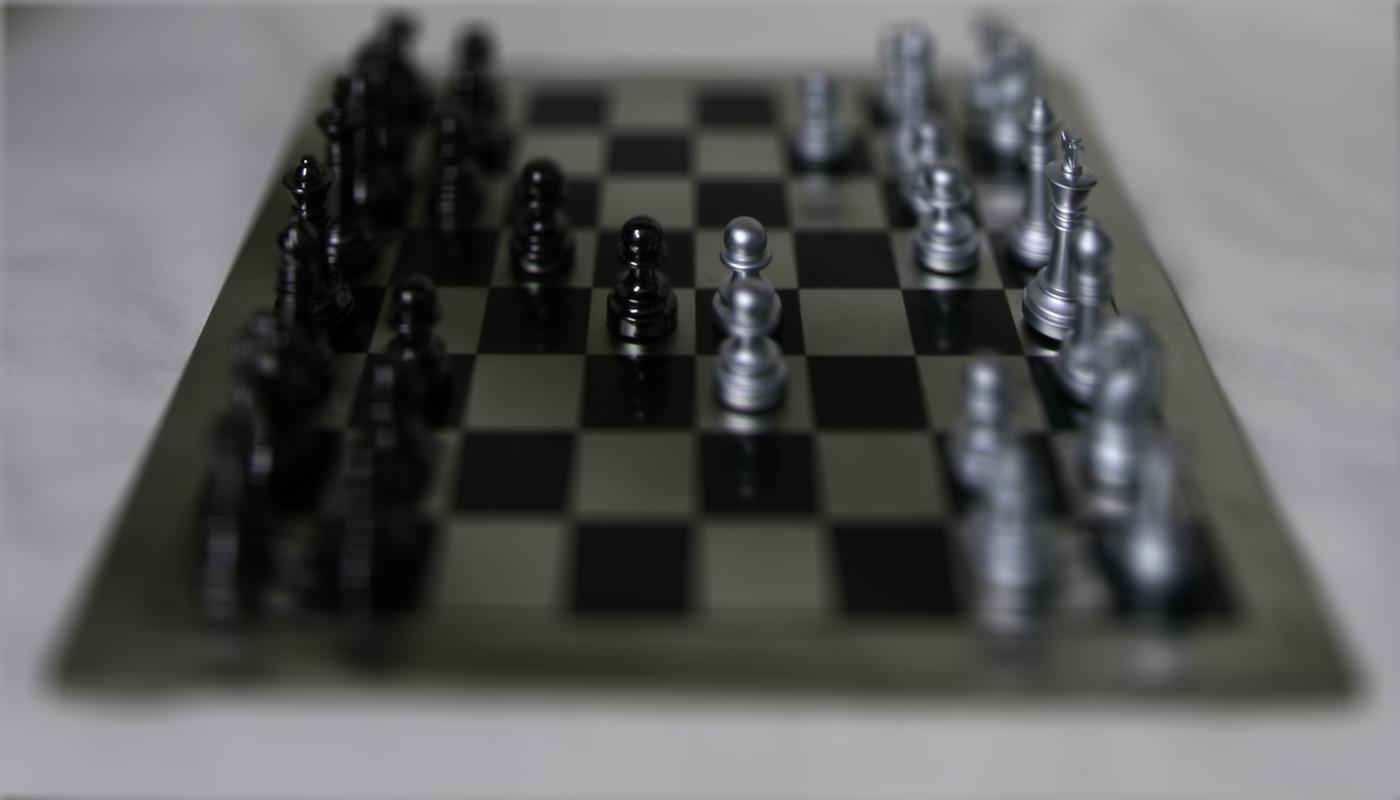
C = 1
C = 3

C = -3
C = 0
C = 5
Aperture Adjustmen
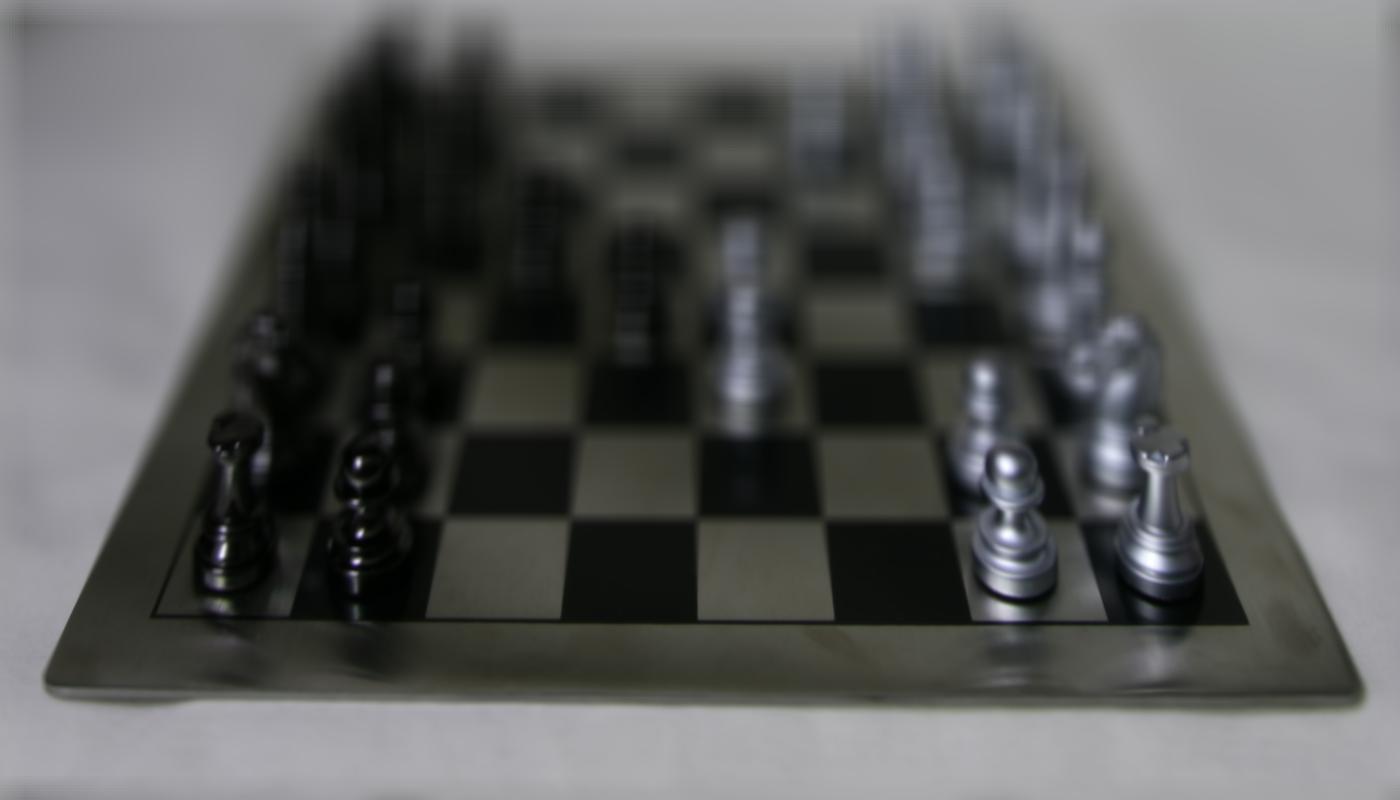
In this part I simulate adjusting the aperture while focusing on a fixed point. With a certain radius r, I average a subset of the given images whose translation relative to the center point lies within r. Using f Ir images results in an image that mimics a smaller aperture.

r = 0
r = 4

r = 7
r = 0
r = 4
r = 7

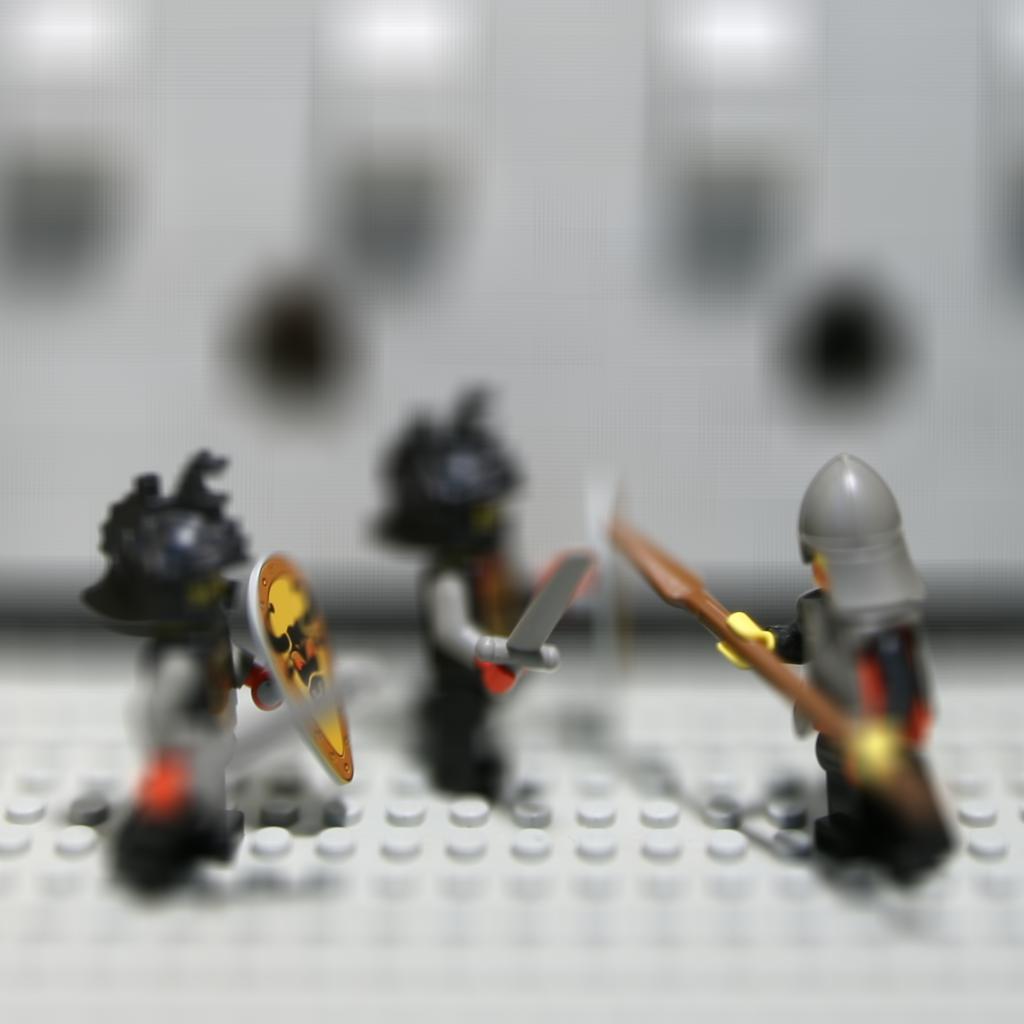
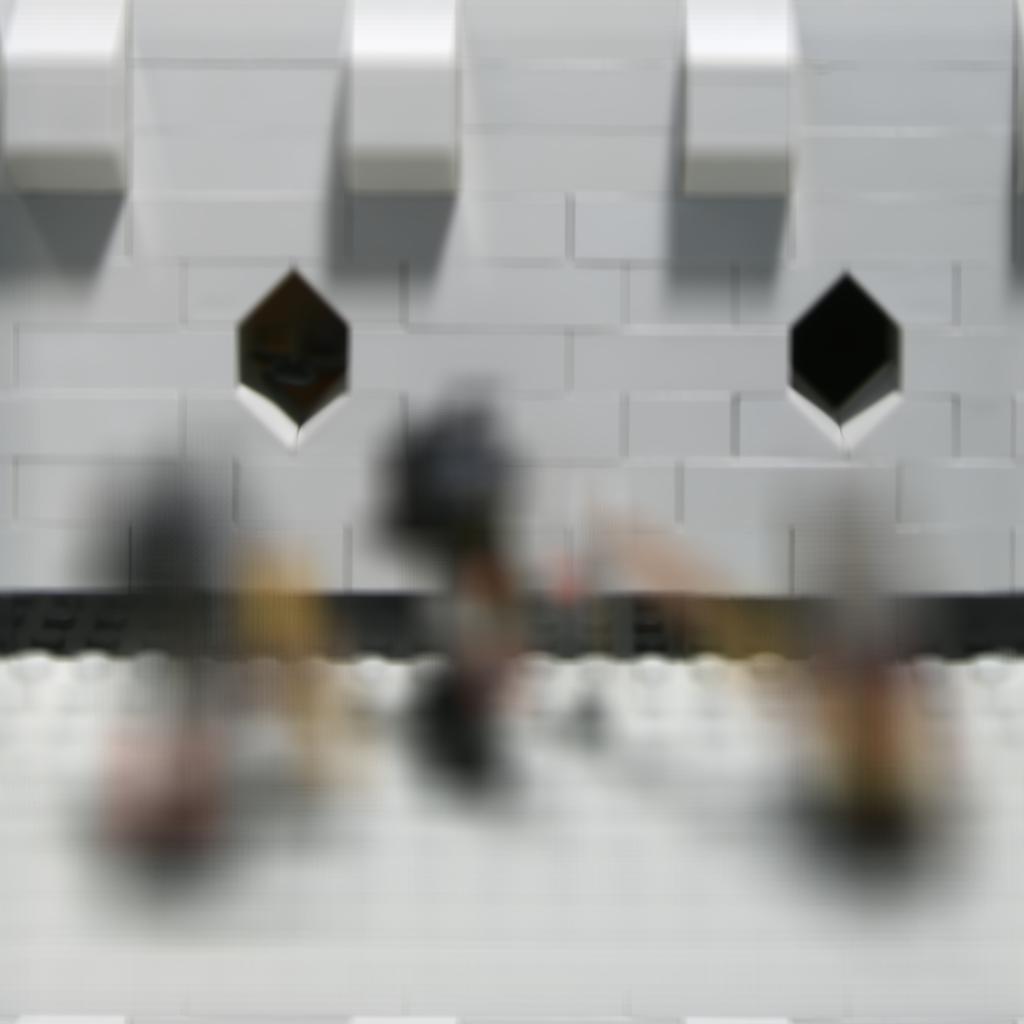
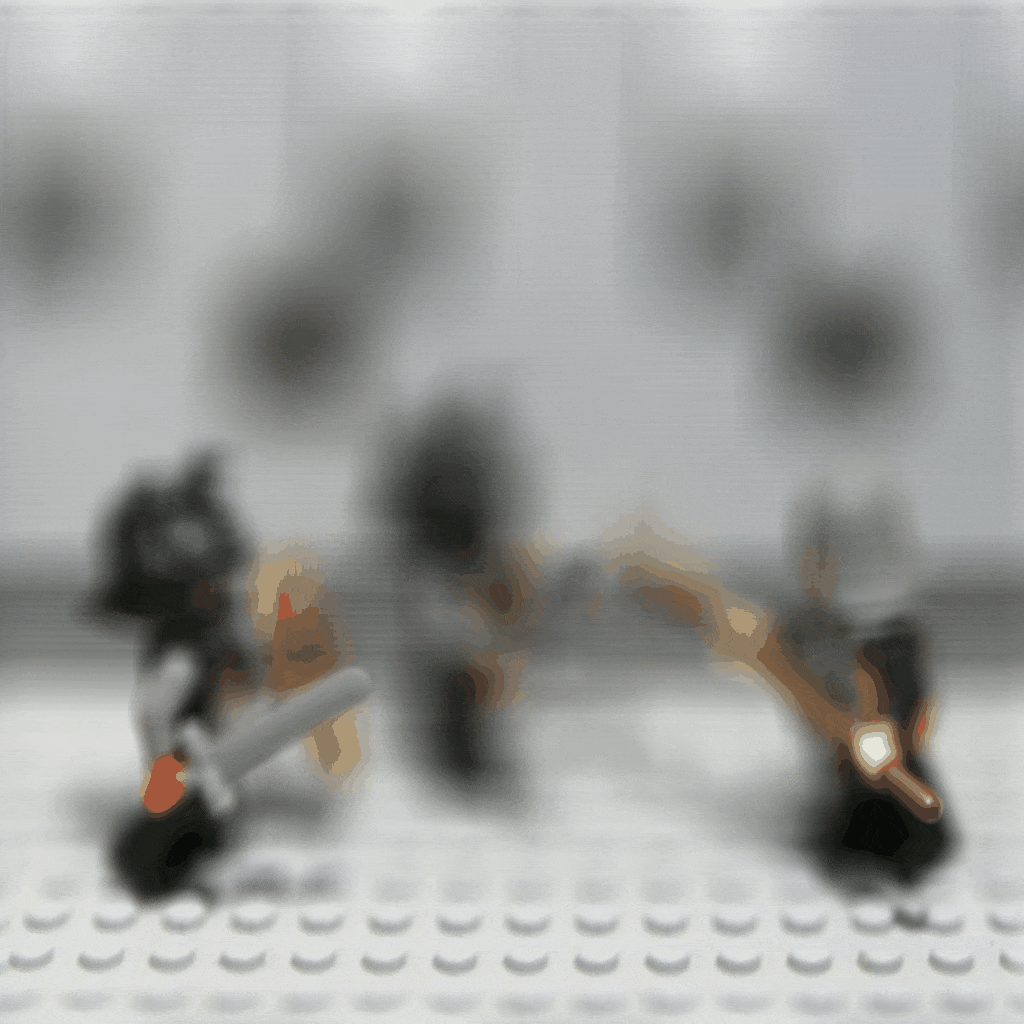
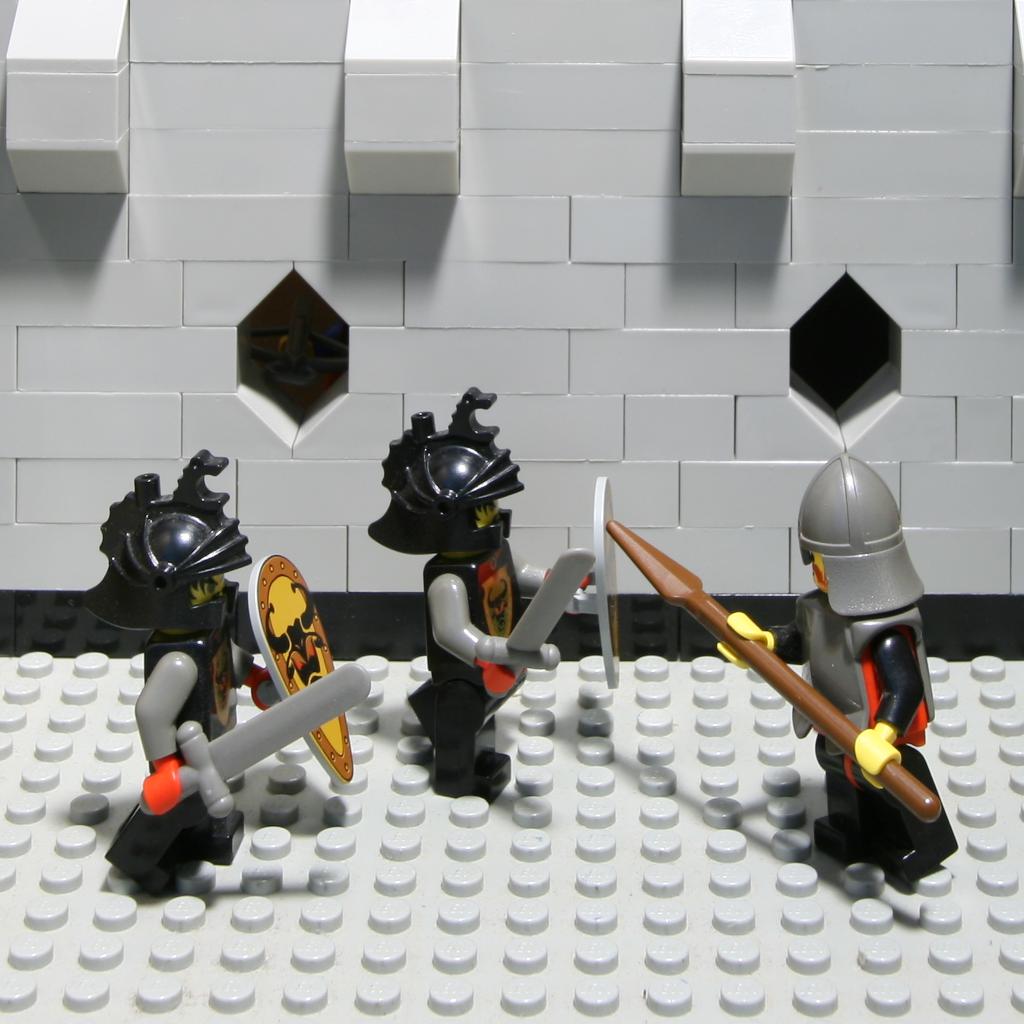
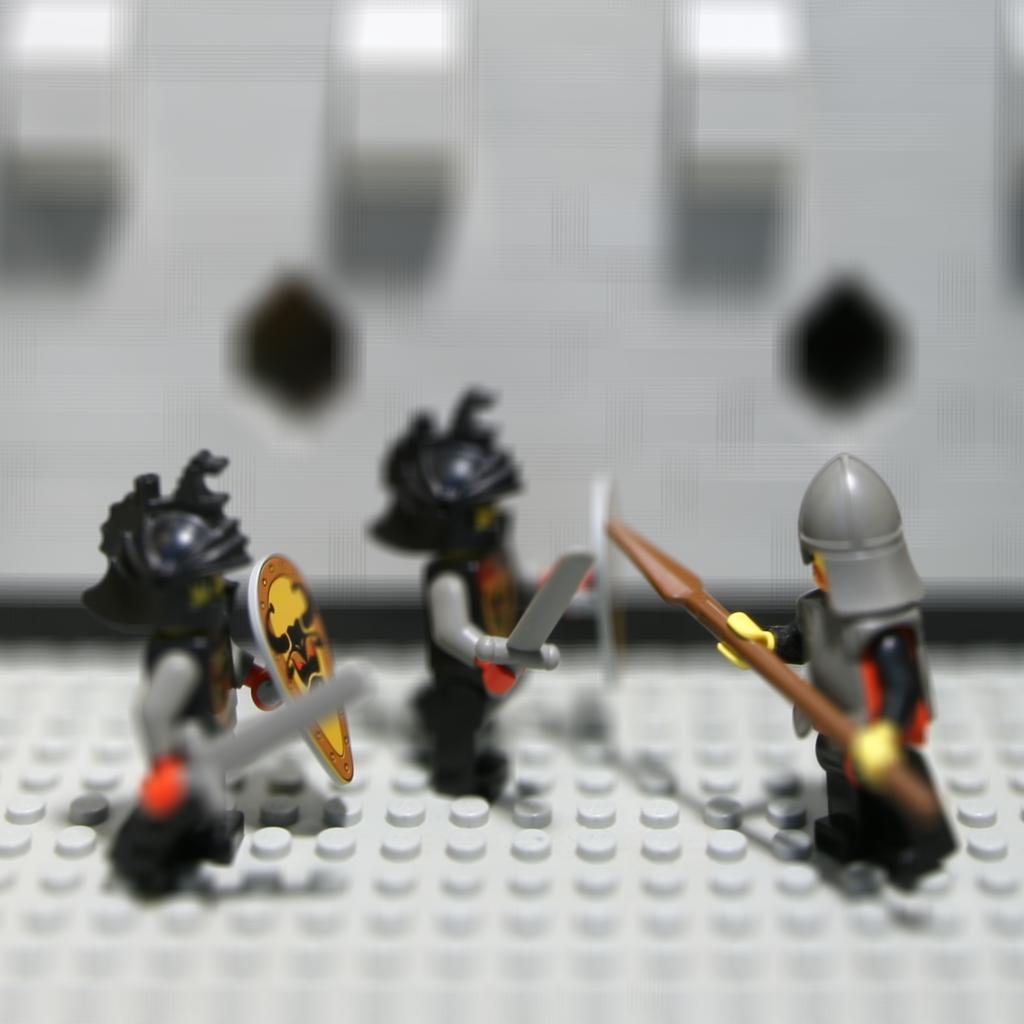
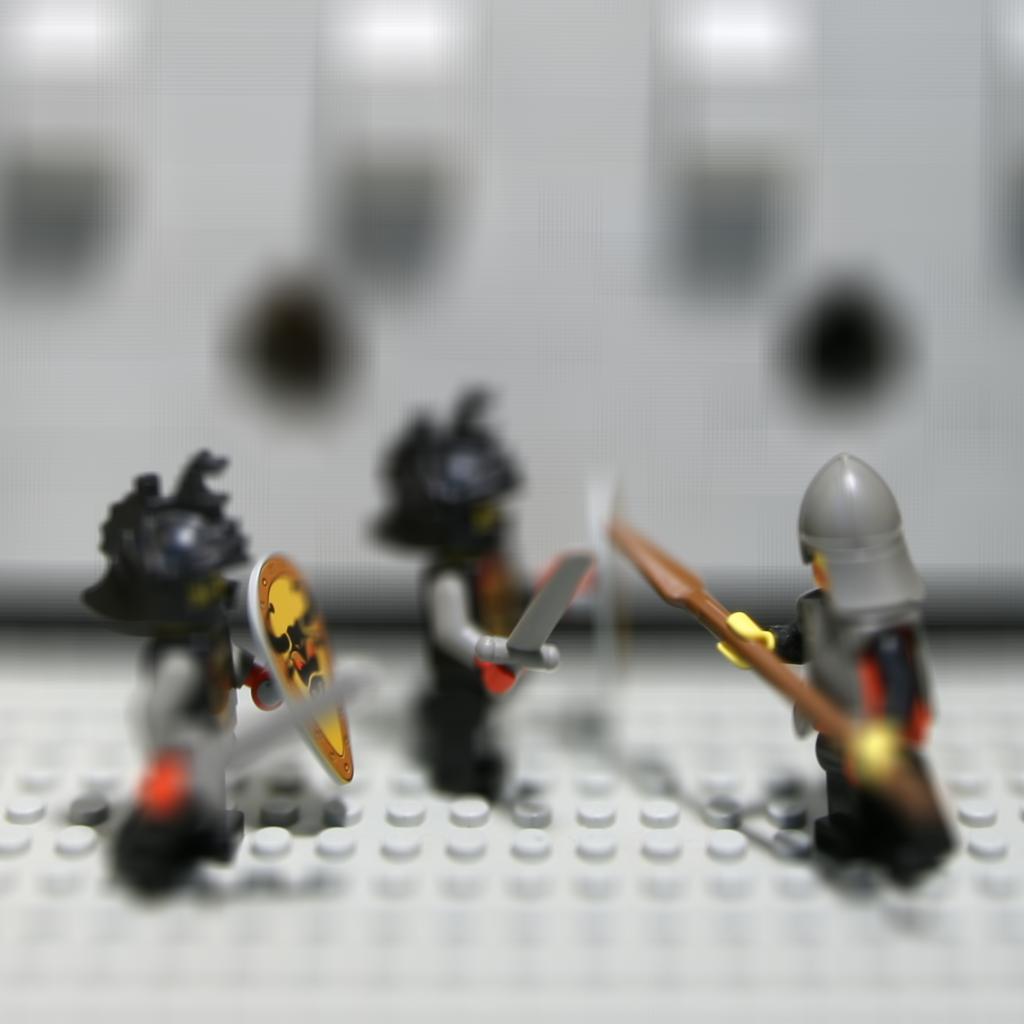
Bells & Whistles - Using Real Data
In this part I took some photos by myself and tried applying our refocusing and aperture adjusting functions on them. H Iver, the result does not seem very good probably because the position I took different photos are not close enough. I was taking those photos by hand, so the image data would not be as good as those in the Stanford dataset.
refocus
aperture adjustment
Learnings
I really enjoyed this project! I learned how the depth of focuses and apertures work, and how to simulate them with some really simple operations. Ire really fascinated by the results.
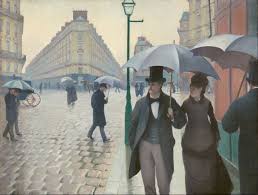
Project2: Reimplement: A Neural Algorithm of Artistic Style
Overview
In this project, I reimplemented the algorithm described in the paper , which applies one image's style on another image.
Model Visualization
I used the pretrained VGG-Network as suggested in the paper. It consists of 16 convolutional and 5 pooling layers. We do not use any of the fully connected layers. The architecture looks like this.
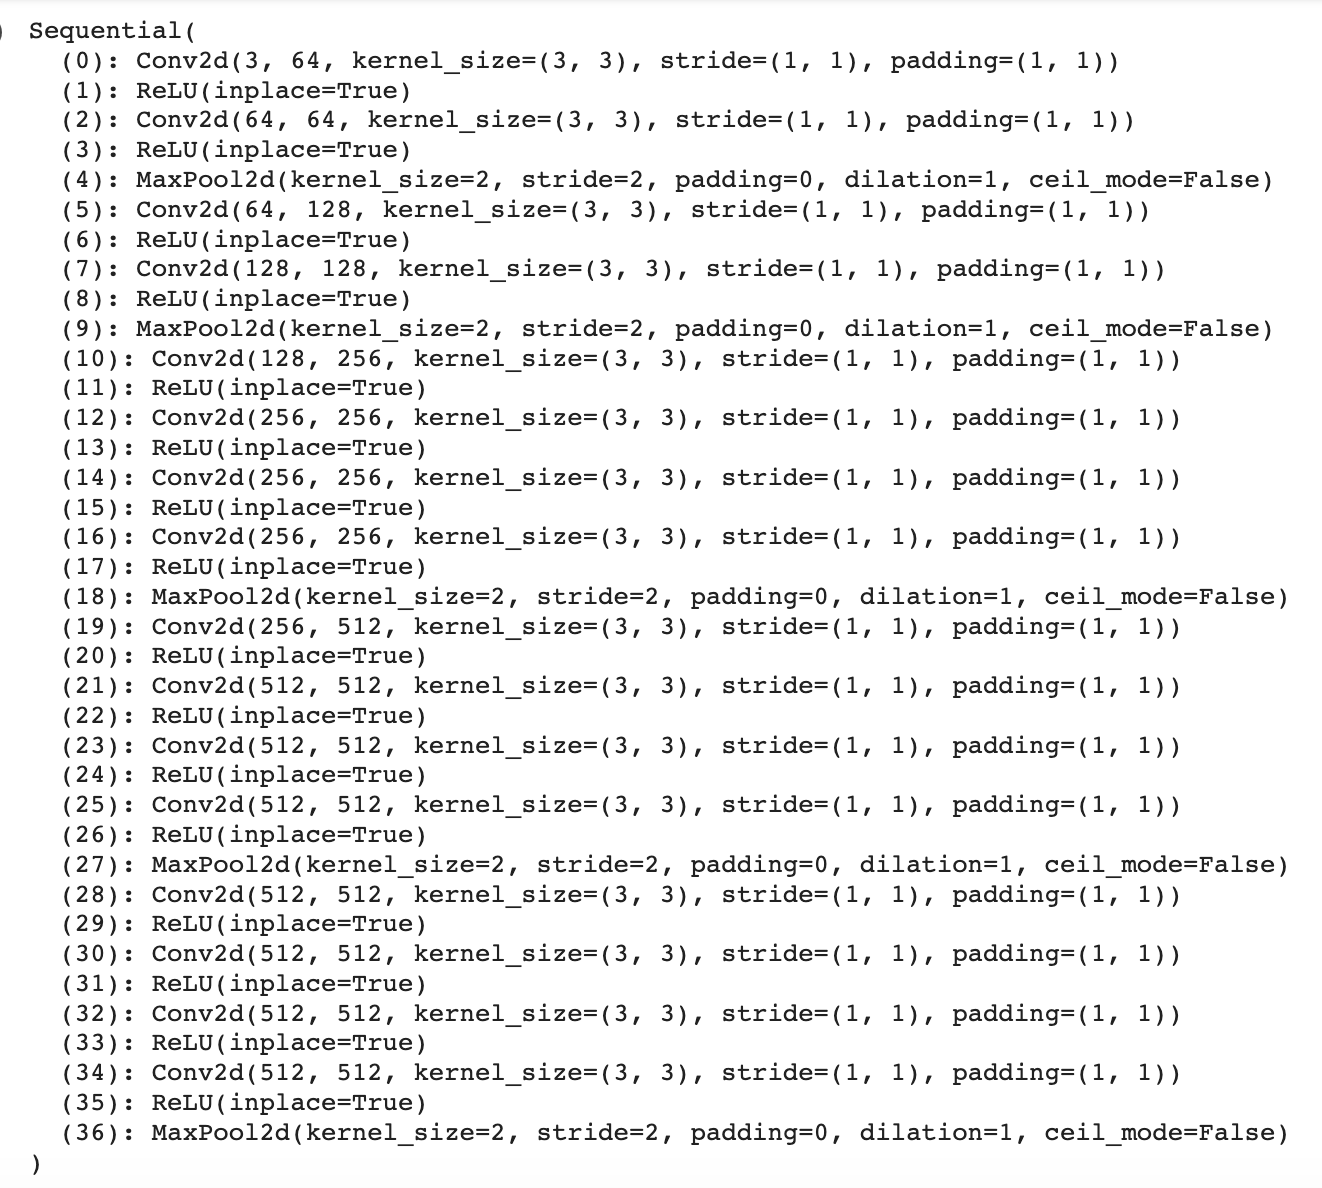
The paper also suggests to replace the max pooling with the average pooling. The modified model's architecture looks like this:

Loss Function
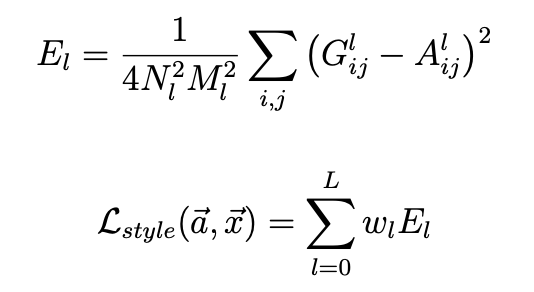
As described in the paper, we define two types of loss, a loss for the style that calculates the difference between the current style and the style that we want to match to, and a loss for the content that measures the difference between the current image and the original image. Specifically, I calculated the content loss using mean square error (MSE) as described in the paper. The per-layer content loss is thus:

For the style loss I had to do something more complex. As suggested in the paper, we have to build a style representation that computes the correlations between the different filter responses on top of the CNN responses in each layer of the network. We define a Gram matrix G, which is the inner product between the vectorised feature map in layer l. Let A and G be the respective style representations in a certain layer, The loss of each layer and the total loss are as shown below:
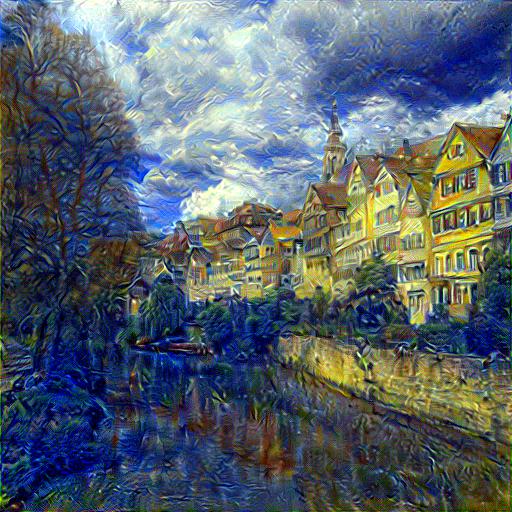
Results
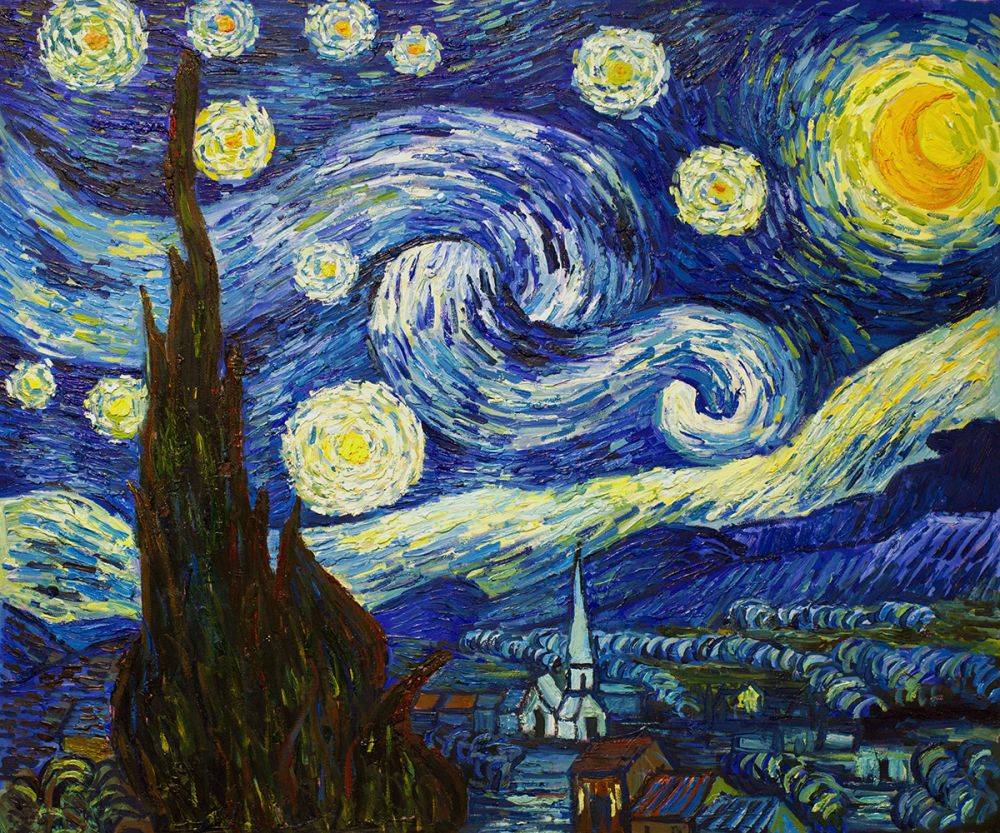
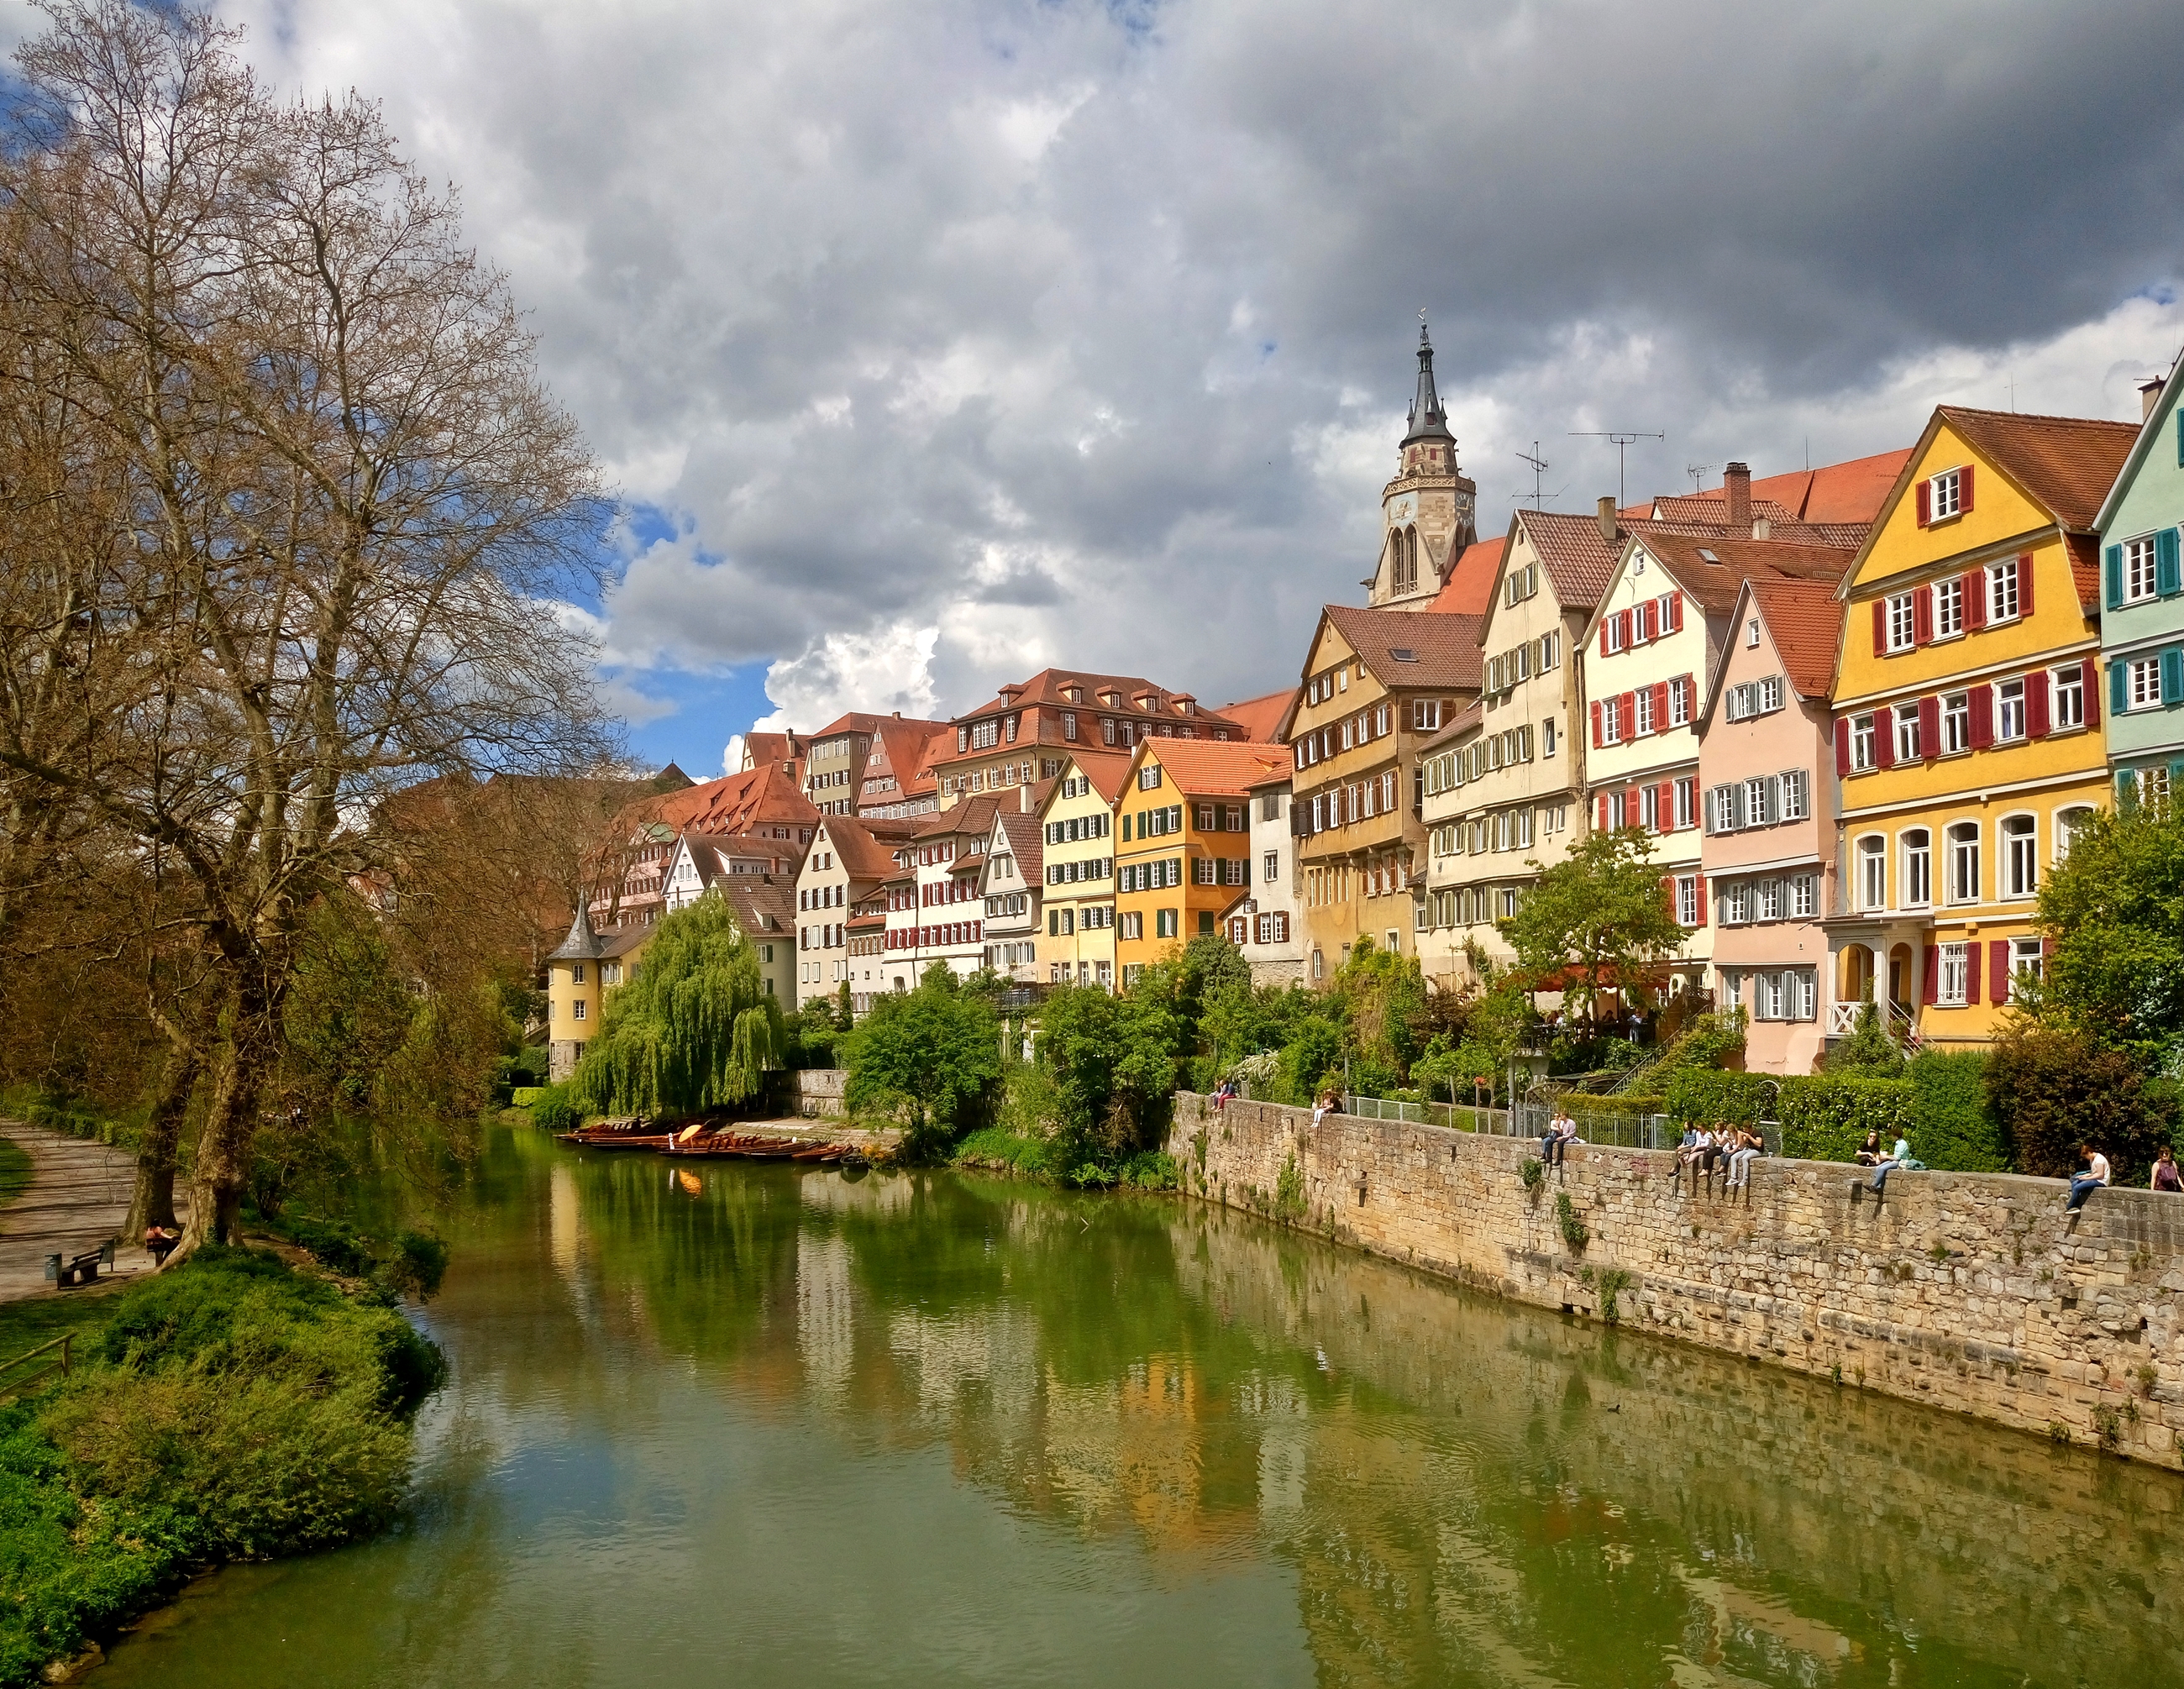
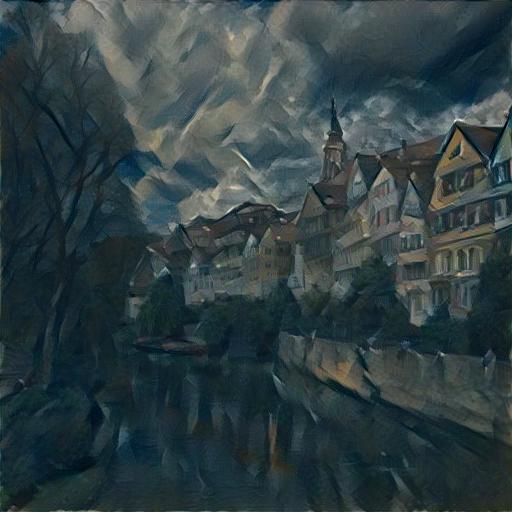
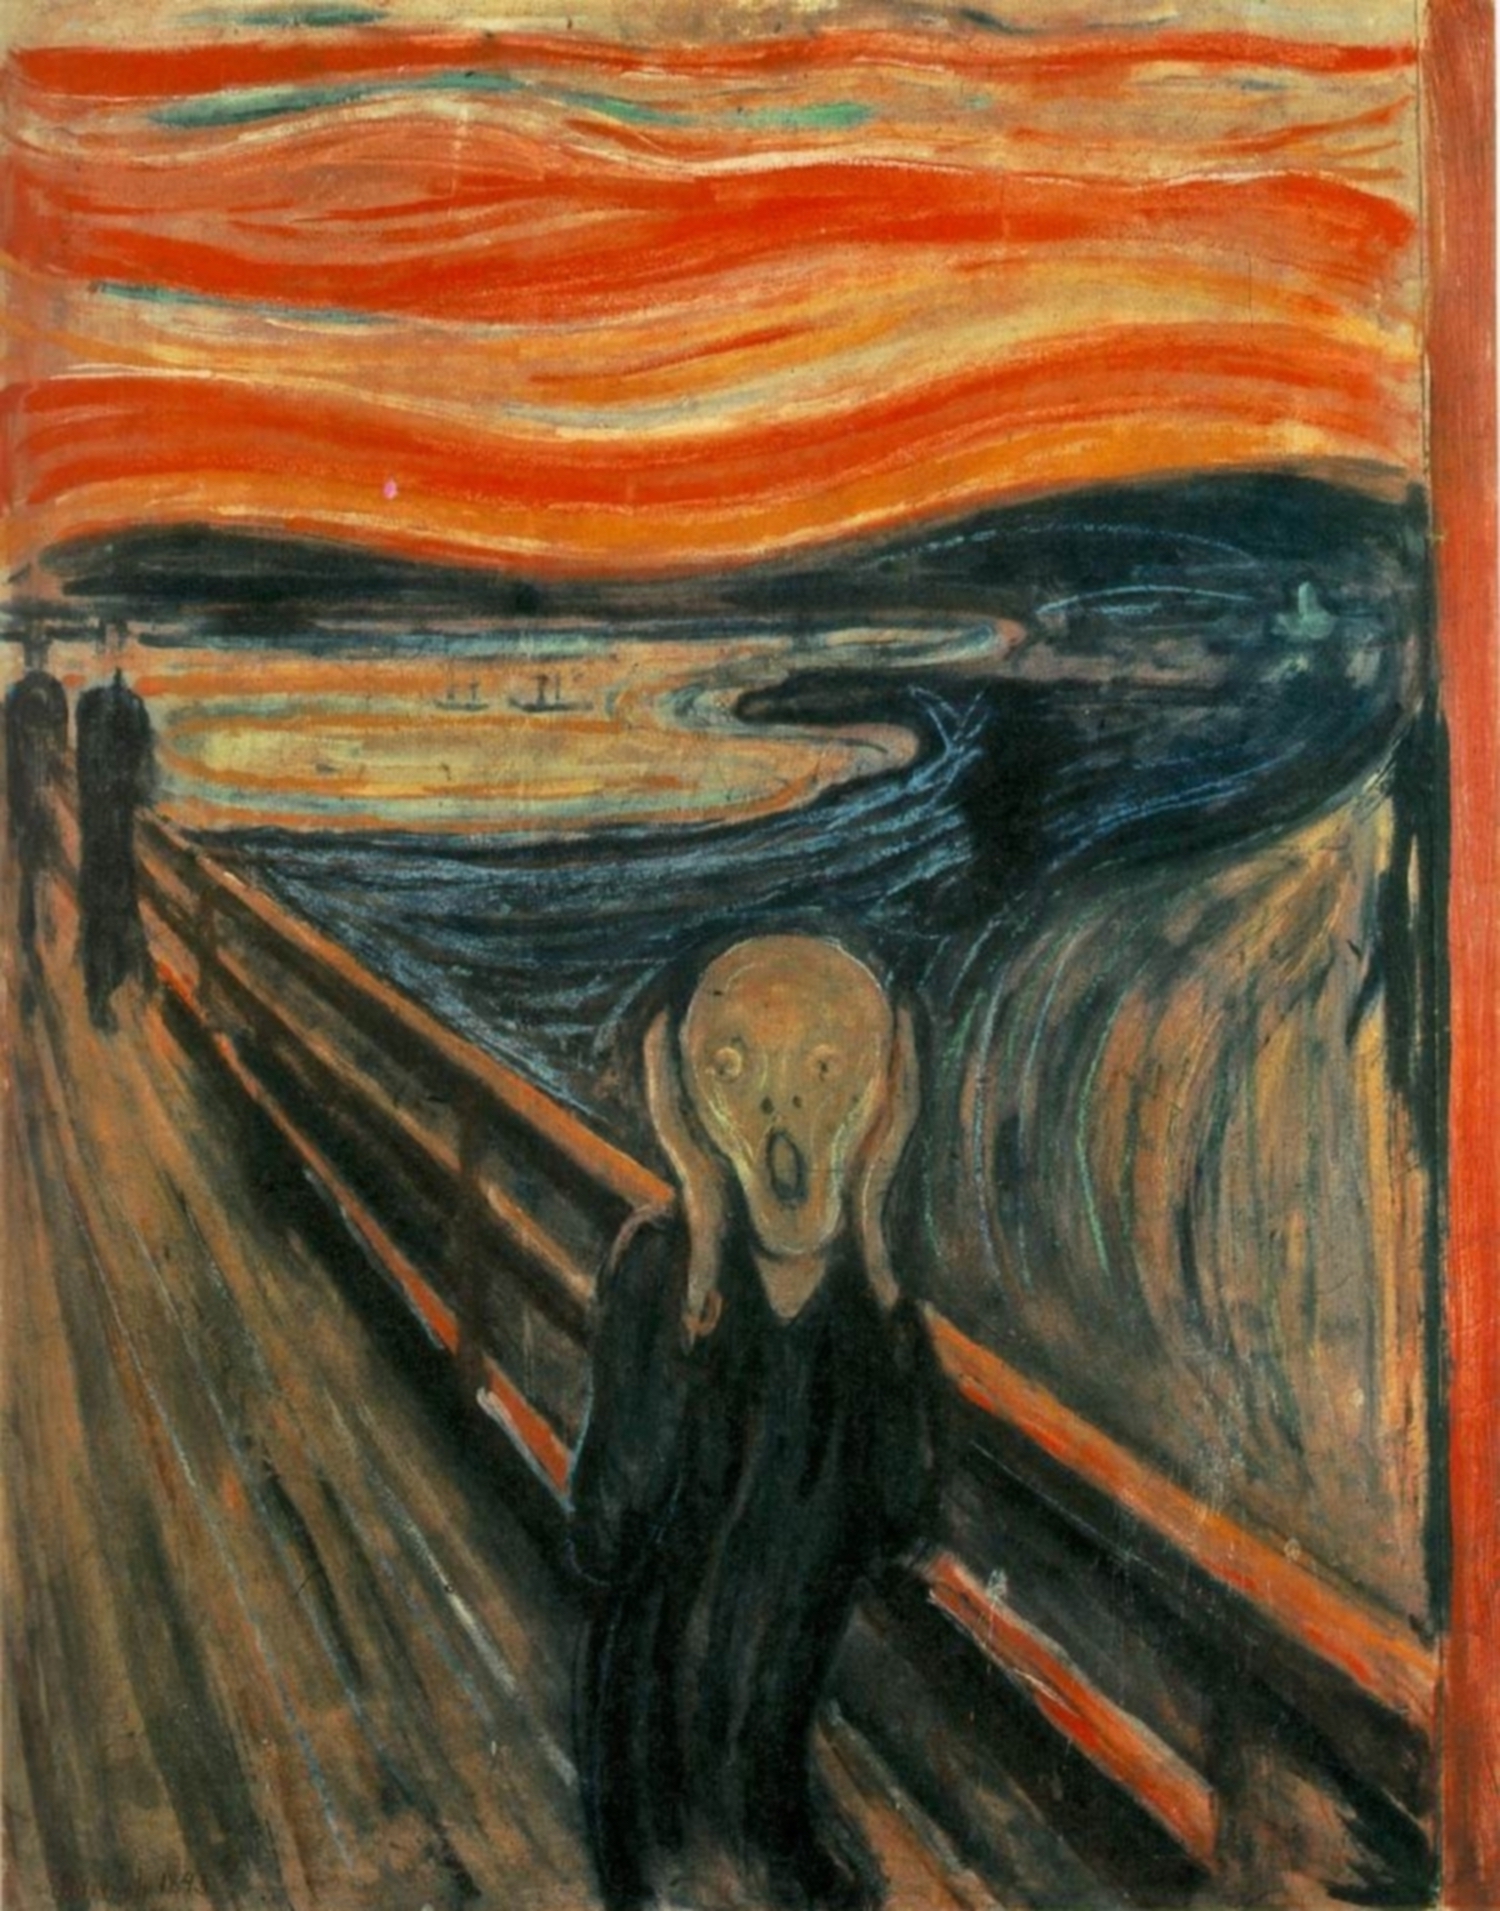
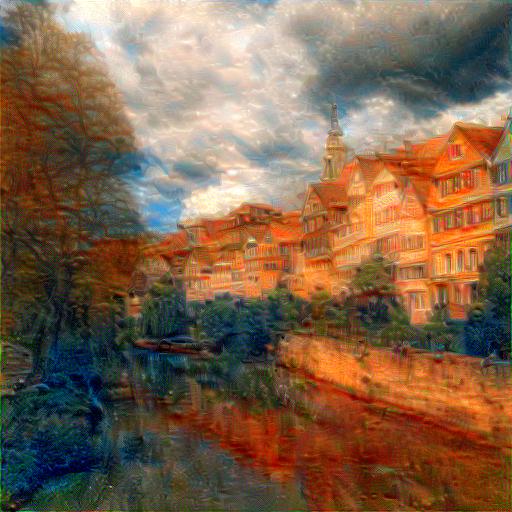
Neckarfront to 3 styles
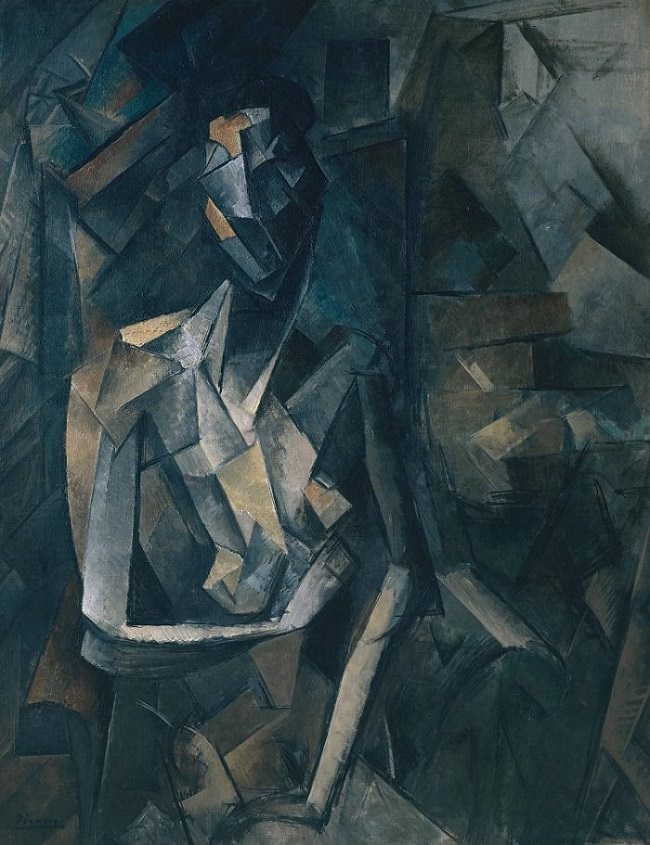
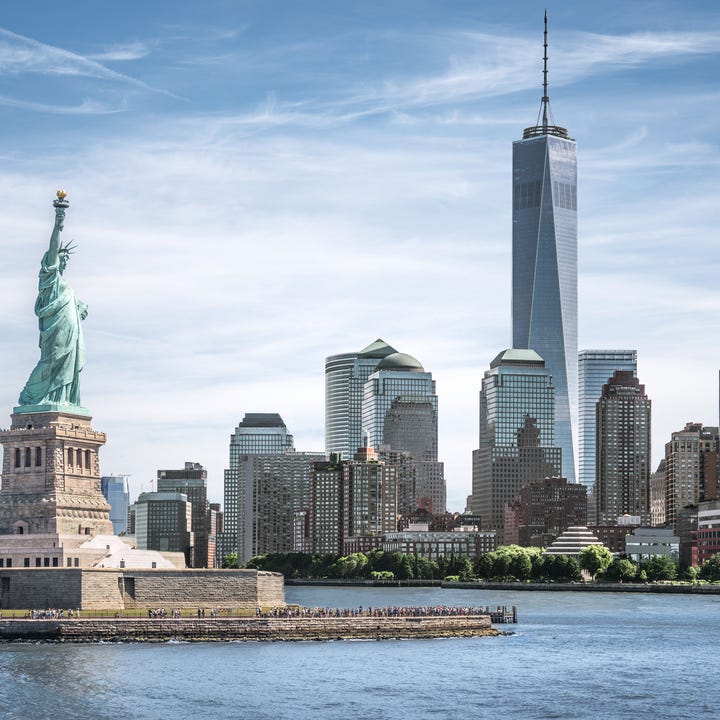
My own image and styles
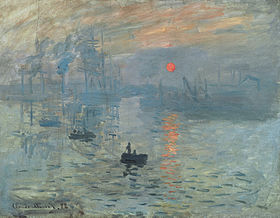
We can see that the first two transformations are pretty successful while the last one is not. This is probably because the styling image in the last case is too simple. A large portion of that image is blank, thus it is hard to extract the texture of style from it.