Image Warping Quilting
CS 194-26 Final Project 2 - Fall 2020
Glenn Wysen and Morgan Nanez
Random Sampling Textures
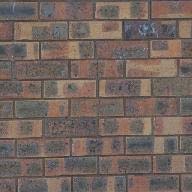
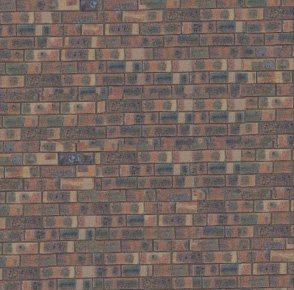
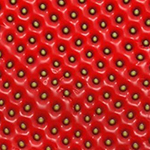
The most basic way to extend a texture is to just randomly sample patches and stitch those patches together. The results of doing this using the texture in Fig. 2 is shown in Fig. 3. As is obvious, this texture doesn't look very good, especially if the texture has strong horizontal or vertical dependencies like text or lines.

Overlapping Patch Texture Synthesis
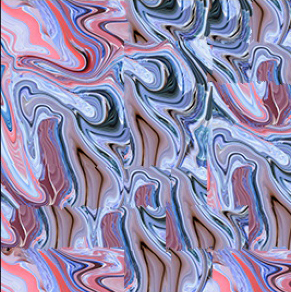
The next step towards making a coherent texture is to choose a patch with purpose instead of randomly sampling. To do this, an overlapping region is set and the texture is searched for patches that minimize the SSD of the overlapping region. Out of the lowest costed patches one is randomly chosen and inserted into the final image in order to provide a stochastic final texture. The results of this can be seen in Fig. 6. This is a clear improvement over random sampling, but there are still some artifacts and we can do even better with seam carving.
Seam Carving
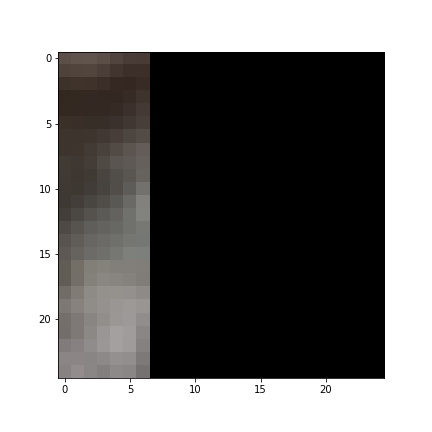
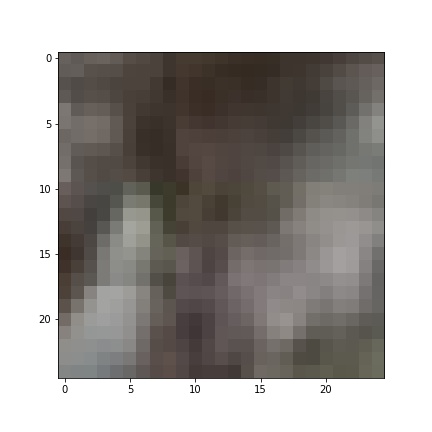
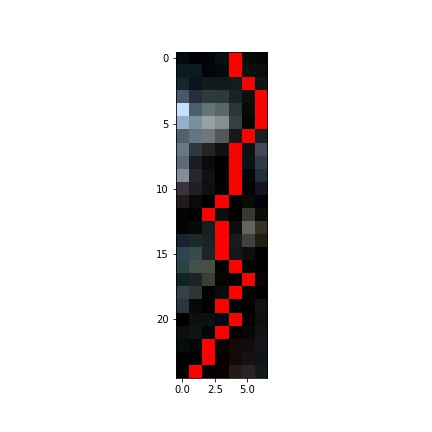
The last step of creating a cohesive texture was to take the overlapping textures and carve seams in them where the SSD in the overlapping region was the lowest. A visualization of the left patch, right patch, and overlapping section are shown below. The difference with the seam carved is artificially colored to help show the magnitudes of the difference texture. The final results of this are shown in Fig. 8 and are slightly better than simple overlap matching from before. More examples are shown after the seam carving visualization.


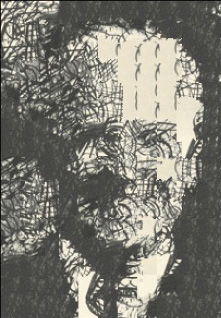
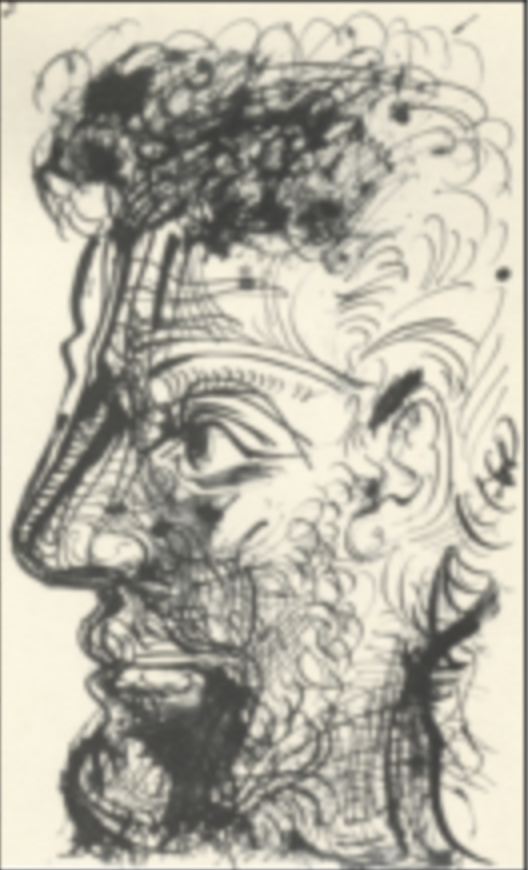
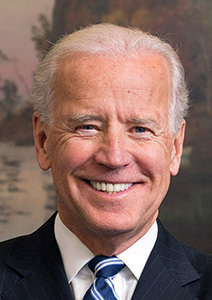
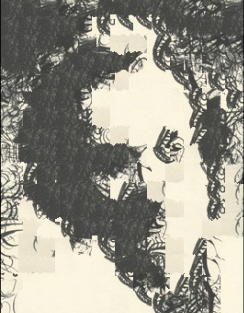
Texture Transfer
Texture transfer is achieved by using a similar method to seam carving sampling. Instead of searching the texture image for other regions that line up with the texture, textures are searched for that line up with a different source image (the picture of Joe Biden for example). Below are some examples of texture transfer with a sketched face.
Bells and Whistles
The cut seam code was only provided in Matlab and I wrote this project in Python so I had to write my own code for finding a seam. I did this by finding the lowest energy seam and then returning a mask with 0s on one side of the cut and 1s on the other so that when I multiplied the mask by the patch it would only grab the pixels on one side of the seam and it could blend as best as possible with the other side of the texture.