Image Quilting
Link
Overview
Overview
The goal of this project is to implement the image quilting algorithm for texture synthesis and transfer, described in this SIGGRAPH 2001 paper by Efros and Freeman. I will implement three different methods to quilt patches of images.
Randomly Sampled Texture
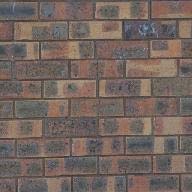
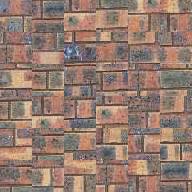
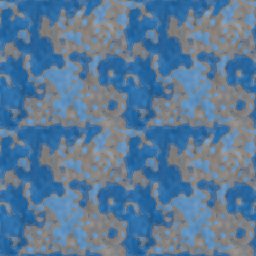
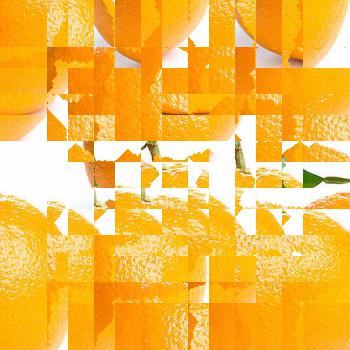
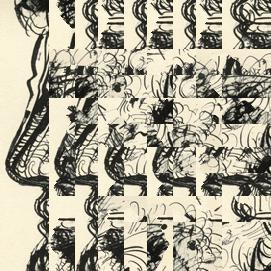
The easiest quilting method is to randomly select patches of images and patch them starting from the upper left corner of the output image. The result is shown below. As we can see, the output image is very chaotic.
Overlapping Patches
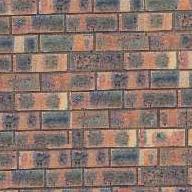
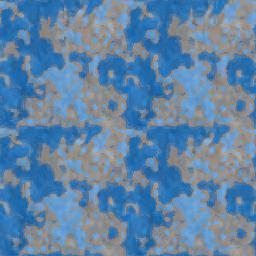
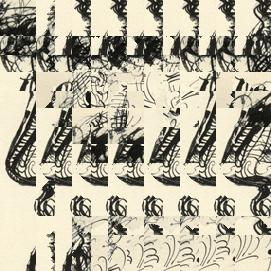
Instead of randomly patching imagies. One method is to to patch images such that it partially overlaps with the previous imagine(s). This overlapping method require the calculation of a function, which is defined to be the sum of squared differences (SSD) of the overlapping region between the original and the patch image. In order to calculate the loss/cost, I implement two helper function called ssd_patch and choose_sample. (Both are in the code). In particular, to choose the best candidate but to also preserve some randomness, we choose a patch whose cost is below min_cost*(1+tol) where min_cost is the cost of the best candidate. Results are shown below. The result is much better. However, in some places, the seam is still very obvious.
Seam Finding
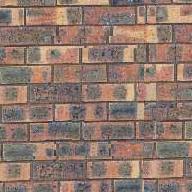
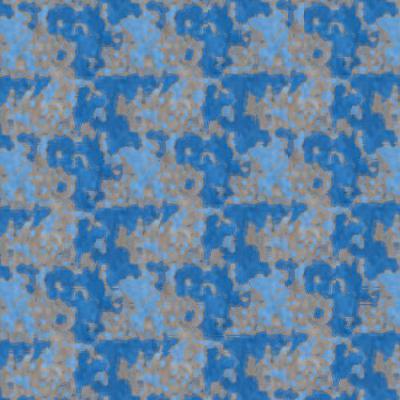
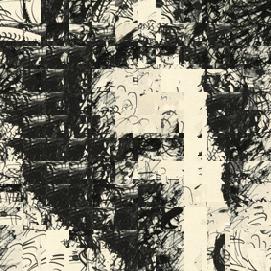
Seam Finding method is the best method among the three and is an improvement of the overlapping method. In the overlapping method, we directly copy the patch image onto the original image. In seam method, we find a seam within the overlapping region that has the lowest cost and divide the overlapping region into 2 parts. This cut feature(Bells and Whistles) is demonstrated below:
As we can see, the final seamed image is very smooth and the seam between the 2 original images is very hard to be detected. (The images are a bit low-resoluton because the patchsize is too small.)
Here are the 2 results using this method:
Texture Transfer
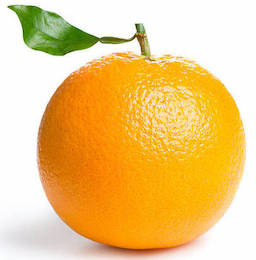
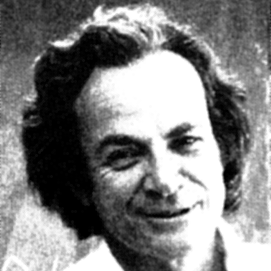
Lastly, I create a texture transfer image by creating a texture sample that is guided by a pair of sample/target correspondence images. Results are shown below.
In order to take both the texture and the original shape constraints into account, a new cost function must be used here. By defining a hyper-parameter alpha, we can use a weighted sum between the two costs as our final cost. I implemented the iterative texture transfer method according to the paper. I used 0.8 *(i-1)/(N-1) +0.1 as my alpha according to the paper. (i refer to the ith iteration and N refers to the total iteration)
As we can see, the alpha defined in the paper emphasizes the texture cost in the early iterations more than than the later iterations. And at later stage, the importance of the sample image's shape is emphasized.
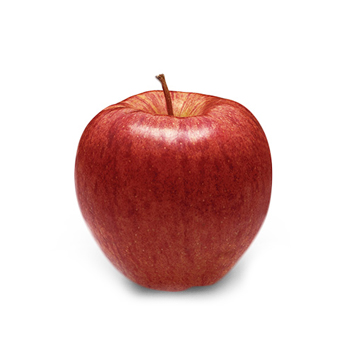
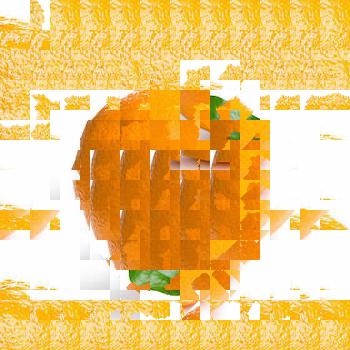
For the following fruit example, I only used 2 iterations (which is below the expected range from the paper.) The last output is not as good as I expected for 2 reasons: First, if more iterations are used, the result might be much better (However, each iteration takes about 30 minutes.) Second,As we can see, the original apple images has a lot of dark areas and the original texture orange image lacks a huge amount of dark color patches. This result in the weird output generated. However, the rough shape is still pertained, which is what the paper expected at the 2nd iteration.
For the following face example, I only used 3 iterations (which is the low expected range from the paper.) The final result is much better! The interesting observation is that, the outputs generated before the final output look nothing like the human face (the sample shape). However, the last image suddenly looks like the face due to our magical definition of alpha!
Bells and Whistles
I finished 2 Bells and Whistles for this Project: First I implemented the cut function (in Seam Finding) from scratch. The result is very promising. Second, I implemented the iterative texture transfer method based on the original paper. The result is not as promising as expected due to my hardware limits. But a promising trend is expected if enough time and experiment are put in to this idea!
Image Quilting
Link
The goal of this project is to reproduce some of these effects using real lightfield data from the paper by Ng et al 2015. One of the main points of the paper is: capturing multiple images over a plane orthogonal to the optical axis enables achieving complex effects using very simple operations like shifting and averaging.
All the data used in this project is from:
Stanford Light Field Archive.Depth Refocusing
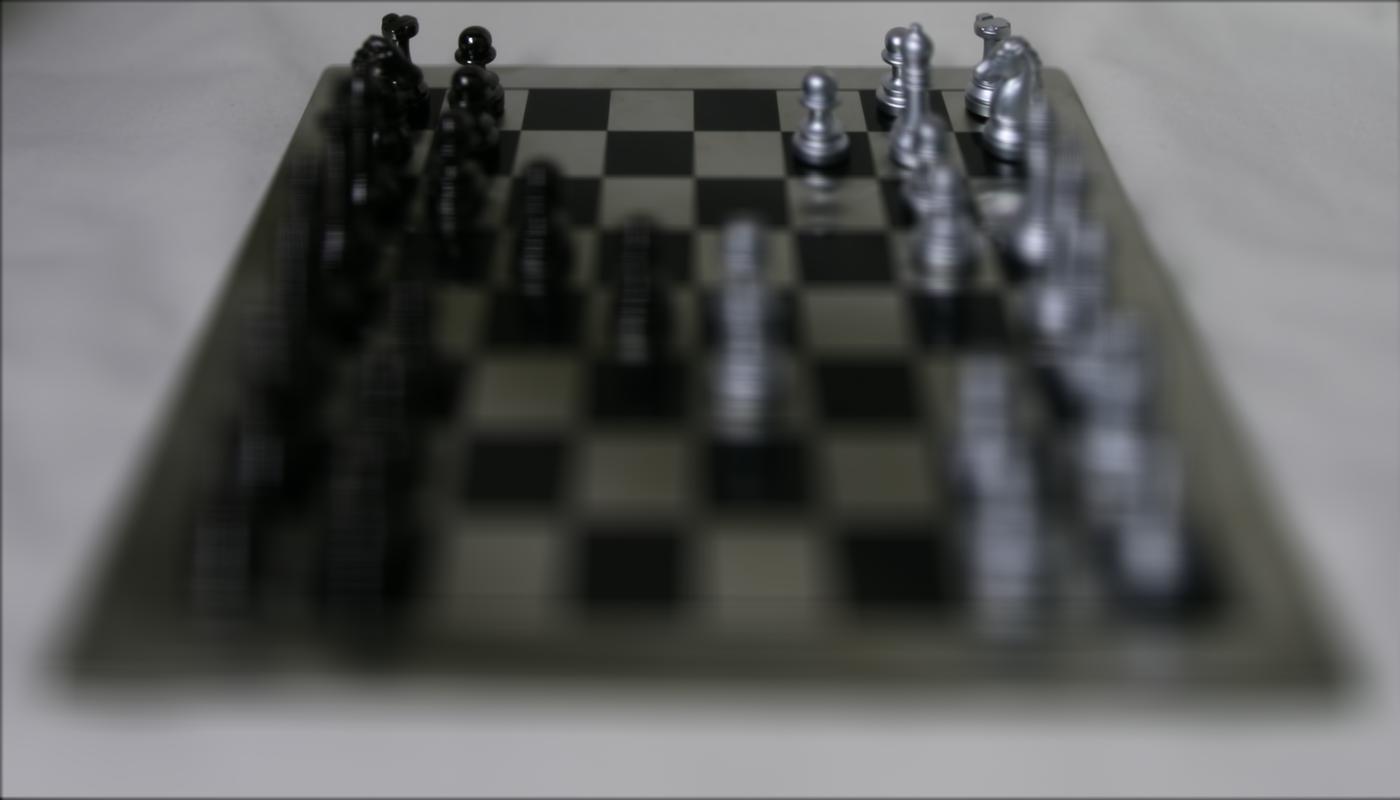
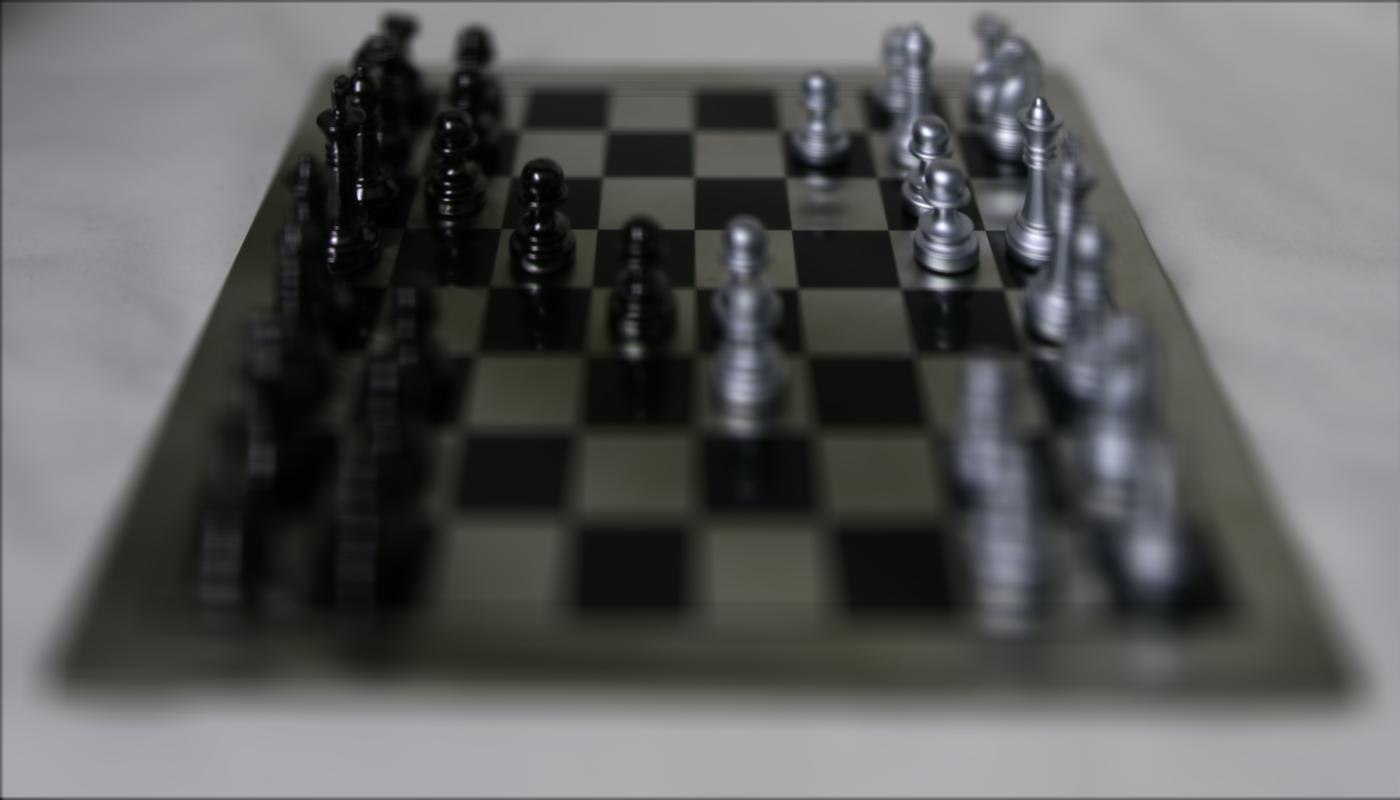
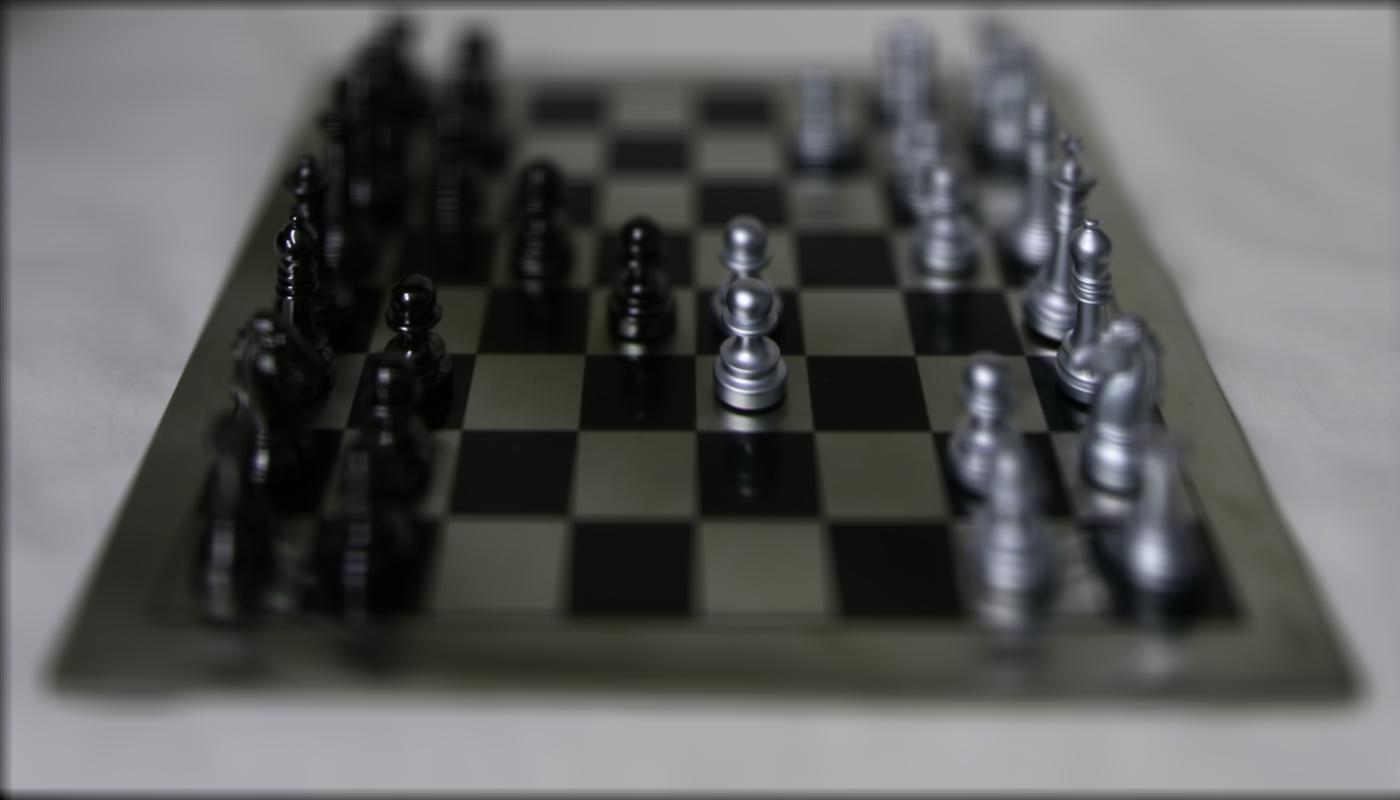
The data used comprises of multiple images taken over a regularly spaced grid. The photos are taken a way that objects that are further from the viewer do not vary their position significantly when the camera moves around while keeping the optical axis direction unchanged. The nearby objects, on the other hand, vary their position significantly across images. Using averging and shifting, this part of the project is to generate multiple images which focus at different depths.
The idea is very simple (adopted from Stanford Light Field Archive). First we need to find the center image. (Since all dataset have 17*17 images in this archive the center image must be the one with (8,8) column-row coordinate.) Let's define d(image) to be the distance between the image's location. and the center image's location. Lastly, by shifting (using np.roll)the image with alpha*d(image) where alpha is a hyperparameter, we can generate images with different focus point.
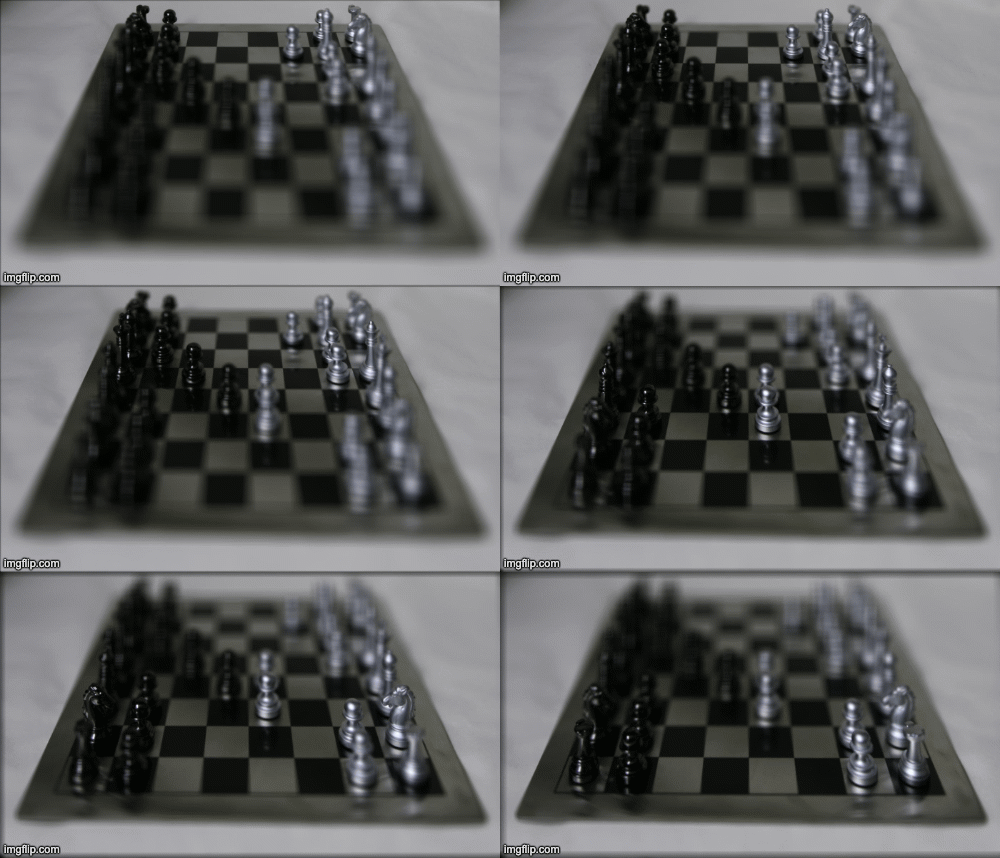
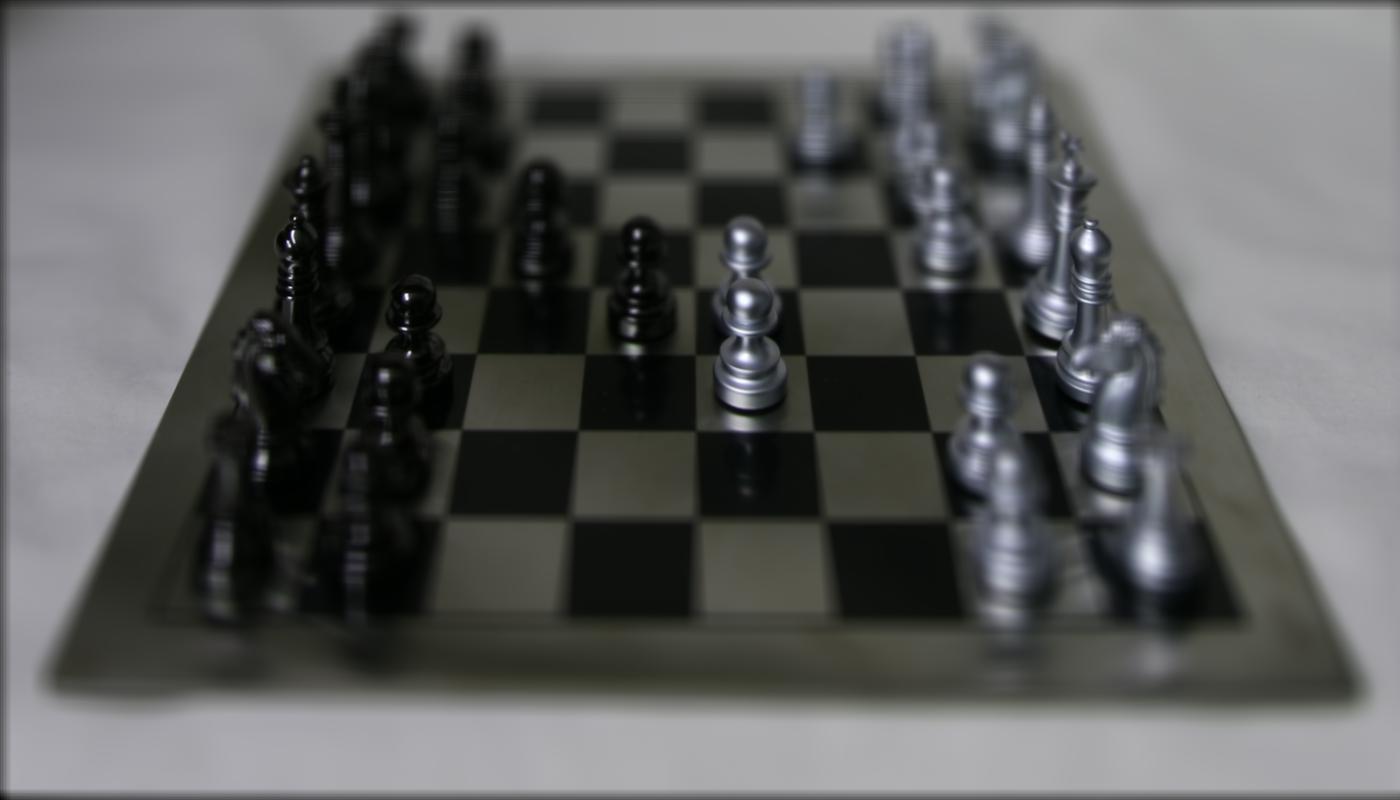
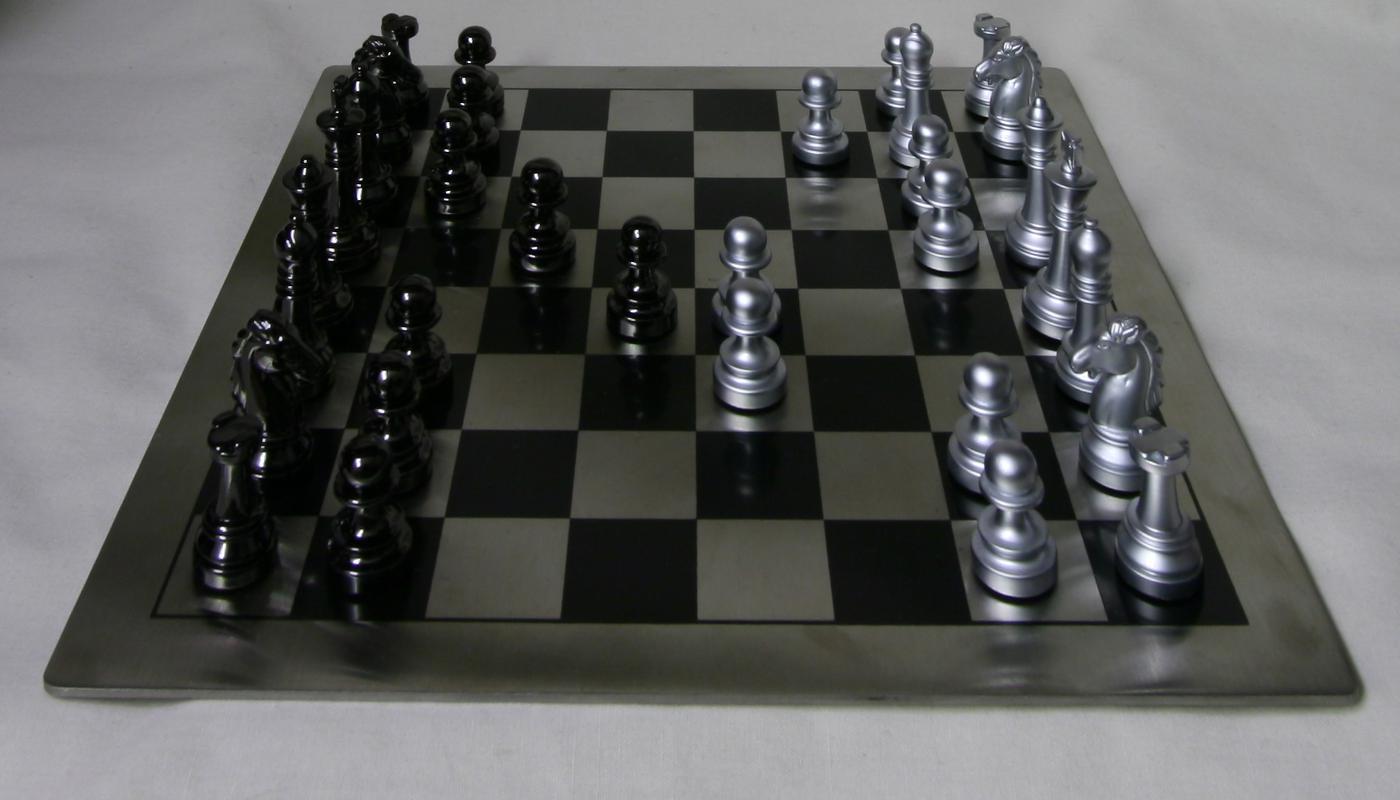
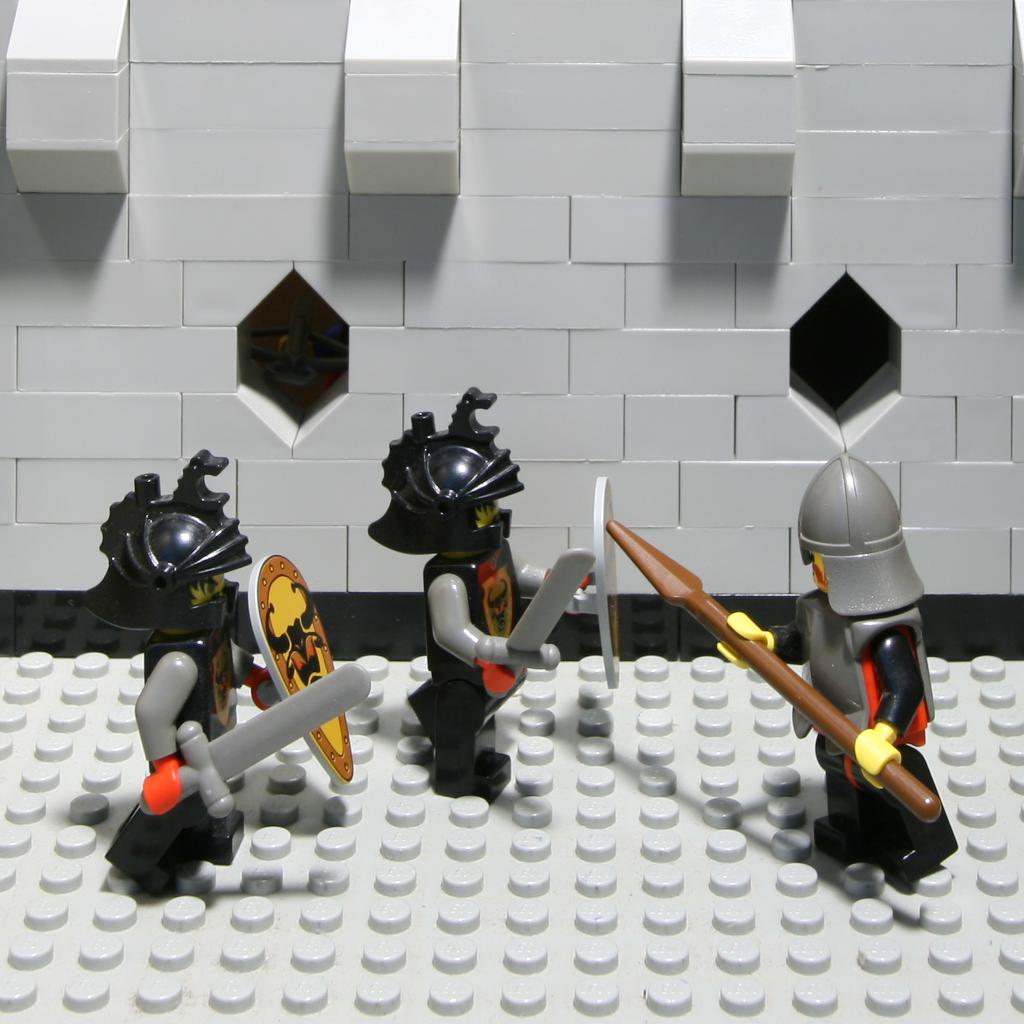
Below are the results with their corresponding alpha value from 2 dataset:
From tuning the hyperparameter, it turns out that alphas range from -0.1 to 0.5(I used interval 0.1) generate nice output images for the chess dataset. Below is the gif of all the output images:
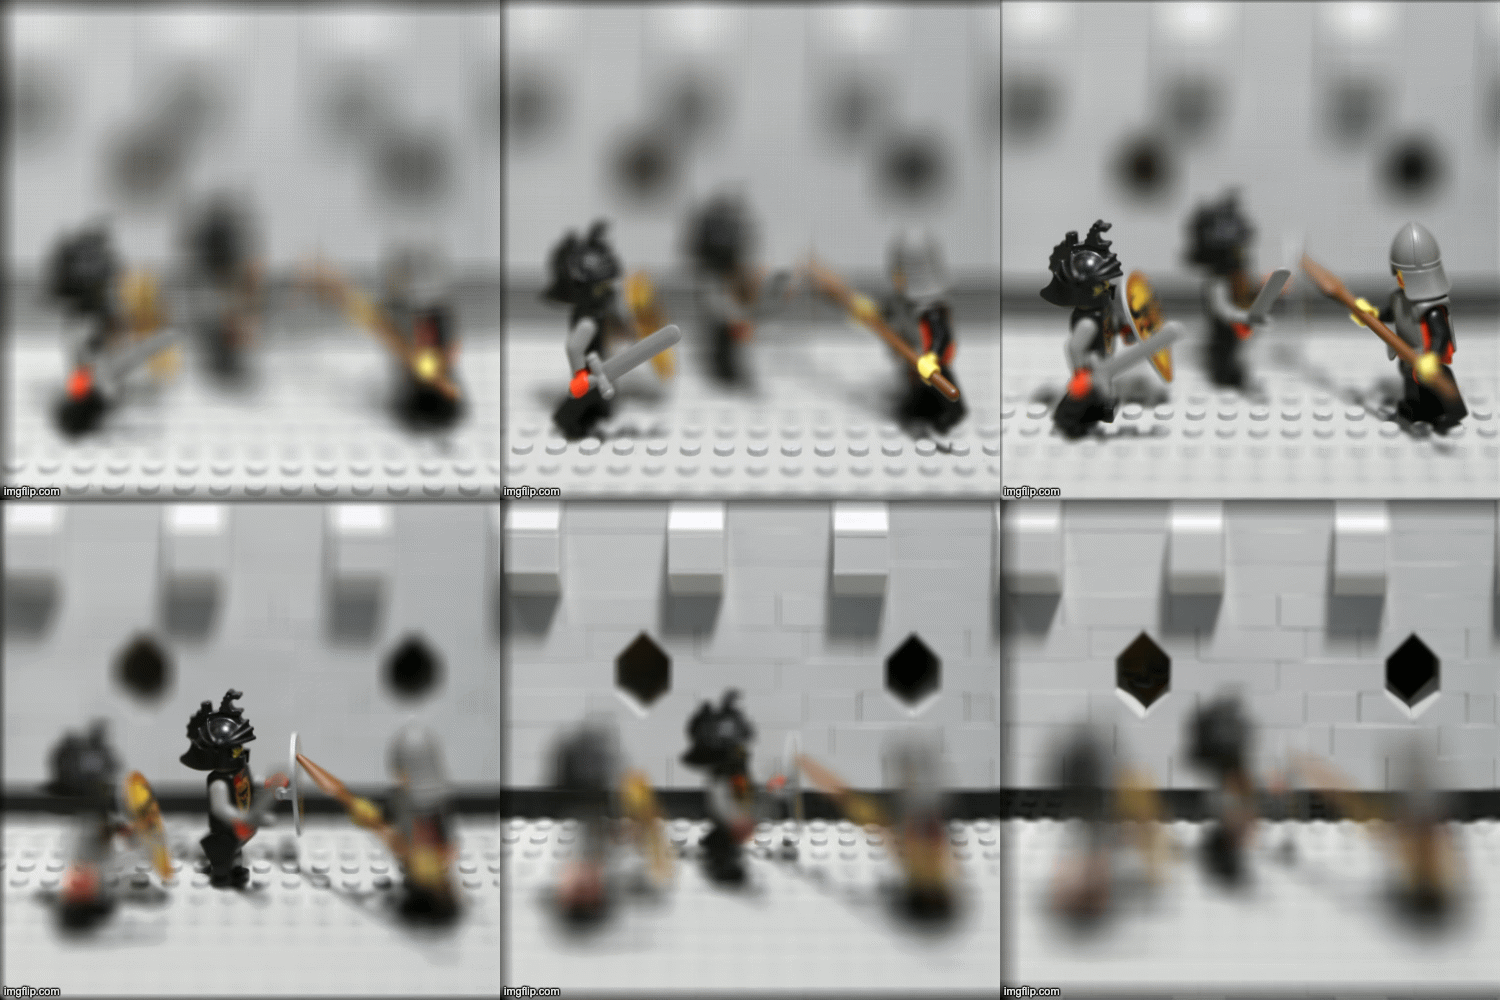
From tuning the hyperparameter, it turns out that alphas range from -0.6 to 0.5(I used interval 0.1) generate nice output images for the LEGO dataset. Below is the gif of all the output images:
Aperture Adjustment
In this part of the project, I am asked to generate images which correspond to different apertures while focusing on the same point. The whole effect looks like the auto-refocusing of a satellite or our camera.
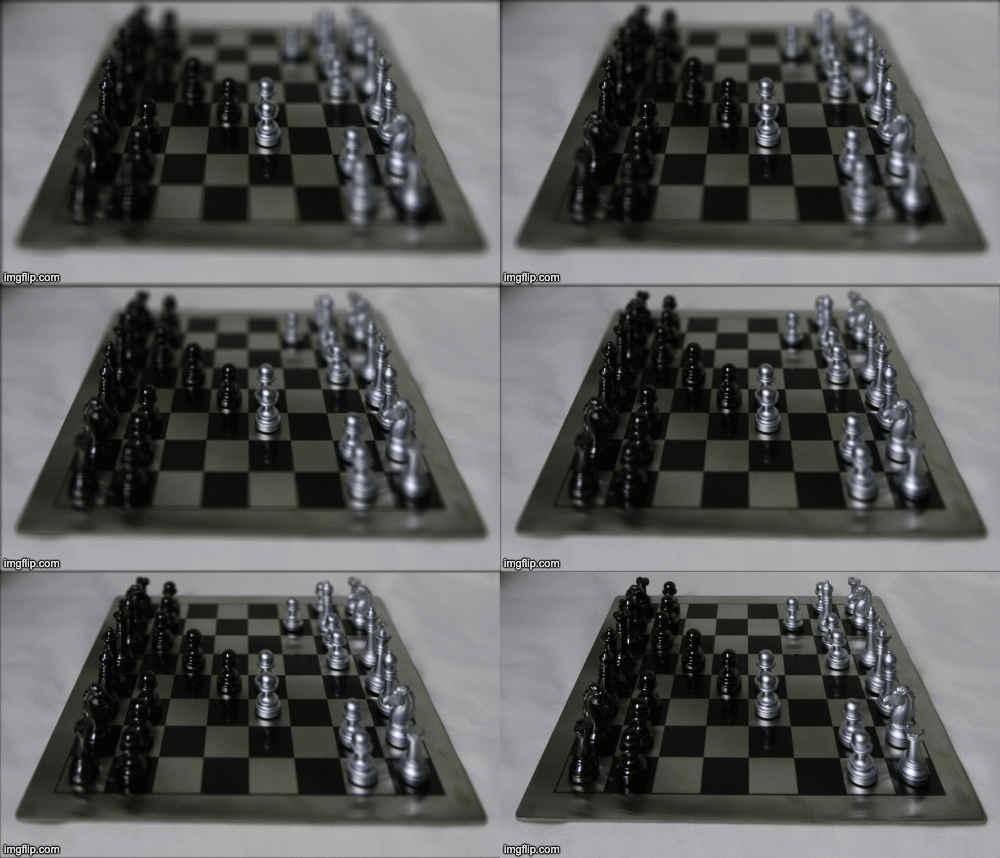
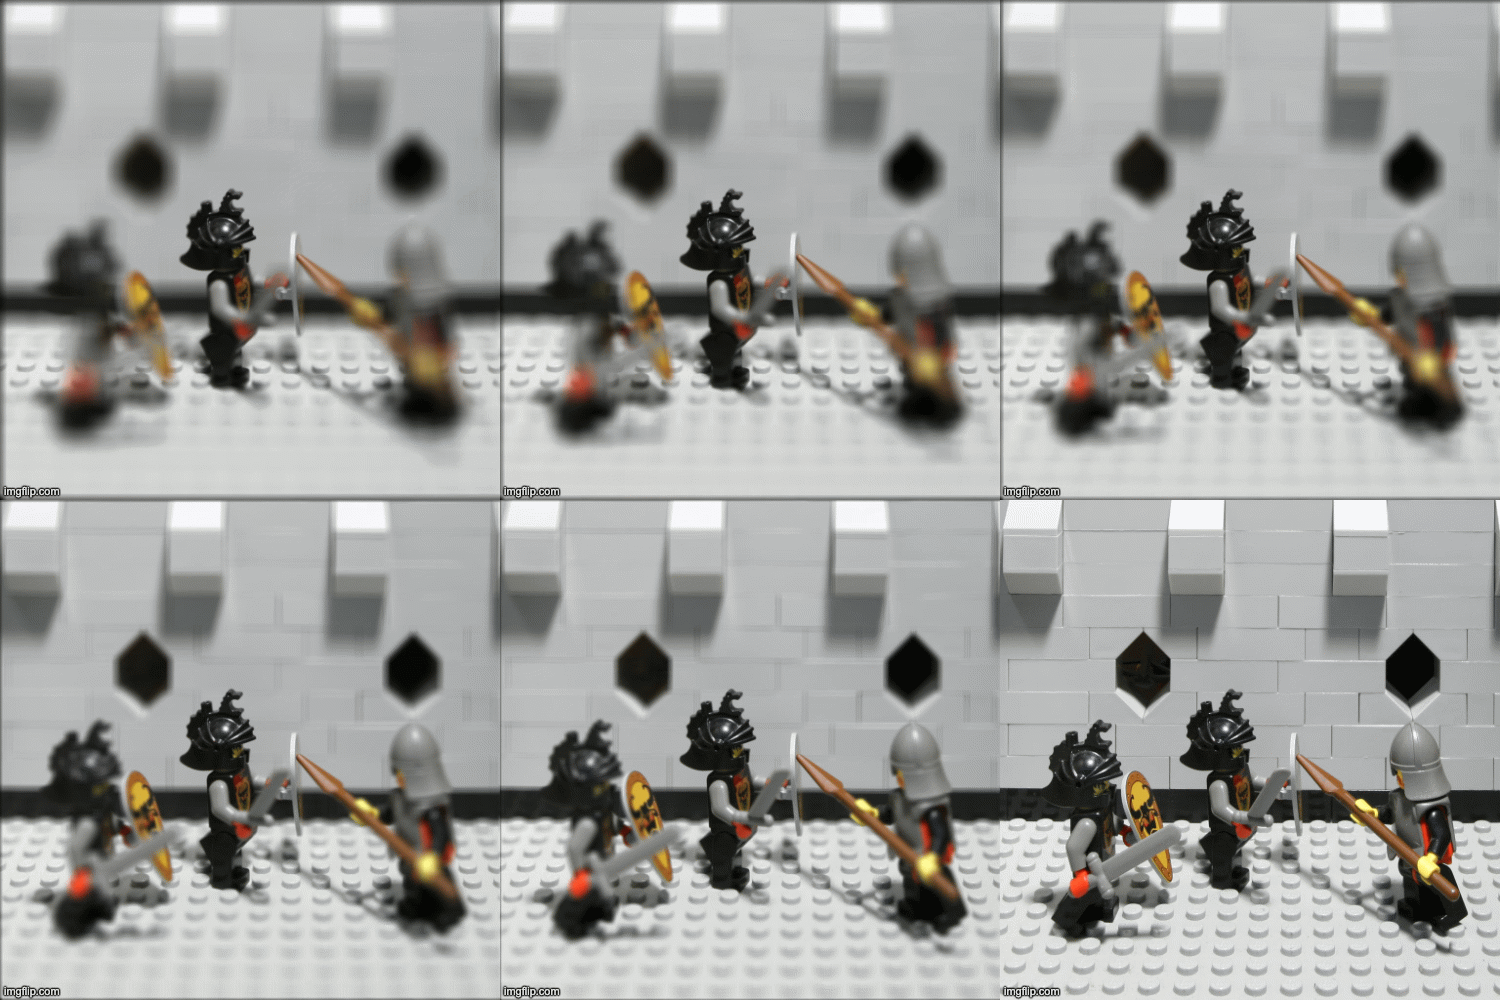
The idea is also straightforward. The main reason why an output image is blurry is because of the large amount of input images being used. Because the images are all slightly different from one another. The overall averaging effect makes the output very blurry. Thus, one easy way to generate an output with a larger aperture is to use more images (thus more blurry) and to generate an image with a smaller aperture is to use fewer images.
For this part, first a pick a decent alpha value such that the focus lies within the center of the image. Then starting radius from 8 to 0, we pick images that are radius away from the center. In other words, we first generate a result from all images, then generate a result from images except for the outer ring etc... And finall we generate an image only using the center image. Below are the results with their corresponding radius number from 2 dataset:
Summary
This project is fun to do! It is surprisingly satisfying to see I can generate digital results that mimic the real world camera effect. Moreover the solution is so simple and elegant!
