Project 1: Style Transfer
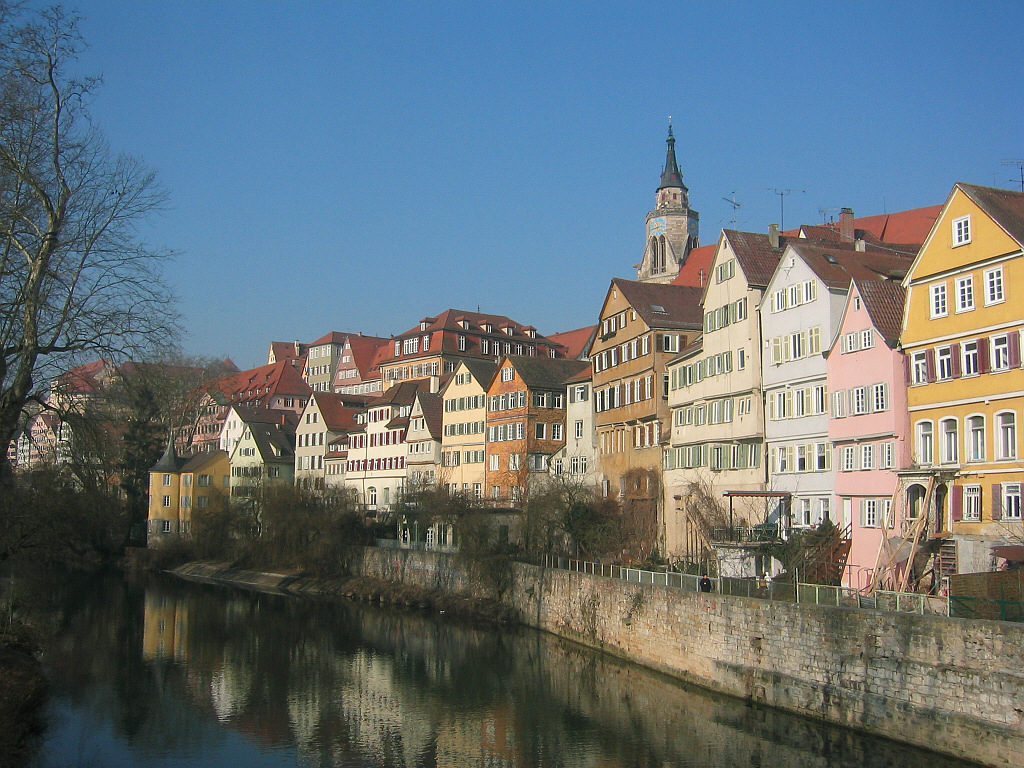
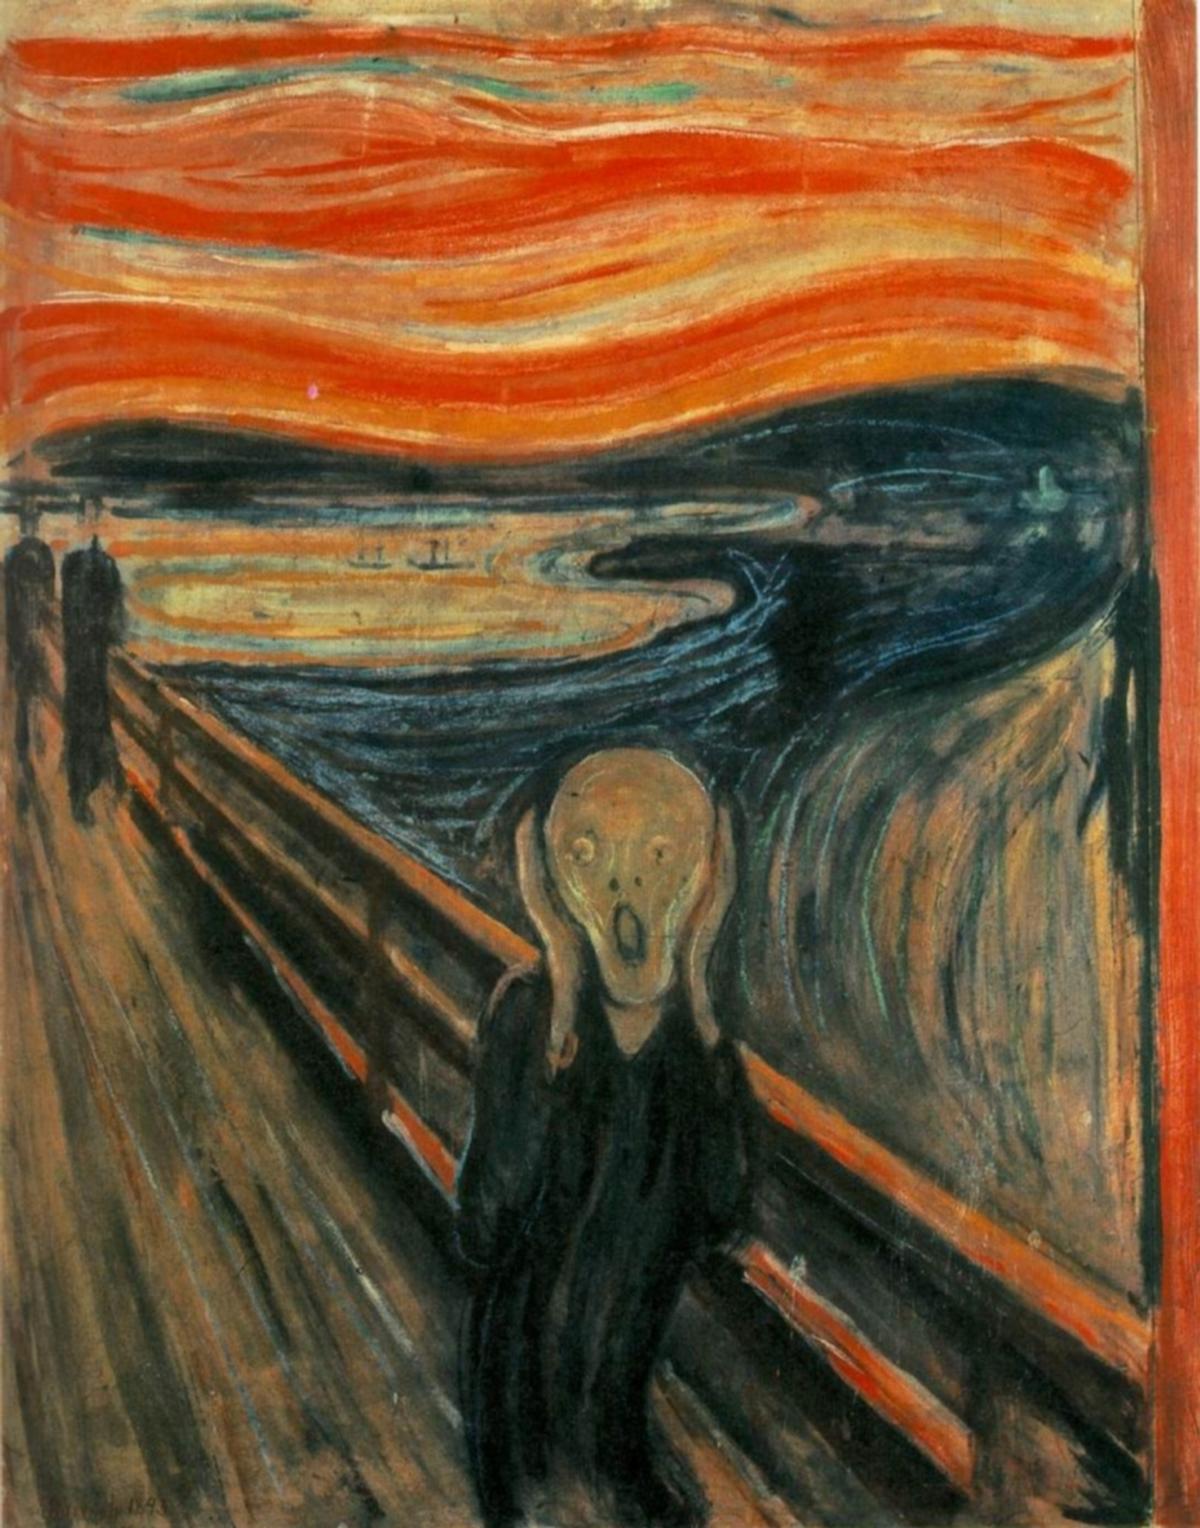
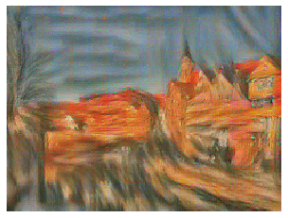
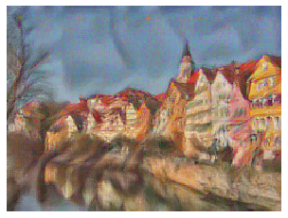
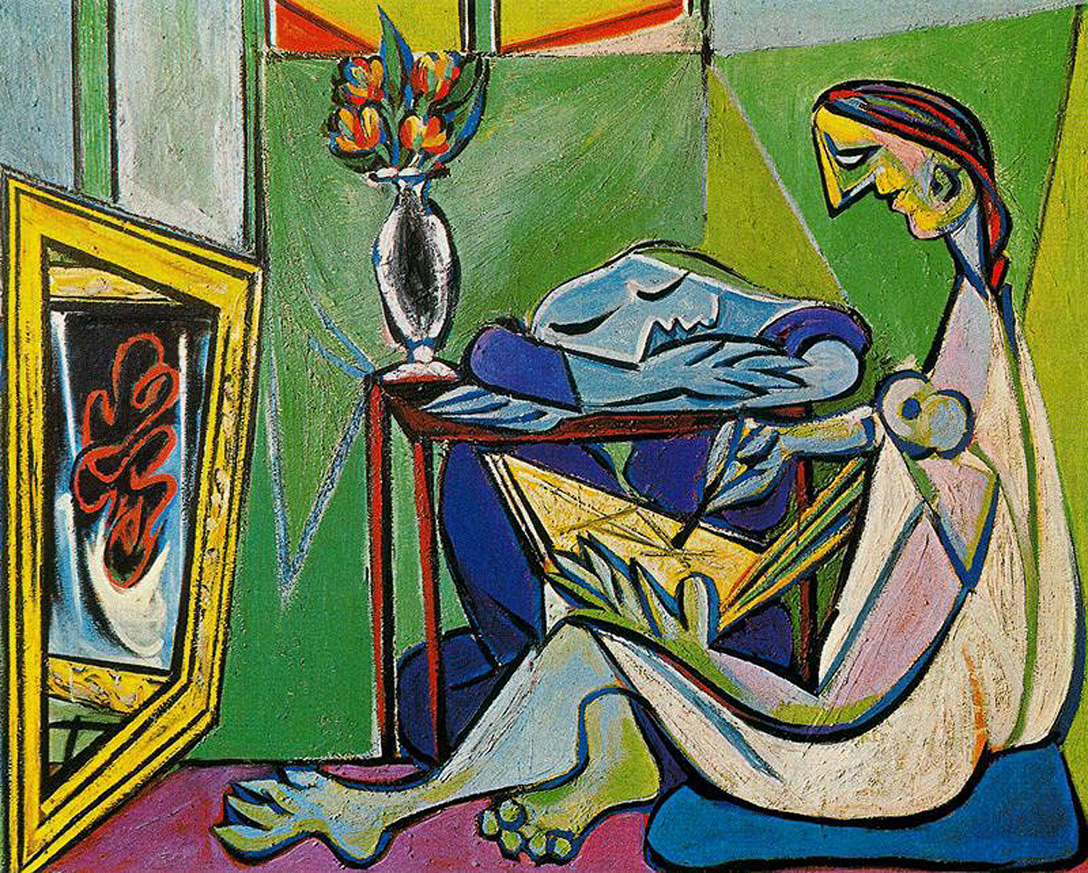
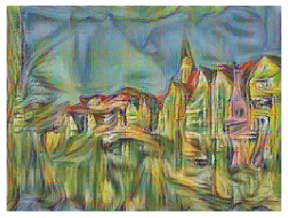
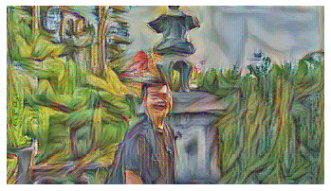
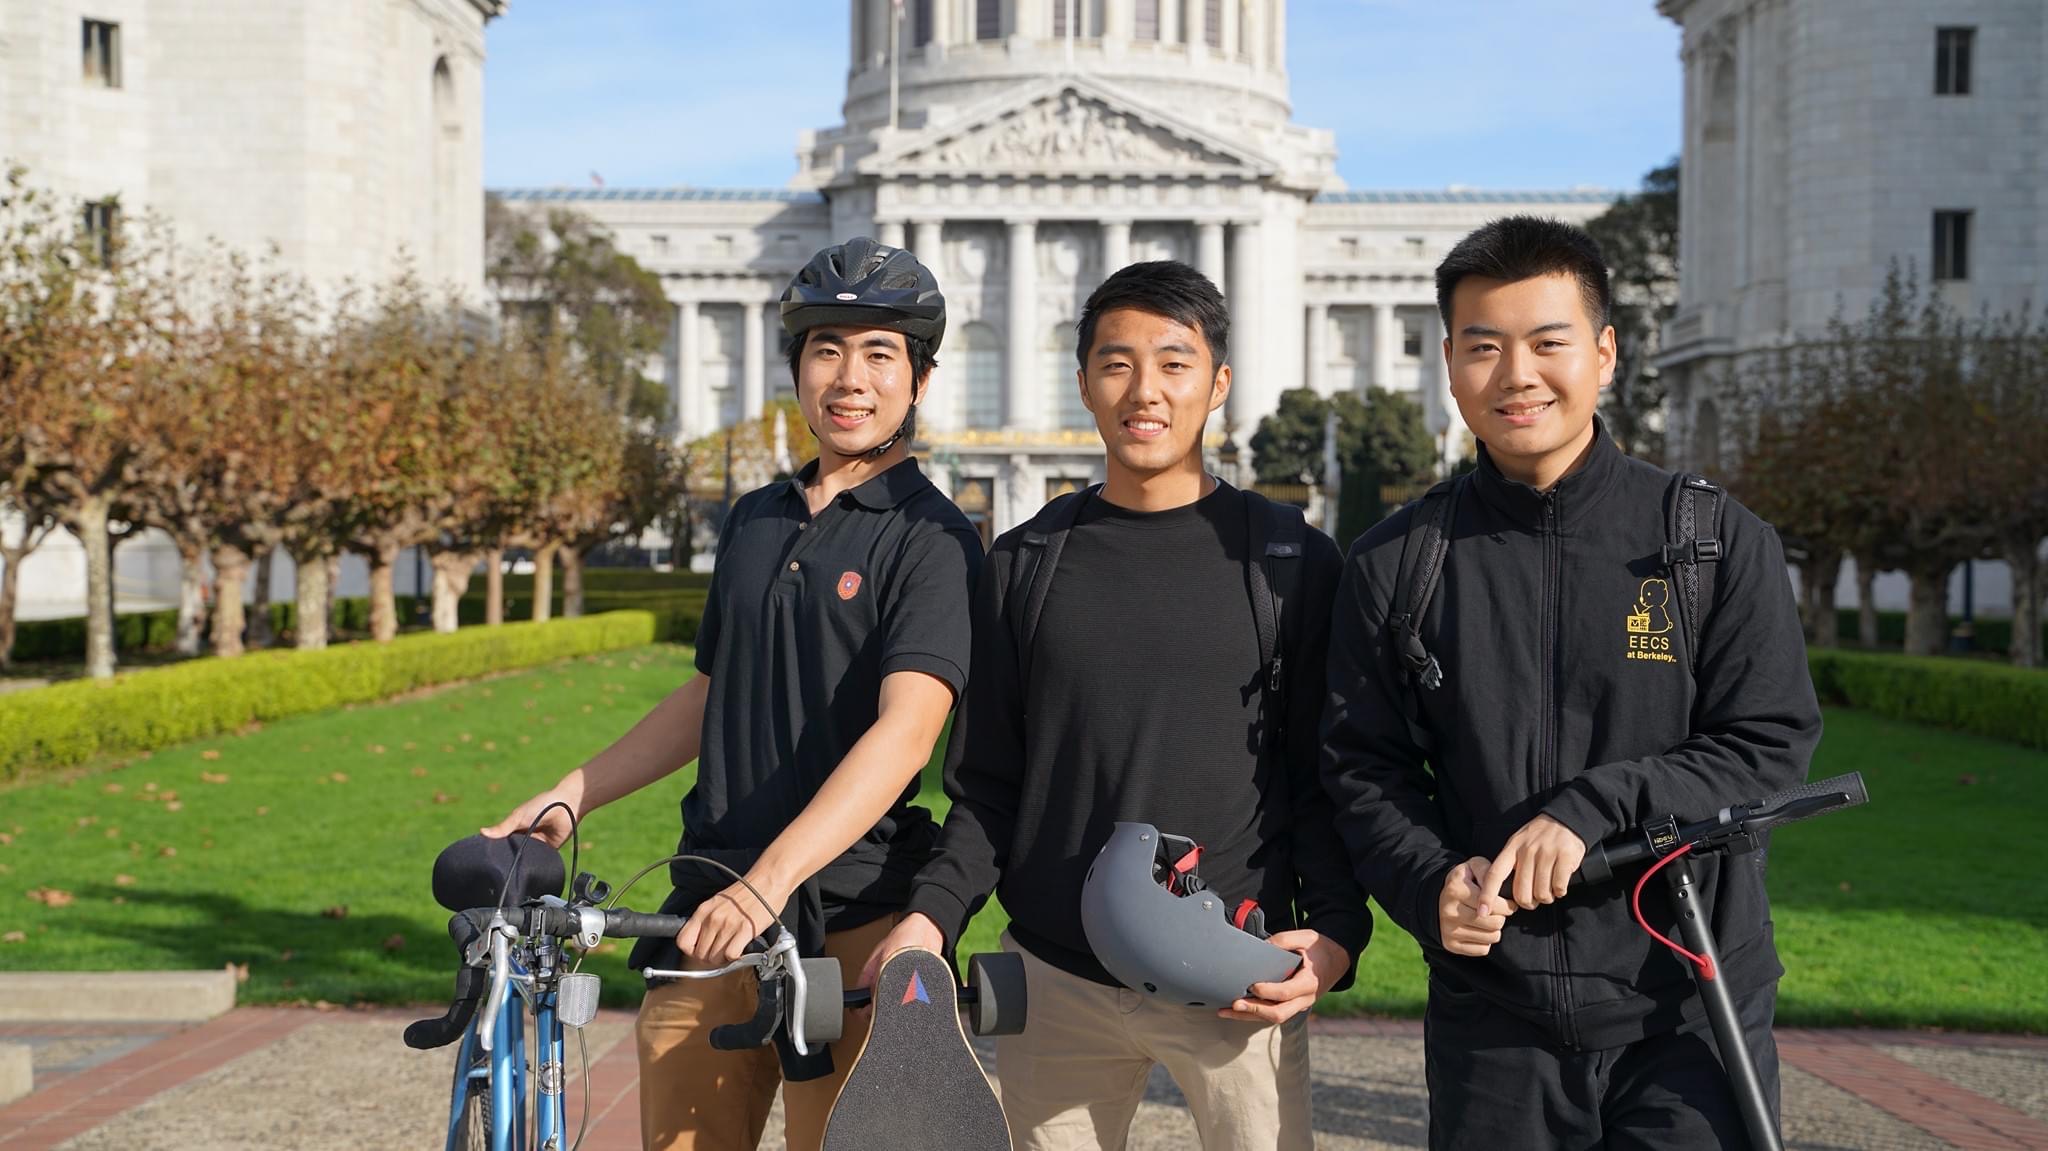
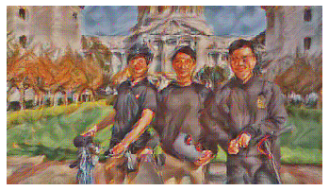
In this project, we implement the style transfer in paper A Neural Algorithm of Artistic Style (Gatys et al.). with Pytorch. More specifically, we take two images, and produce a new output image that reflects the content of one image in the style of another. The implementation is done by creating a loss function for the content and style in the feature space of the network, and use gradient descent on the pixels to produce the output image.
Computing loss
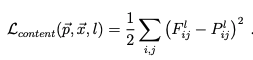
We create two loss functions here. First is the content loss which is used to penalize the deviation from content of the image. The content loss is given by the following equation:
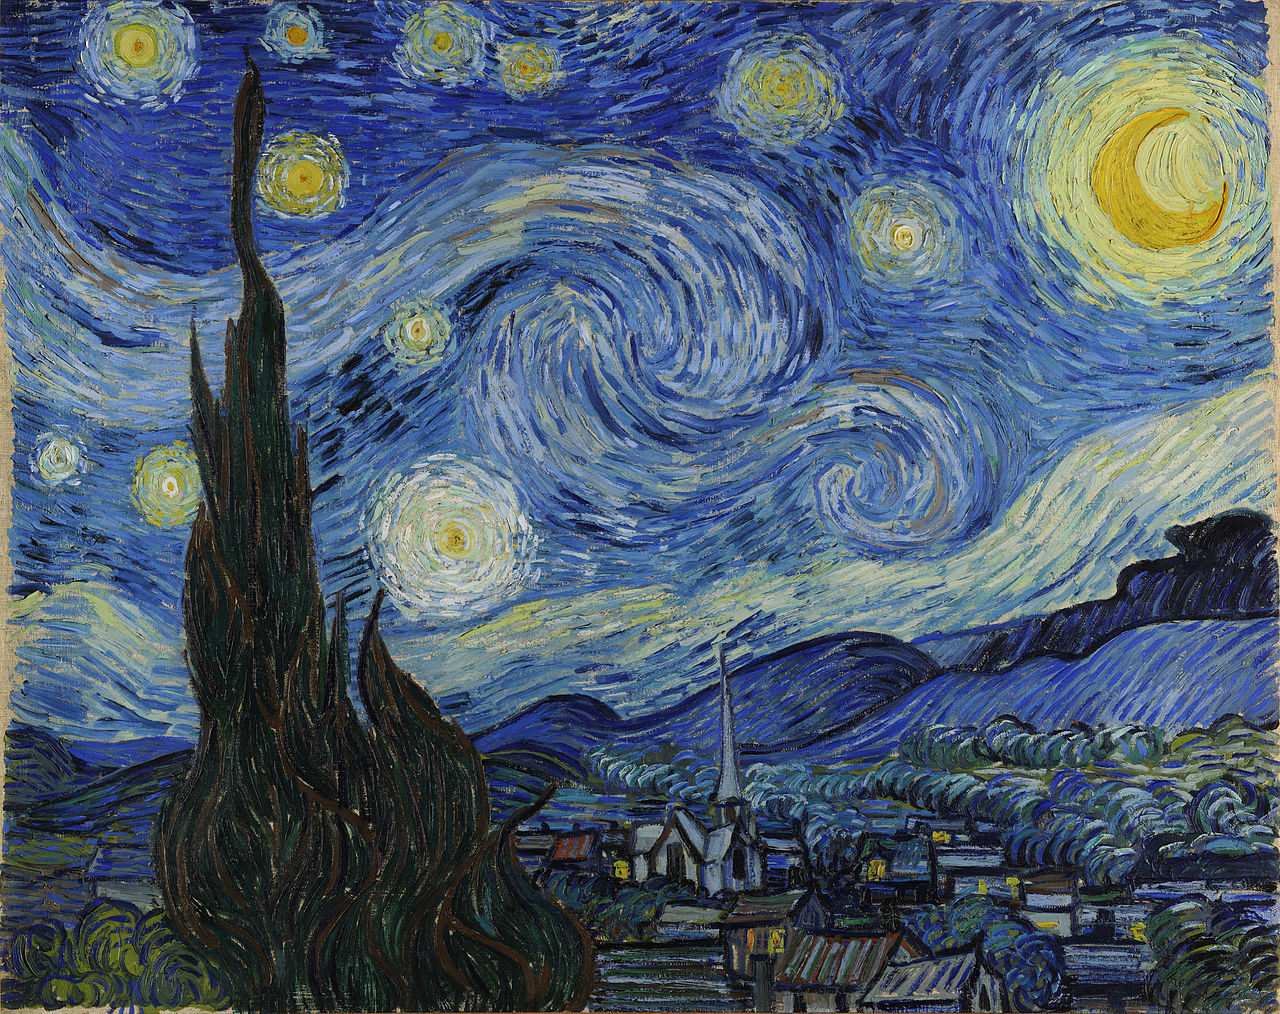
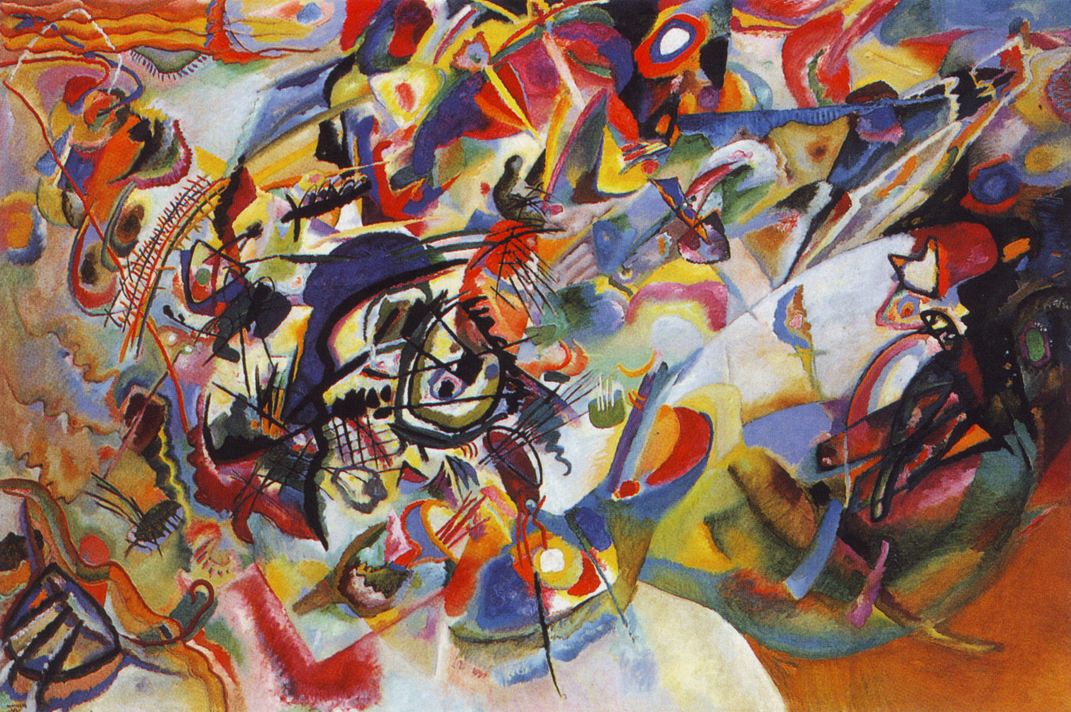
By the same token, we create a style loss to penalize deviation from the style of the style source image
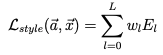
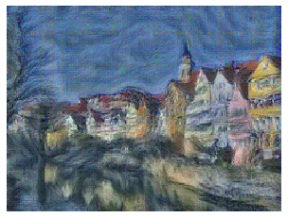
In combination, the loss we need to minimize is a weighted average of the content and style loss:
It turns out that adding smoothness in the image is also helpful. We add a weighted total variation regularization for 3 channels (RGB) to the loss function
In this project, we implement complex effects with lightfield camera with simple operations like shifting and averaging. The dataset we will be using is the grid dataset in Stanford Light Field Archive.
For the first part of the project, we implement the refocusing effect by shifting the images in a certain way and then averaging to allow one to focus one object at different depths. In the dataset, the first and second number represent the image index of the image in the camera array. We shift each image by an amount that is equal to its distance to the mean, which is 8 since x and y range from 0 to 16
For the second part of the project, we generate images which correspond to different apertures while focusing on the same point. We average over images that has camera index distances within a certain range, which is determined by the aperture. Attached is the result of using different apertures to average the images.
Bell and Whistle:
For the bell and whistles, I created my own dataset, which consists of 36 images where x and y index both range from 0 to 6. Below is the image taken at x, y index of 0, 0
Below is the result for the aperture and refocusing. The results are not as good as the chessboard dataset due to camera position problems. Due to the disuniformity in camera position, the images look very blurry.
refocus result:
aperture result:
CS194-26 Final Proj: Poor Man's AR
Overview
This project is one where I use OpenCV to track keypoints so I can project a synthetic object onto the screen.
Setup
Here, we start with a video of a box with some regular points.
Keypoints w/ Known Extrinsics
Then, we manually mark keypoints with known 3D coordinates. We define the bottom left corner of the box as origin so that we have axes as shown below.
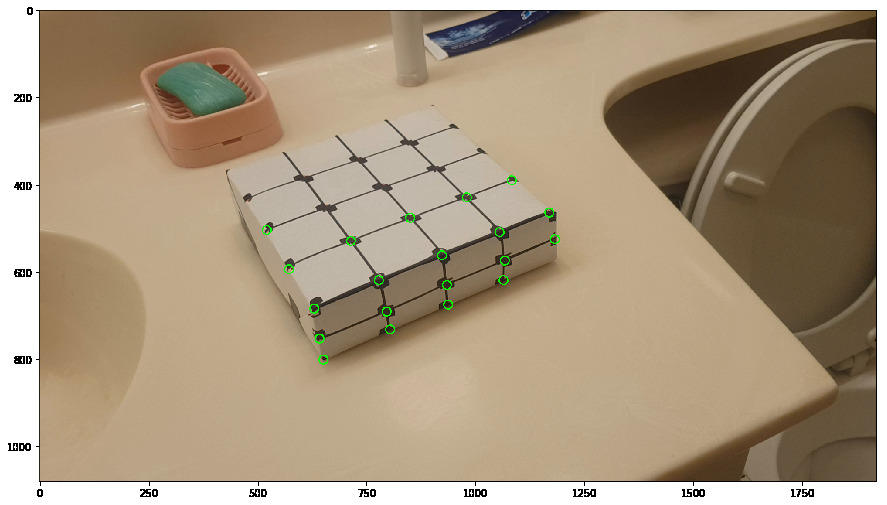
Tracker
We use an OpenCV tracker, specifically median flow, with a bounding box of 20x20 pixels to keep track of the points throughout the video. My first attempt
at this was very poor, as the features on the box were very non-distinctive as well as the background(table) too textured, leading in tracking failure.

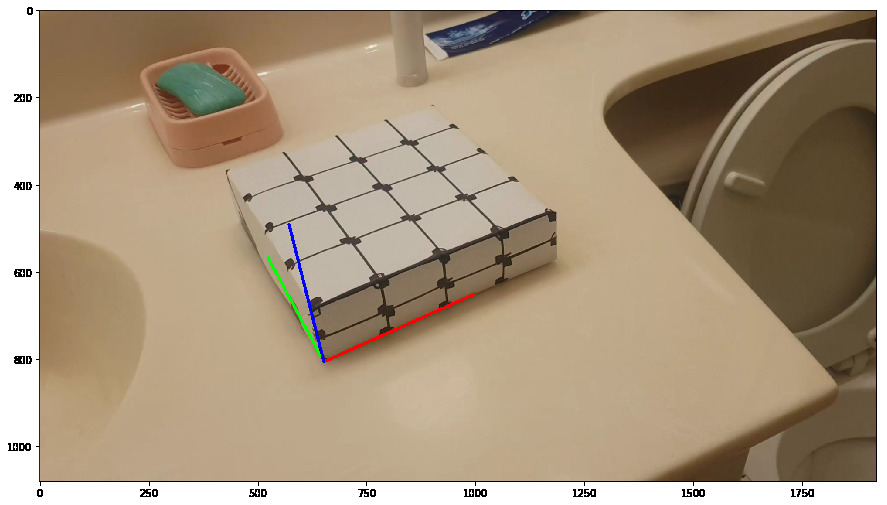
Projecting a Cube
Now we have corresponding points in our world coordinates and camera coordinates. We use a 3x4 projection matrix to transform the 4d homogenous real world coordinates to
3d image coordinates. To calculate this, we use least squares on the tracked points and world points in each frame.
Given this matrix, we can then project objects into our scene. Here are some simple projections, the origin and axes; and a cube
More things
I decided to add more objects. I tried using pyrender, but couldn't quite get it to work. So instead, I loaded .obj files of triangulates meshes of objects.
I then used the same method as before to warp the points to draw each plane. Unfortunately, this method does not work easily with color, so instead of
making the objects one solid color, I made them consistently random multicolor for some splash

For some reason though, the models lean as I pan the camera. I'm not too sure of the reason for this.