Part 1 : "Image Quilting for Texture Synthesis and Transfer"
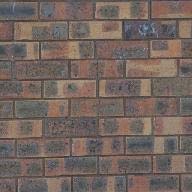
The goal of this assignment is to implement the image quilting algorithm for texture synthesis and transfer, d escribed in the SIGGRAPH 2001 paper by Efros and Freeman (link above). Texture synthesis is the creation of a larger texture image from a small sample. T exture transfer is giving an object the appearance of having the same texture as a sample while preserving its basic shape (see the face on toast image above). For texture synthesis, the main idea is to sample patches and lay them down in overlapping patterns, s uch that the overlapping regions are similar. The overlapping regions may not match exactly, which will result in noticeable edges. To fix this, we compute a path along pixels with similar intensities through the overlapping region and use it to select which overlapping patch from which to draw each pixel. Texture transfer is achieved by encouraging sampled patches to have similar appearance to a given target image, as well as matching overlapping regions of already sampled patches.
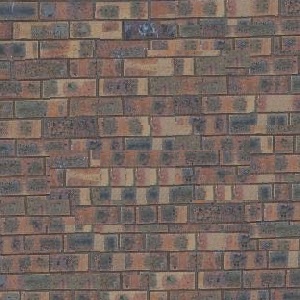
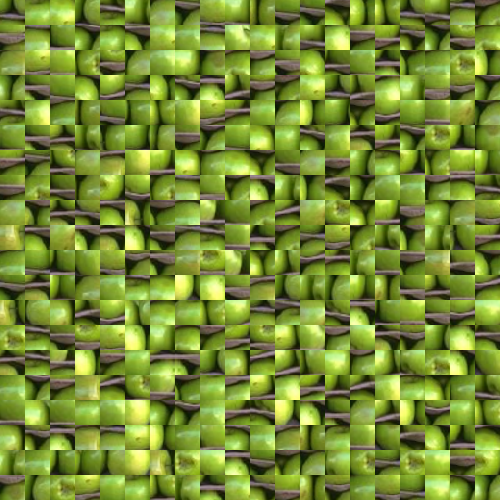
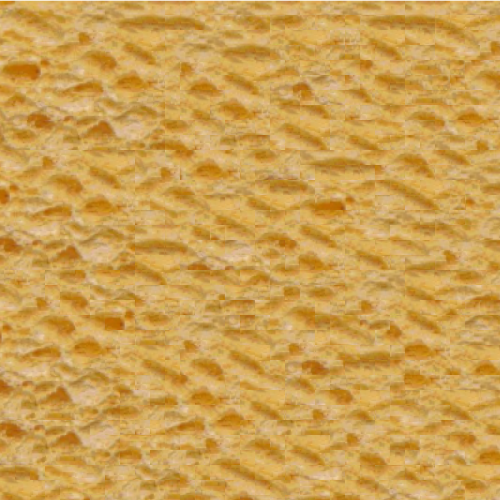
Randomly Sampled Texture
Randomly sample square patches o in order to create an output image of size out_size. Start from the upper-left corner, and tile samples until the image are full. This is the simplest but least effective method
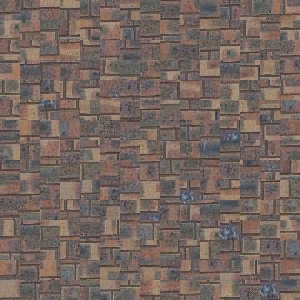
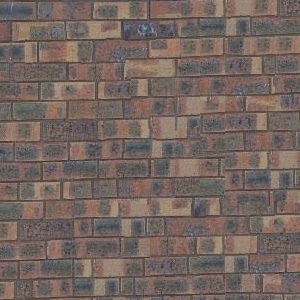
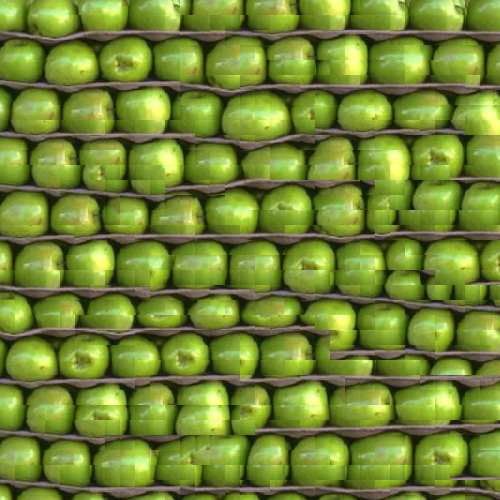
Overlapping Patches
Sample new patches to overlap with existing ones. For example, the second patch along the top row will overlap by patch_size pixels in the vertical direction and overlap pixels in the horizontal direction. Patches in the first column will overlap by patch_size pixels in the horizontal direction and overlap pixels in the vertical direction. Other patches will have two overlapping regions (on the top and left) which should both be taken into account. Once the cost of each patch has been computed, pick K patches with the smallest costs and randomly choose one among them.
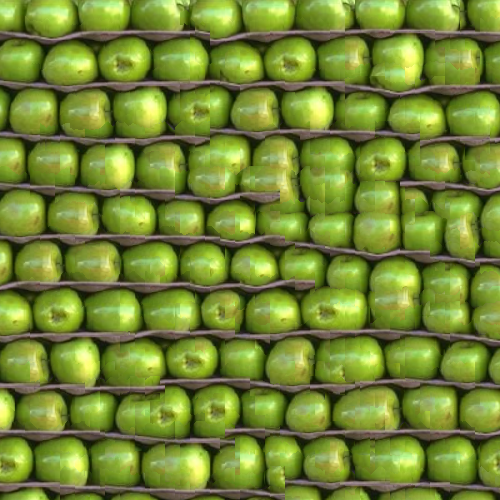
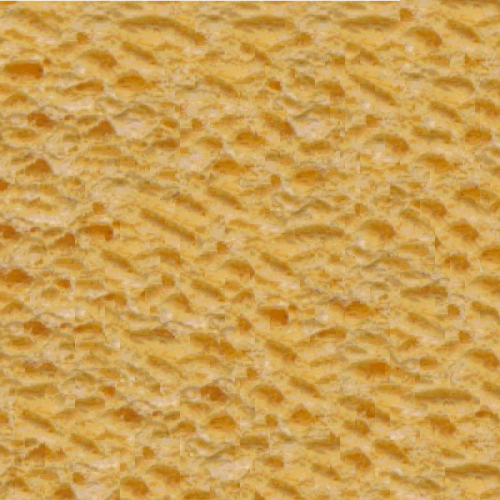
Seam Finding
Incorporate seam finding to remove edge artifacts from the overlapping patches.
Here are more examples.


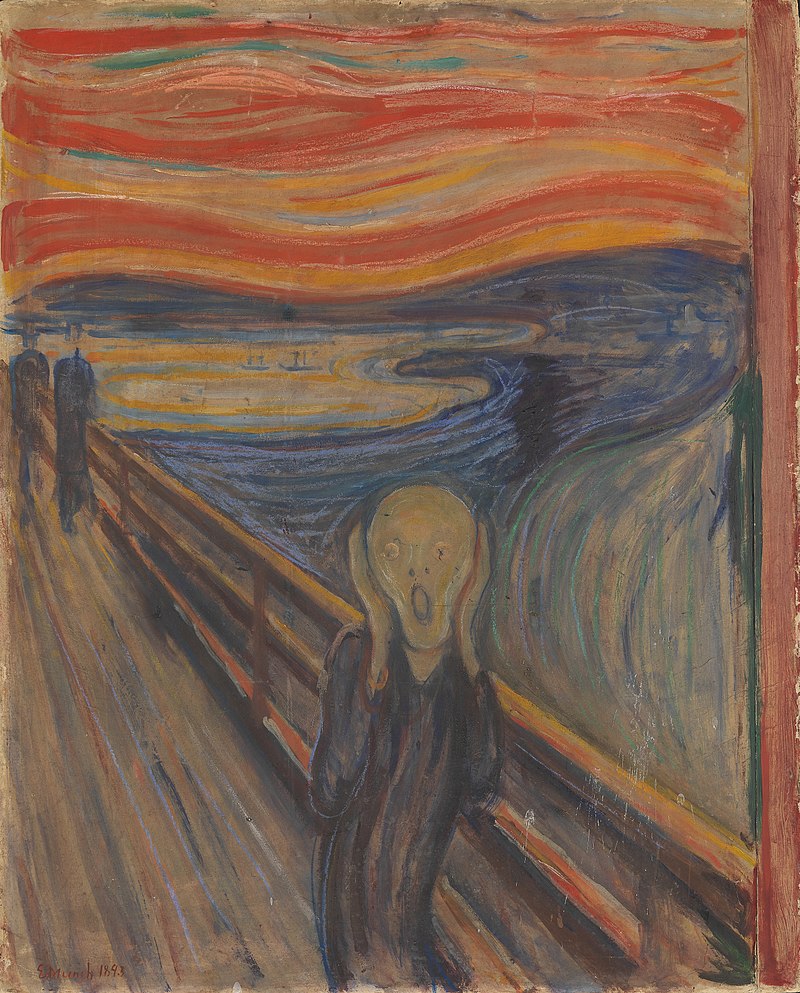
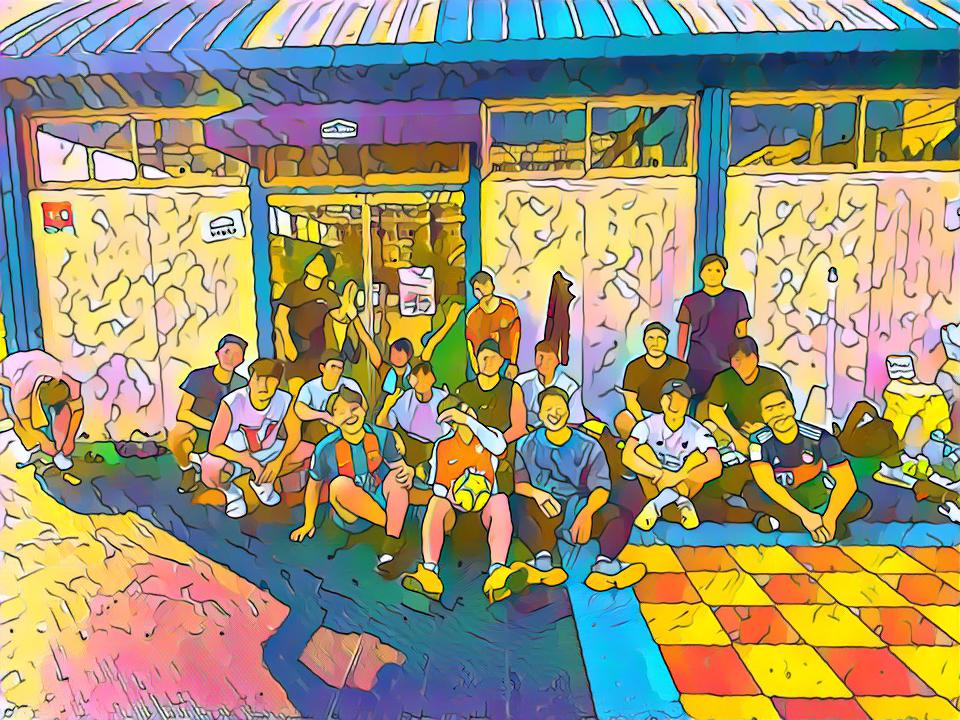
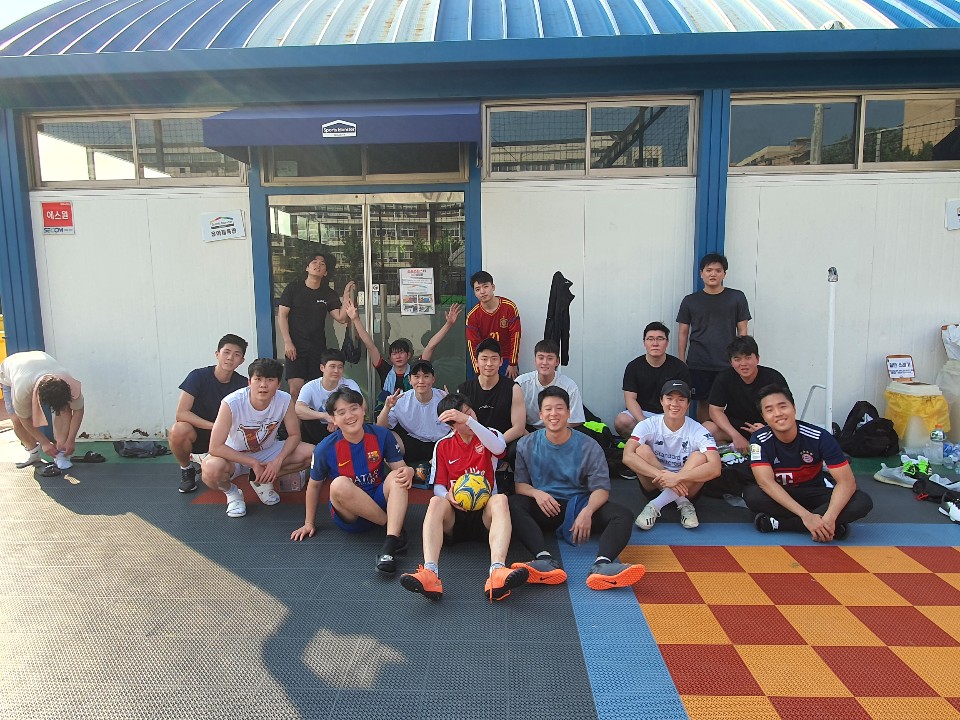
Part 2 : "A Neural Algorithm of Artistic Style"
Following the methods introduced in the paper, I made a style-transfer model that transfers the style of a drawing to a picture (or another drawing)
Method
It is known that the convolution layers of a CNN object detector learn meaningful features of the images. From the features we can extract the contents of the images as well as their styles. Pretrained VGG-Network with 16 convolutional and 5 pooling layers is used, except its last fully connected layers. Starting from a random white image or from the original content image, we optimize the image to have content 'similar' to the original content and have style 'similar' to the painting from which we are trying to transfer its style. The loss functions that are used for the optimzation will be further explained.
Content Loss
We compare the contents by looking at the corresponding convolution activation values. That is, the metric of how similar two images are is how different the values of the convolutional activation values differ from one another. One can choose which levels of convolution layer to compare. I chose to compare the 4th convolution values.
Style Loss
We compare the styles by looking at their gram matrices of their corresponding convolution layers. One can choose which layers to compare its gram matrices. I chose to include style losses from all 5 convolution layers.
Experiements
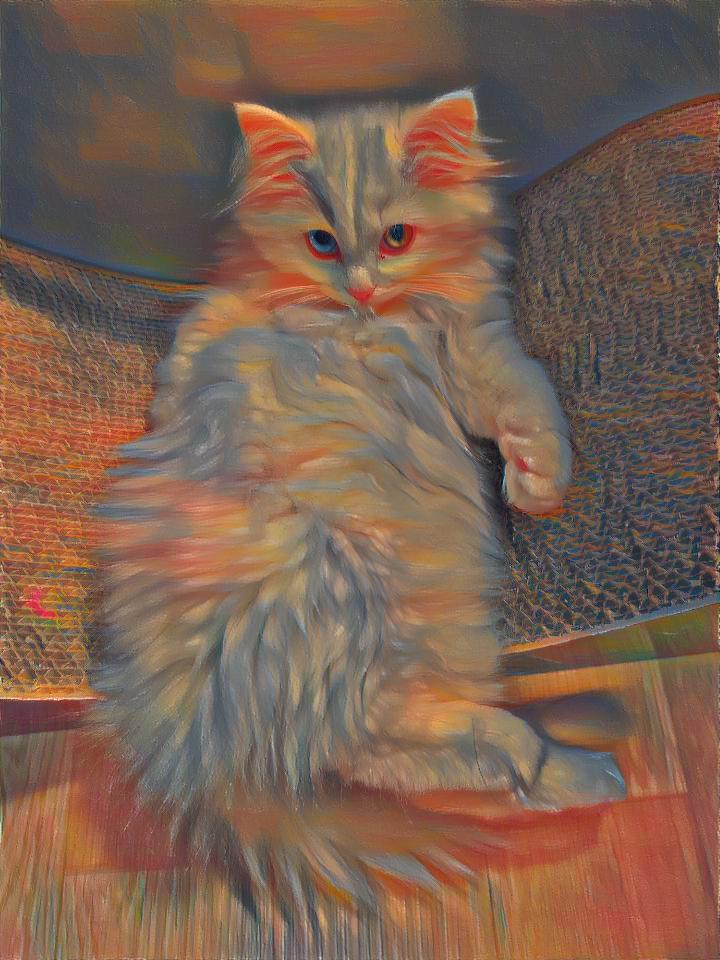
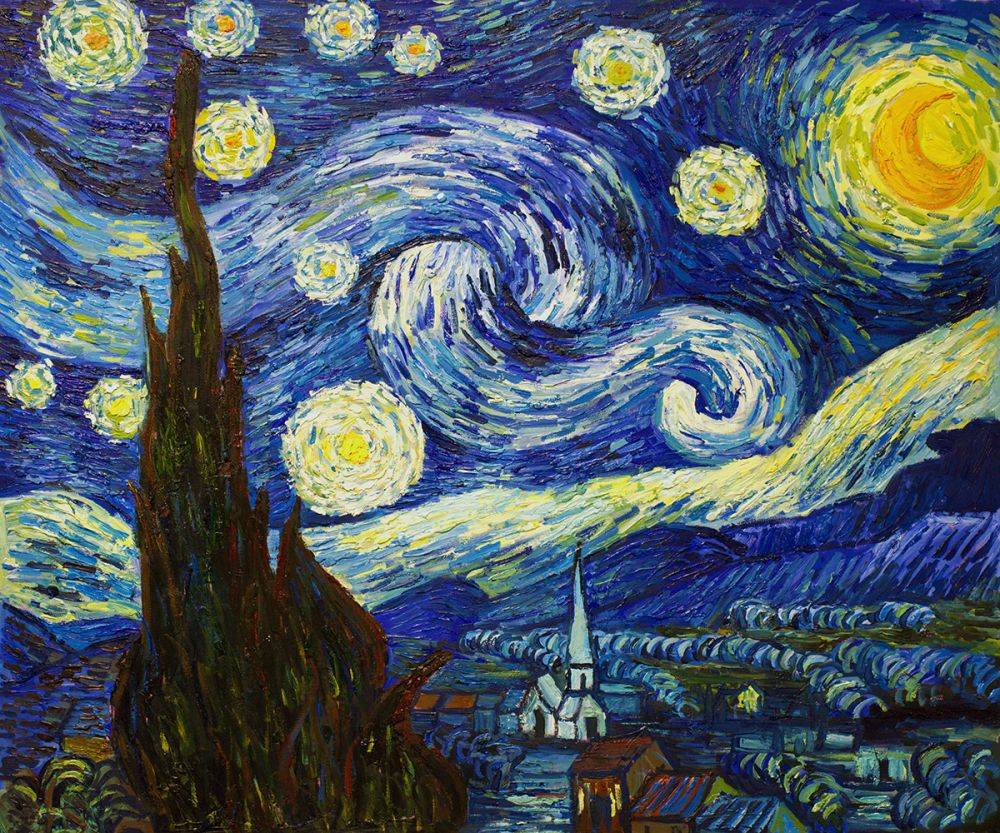
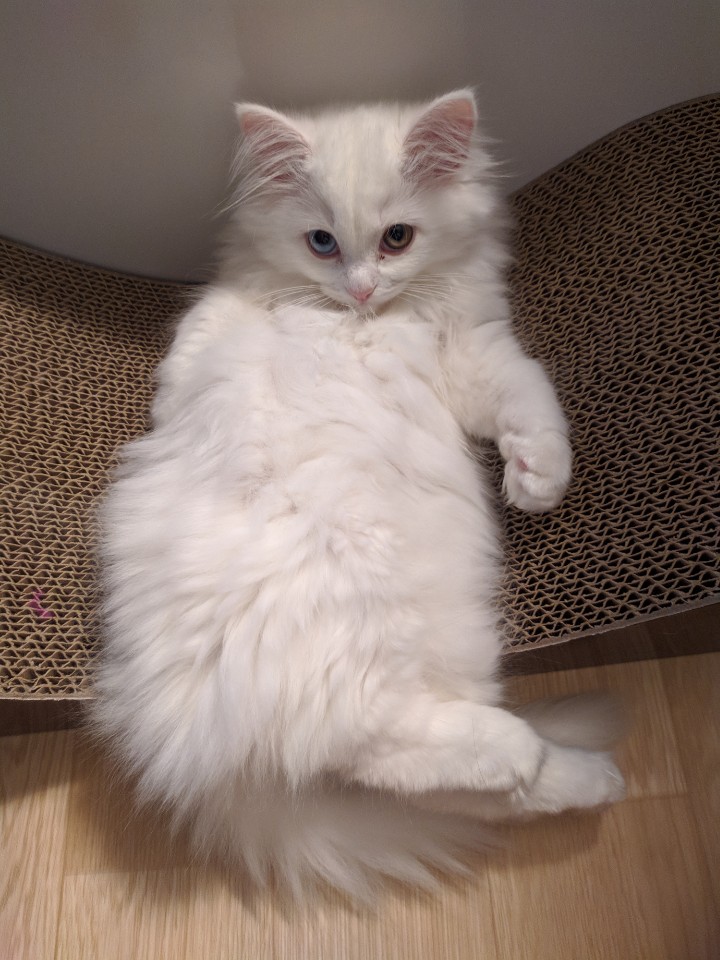
To compare among different hyperparameters / add-ons, I did a several experiements with the following pictures. Using Van Gogh's famous "Starry Starry Night" as the source of style, I tried transferring the style to the picture of my friend's lovely cat, Yul. For all the following trials, the displayed results are the best ones among mulitple runs. By default, the ratio of content weight / style weight is set to 1/100000.
First Trial
Here is the result of the first trial of the style transfer
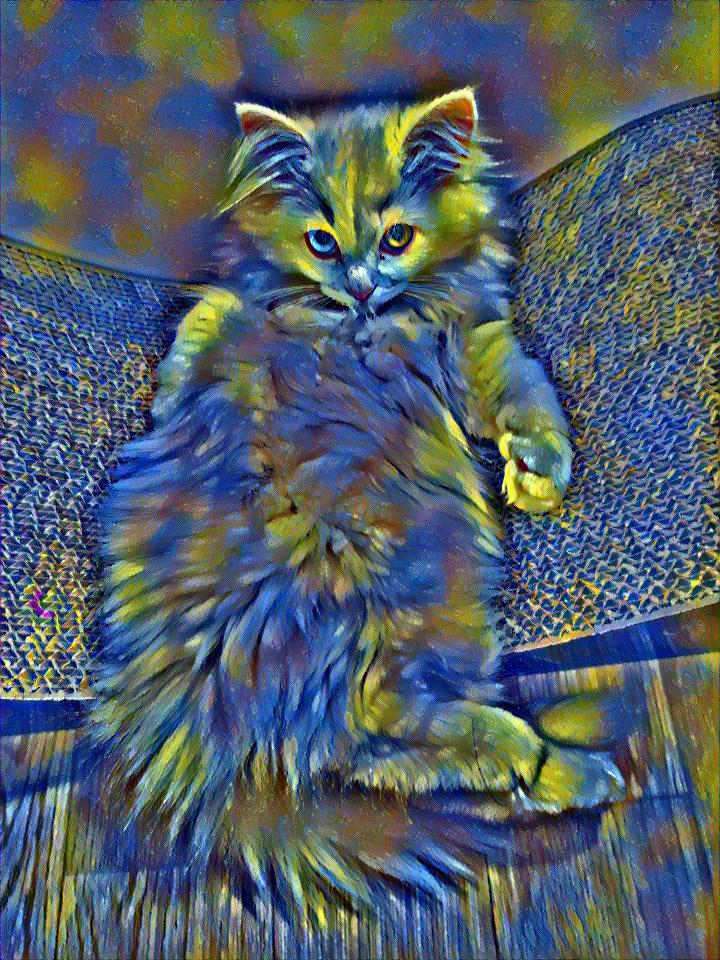
We have the figure of the cat and the style was changed a bit. Nevertheless, the result is a bit disappointing. Specifically, the style does not seem to be transferred much.
Then I found that VGG networks were trained on images with each channel normalized by mean=[0.485, 0.456, 0.406] and std=[0.229, 0.224, 0.225]. To take that into account, I added a normalization layer with the given values.
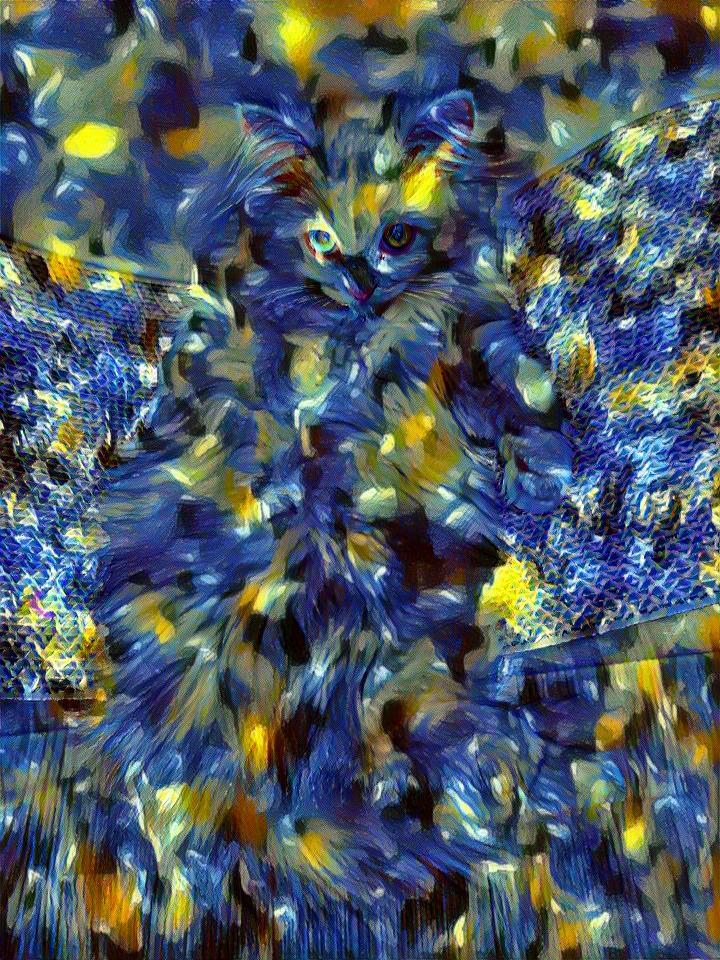
Now we can see that the style is very well captured. Unfortunately this time, the content is less distinct. To solve this issue I tried giving less weight to the style loss. This time, I set the content loss / style loss weight ratio as 1/1000000.
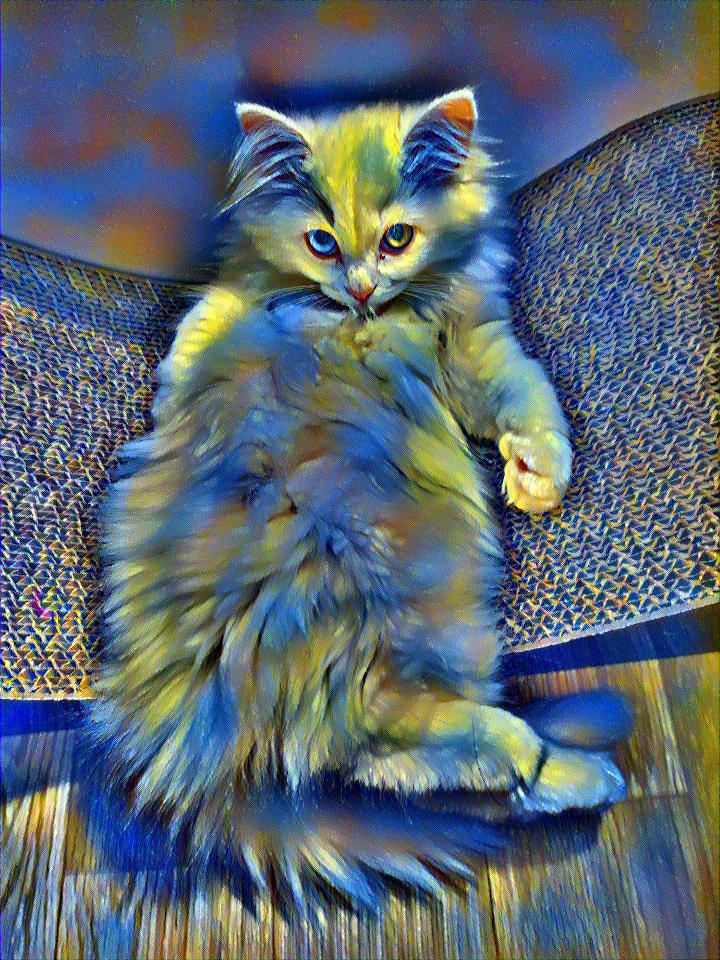
Okay, the results are getting better. Still, the result is not very satisfying. This time, I decided to initailized the image as the copy of the original content image, unlike before where we started as random white images.

This seems to be the best so far!
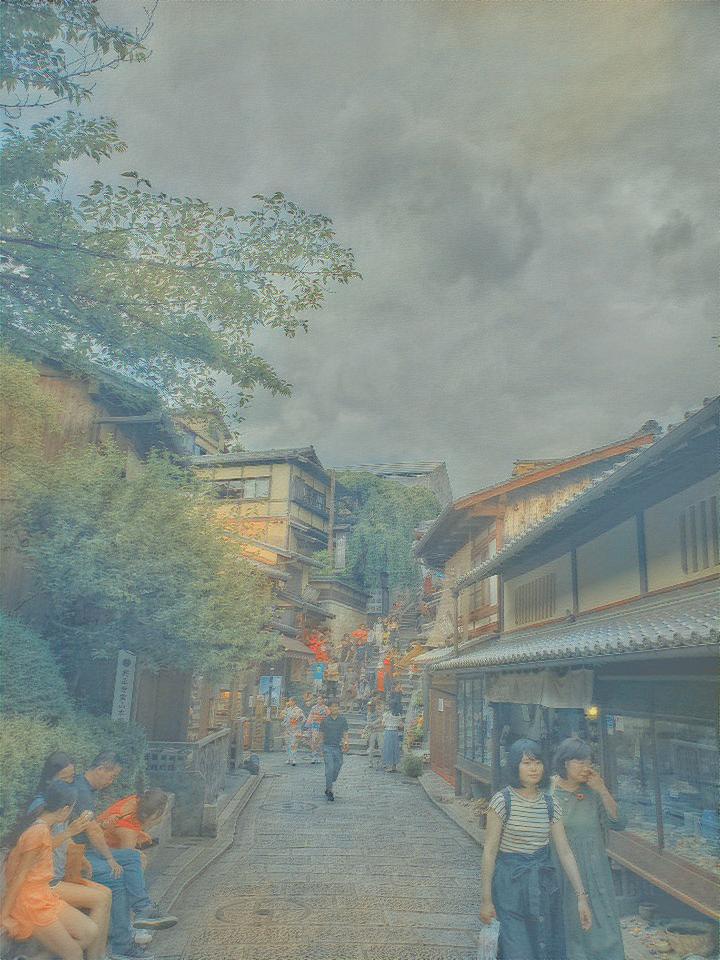
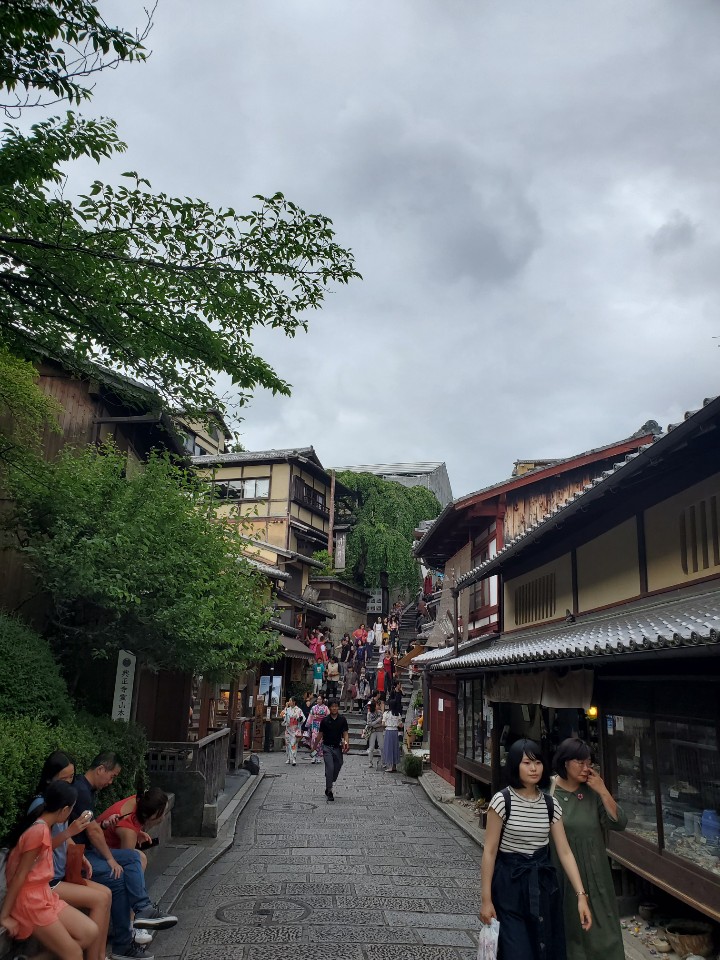
Now I wanted to try with more examples.