Zhenkai Han
In this project, I learned how to refocus image and adjust aperture of the image with light field data. The idea is simple: shift and averaging.
Lightfield data is consist of many images taken over a grid. Because the grid is spaced, the overall average image will be blurry. But I can align them by shifting! Higher shifting factor can used for shaping nearby objects and vice versa. The the area at specific depth in average image will be shaped but the rest of the average image is still blurry. Adjust how much we shift then we can refocus on different depths.

We know that not aligned images produce blurry area in average image. To make the blurry area less blurry, we can reduce the amount of images to average. We can use shift distance to the grid center of images to drop some images to get sharper image. Dropping images with shorter shift distance to the grid center will use fewer images and produce smaller aperture and vice versa.
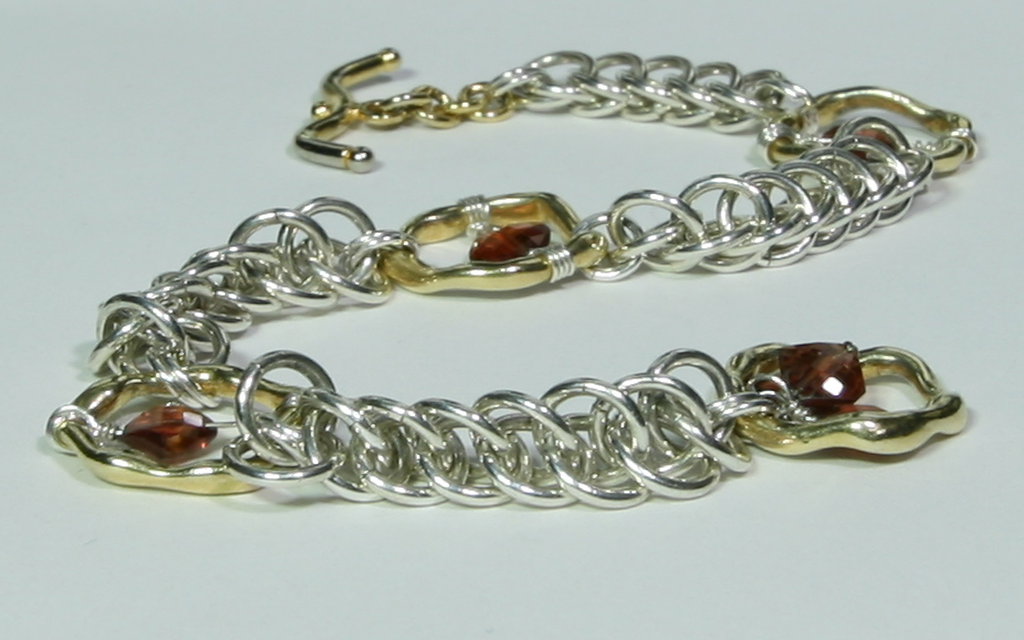
I took 4 * 4 photos of my drinks with my phone and implement refocusing / aperture adjustment.
Obviously, the result of refocusing and aperture adjustment both are very blurry, it does not work:(. There are many reasons: My clicking multiple images with a normal camera doesn't produce a decent regularly spaced grid. My spacing maybe bad because I not sure what spacing is suitable; I took too less grid which is only 4 * 4. I should taking grid with greater size such as 17 * 17 but it is difficult for me to do so with normal camera. I took photos with even grid size which may cause some bug because there is no center image. I should taking grid with odd size such as 7 * 7.

The idea of lightfield is simple but it produce very impressive results! Focus is just showing something sharply. However taking many photos with spaced grid is the most difficult part.
In this project, I learned how to convert 3d coordinates to 2d coordinates and propagate 2d coordinates in video with opencv tracker.
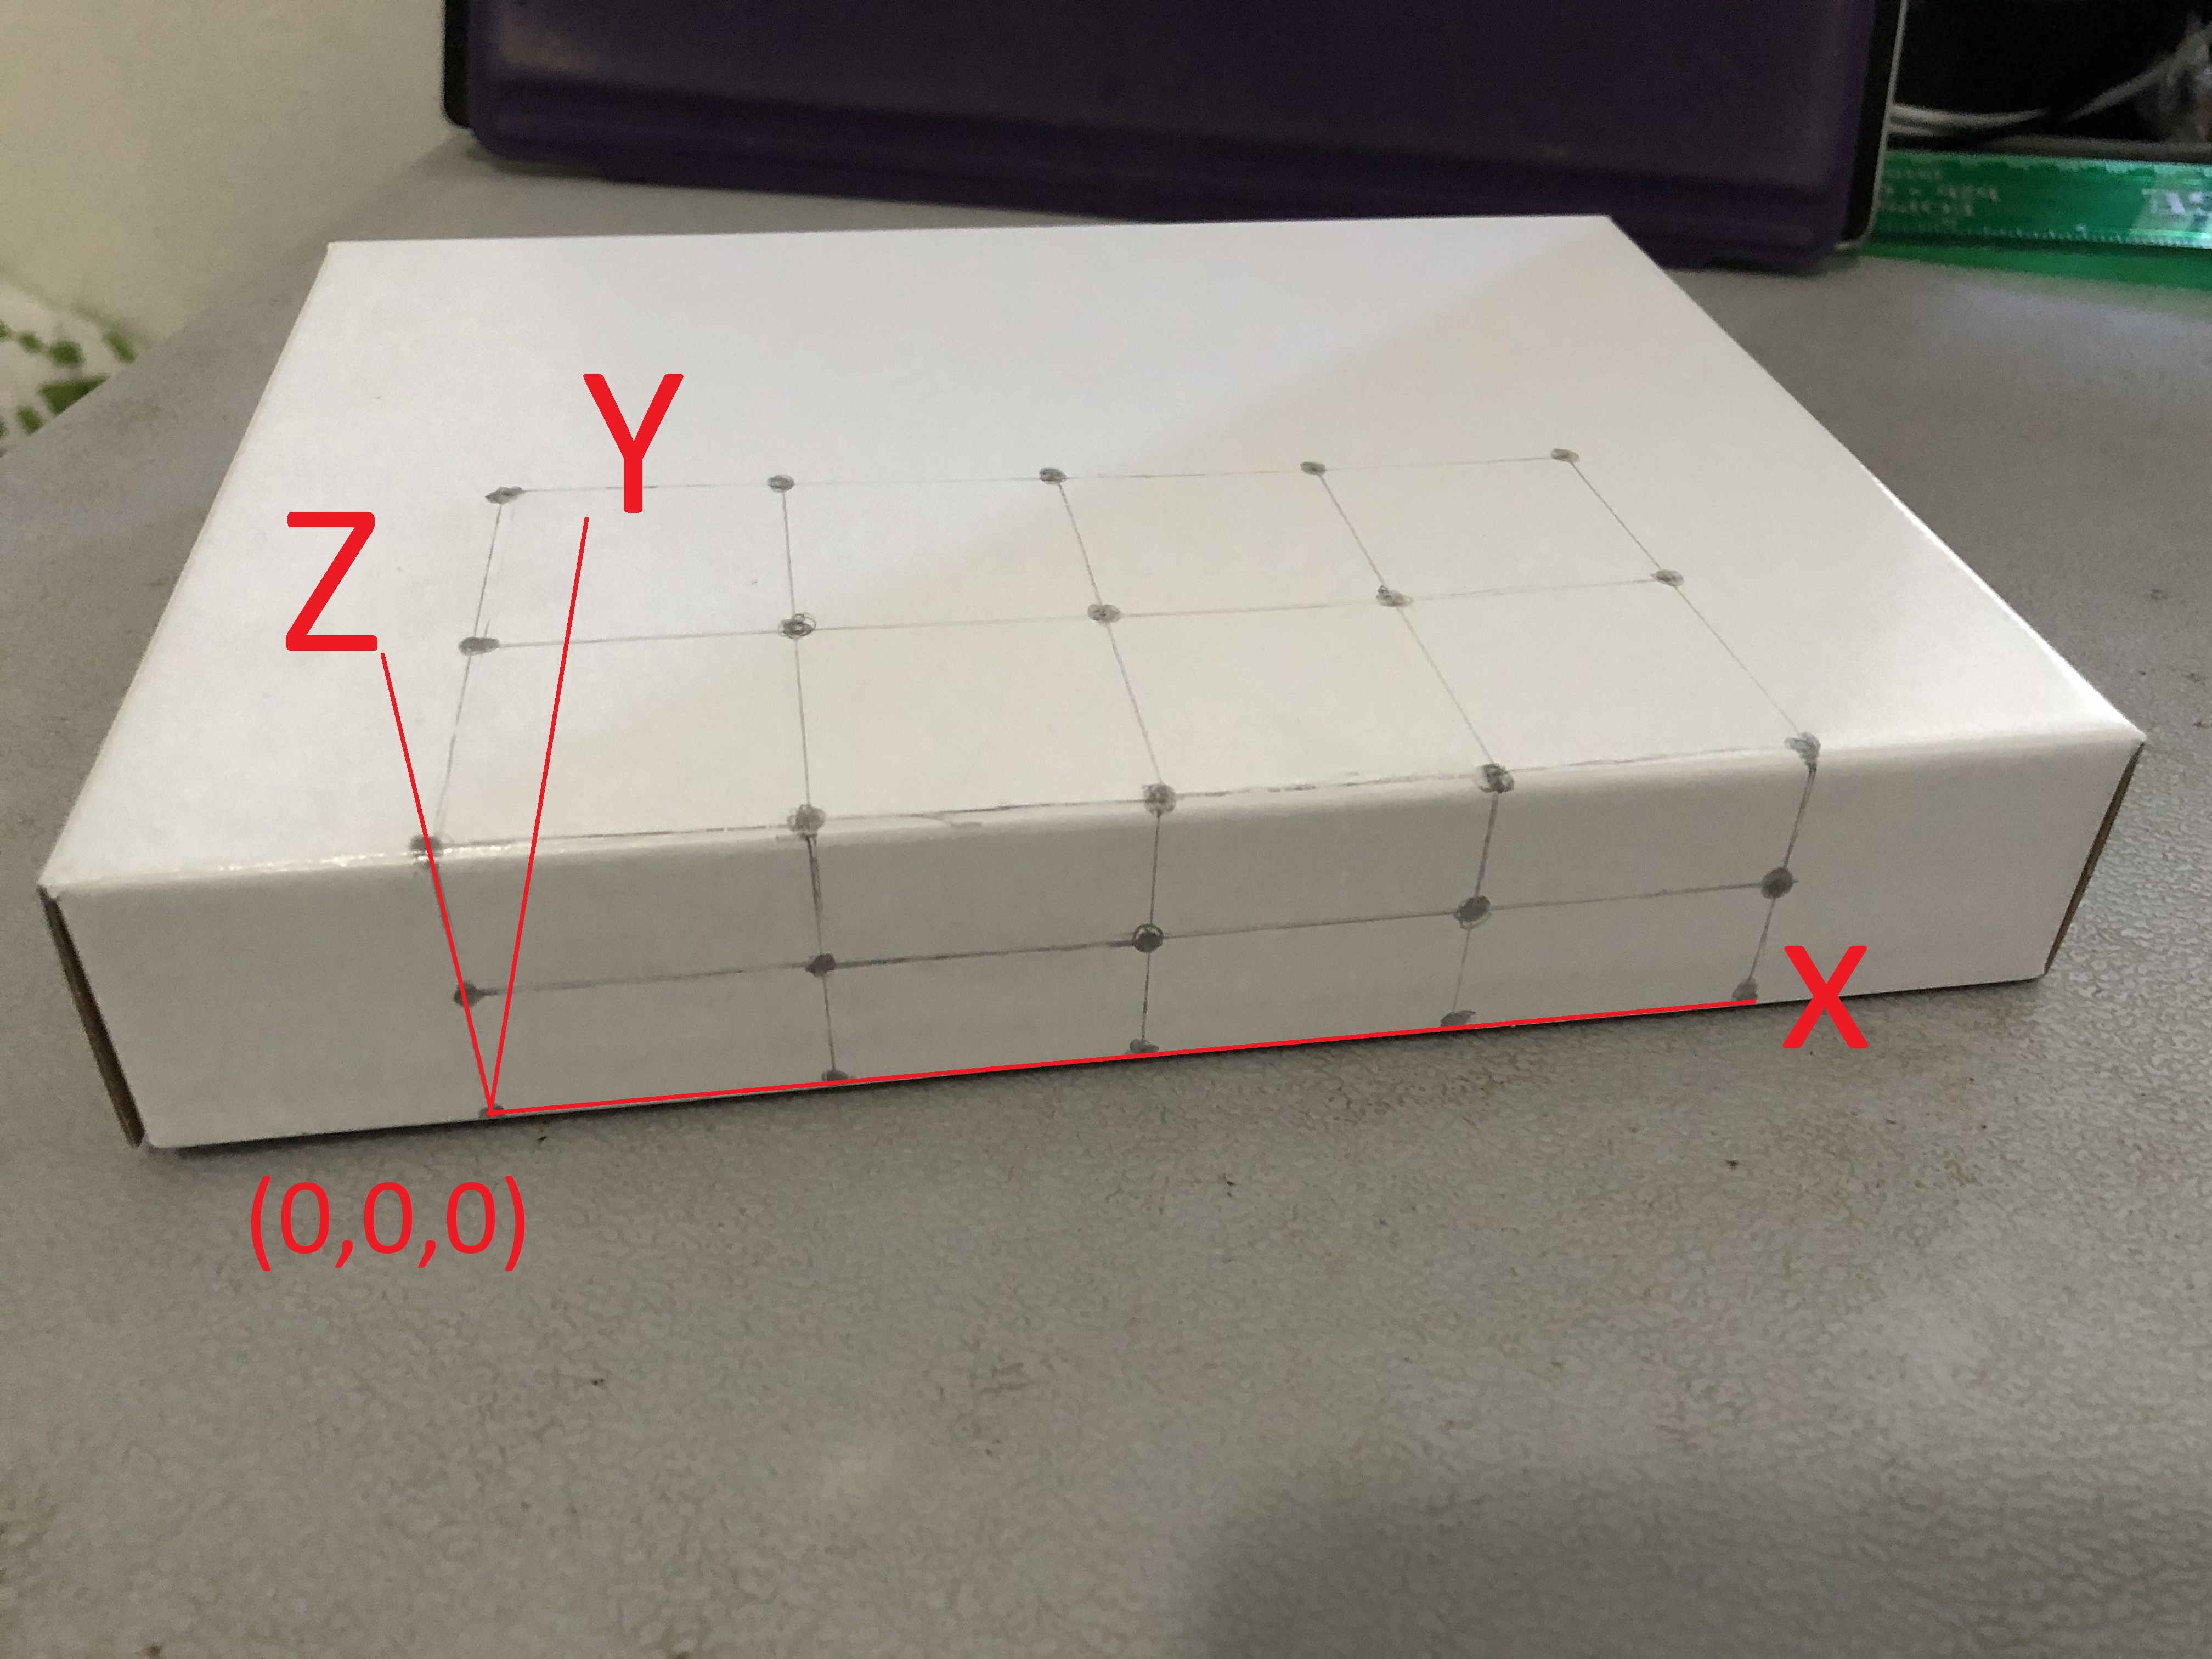
I got a white small box. I drew 25 points with grid on the box. I set the left bottom point as (0,0,0). The unit length is 1.6 cm. The heigh of box is 3.2 cm. I took a video of the box.
I used plt.ginput to set 25 points on the first frame of my video. Then I manually labelled their corresponding 3D points.
I took the second approach:off the shelf tracker. The tutorial was very helpful and I decided to use MedianFlow tracker which is good for tracking small object with slow motion. I selected the size of bounding box based on the resolution of my video and my point size. After finish setting tracker for the first frame, tracker will update all bounding boxes of 25 points in the rest of frame. Then I took the center of bounding boxes to get the coordinates of 25 points in video
I used least squares to fit the camera projection matrix to project the 4 dimensional real world coordinates (homogenous coordinates) to 3 dimensional image coordinates (again, homogenous coordinates). With these matrices, I can convert any 3d points to 2d points in video.
I calculated 2d points base on the matrices I got in previous part and drew contours and lines with opencv. Then I saved all frames as a video!
The final result looks good: A cube appeared to be consistently added to each frame of the video.