CS194 Final Projects
Neural Style Transfer & Light Field Camera

Project1: Neural Style Transfer
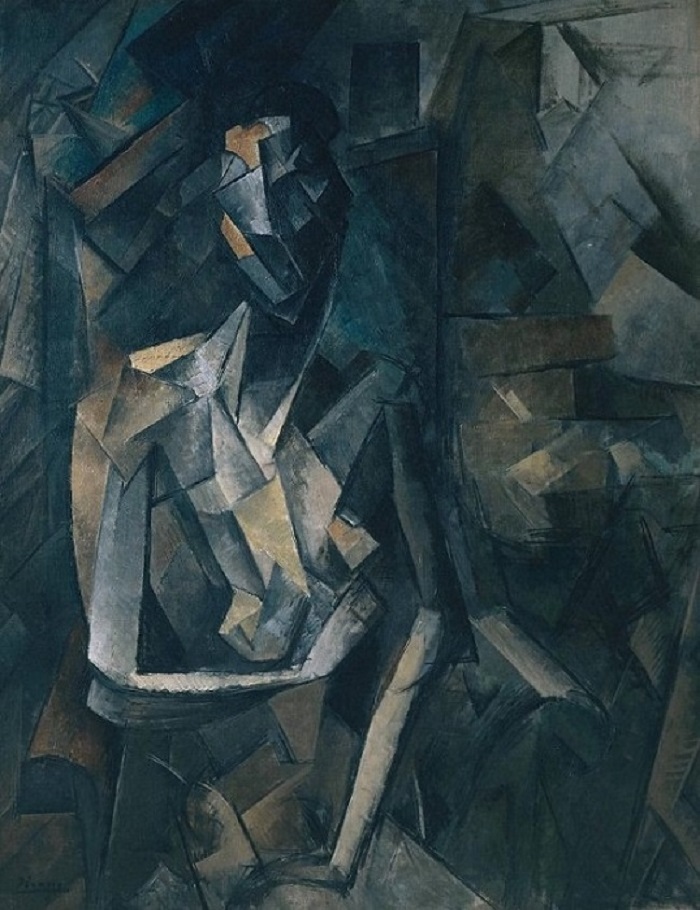
In this project, I chose to re-implement Gatys et. al.'s paper: A Neural Algorithm of Artistic Style, which uses feature maps in CNN to change the style of the picture, but retain the contents. It is known that convolution layers of a CNN object detection model can be used to learn meaningful features of the image. We can directly visualize these information about the image by reconstructing the image only from the feature maps in that layer, which creates amazing results. I had a lot of fun doing this project.
Neural Network Architecture
According to the paper, I used a pretrained VGG-19 model, which has 16 convolution layers and 5 max-pooling layers. I first removed all the fully connected layer. Then, after each of the style layers (conv1_1, conv2_1, conv3_1, conv4_1, conv5_1) and content layers (conv4_2), I added a layer indicating its style loss and content loss. The full architecture of the modified network is shown below:

Performing the Style Transfer
I also defined the loss function for the network as a weighted sum of content loss and style loss according to the paper. The content loss is the min square error of activation values between the original image and generated image. The style loss is determined by the gram matrices of the corresponding convolution layers. During training, the two weights (content_weight and style_weight) of the loss function are used as hyperparameters to tune the model. Most pictures are produced with a content to style weight ratio of 1/1000000. I then used LBFGS optimizer and trained with num_step =1000.
Re-implementing Neckarfront Results

|

|

|

|

|

|

|

|

|
Other Images

|

|

|

|

|

|

|

|

|
Failure Case
Here is an image that failed to capture the main style correctly. Since the content image only contains a few colors and have a simple structure, it's hard to capture the style image's true features, therefore creating defected results.

|

|

|
Conclusion
This is my favorite project in this course! It's a great opportunity to actually perceive how feature maps are useful in interpreting informations in the image. I am constantly amazed by how much machine learning could achieve through such simple implementations. If time allows, I'd love to continue exploring how different layers could generate different results.
Project2: Light Field Camera

In this project, we created the effect of light field cameras through simple techniques of depth refocusing and aperture adjustment. The technique is based on Light Field Photography with a Hand-held Plenoptic Camera by Ng et al.. In this project, we can mimic the pictures taken by a light field camera with varying focus length and aperture size using pictures taken by normal cameras from different positions on a plane orthogonal to the optical axis. The Stanford Light Field Archive dataset has pictures taken from a 17*17 camera array. Each picture is taken at a different location.
Depth Refocusing
It can be perceived that the objects which are far away from the camera do not vary their position significantly when the camera moves around while keeping the optical axis direction unchanged. The nearby objects, on the other hand, vary their position significantly across images. Therefore, shifting each image can make sure that images match each other on some fixed depth, therefore creating a focal point.
Since the camera grid is 17*17, the center image is (8, 8). I shifted each image by alpha* (i - 8, j - 8), where alpha is a varying parameter that allows the image to focus at different depths. Different images will have different alpha ranges. Here are some examples I generated:

|

|

|

|

|

|
Aperture Adjustment
We can also simulate the varying aperture sizes of a light field camera through aperture adjustment. Averating with many images will create a large aperture, while averaving with only a few images will create a small aperture. This is due to the fact that larger apertures can capture more lights, which corresponds to capturing more image positions.
Similar to depth refocusing, I created a hyperparameter beta to indicate the varying radius of our camera grid. We perform the same shifting and averaging technique as in depth refocusing, but only use images that satisfy |i - 8| <= beta and |j - 8| <= beta. Here are some examples I generated:

|

|

|

|

|

|
Bells & Whistles
I chose to take my own pictures to simulate a light field camera. I took pictures on a 5*5 grid, and generated depth refocusing and aperture adjustment images just like above. However, due to technical limitations, my hand-shot pictures cannot create the exact grid positions and angles necessary for the effect to be successful. The resulting images came out very blury. Another reason for my failure is due to the limited number of pictures I took. Since a 5*5 grid is a lot smaller than a 17*17 one, it is reasonable that the results will be less satisfying as well.

|

|

|

|

|
Conclusion
This is a very fun project to work on. We can create amazing effects through very simple techniques. I've also learned more about how different aspects of a camera contributes to the overall effects of an image. It's also very cool that we could produce our own light field images throgh simply taking pictures on our own.