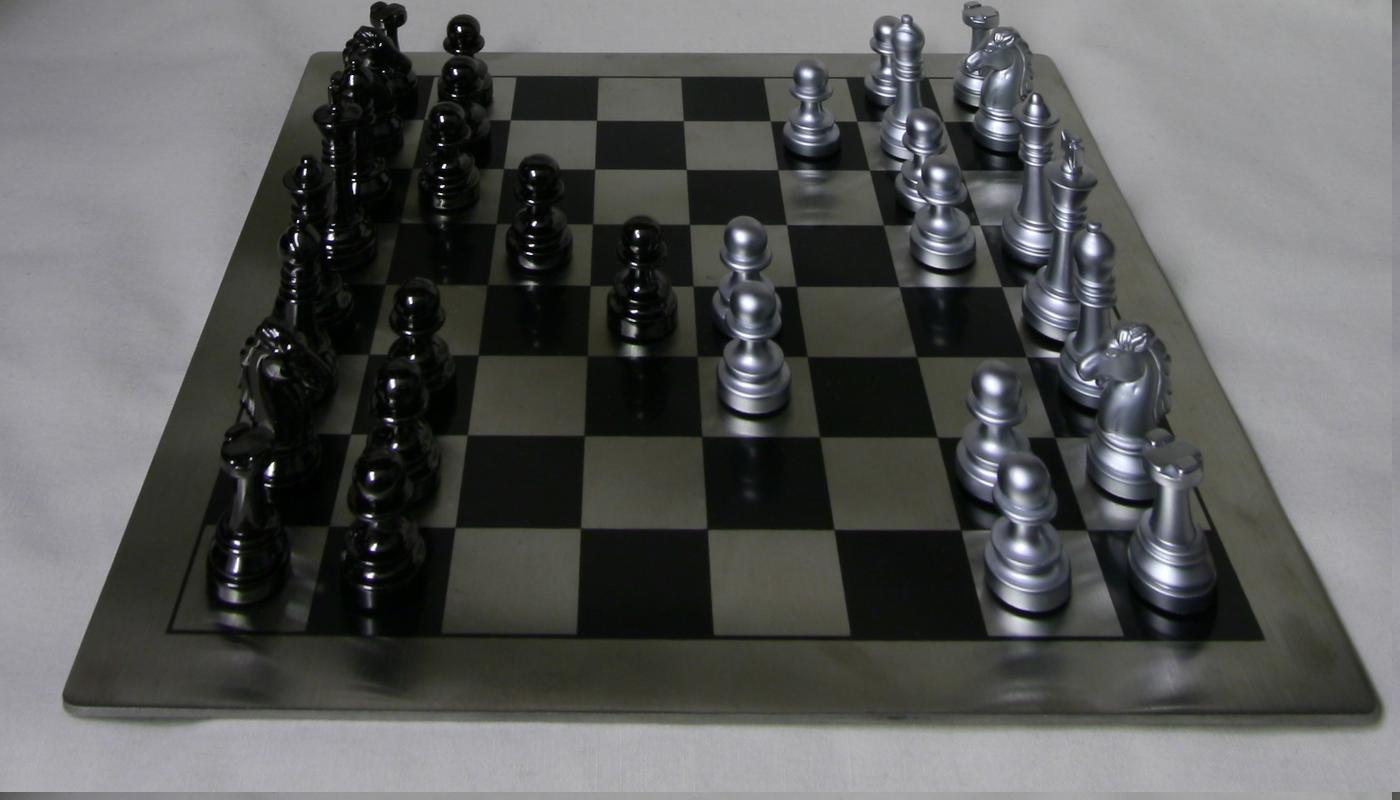
gif from d going from 0-7 with the front of the image as the focus point
Learnings
The gifs created by this project are so beautiful. I thought it was incredible how we can create this videolike effect using the rectified images and a combination of shifting and scaling. Amazing how simple transformations can create such interesting effects that mimic cameras!!
Project 2: Image Quilting
In this project we try to patch together parts of images in order to "quilt" the image together and make it look as much like the original texture as possible.
Part 1: Randomly Sampled Textures
We first tried to randomly sample patches and stitch them together left to right in a grid. As you can see in the results section, the result is not super convincing. There is a very visible seam between blocks and each block is unique.
Part 2: Overlapping Patches
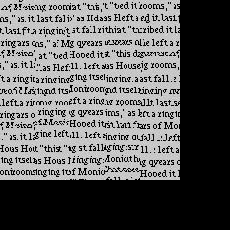
For the overlapping patches part, our strategy becomes a little smarter. Instead of just randomly stitching patches together, starting from the top left corner of the image we choose a random patch, and then following that we 1) identify an overlap region between the first patch and multiple other candidate patches 2) compute the ssd of these overlap regions 3) choose a patch whose overlap is less than some tolerance (in my case I just chose the patch with the lowest ssd) 4) overlay these patches. I had to cover all cases. Overlap from the left, overlap from the top, and overlap from the left and top patches. These results are show noticeable improvement compared to the original method. I think this is particularly apparent in the text image in the results section. We go from having random words everywhere to words in lines. Although, the seams are less noticeable in this method, they are still quite noticeable. We will address this in the next section.
Part 3: Seam Finding
Although we have chosen patches with the lowest ssd, when we overlay them we see visible seams. To reduce the appearance of these seams we will use seam finding. Seam finding finds the minimum boundary cut between two overlapping patches. This minimum boundary cut is returned as a mask from the "cut" function provided to us. The mask is 0 at the places where an image should not show up and 1 at the places it should. We stitch our images together using this seam finding method, and the results are much, much improved. Seams are no longer visible, and for most of the results it is difficult to figure out how the seamed image is different from the original. Below is the result of seam finding on two patches.
Seam Finding Results

left patch

right patch

left overlap

right overlap

min boundary cut left

min boundary cut right

patch put together
patch in image
Results
My results are below. I am super impressed with the seam finding technique. It looks absolutely amazing and is able to recreate textures- a big difference from overlap patch. Especially in the blue rock and the alien brain images, I think the seam finding works exceptionally well. I have to look really closely at the images to find any imperfections.
Text

random
overlapping

seam finding
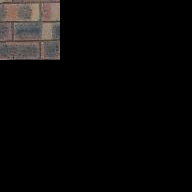
Bricks
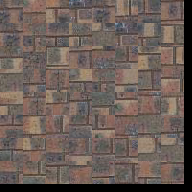
random
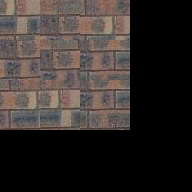
overlapping
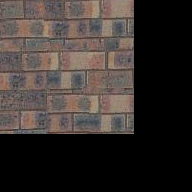
seam finding
Grapes
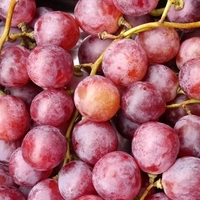
original
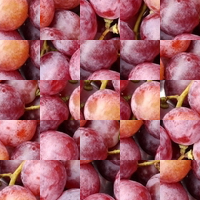
random
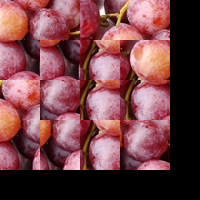
overlapping
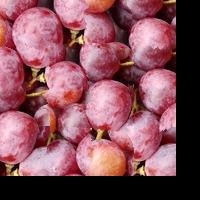
seam finding
Blue Rock
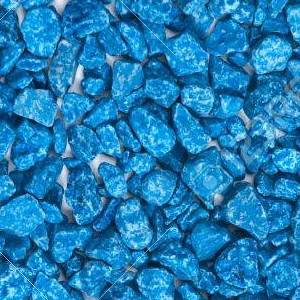
original
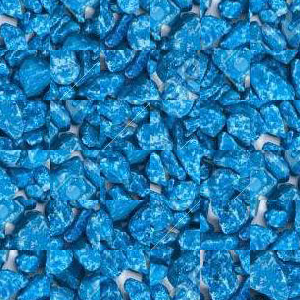
random
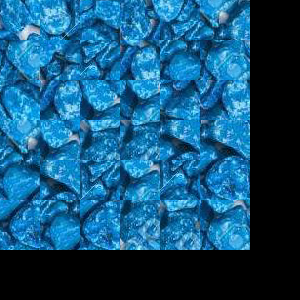
overlapping
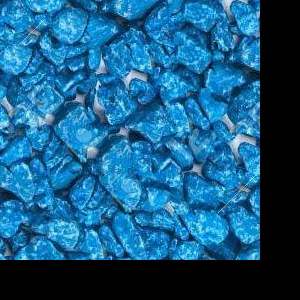
seam finding
Alien Brain
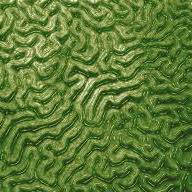
original
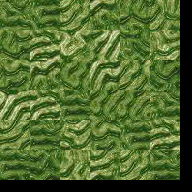
random
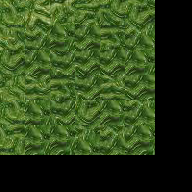
overlapping
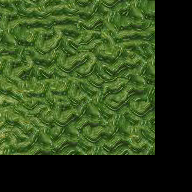
seam finding
Learnings
This project was super interesting conceptually but took a lot of time to implement due to multiple bugs. I really enjoyed seeing my final results using the seam. To me, the coolest image was the text, because I thought it was so interesting that we could actually re create something that looked like something someone would read. I thought that the concept behind the overlapping patch as well as the seam finding was really interesting as well. It's amazing how much SSD can do.