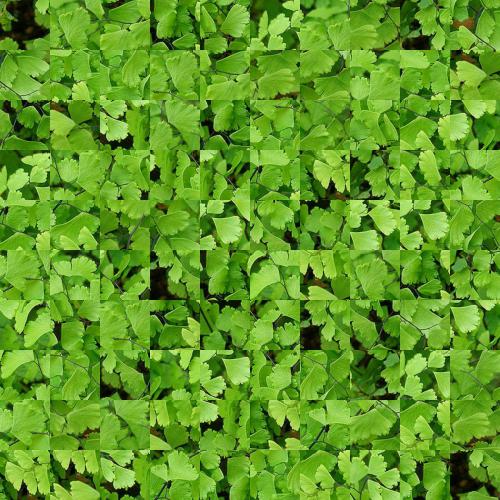
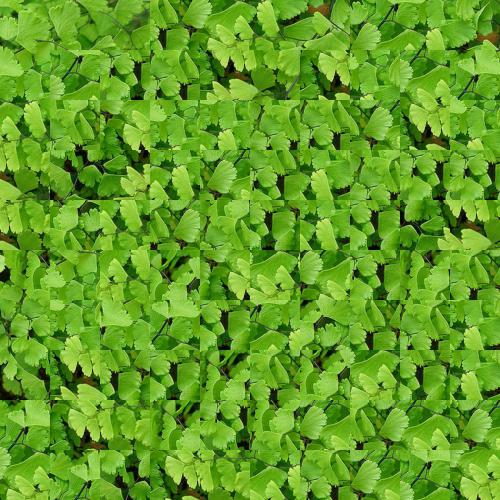
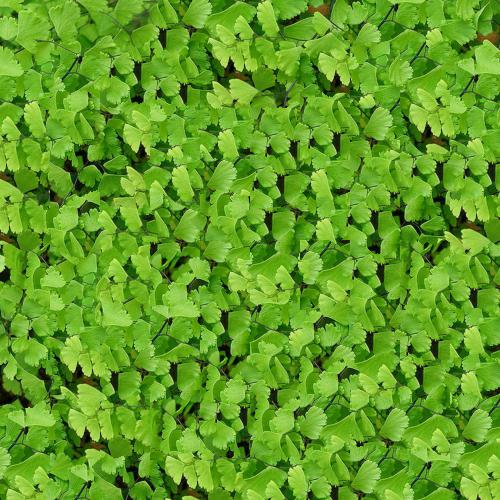
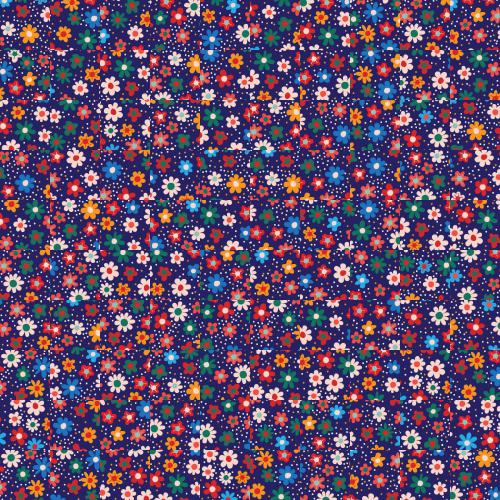
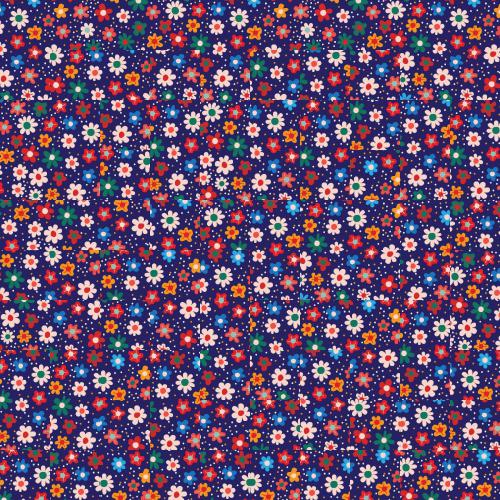
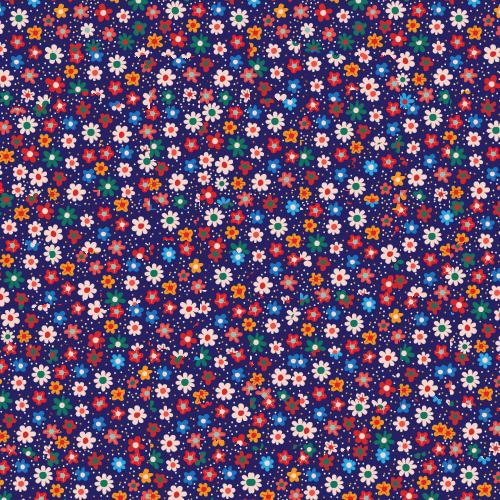
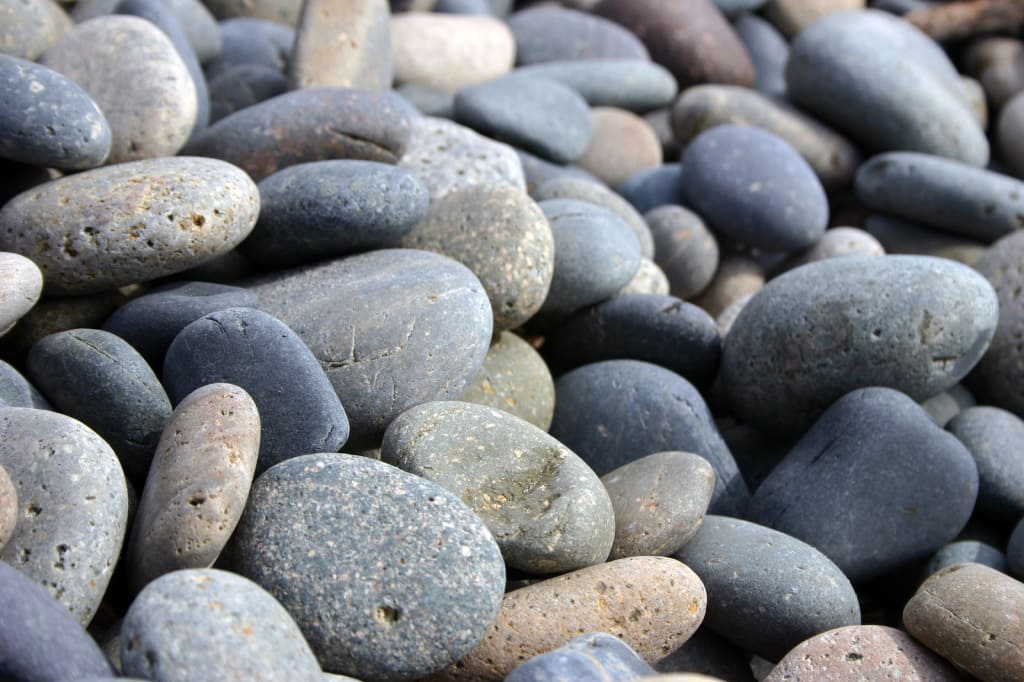
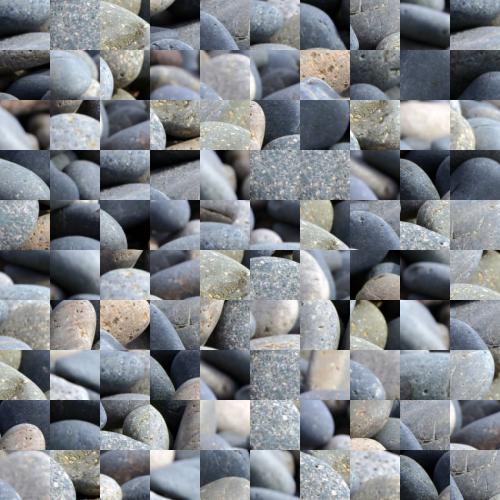
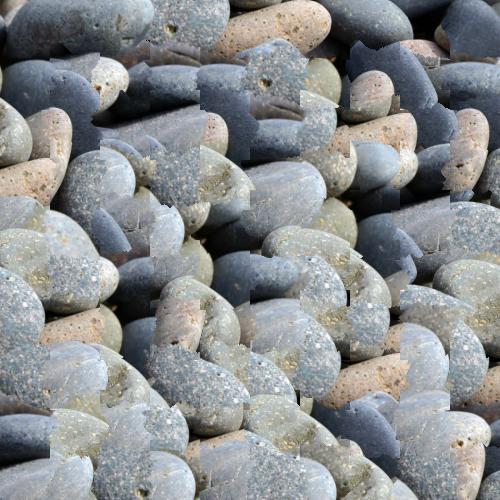
In this part of the project I worked with creating larger textures out of small samples of textures. I started by first randomly sampling patches. After that, I proceeded to sample patches while taking into account their neighbors. Finally, I improved the quilting process by producing large texture samples by cutting the boundary between two neighboring patches in a jagged way. Below are my results across 5 different smaples
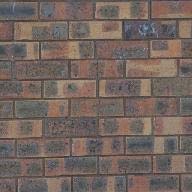
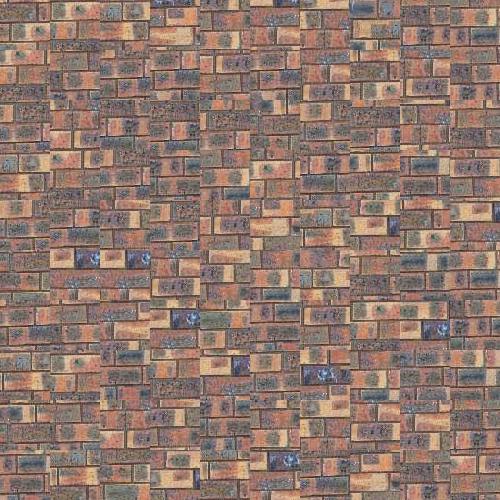
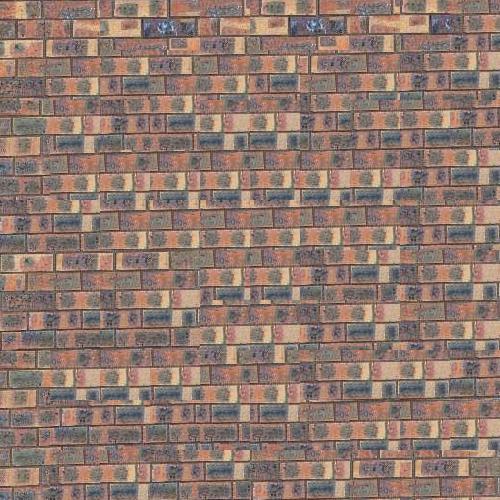
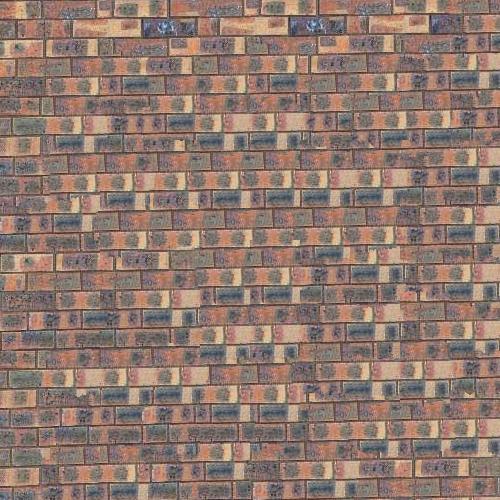
Brick texture: In this texture the difference between having proper neighbors and having proper neighbors with non straight edges is negligible, but in later samples we will see that having non straight edges leads to a much cleaner result.
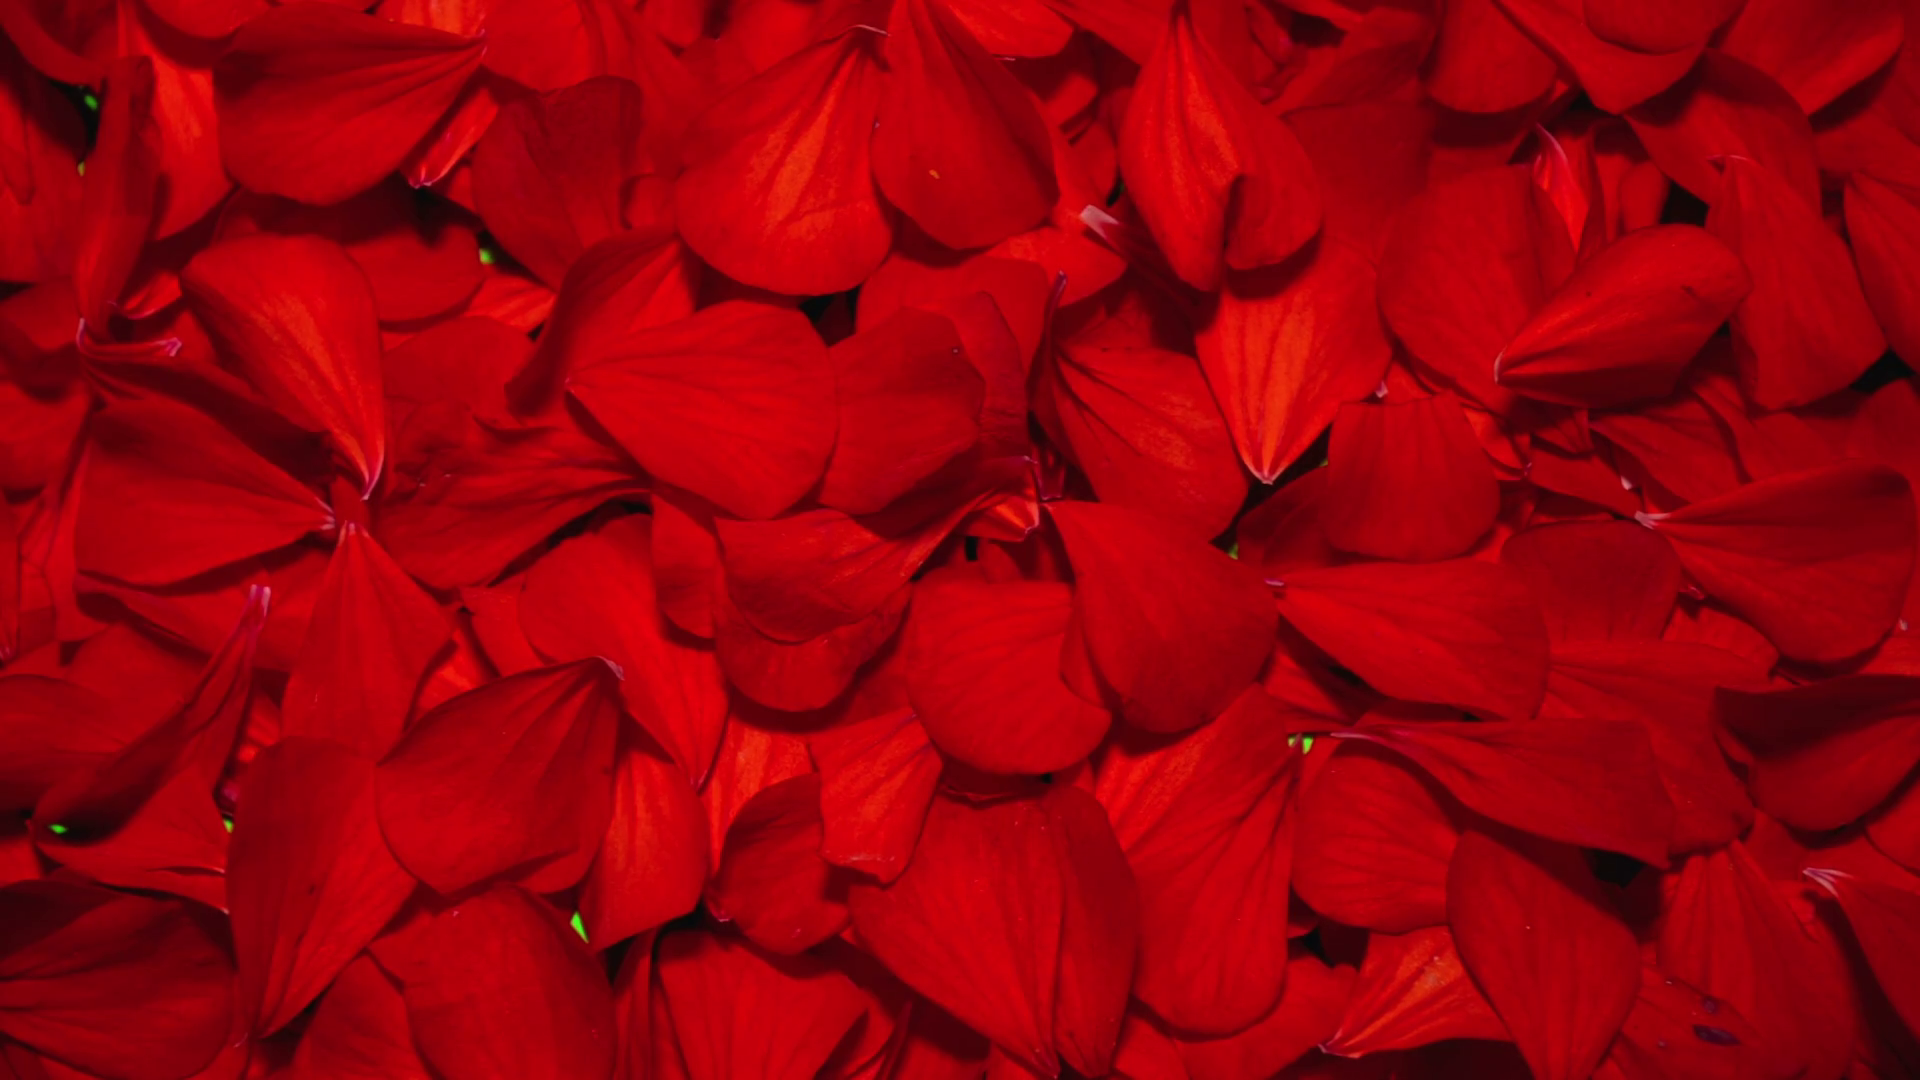
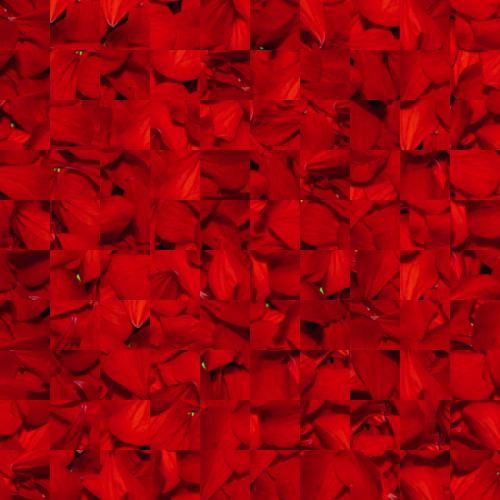
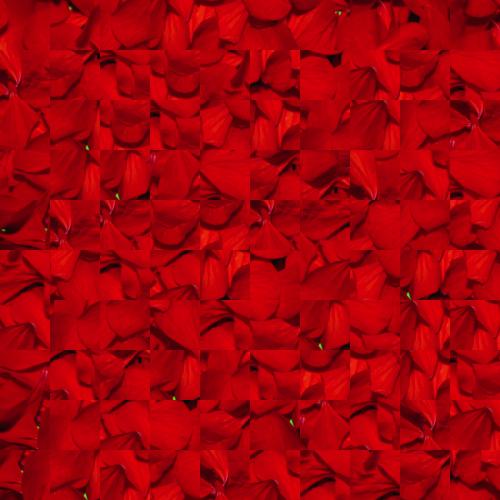
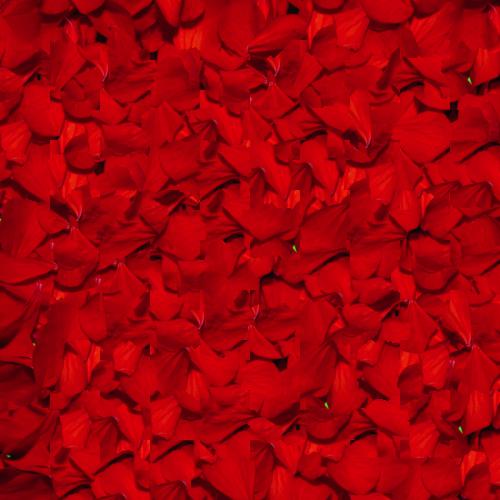
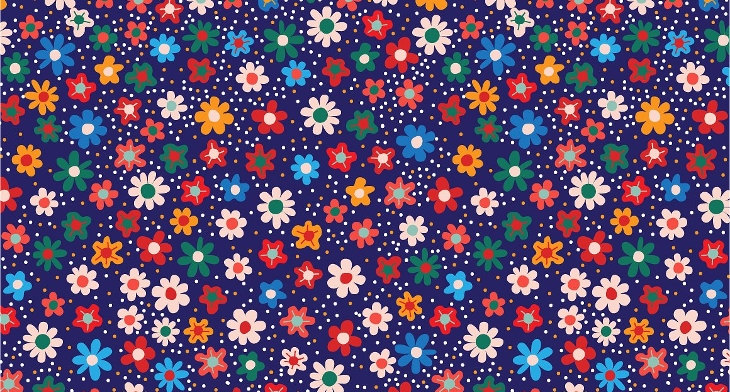
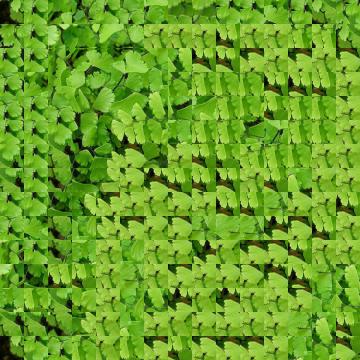
Flower Texture: In this texture the difference in using non straight edges in the overlapped regions is far more apparant.
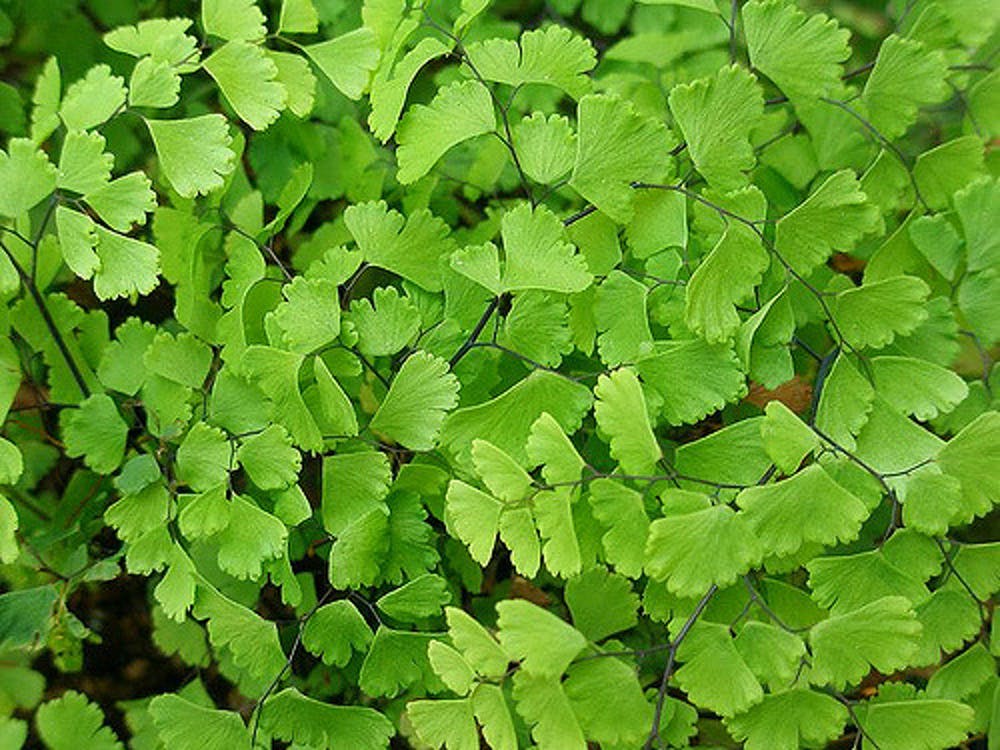
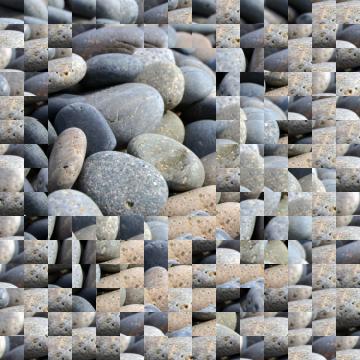
Leaf Texture
Another Flower Texture
Another Flower Texture

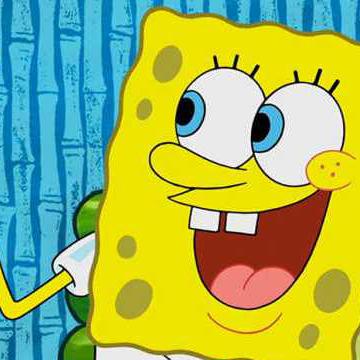
Next was the actual texture transfer portion. Unfortunately, I could not get the best results, but below are my attempts at transferring texture properly. In the texture transfer process I first compared the patch I wnated to model against it's location in the non texture image and then got the error estimate from the overlapping value with the previously selected patch. Using a weighitng system I combined the two values to determine which imsage to sample to represent the patch. My theory is that either my patchsizes were too big or my alpha value was off.
Spongebob transfer attempt
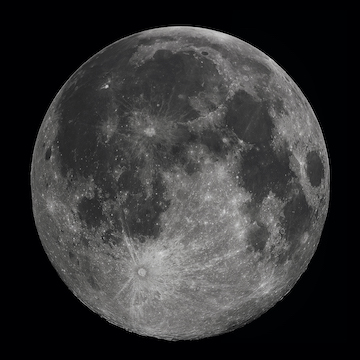
Moon transfer attempt
For this project I implemented the Bells and Whistles of making my own cut function. I was able to leverage a dynamic programming algorithm to determine the path of least resistance for the Sum of Squared Differences of the overlapping patches, and then use that to perform the necessary cut to blend together the patches. Don't have any output because this bells and whistles was entirely code.
I actually really enjoyed this project. I learned a lot relating to how to sample different textures, and definitely though the quilting algorithm was insanely simple but extremely elegant in the end. Wish I had a bit more time to get my texture transfer working better, but think the rest of my results were fairly good.
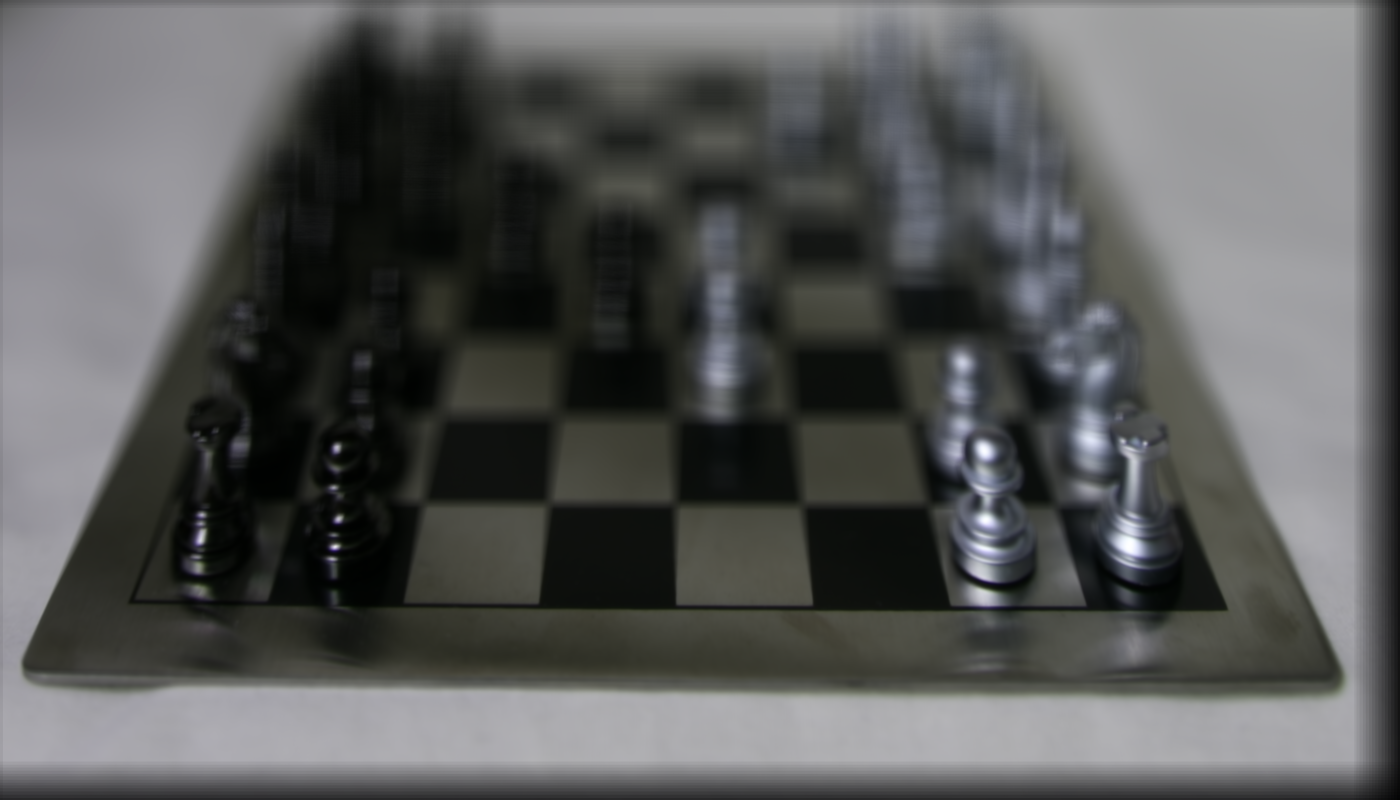
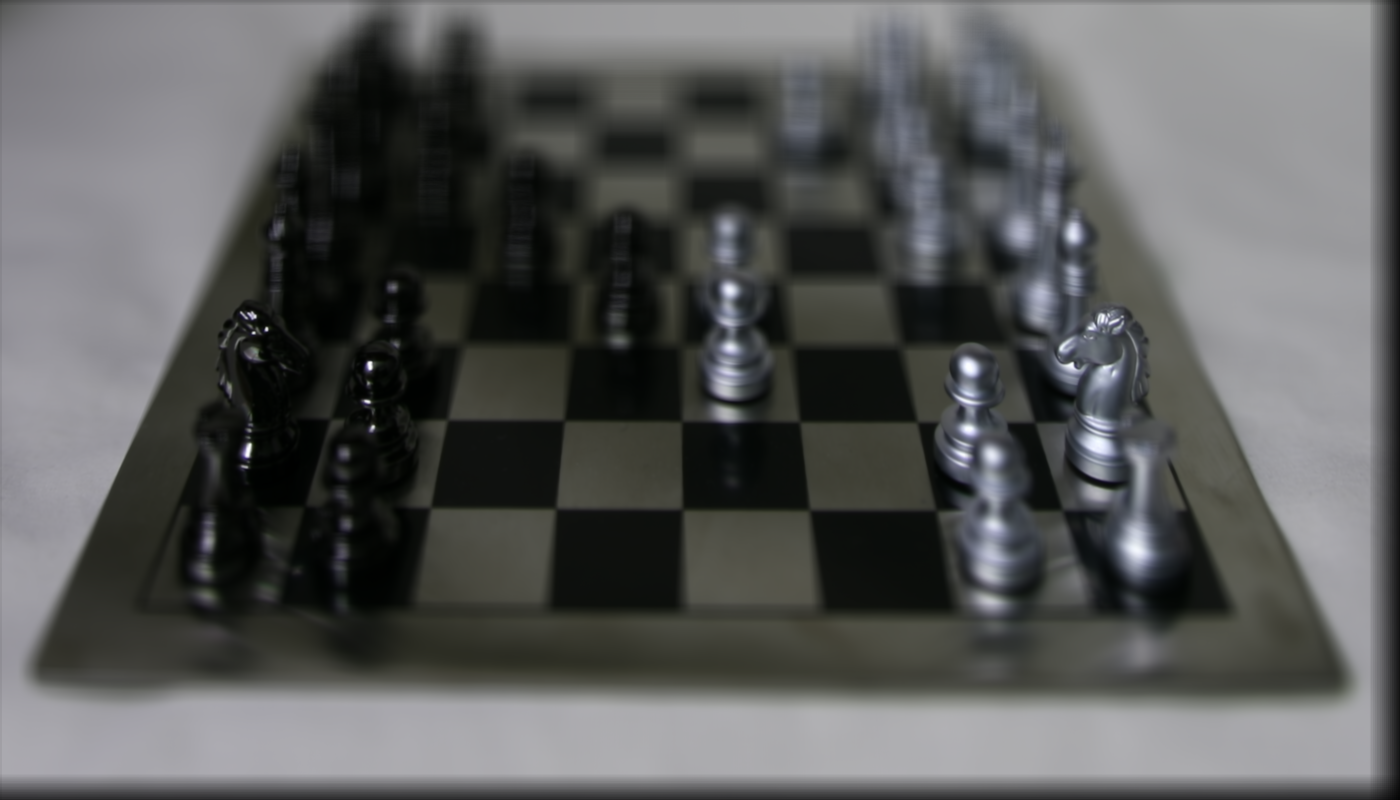
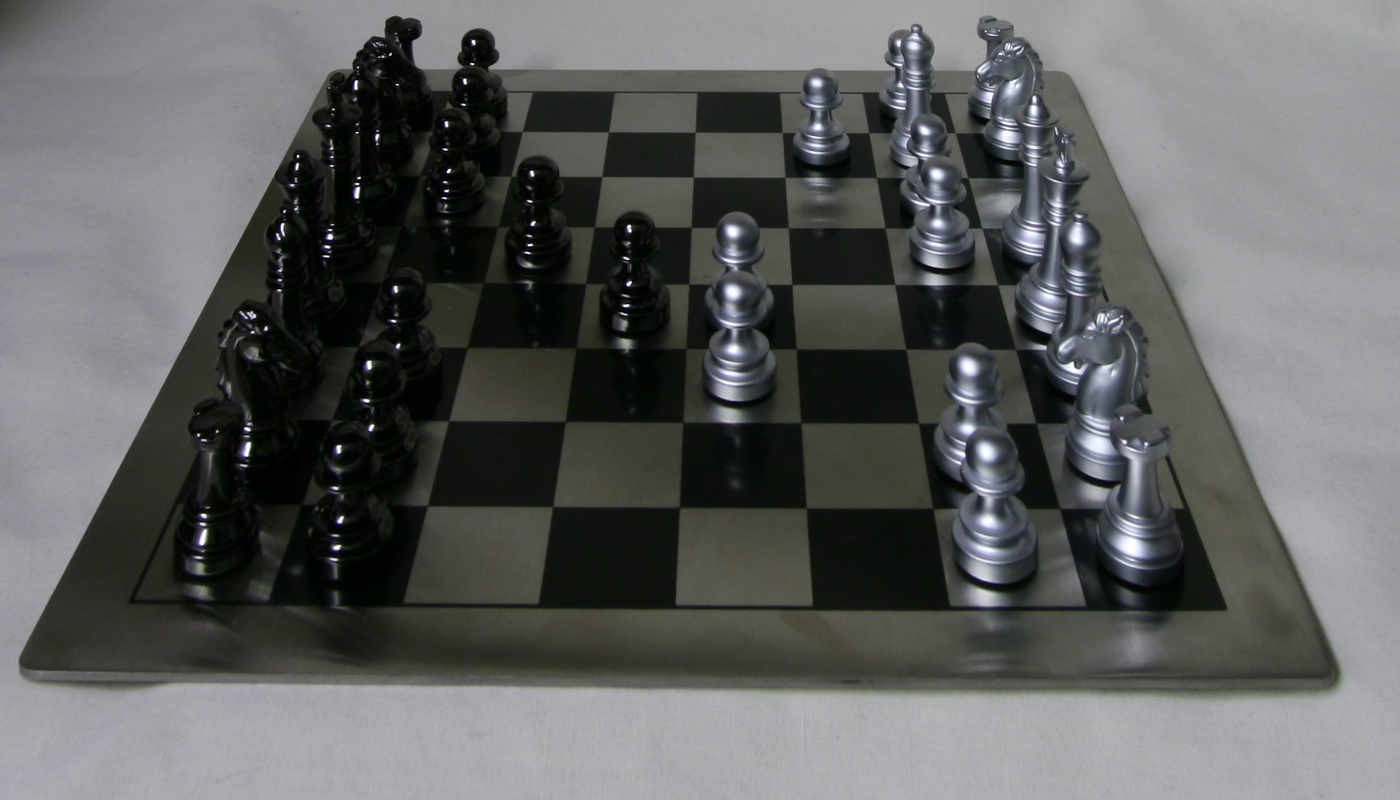
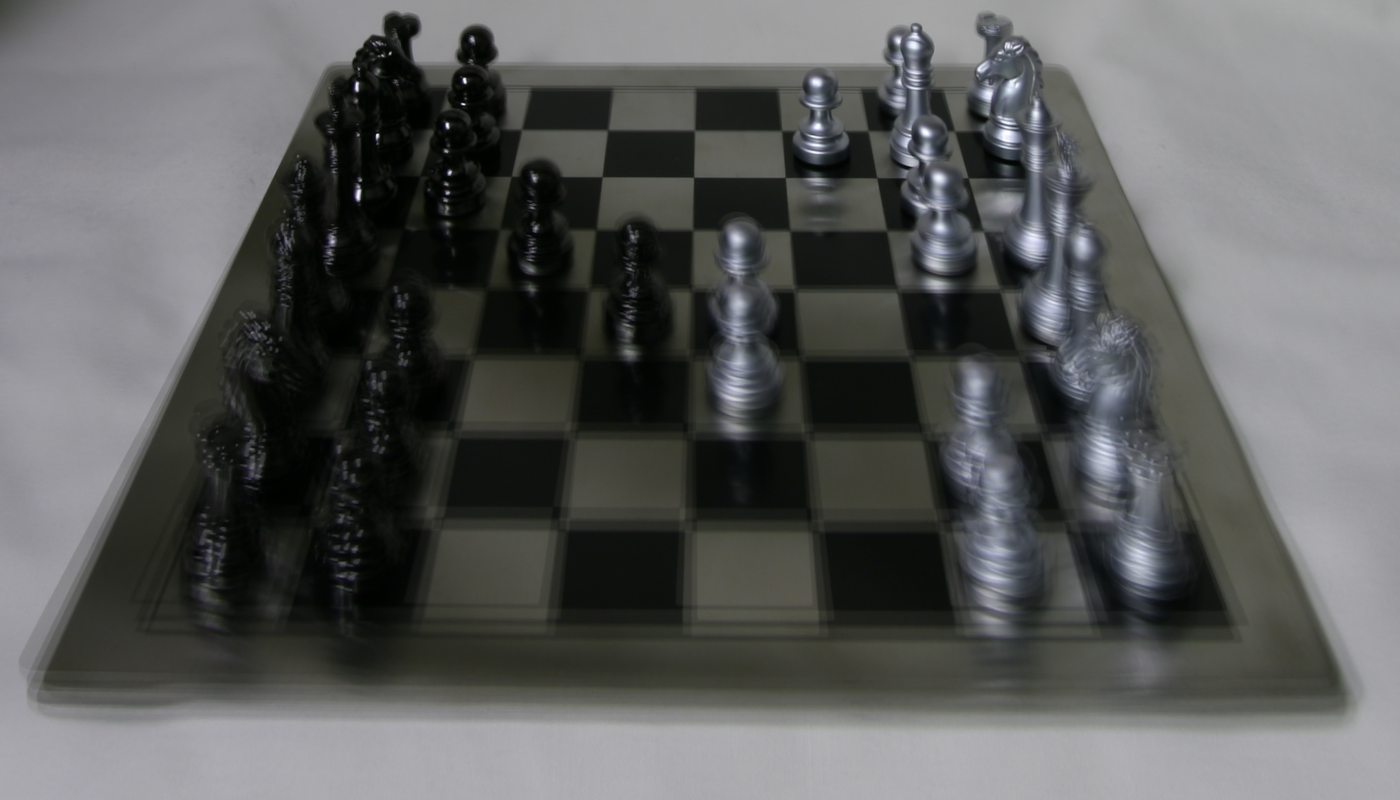
For this project I was working with a set of images from a Lytro camera and was attempting to produce images that were first focused at a different point in the image and then produce images that were of different aperture.
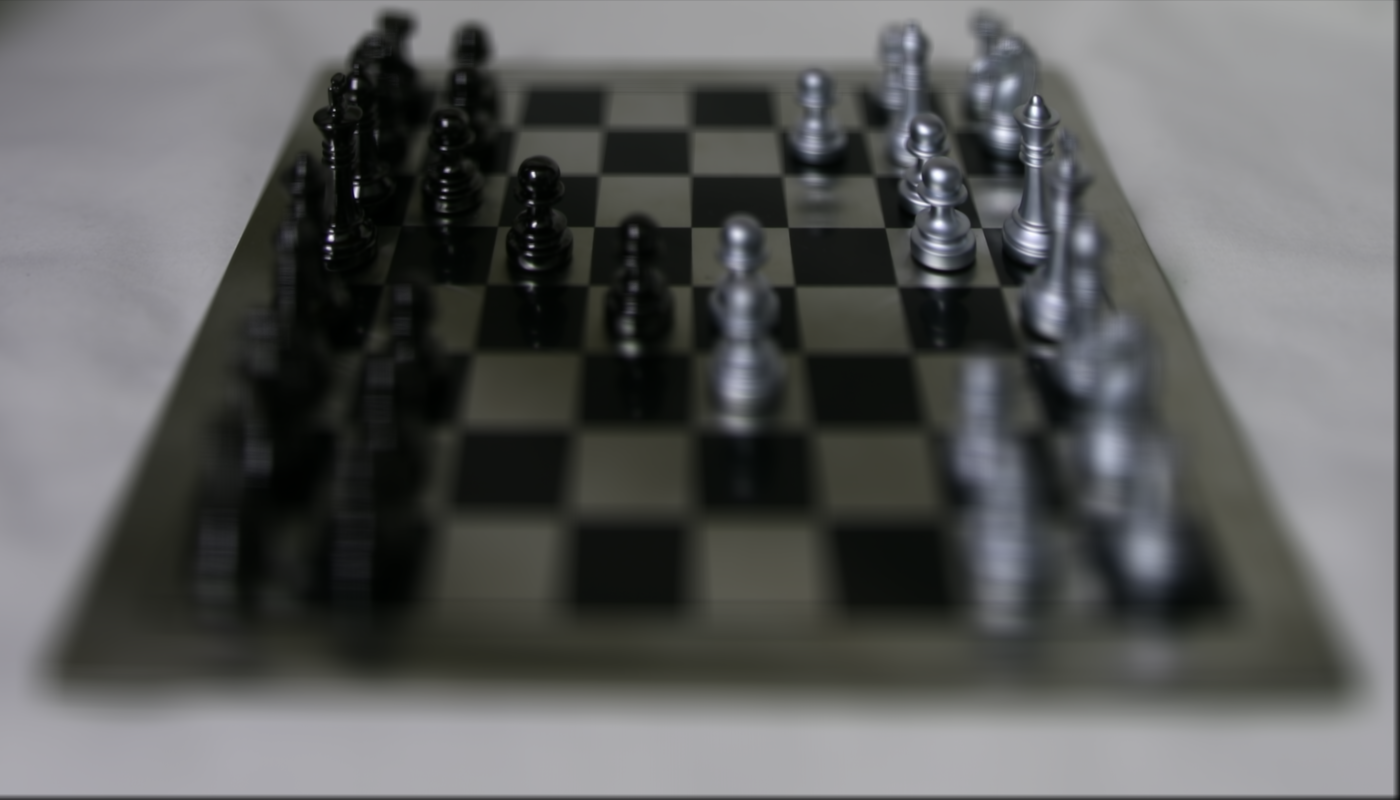
Chess board focuesd at different areas of the picture

Cool gif of the results
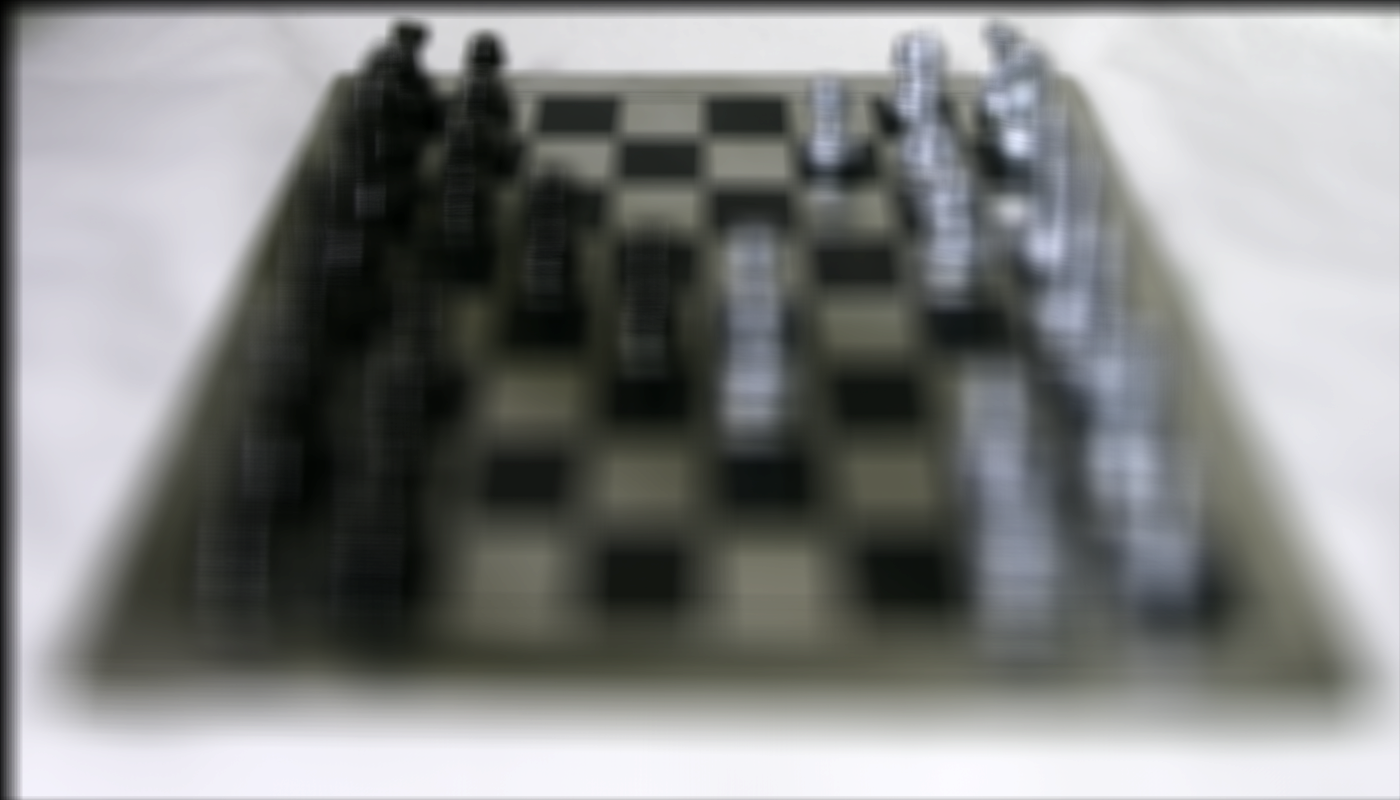
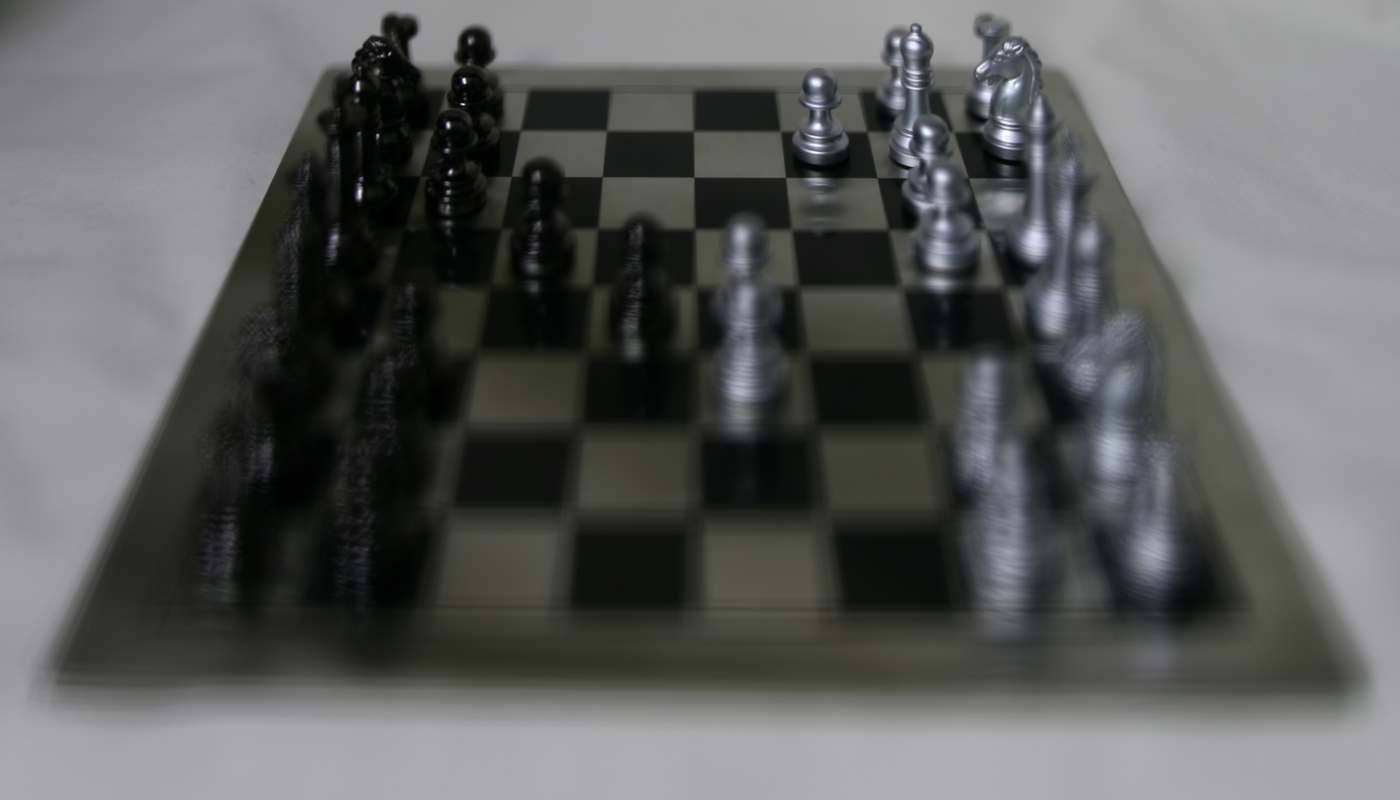
For this part I kept the same depth all across the images and kept adding along the perpedicular axis and this resulted in a larger aperture size with the more images that I used. Below are some of the differrent aperture sizes I found all converging on one focus point for the aperture.
Chess board focuesd at different areas of the picture
Cool gif of the results

In this project I got to revisit the lightfield camera and explore more in depth how it worked. It was a bit confusing to figure everything out and am still not fully sure I understand it properly, but from what I understand the Lytro Camera is actually really cool. Definitely learned about how with the same lens theyre able to caputre a large variety of pictures which is kind of cool, and that with simple shifting operations you can change the focus of where you're looking within a picture.